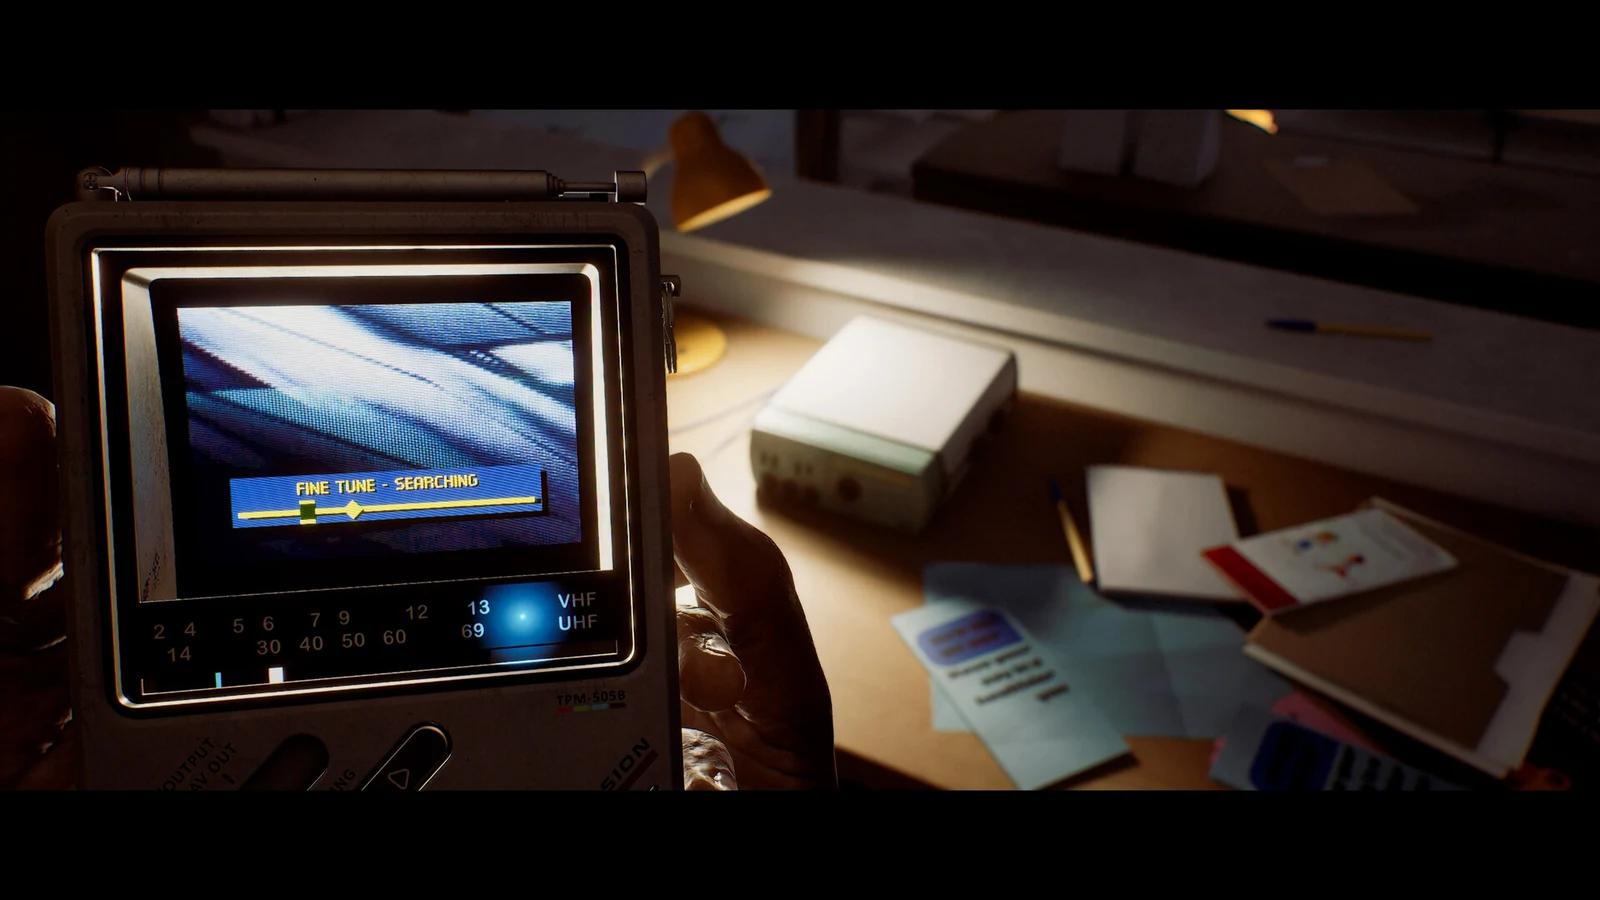
Collection in Silent Hill: Townfall punishes backtracking. Chapter 3 seals the instant you grab Zoe’s Lanyard, and Part 3: The Patient locks each Medical Centre floor behind you before the Otherworld erases the ordinary building entirely. Everything below is missable on a given save, so sweep as you go.
Quick answer: Chapter 3 holds Discoveries 5–12; Part 3 covers Chapters 7–8. Clear every floor before the shift, use door codes 7103 and 2605, dial 5353, and pick up the Medical Wristband for the final vault.
Chapter 3 collectibles in the town square and Zoe’s house
In Chapter 3, St. Amelia becomes accessible on the route between the town square and the computer in Zoe’s living room. There are eight Discoveries here: five count as Documents, and three count as Clues. Because Clues are left out of the Document total, it can seem like you read an email that you actually missed.
| # | Name | Type | Location |
|---|---|---|---|
| 5/85 | Vigil and Protest Flyer | Document | Bench on the column’s west side |
| 6/85 | Hand Delivered Letter | Document | Living room coffee table, Zoe’s house |
| 7/85 | Organ Transplant Card | Clue | Upstairs bathroom floor |
| 8/85 | Power Card Credit Guide | Clue | Crawlspace under the stairs |
| 9/85 | Newsagents Note | Document | Counter by the till, Peters Newsagents |
| 10/85 | Email: Your Letter | Document | Living room computer |
| 11/85 | Email: FW: For Attending SURG04GE_+ON | Clue | Living room computer |
| 12/85 | Email: Please report in | Document | Living room computer |
The three inbox emails only appear once power is restored. Grab the Flashlight (No Batteries) from the kitchen drawer beside the organ transport container, take the AA Batteries from the back bedroom nightstand, then combine them. Lift the Prepaid Power Card (£5) from the open register in Peters Newsagents, slot it into the meter under the stairs, press A until Card Credit shows, press B to transfer, and throw the main switch.
Three extra pickups do not count toward the 85 but are worth logging: CRTV Signal 3/18 on channel 45 in the town square, the Haldane Hotel phone number (5/13) at 496 02444 on West Shore Road, and Strange Postcard 1/15 on the shop counter nearby.
| Lock | Solution |
|---|---|
| Organ transport cooler (kitchen) | Left 956, right 133 |
| Bedroom calendar door | Rotate rings to 18 January 1996 |
The bedroom calendar door hides Zoe’s Lanyard, and collecting it ends the chapter on the spot with no way back. Before you take it, confirm the menu reads 12 of 85 Discoveries, 3 of 18 CRTV signals, 5 of 13 phone numbers and 1 Strange Postcard.
Part 3: The Patient — how collection works in the Medical Centre
Part 3 takes place across Chapters 7 and 8, in the St. Amelia Medical Centre and its Otherworld version. The hospital is arranged vertically, and you cannot revisit a lower level without reloading, so search each floor thoroughly before going up. The Chapter 8 shift permanently removes the regular hospital; some Otherworld rooms contain documents that were absent from the original building.
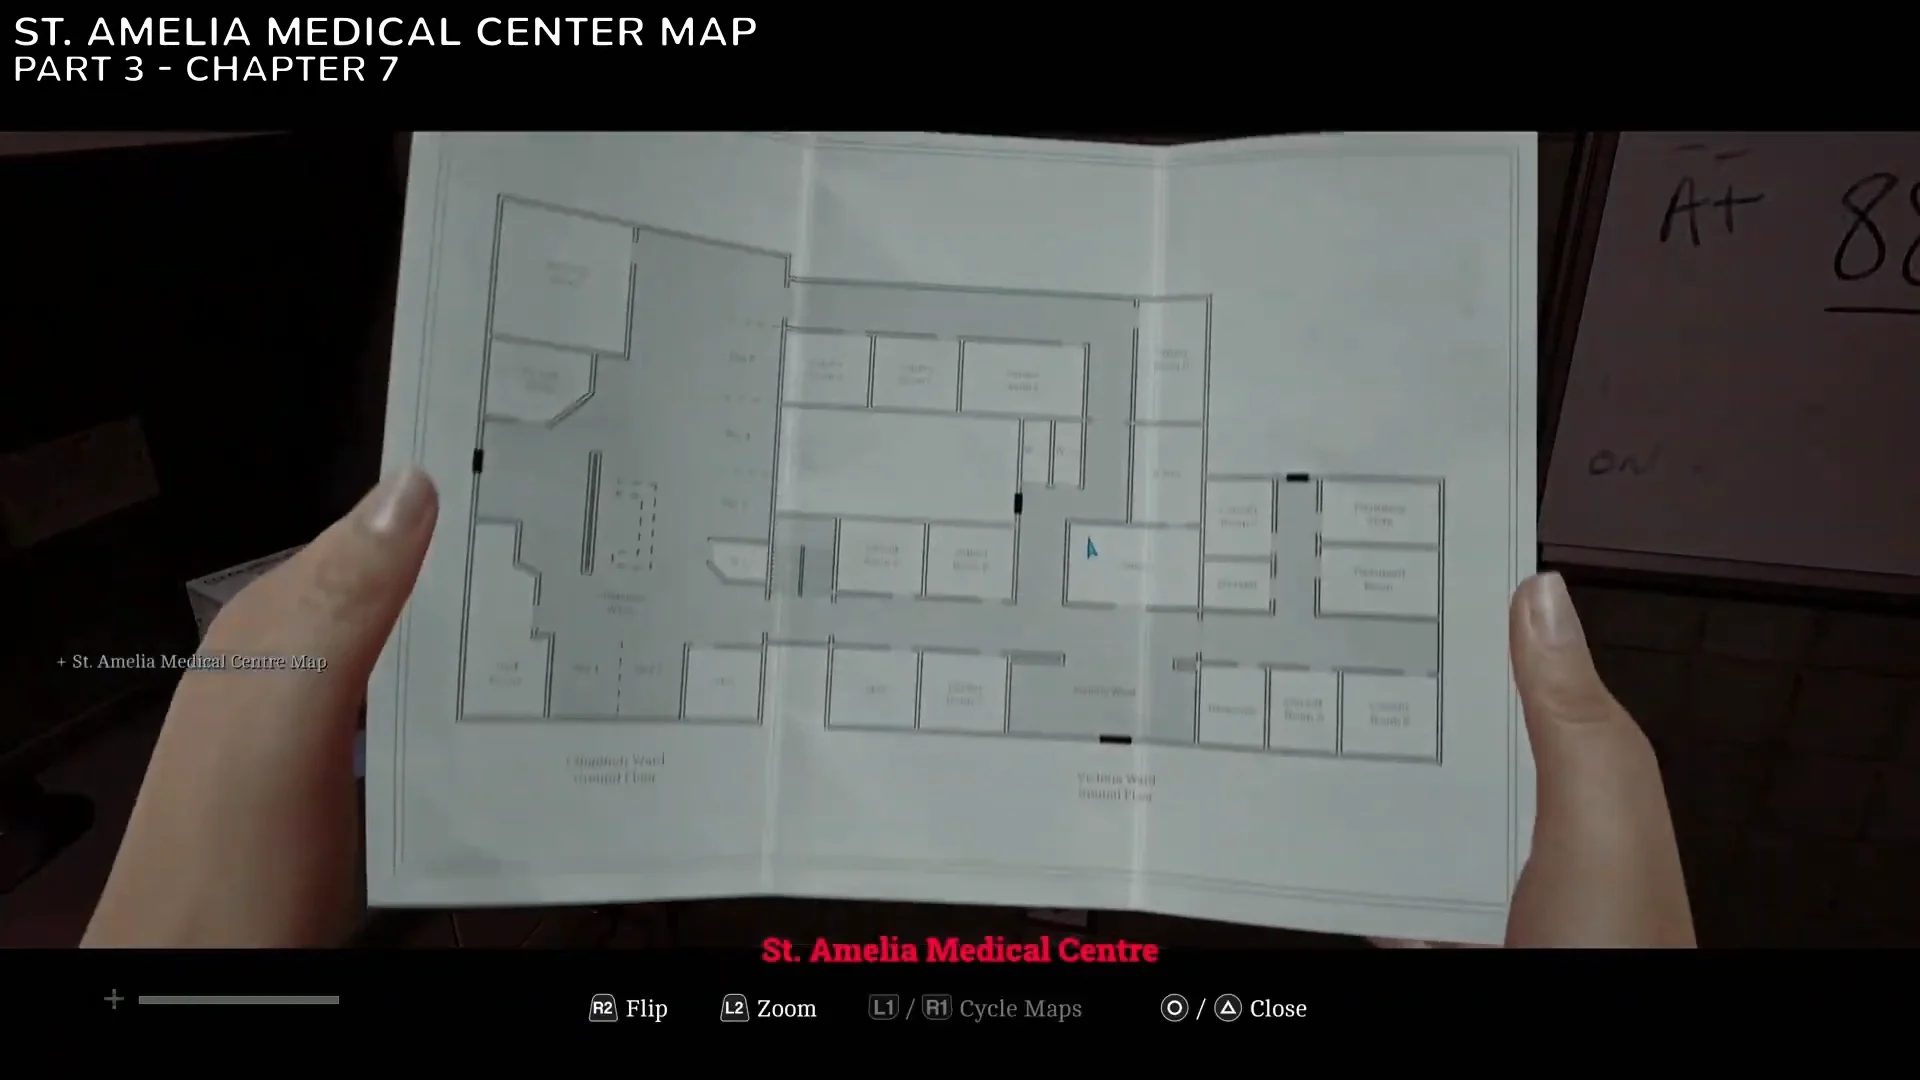
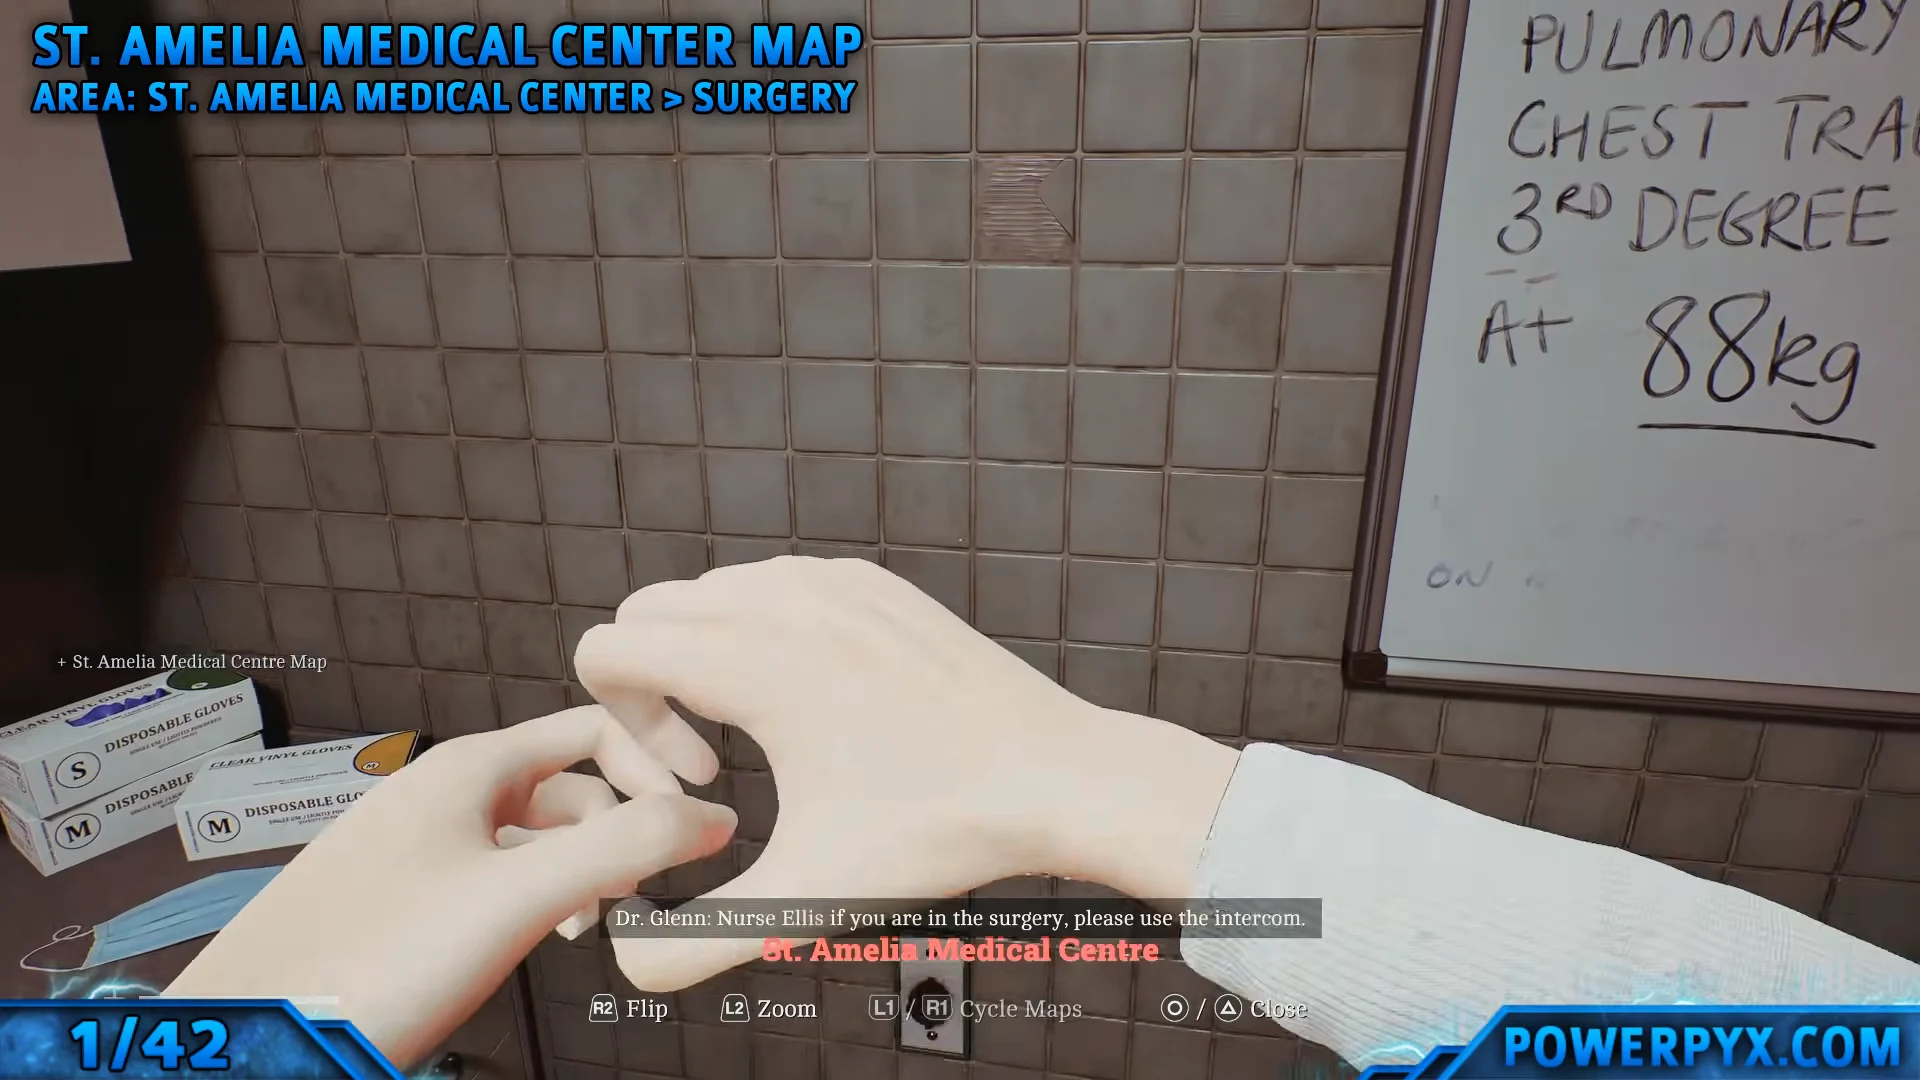
Begin by taking the St. Amelia Medical Centre map off the tiled wall beside the whiteboard. A First Aid Kit is by the sink. In the corner, the PC has the Medication Dosage Table, Session History and X-Ray Dosage Table you’ll need later in the chapter.
Chapter 7: stabilising the patient in Surgery
Report the patient’s vitals to Dr. Glenn
Speak with Dr. Glenn through the wall intercom, then check the bedside monitors. Some displays are faulty, and selecting the wrong one injures the patient. Report a blood pressure of 70/40, a pulse of 162, and SpO2 of 80%. The pulse is just outside the interval suggested by the PC, but use the value displayed on the monitor.
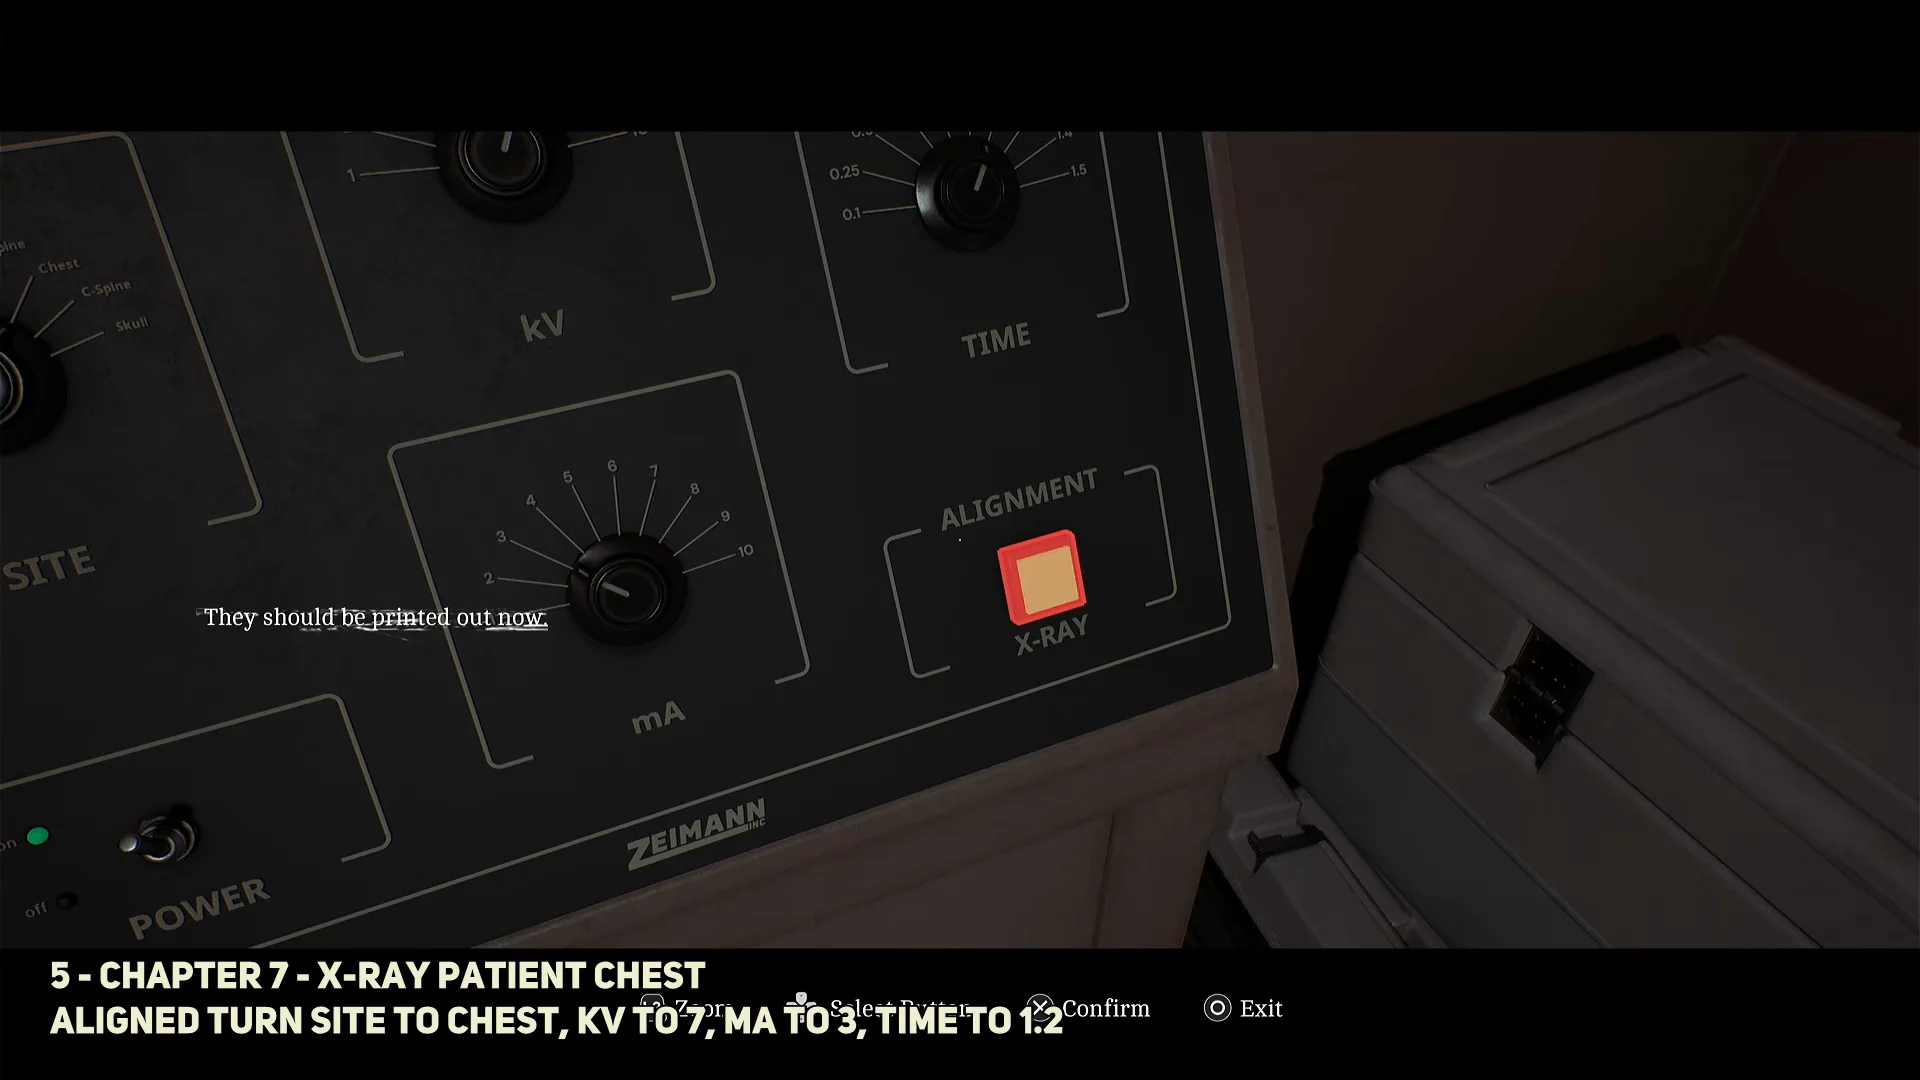
X-ray room code 7103 and machine settings
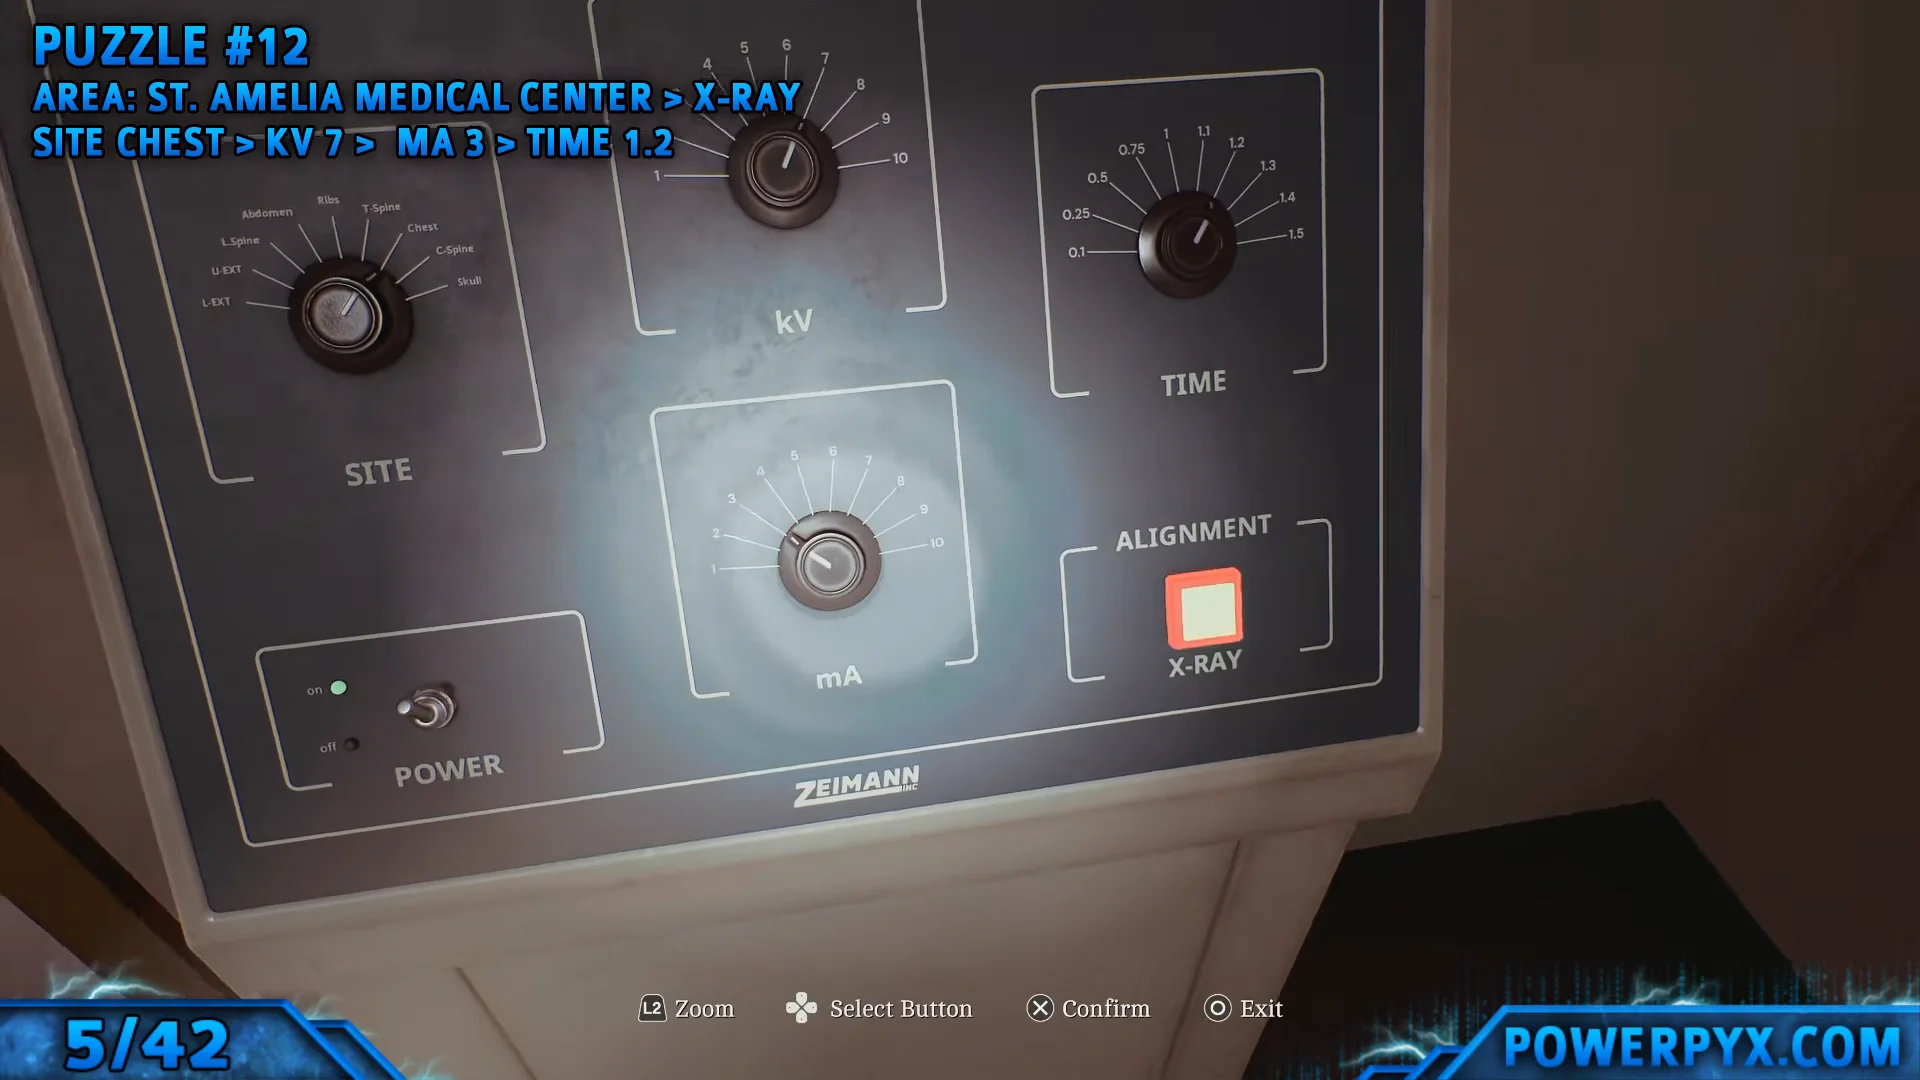
| Site | kV | mA | Time (s) |
|---|---|---|---|
| Skull | 3 | 7 | 1 |
| Chest | 7 | 3 | 1.2 |
Medications, Records Room code 2605 and infusion rates
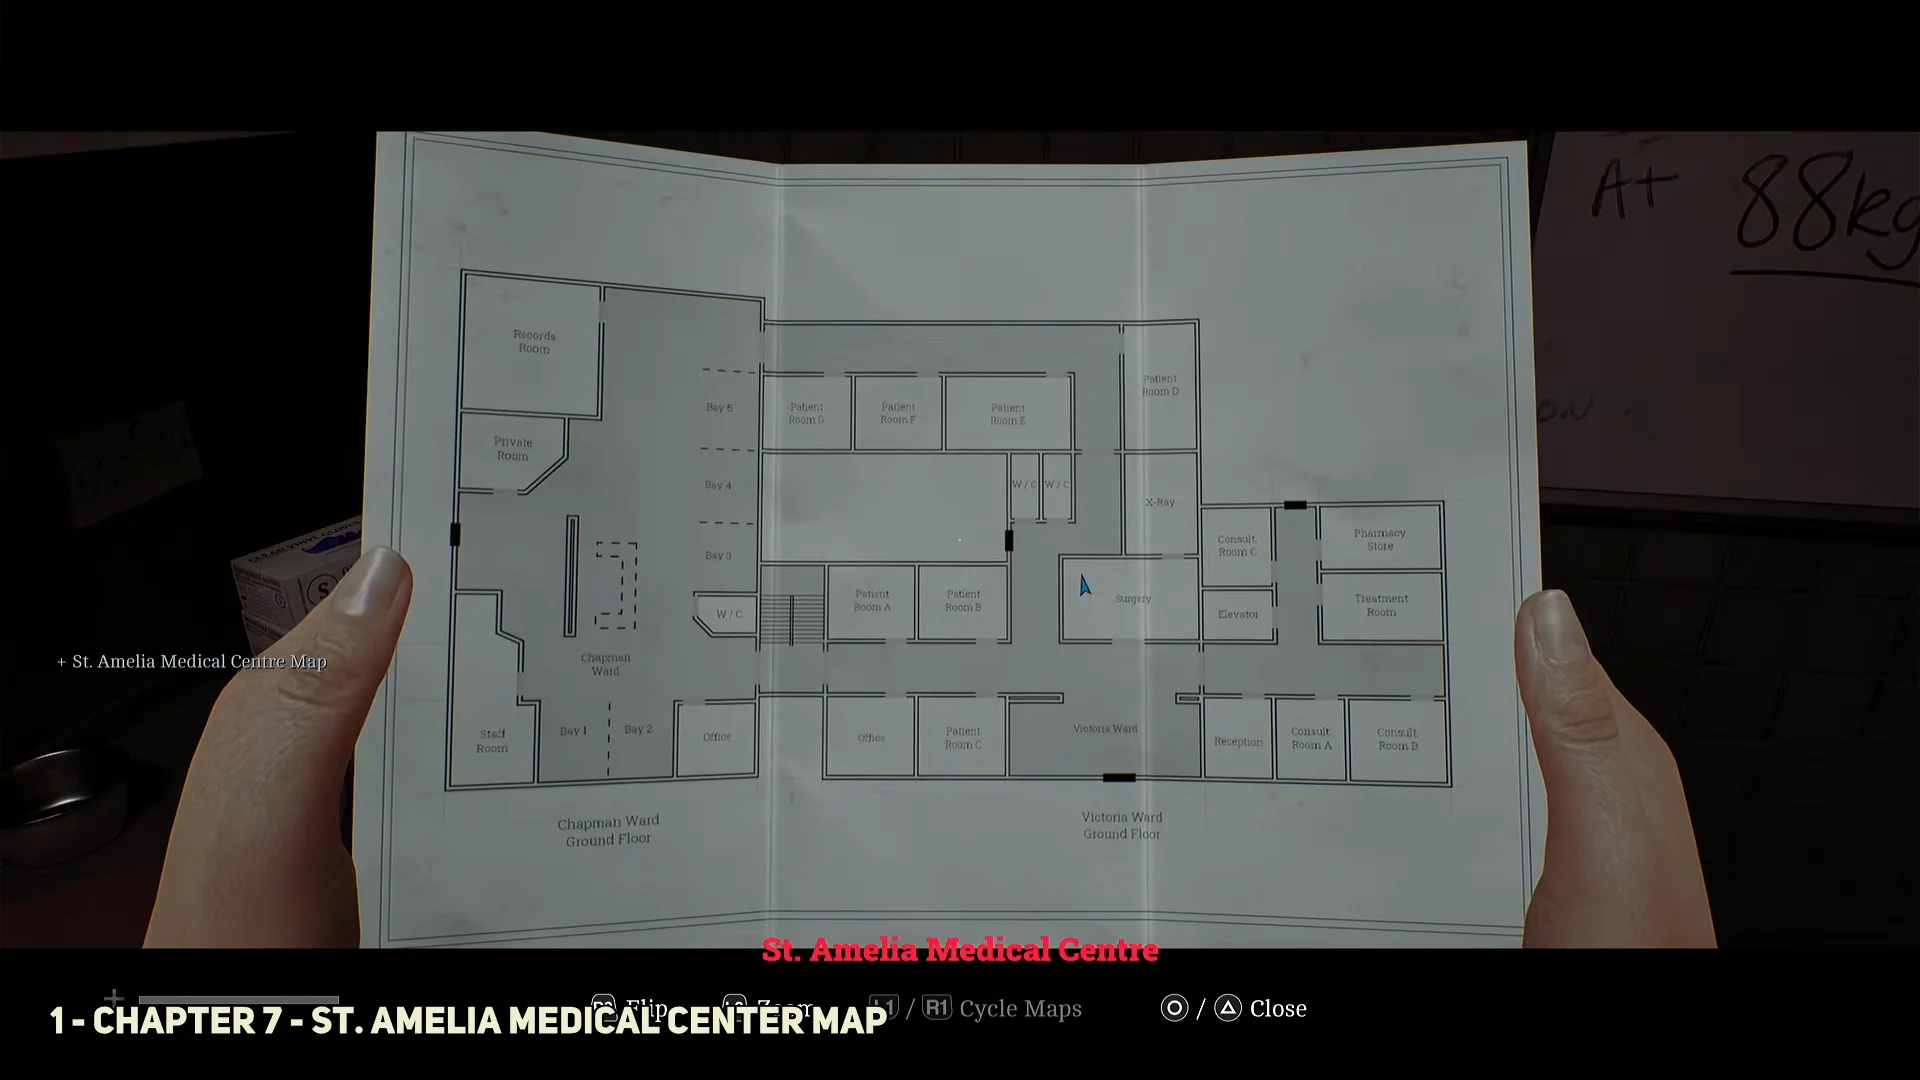
Three drugs are spread across two wards and marked on your map. The Records Room code, 2605, is pinned to the noticeboard in the office at the north end of the Chapman Ward first floor. The whiteboard lists the patient at 88 kg, which puts you in the 80–90 kg column of the Medication Dosage Table.
| Medication | Dose | Location | Rate |
|---|---|---|---|
| Tensobromide | 11 mg | Pharmacy Store, ground floor | 8 |
| Dextracyclate | 2.5 mg | Bay 6 IV stand, Chapman Ward first floor | 15 |
| Hydroxalene | 3 mg | Records Room cabinet (code 2605) | 7 |
Back in Surgery, insert each syringe into a pump. The pump number is irrelevant — only the rate matters. Select Set Rate, enter the value, confirm until “rate entered” appears, then choose Ready Pump. Once all three pumps read Ready on the bedside controller, press the green Start/Stop switch. Settling vitals confirm the doses were accepted.
A save phone sits at reception between the Pharmacy Store and the elevator you need next.
Extension 5353 and the intubation kit
After the patient stabilises, dial 5353 on the reception desk phone to reach Hospital Storage. Take the unmarked elevator down to basement level B. The Equipment Cleanup Notice rests on a hallway gurney, and the Medical Intubation Kit is on a shelf behind a gap in the storage racks.
Return to Surgery and perform the intubation, adjusting the target circle until it turns red and shakes, then holding position to advance the tube. The cutscene that follows reveals the patient is Simon, and control switches to him for Chapter 8.
Chapter 7 documents, postcards and equipment
Sweep the wards for paperwork while the ordinary hospital is still open. The pager code 7103 also reopens the surgery door later, and the Plank you pick up in the corridor makes stealth sections far safer.
| Collectible | Type | Location |
|---|---|---|
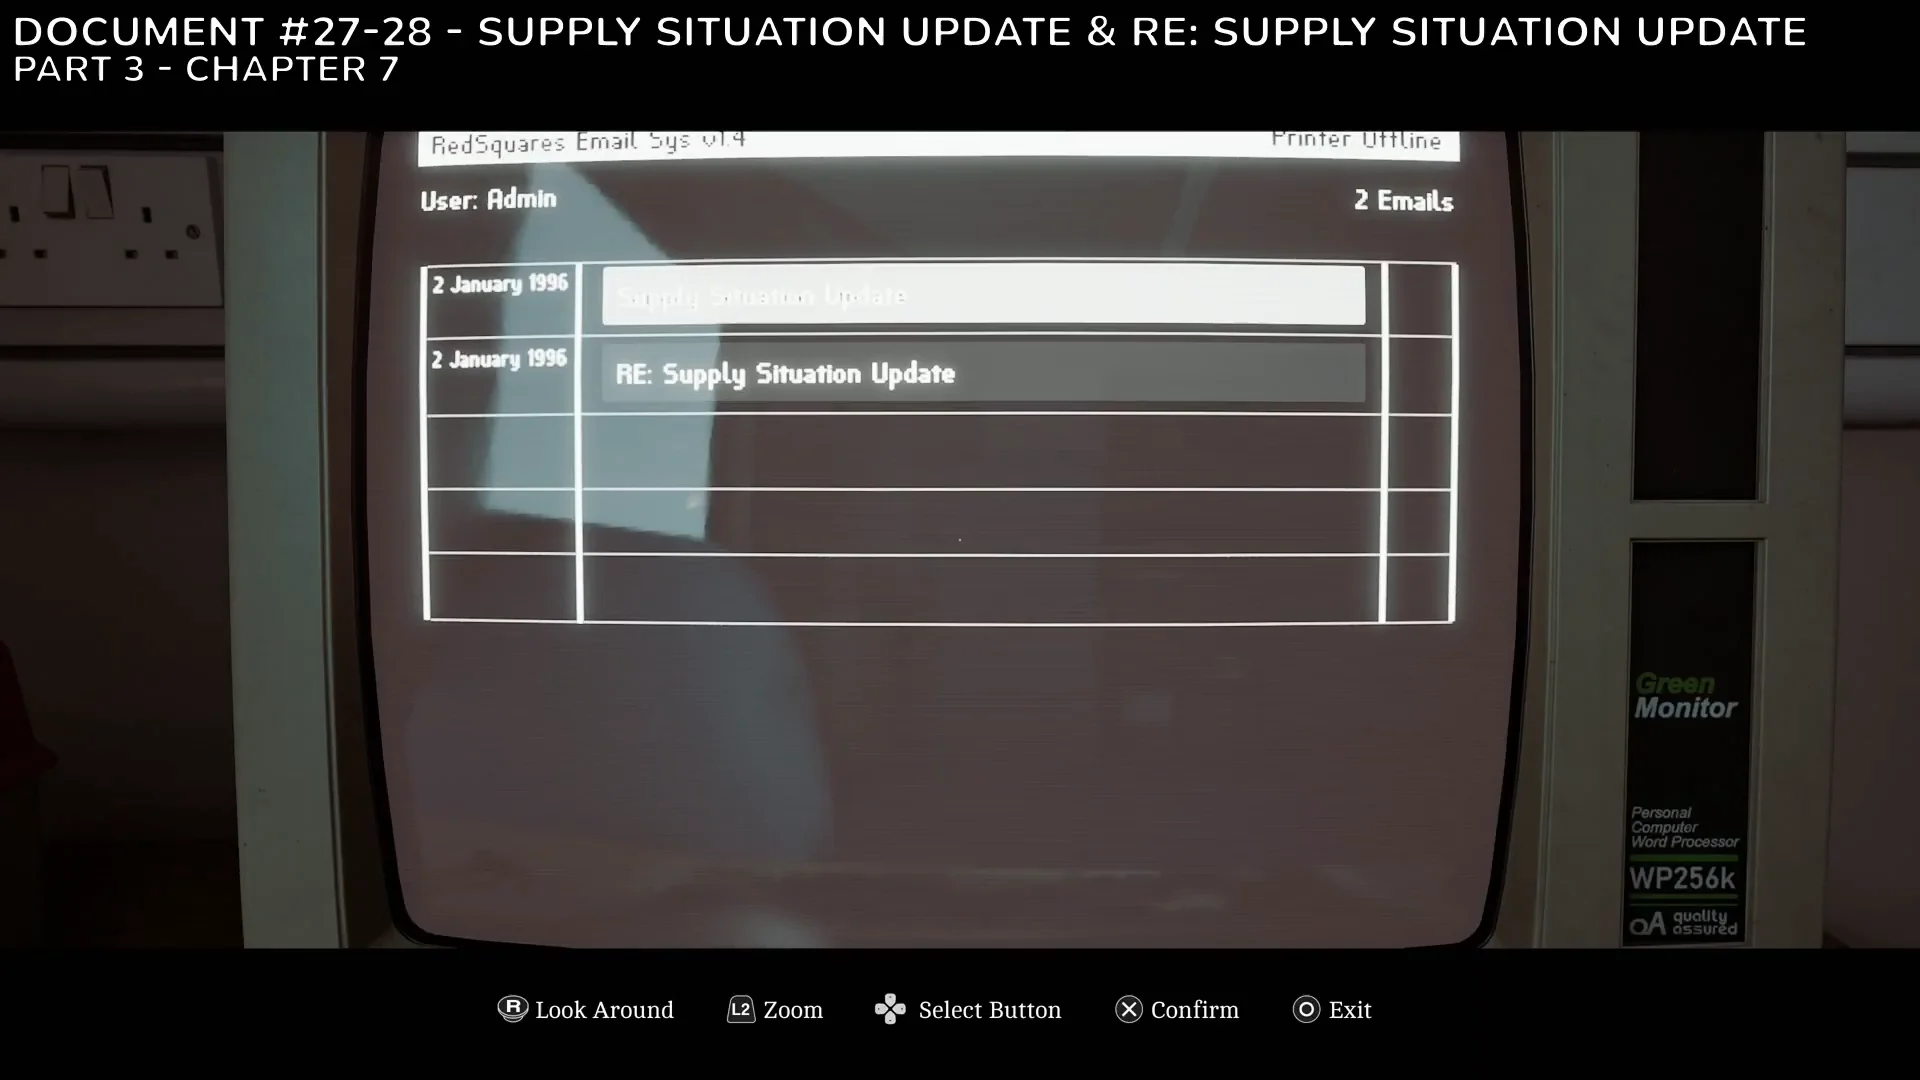
| Supply Situation Update / RE: Supply Situation Update | Documents | Consult room computer |
| Unrealistic Expectations / Dailies – Infusion Status | Document + Clue | Office PC, Chapman Ward first floor |
| Dailies – Records Room Code | Clue | Noticeboard in the same office |
| Equipment Cleanup Notice | Document | Basement hallway gurney |
Chapter 8: the Otherworld shift and the transfusion vault
Playing as Simon, re-enter the X-ray room with 7103 for Strange Postcard 7, then take the new ladder down. The alternate hospital keeps a familiar layout with different routes, and enemies now have to be fought rather than avoided, with each kill feeding your ending. Tune the CRTV to channel 28 at a monitoring desk in the red-lit passage, and pry the iron Pipe loose from a barred gate to replace the Plank. Grab the Medical Centre – Different map from the counter beside a save phone.
Two master keys open the rest of the floor. The Ward W Master Key is on a red-lit basement office desk, and the Ward P Master Key sits in a patient room reached through a collapsed floor. A key board labelled “SW” holds the Lock Box Key, which opens the blue Resource Container holding Antibiotics 1 mg/mL and 2 Pistol Rounds.
Reading Zoe’s Patient List near the transfusion machine earns the Observation-adjacent progress and its own recording. Strange Postcard 8 is in a tiled bathroom behind a Ward W door, and Strange Postcard 9 is inside a wall cabinet in Room P08.
Collect all five blood bags
The sequence uses five patient blood bags. Place them in the wall transfusion ports in order; each bag lifts the next shutter and opens the way to the following one.
| Patient | Blood type | Location |
|---|---|---|
| Alan Duncan | AB− | Room past a crawlway, IV drip |
| Sarah Watson | A+ | Red-lit room, IV drip |
| Lesley Greer | B− | Surgical room up a ladder |
| George McEwan | AB+ | Patient room via collapsed floor |
| Matthew Clark | B+ | Wedged inside a stuck elevator |
Solve the patient initials wheel with the ORDELL button
Place the required bags in their wall ports, then turn the release valves in rooms 05 and 10. After seating the second valve, make sure it glows green. At the wall terminals, match the Sarah Watson, Matthew Clark and George McEwan bags to their records to power the vault door.
For the final lock, use the initials wheel. Route O−, O+, A− and A+ toward the centre, leaving T.F., H.M. and S.W. as the three initials whose connections are still missing. Rotate the concentric rings until each has a straight path to the core, then press the central ORDELL button to confirm.
Your medical record determines whether the wheel accepts the arrangement. A wrong configuration is rejected without displaying an error. Check the Medical Wristband for the record. If none of your arrangements work, you missed the wristband earlier; it becomes unrecoverable once the Otherworld begins.
Verify your totals and Part 3 trophies
Completing the transfusion unlocks Many Into One. A thorough Part 3 run generally crosses 50 percent of the game’s documents, which triggers Observation. If Observation has not appeared by the time you leave the hospital, you missed paperwork somewhere on a floor or in the Otherworld version of a room. Because the wards and the town square are then inaccessible, the only way back is a fresh save, so confirm your Discovery count before every point of no return.