Clara Woods is the largest area you explore in Silent Hill Townfall, and it packs the densest run of documents, postcards and locked lockers in the entire game. Playing as Simon across Chapters 9 to 11, you move through the estate built for CEG workers, feed a barcode scanner that prints locker PINs, and solve safes that chain into one another before the gate to CEG Tower opens. Because there is no chapter select and almost no backtracking, treat every pickup here as something you cannot return for.
Quick answer: Part 4 (Chapters 9–11) holds postcards 10–14, multiple documents, eight CRTV signals and two Resource Containers, all chained through the CEG locker barcodes — and one mandatory manual save at the CEG Tower gate.
Make one manual save before the CEG Tower gate
The most important action in Part 4 is not a collectible at all. Once you have collected everything below and built the Constructed Mechanical Device that opens the Strange Gate to CEG Tower, stop and make a manual save by calling 100 from a phone. This is the branch point that lets you reach the game’s other endings by reloading instead of replaying the whole campaign.
Save at this exact moment, not a room earlier or later. By the end of Chapter 10 you have gathered nearly every document available so far, which puts you in the high-Discoveries band, but you have not yet locked in your kill count for the endgame. Your ending is decided by how many Clues and Documents you found weighed against how many enemies you killed, so this single save lets you finish the run several different ways.
Ground-level Clara Woods pickups
Work through the ground level in route order. Some corpses on the opening street are not dead and will lunge at you, so fend them off with the quick-time prompt and keep moving.
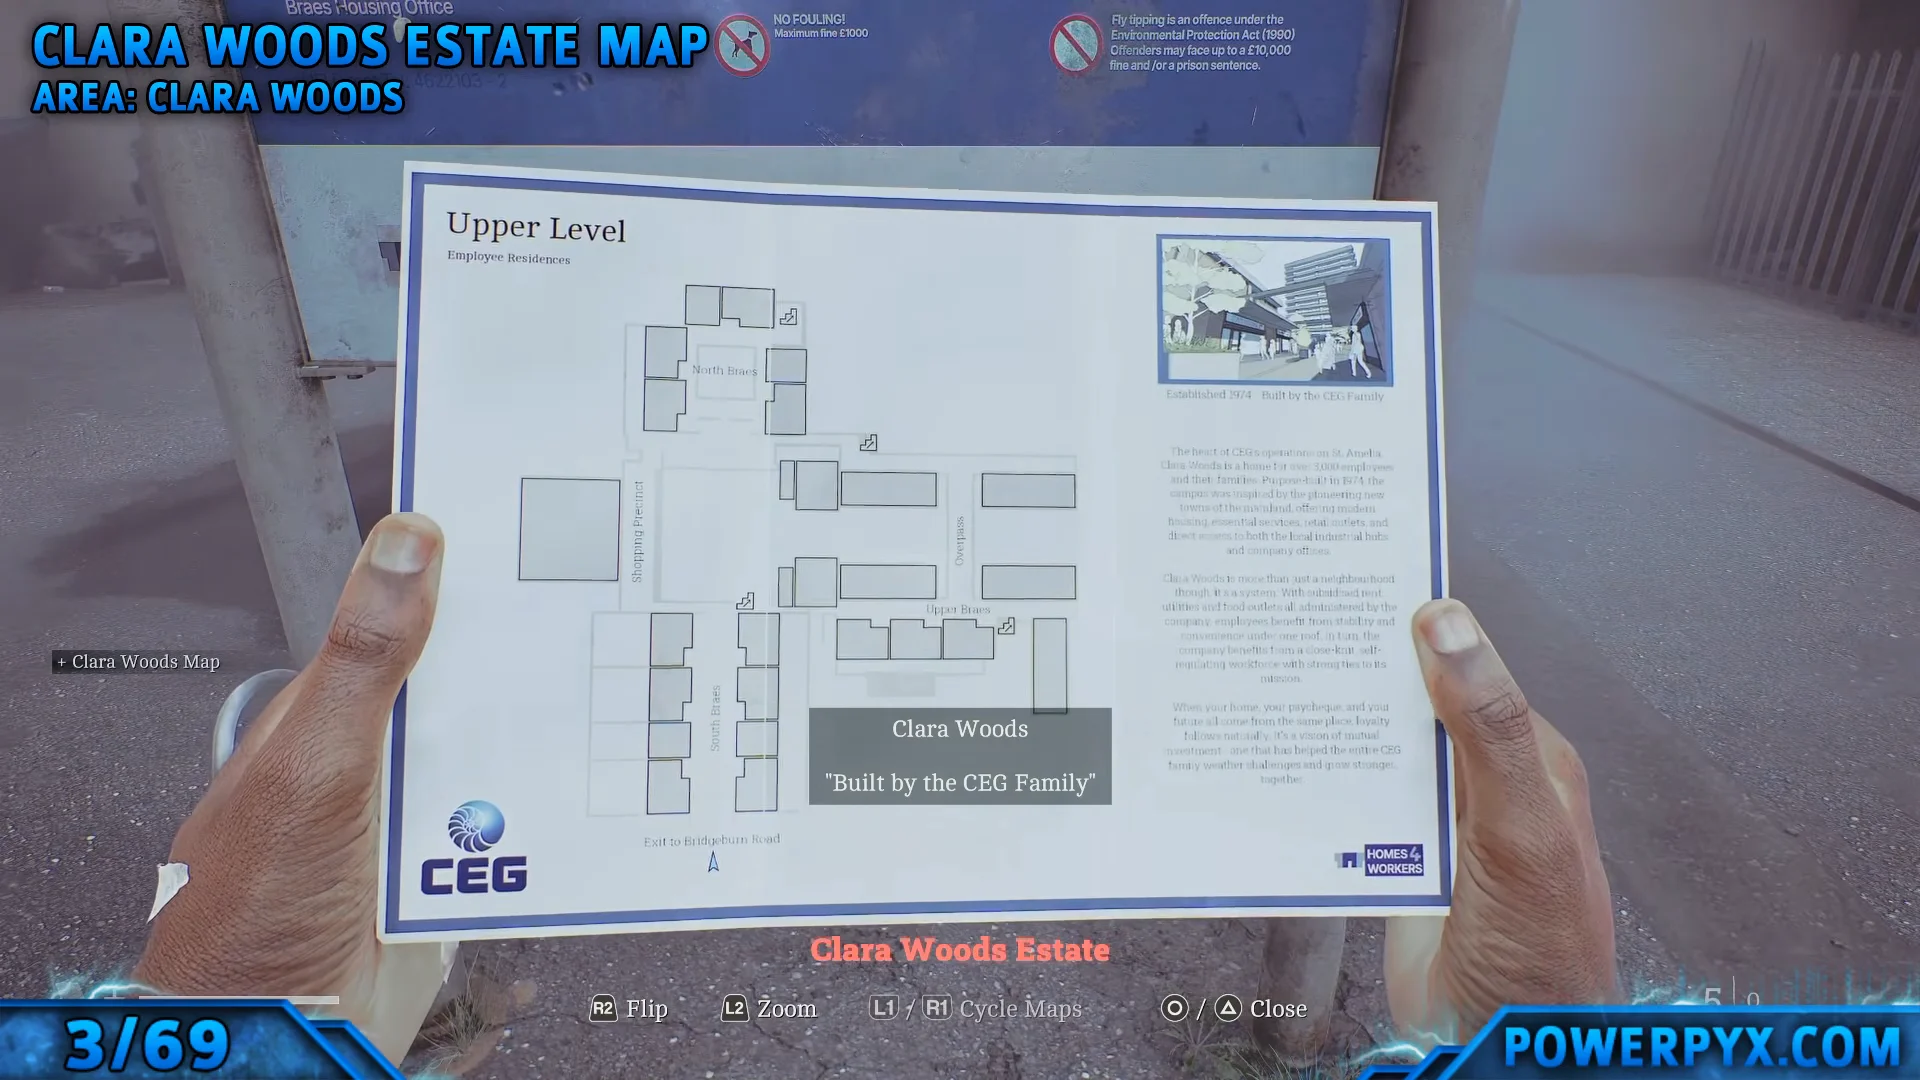
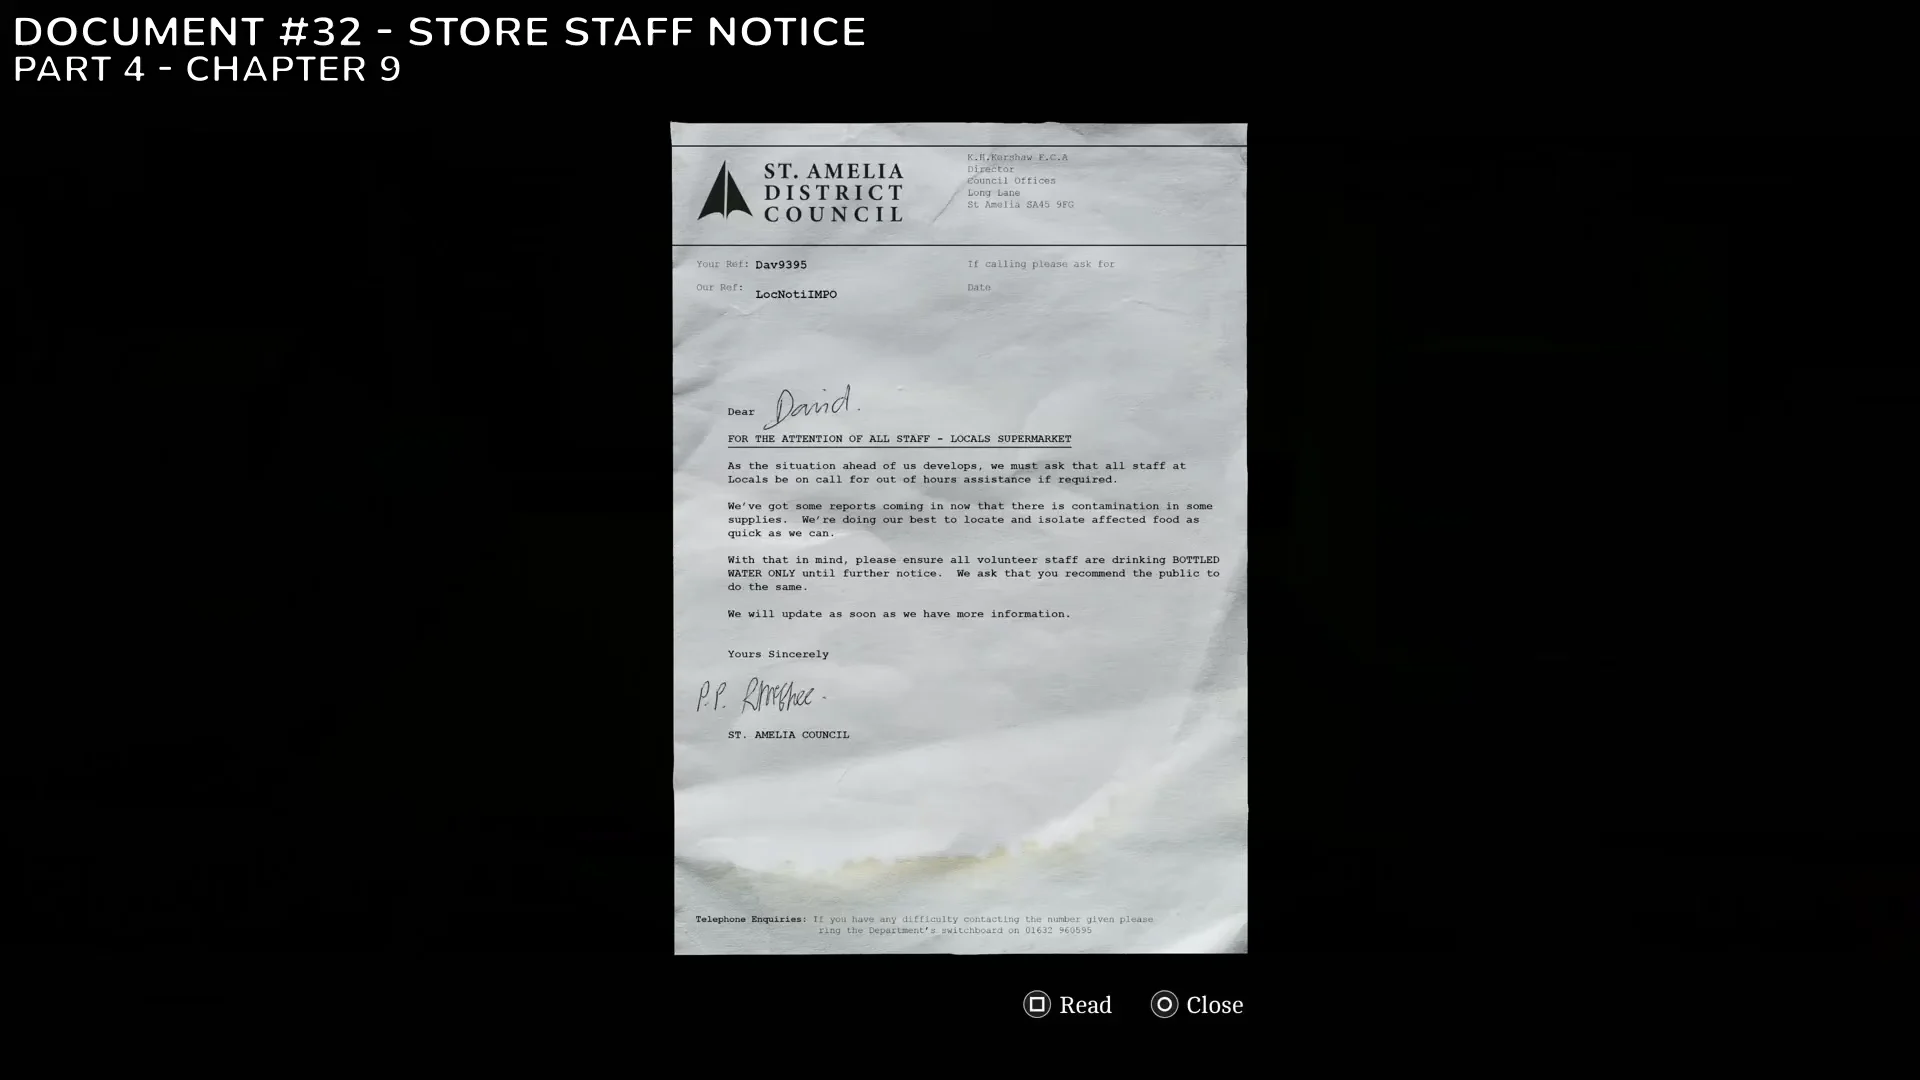
CEG Lockers and the barcode system
The CEG Employee Lockers building is central to this section. Find a barcode elsewhere, scan it at the counter, and the scanner will print the PIN for a particular locker. You can do these tasks in any order, but every locker contains something needed later, so it helps to know what each one is for.
Do not try to guess locker PINs. The scanner generates the number from the matching barcode, so a code from a list will not work unless you are holding the barcode it came from.
The barcode for Locker 75 is on the counter next to the scanner. Scan it, enter the printed PIN 184, and take the Flare Gun and its ammo. Save these rounds for a trophy later. Read the two emails on the front-desk computer as well, which log as the Lost and Found and CEG Employee Locker List clues and reveal which lockers belong to which addresses.
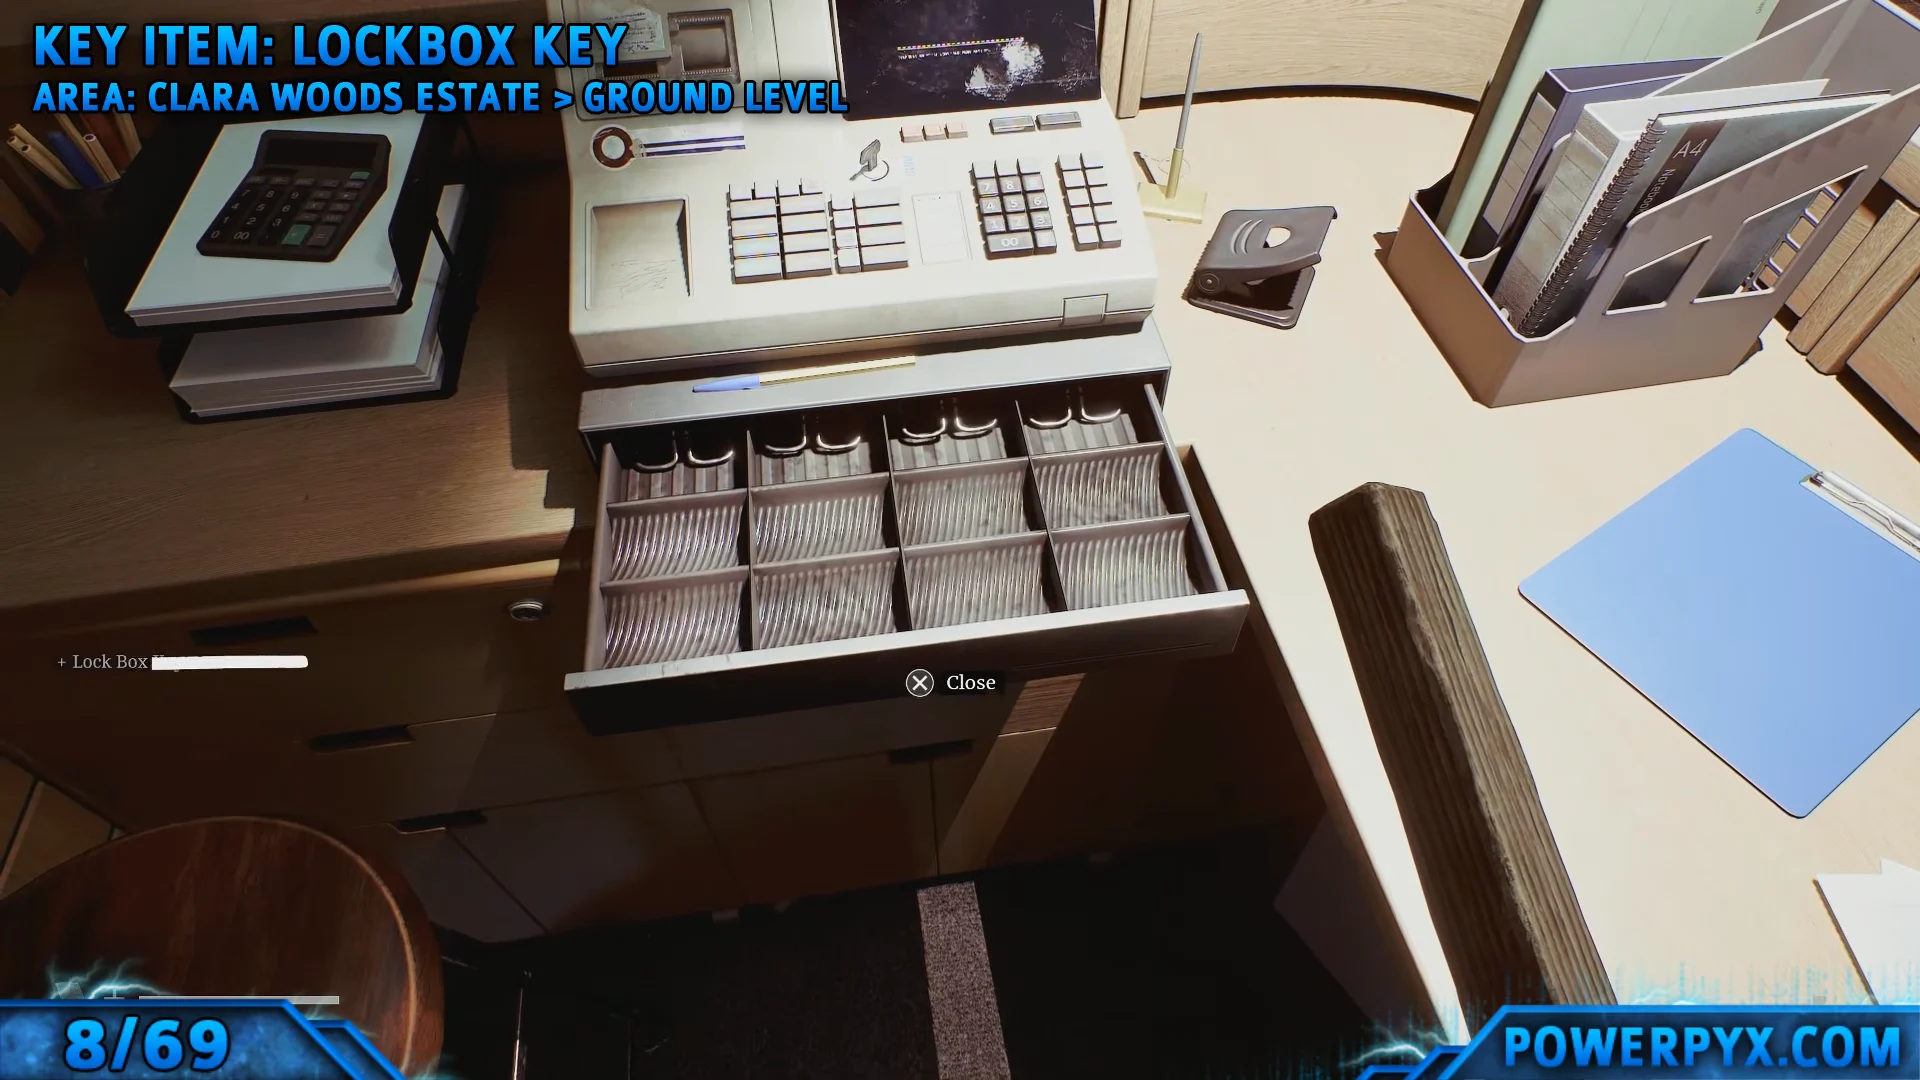
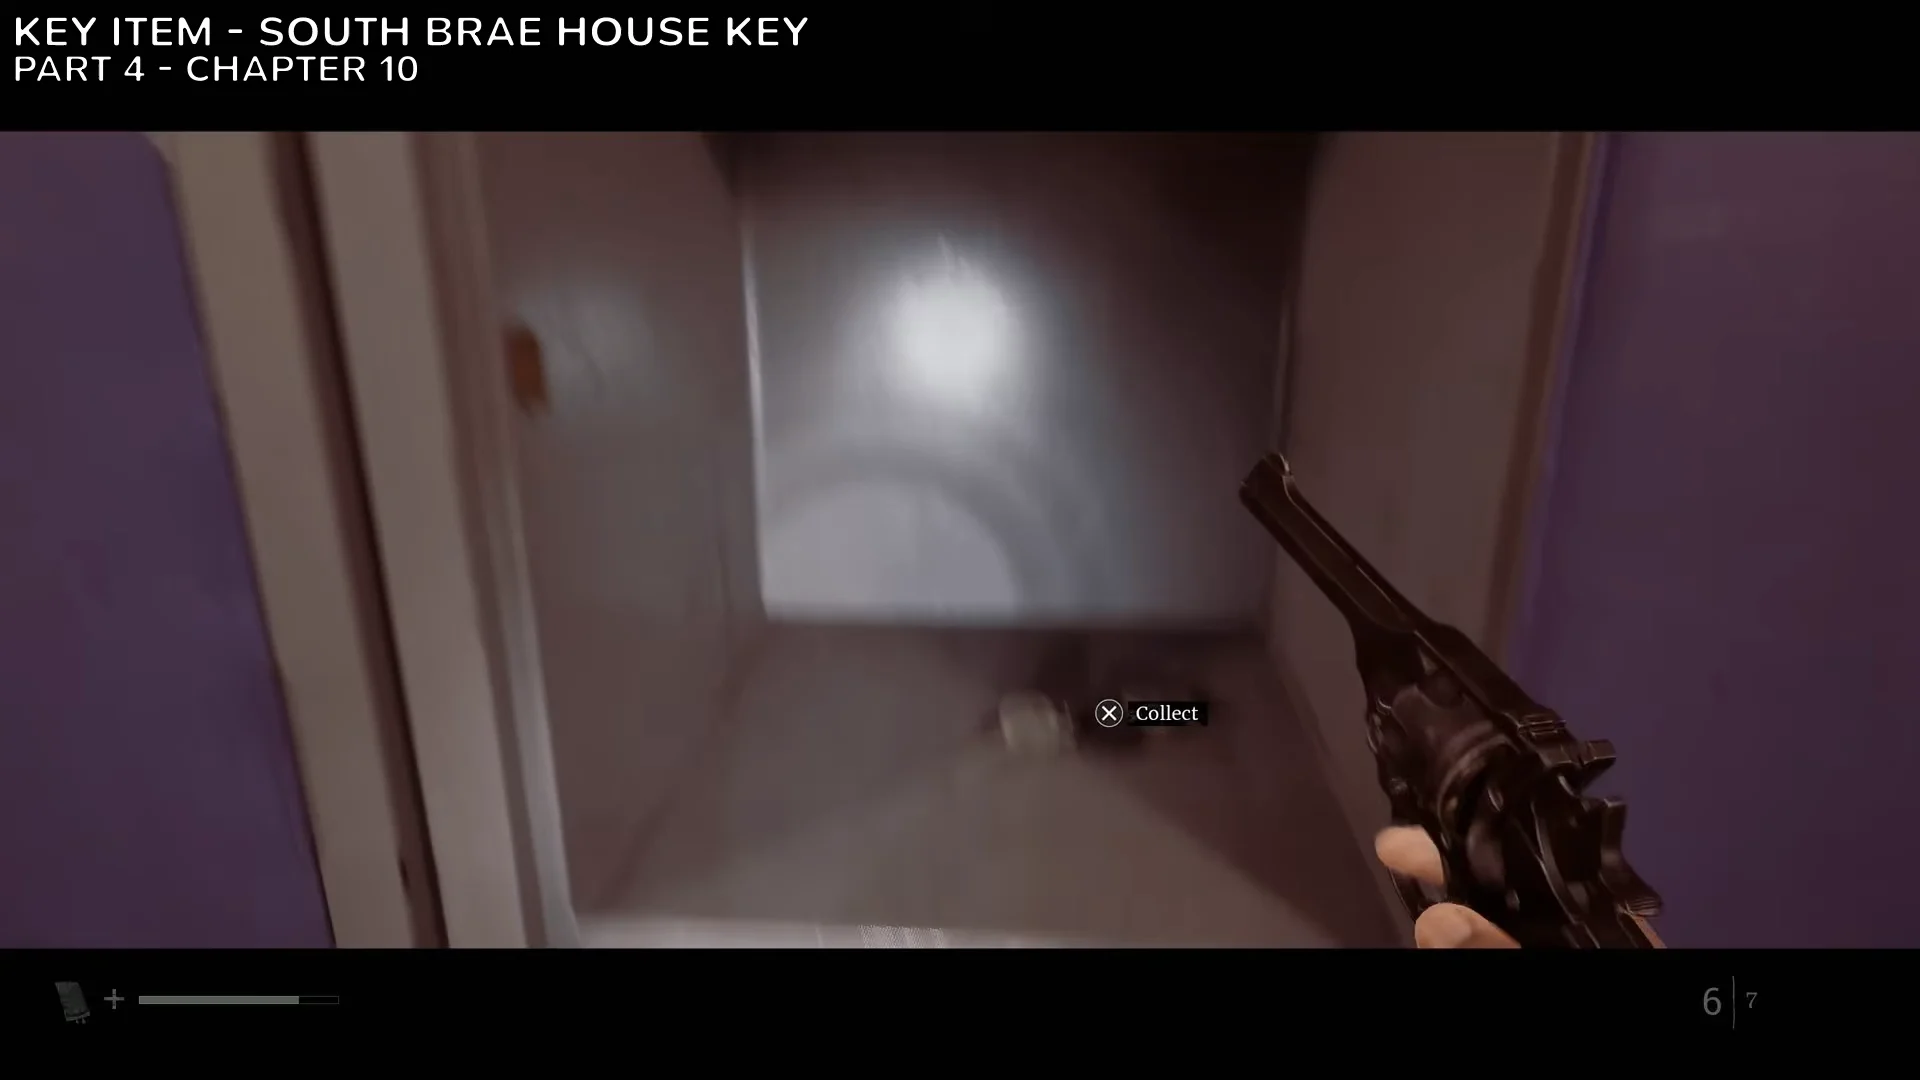
In the back office, enter 772 on the Lost and Found locker to receive the South Brae House Key, then read the CEG Lockers Managers Note in the desk drawer. There is a save phone here and a lockbox that needs a key. Pick up the desk landline and dial 496 0993 for the CEG Lockers voicemail number.
The area’s second Lock Box Key is on a washing machine in the laundromat at the alley’s far end, behind the Post Service store. You can reach it after getting the Boltcutters. Use the key on the office lockbox here to open Resource Container 5.
The three Brae houses and their safes
The locker scanner’s barcodes come from safes in three upper-level houses. Each safe requires solving a different puzzle, and in one house, a tape mechanic determines which doors are open.
5 South Brae: the floppy disk puzzle (safe code 956)
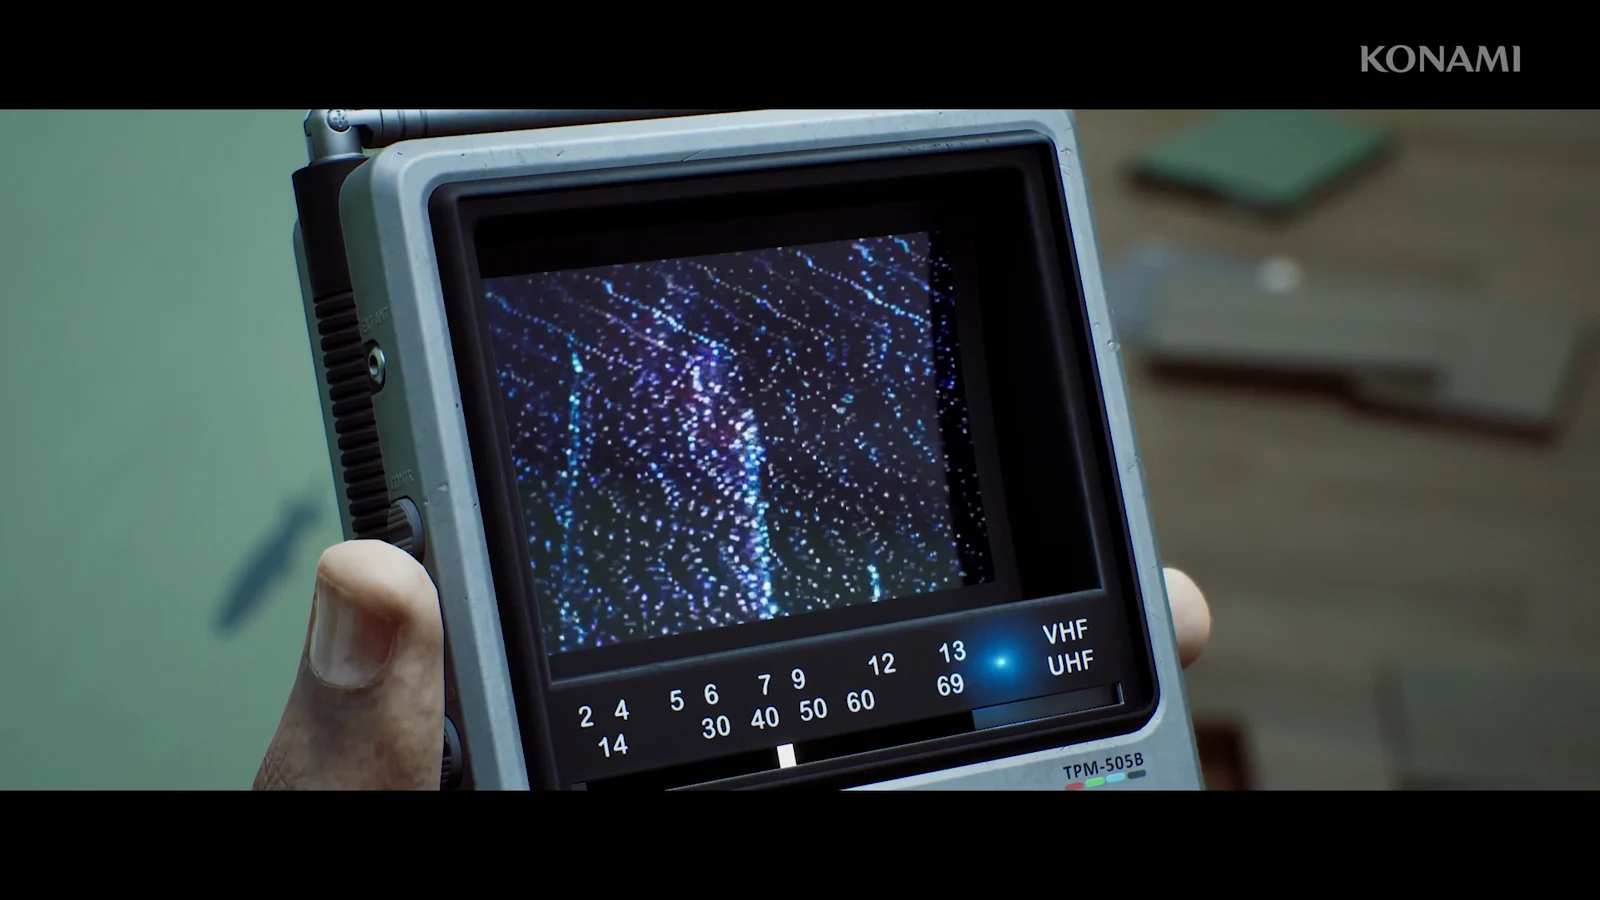
Use the South Brae House Key to enter. Tune the living-room CRTV to 59, read the Gaming Magazine flyer in the small bedroom, and take the Disk Case Key from the master bedroom nightstand. Unlock the office disk case to get the Grouped Floppy Disks (three disks, one corrupt).
6 North Brae: the paintings safe (code 736)
Use the rear entrance and go up the stairs. In bedroom two, inspect the chair to find the Lamenting Poem clue. Enter 736 in the safe, matching the count of each item shown in the house’s paintings, then take Barcode (North Brae) – Locker 204.
5 Upper Brae: the tape room (safe code 129)
On the way here, grab Strange Postcard 13 lying on the ground along the street labelled Upper Brae. Inside, the office holds a transcription player, a blurred number note and a locked file box. Swapping cassette tapes shifts the house between time states and changes which rooms open.
Tune the CRTV to 29 as you leave the tape house.
Open the lockers and build the Mechanical Device
Return to CEG Lockers and scan all three barcodes to print their PINs. Locker 17 gives you the Boltcutters plus a Mechanical Part, while lockers 204 and 94 each give a Mechanical Part.
| Barcode source | Locker | PIN | Contents |
|---|---|---|---|
| CEG Lockers counter | 75 | 184 | Flare Gun |
| 5 South Brae safe | 17 | 575 | Boltcutters + Mechanical Part |
| 6 North Brae safe | 204 | 971 | Mechanical Part |
| 5 Upper Brae safe | 94 | 490 | Mechanical Part |
Use the Boltcutters on the gate at the top of the north-east stairs by the locker building, then on the gate behind the Post Service store. Combine the three Mechanical Parts in your inventory to make the Constructed Mechanical Device. On the way, tune the final two area signals: 59 in the locker room, then 65 once you have all three parts.
With the device ready, this is your save point. Call 100 before inserting it. Then interact with the pipe structure on the Strange Gate and insert the device to open it, which awards the Key to the Castle trophy and carries you into Chapter 11.
The two Part 4 shooting trophies
Pick up a brick at a dark corner gate on the ground level, then throw it across the pedestrian street at the humanoid enemy suspended from the overhead structure to get Long-Range Masonry.
Pinpoint Inaccuracy (also listed as a Flare Gun headshot from over 10 metres) is earned by aiming the Flare Gun straight up at a body hanging from a light in the estate courtyard and firing directly at it. Flare shots drift off course, so expect to spend a few of your saved rounds landing it.
CEG Headquarters: security, Richard’s box and the access card
Inside the CEG HQ lobby, take the Ground Floor Map and read the Inquiry Preparation Notice from the reception desk. In the auditorium, read the sheet of box IDs and staff names from the lectern.
Clara Woods contains more documents than any area you’ve visited so far. Since the estate is so large, it’s easy to miss several, so check every room before committing to the CEG Tower gate.
Part 4 codes and CRTV frequency reference
| Location | Lock | Code |
|---|---|---|
| CEG Lockers | Lost and Found locker | 772 |
| 5 South Brae | Desk safe | 956 |
| 6 North Brae | Paintings safe | 736 |
| 5 Upper Brae | Tape-room safe | 129 |
| CEG HQ | Security keypad door | 4895 |
| CEG HQ | Richard’s box (36) | 486 |
| CEG HQ | Employee ID terminal | 00007820518 |
| CRTV location | Frequency |
|---|---|
| Locals store | 61 |
| Strange Gate pipe structure | 62 |
| Covered arcade concourse | 67 |
| 5 South Brae living room | 59 |
| CEG Lockers room | 59 |
| 5 Upper Brae landing | 29 |
| After the three Mechanical Parts | 65 |
| CEG security desk | 61 |
How Part 4 fits the full 138-collectible run
Across the whole campaign there are 138 main collectibles, split into five categories that behave differently. Only Clues and Documents feed your ending, so the practical plan is to sweep everything on your first run and keep a lean second run for documents and kills.
| Category | Count | Feeds your ending? |
|---|---|---|
| Clues & Documents | 85 | Yes |
| CRTV Signals | 18 | No |
| Strange Postcards | 15 | No |
| Phone Numbers | 13 | No |
| Resource Containers | 7 | No |
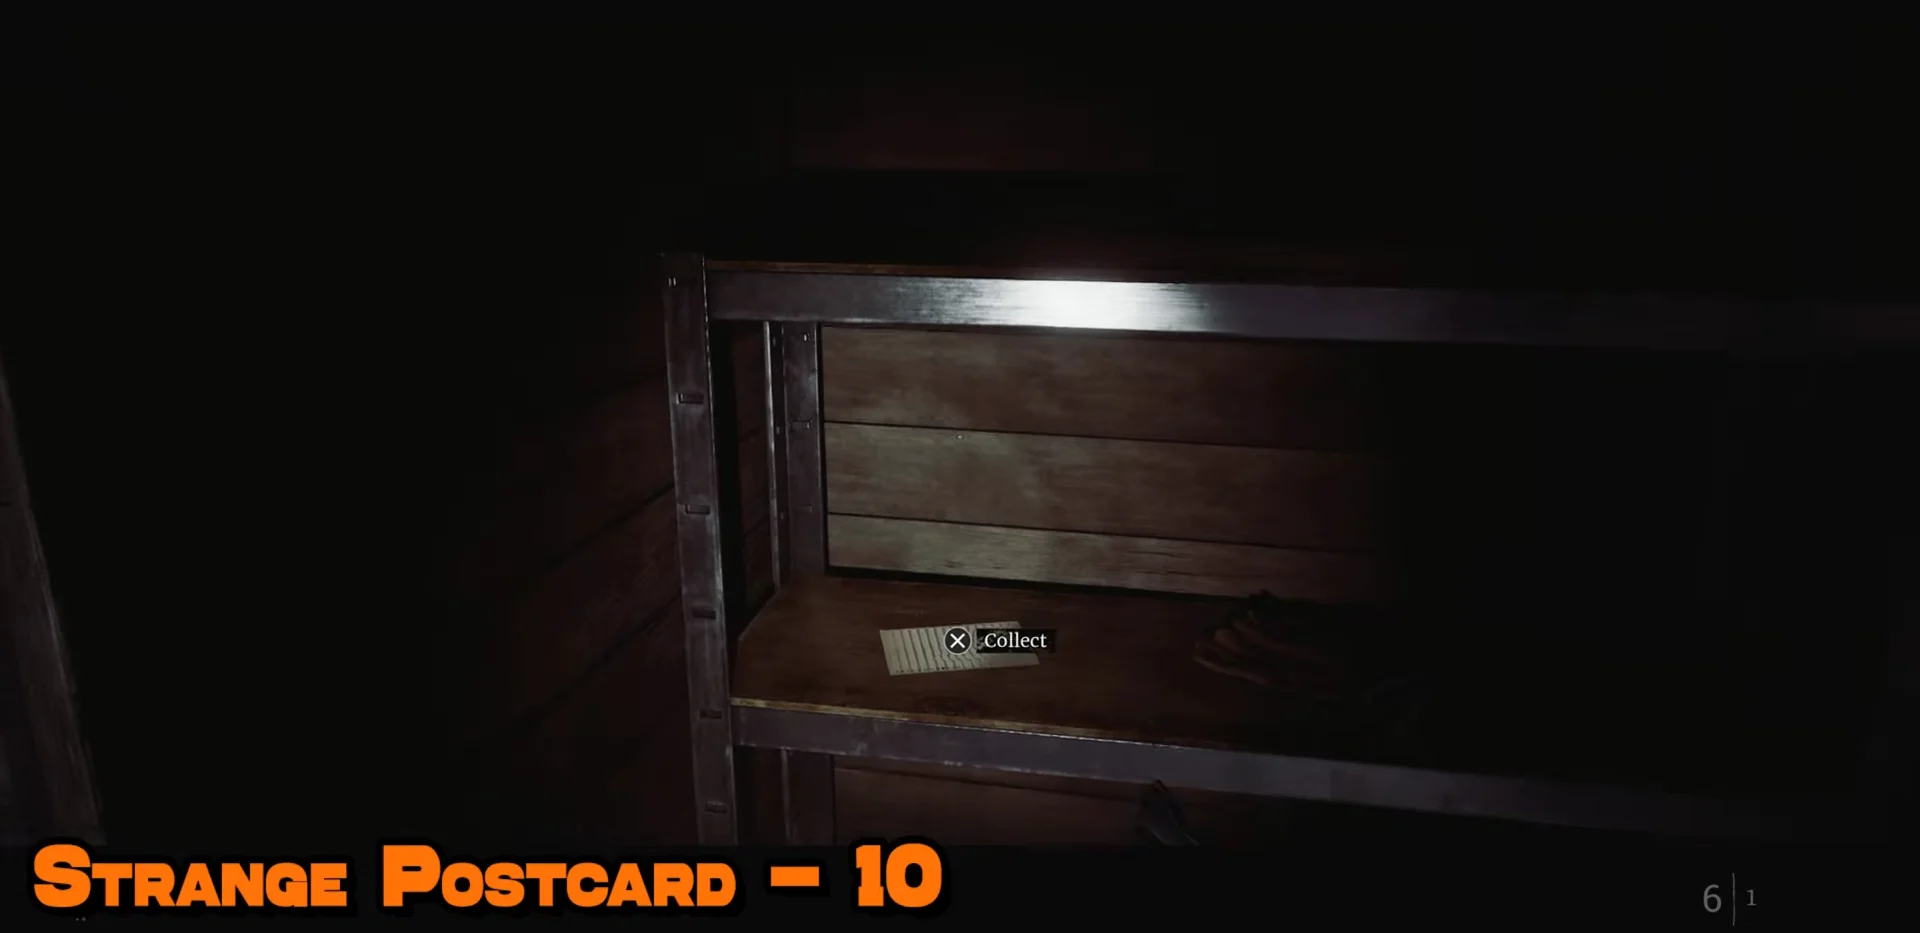
Progress in every category except one carries between playthroughs, so you only ever have to collect those once. Strange Postcards do not reappear in New Game Plus, which is why postcards 10 through 14 in Clara Woods must be picked up on your first run. There are none at all in Act 5, and the final postcard, number 15, is found later in the sewers.
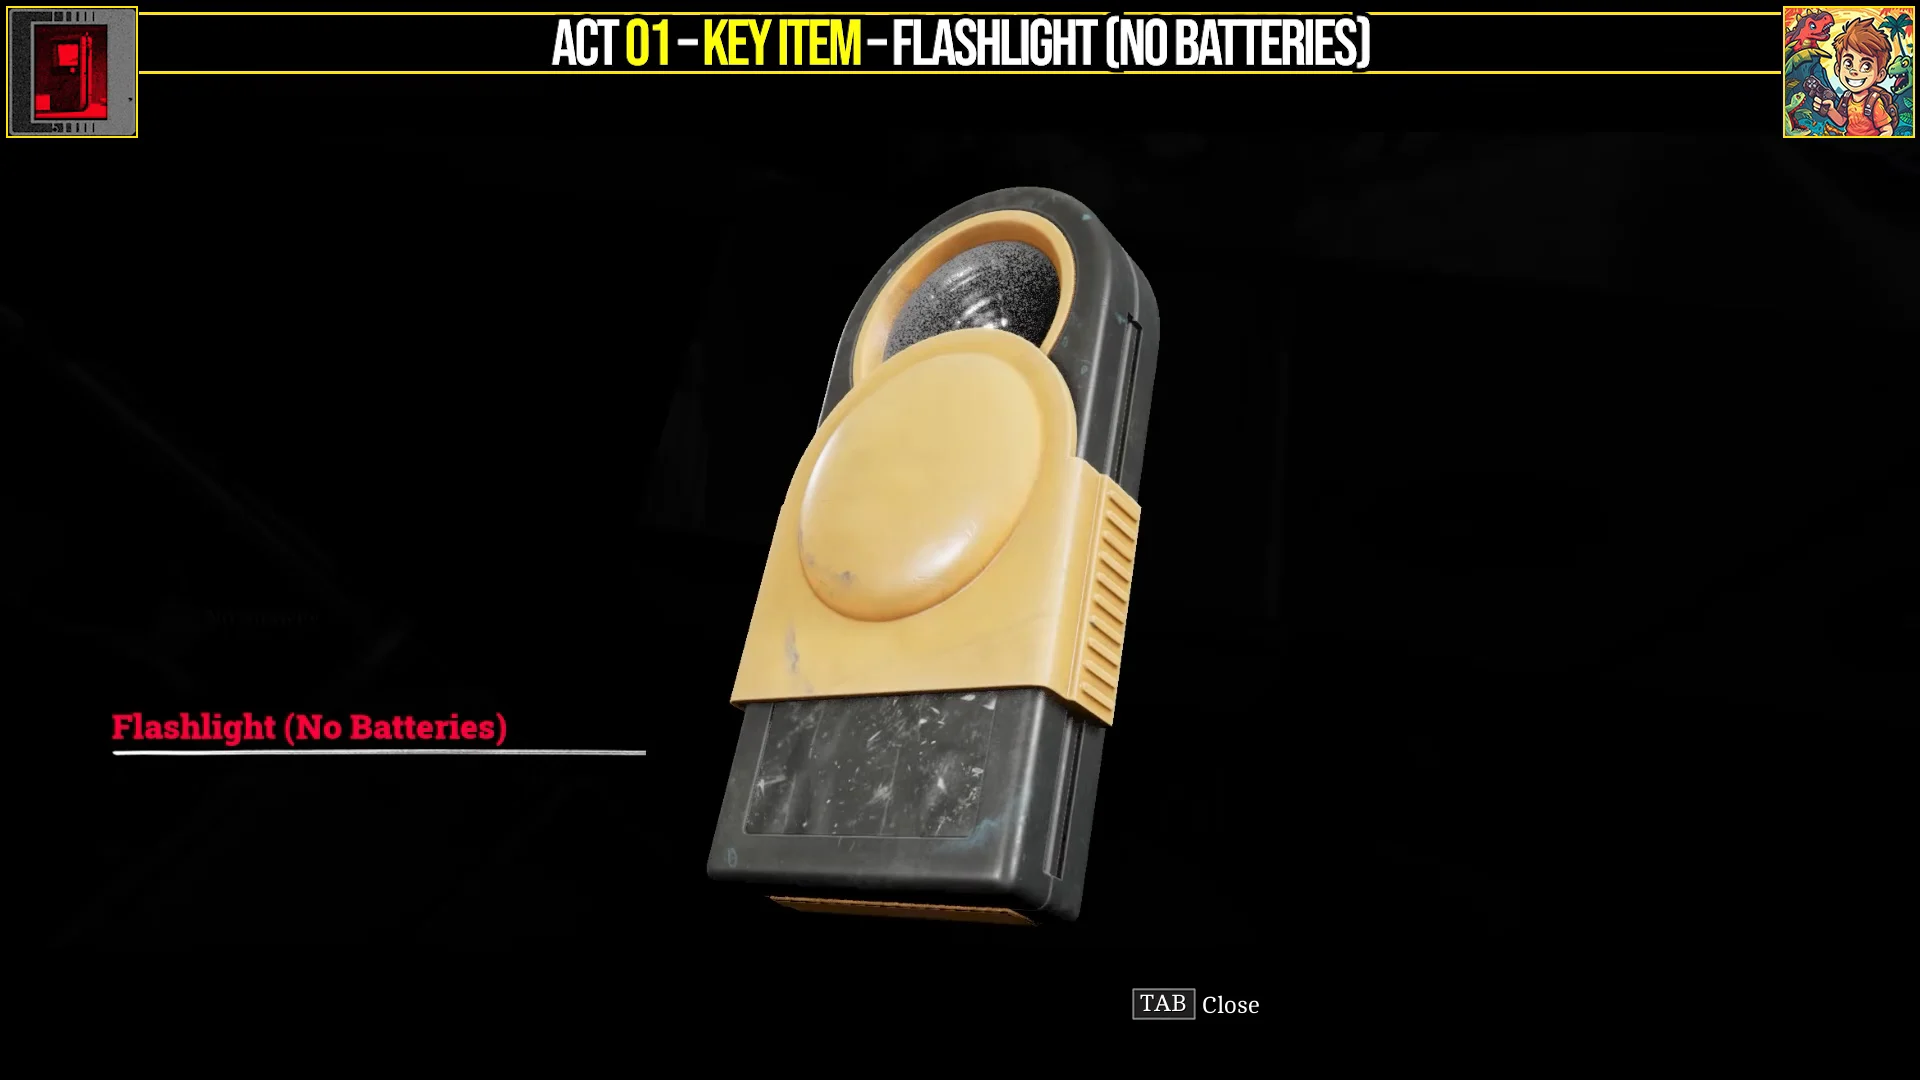
Key items are needed to access rooms throughout the run, so leave them equipped or combine them as needed. The Flashlight is empty at first; to use it, combine it with the AA Batteries found upstairs at 2A West Shore Lane in Act 1.
You know Part 4 is finished the moment the Strange Gate opens and the Key to the Castle trophy pops, which ends the estate and moves the story forward. Before that happens, confirm your sweep against the categories above, because the estate closes behind you and nothing here can be reached again on this run.