Private servers in Slayers 2 hand you a copy of the world that nobody else can wander into. That is useful for grinding without competition, running clan fights, testing Breathing Styles against a friend, or hosting a tournament where you decide exactly when people are allowed in. The unlock lives on the game’s main menu, and once you own a server, everything else is controlled by typing commands into the in-game chat.
Quick answer: Open the Slayers 2 main menu, press Unlock Private Servers under the Join button, and buy the VIP subscription for 150 Robux per month. Then manage the server with chat commands.
Unlock a private server in Slayers 2
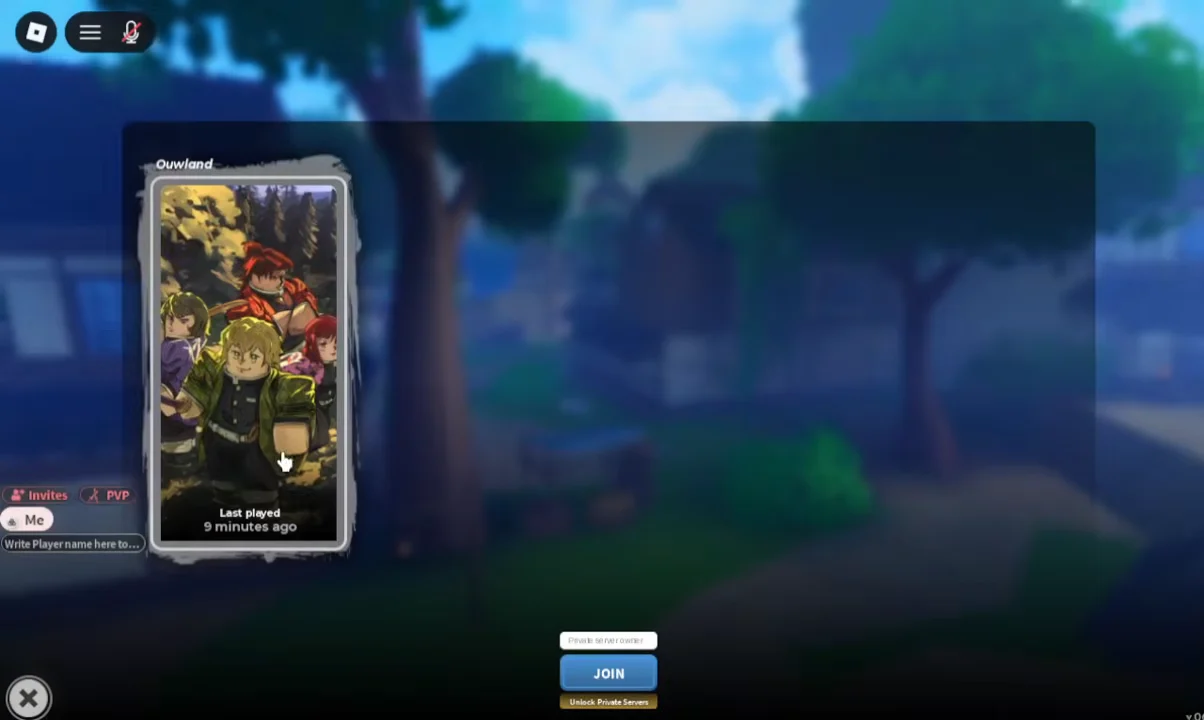
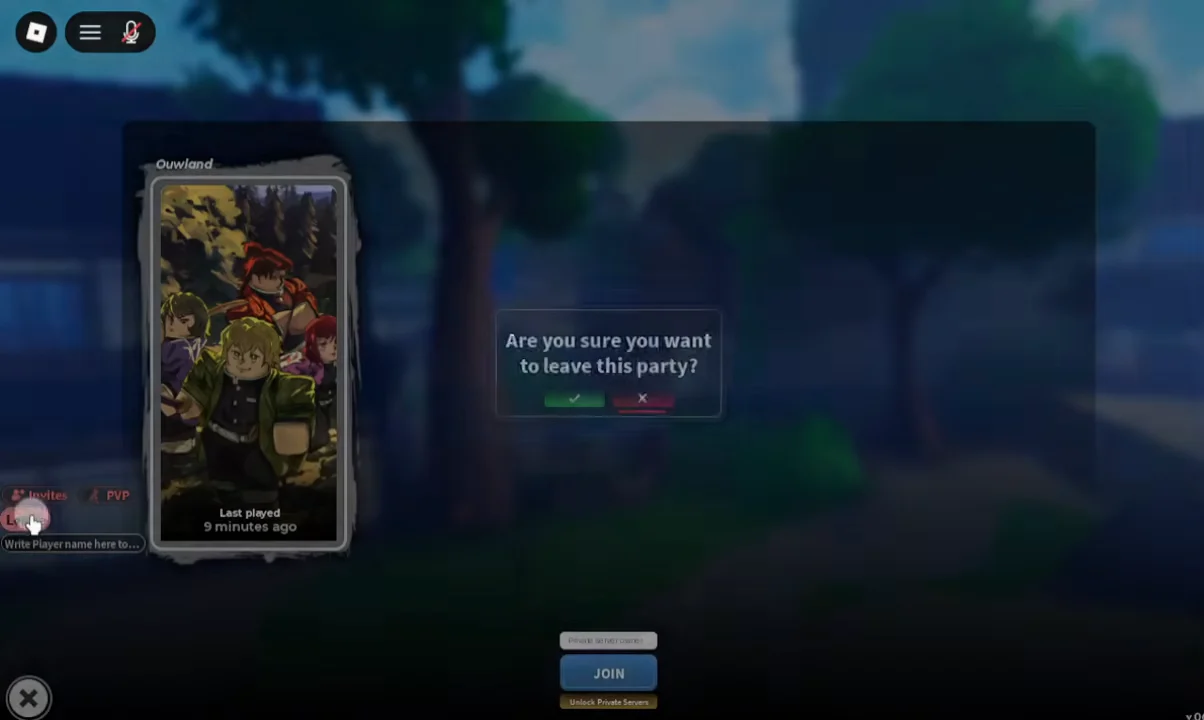
The unlock is a subscription billed at 150 Robux each month, not a one-time purchase.
How to type private server commands
Everything happens through the normal in-game chat. Open the chat box, type the command exactly as written, and add whatever the command needs after it. Where a command expects a player, type the username; where it expects a message, type the text. The angle brackets used in the reference below are placeholders, so do not type them.
/kick George
/announce PvP tournament starts in five minutes
A kick removes that player from the session immediately, and an announcement appears for everyone currently inside the server. Spelling matters here. A mistyped username in a ban or kick can hit the wrong person, and a wrong access setting can lock out the people you were waiting on.
All Slayers 2 private server commands
Player management
| Command | Effect |
|---|---|
/kick <player> | Removes the player from the current session |
/ban <player> | Blocks the player, works while they are offline |
/unban <player> | Lifts an existing ban |
/mod <player> | Grants moderator permissions (owner only) |
/unmod <player> | Removes moderator permissions (owner only) |
A kick is temporary. The player can walk straight back in unless you follow it with a ban. Bans stick even when the target is offline, which makes cleanup after an incident simple.
Access control
| Command | Effect |
|---|---|
/whitelist <player> | Lets a player in regardless of access setting |
/unwhitelist <player> | Removes whitelist permission |
/access closed | Blocks regular players; whitelist still works |
/access friends | Limits entry to eligible friends |
/access everyone | Opens the server to all players |
The whitelist overrides the access setting, so a closed server can still admit your event staff or a handful of trusted friends. Once someone is removed from the whitelist, they fall back under whatever access rule is currently active.
Combat, NPCs, and the server itself
| Command | Effect |
|---|---|
/pvp on | Enables player-versus-player damage |
/pvp off | Disables player-versus-player damage |
/pve on | Restores NPCs across the server |
/pve off | Removes every NPC from the server |
/announce <message> | Broadcasts a message to everyone inside |
/shutdown | Clears all players and restarts the session (owner only) |
Turning PvE off strips out NPCs entirely, which is how you get a clean duelling area with nothing wandering into a fight. Leave it off after an event and the world will feel oddly empty, so switch it back on when normal farming, quests, and boss runs resume.
Setting up a PvP event or tournament
The access, PvP, and PvE commands work best as a sequence rather than in isolation. Lock the doors, build the arena, then open up when everything is in place.
- Run
/access closedwhile you prepare. - Hand out
/modto the players helping you run it. - Use
/pve offto clear NPCs out of the arena. - Keep PvP off until everyone has gathered.
- Post the rules and start time with
/announce. - Switch to
/access friendsor/access everyone, then flip/pvp on.
The same pattern works for solo practice. Disabling PvE gives you a quiet space to drill combos, perfect blocks, dodges, movement, Breathing Styles, Demon Arts, weapon strings, and clan abilities without an NPC interrupting the rep. Disabling PvP instead lets a group train side by side without accidental damage.
Owner-only commands versus moderator commands
Permissions split into two tiers. Moderators can handle the day-to-day job of removing troublemakers and keeping an event on the rails, while the controls that reshape the server sit with the owner alone.
Access to /mod, /unmod, and /shutdown is limited to the owner. Of those commands, the final one is the most drastic: it sends every active player out, then brings the server back up in a new session. Use it for an actual reset rather than activating it during a tournament.
Give moderator permissions only to players you trust, since moderators gain server management tools that regular players never see.
Confirming a command worked
Each command produces a visible result in-game, which is the fastest way to check you typed it correctly. An announcement appears on screen for every player in the session. A kicked or banned player disappears from the server immediately. Toggling PvE off empties the world of NPCs, and toggling it back on repopulates it. After /shutdown, everyone is dropped out and the server comes back as a clean session.
If nothing happens, the most likely culprit is the command string itself. Retype it exactly as listed, drop the angle brackets, and check the username spelling before trying again.