Breathing training in Slayers 2 is gated behind one number and one trip. You need level 25, and you need to physically walk to the trainer who teaches the style you want — there is no menu that hands you a moveset. After that, the route to a maxed-out Slayer runs through Final Selection, a Kasugai Crow, and a long boss grind.
Quick answer: Reach level 25, travel to your chosen Breathing trainer with the required Wen and materials, then clear Final Selection at level 45 or higher (60 is safer solo) to become a Demon Slayer.
Before level 25: clan choice and the Book of Guidance
Playing as a Slayer is the more forgiving of the two paths, and your clan roll matters mostly because of how it pairs with the style you intend to train. Rengoku fits Flame, Urokodaki and Sabito fit Water, and Soyama is a strong all-round roll for progression. Do not sink an entire session into rerolling. Keep something workable and start moving.
You spawn at Windy Peak. Head into the village and talk to the old man NPC to start the Recover the Lost Pages quest, which rewards the Book of Guidance. That book permanently points you at your next required quest, and the early game is genuinely hard to follow without it.
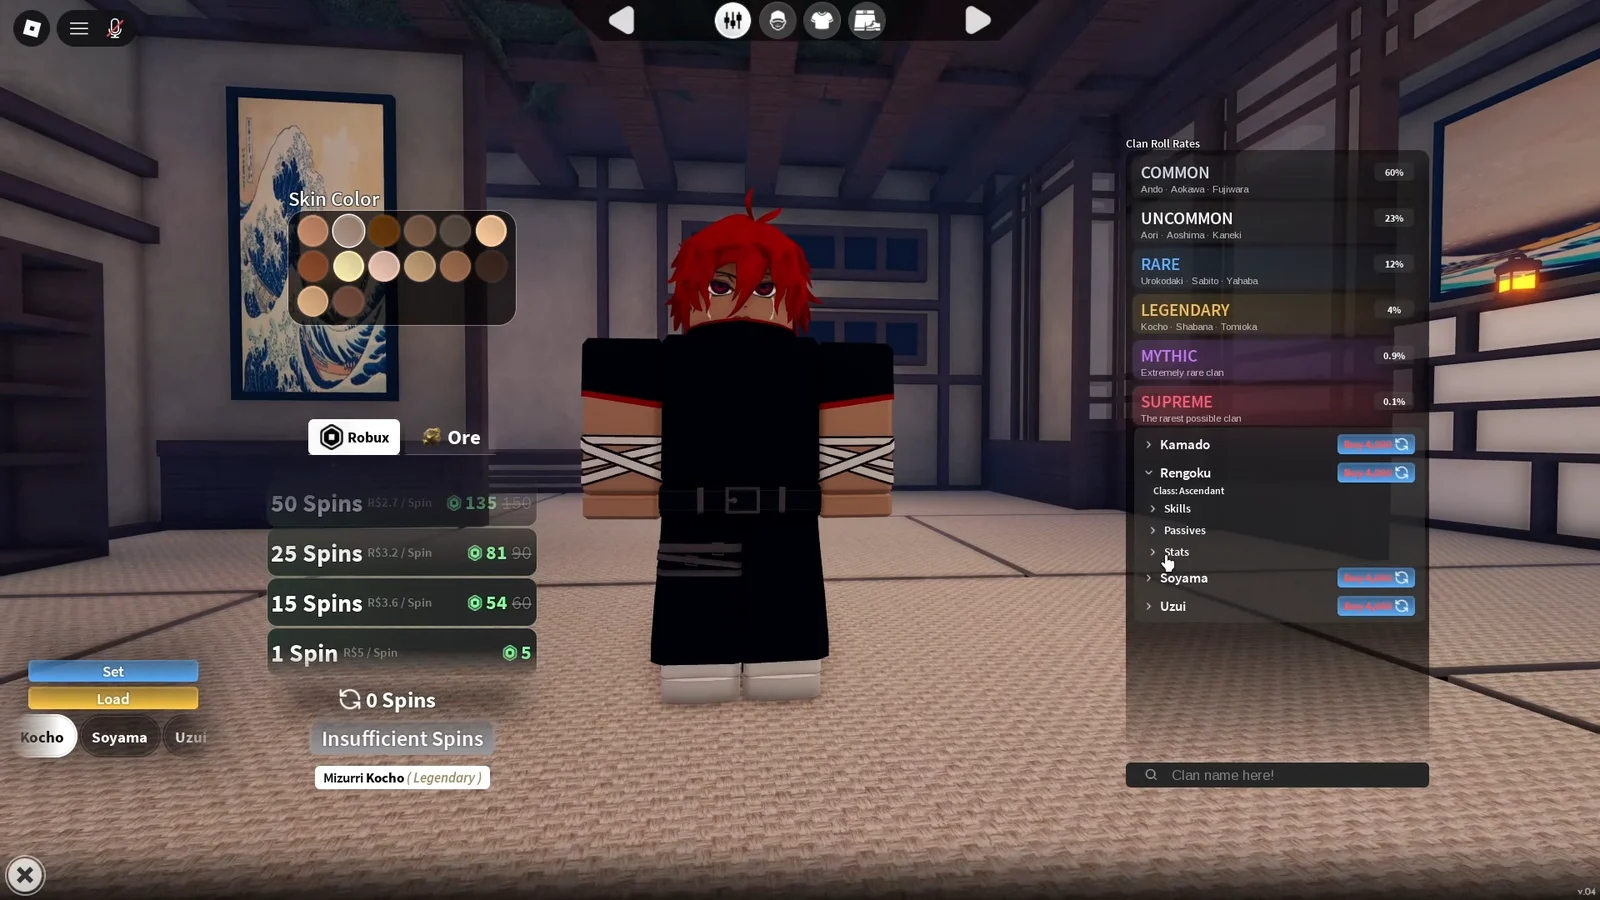
Your skill points split across Body, Weapons, Clan, and Breathing progression, and mastery levels separately from your character level. Buy the movement nodes first. Wall Climb and double jump are not optional luxuries — several trainers sit on cliffs and rooftops you cannot reach without them.
Set your spawn to the Bamboo Grove nearest whatever you are currently grinding. It removes most of the cross-map running.
Level targets on the way to 45
| Level | What to do |
|---|---|
| 1–6 | Repeat Krue’s three-Bandit quest |
| 7 | Krue’s Mini Boss Zuko quest |
| 13 | Tom’s bear-hunting quest |
| 18 | Tom’s Mother Bear quest |
| 25 | Start your Breathing trainer questline |
| 26 | Talk to Chaka, grind Kaiden’s subordinates |
| 34 | Kaiden quest, then grind to 40 |
| 40–60 | Wagwan’s quests, under the waterfall |
Weapons come from Raze. A Regular Katana runs 500 Wen and a Fancy Katana costs 1,500 Wen. Server population also affects your rate of progress — busier servers grant more EXP from mobs and quest turn-ins, so avoid empty lobbies while grinding.
Every Breathing trainer location in Slayers 2
Eight styles can be trained: Water, Thunder, and Flame; Wind, Stone, and Insect; plus Sound and Serpent. Each trainer requires level 25 and a designated payment, and the prices differ. Choose your style, then gather what it requires: Hoyuzo Cave supplies Demon Horns, while Beast Born Demons near Mistfall Harbor drop Beast Cores.
| Style | Trainer | Where | Cost |
|---|---|---|---|
| Water | Urokodaki | Underground cave, Bamboo Grove | 5,000 Wen, 30 Demon Horns |
| Flame | Rengu | Rooftop past the Mistfall bridge | 10 Demon Horns |
| Serpent | Obari | Cliffside above Windy Peak | 20 Demon Horns, 5 Beast Cores |
| Wind | Sanemi | Frozen water, Iceveil Valley | 50 Demon Horns |
| Thunder | Zentaro | Tallest mountain peak | Level 25 |
| Sound | Tengai | Cliff above Frost Veil Shrine | Wall Climb required |
| Stone | Gyomei | Near Hidden Mist Village Shrine | Axe and Mace |
| Insect | Shinora | Butterfly Estate rooftop | Level 25 |
These are early-access figures. Read the trainer’s dialogue before committing to a long farm, because requirements can shift between updates.
The awkward trainers to reach
Serpent Trainer Obari is tucked into a crevice partway up the rocky mountain north of the starting area. You climb rather than walk, so the movement nodes pay off immediately here.
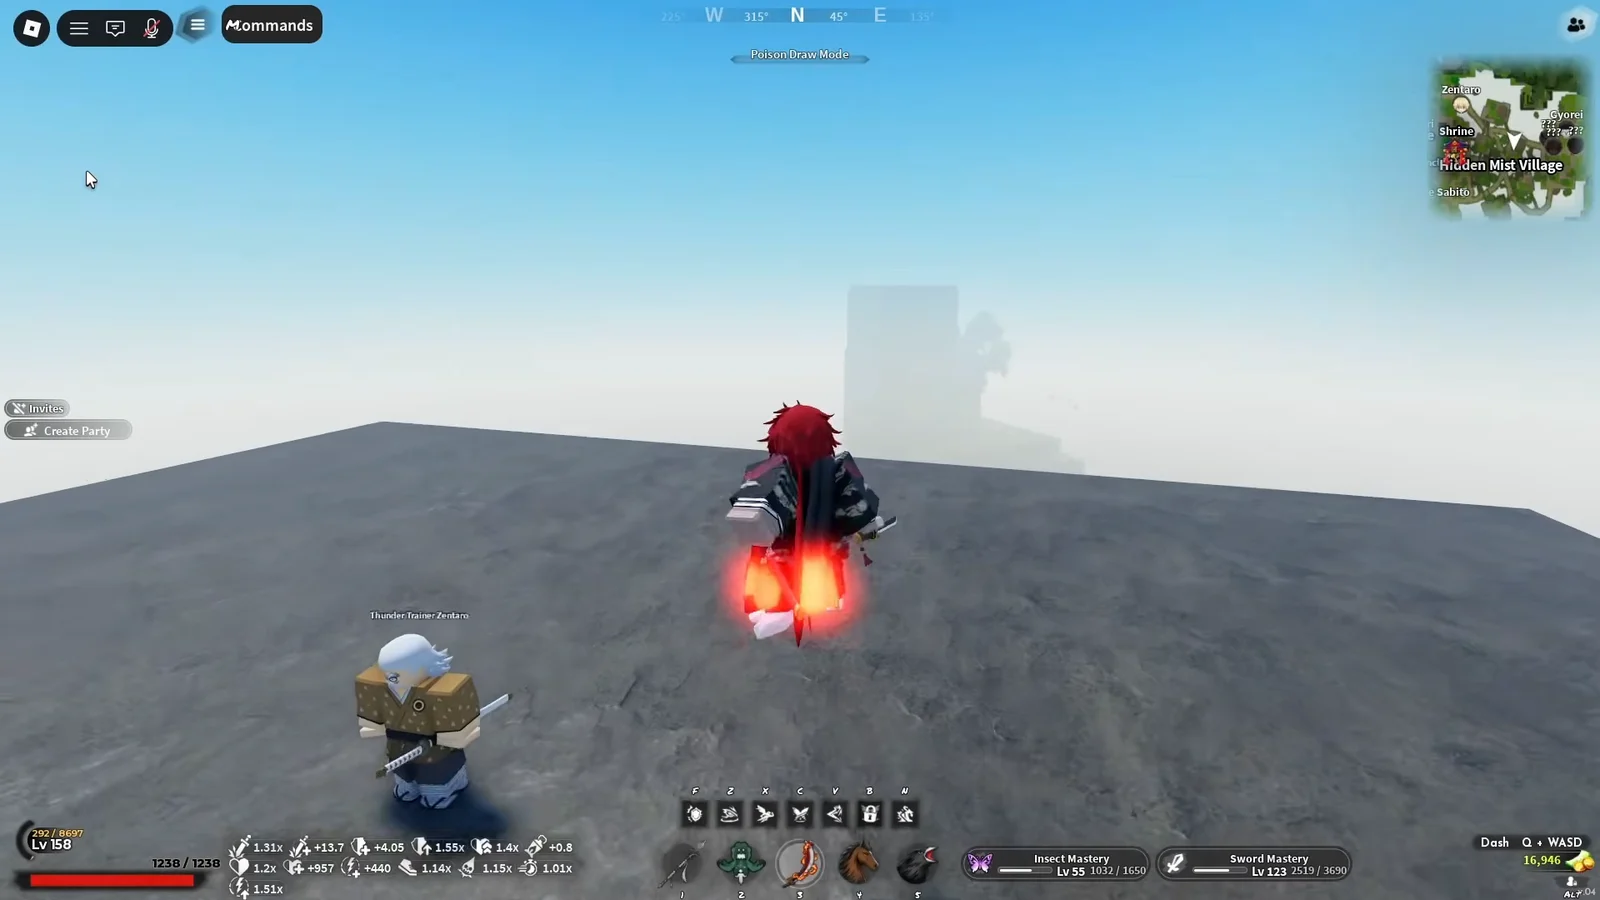
Thunder Trainer Zentaro sits on the summit of the tallest mountain in the game, near the bear village route. Grab a horse for the approach and expect a long vertical climb at the end.
Wind Trainer Sanemi requires fast travel to the Frost Veil Shrine in Iceveil Valley. From the shrine, drop down into the frozen water — he stands on an icy platform below.
Water Trainer Urokodaki is the most hidden of the set. At Bamboo Grove, look for a hole in the ground concealed under bushes, drop in, and work through the underground maze until you find his room.
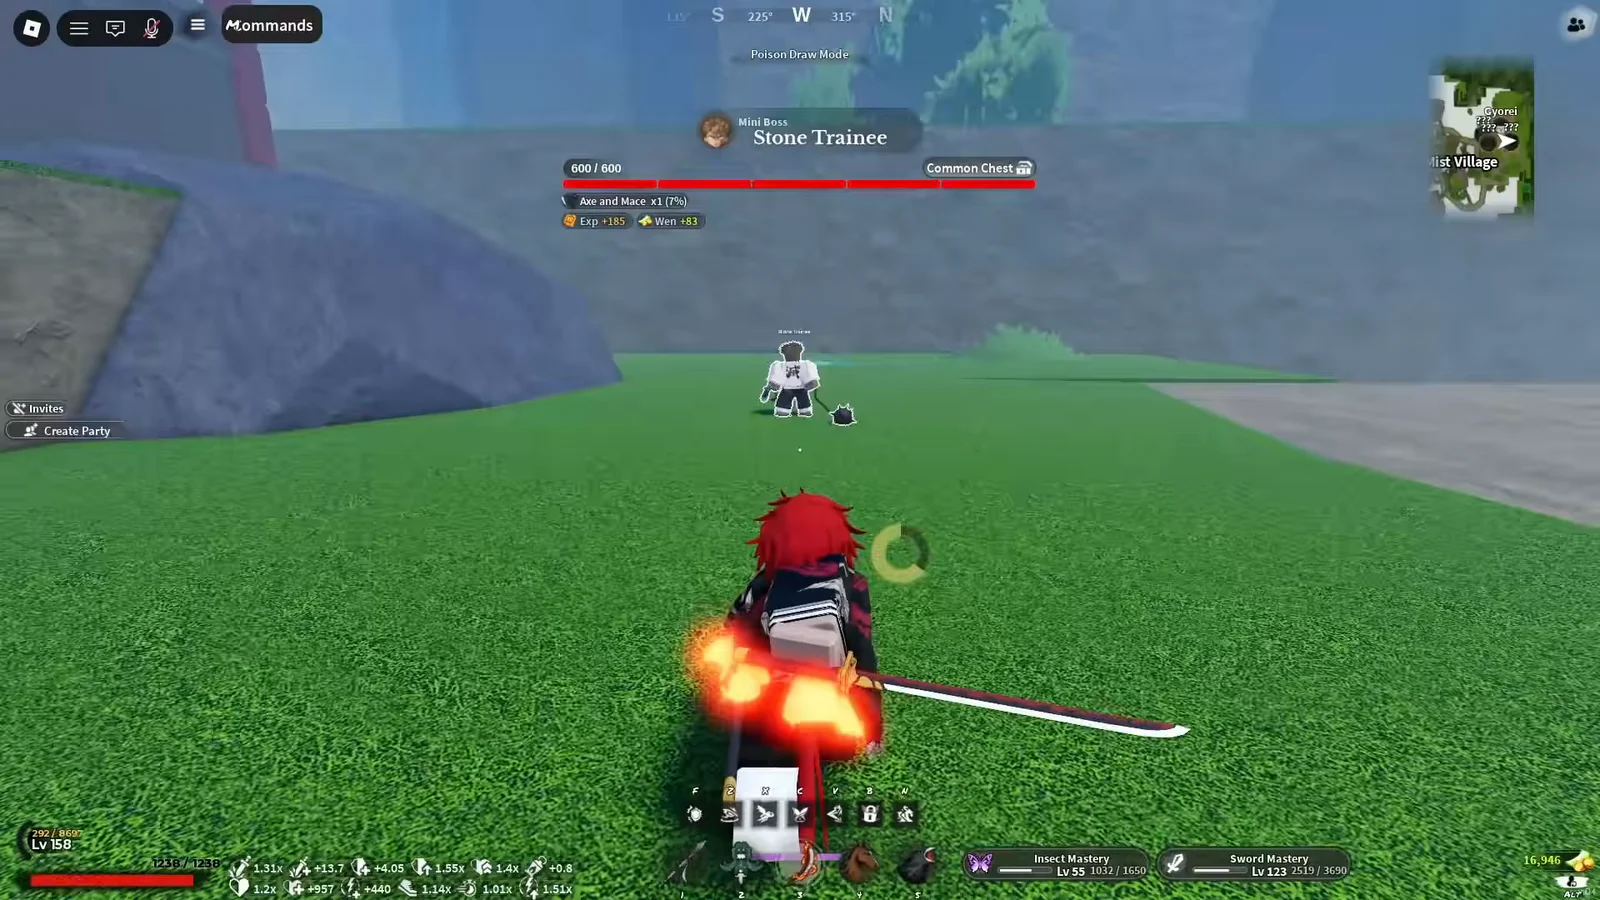
Stone Trainer Gyomei is reached by teleporting to the Hidden Mist Village Shrine. Before he will train you, you need the Axe and Mace from the Stone Trainee nearby.
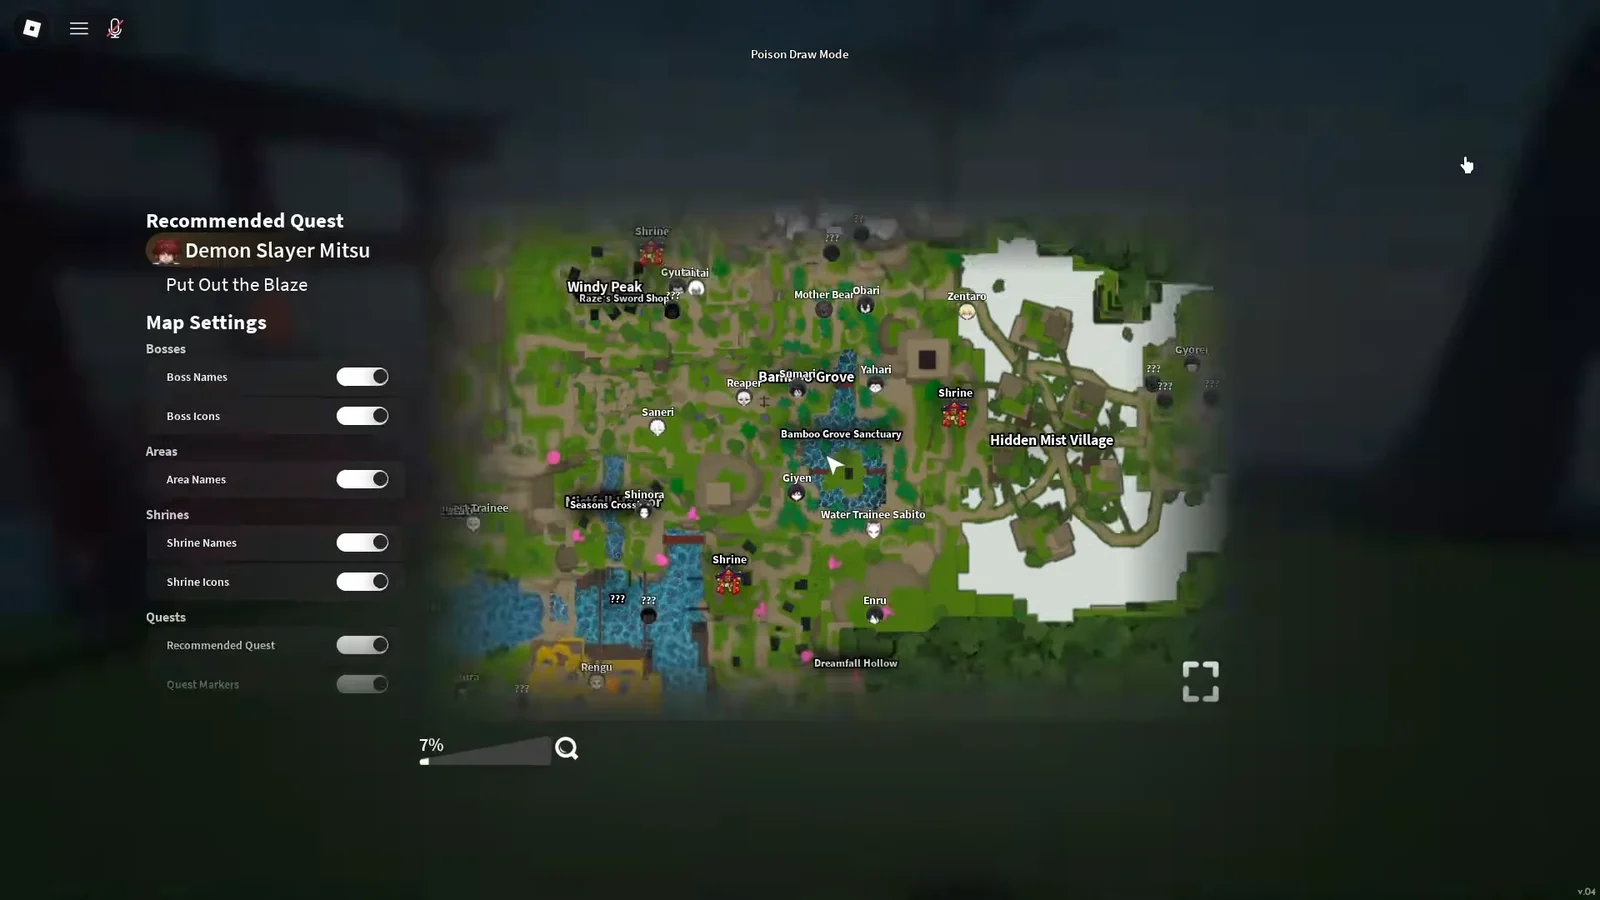
Insect Trainer Shinora is at the Butterfly Estate, but not at ground level. Climb onto the roof of the rear building to find her.
Flame Trainer Rengu is found by teleporting to Mistfall Harbor and crossing the long bridge. He stands on a rooftop behind one of the houses on the far side.
Sound Trainer Tengai shares the Frost Veil Shrine teleport with Wind, but goes the opposite direction. Glide and climb up the steep mountain cliff instead of dropping down.
Which Breathing style to train first
Water, Sound, and Wind sit at the top of the current pecking order, with Flame and Thunder close behind. Water is the safest first pick because its kit covers approach, sustained offense, and an aerial launch without depending on one signature move. Sound and Wind hit harder in the right hands but demand setup and spacing discipline, which is a lot to ask while you are still learning the combat flow.
Flame is the straightforward aggressive option, built around converting a landed entry into follow-up slashes plus an M1 counter. Thunder rewards fast approaches and is worth training if you enjoy closing gaps. Stone works, though its overall toolkit is thinner than the styles above it.
Once you finish training, the next 20 levels are about turning the style into a build. Learn three things before Final Selection — the damage option you can land reliably in a short opening, the move you use to enter or exit range, and what you do when the enemy hits first. Grind Wagwan’s quests through the Hoyuzo guards until 60 rather than stopping at the minimum.
Final Selection: route, requirements, and rewards
Final Selection sits in the far west of the map. The gate opens on an hourly cycle, and you can enter solo or with a group. Level 45 is the hard floor, but solo runs realistically need level 60.
Against the Hand Demon, watch one full attack sequence before committing. Find the recovery window, punish it with a short string, and only escalate once you know what you can get away with.
After Final Selection: Slayer Progress, gourds, and EXP routes
Your crow starts feeding you missions immediately, and most of the early ones are not worth taking. Low-level demon quests pay poorly for the time they cost. Grinding Hoyuzo Cave until roughly level 100 is the faster route.
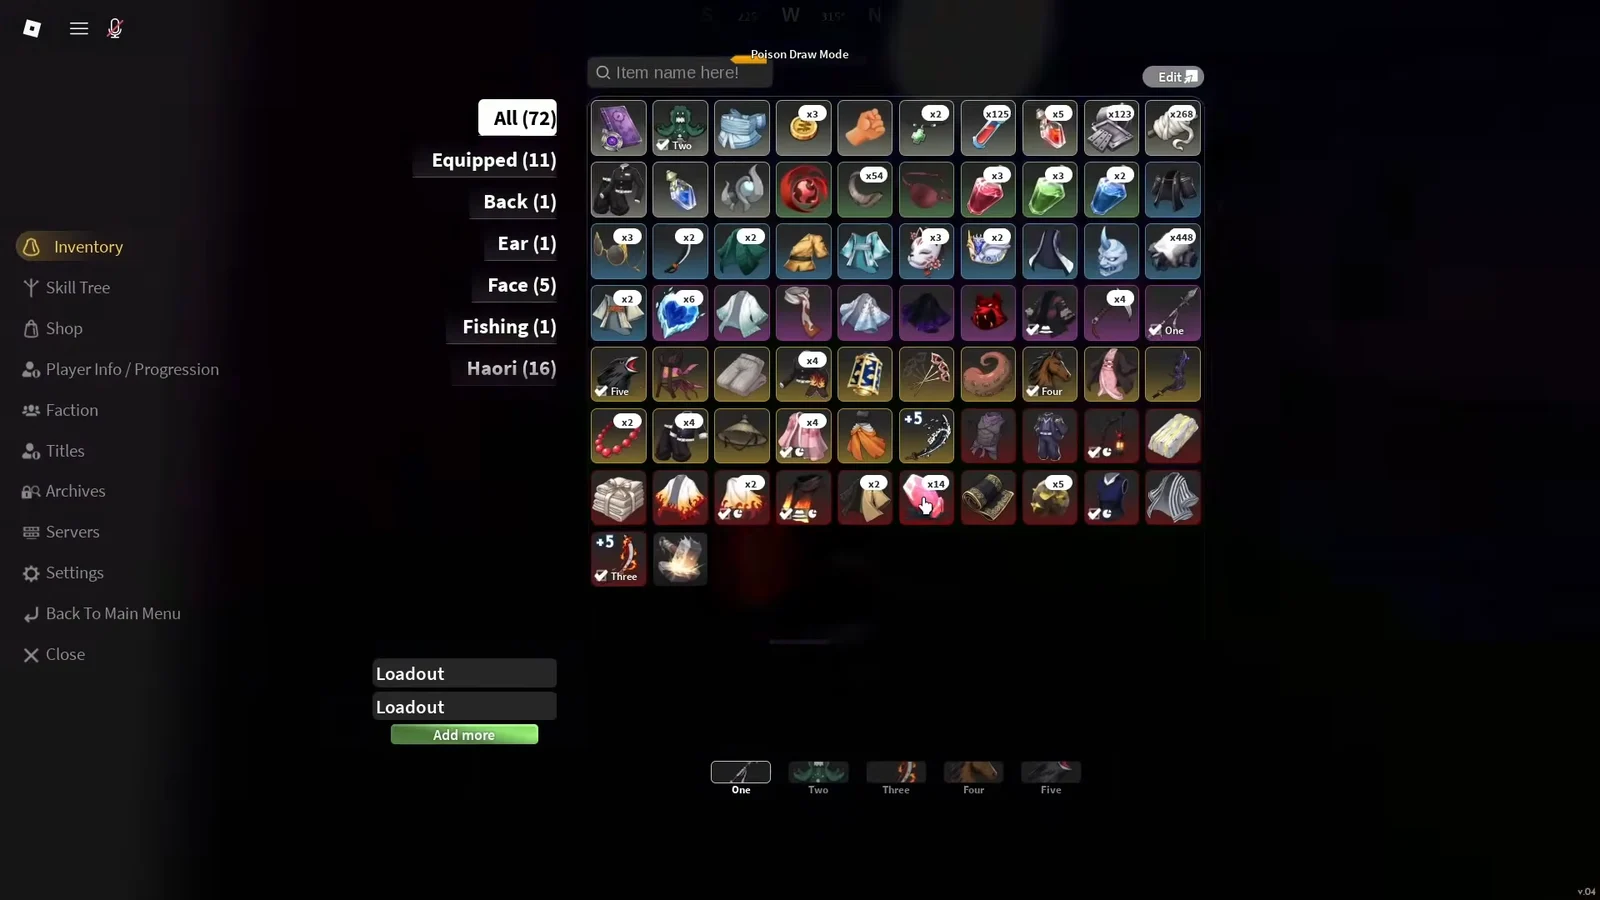
Slayer Progress does not depend on your character level; gourds increase this separate progression track. Ren sells the gourds at the Butterfly Estate, but his shop becomes available only after you recover the blade he lost by the waterfall. Each Slayer Progress level permanently raises your stats, including the max health factor.
For Wen, make Ginzo available in Mistfall Harbor by bringing him the Jewelry Box from his home in the Village Hidden in the Mist. He purchases loot and coin items, supplying the funds for your remaining training.
The high-EXP consumable loop
There is a quest from the green NPC at Iceveil Valley that pays out heavily when stacked with consumables. Cooked Meat comes from Lucy and Tom at Bamboo Grove, and Elixirs come from Alchemist Meku at Mistfall Harbor. Running the quest with both active is the strongest EXP rate available in the mid game.
Level 125 and up
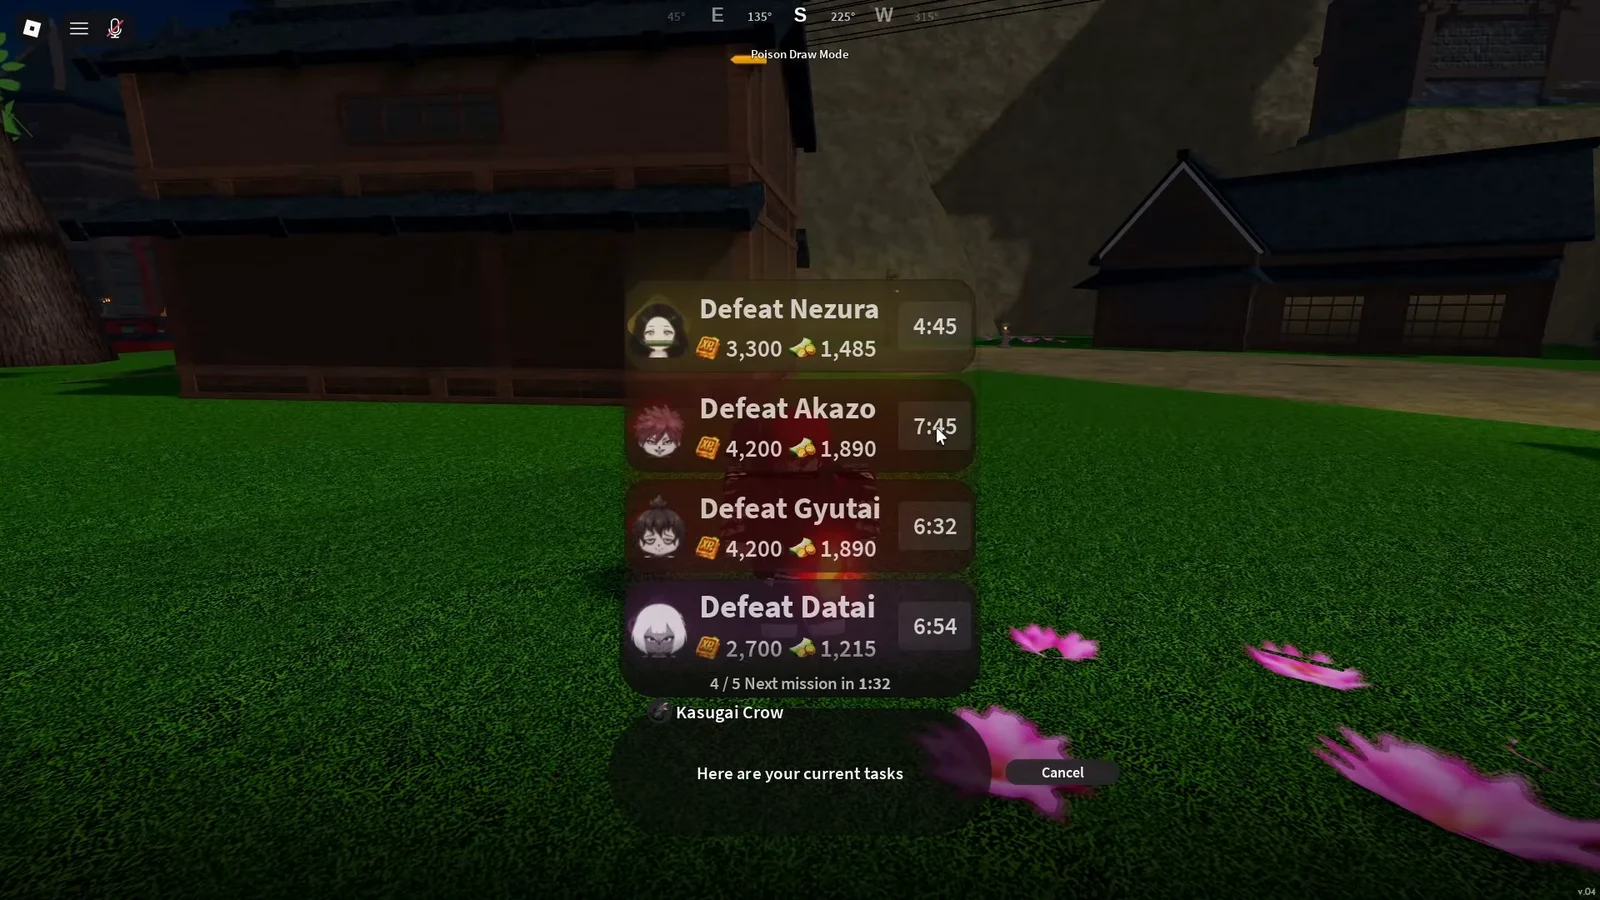
Past level 125 the crow starts issuing serious boss contracts against Nezura, Akazo, Gyutai, and Datari. Take these on public servers. The bosses are built for groups, and the population bonus to EXP applies here too.
Gear comes out of the same loop. Fighting Shinora yields drops of her own, and the endgame kit worth chasing includes the Volcanic Katana, the Reaper’s Outfit, Flame Haori Style 2, and the Golden Kanzashi.
From there the progression settles into a loop that does not really change shape — crow contracts, boss farms, and dungeon runs feeding gourds and gear back into Slayer Progress. Slayers 2 is still in early access, so material costs and unlock thresholds can move between updates. Check the trainer’s own dialogue before you commit to a long farm.
You can jump in through the official Roblox experience page.