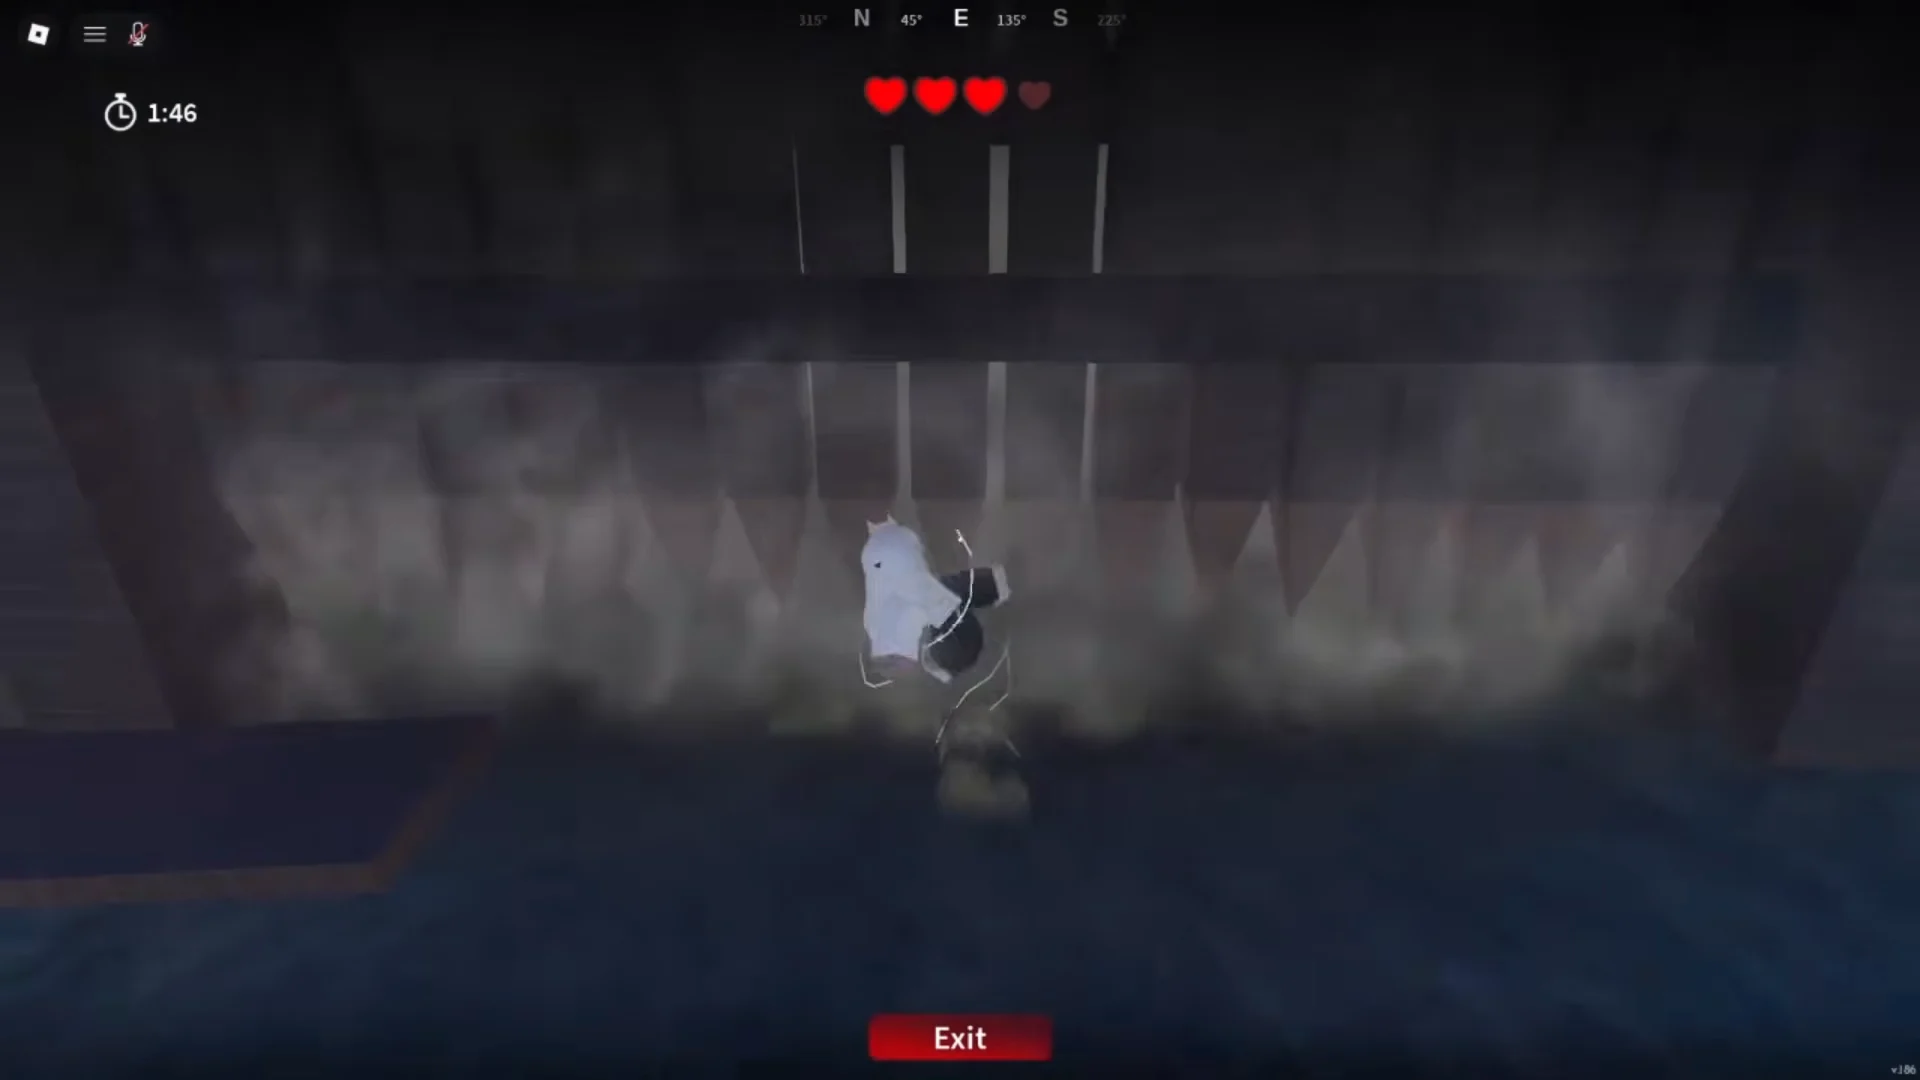
In Slayers 2, the Parkour Dungeon ranks among the more difficult parts of the Final Selection chain. The challenge takes place in one mist-covered arena, where stone pillars, slim wall ledges, ropes, and wooden beams form the route. Poison grass and spike strips cause instant death, while a timer runs throughout. Reach all the wall levers and open the exit gate before time expires.
Quick answer: Speak to Mizuto to enter, step into the first blue flag, then pull all six wall levers and run through the opened spiked gate before the 6:00 timer expires.
How to reach the Parkour Dungeon
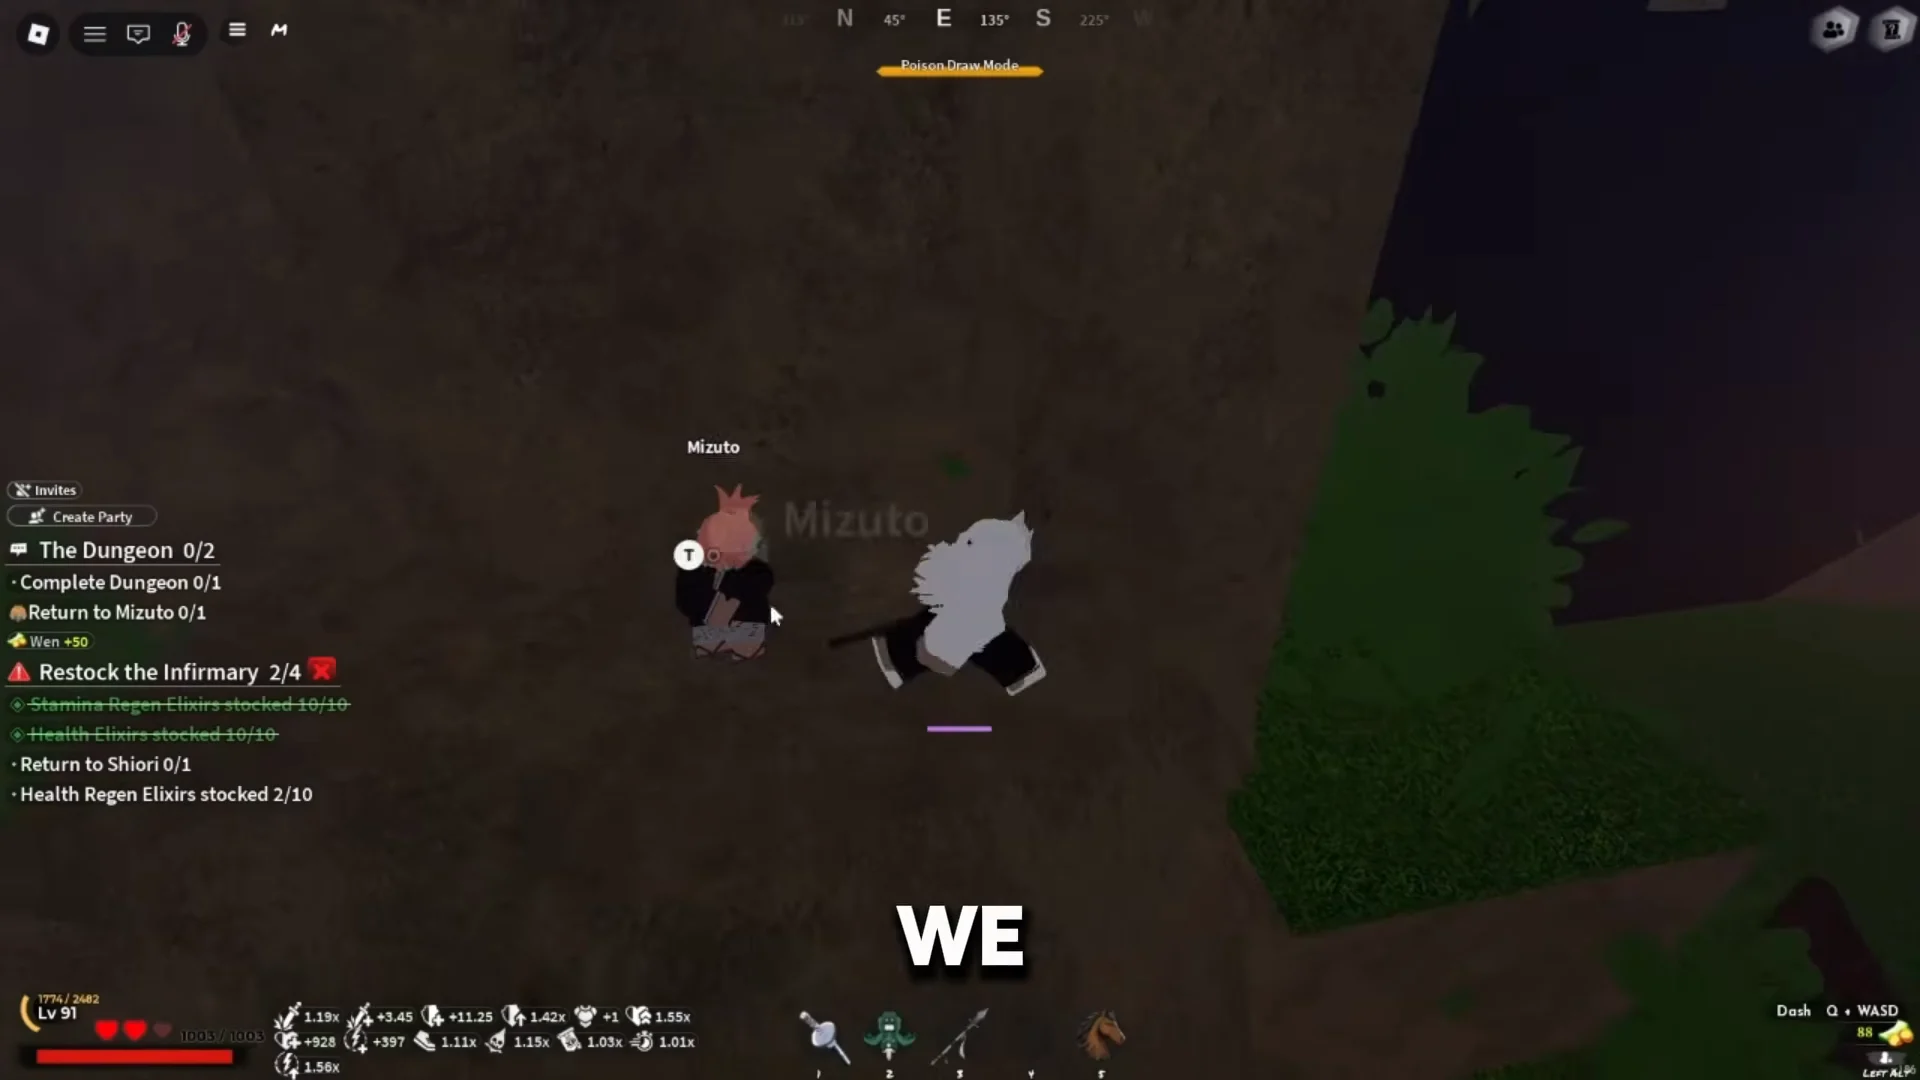
The dungeon is opened by the NPC Mizuto, who stands on a cliff ledge. Ride or run over to his position, climb up the cliffside path to reach him, and interact to bring up the Parkour Dungeon prompt. Pressing the interact key loads you straight into the timed instance.
Parkour Dungeon rules, timer, and hazards
The run begins the moment you spawn inside. A countdown timer and a life counter (hearts) appear at the top of the screen, and every hazard you touch costs one heart. Read these limits before you drop in.
- You have 6:00 once you enter.
- Hearts sit at the top of the HUD; losing all of them ends the attempt.
- Grass, spikes, and pits are deadly on contact, and each death costs one heart.
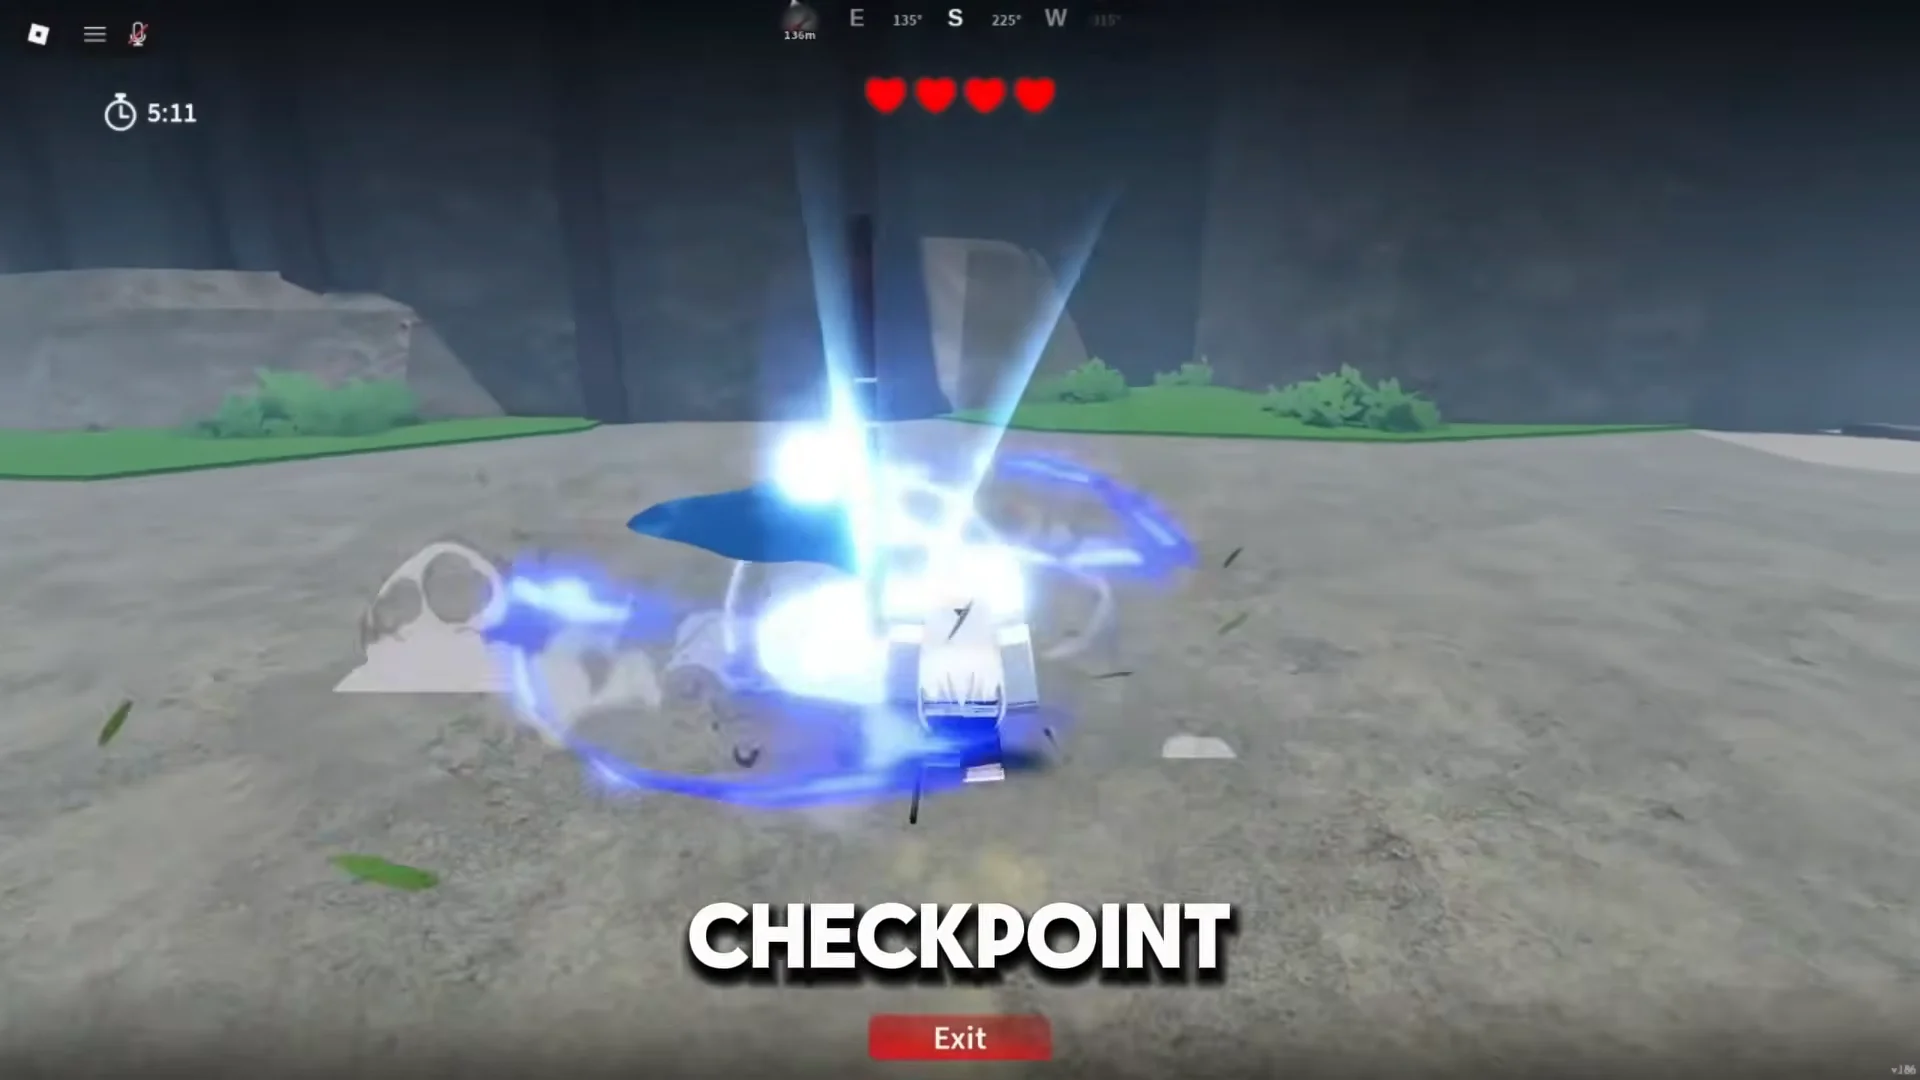
- Blue flags serve as checkpoints; touch one to choose where you respawn.
- Controls: Use Spacebar for a single or double jump; dash with Q + WASD, and activate each lever with E.
Touch the central blue flag again after completing each lever branch. If you die before refreshing that checkpoint, you’ll respawn farther back and lose precious time.
Every lever location
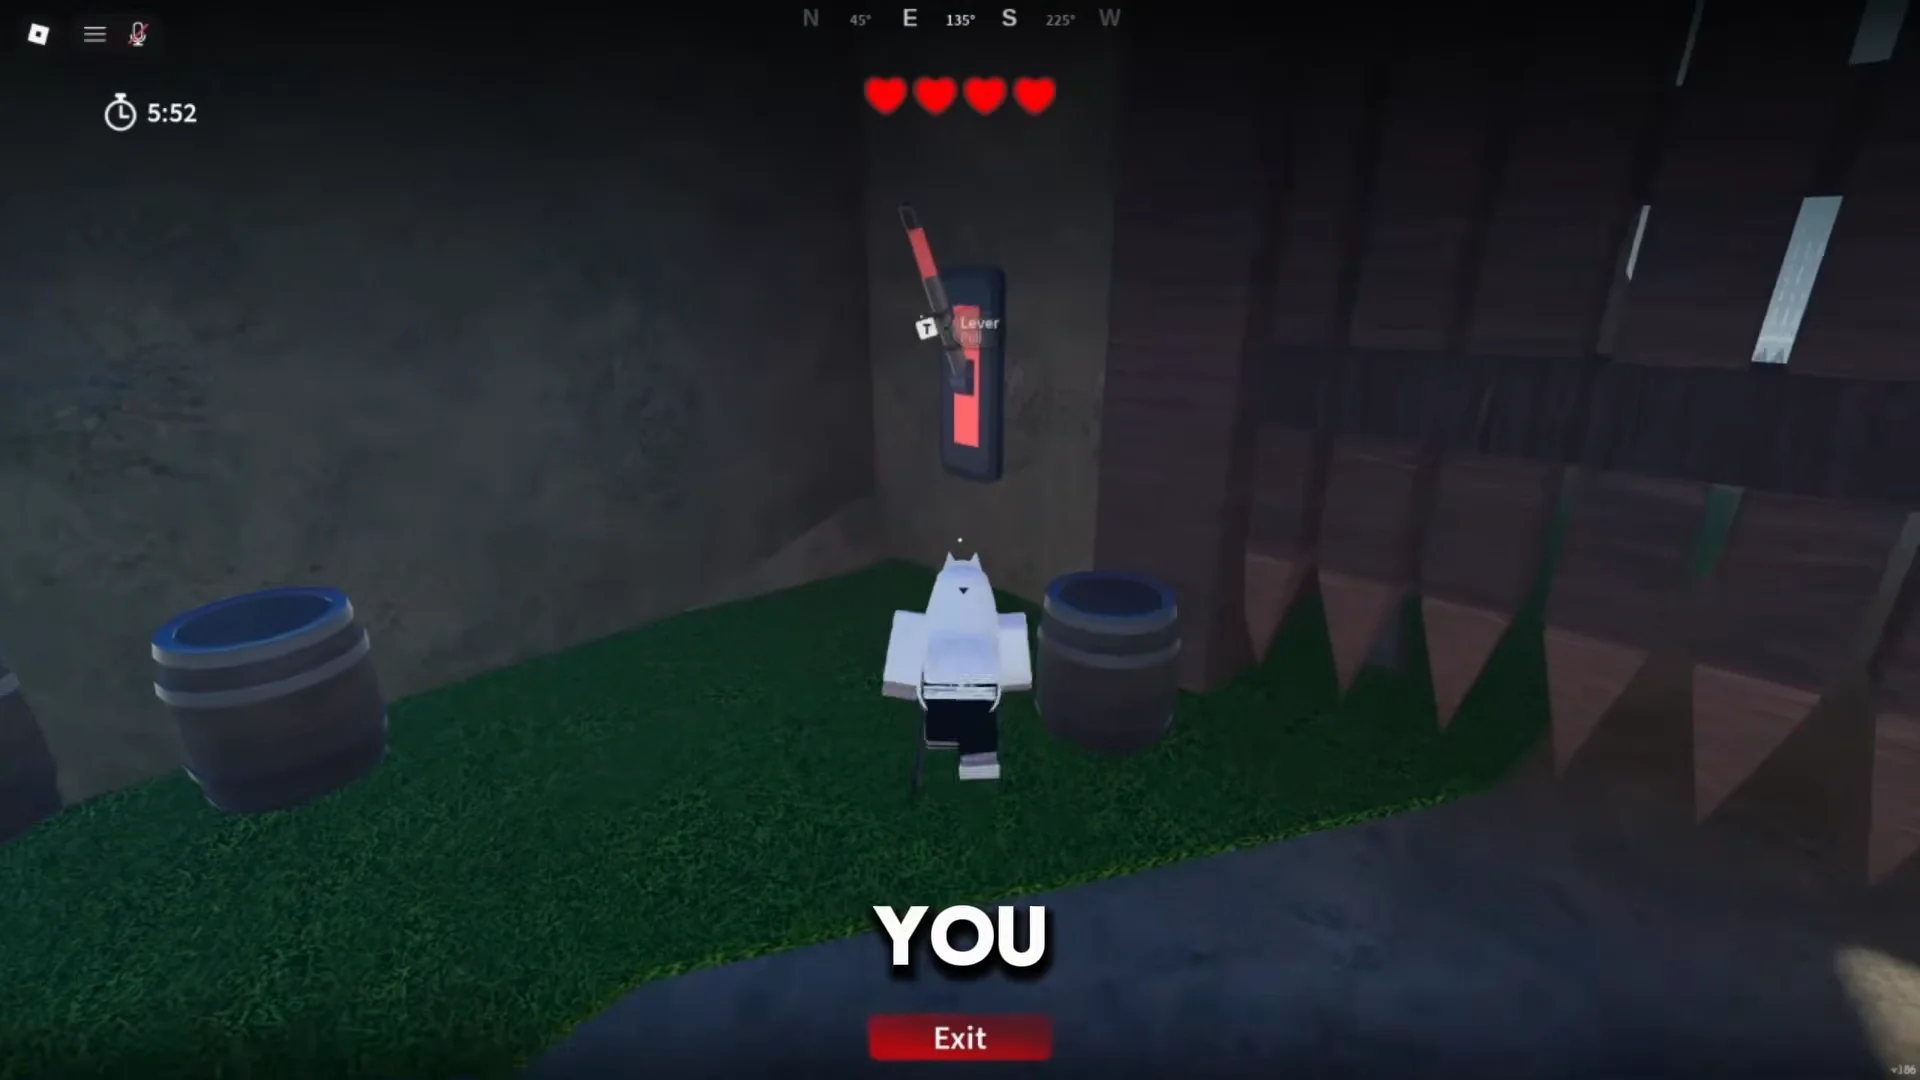
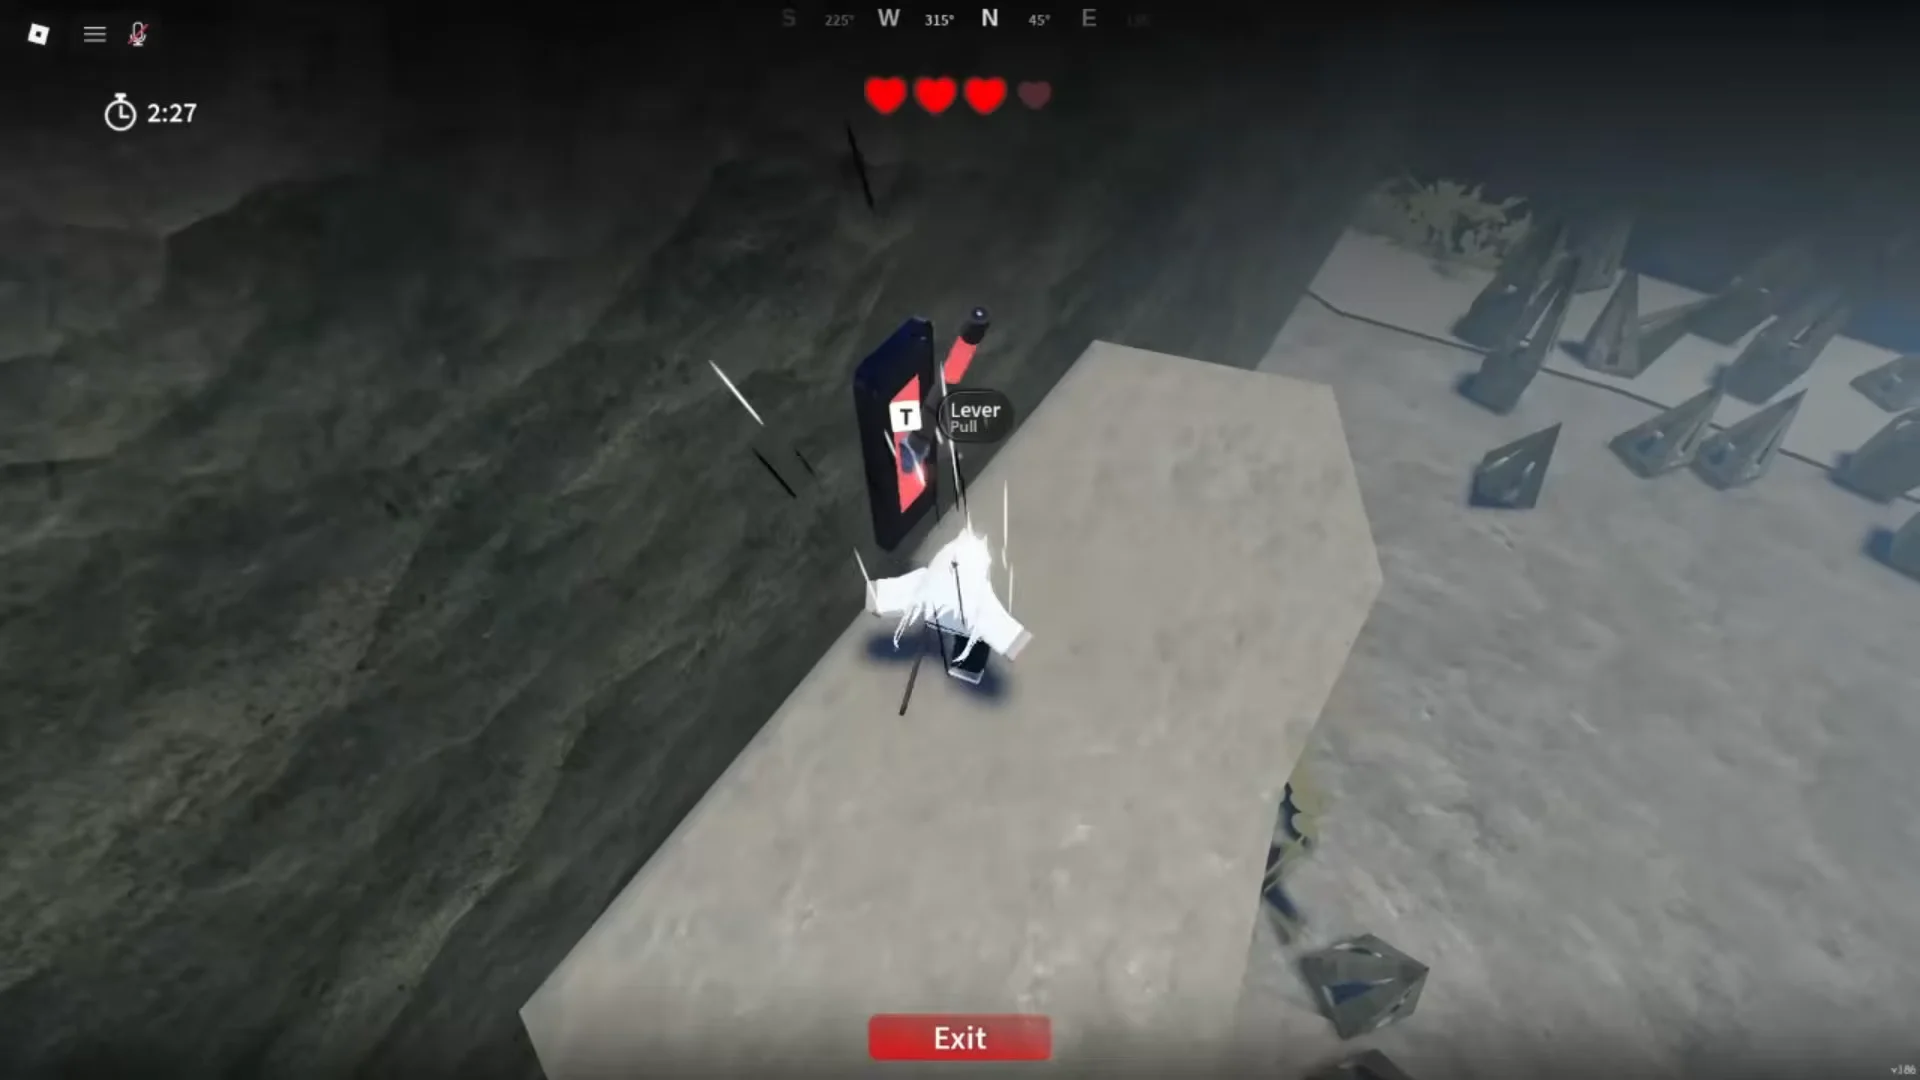
A wall-mounted lever displays the green “[E] Lever Pull” prompt when you get within range. Pull it to turn the lever green and lift the spiked gate in the way of the next route. Keep track of each one as you work through the arena.
| Lever | Location |
|---|---|
| Lever 1 | Left wall beside the first checkpoint flag |
| Lever 2 | End of the first stone-ledge obstacle course |
| Lever 3 | Upper grassy plateau, on the left cliff wall |
| Lever 4 | Ledge across the chasm from Lever 3 |
| Lever 5 | High wall platform past the narrow perimeter ledge |
| Lever 6 | On the stacked wooden crates by the exit gate |
Parkour Dungeon walkthrough
How to confirm the dungeon is complete
After you pass through the exit gate, you spawn back outside the dungeon and a notification reads “You have regained a life, 3 remaining.” The “Complete Dungeon” objective ticks to 1/1 and the wider quest counter advances one step. Return to Mizuto and interact with him to turn in the objective, and the tracker updates to confirm the task is done.
Once the parkour section is complete, continue with the chain’s remaining tasks: the timed race, rescuing the civilian, and the final demon boss.