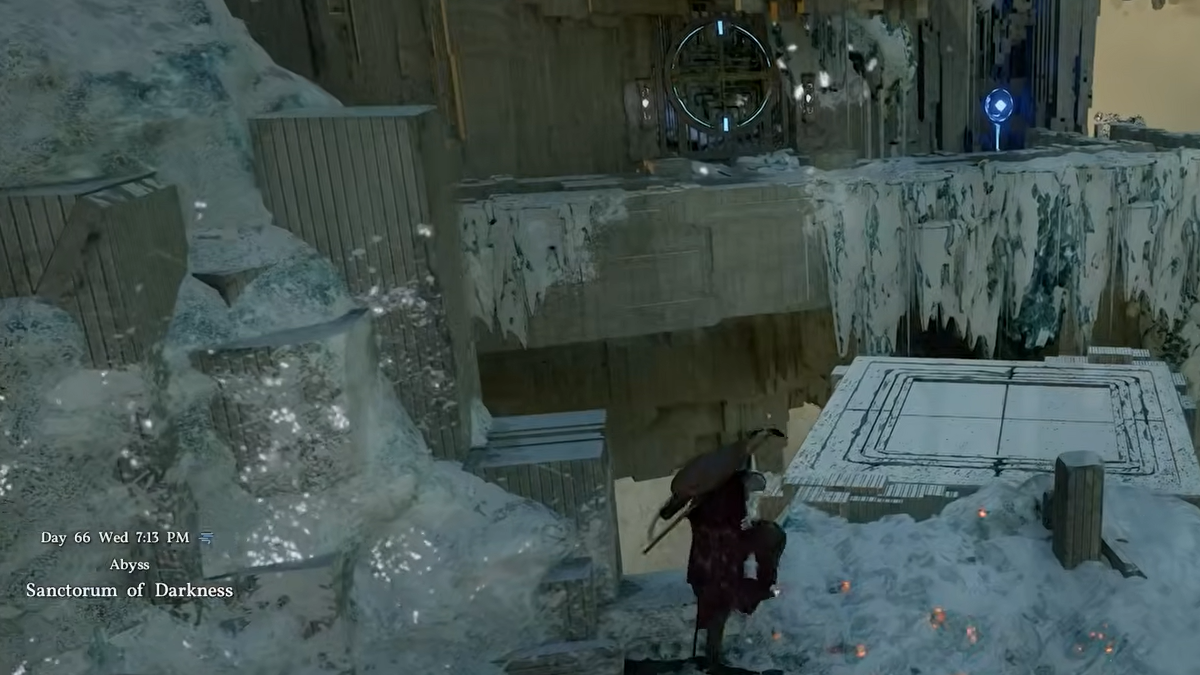
The Sanctorum of Darkness is one of Crimson Desert’s puzzle-focused Abyss challenges, found within the Sleet Isles chain. Unlike combat-heavy Abyss encounters, this one is a platforming and physics gauntlet that relies entirely on two abilities — Axiom Force and Force Palm — to manipulate objects across a frigid, vertically layered arena. Completing it rewards you with an Abyss Artifact.
Quick answer: From the fast travel point, turn around and grab the grate at the bottom. Use Force Palm to flip it open, pull the energy chip out of the ice with Axiom Force, reposition it through the ceiling hole to the left side of the fast travel area, lock it in with Force Palm, then rotate the laser spheres using the remote panels until both beams hit the final button.
Abilities you need before entering
Both Axiom Force and Force Palm must be unlocked before you attempt the Sanctorum of Darkness. Axiom Force lets you telekinetically pull objects toward you — in this puzzle, it’s used to extract the energy chip from ice and move it through gaps. Force Palm pushes objects away or locks them into sockets. You also need the Resist ability (or at least awareness of the resist input) to prevent Force Palm’s knockback from launching you off platforms. Many players have reported being thrown backward repeatedly because the game does not clearly explain that you can brace against the recoil.
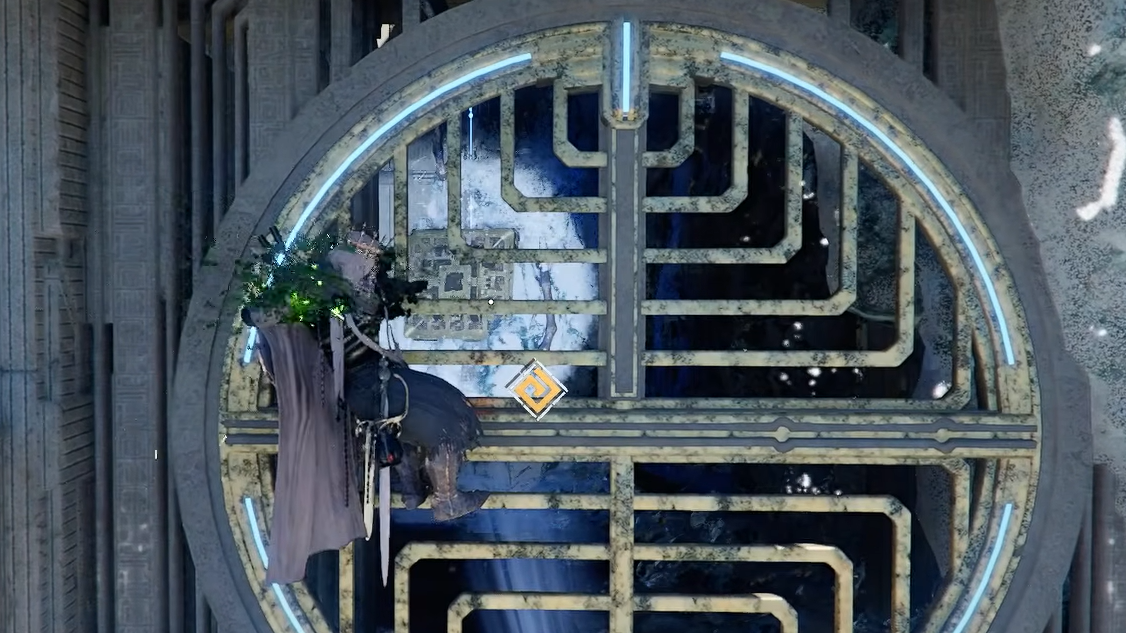
Opening the grated entry
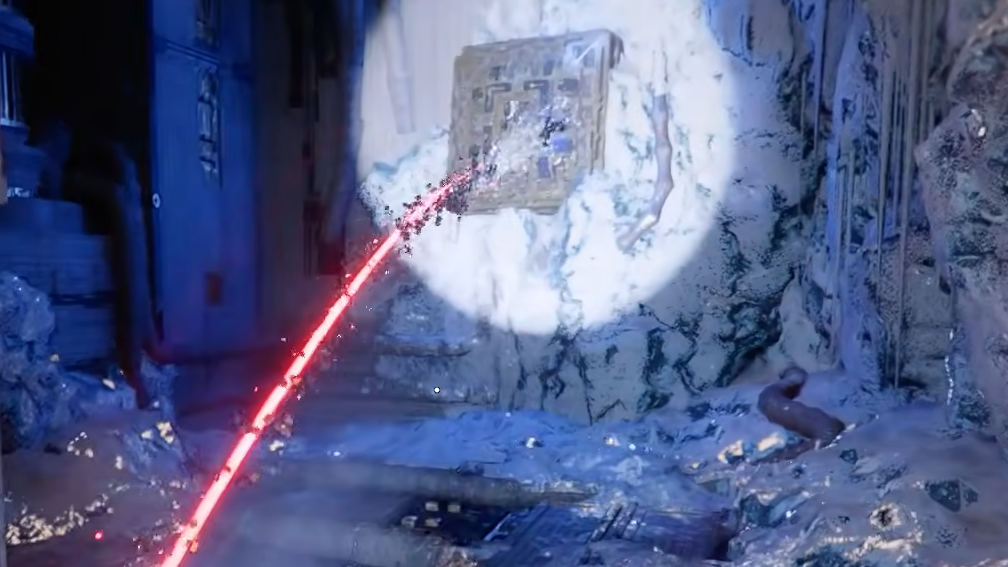
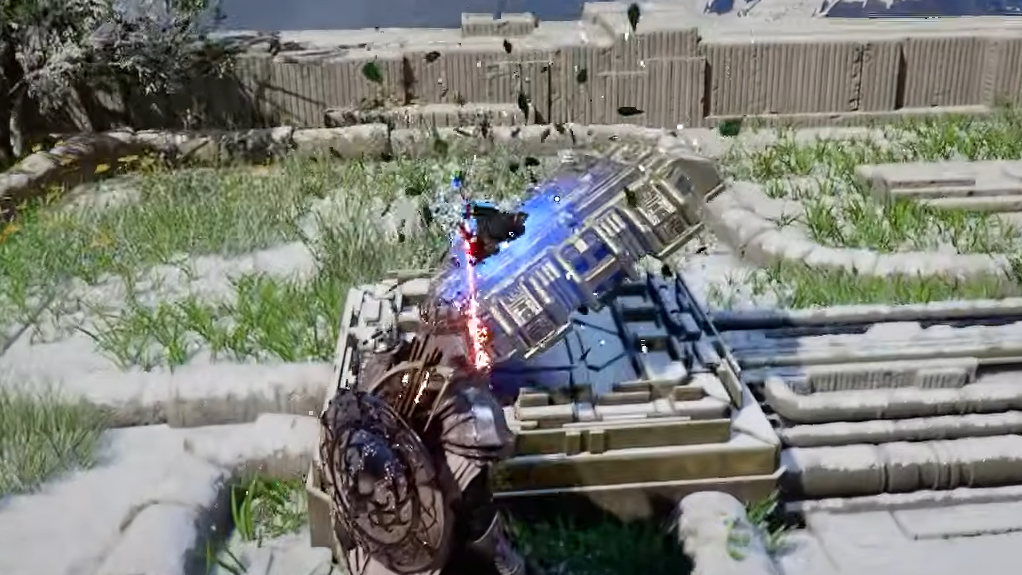
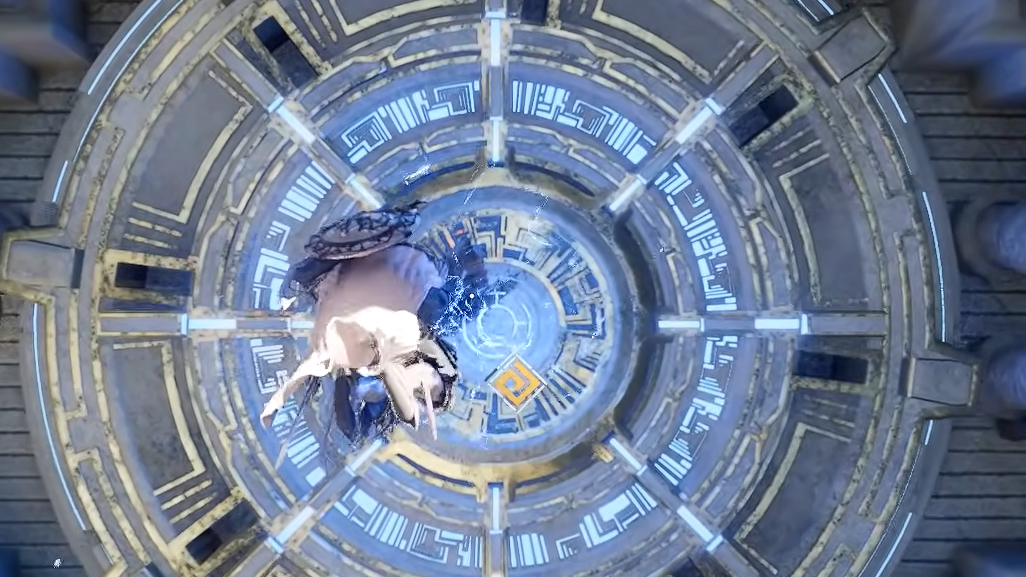
Extracting and repositioning the energy chip
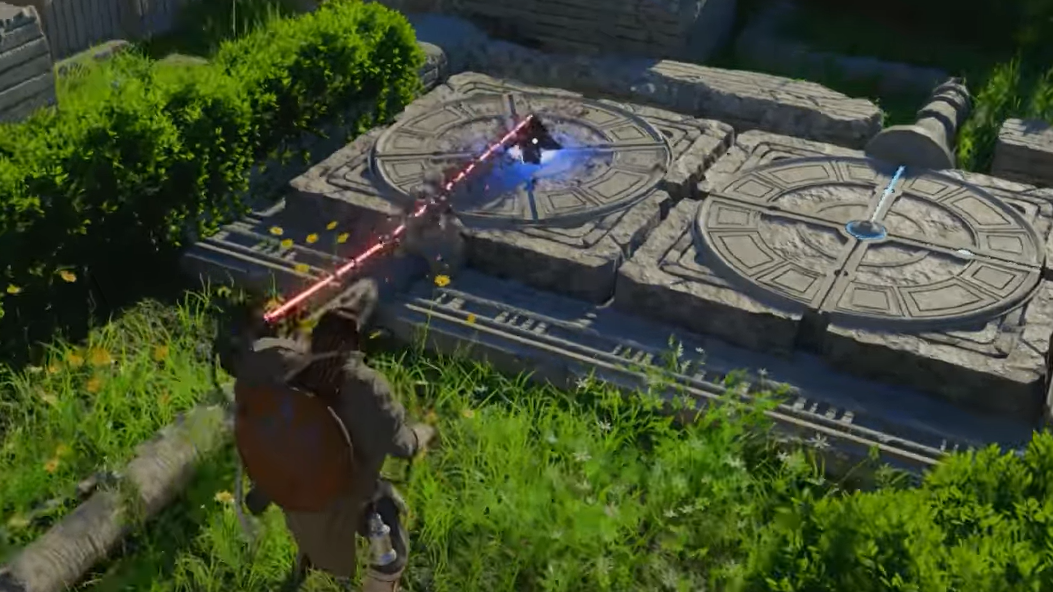
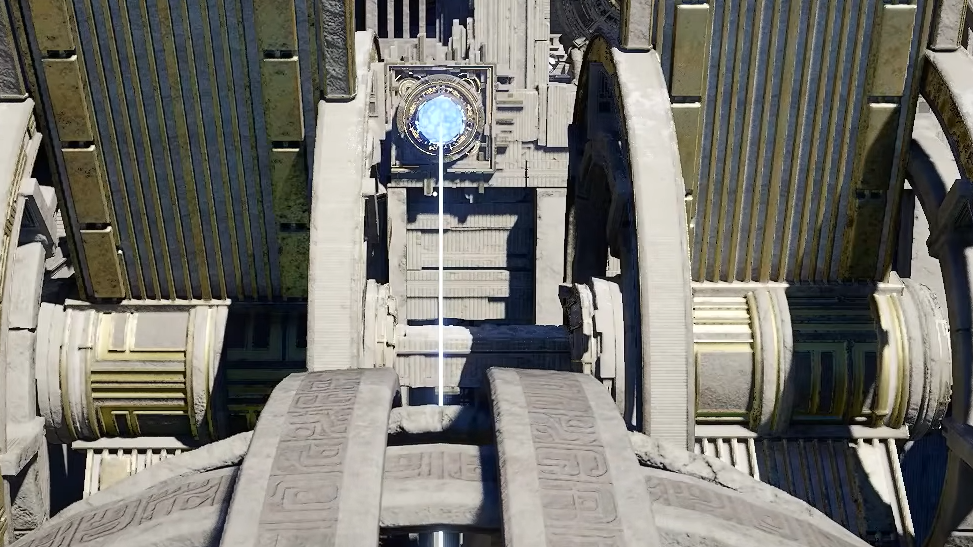
Aligning the twin laser spheres
With the energy chip seated, two laser spheres in the chamber become active. Each sphere projects a beam, and both beams need to hit a specific target — the large button on the back wall — simultaneously.
What to do if the back button won’t activate
A known issue causes the large button on the back wall to fail to trigger even when both lasers appear correctly aligned. If this happens, unplug one of the power squares (the energy chip or one of the laser power connections) and then plug it back in. This resets the button’s activation state without resetting the entire puzzle, and the button should respond correctly on the next attempt.
Common problems and how to avoid them
| Problem | Cause | Fix |
|---|---|---|
| Thrown backward when using Force Palm | Not holding the Resist input | Check keybinds for Resist and hold it while activating Force Palm |
| Chip won’t come out of the ice | Aim or distance issue with Axiom Force | Move closer and aim directly at the chip; retry from slightly different angles |
| Back button doesn’t activate | Possible state bug with power connections | Unplug and replug one power square to reset the button |
| Puzzle resets after falling | Falling triggers a respawn that reloads the area | Save before each major step; use the fast travel point to return quickly |
| Discord overlay interferes with Axiom hotkey | Shared keybind between the game and Discord | Rebind either the Discord overlay toggle or the Axiom Force key to avoid conflicts |
The Sanctorum of Darkness is one of the trickier Abyss challenges in the Sleet Isles chain, mostly because it demands precise use of abilities the game doesn’t fully explain. Once you understand how Resist, Axiom Force, and Force Palm interact with the environment, the actual sequence — open grate, extract chip, seat chip, aim lasers, press button — is straightforward. Grab the hidden chest in the chip room, save often, and you’ll walk away with your Abyss Artifact in a few minutes.