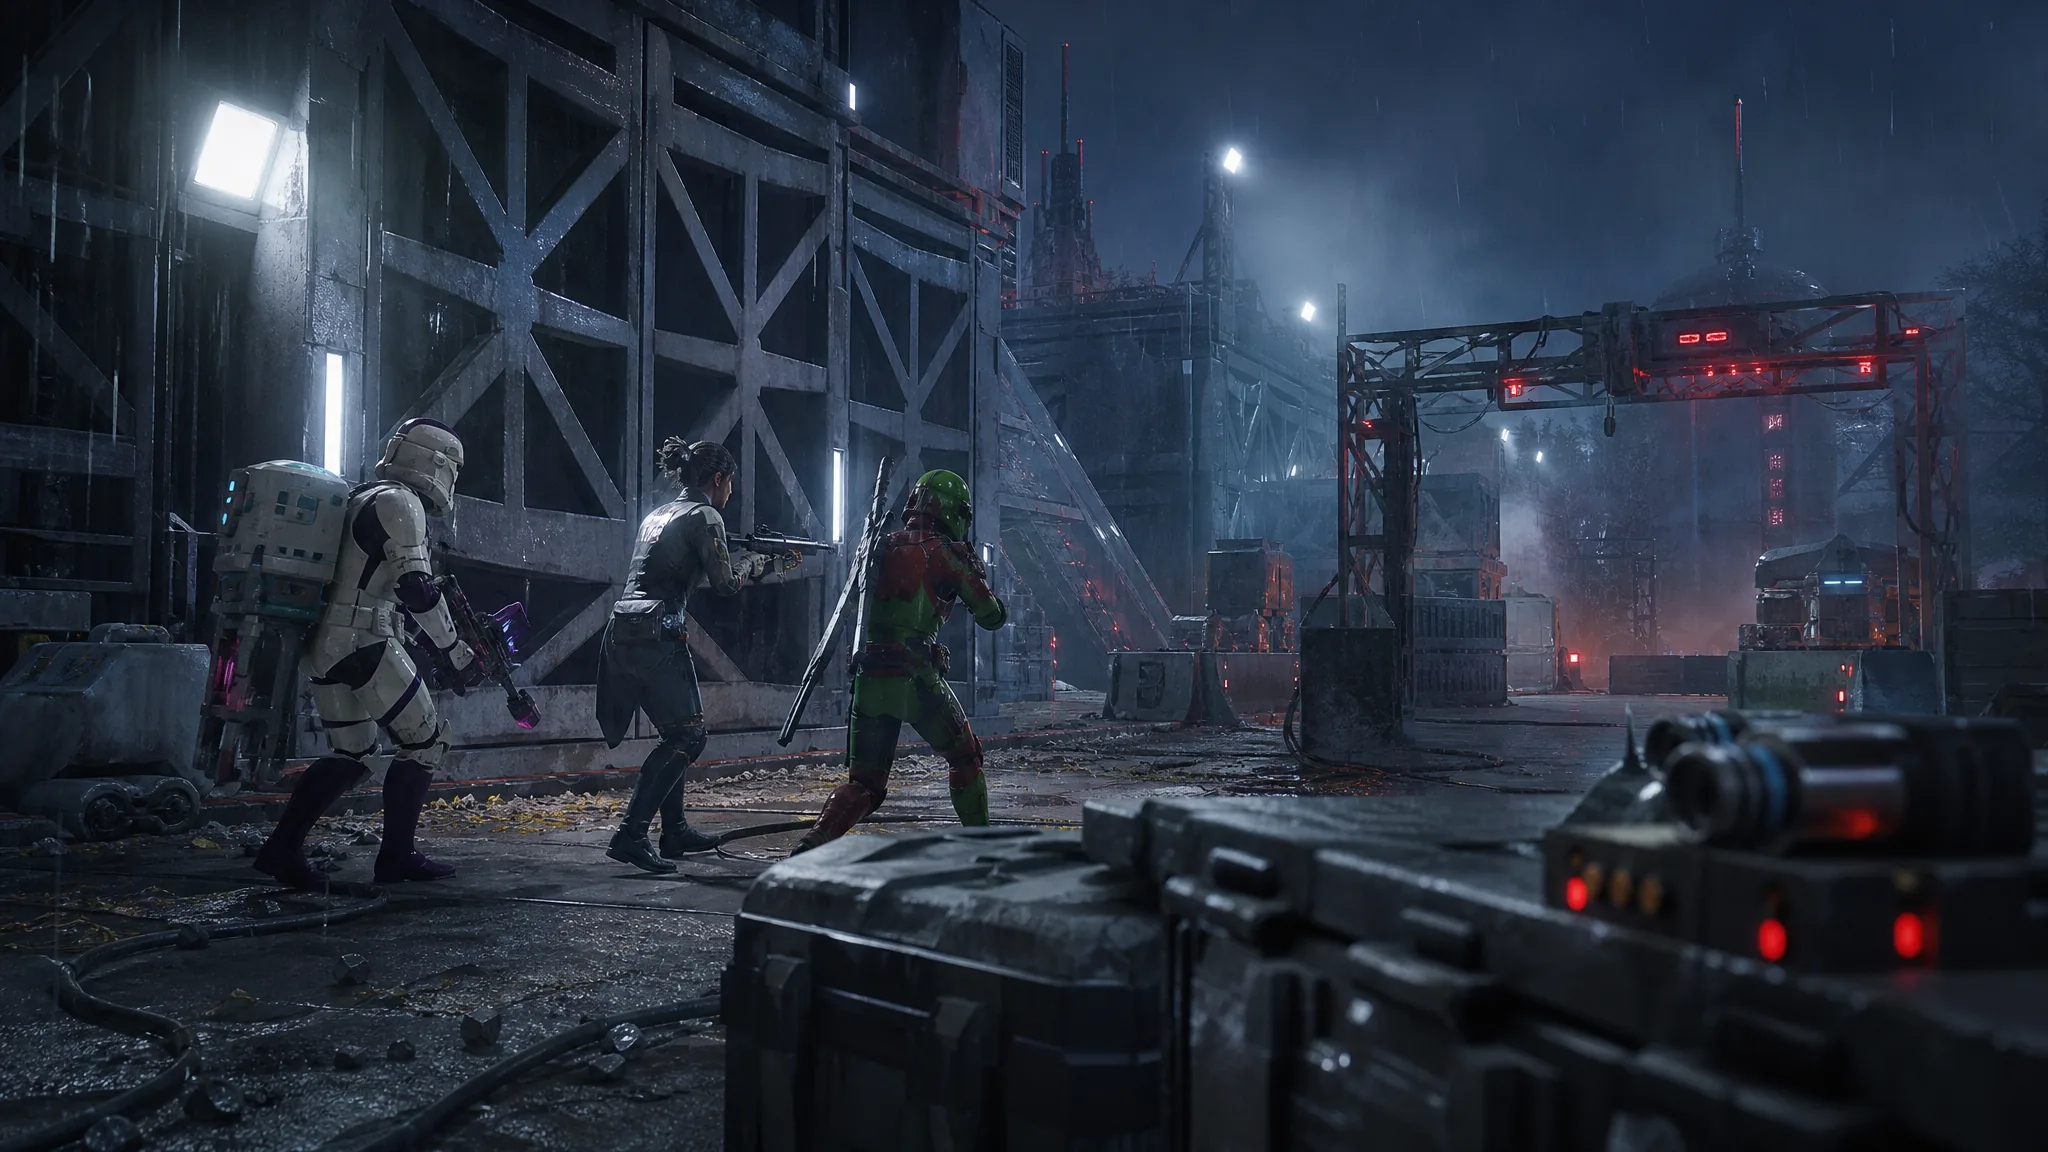
Destroy the Power Station is a sabotage job in Star Wars Zero Company, and sabotage missions in this game reward speed over thoroughness. You plant explosives on two reactors, then get everyone out. The fight in between is loud, but almost none of it is mandatory.
Quick answer: Kill droid units before alien units, plant charges on Reactor Aurek and Reactor Besh, then move every operator into the extraction zone. Reinforcements that spawn during the evacuation phase do not need to be cleared.
Mission objectives and end conditions
The briefing lists three tasks up front, and a fourth appears once the charges are set. The mission does not end when the reactors blow. It ends when the squad is out.
| Objective | What it takes |
|---|---|
| Plant Charges on Reactor Aurek | Move an operator to the Aurek console and use the plant action |
| Plant Charges on Reactor Besh | Same action at the second reactor console |
| Eliminate the Coil Elite | Destroy the named elite unit that advances on your position |
| Evacuate All Operators | Every squad member must physically reach the marked extraction zone |
Note: heavy Overwatch play, which works well on hold-the-line missions, actively slows you down here. Every turn spent baiting enemies into a reaction zone is a turn you are not moving toward a console or the exit.
Kill priority: Droids first, aliens last
This is the single rule that changes the difficulty of the fight. Killing an alien Coil unit buffs the alien units still standing. Killing a droid does nothing for the enemy team. So you clear droids first and leave the organic units for the end, when there are no allies left for them to strengthen.
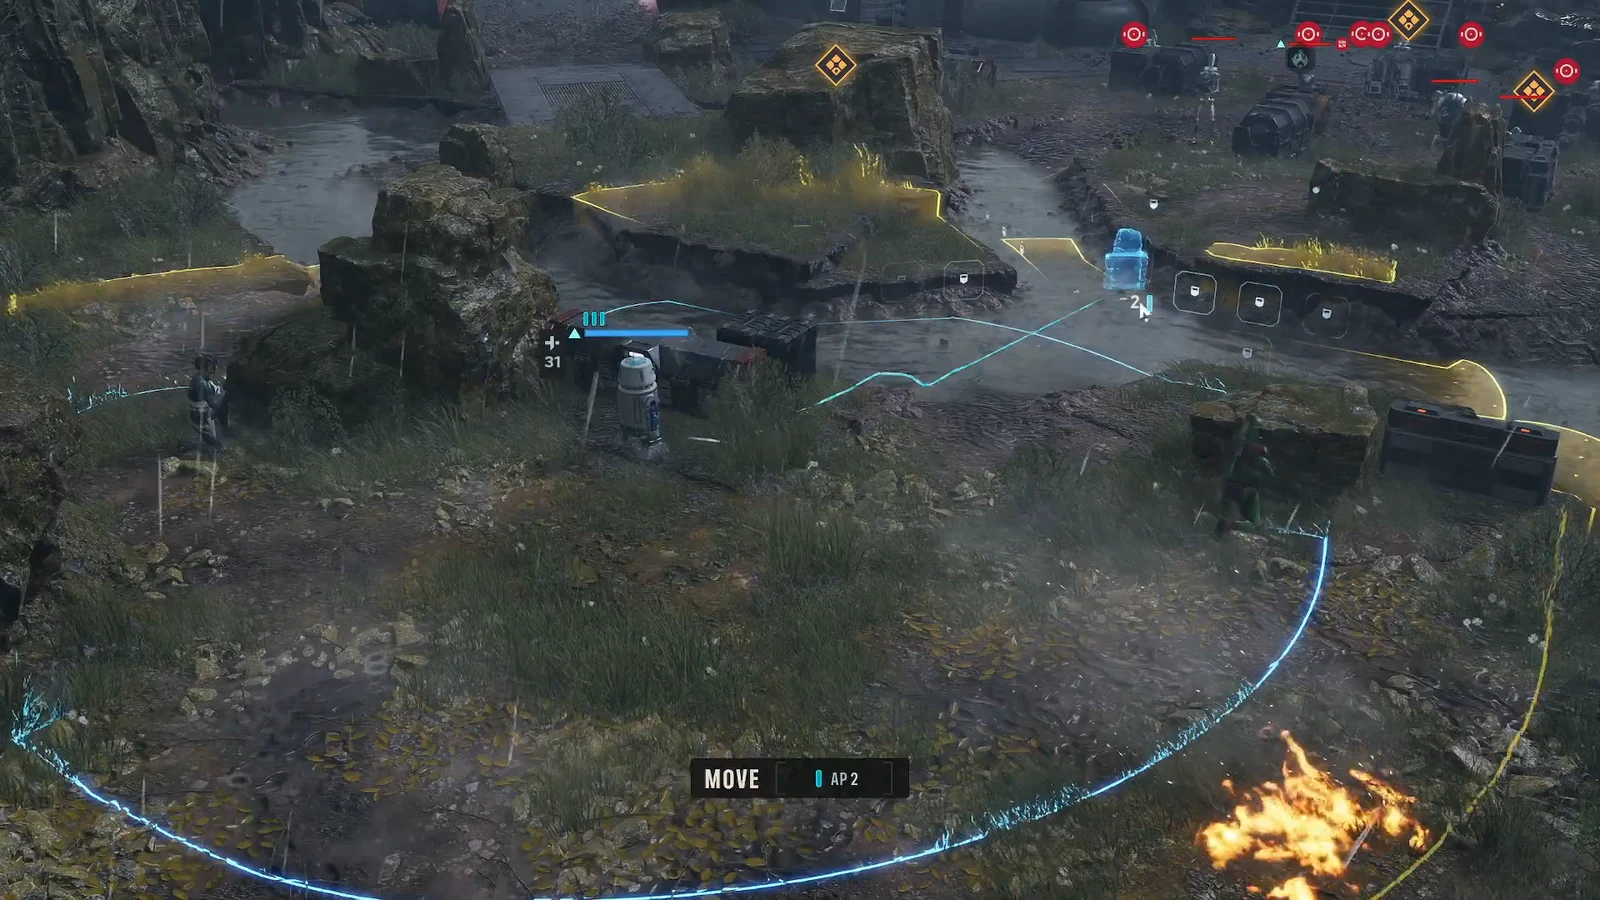
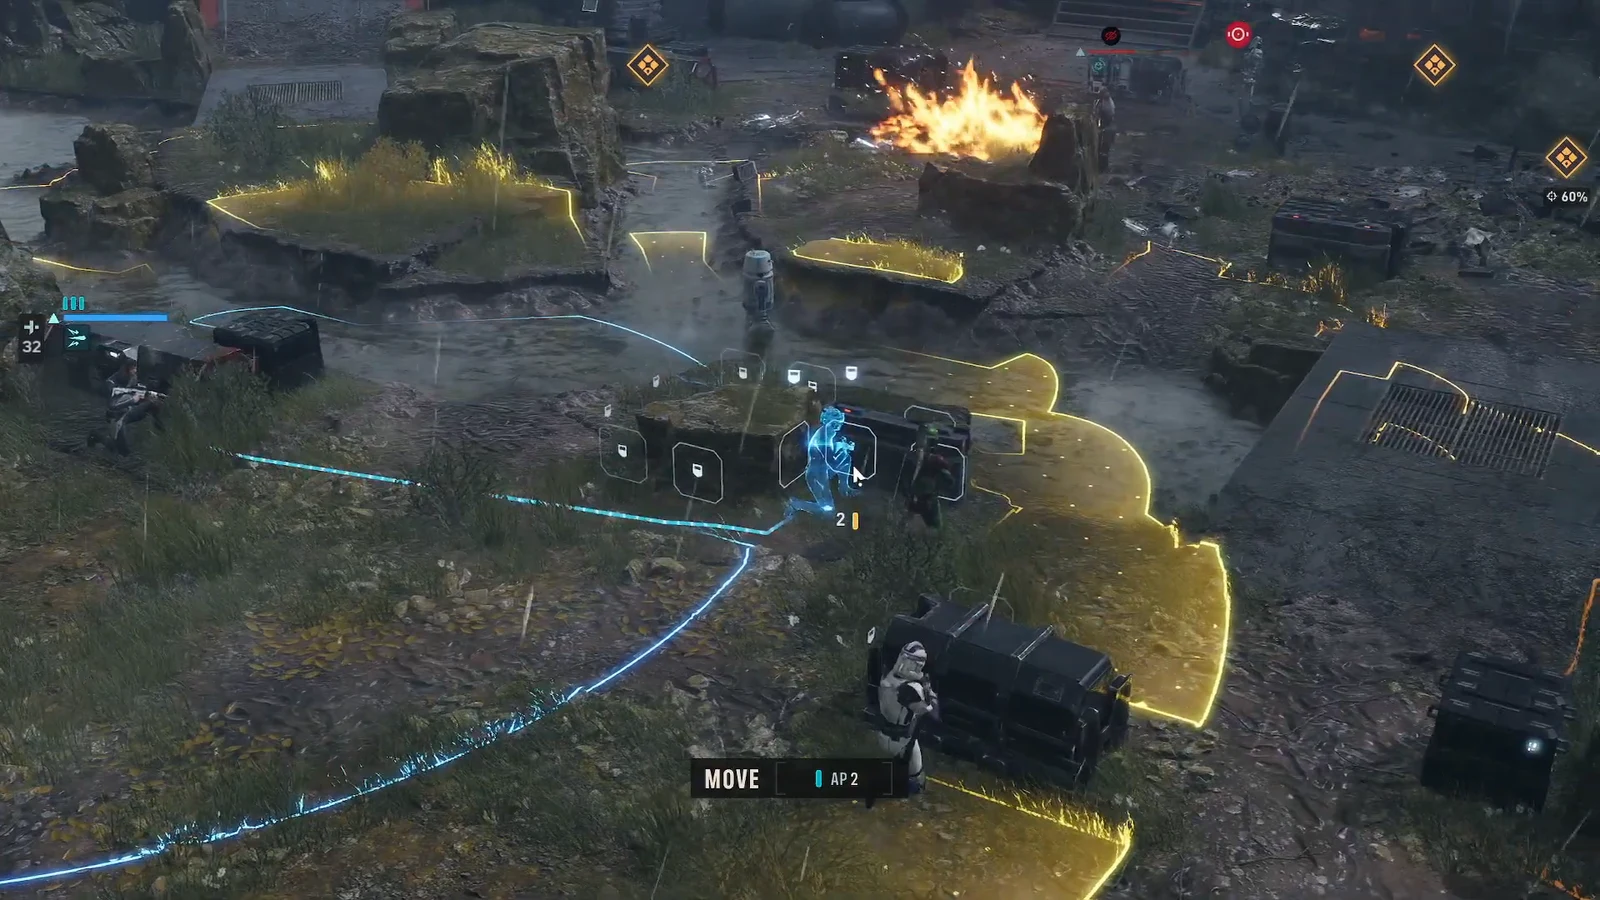
Battle droids also come in tight clusters, which makes them the ideal target for area damage. The astromech P1-O5 covers that role with Impact Bombs and Concussion Grenades, and the map hands you free damage in the form of explosive barrels and open fires.
| Enemy | How to handle it |
|---|---|
| Coil B1 Battle Droid | Weak and grouped. One Impact Bomb near an explosive barrel usually wipes the pack |
| Coil B2 Super Battle Droid | Tanky but slow. Longarm Blaster or Rocket Strike, or simply outrun it |
| Coil BX Droid Commando | Fast and aggressive. Focus it down before it closes on your astromech |
| Coil Striker Elite | High value target. Jae Mordant’s Ambush deals enough single-target damage to finish it |
| Coil Brute | Turns invisible and has Unnatural Resilience. Focus fire and kill it before health recovery triggers |
| Coil Enforcer | Shows up during evacuation, often blocking a ladder. Remove it rather than route around it |
Opening turns: Scan, then detonate the barrel
Surviving the middle of the fight
Once the Coil Elite starts advancing, the enemy AI stops trickling in and commits. Expect droids to rush your line and concentrate fire on P1-O5, which is a problem because the astromech is carrying most of your area damage.
Call for Backup turns a single shot into a two-operator attack, and it is the reliable way to remove a Super Battle Droid that has already closed the distance. Trick’s Longarm Blaster and Rocket Strike handle anything that survives.
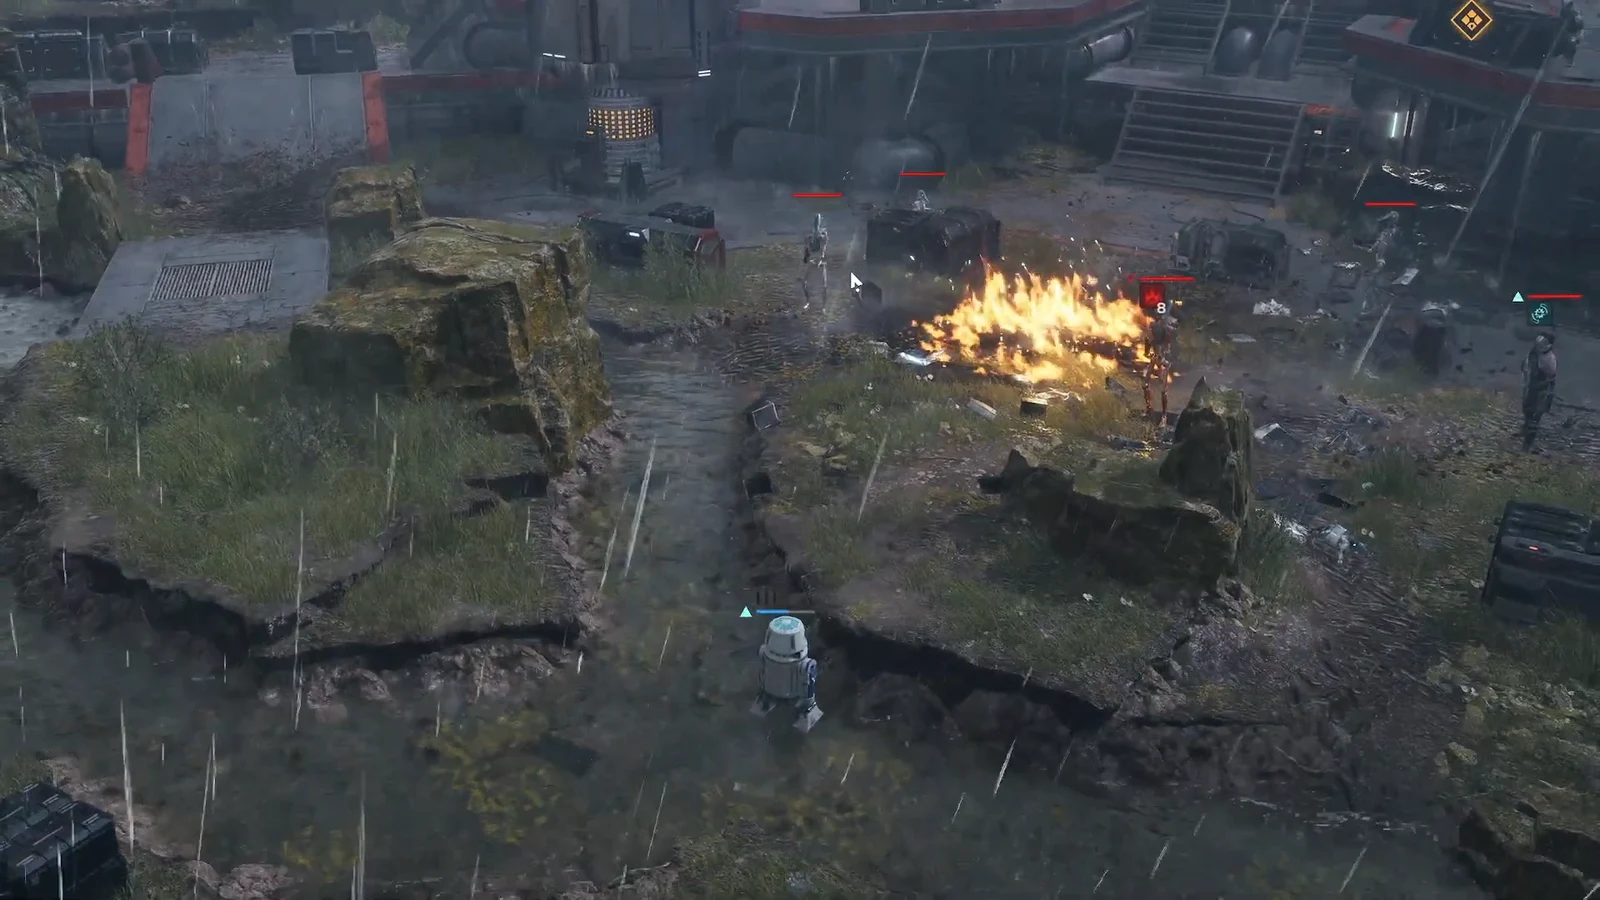
Concussion Grenades are worth more here as a positioning tool than as damage. Pushing an enemy into an existing fire applies burning and finishes weakened units without spending another attack. A Smoke Bomb over your own position blunts incoming fire, and P1-O5 can use Self Repair in the same window.
The Coil Brute is the one enemy worth playing carefully around. It goes invisible on arrival, so pull back slightly, hold long-range fire, and pick off the droids still walking into your lane. When the Brute reappears, commit two operators to it at once. Unnatural Resilience recovers its health if you leave it alive, so partial damage across two turns is wasted damage.
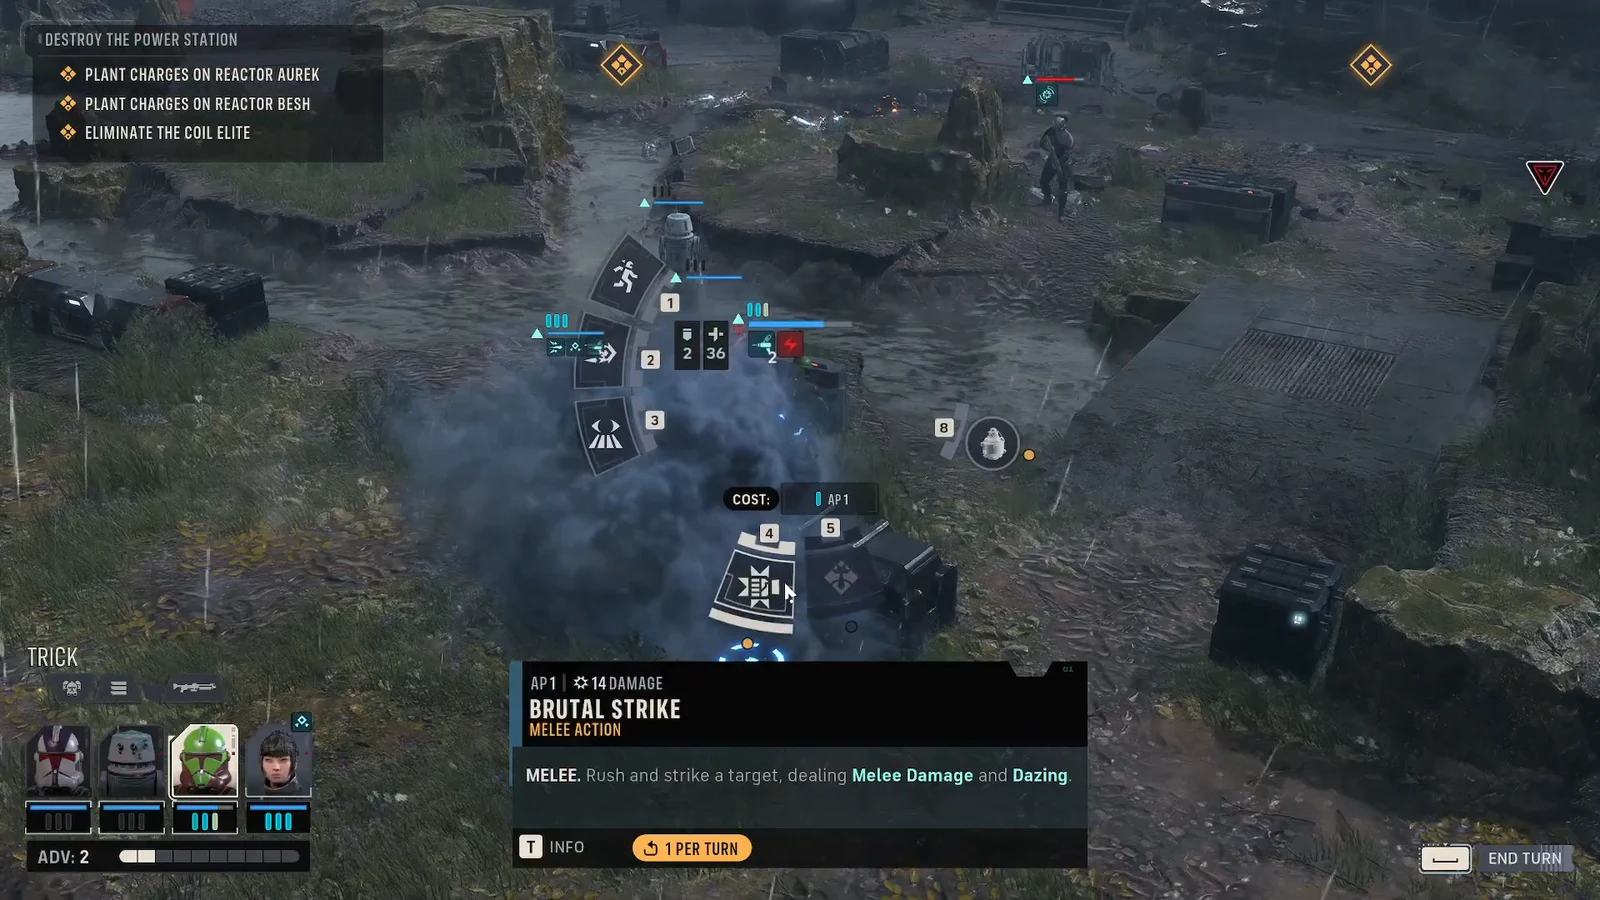
Top the squad up between waves rather than after someone drops. Combat Stim heals and buffs, and Morale Boost restores health across the team. Injuries carried into the evacuation phase are what turn a clean run into a permadeath loss.
Planting the charges on Reactor Aurek and Reactor Besh
The evacuation phase: Run, do not clear
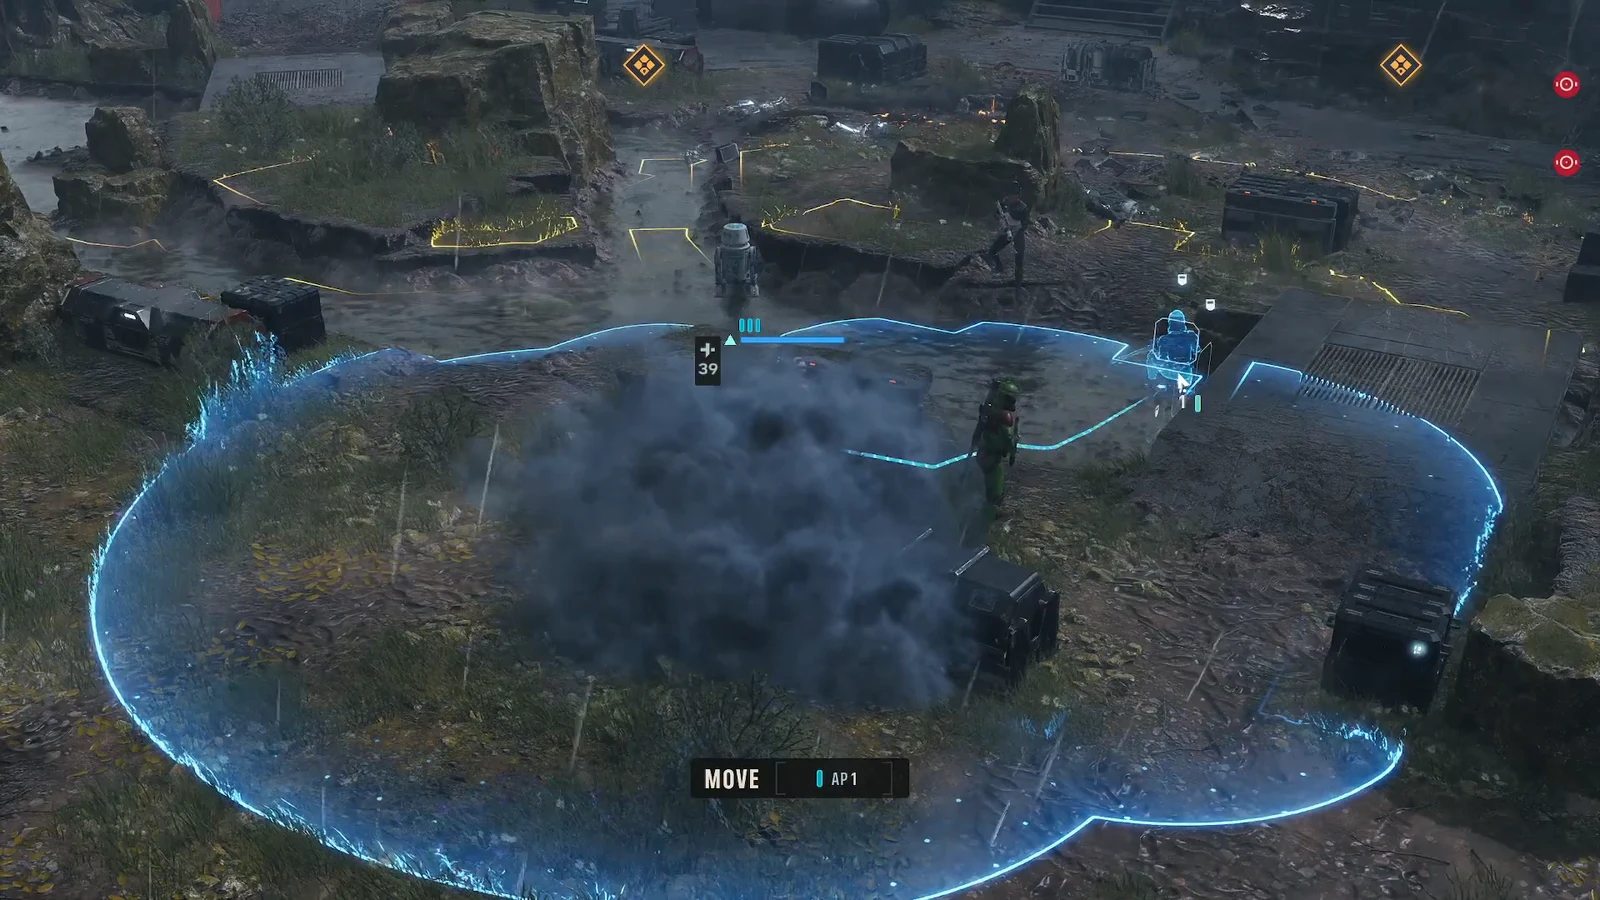
A large wave of droid reinforcements spawns the moment both charges are down, and the extraction zone is marked at the same time. The failure most players hit here is treating the wave as a fight. It is not. Nothing on the objective list asks you to kill it.
Reinforcements cannot attack on the turn they arrive, which buys you a full round of free movement. Spend it moving, not shooting. Only clear enemies that are physically standing between the squad and the exit, such as a Coil Enforcer parked at the base of a ladder.
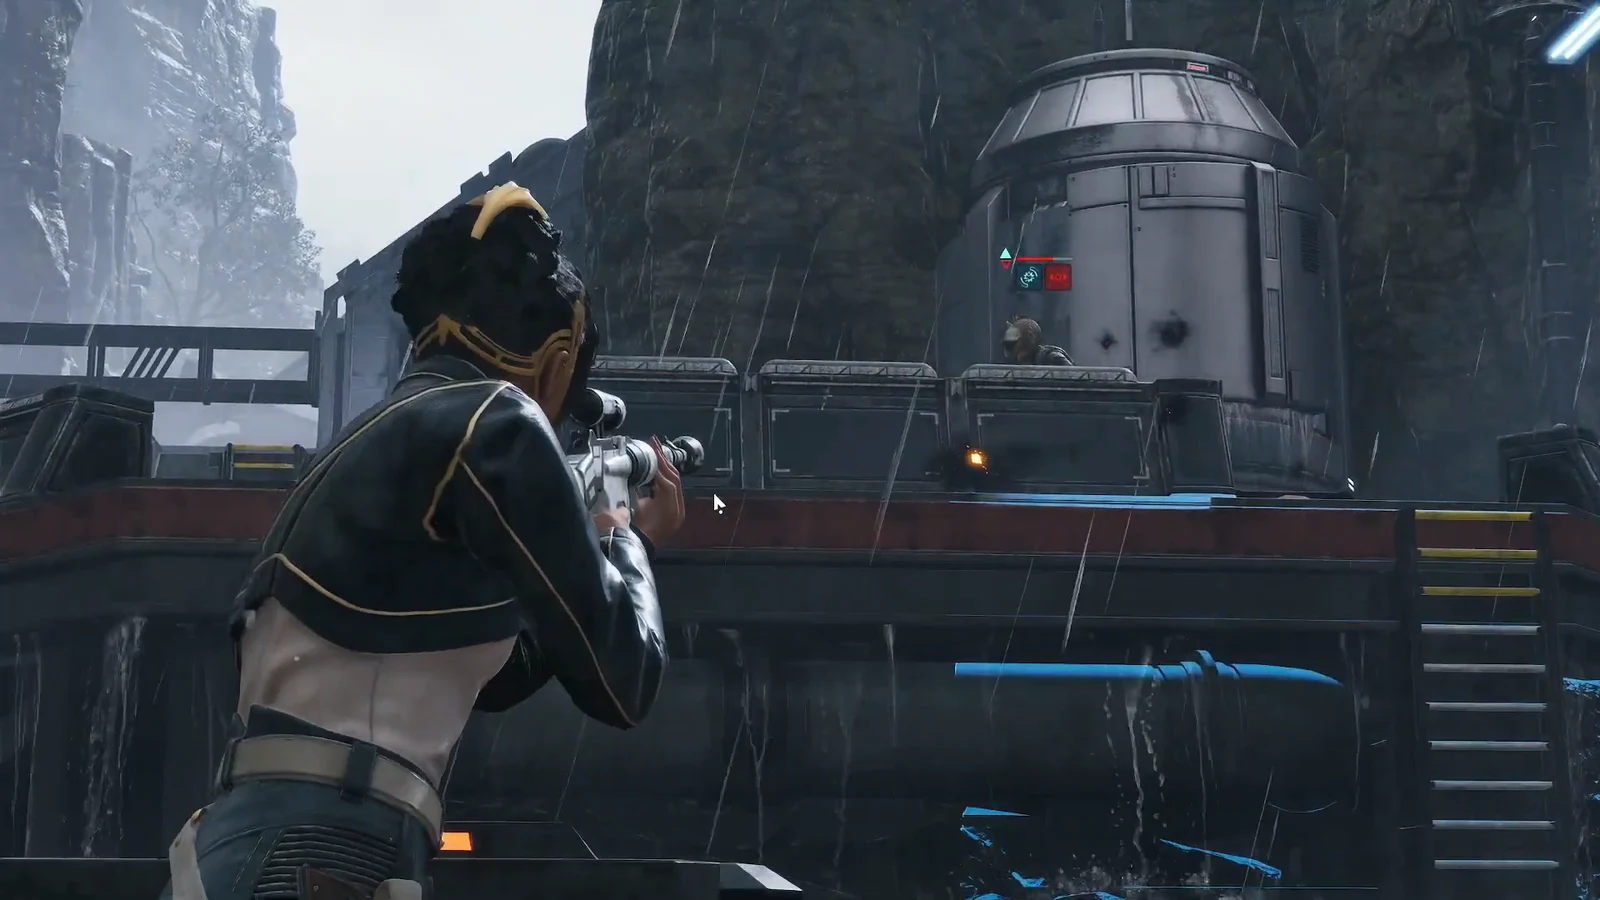
If someone is low, use Morale Boost mid-run rather than stopping to trade shots. Downed operators can still be carried to the pickup area, but every turn spent recovering a body is a turn the reinforcements use to close in.
How to confirm the mission is complete
Each objective ticks off on the HUD tracker as it resolves. The charge objectives clear the moment the plant action finishes, the Coil Elite objective clears on its death, and the mission ends the instant the last operator steps into the extraction zone. If the mission has not ended, one squad member is still outside it.
The most common reasons a run goes wrong are all avoidable. Killing alien units early hands buffs to the ones still alive. Leaving the Coil Brute at low health lets it heal back up. And triggering the second charge with the squad split across two levels means somebody has to cross the map through a fresh reinforcement wave.
Handled in that order, the whole thing runs clean. Blow the barrel, strip the droids, take the platform, set both charges, and leave before the Coil can reorganize.