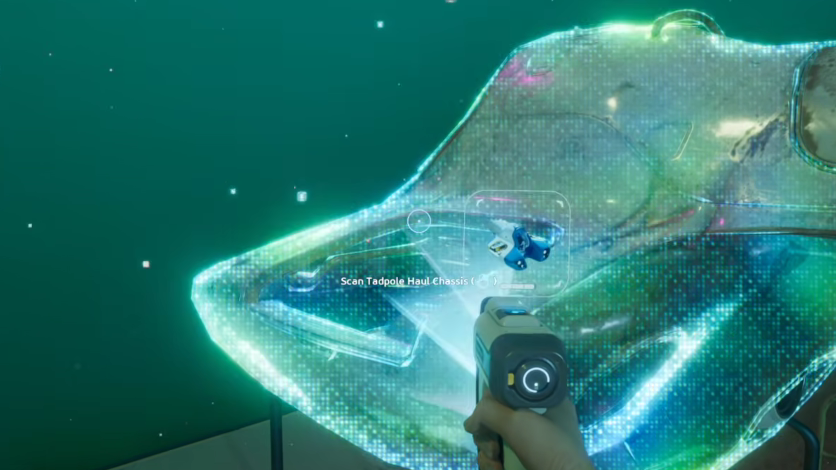
The Tadpole Haul Chassis turns the standard Tadpole into a four-seat cargo hauler with two hardpoints and a built-in storage pod. To unlock the blueprint, you need to scan three fragments scattered through the eastern half of the map, starting near the Alien Ruins and working deeper into hostile territory.

What you need before going
The first fragment is reachable with a stock Tadpole, but the second one sits past the standard crush depth. You will need to install the Tadpole Depth Module Mk I (the recipe data card sits next to the first fragment) before pushing toward the second and third scans.
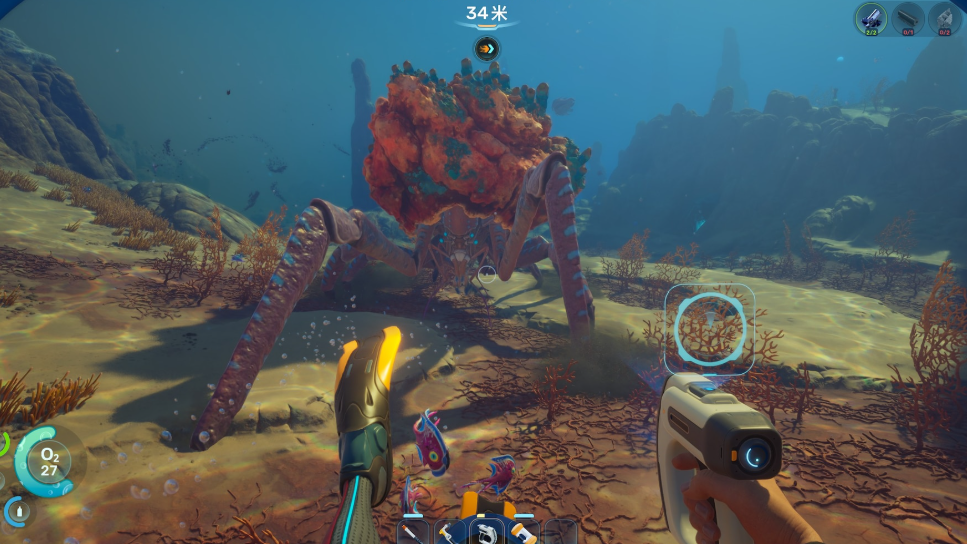
Bring a charged scanner, a spare battery, and a repair tool. The route passes acid pools and a Leviathan Collector, so damage is likely if you linger.
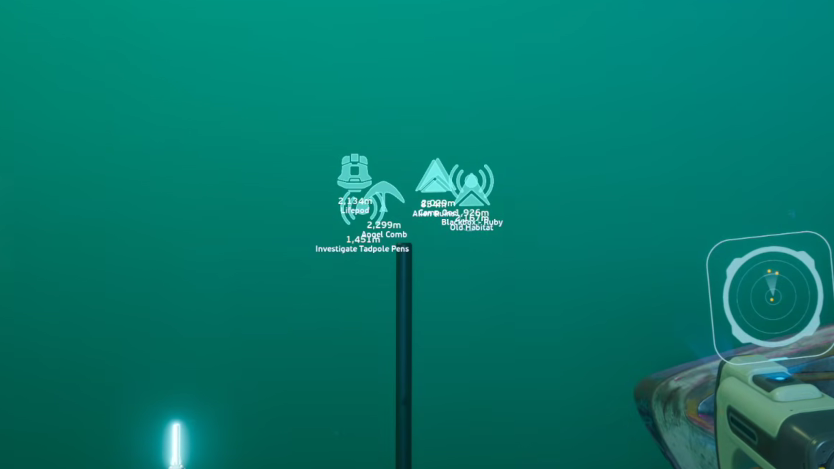
Fragment 1: Cave below the Alien Ruins
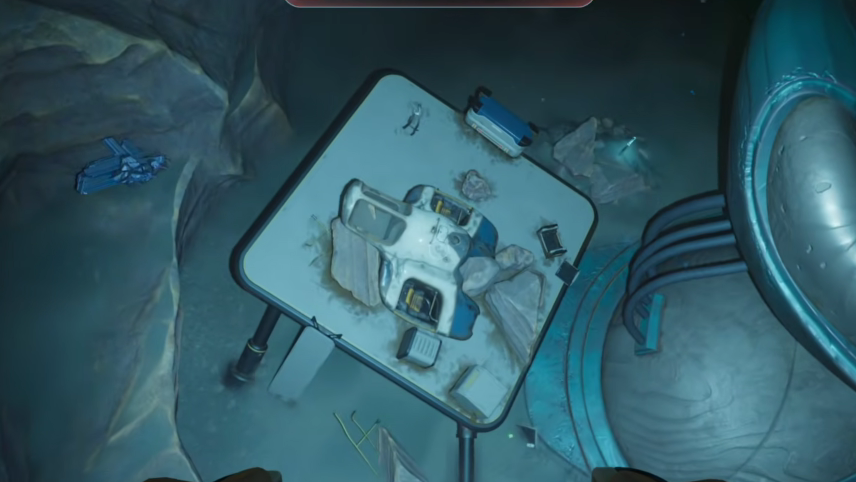
Fragment 2: Crashed ships past the green zone
Before attempting this one, fabricate and install the Tadpole Depth Module Mk I. It extends the Tadpole’s safe operating depth to 450 metres, which you need for the descent.
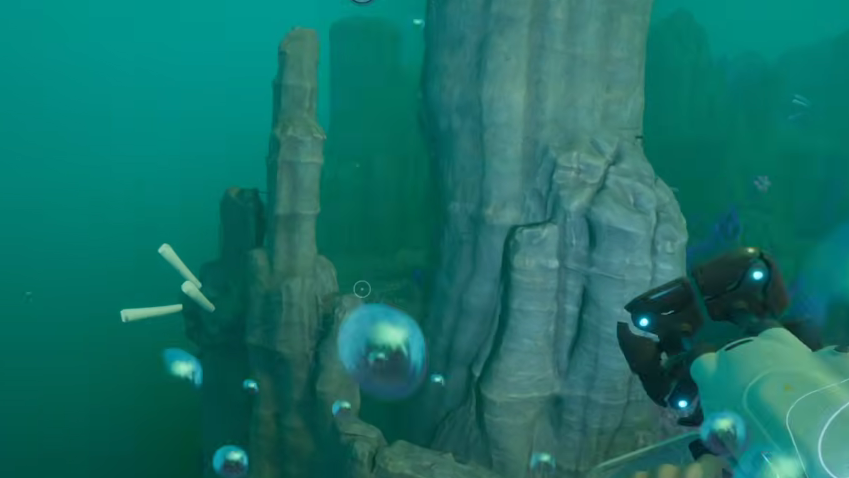
Fragment 3: Cliff structure above the wreck
Crafting the Haul Chassis
The Haul Chassis is built at the Vehicle Fabricator, which must be placed inside a moonpool on one of your bases. The recipe is fixed.
| Material | Quantity | How to obtain |
|---|---|---|
| Titanium Ingot | 4 | Processor, 3 Raw Titanium per ingot |
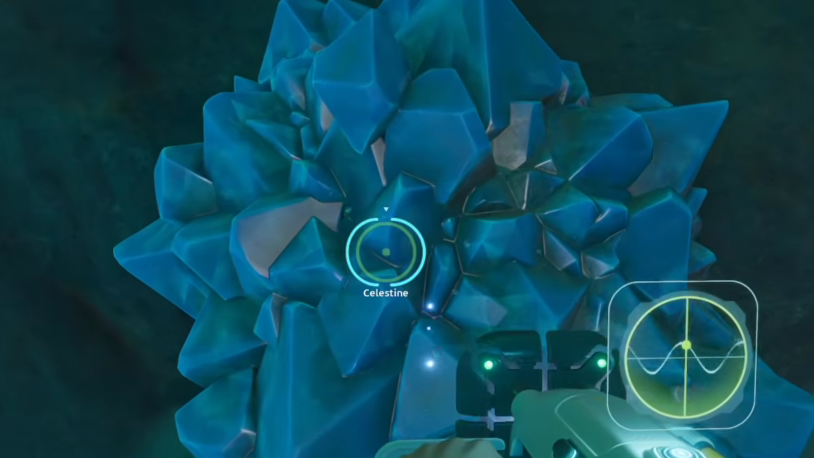
| Strontium | 3 | Configurator Processor, 2 Celestine per unit |
| Enameled Glass | 3 | Fabricator, made from Glass and Creature Enamel |
| Dedicated Core | 1 | Fabricator, needs 1 Advanced Wiring Kit, 2 Quartz, 1 Strong Acid |
Celestine deposits cluster in the eastern region near the Feedback Resonator fragments. Creature Enamel is found roughly 280 metres southeast of the Alien Ruins, embedded in rock faces that almost look like flat placeholders. The fauna in that pocket is aggressive, so harvest fast.
What the Haul Chassis actually does
| Feature | Detail |
|---|---|
| Seats | Four total, with oxygen ports at each spot |
| Hardpoints | Two, compatible with Portable Lockers, work lights, or oxygen generators |
| Storage | Built-in cargo pod, plus the chassis itself works as storage when detached |
| Camera | Mounted under the main body for navigation and resource spotting |
| Trade-off | Heavier, slower, and less agile than the Scout Ray Chassis |
The rig is built for resource extraction and ferry runs, not exploration into dangerous water. If you need to fit through a tight cave, undock the Haul Chassis and continue with the bare Tadpole, then re-dock on the way back.
How to confirm the unlock
After the third scan, open the Blueprints menu. The Tadpole Haul Chassis entry will switch from a fragment progress bar to a full recipe listing Titanium Ingot, Strontium, Enameled Glass, and Dedicated Core. If the entry still shows partial fragments, one of the three scans did not register, and you will need to revisit the locations with a working scanner.