Cursed Flames in Sukuna Evolution are passive multipliers on the cursed energy (CE) you collect. They are the cheapest way to speed up every other part of the grind. Most flames cost trophies, a few also have a Robux price, four come from daily rewards, and the two strongest sit in the Token Shop. Choosing a flame is simple. The real work is earning enough trophies, and that comes down to clearing stages and beating bosses.
Quick answer: Open the Cursed Flames menu in the lobby, buy the highest flame your trophies cover, and equip it. Earn more trophies by clearing stages. Jogo alone pays +180K trophies per clear.
Sukuna Evolution Cursed Flames list: Multipliers and costs
The Cursed Flames menu has 16 flames, from x1.5 up to x60. Each one multiplies the CE you gain, so a bigger flame makes every training hit and every stage kill worth more. The table lists each flame in the order the menu shows it.
| Flame | Multiplier | Trophy cost | Other way to unlock |
|---|---|---|---|
| Cursed Spark | x1.5 | 50 | — |
| Cursed Energy Flow | x2 | 500 | — |
| Divergent Flicker | x3 | 5K | — |
| Crimson Storm | x3 | — | Daily reward |
| Cursed Bud Storm | x3 | — | Daily reward |
| Idle Soul Storm | x3 | — | Daily reward |
| Shadow Swamp Storm | x3 | — | Daily reward |
| Mythical Beast Amber | x4 | 40K | — |
| Flower Field | x5.5 | 250K | R$99 |
| Star Rage | x7 | 1.5M | R$149 |
| Disaster Flames | x9 | 8M | R$249 |
| Ten Shadows | x11 | 30M | R$399 |
| Reverse Cursed Technique | x13 | 100M | R$599 |
| Frost Calm | x16 | 10B | — |
| Adapted | x30 | — | Token Shop |
| Fuga Blaze | x60 | — | Token Shop |
The trophy-only flames at the top of the list are quick to buy. Divergent Flicker at 5K trophies triples your CE gain before you have even reached the late stages. The four storm flames match Divergent Flicker at x3, but they come from daily rewards instead of trophies.
From Flower Field to Reverse Cursed Technique, each flame has two prices. You can pay the trophy amount or skip the grind with Robux. Frost Calm has no Robux option and costs 10B trophies. Adapted and Fuga Blaze are not sold for trophies or Robux in this menu at all. They are listed under the Token Shop.
Flower Field also unlocks through daily quests. Claim your daily quest rewards before you spend 250K trophies on it.
How to buy and equip a Cursed Flame
To check that it worked, head back to the training area and watch the CE numbers that pop up above your character. With a stronger flame equipped, each gain should be larger than before.
Earning trophies for flames: Stages and bosses
Trophies come from combat stages, and bosses pay the most. Each stage has a recommended CE total. If your CE is below that number, mob waves can overwhelm you before you reach the boss. Use the table to see which stage you are ready for.
| Stage | Location | Recommended CE |
|---|---|---|
| Stage 1 | Eishu Detention Center | 10 |
| Stage 2 | — | 60 |
| Stage 3 | — | 400 |
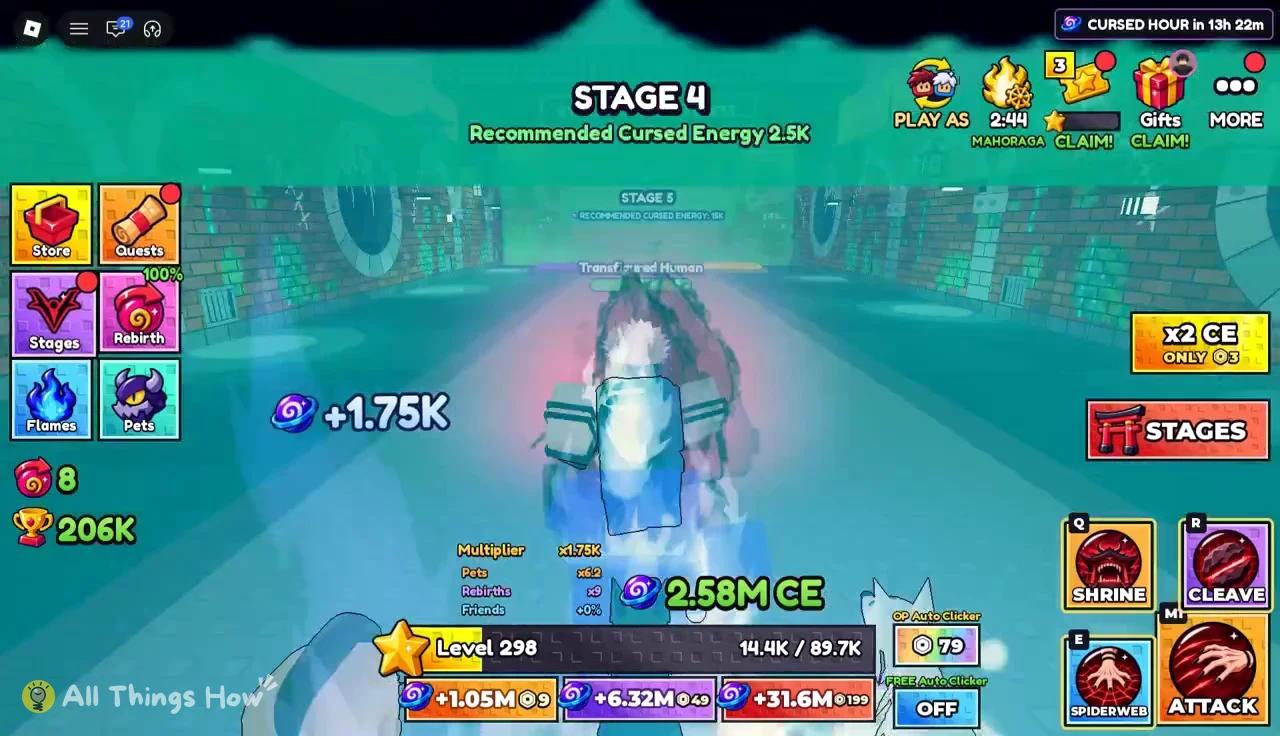
| Stage 4 | — | 2.5K |
| Stage 5 | — | 15K |
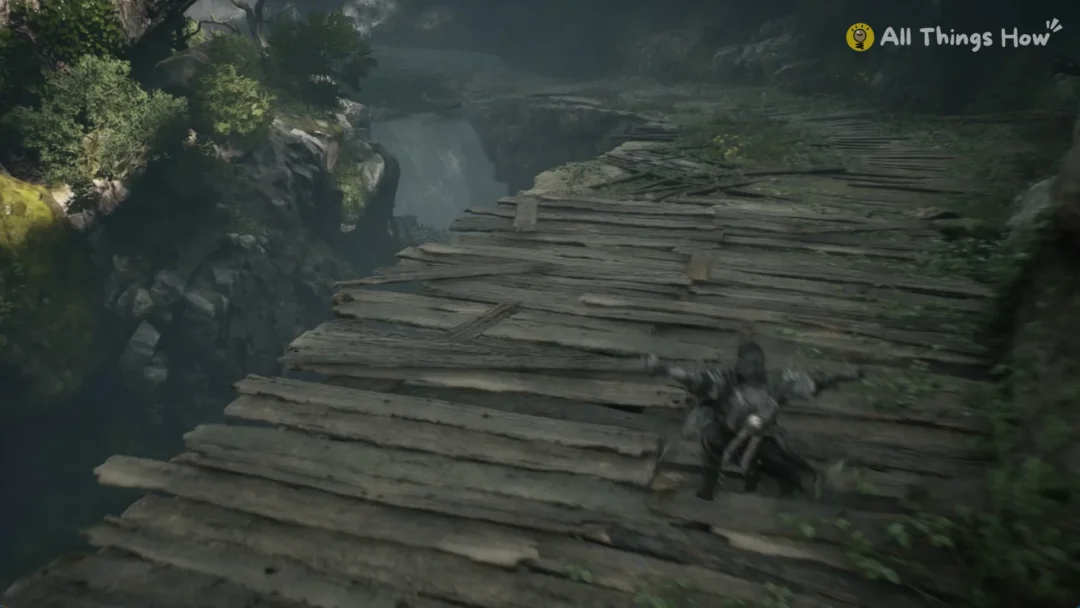
| Stage 6 | Yasohachi Bridge | 90K |
| Stage 7 | — | 550K |
| Stage 8 | Shibuya Station B5F | 3.3M |
| Stage 9 | Dogenzaka Ruins | 20M |
| Stage 10 | — | 120M |
The other stage areas include Detention Hall, Satozakura Waterway, Kyoto Goodwill Forest, Sacred Grove, Shibuya Crossing and Shibuya Underground. The bosses you will fight along the way are Finger Bearer, Hanami, Grasshopper Curse and Jogo.
Running the stages
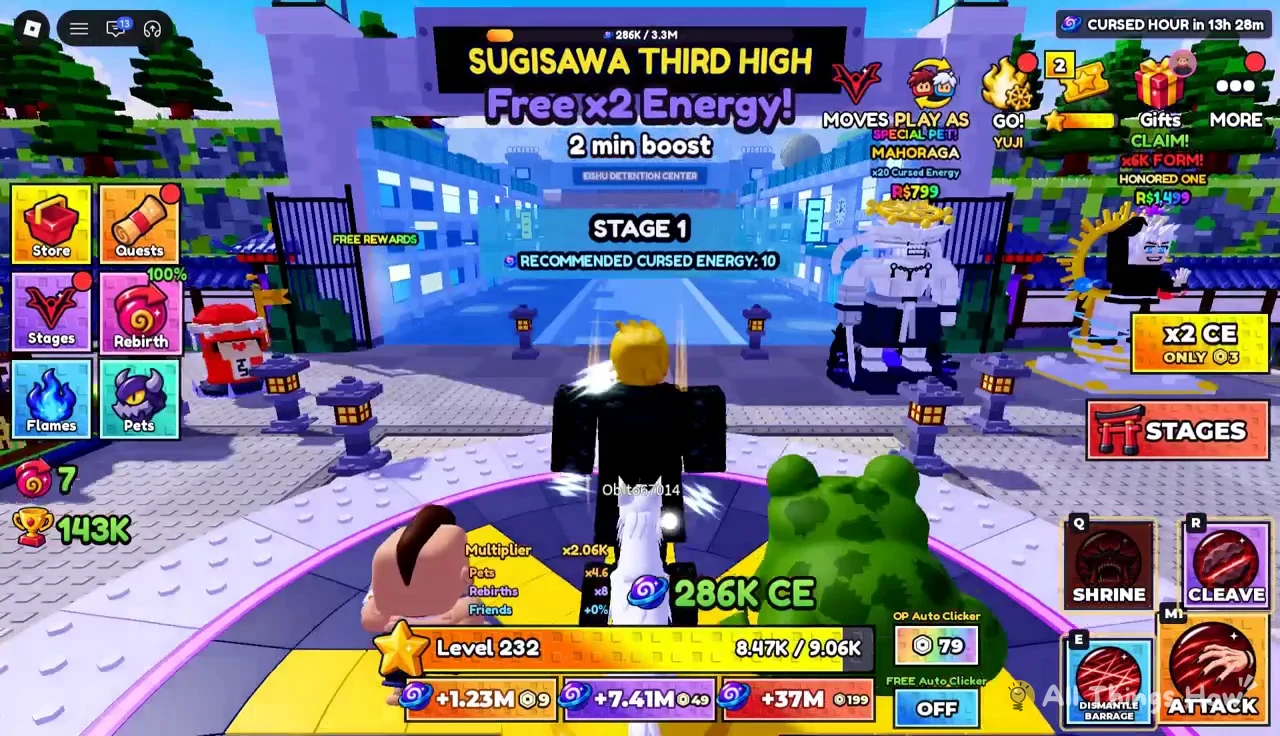
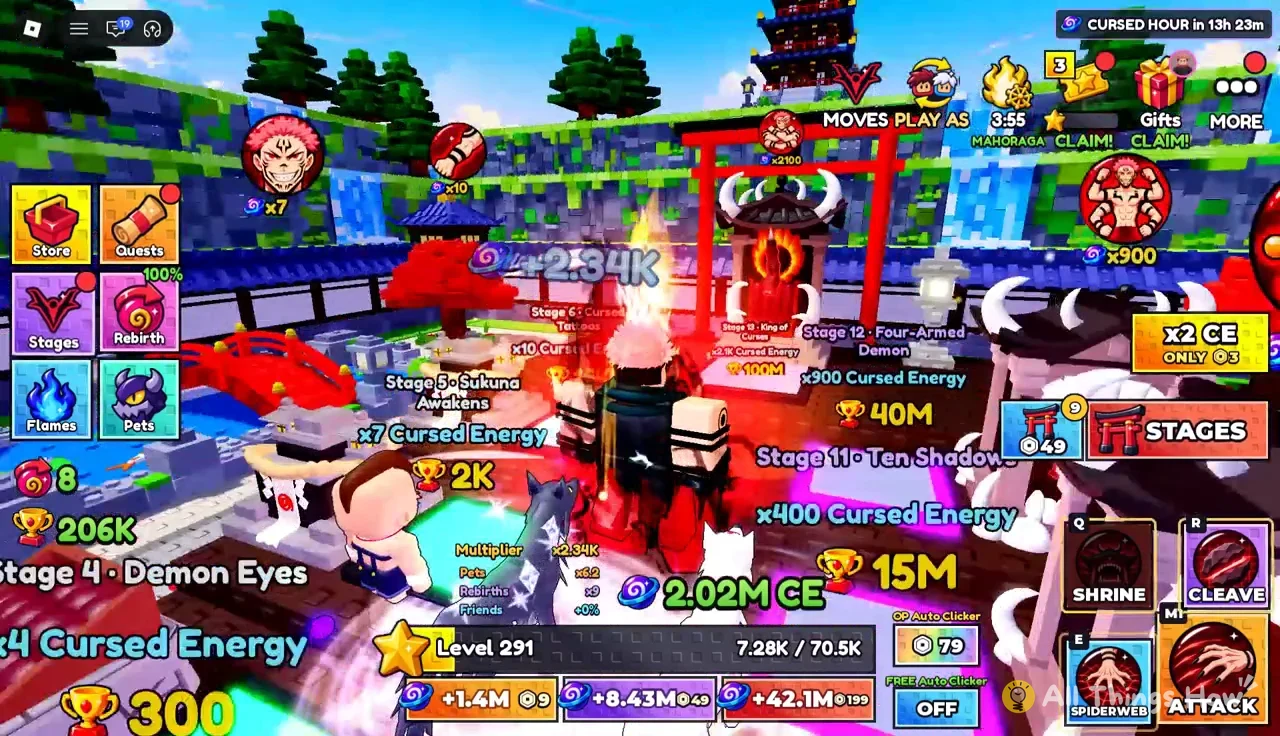
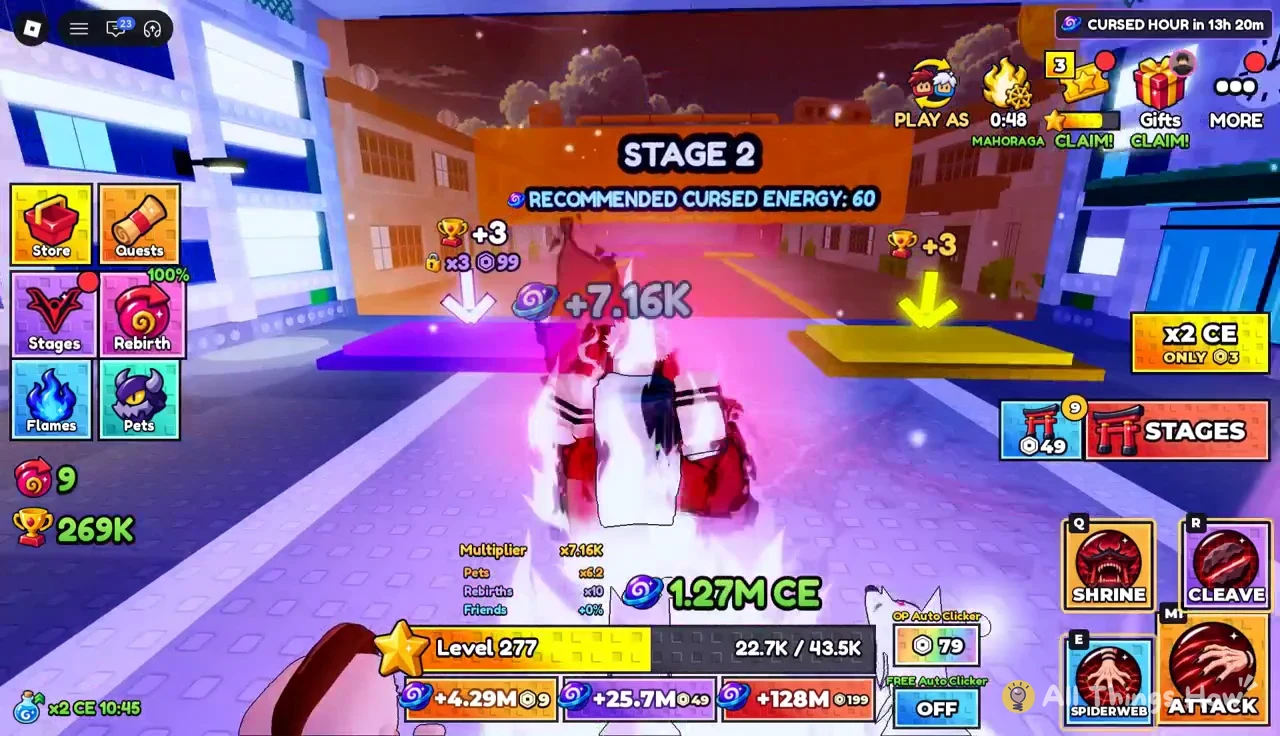
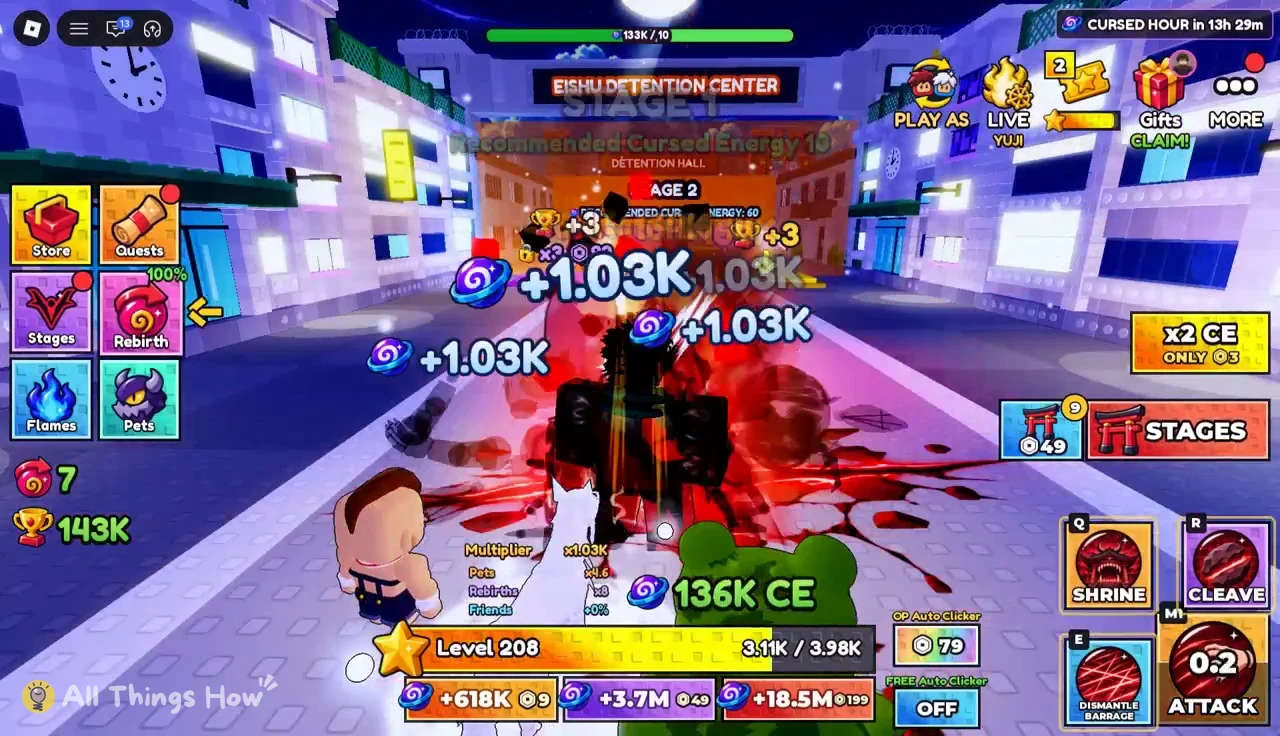
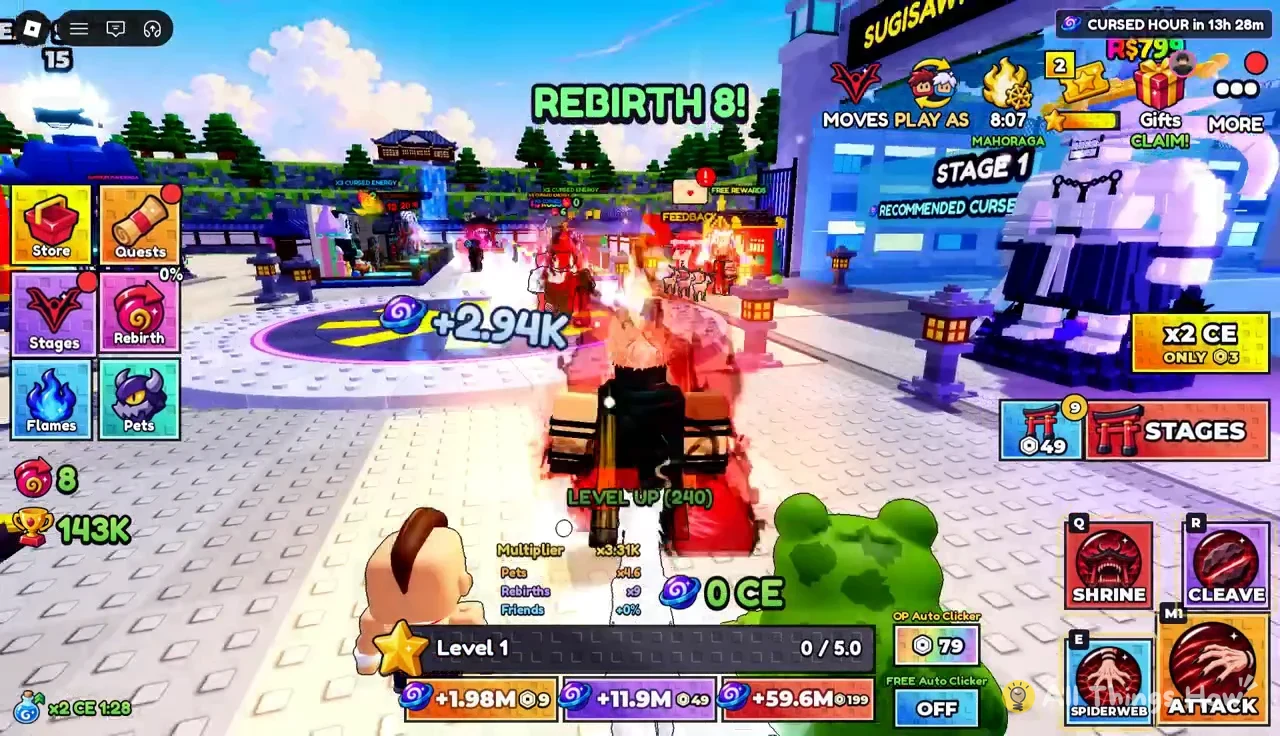
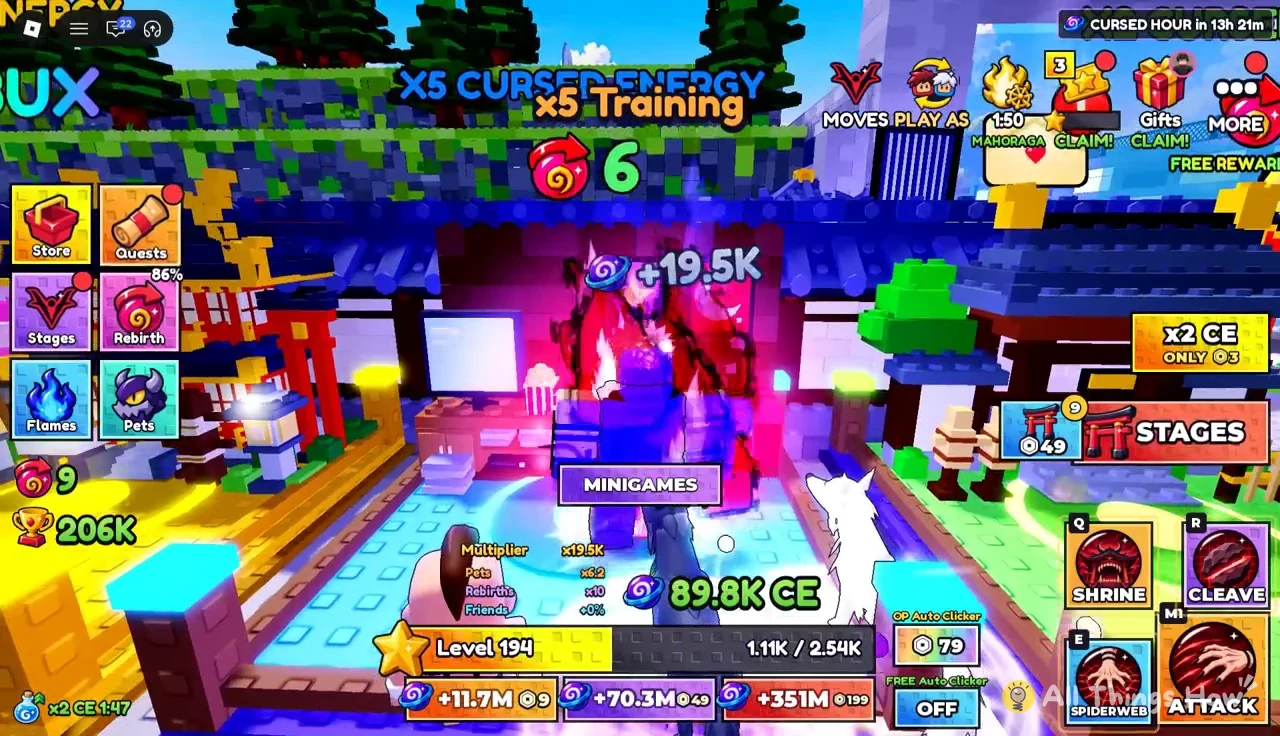
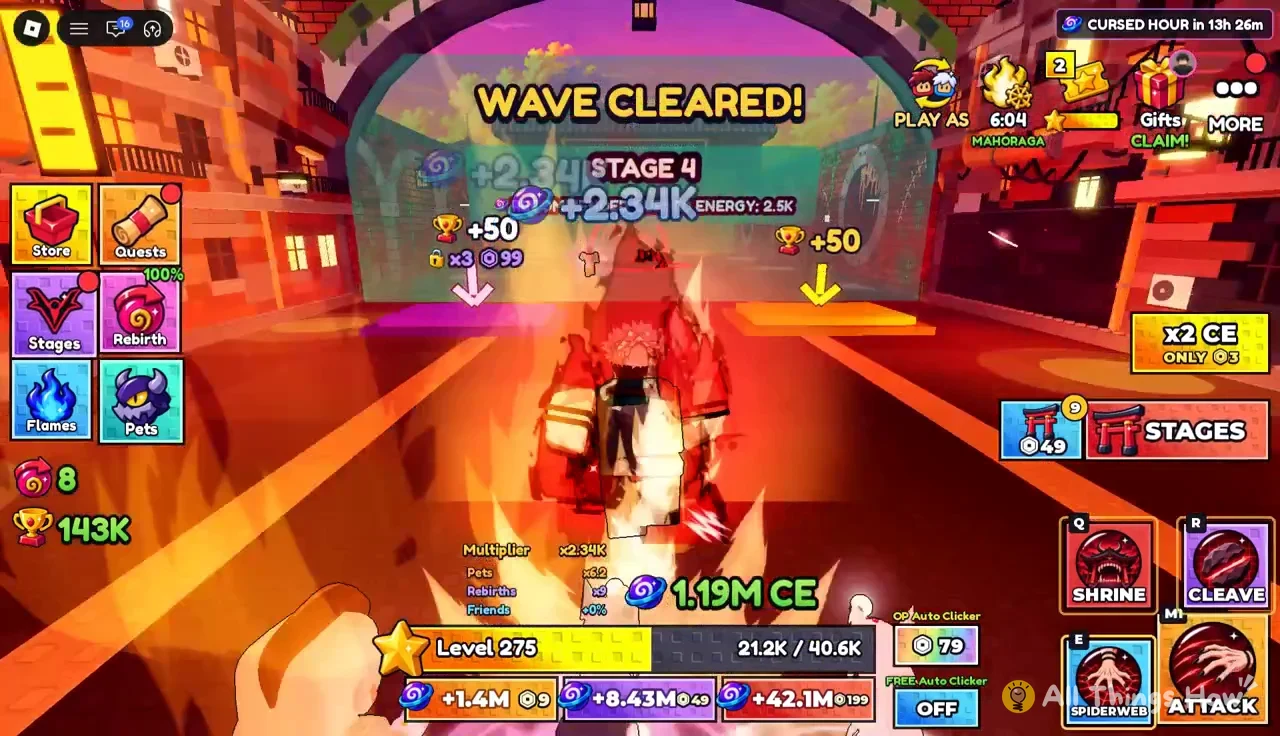
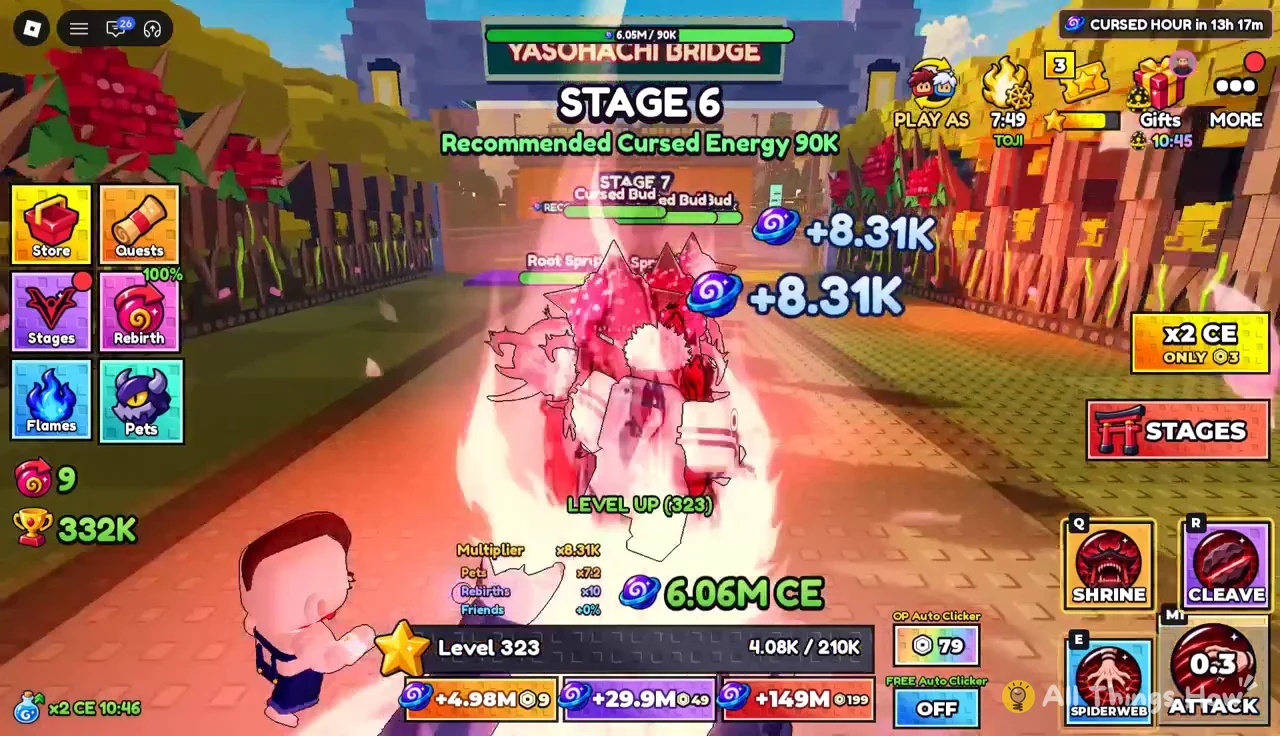
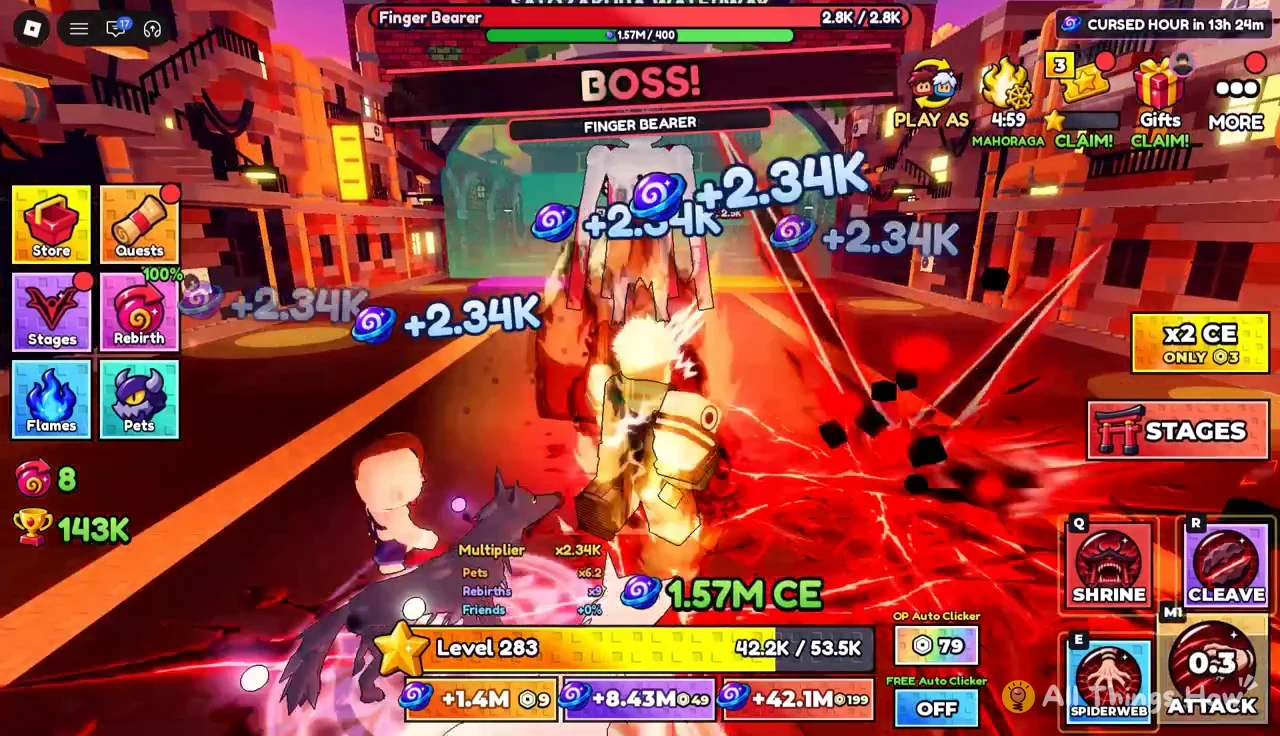
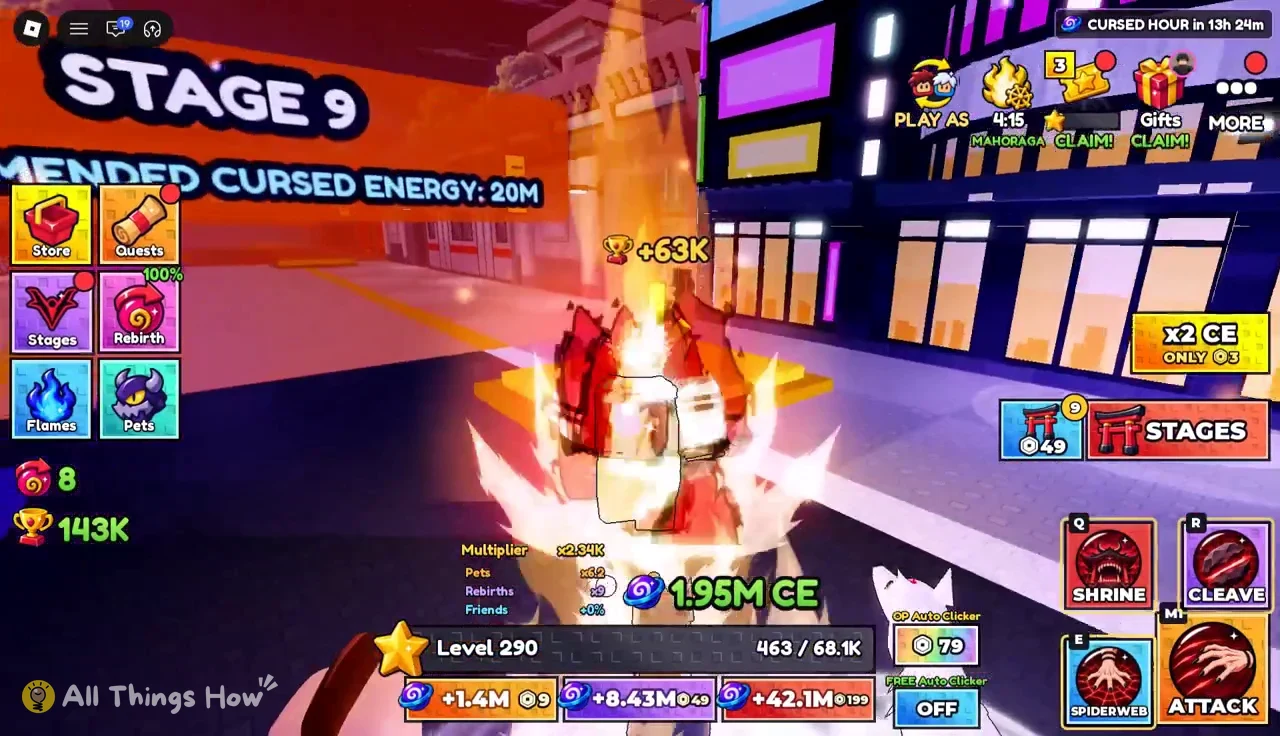
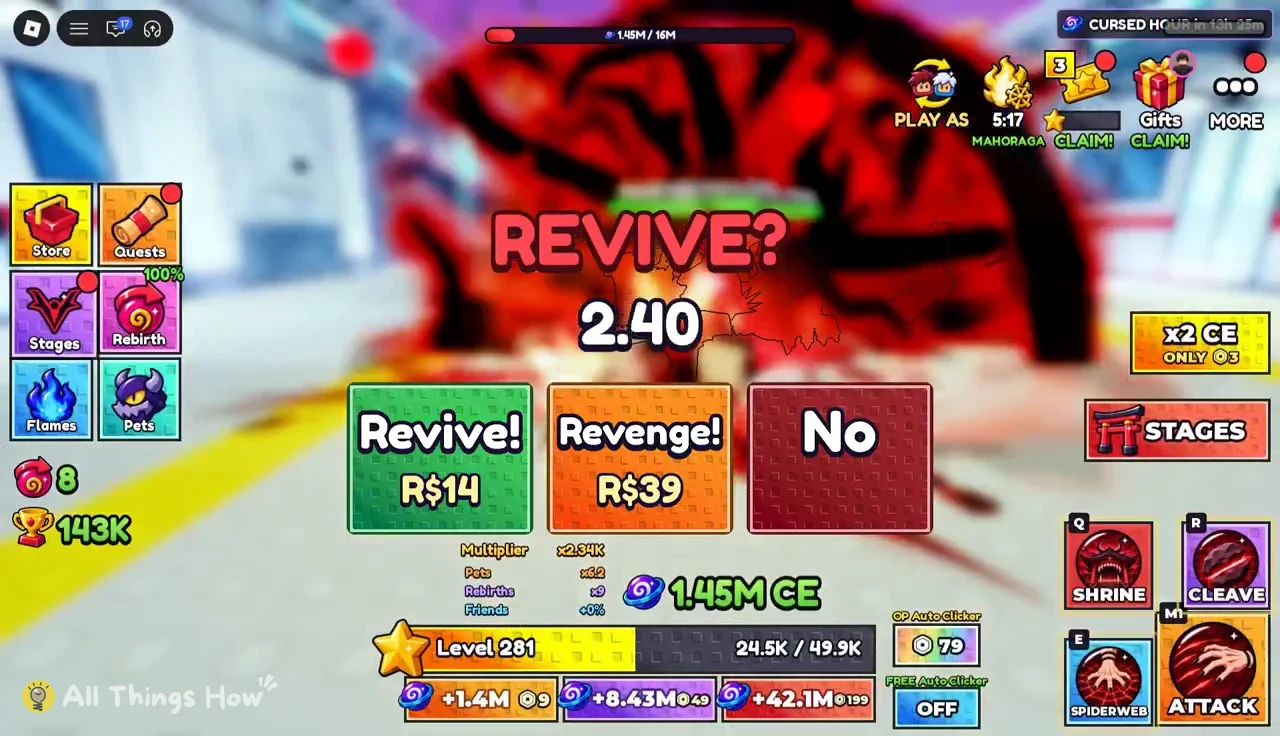
If you die, a “REVIVE?” prompt counts down with three choices: Revive!, Revenge! and No. Dying before Jogo usually means your CE is too low for Stage 9. Ember Bug mobs in Dogenzaka Ruins are a common place to fall. When that happens, go back and train before trying again.
Once you can reliably beat Jogo, repeating Stages 1 through 9 is the fastest trophy loop. Each Jogo clear adds another 180K. At that rate, Flower Field takes about two clears and Star Rage takes about nine.
Building enough cursed energy to reach the trophy bosses
Your progress through the stages depends on your CE total. Several systems feed it alongside your flame, and they all stack together.
Hub training and minigames
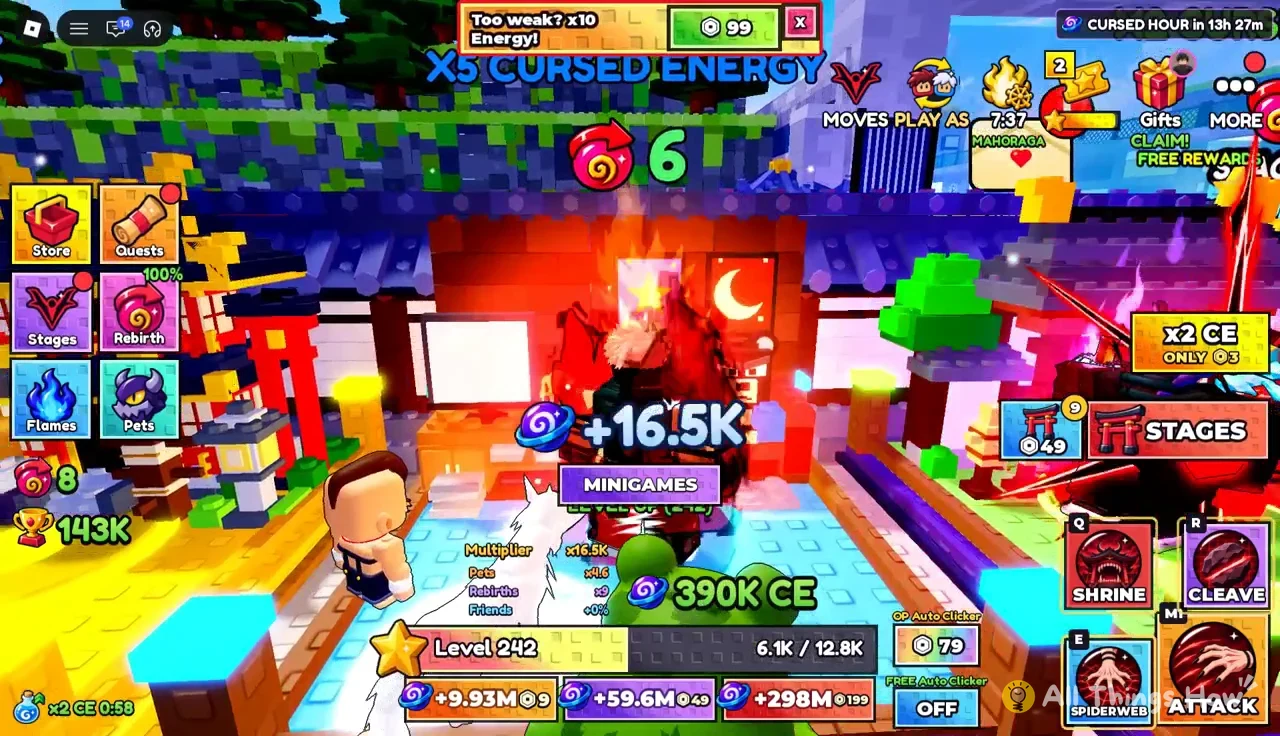
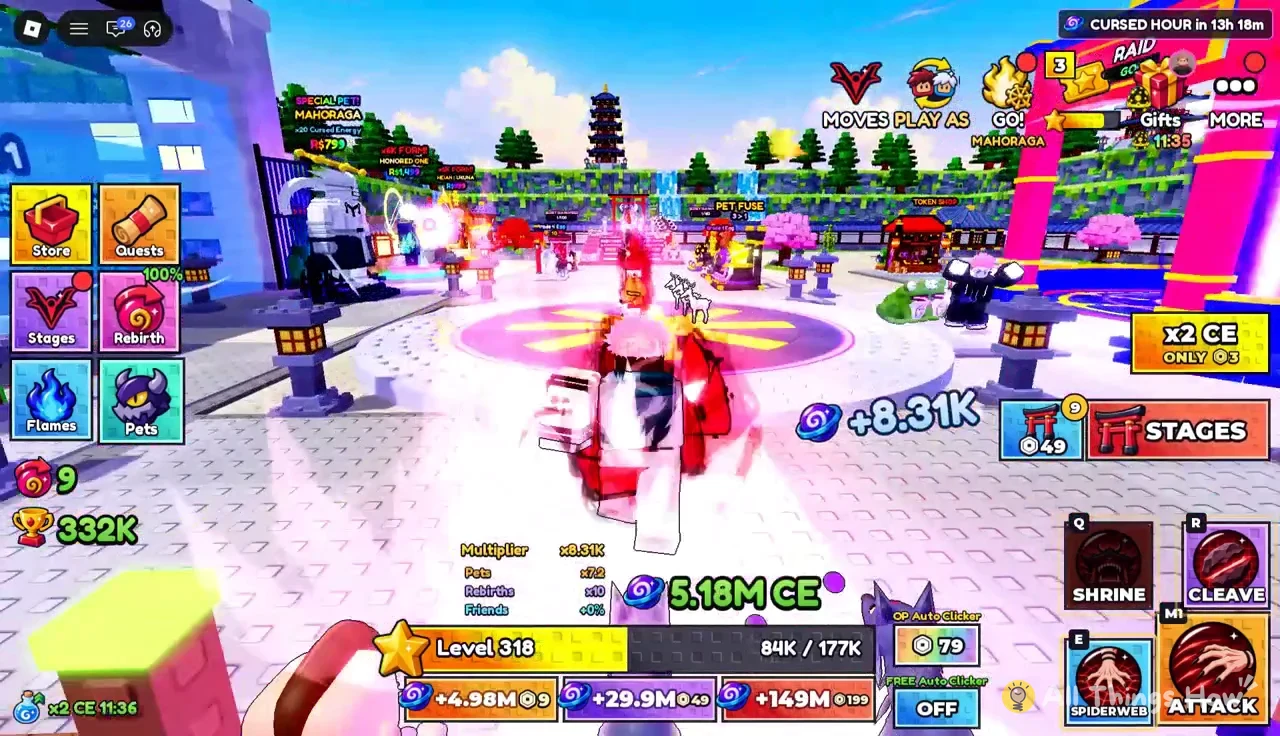
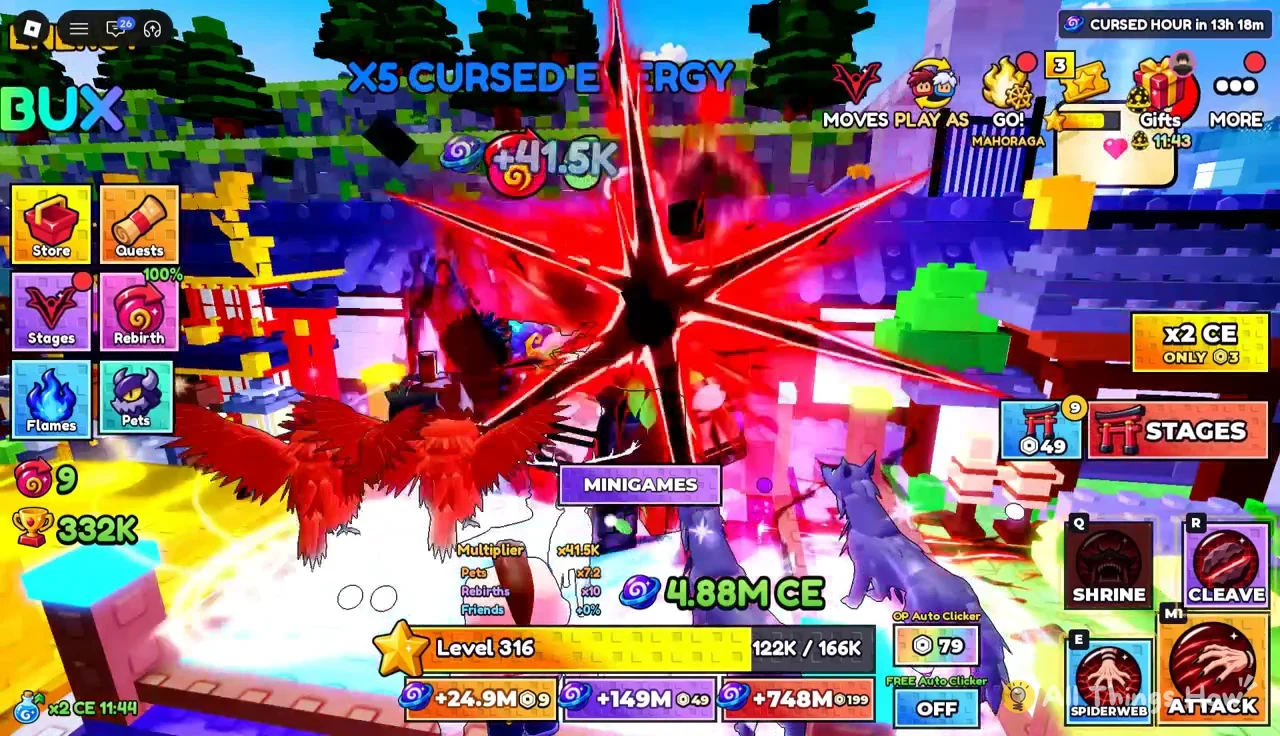
The hub is where you build CE between stage runs. A yellow arrow marked “Train here!” points you to the training spot, and the Panda training wall is a quick place to farm energy. The purple MINIGAMES button and its portal lead to the minigame area, which is another source of CE.
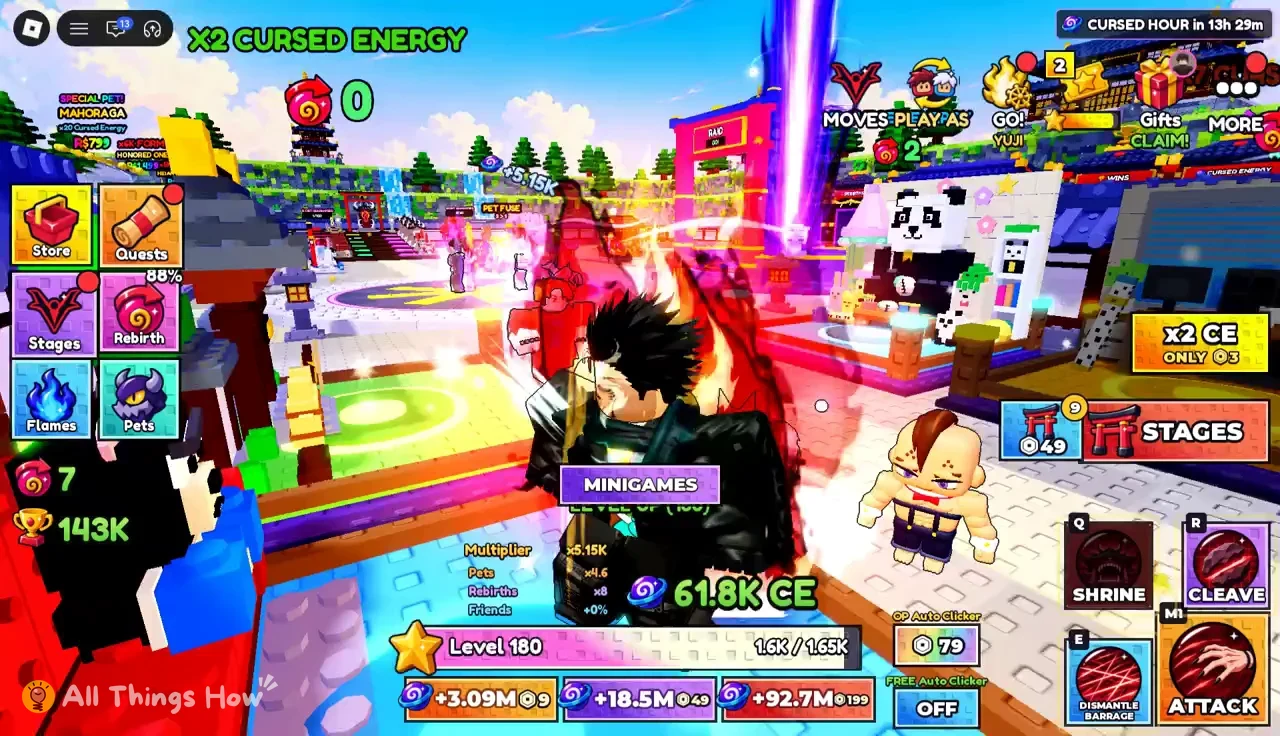
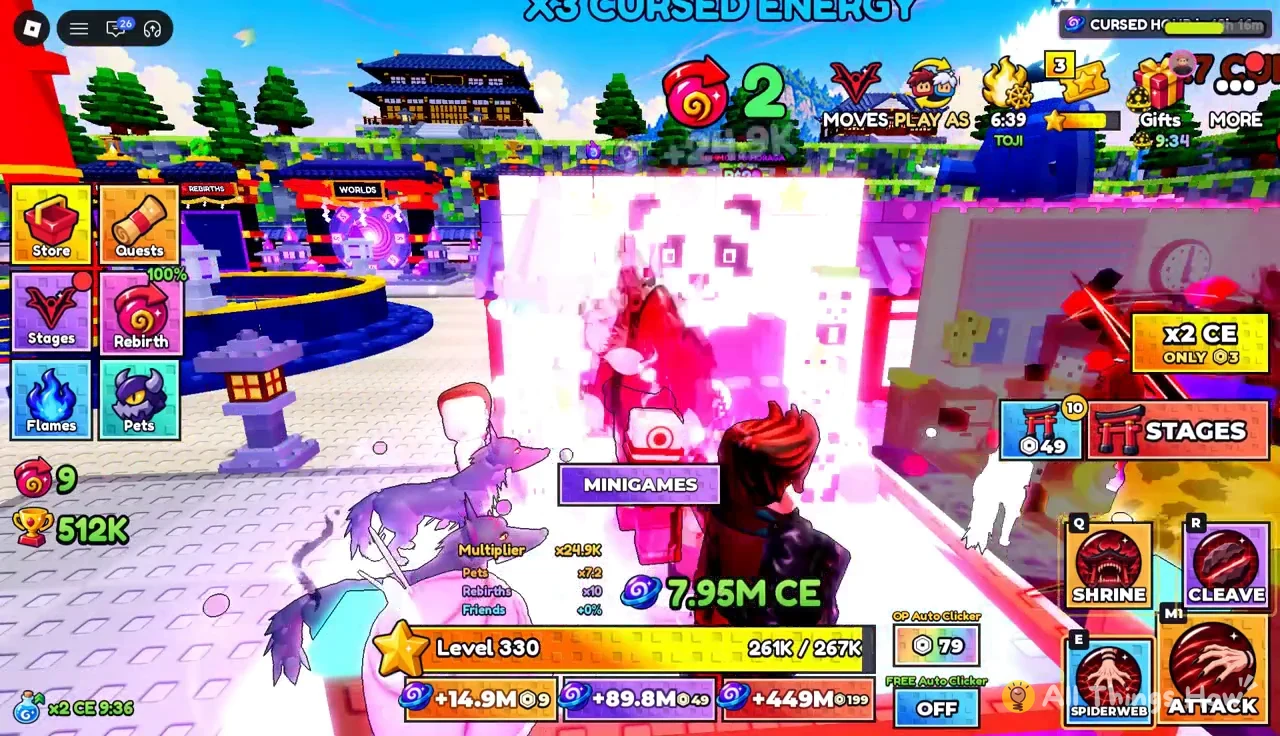
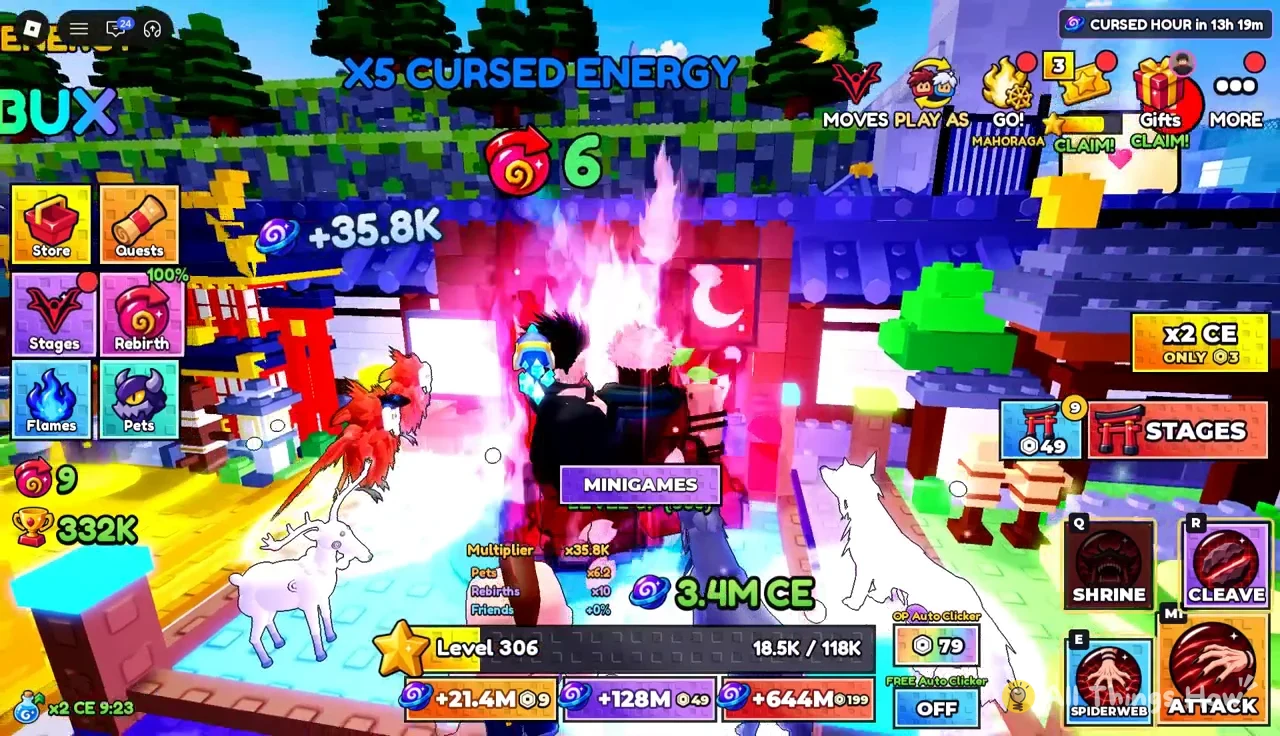
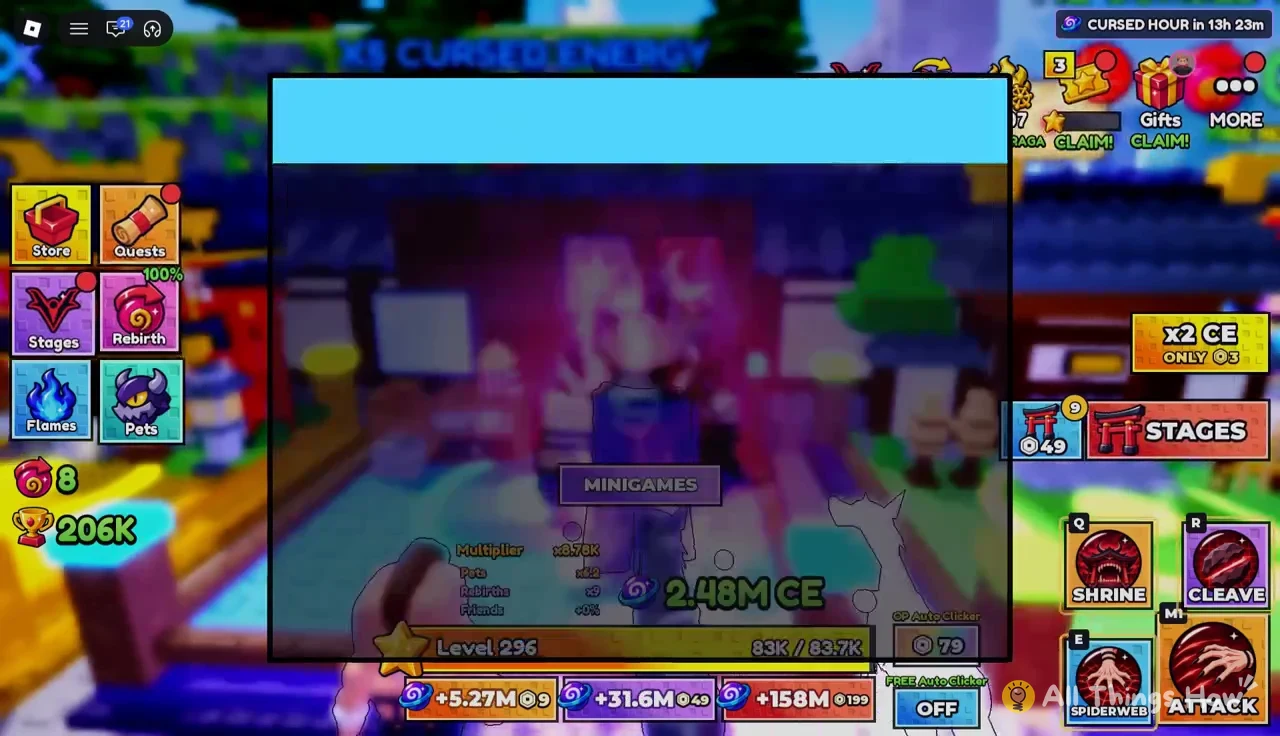
Training in the hub keeps adding CE while you level. With good boosts, each gain can run into the thousands. A 5M+ CE total puts Stage 8 within reach, and you need 20M for Stage 9.

Pets, eggs and Golden merges
Eggs hatch pets that boost your CE. A Grade 4 Egg can drop a secret pet such as the Black Divine Dog, and a Special Grade Egg can drop a Piercing Ox. Secret hatches show their own announcement on screen.
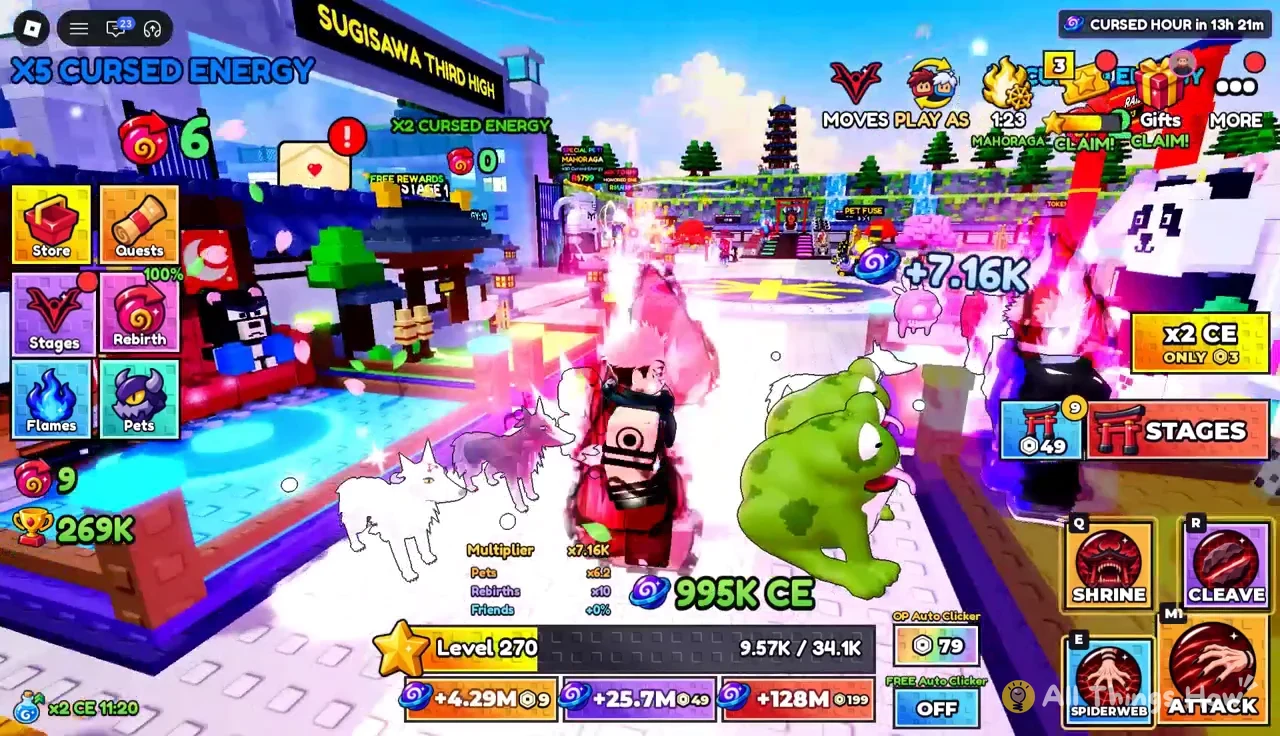
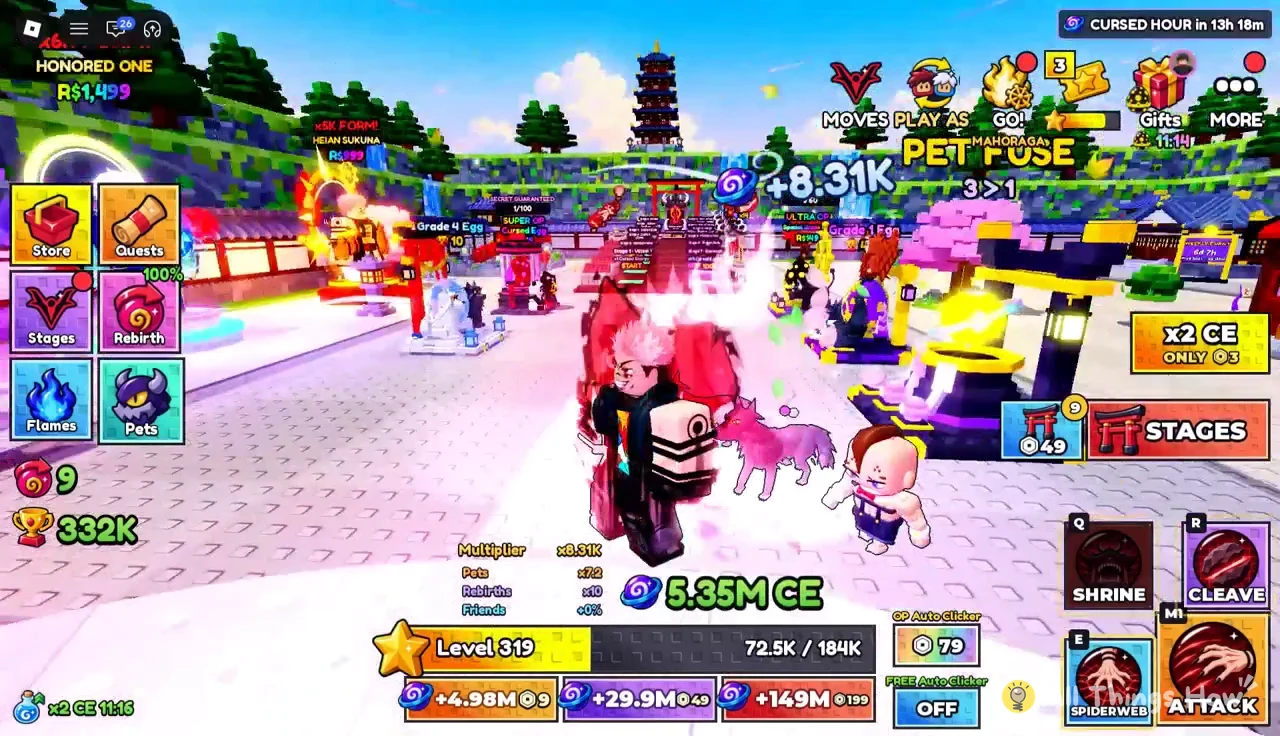
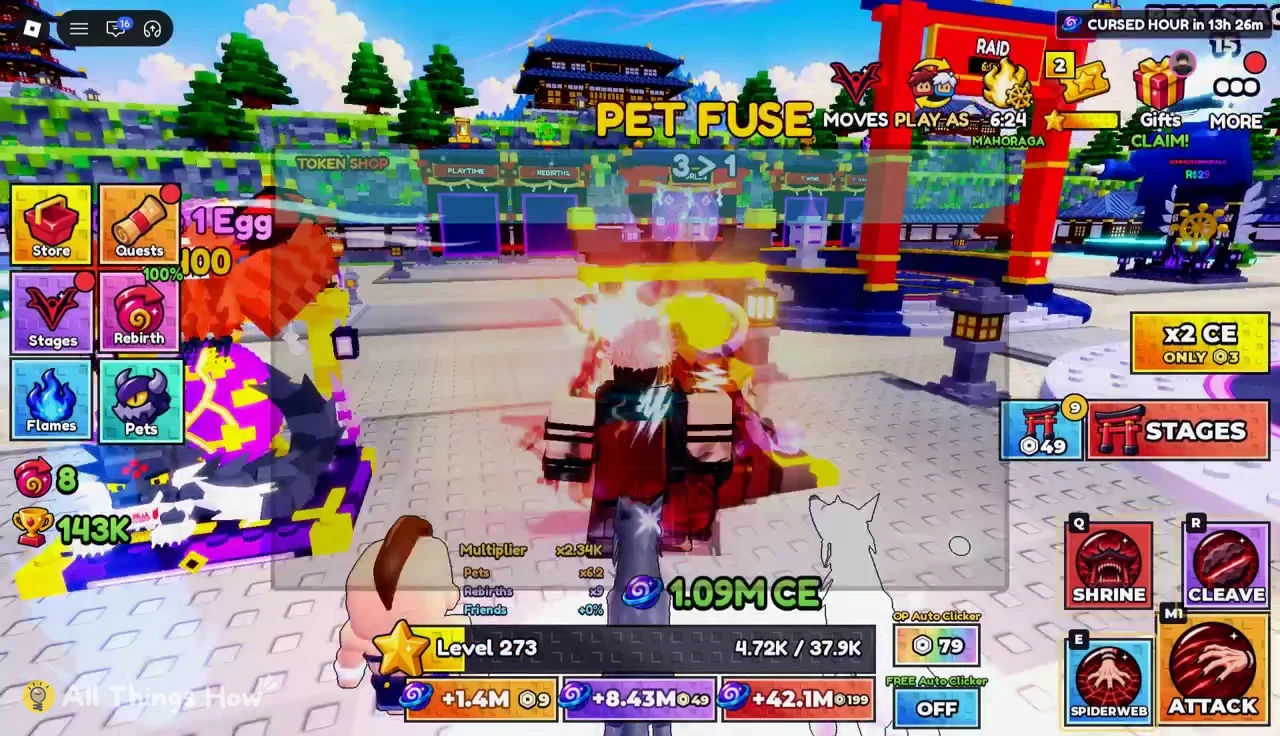
Once you have three copies of the same pet, you can merge them in the Pets menu into a Golden version with a bigger boost. Three Rabbits become a Golden Rabbit Escape at x1.35. Three Toads become a Golden Toad at x1.56. The Pet Fuse station in the hub is shown as Pet Fuse 3×1.
Free gifts, Season Pass and rebirths
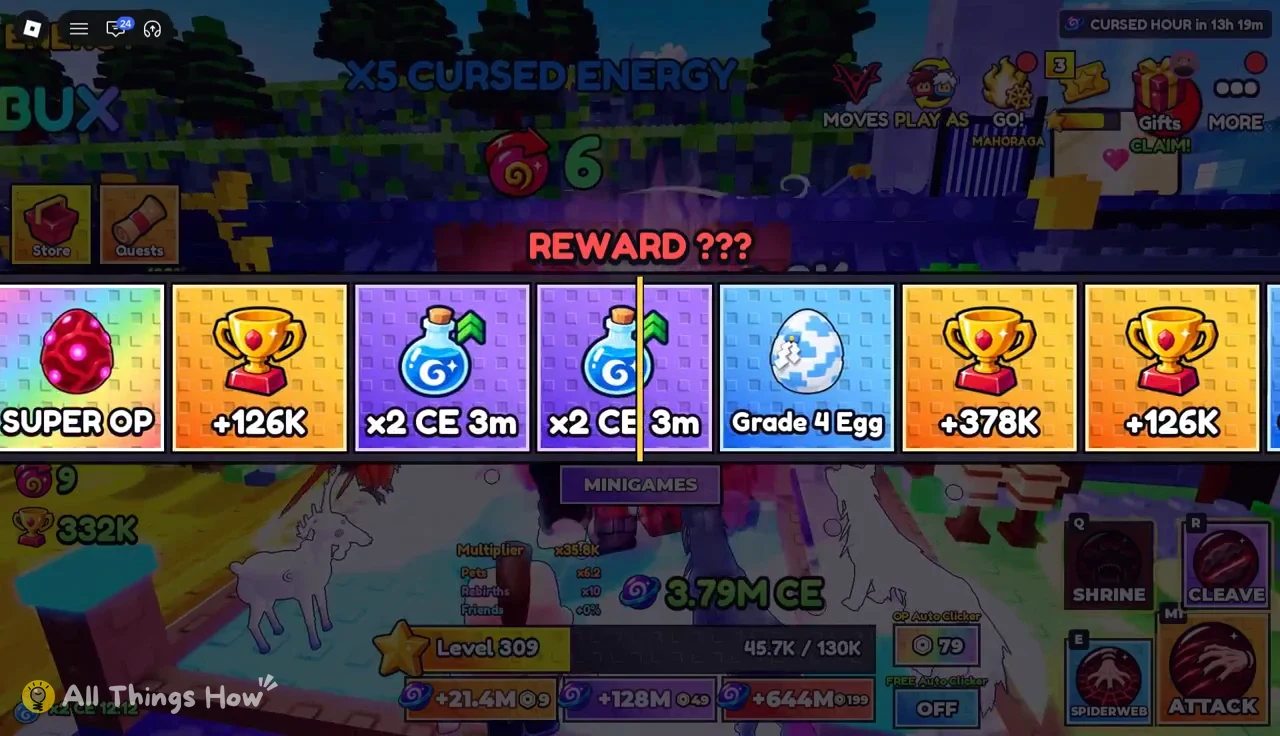
Free timer gifts spin a reward wheel. Prizes include short CE boosts such as x2 CE for 3 minutes, plus Grade 4 eggs. The Season 1 Pass gives tiered rewards as you level it. Daily quests can hand out flames directly, and they are the one way to get the four storm flames.
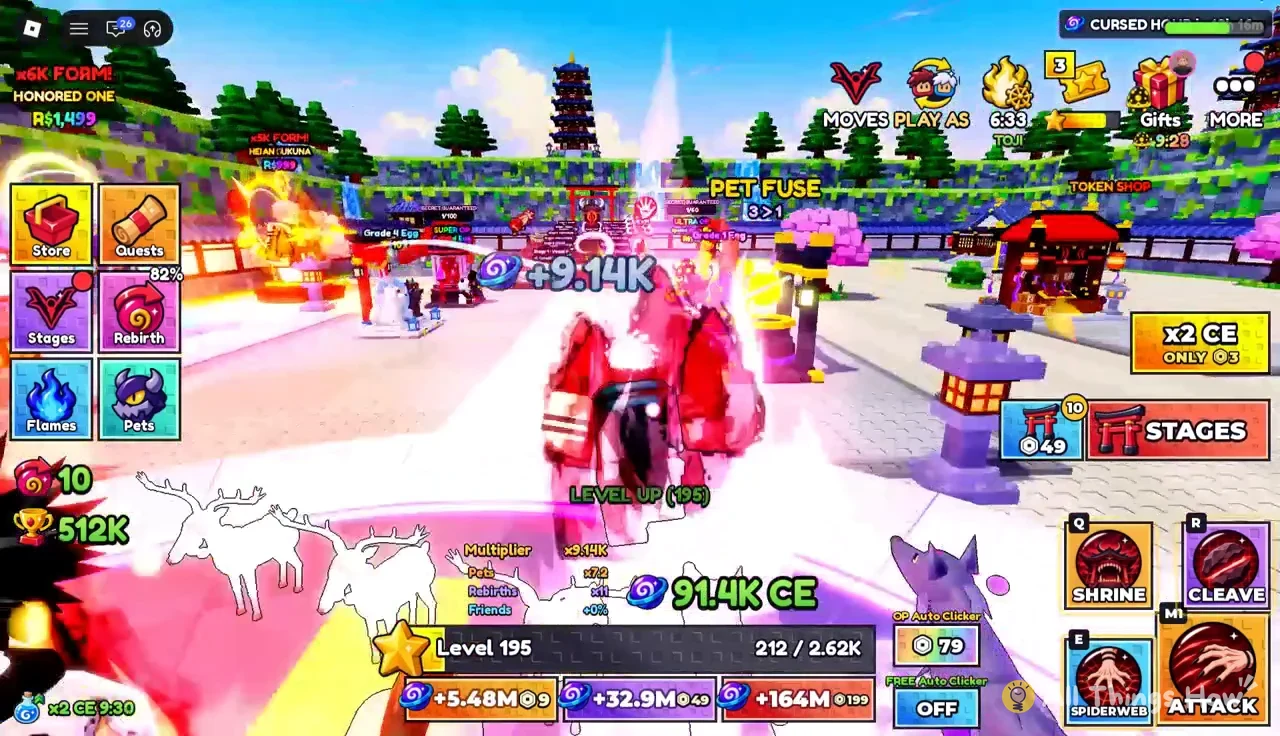
Rebirth resets your current level and CE, and in return it raises your base multiplier for good. Each rebirth needs a higher level. Rebirth 8 needs level 203, Rebirth 9 needs level 215, and Rebirth 10 needs level 225. Your equipped flame multiplies on top of that rebirth bonus, so you climb back faster after each reset.
Cursed Flames vs. Sukuna stages: Spending the same trophies
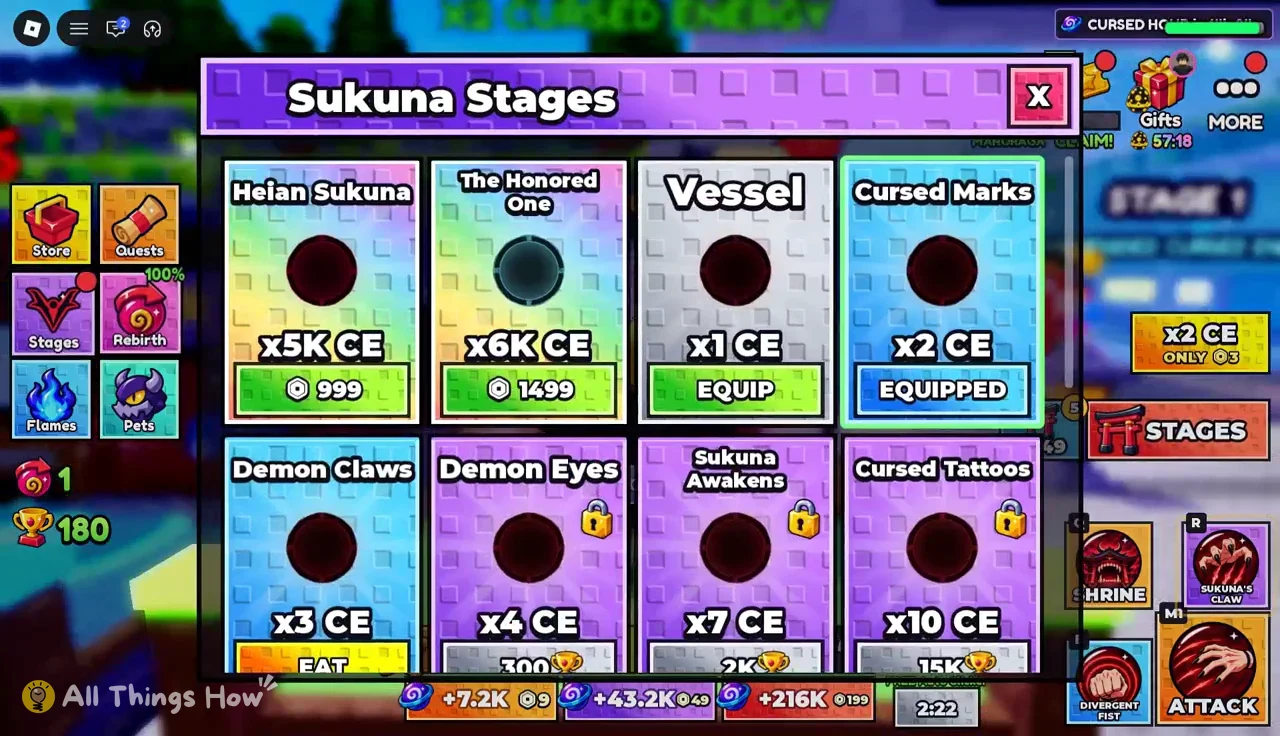
Flames are not the only thing that costs trophies. From Devourer onward, the Sukuna Stages evolution tree is paid for in trophies too. Every trophy you spend on a flame is one you cannot put toward the next Sukuna stage.
- Devourer: x14 CE for 100K trophies, and it adds Malevolent Shrine
- Stolen Body: x32 CE for 500K trophies
- Flame Arrow: x75 CE for 2M trophies
- King’s Shadow: x170 CE for 6M trophies
- Ten Shadows: x400 CE for 15M trophies
- Four-Armed Demon: x900 CE for 40M trophies
- King of Curses: x2.1K CE for 100M trophies
The prices overlap closely. Devourer costs less than half of Flower Field’s 250K, and Stolen Body costs a third of Star Rage’s 1.5M. Sukuna stage upgrades are permanent CE multipliers, and buying one plays a finger-eating cutscene. Devourer’s cutscene, for example, announces “+1 FINGER! NEW: MALEVOLENT SHRINE.” So when you have a trophy total saved up, compare the next flame with the next Sukuna stage before you spend it.
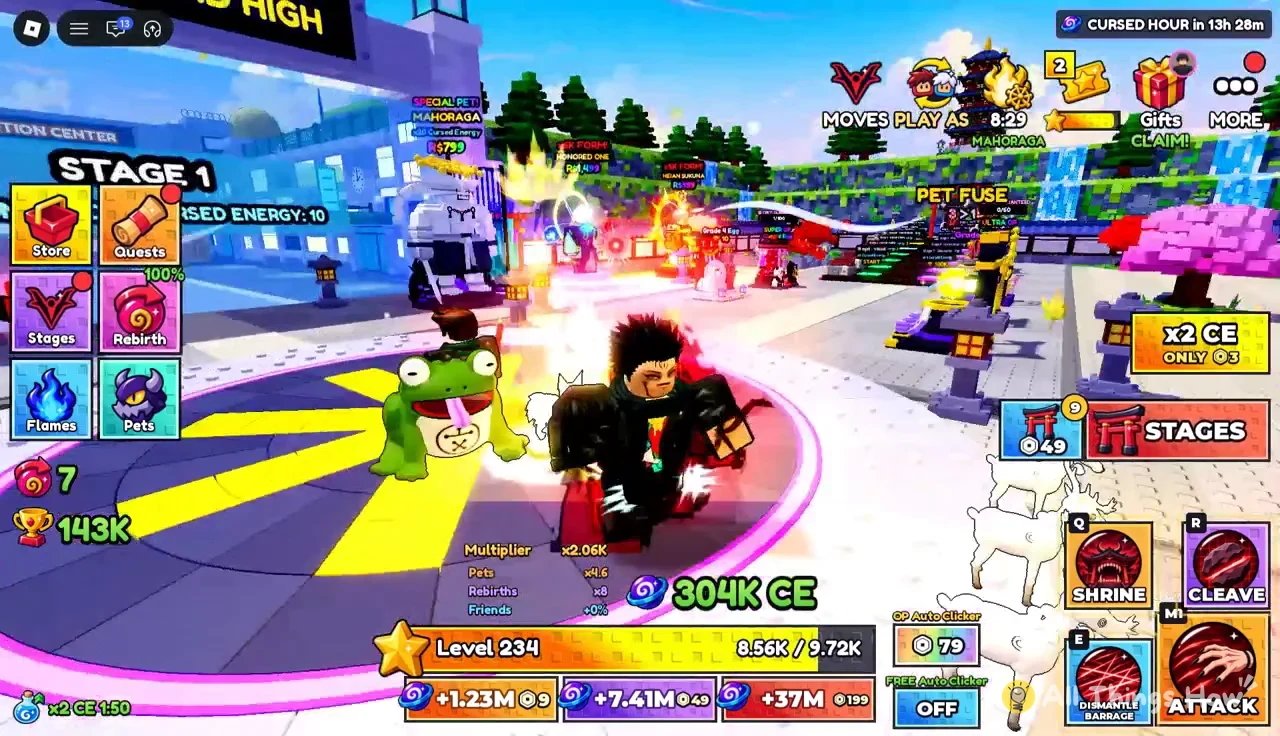
Clearing Jogo on repeat is the steady source of trophies for both. The Robux prices on the mid-tier flames are the only way to skip that grind.