The Black Bell is a story-driven Roblox horror experience where you are sent into an abandoned forest house to retrieve a Black Pearl, with one warning repeated throughout: do not ring the black bell. Chapter 2, labelled in-game as Chapter 2 (Alpha), picks up inside that house and runs through a connected set of puzzle and stealth sequences before ending on a choice that decides how you leave. It supports 1–5 players across PC, mobile, and console, and you can open it on its official Roblox game page.
Quick answer: Chapter 2 ends with a choice — leave the Black Pearl on the ritual altar and take the escape tunnel to trigger the Good Ending, recorded at a clear time of 11:24.172.
What Chapter 2 asks you to do
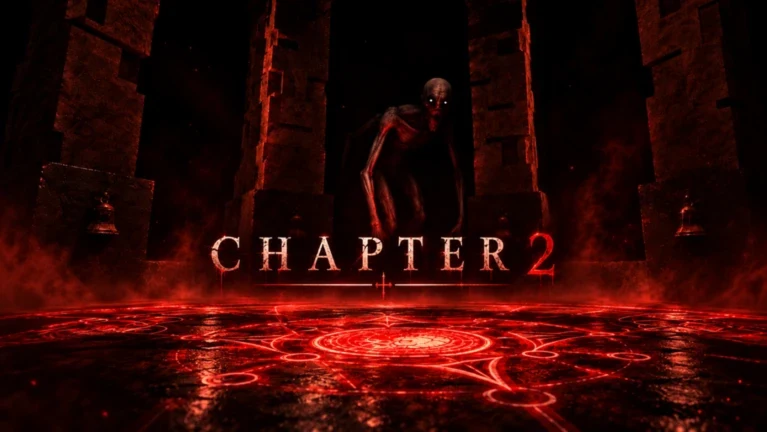
Chapter 2 opens on a title card and a private server screen, then drops the player into a red-lit corridor with a flashlight toggle bound to F. From there the chapter chains together four main objectives, each tracked by an on-screen counter, before the final decision. The order below is how they appear in play.
| Objective | Target |
|---|---|
| Find the missing parts | 1 Lever, 1 Wheel |
| Drain the water | 4 valves |
| Silence the bells | 8 bells |
| Final choice | The Black Pearl or escape |
The radio voice and Arthur Gray
Soon after the player grabs the glowing red hand fixture (an item labelled HANDSLAP, described as “a very unfriendly high five”), a voice breaks in over radio static. It asks whether it can be heard and claims the strange events upstairs were not its doing. At this point the speaker is only shown as UNKNOWN in the subtitle bar.
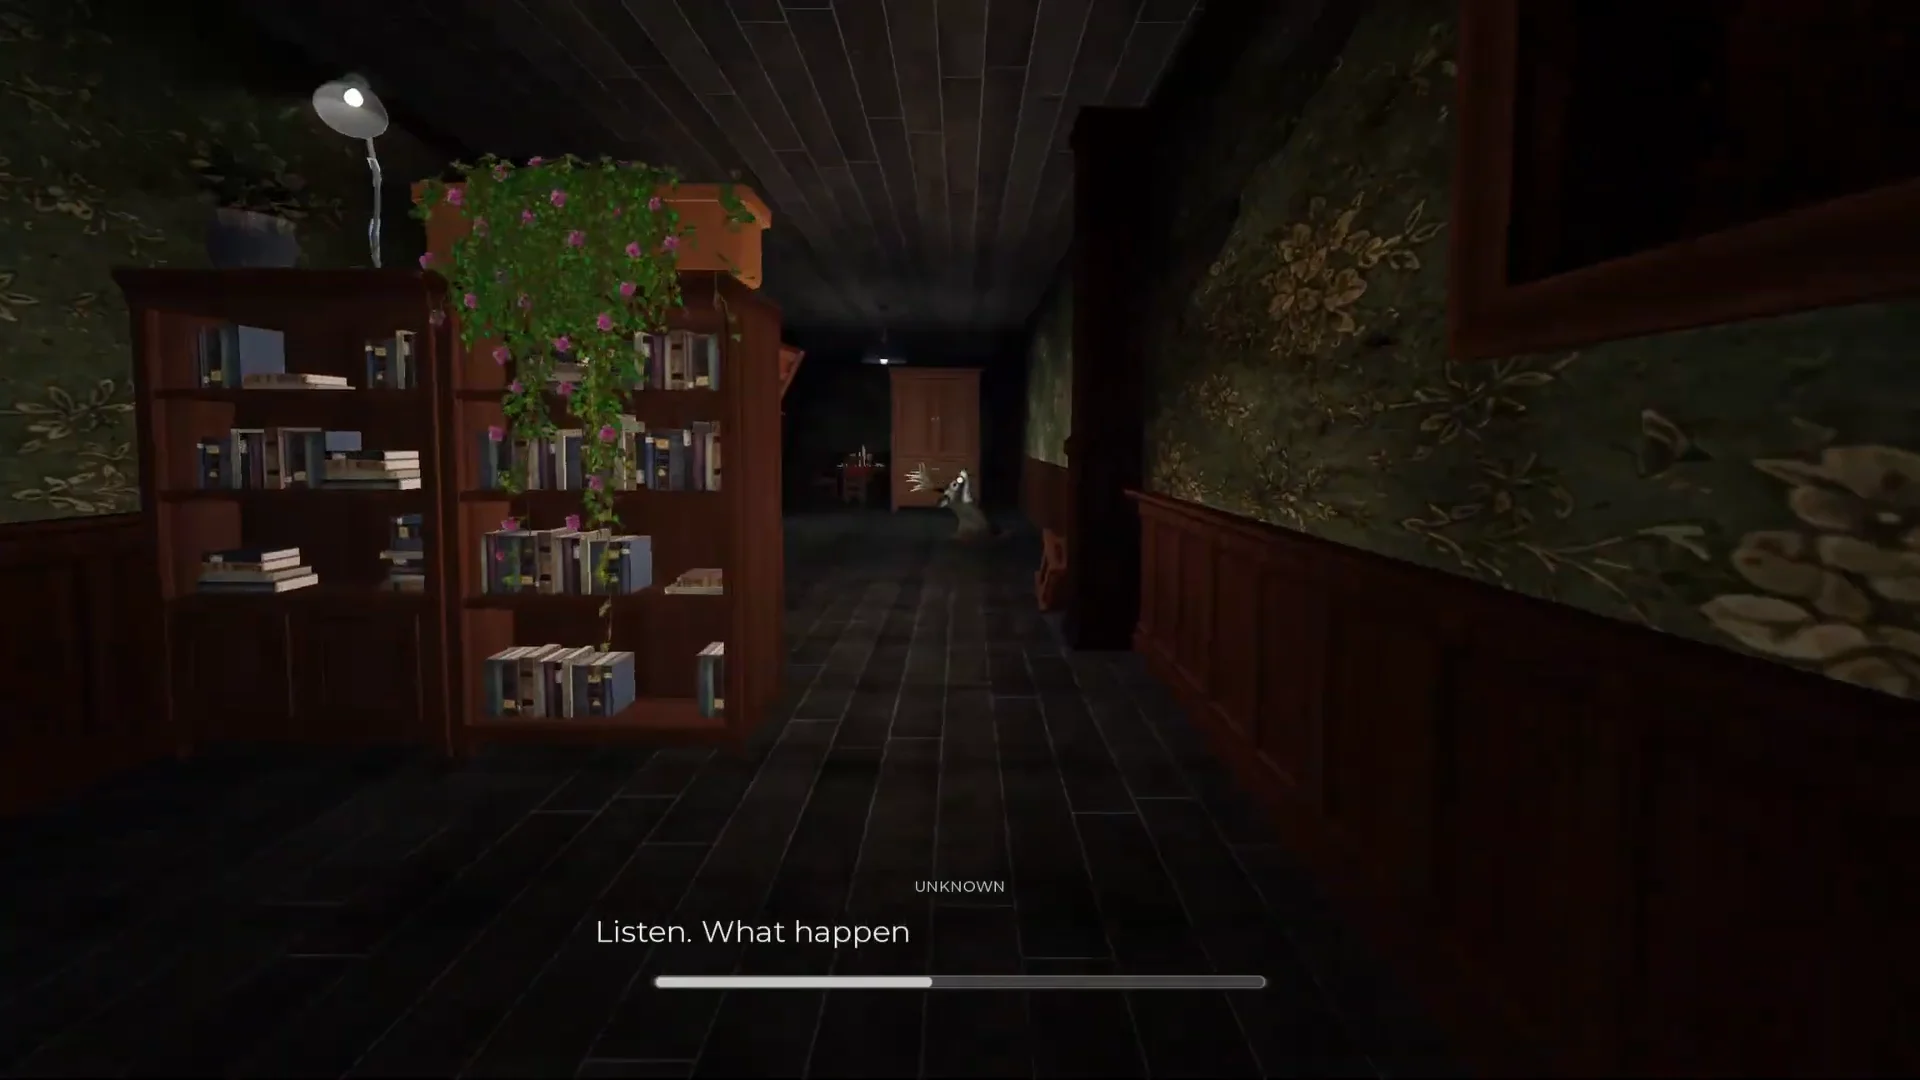
That identity is confirmed later in the chapter. When the player uncovers a hidden portrait in the house, the subtitle label switches from UNKNOWN to ARTHUR, tying the voice to Arthur Gray. His tone stays helpful while you are working toward the Pearl, and turns hostile the moment you refuse it.
The shifting house and sealed doors
Early navigation runs through a distorted layout. One room is an inverted, black-and-white checkered bathroom where the only way forward is a low crawl passage, marked clearly by a painted red arrow on the wall.
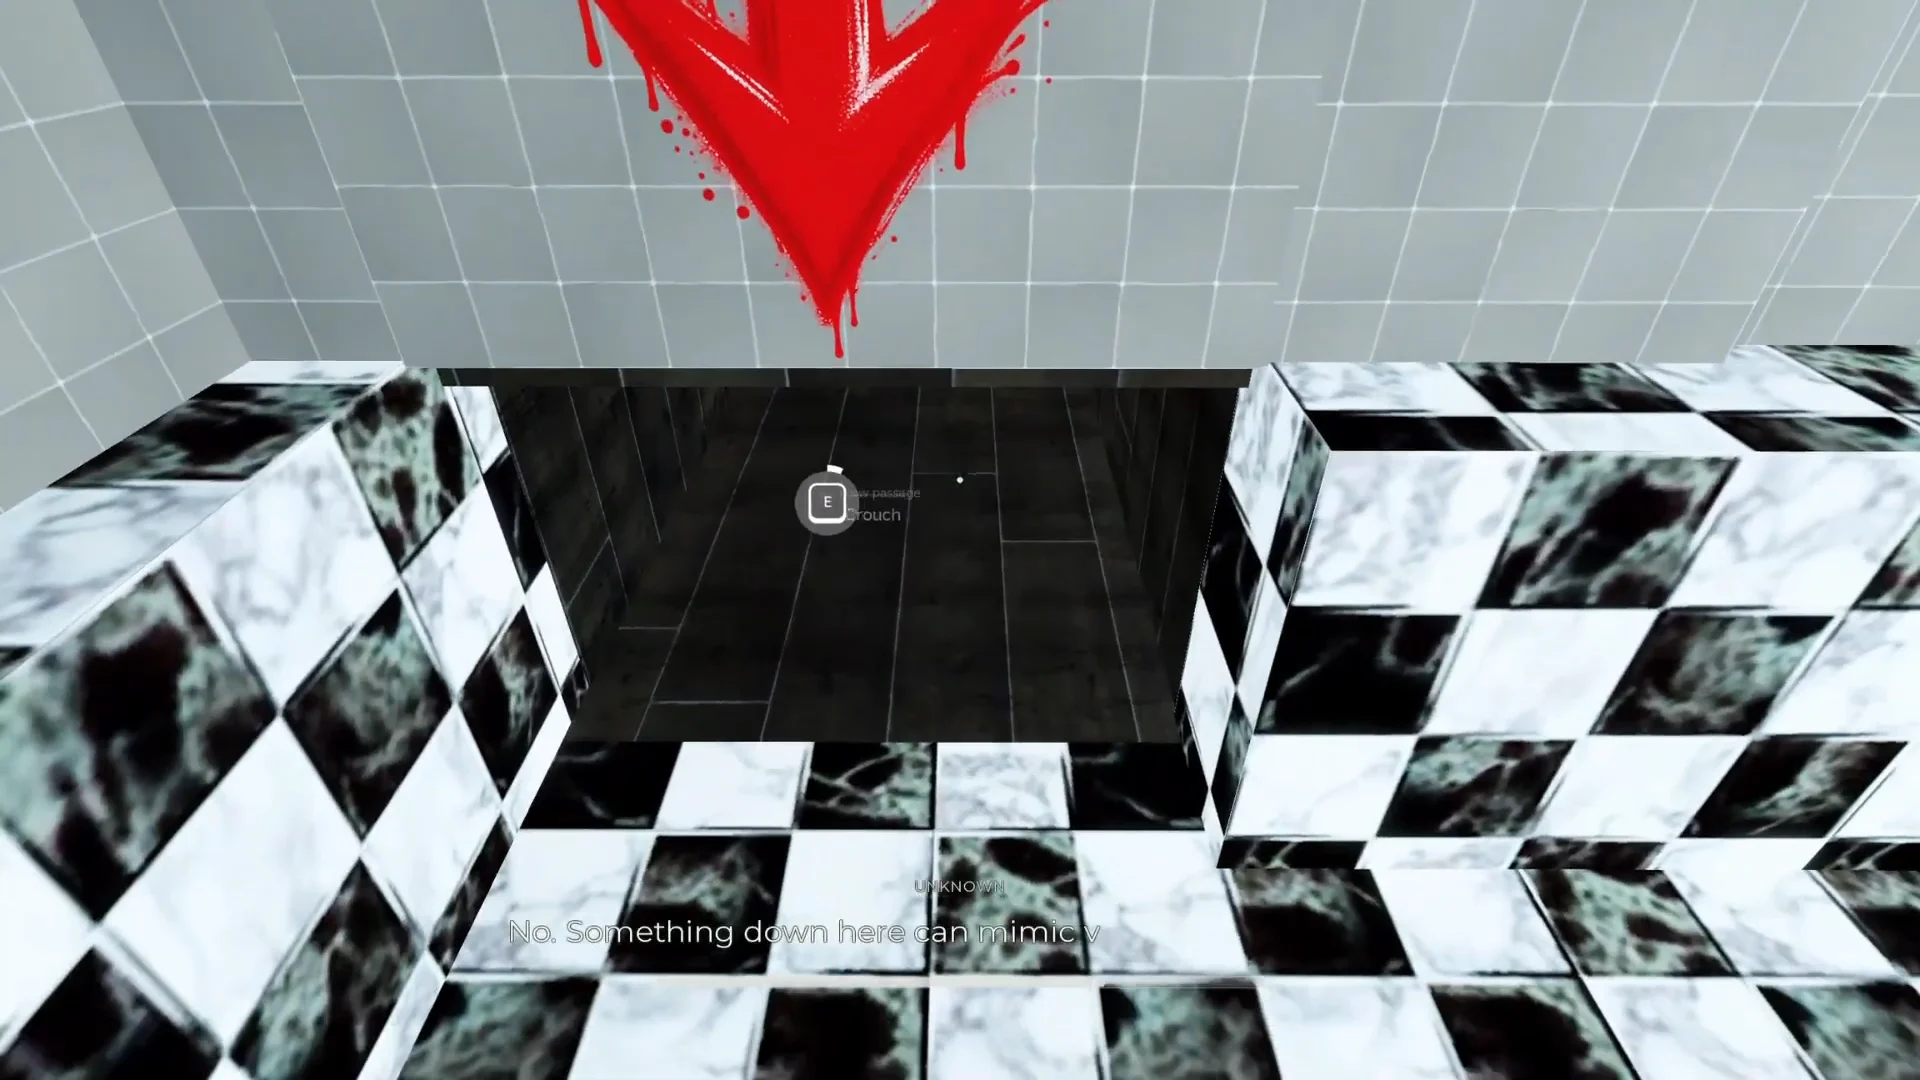
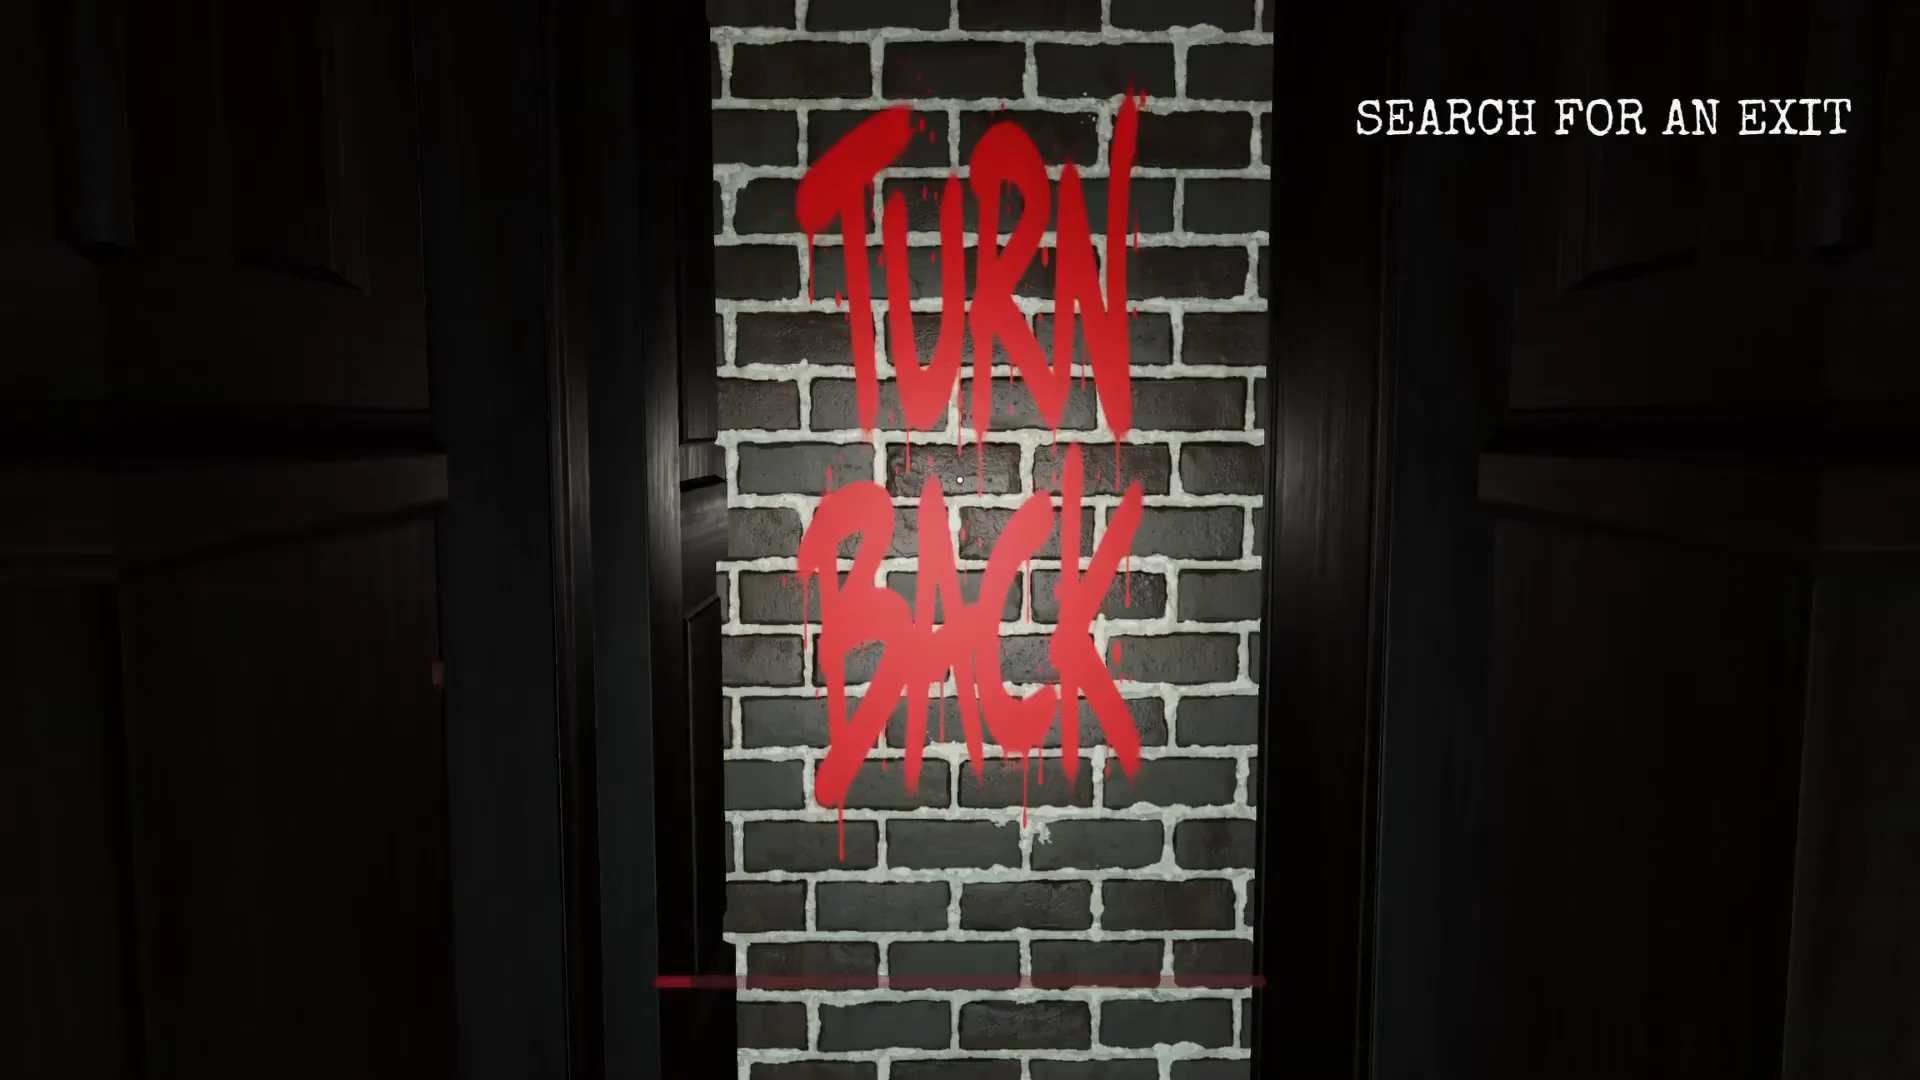
Past that, the house becomes a gravity-defying hallway with floating furniture and a SEARCH FOR AN EXIT prompt. Several doors look like exits but are bricked over, each wall tagged with red warnings such as TURN BACK and GET OUT OF HERE. These are dead ends by design, steering the player toward a newly opened passage instead.
The workshop gate: lever and wheel
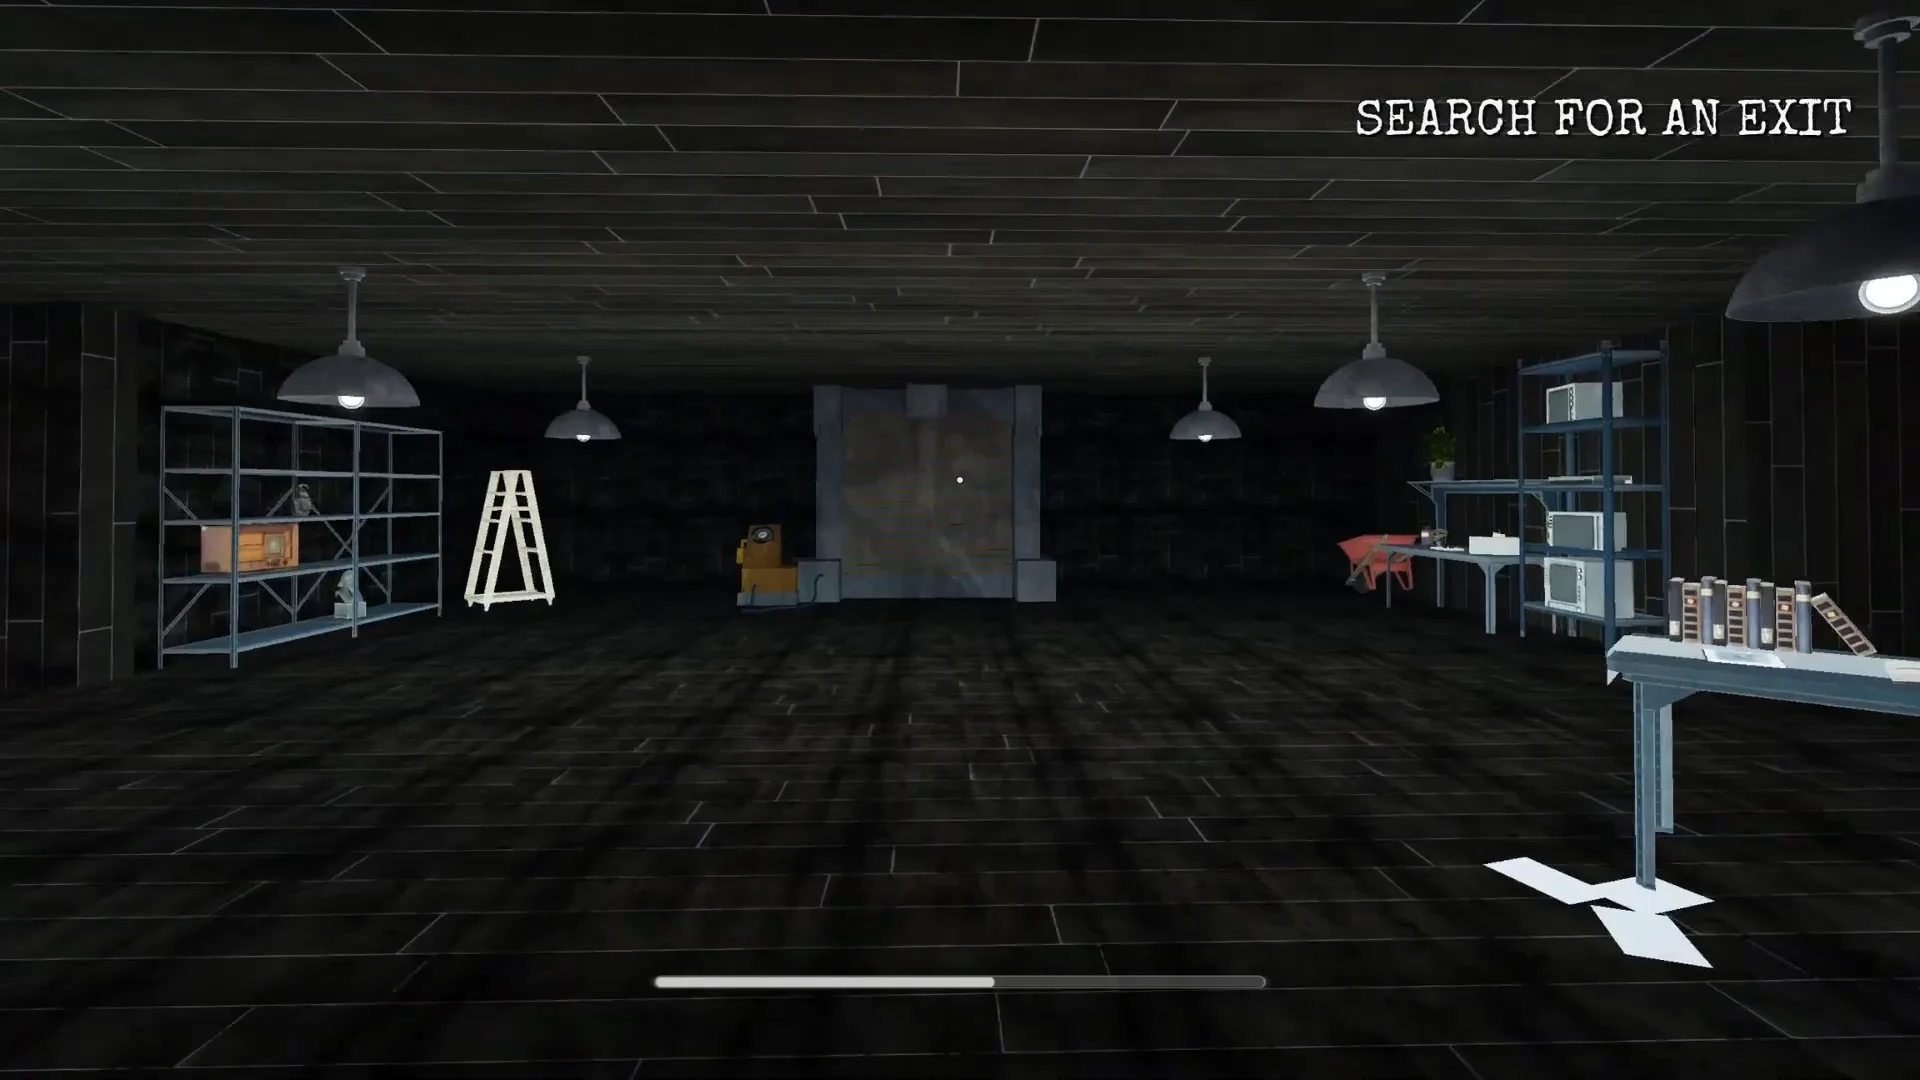
The open passage leads downstairs into a basement workshop filled with shelves, workbenches, and tools. Here Arthur points out a locked rolling gate wired to a console that is missing two parts, which flips the objective to FIND THE MISSING PARTS with counters for 0/1 WHEEL and 0/1 LEVER.
Both components lie on the ground at dead ends in the neighboring dark labyrinth. Find the lever at the end of a corridor and install it in the console; the tracker then displays 1/1 LEVER – FITTED. Farther into the maze, another dead end holds the valve wheel. Install the wheel and keep cranking to lift the gate until the display reads UNLOCKED EXIT. Around the wheel pickup, a scripted scare shows an avatar in a white suit and sunglasses charging toward the camera and screaming; it cannot kill you.
Draining the sewers and the sound-hunting monster
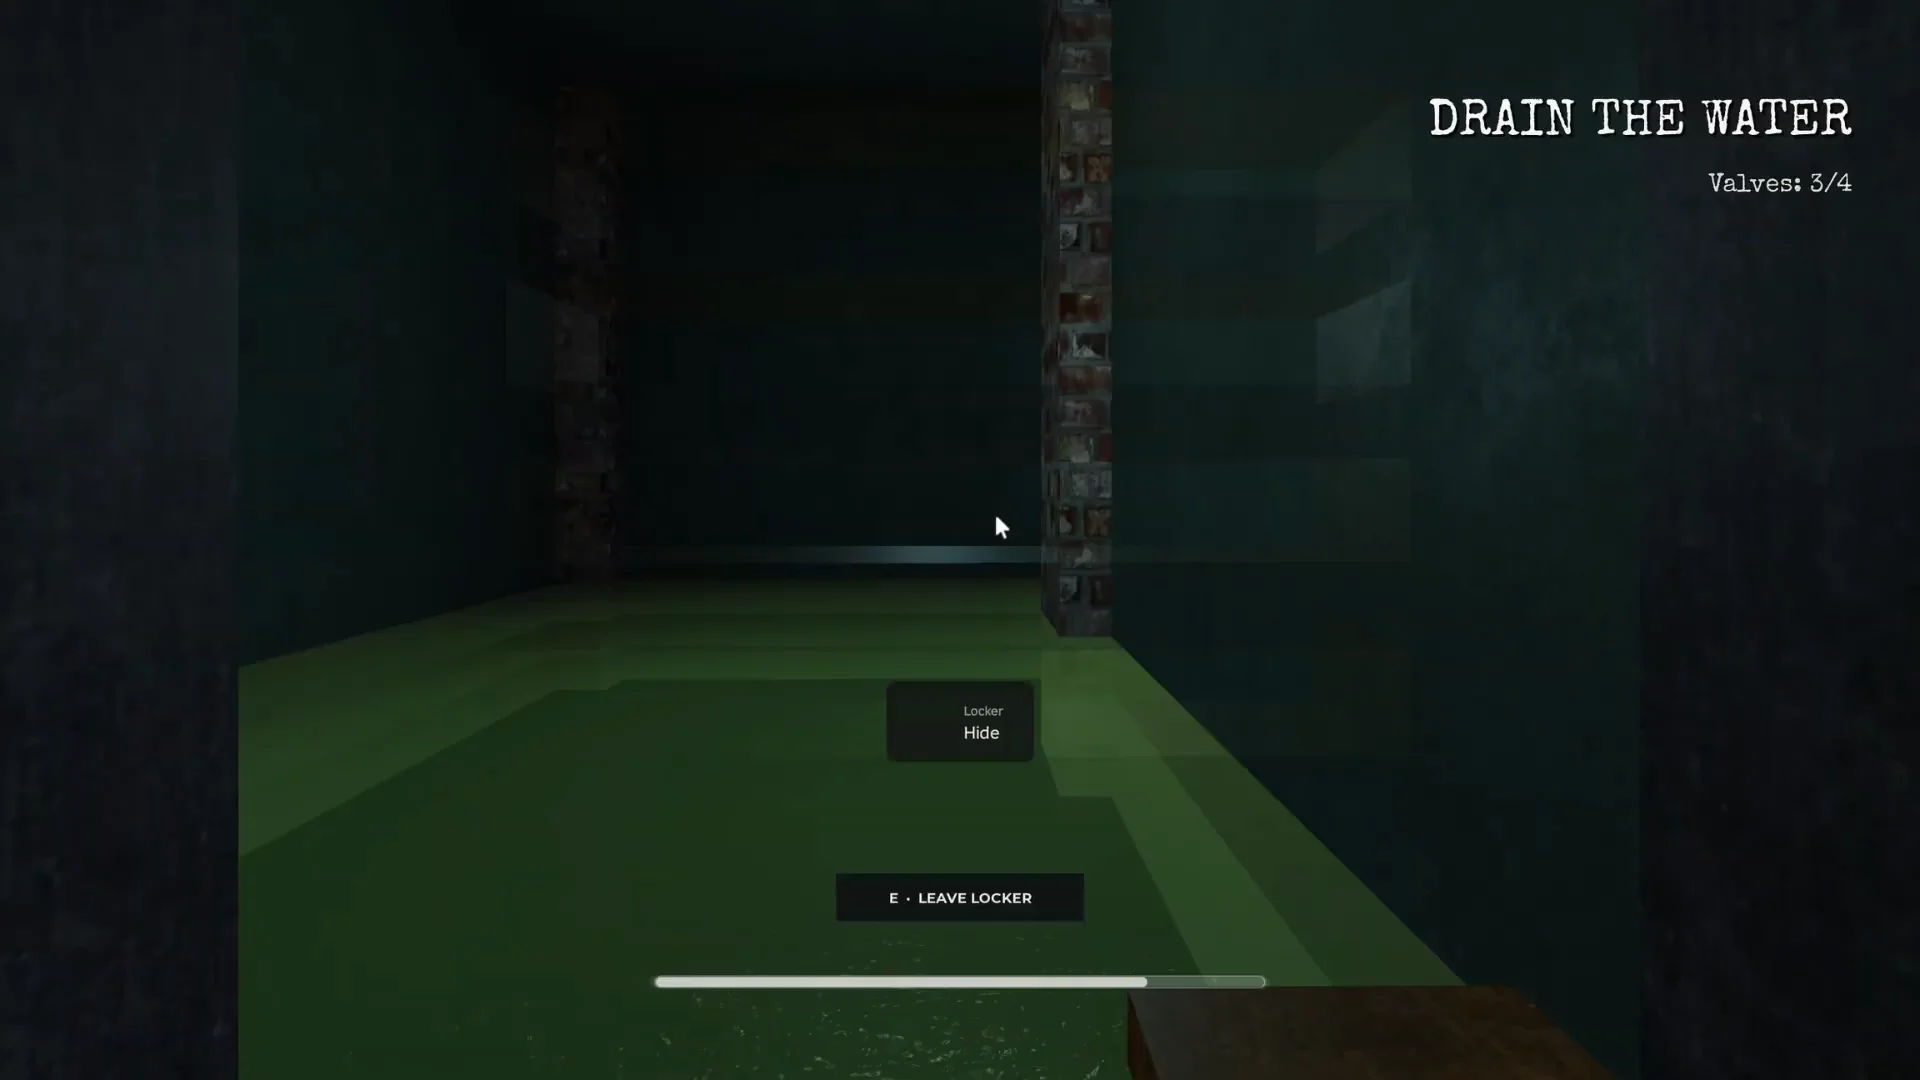
Beyond the gate, a floor hatch marked LEAVE THE PEARL opens into a long circular chute that drops the player into green, flooded lower tunnels. The objective becomes DRAIN THE WATER with a Valves: 0/4 counter, and the four large pipe valves are spread across the flooded corridors.
A pale, lanky humanoid creature patrols this area and hunts by sound. Arthur warns about it as the valves are being turned. Metal lockers are placed through the tunnels so the player can duck inside and wait as the creature passes in front of the door, with an E – LEAVE LOCKER prompt to step back out once it moves on.
After the fourth valve reaches Valves: 4/4, the water drains and glowing white chevrons light up along the floor to mark the escape route. That path leads into a floor vent and a stretch of air ducts, ending at a grille with a “Push harder” prompt that pops open into an attic. The creature shrieks directly into the camera inside the duct just before the grate gives way.
The photo, the seal, and silencing the bells
Back in the upper house, the walls are now vandalised with PEARL = DEATH, and the objective reads SEARCH THE HOUSE. A framed photo board hides a compartment holding Arthur Gray’s portrait and a key. Taking them is what reidentifies the radio voice as ARTHUR and unlocks an interior door toward the exterior.
Instead of a clean exit, the screen cuts to black and the player wakes in an upside-down, black-walled void room full of floating furniture. A massive sealed wooden gate carries a glowing red demonic seal. Touching it starts a trial called SILENCE THE BELLS.
The trial takes place on a circular stone altar with a pentagram. Eight bells chime in sequence, and each one has to be silenced before its chime finishes. Missing a single bell ends the attempt instantly with a creature kill and the message THE SEAL REJECTED YOU. Clearing all eight in time opens the seal.
The bell trial can be retried after a failure, so being caught out by one missed chime restarts the sequence rather than ending the run.
The Black Pearl choice and the Good Ending
After passing through the seal, open the wooden double doors to enter a grand ritual hall. Here, the chapter asks you to choose between taking THE BLACK PEARL from the altar and following the route labeled ESCAPE. The prompt spells out CHOOSE. THE PEARL OR ESCAPE AND LIVE, while graffiti close by says DONT TRUST HIM.
Ignoring the Pearl is what leads to the Good Ending. Arthur grows frantic over the radio as the player walks past the altar and drops into the escape tunnel. An exit ladder leads to a circular valve hatch that opens to the surface in daylight, and a black pickup truck carries the player down a forest highway.
A final scare puts the monster on the windshield, then the scene cuts to Arthur Gray’s headstone. The results screen that follows displays GOOD ENDING and ESCAPED THE HOUSE. In the recorded run, the current time and best time were both 11:24.172, before the closing “Thank you for playing” card appeared. The GOOD ENDING screen confirms you escaped without taking the Pearl.