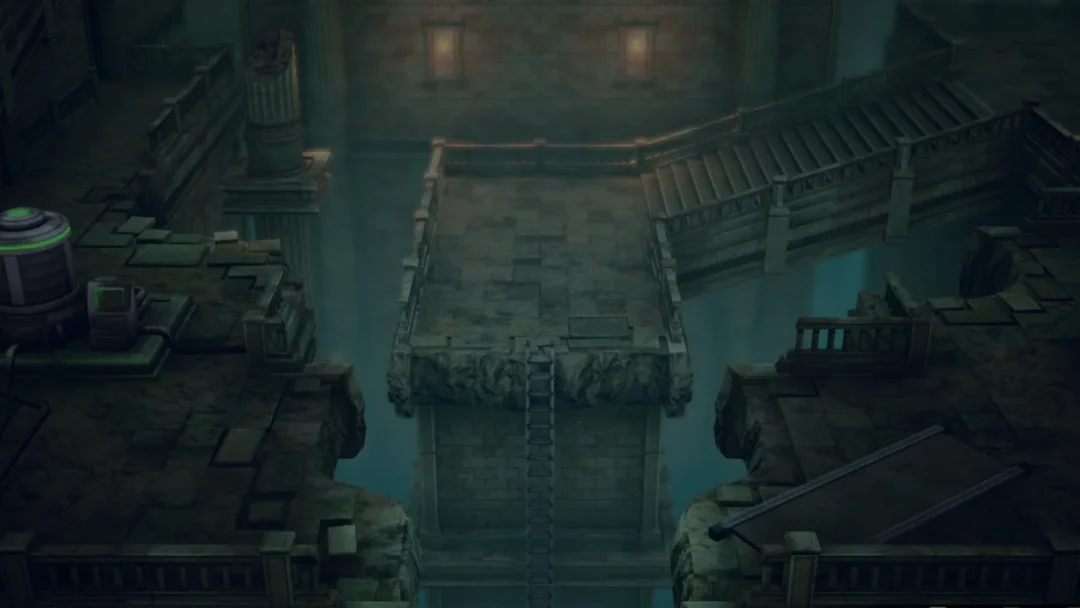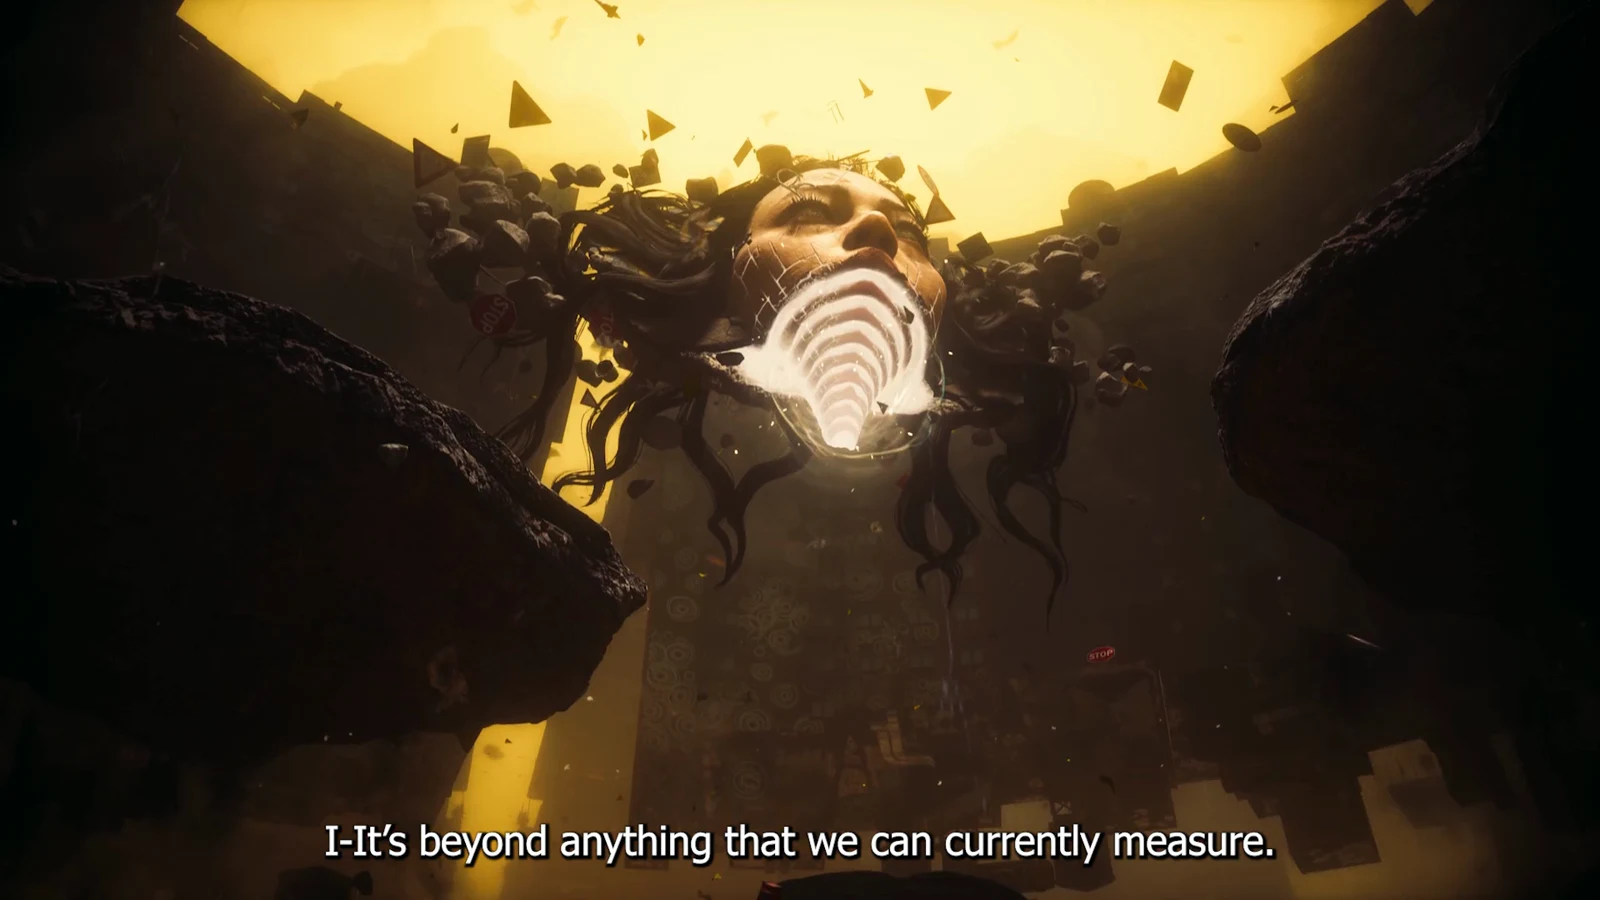
Among Control Resonant’s early boss missions, The Central Resonant stands out for its winding underground passages, lava, and snipers beneath a Central factory. The route doubles back several times before opening into a room-sized boss encounter. This guide covers reaching the factory, navigating the tunnels, and defeating The Deserter.
Quick answer: Find The Central Resonant inside Central’s Patterned Factory. Take the red elevator downward, smash all three heat tumors attached to the pipes, and defeat The Deserter in the furnace room.
Where The Central Resonant takes place
Dylan’s destination is the Patterned Factory, a sizable industrial structure in Central, close to The Park Checkpoint. Once the quest is active, its marker appears on your map. Outside, patterned pipes and rising steam make the factory easy to recognize. Enter from its southern edge; from there, nearly the entire route runs below the factory floor through furnaces and sewers.
What you need before starting
Welcome to Manhattan seeds the quest after your conversation with Zoe at the Watchtower. The factory area remains inaccessible until you meet a few requirements.
- Complete Evacuation Procedures and Power Lines to open up the area.
- Opening the double doors inside the factory triggers the quest and the first objective, Investigate the Steam Coming From the Factory in Central.
- Enemy of My Enemy later requires both Resonants down: The Deserter here and The Dancer in the West Incursion Zone.
Finish this quest before investing much time in The Park. The fire ability offered as a reward is highly useful against the Mold there.
Getting inside the factory and down the elevator
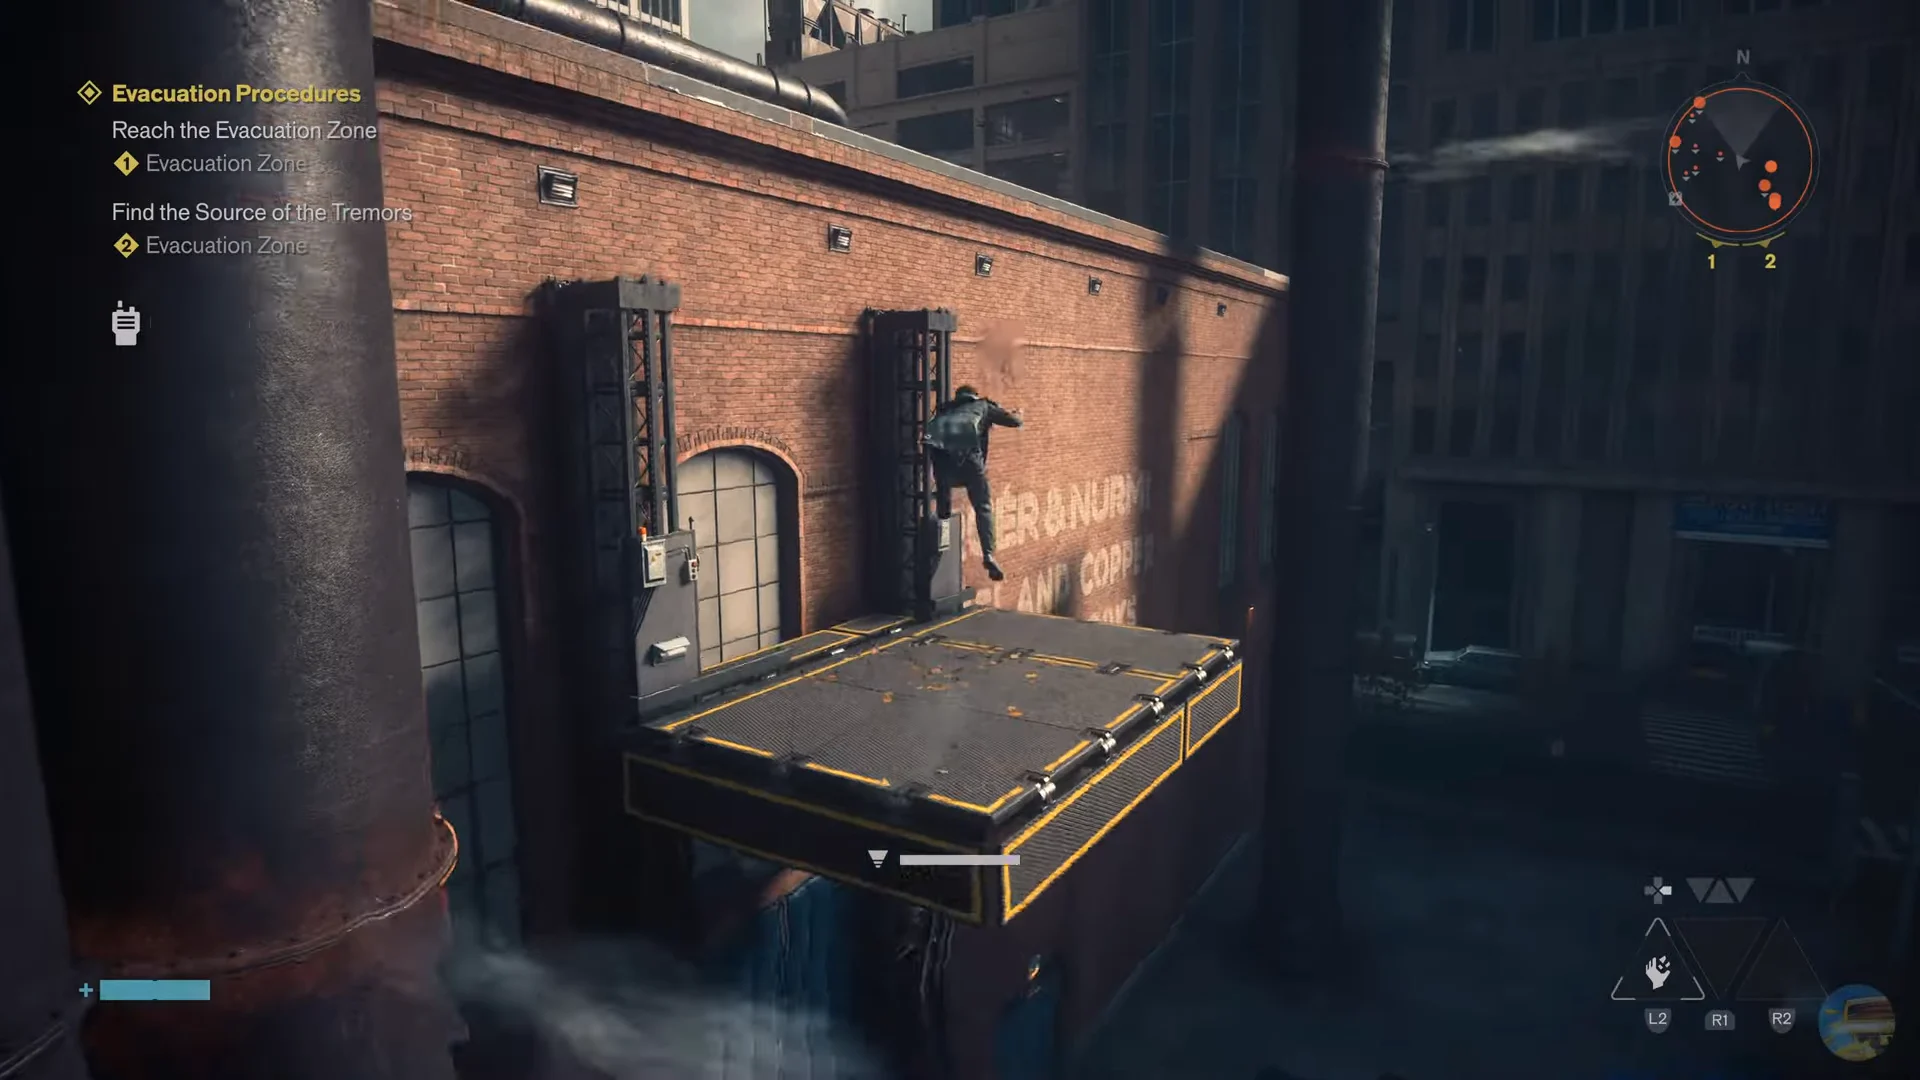
If you want the rooftop route, hop between the platforms and pipes on the side of the building to reach the roof, cross to the far outcrop, and break through the boarded doorway there to drop inside.
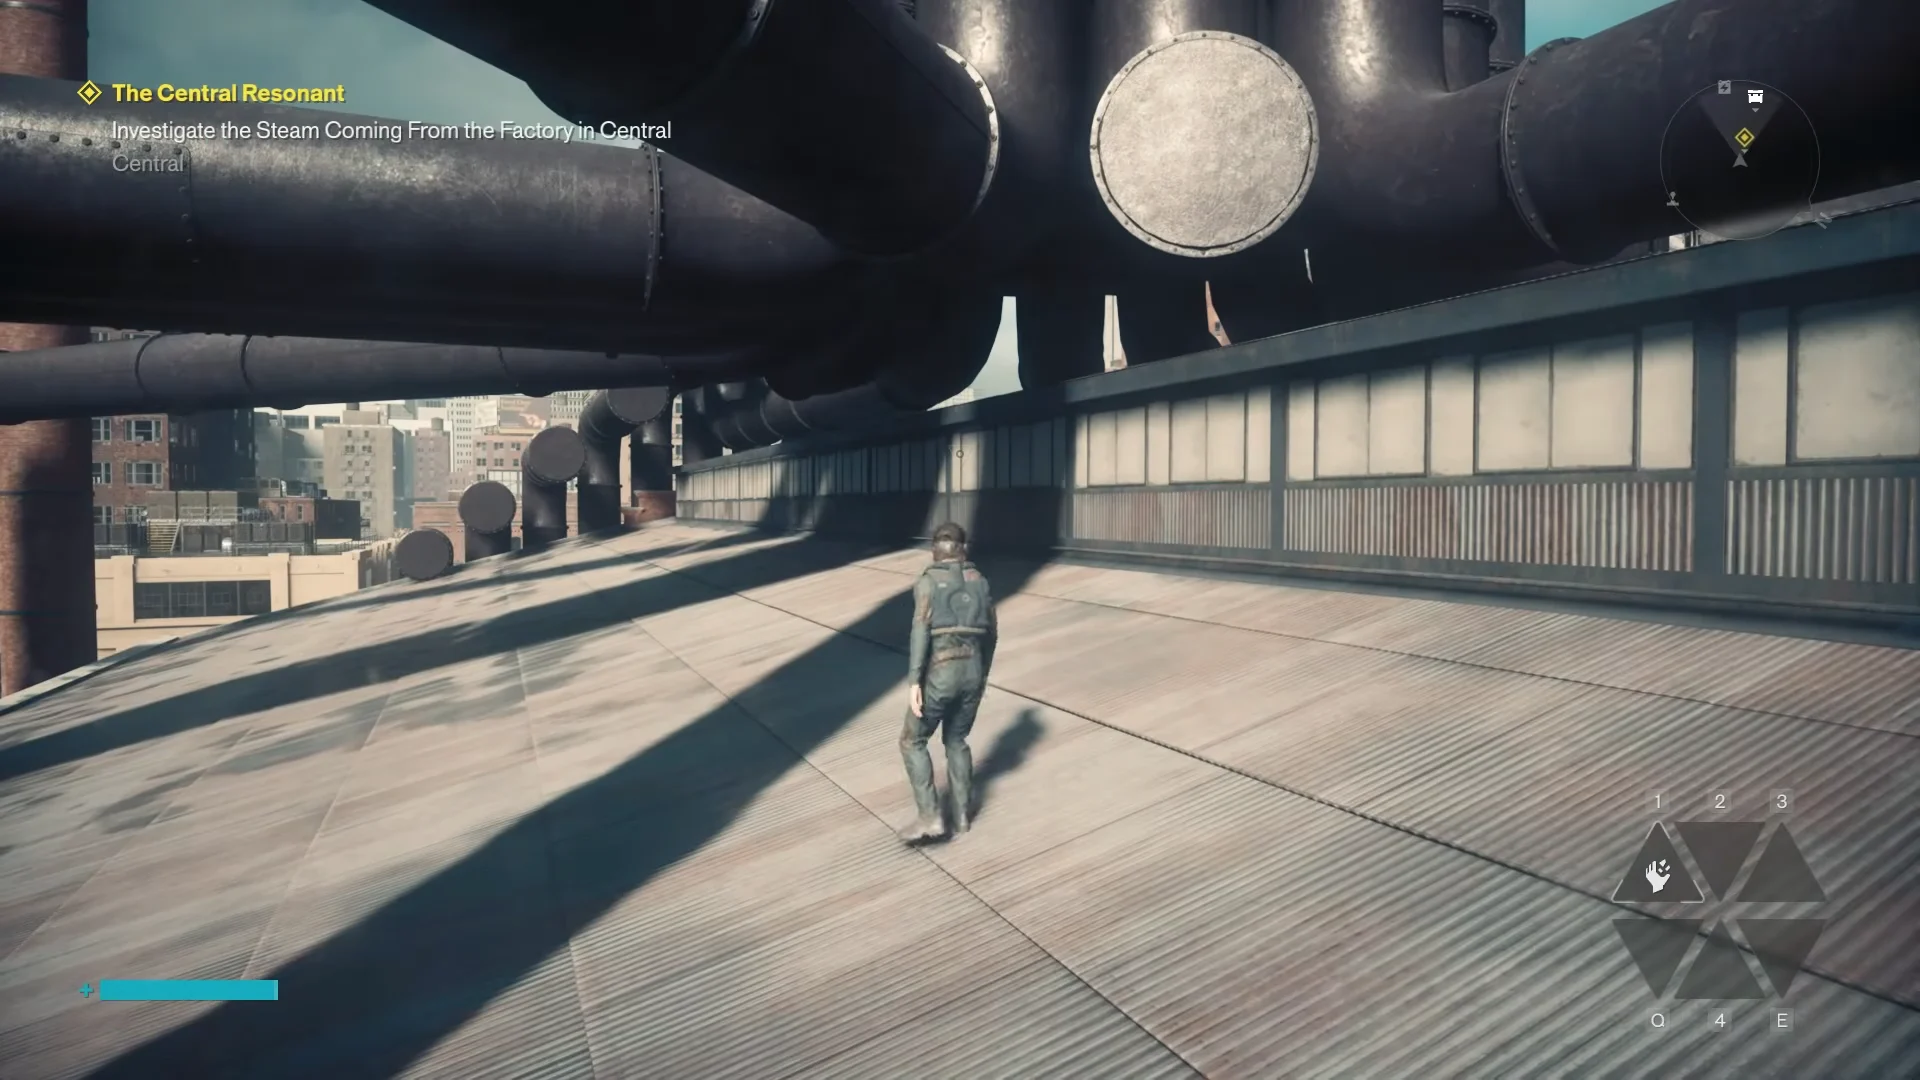

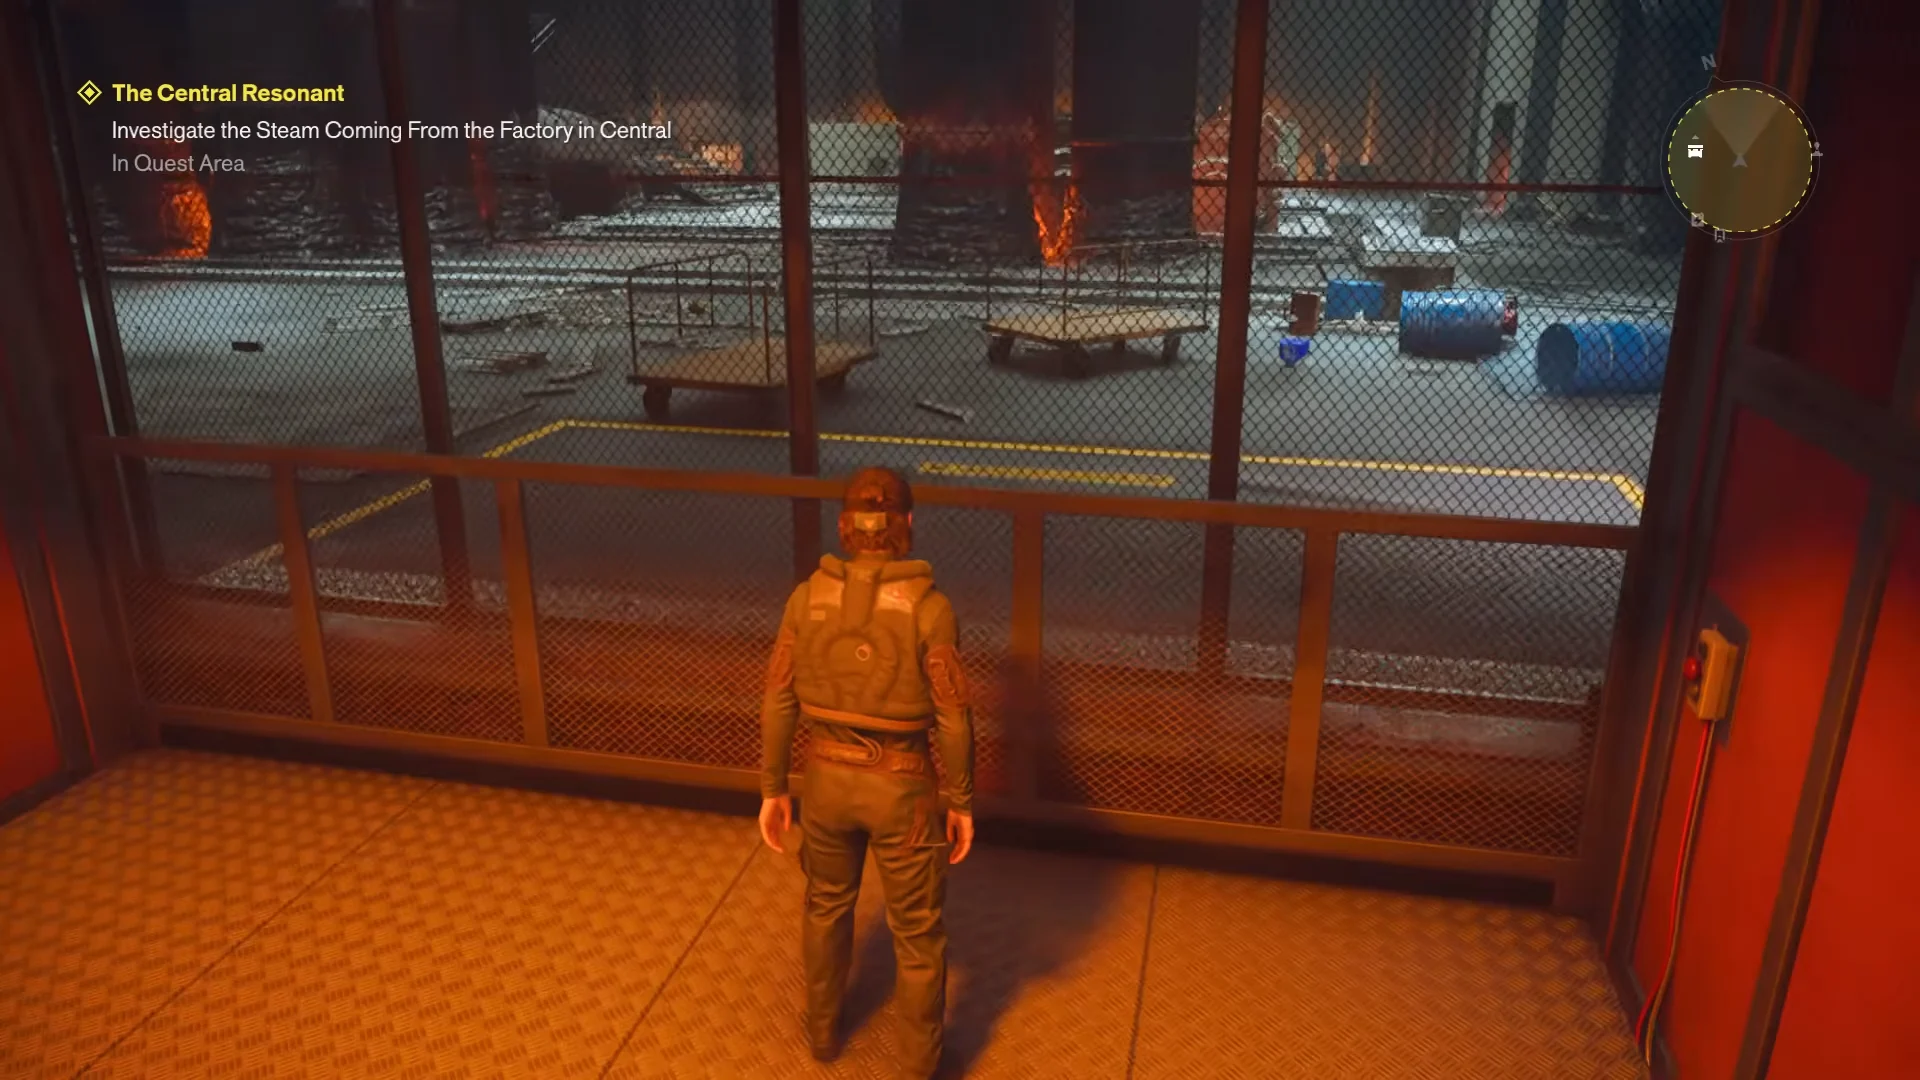
At the bottom, sprint down the corridor and activate the Patterned Factory Fast Travel Door. A confirmation reading “Patterned Factory Fast Travel Door Activated” tells you it worked, and you now have a checkpoint to return to.
Destroying the three heat tumors
For the next objective, track the scorch marks and destroy three heat tumors growing on the pipes to halt the steam. Each one is located in a combat area, and destroying it updates the quest log. Keep the long staircase near the elevator as your main landmark, since you’ll revisit it several times.
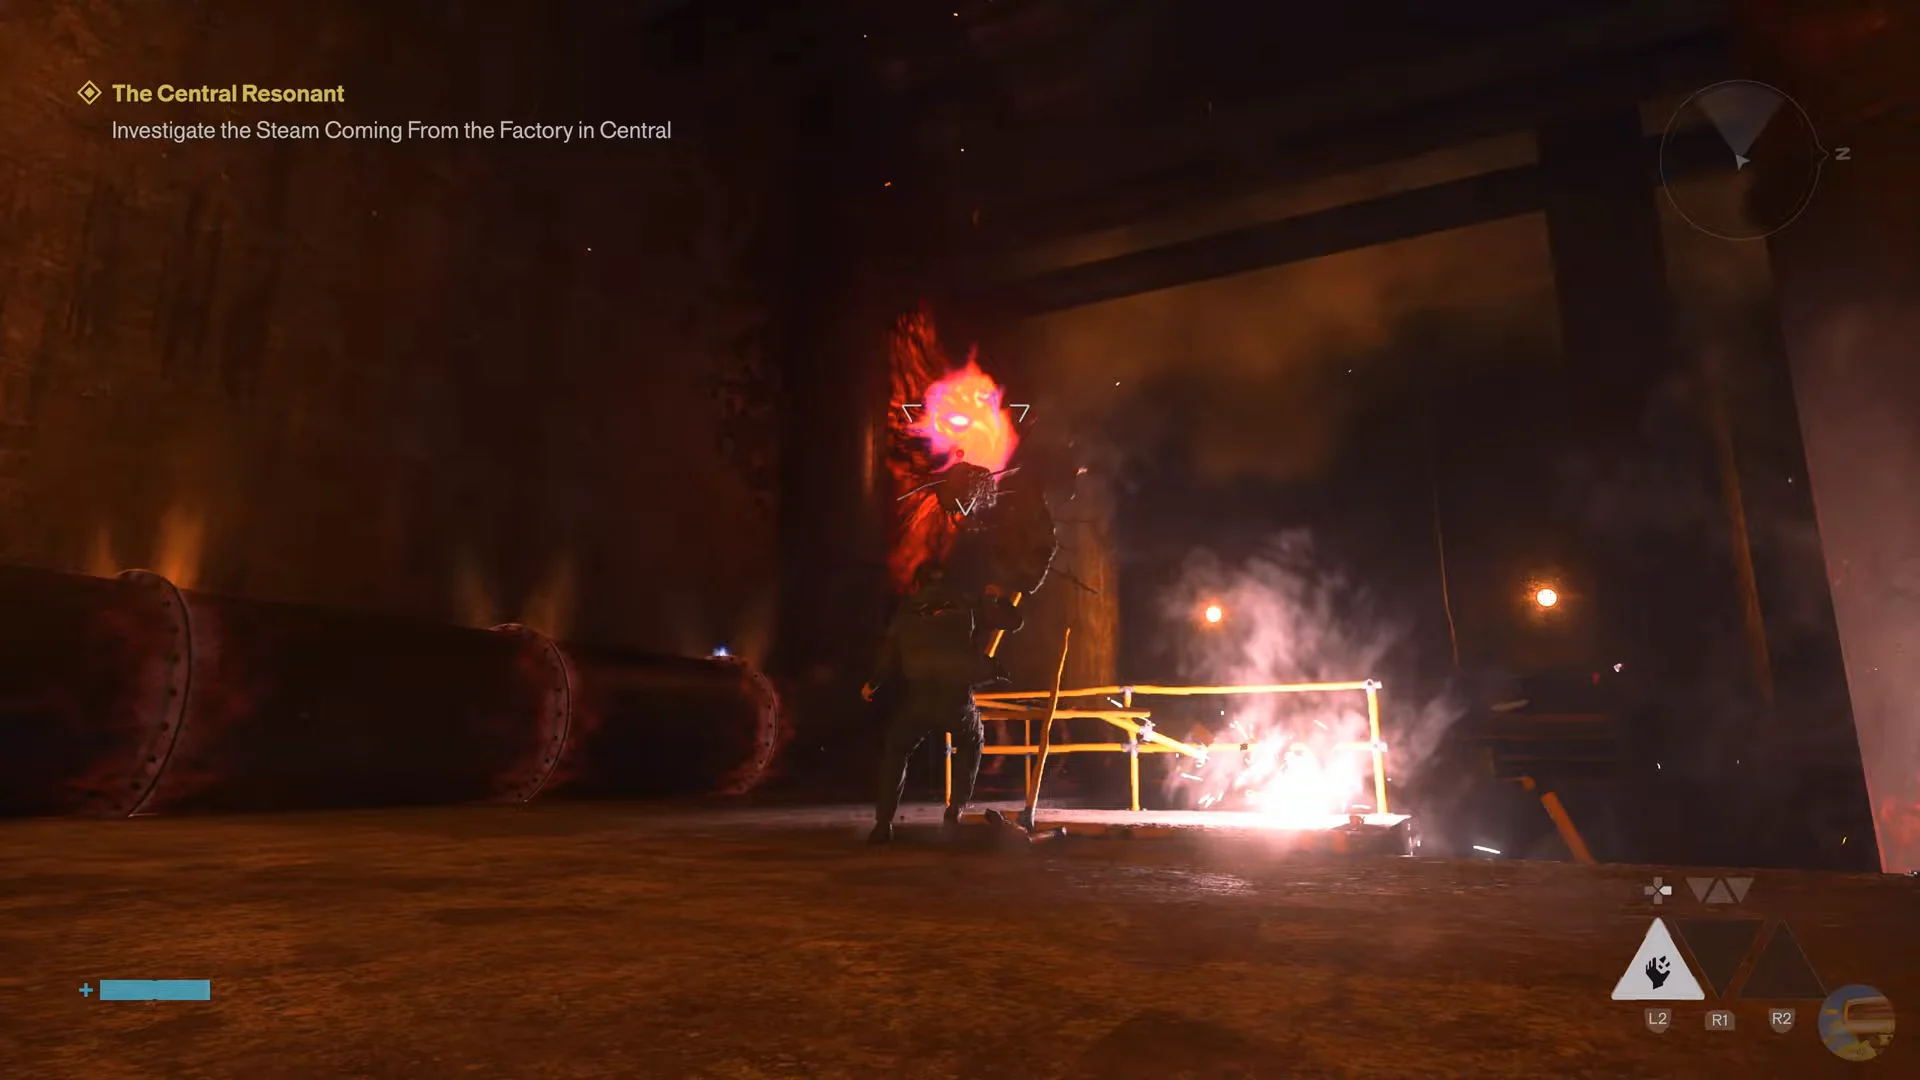
Reaching the furnace room
How to beat The Deserter
The Deserter is a massive, slow-moving fire Resonant. Positioning is the key to most of this encounter: staying beside its legs avoids many of its attacks.
- Lava spit: The boss opens with this attack; sprint in close to get beneath it.
- Spin: Stay circling its legs too long, and it will turn to hit you.
- Body slam: It hurls its entire body down onto the floor. Evade the impact, then strike back.
- Arena fire: Flames spread across the floor, making the grates dangerous to stand on.
At the start of the encounter, charge straight toward the boss to get beyond its lava attack. Stay near its legs, circle around them, and keep up your attacks. If it begins to spin, retreat slightly; it will then crash its body into the floor. Evade the slam and attack while it’s down for several seconds. When fire spreads through the arena, leave the grates and stay close to the room’s edge until the flames die away. Then move back to its legs.
Triggering the Severe Falter status makes The Deserter take significantly more damage for a duration, so lean into anything that builds Falter for a burst window. There is a moment when it rises and topples onto its side; run to its head and hit the purple orb in its mouth for a big chunk of damage.
Keep up the loop and the boss eventually opens itself for a finishing blow. Execute it, a cutscene plays, and the quest completes in your log.
Ignite or Inferno: choosing the reward
Defeating The Deserter transports you to an Astral Plane tutorial chamber, where you must choose one of two fire Combat Abilities: Ignite or Inferno. You can try your selection on targets before completing the mission, giving you a chance to test it first.
| Ability | Damage | Falter | Power Cost |
|---|---|---|---|
| Inferno | 120 | 10 | 200 |
| Ignite | Bonus 15-30 fire | 4-4 | 150 (+45/sec) |
Inferno is an active cone attack: tap to send fire forward in a cone. Further taps arrive more quickly, producing stronger waves of fire that apply Burn and build its intensity. Ignite is a passive buff; it adds fire damage and Burn to attacks with melee, Barrage, Shield, and Volatile Anomaly. Either ability will help against the Mold in The Park.
The Resonant Cycle after the boss
Whenever you defeat a Resonant, a Resonant Cycle begins. After a cutscene, all the enemies you’ve killed throughout Manhattan return, each slightly stronger. This follows every Resonant battle, so use your Talent Points and collect Health and Power Upgrade Points before continuing to the next major mission.