

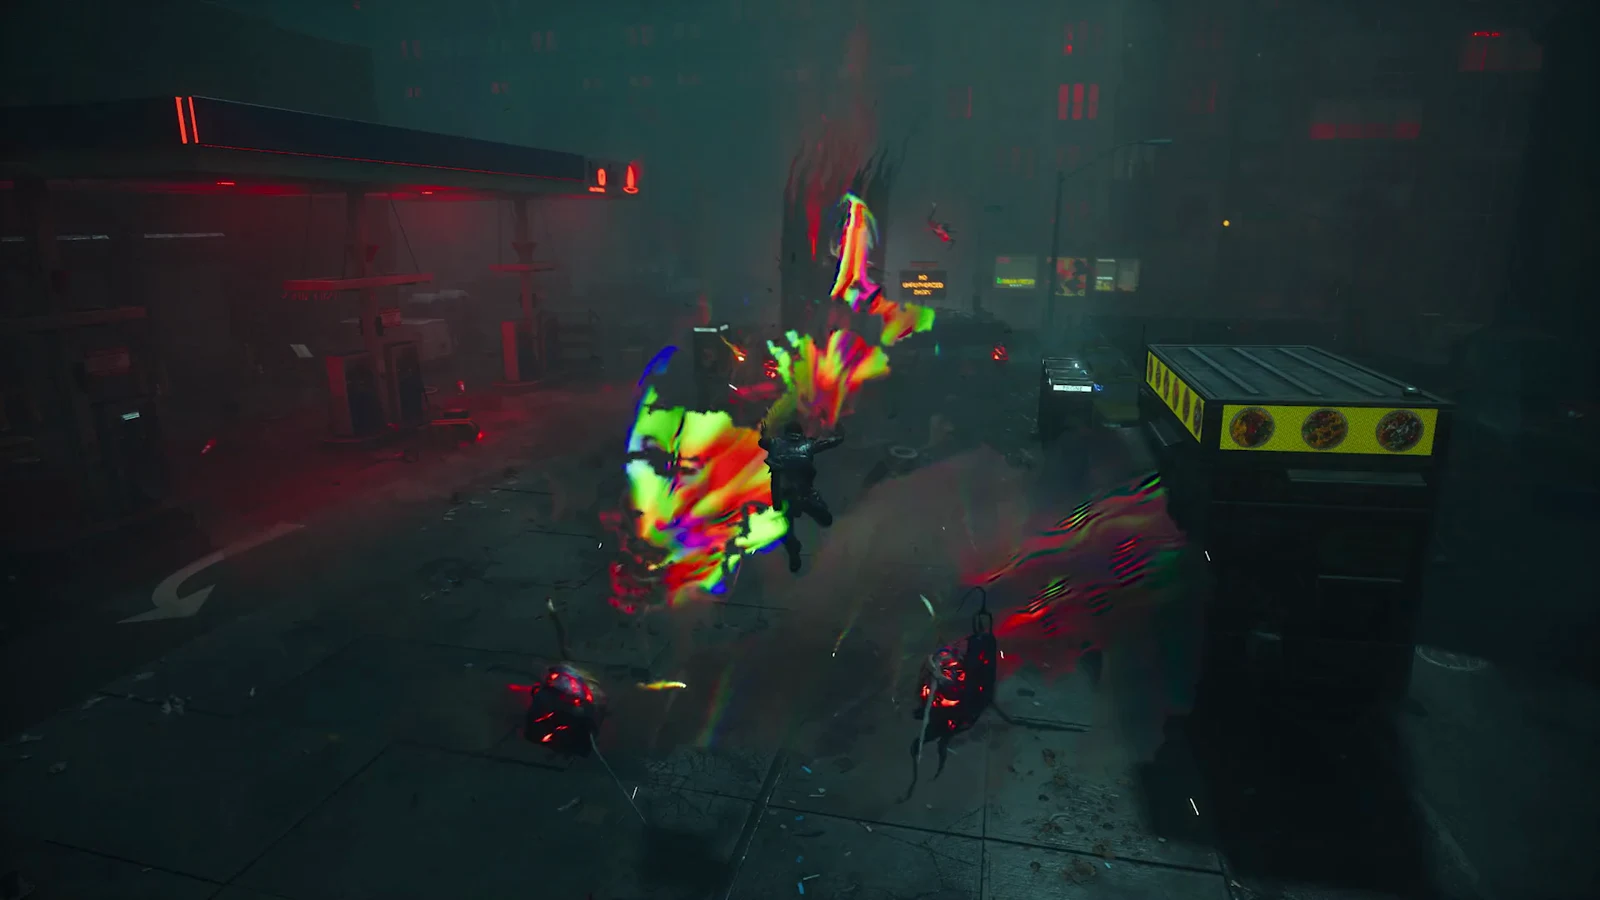
The Central Resonant sends Dylan Faden into the Patterned Factory in northeast Central, where a fire-blocked corridor stands between you and the furnace core. The tunnel only opens once you shut down the heat feeding it, and that heat comes from three lava growths clamped onto pipe junctions deep in the factory’s basement.
Quick answer: Destroy all three lava entities attached to pipes across the factory basement to extinguish the fire blocking the furnace corridor, then walk into the core and defeat The Deserter.
Before you start: reaching the Patterned Factory
The quest triggers during Welcome to Manhattan after you speak with Zoe at the Watchtower. To reach the factory itself, you first need to clear the Evacuation Procedures and Power Lines missions, which unlock access to that part of Central. The Patterned Factory then appears as a marker on your map in the northeast of the zone.
This fight sits slightly above your starting power, so head to the Gap and spend any levels before you go in. Winning here hands you a new combat ability and resources that help with tougher encounters later.
Get inside and down to the basement
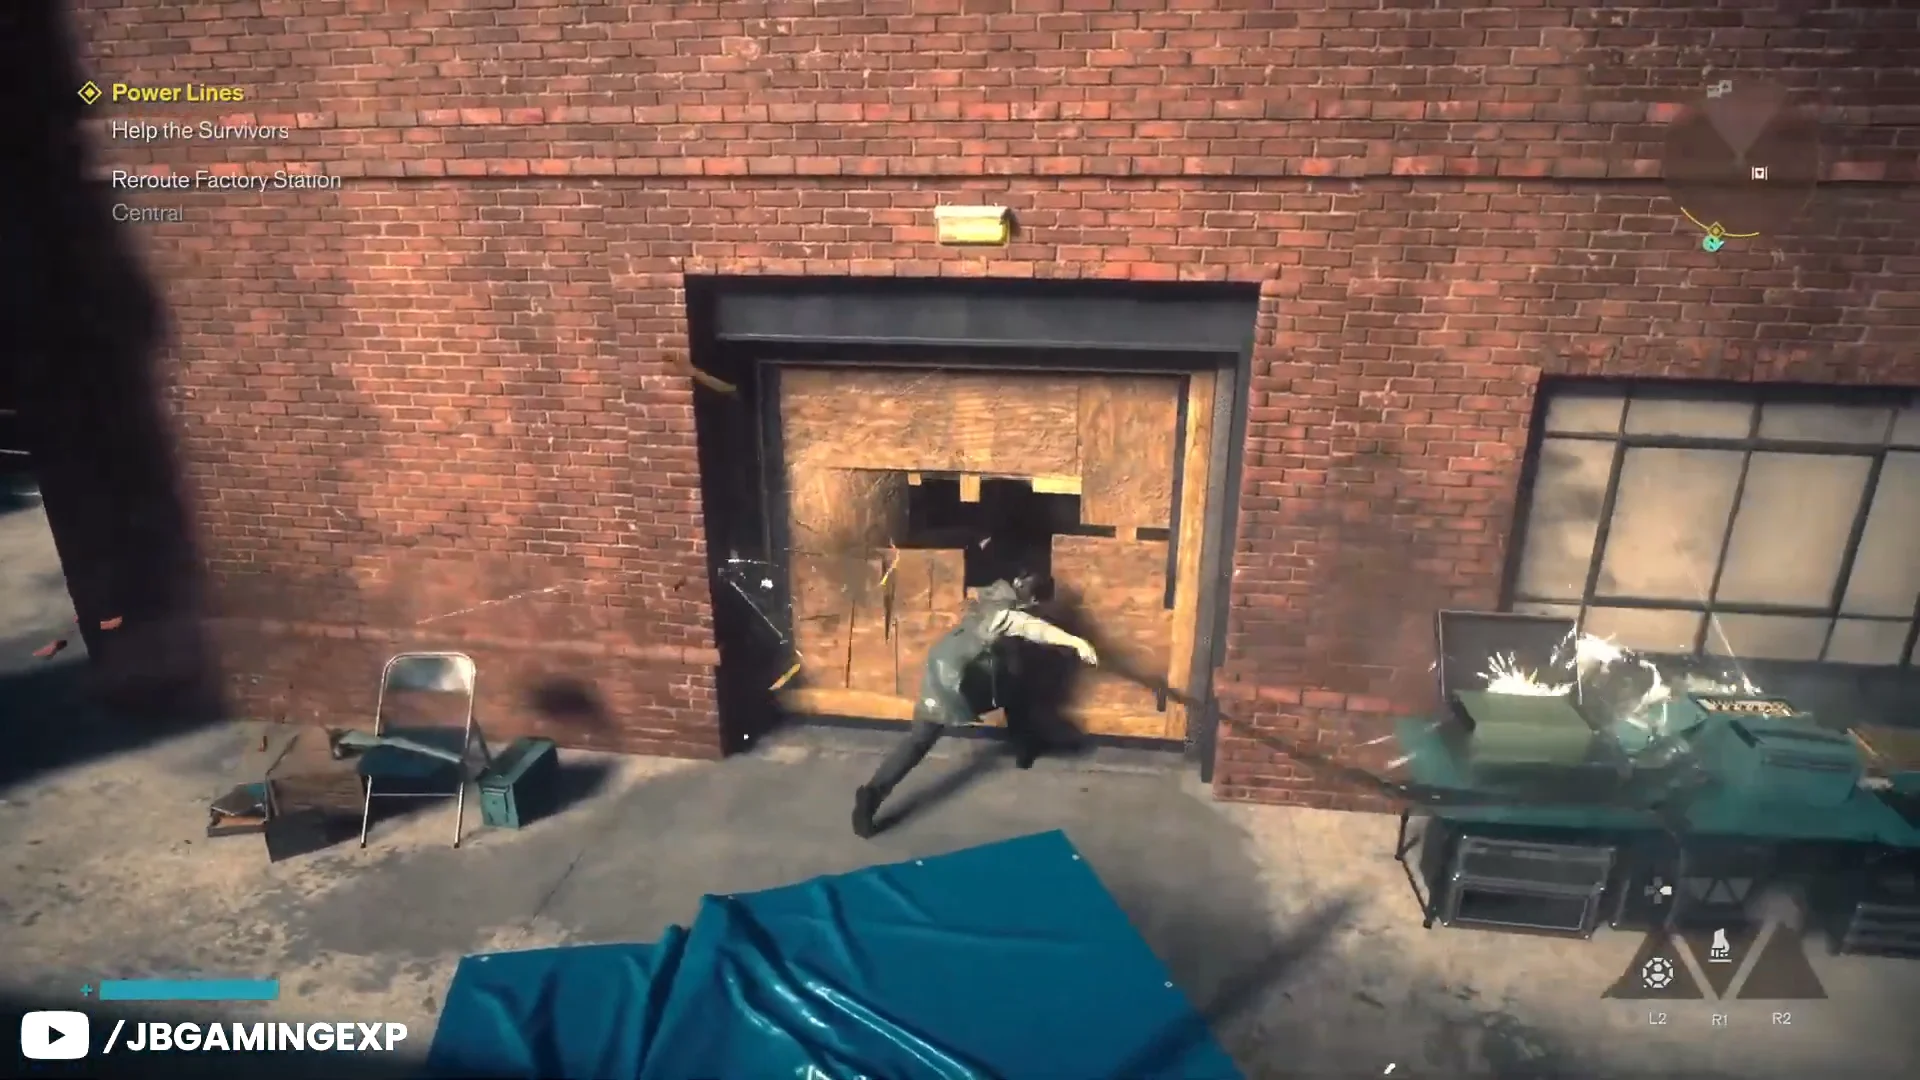
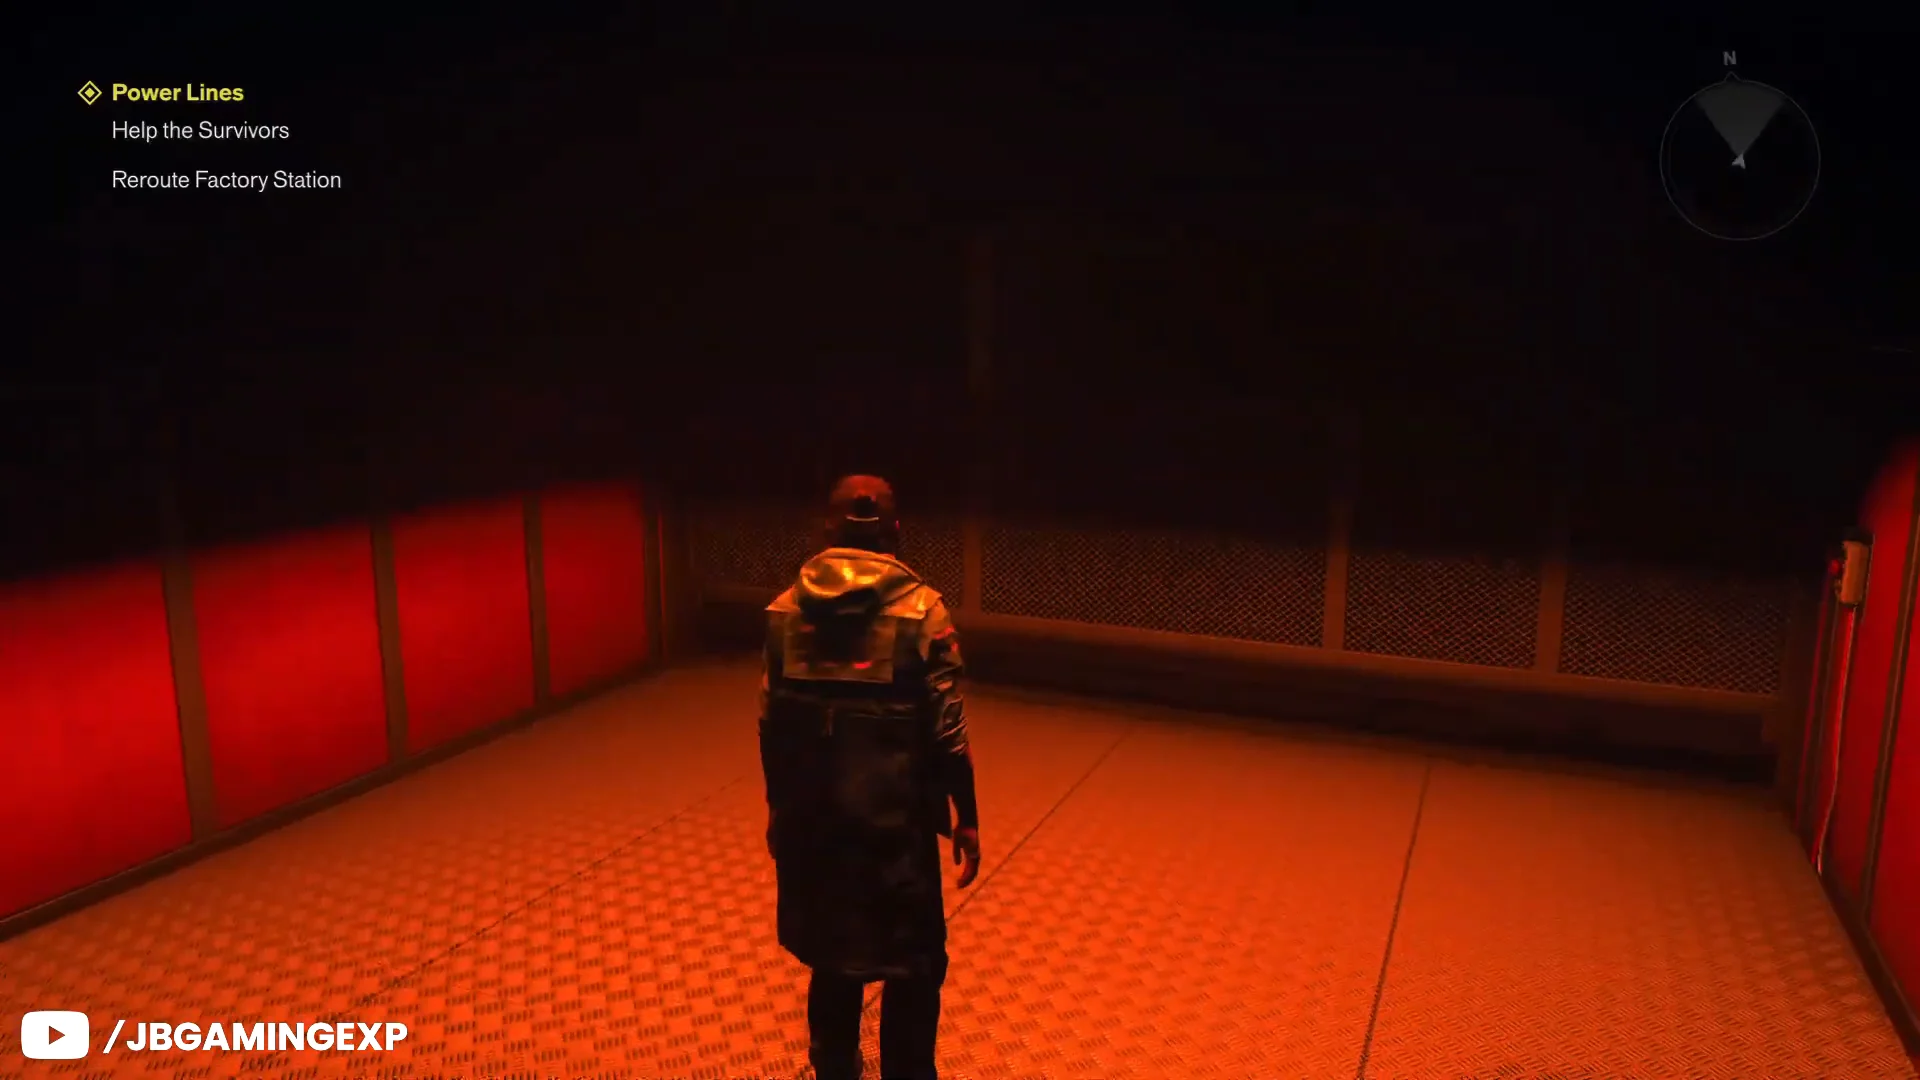
Destroy the three lava entities
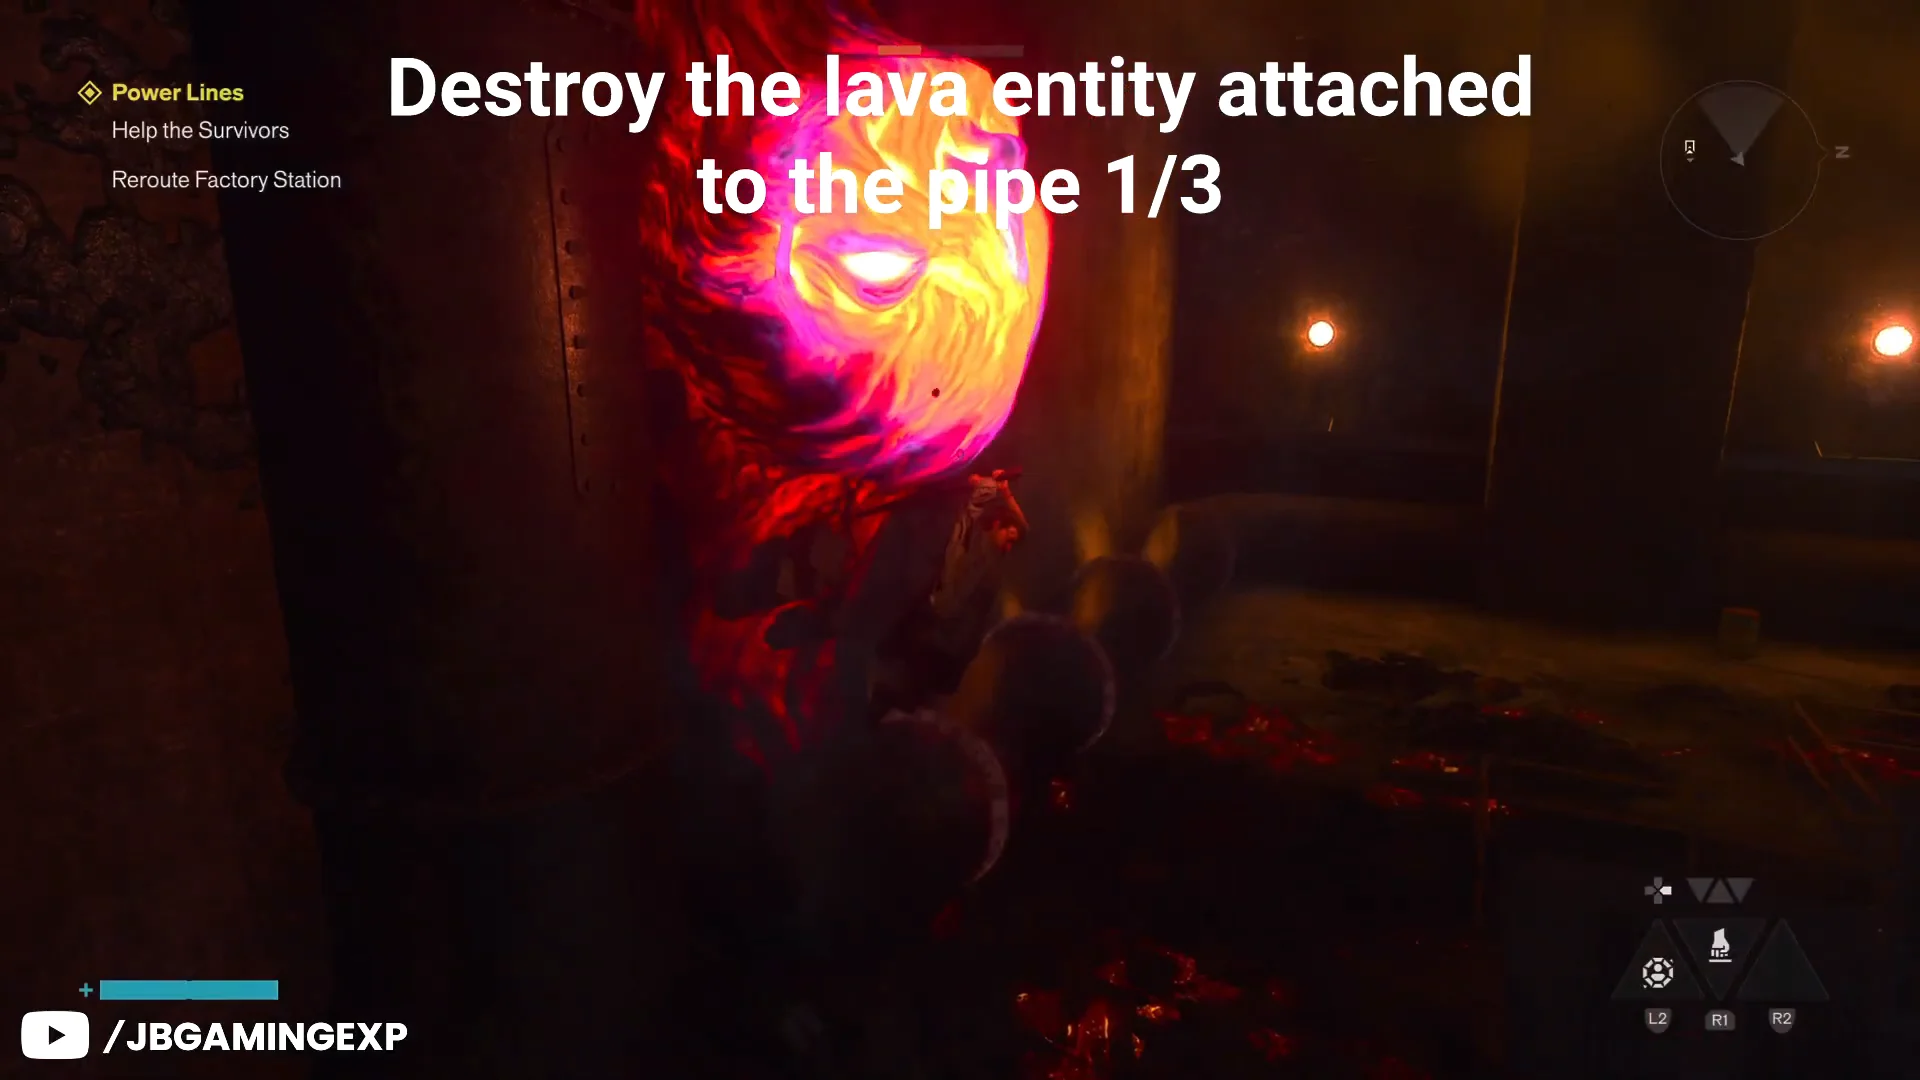
Each lava glob is fixed to a steel pipe, and destroying all three vents the system and puts out the fire in the furnace corridor. A yellow objective diamond marks your current target if you lose your bearings.
First lava entity
At the central hub’s stair landing, pivot a full 180 degrees to face the opposite wall. The first glob rests on a pipe there. Reach it using either the left or right walkway, then destroy it.
Second lava entity
At the stairway’s top, follow the left-hand route and go through the archway halfway along the walkway. Continue down the passage, steering clear of steam venting from the pipes, until you come to a fork.
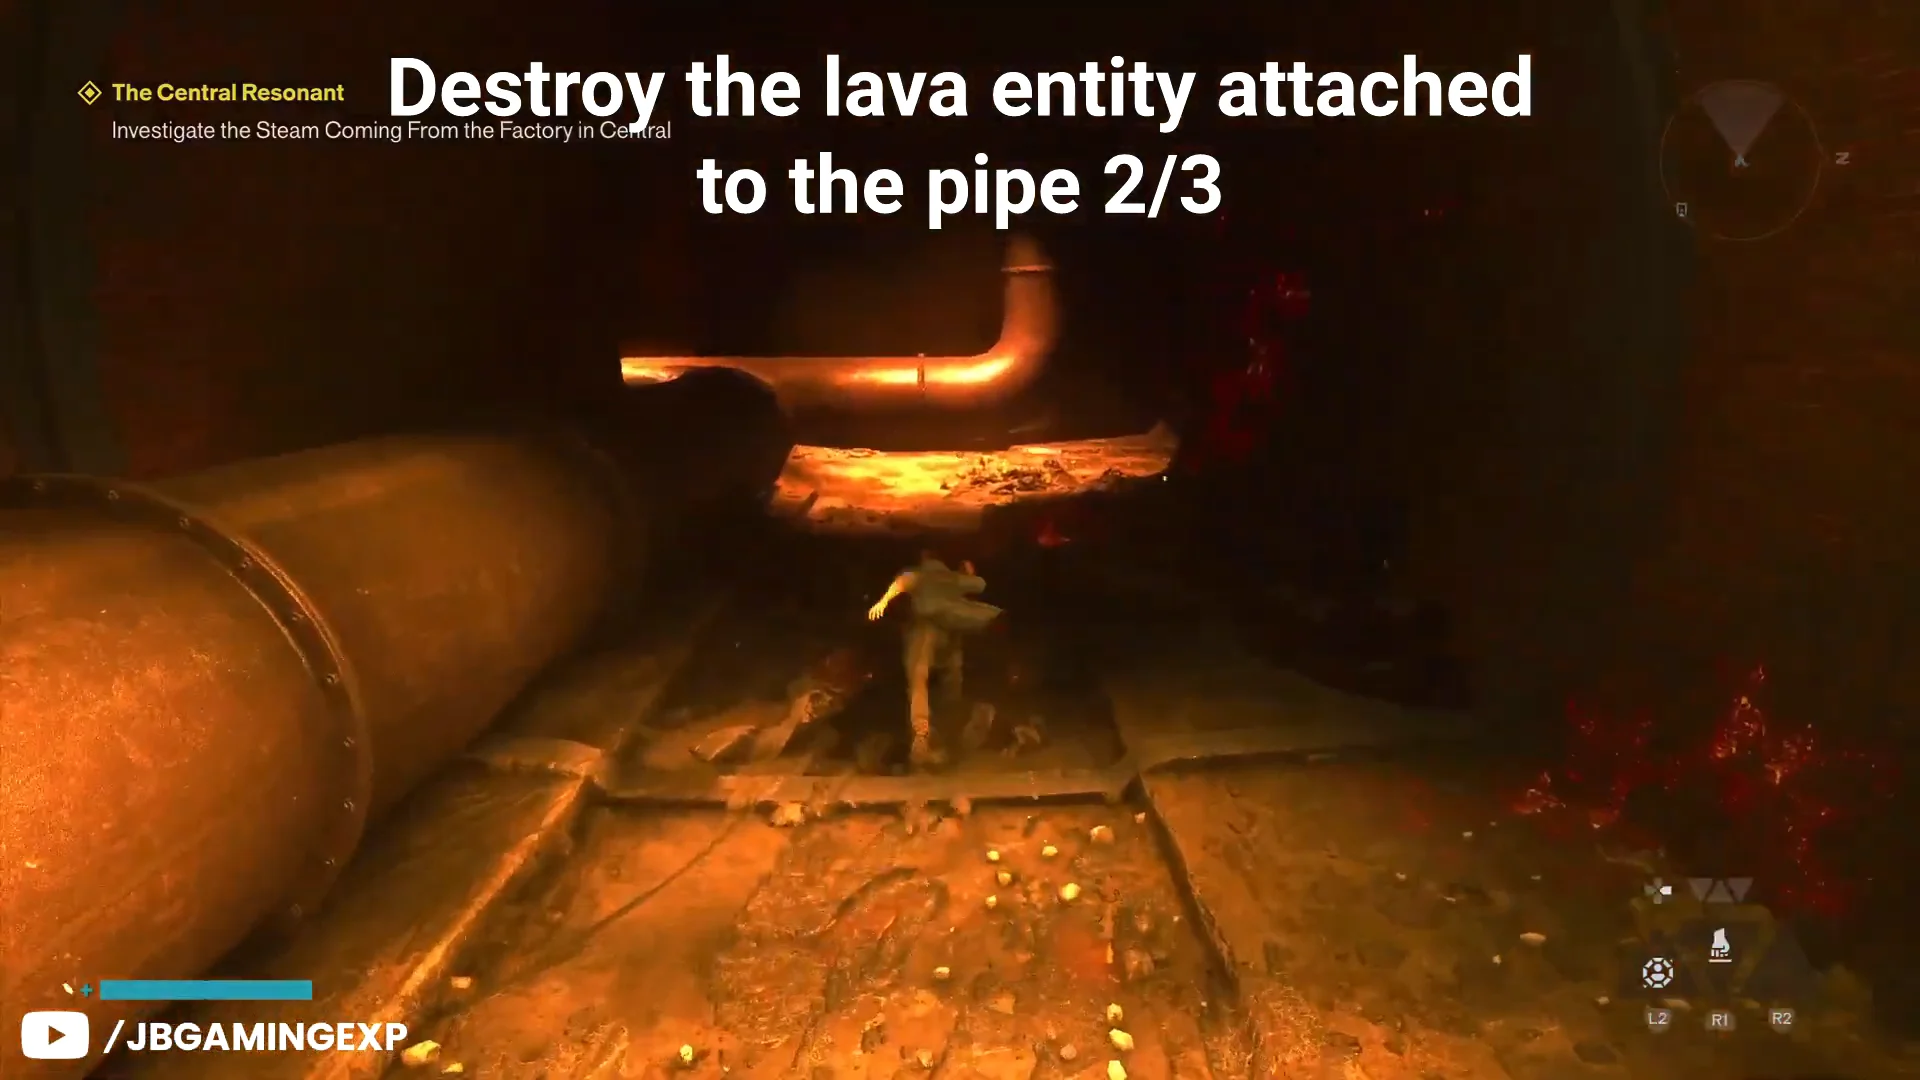
Follow the left branch into a room with a furnace burning behind a metal gate; Factory Log #1 is on the table beside the grate. Climb up to the walkways overhead and continue to the next combat room. Defeat the Hiss, then move on to the large room with the cooling pool and clear it as well. Tell Zoe the pool is empty, then take the tunnel on the right side of the lower floor. The glob is at the tunnel entrance; destroy it.
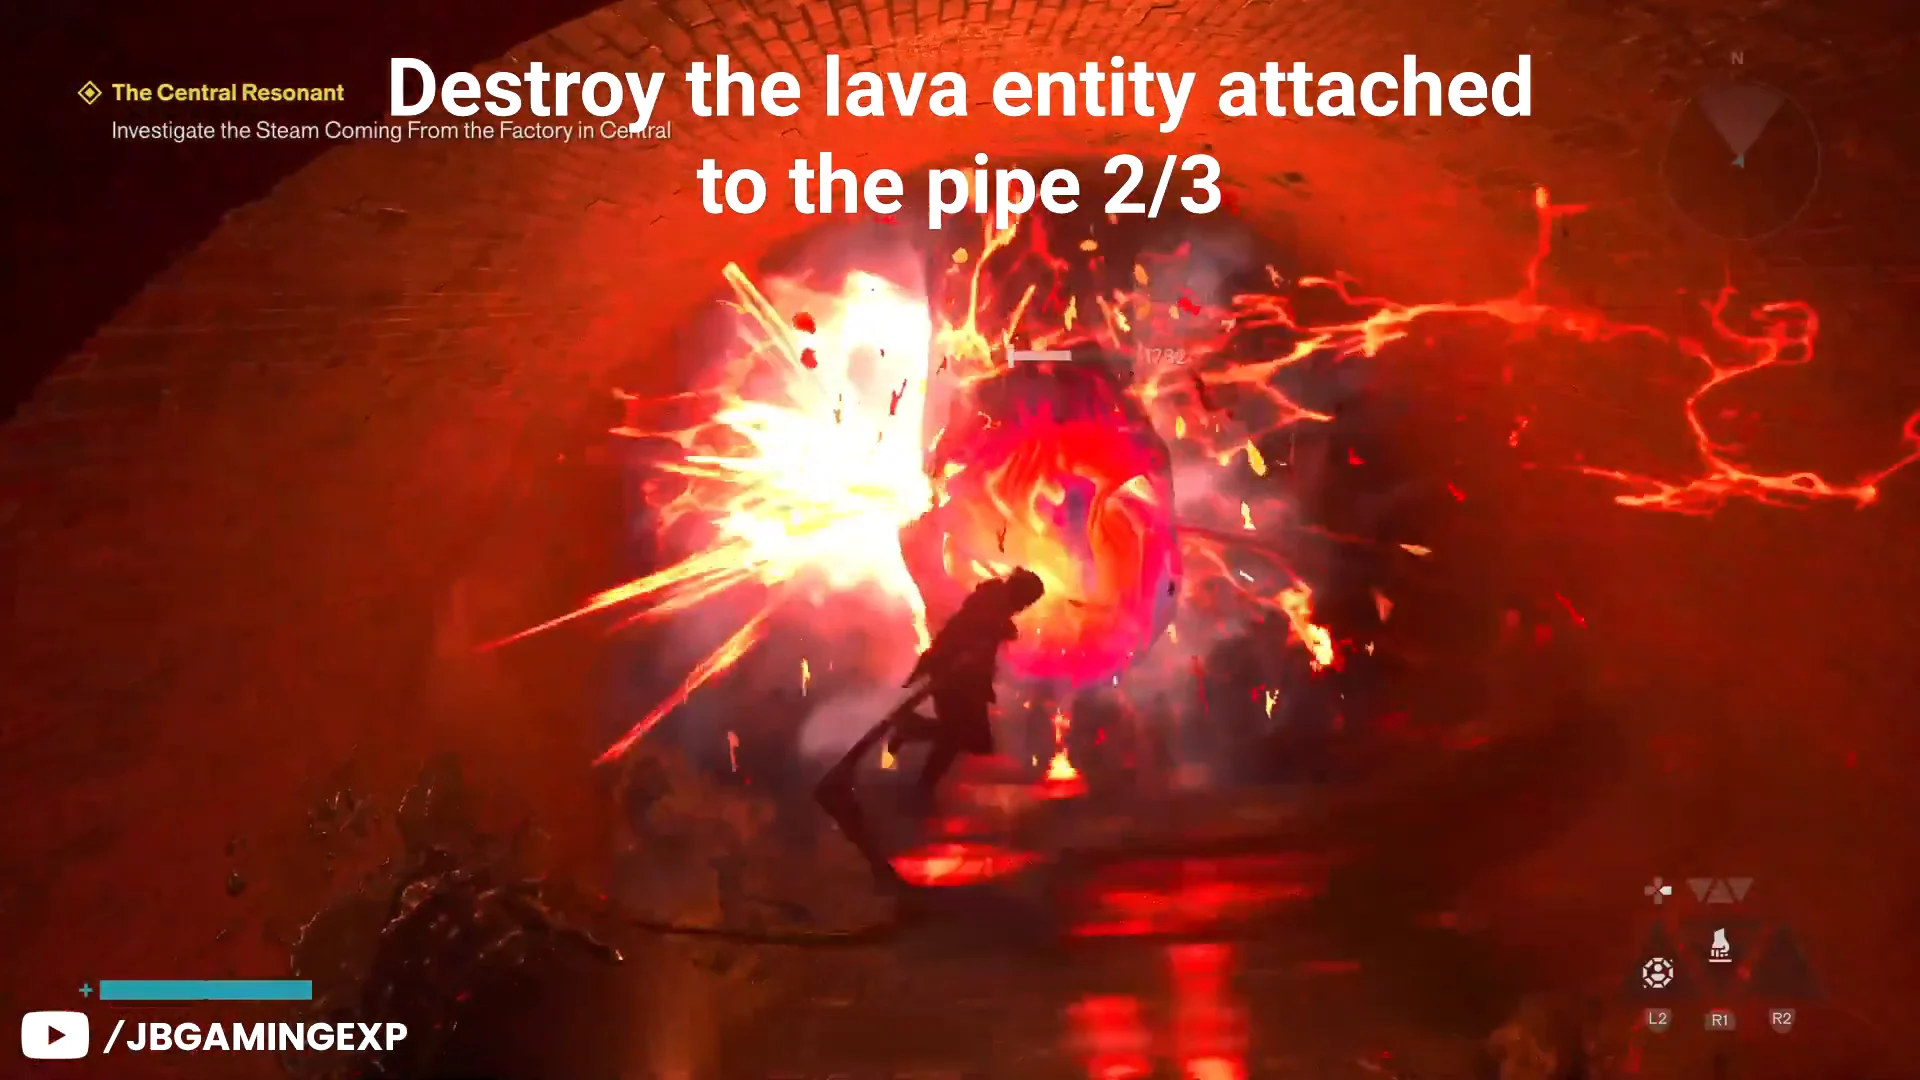
Third lava entity
Go back to the central hub and, from the stairway’s top, follow the path on the right. Enter the door halfway down the walkway, then continue into the large chamber and take out the Hiss. The fire jets in the middle can stun enemies, setting them up for free executions.
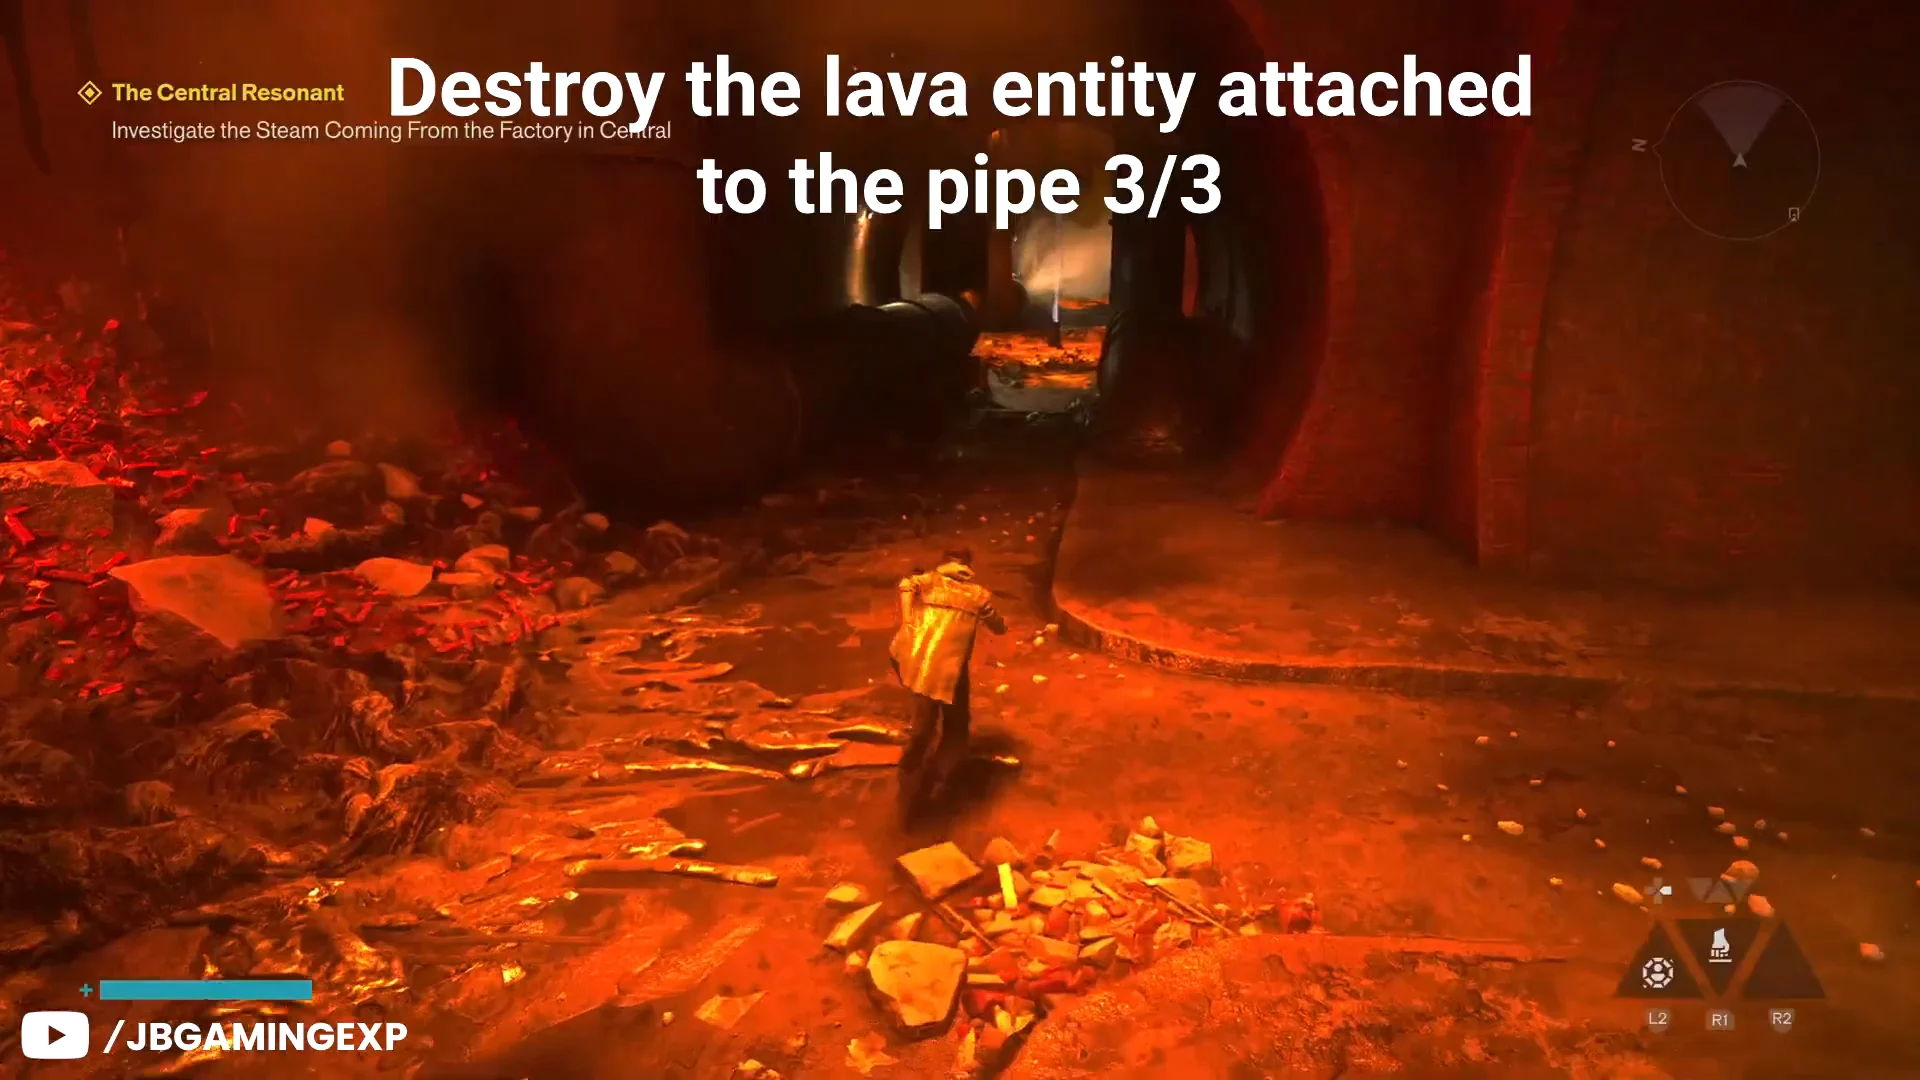
Climb to the raised area at the back and take the fork. The right branch continues to the objective; the left branch leads to a makeshift living area holding a Health Upgrade Point, Factory Log #3, and an old Journal. Once you take the right path, you reach a final fiery arena. Look directly opposite the entrance, on the upper walkway, to spot the last glob on a pipe. Destroy it and clear the remaining Hiss.
The quest log updates to “Go Deeper Into the Furnace Room” once the fire is out, confirming all three globs are gone.
Enter the furnace and beat The Deserter
Back at the central hub, head into the room opposite the top of the stairs and take the corridor that was previously walled off by flame. It is now extinguished, so walk to the end and interact with the mirror to start the cutscene. A massive molten Resonant, The Deserter, wakes up, and the fight begins.
The Deserter is slow but throws heavy fire attacks. Stick to the outer edge of the arena and strafe around him, then close in for aerial strikes when there is an opening. When he spews lava, use Rush to dash clear, and stay airborne to avoid standing in the flame pools he leaves behind. When he lights the whole floor, keep off the grates and hug the edge.
Wait until he gets up and then falls onto his side to create an opening. Sprint directly to his head and strike the purple orb in his mouth to remove a large amount of health. As the fight goes on, he’ll charge around the arena and fall to his knees. Stay back while he’s getting up; when he does, dash in and land a few hits. Finish him with an execution once he’s weakened.
Choose Inferno or Ignite
The finisher extracts The Deserter’s resonance and teleports you to the Gap, where the Combat Ability Selection screen offers one of two fire powers. You keep only the one you pick, so weigh how you fight.
| Ability | Effect | Damage / Falter | Power Cost |
|---|---|---|---|
| Inferno | Tap to create a cone of fire ahead; repeated taps fire faster and build Burn | 177 / 18 | 150 |
| Ignite | Adds Fire damage and Burn to Melee, Barrage, Shield and Volatile Anomaly | 22-44 bonus / 7 | 200 (45 per second) |
Inferno sends out an offensive cone and builds up the Burn status. Burn inflicts Falter over time on enemies, while it steadily drains Power from Dylan. In either case, combining Burn with Infected causes an explosion. Ignite works differently: it adds a temporary flame effect to your current attacks and shield, like coating a weapon.
Once you’ve made your choice, try the power on training targets in the astral plane. You’ll then return to the physical furnace room, where the defeated entity is encased. Returning there and seeing the quest entry marked complete confirms that The Central Resonant is finished and the furnace room has been fully cleared.





