

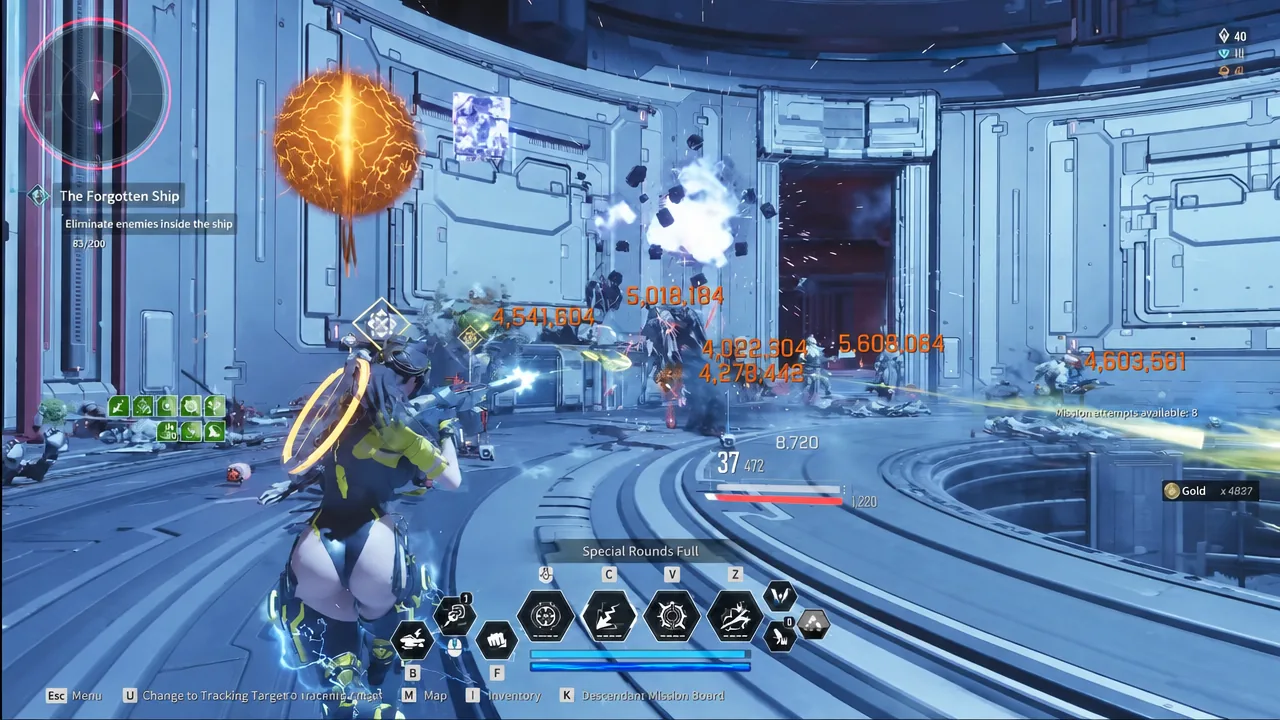
Bunny still does the heavy lifting for farming in The First Descendant, but Season 4 shuffled which of her transcendent modules you actually want in the slot. Her fourth ability now defaults to a kick, one of her signature modules triggers off gunfire instead of movement, and Electric Condense hits harder than it used to. Four setups are worth building, and they barely overlap.
Quick answer: Slot Electric Condense for 400% Infiltrations and general mobbing, Electric Link if you want Lightning Emission to fire from your gun at range, Electric Transition for burst kick waves, or Electric Charge if you want her old channelled beam back.
| Transcendent module | What it does | Use it for |
|---|---|---|
| Electric Condense | Fourth ability explodes on activation and again on reactivation, without draining all Electricity | Everyday farming, 400% Infiltrations |
| Electric Link | Triggers Lightning Emission every 10 gunshots instead of by distance moved | Ranged, gun-driven mobbing |
| Electric Transition | Converts the kick into a large electric wave | Huge AoE burst damage |
| Electric Charge | Reverts the fourth ability to the continuous beam that ramps with channel time | Sustained single-target pressure |
Bunny’s Season 4 reworks: Flash Kick, Electric Link, and a buffed Electric Condense
Three changes drive every build below. Her fourth ability is now Flash Kick, a Clash-type attack that delivers a single-target burst and hands Bunny a protective barrier on impact. That barrier matters, because her old problem was staying alive while standing on top of a pack.
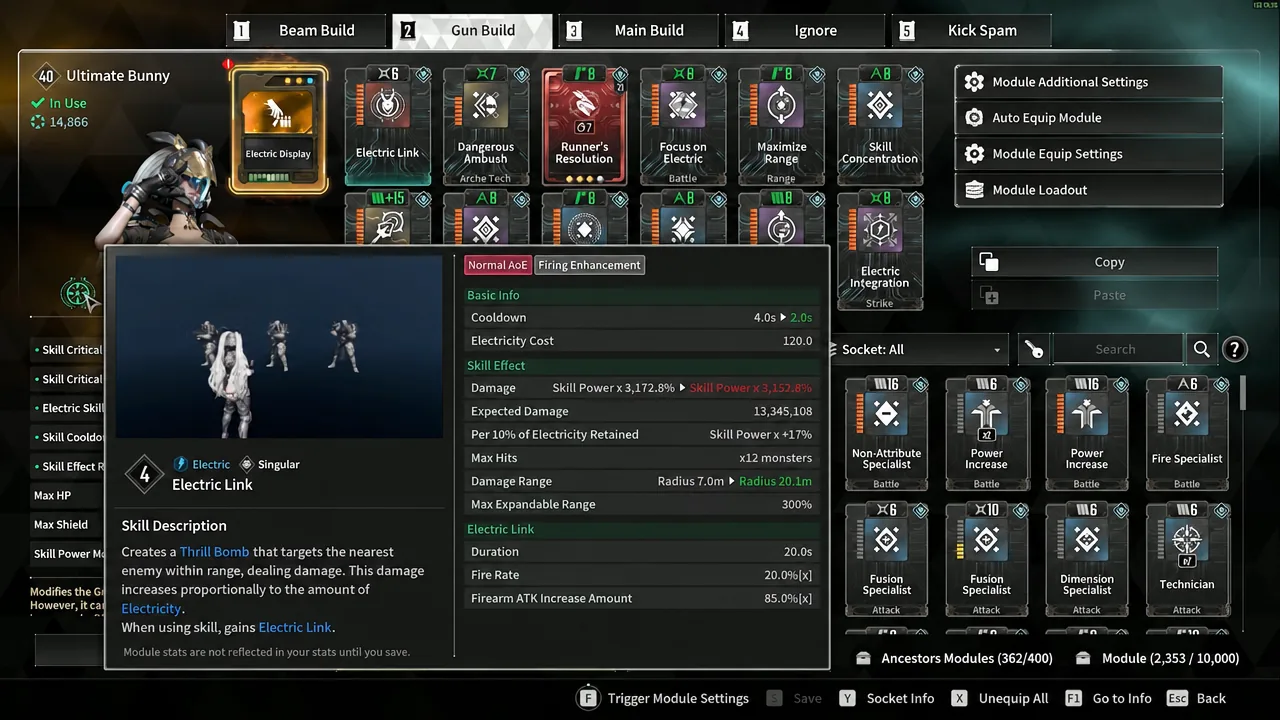
Electric Link no longer keys off distance travelled. Ten gunshots now proc her third skill, which means you can sit back and detonate Lightning Emission from wherever you are shooting rather than sprinting through the room. Electric Condense, meanwhile, detonates both when you activate it and when you reactivate it, and it stopped eating your entire Electricity pool to do so.
Electric Condense build: 400% Infiltrations and general mobbing
This is the default Bunny. Keep her third skill running at all times, use the fourth on elites and bosses, and let the first skill mop up anything that survives. It works on both Bunny and Ultimate Bunny, and it is the easiest version to pilot because it does not depend on crit rolls.
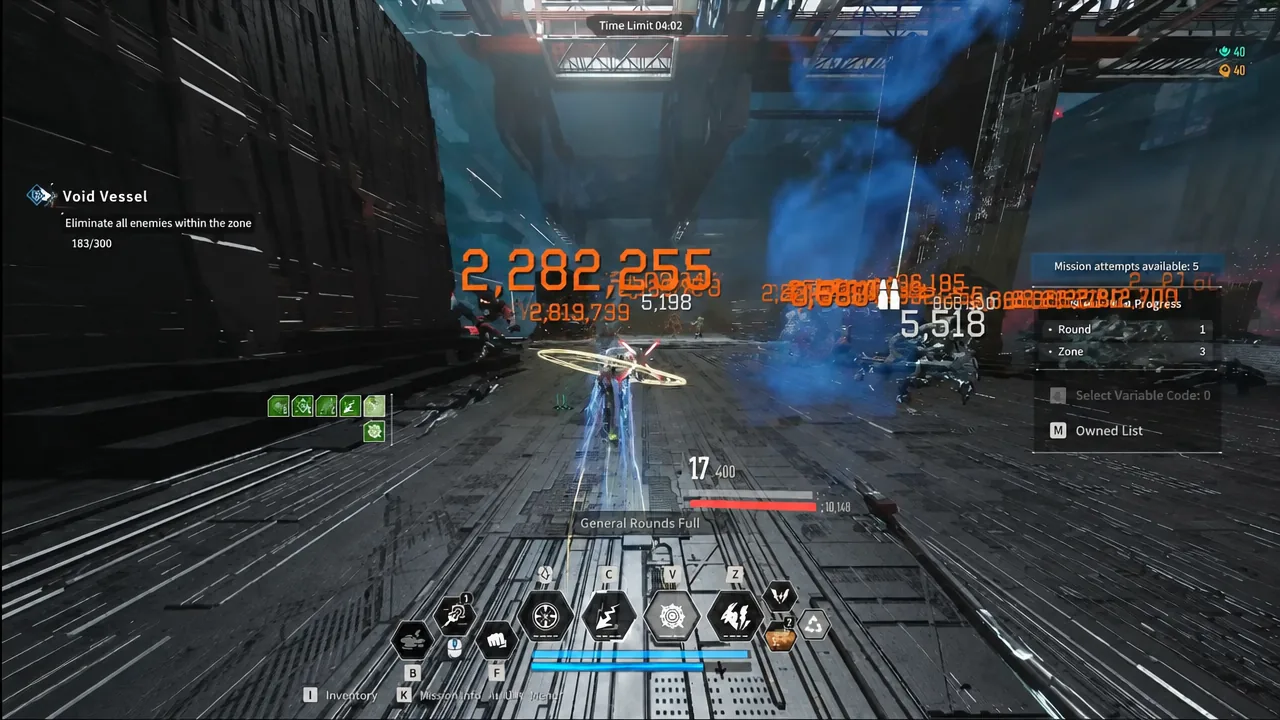
Non-crit module setup
| Slot | Module |
|---|---|
| 0 (Trigger) | Golden Ensemble |
| 1 (Skill) | Electric Condense |
| 2 | MP Conversion |
| 3 | Maximize Conservation |
| 4 | MP Collector |
| 5 | Amplification Control |
| 6 | Decimator |
| 7 (Sub) | Mid-Air Maneuvering |
| 8 | Nimble Fingers |
| 9 | Electric Amplification |
| 10 | Power Increase |
| 11 | Skill Expansion |
| 12 | Runner’s Resolution |
For the Ancestor module, Fusion Skill Power Boost Ratio is the essential roll, with Electric Skill Power Boost Ratio, Duration, Max HP, or Range as useful extras and Max Shield as a harmless negative. No Ancestor module yet? Run HP Amplification in that slot instead.
Max crit module setup
Same gameplay loop, higher ceiling, and it needs an Ancestor module rolling at least 300% Skill Critical Hit Rate to function. Below that number, drop HP Amplification for Skill Insight to cover the gap, at the cost of survivability.
| Slot | Module |
|---|---|
| 0 (Trigger) | Golden Ensemble |
| 1 (Skill) | Electric Condense |
| 2 | Electric Integration |
| 3 | Power Increase |
| 4 | Skill Concentration |
| 5 | Emergency Measures |
| 6 | Maximize Range |
| 7 (Sub) | Mid-Air Maneuvering |
| 8 | Nimble Fingers |
| 9 | Skill Expansion |
| 10 | MP Conversion |
| 11 | HP Amplification |
| 12 | Runner’s Resolution |
Golden Ensemble is the trigger module for both variants, since it adds skill power and range whenever you use a normal AoE skill. Power Beyond is the fallback if you have not unlocked it. Nimble Fingers is doing real work here too, because the faster the cooldown comes back, the more often you get the double detonation. Bio Expansion is a reasonable swap if you want extra HP and range over raw damage.
Weapon, reactor, and components
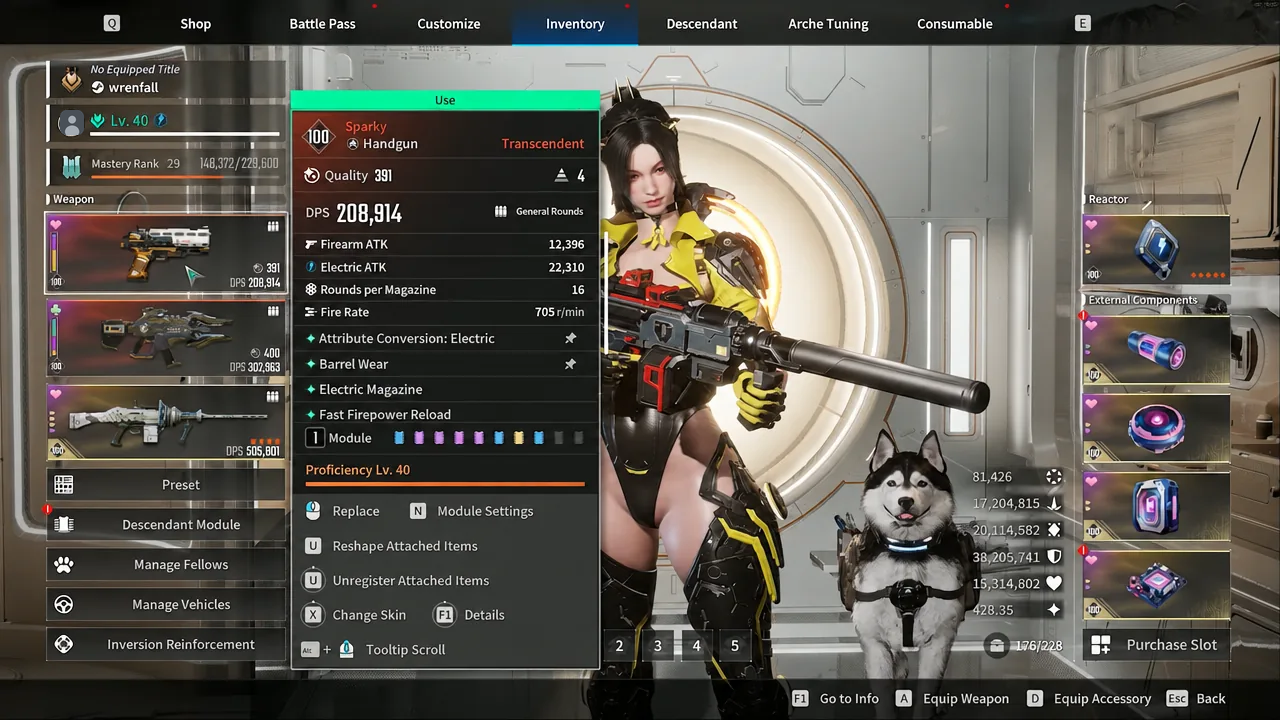
Hold Sparky. You are not shooting for damage, you are holding it because it amplifies her electric skills. Pair that with a Tingling Mixture fusion reactor and the Sprint Accelerator external component set.
Electric Link gun build: proc Lightning Emission from range
Because ten shots now replace the distance requirement, this build turns Bunny into something closer to a gunner who happens to detonate lightning. Fire rate is the stat that decides how often the proc lands, so weapon choice is not cosmetic here.
Weapons for the gun build
Albion Cavalry is the standout. It raises movement speed while you are shooting, and its critical hits stun enemies, which is exactly the condition the Dangerous Ambush module wants. High fire rate matters more than raw damage numbers, and there is a hard split worth knowing: non-transcendent weapons can stack up to a 90% fire rate increase, while transcendent weapons like Sparky cap out at 30%.
Module setup
Build around range and crit. Skill Expansion and Maximize Range widen the detonation, then the crit package of Emergency Measures, Skill Insight, Skill Concentration, and Electric Integration handles damage. Electric Display goes in the trigger slot, since it returns MP and rounds while you sprint, keeping both your speed and your magazine topped up.
Reactor, components, Arche Tuning, and Inversion
Use a Singularity Reactor rolling skill cooldown and skill critical hit damage, with the Sprint Accelerator external component set on top.
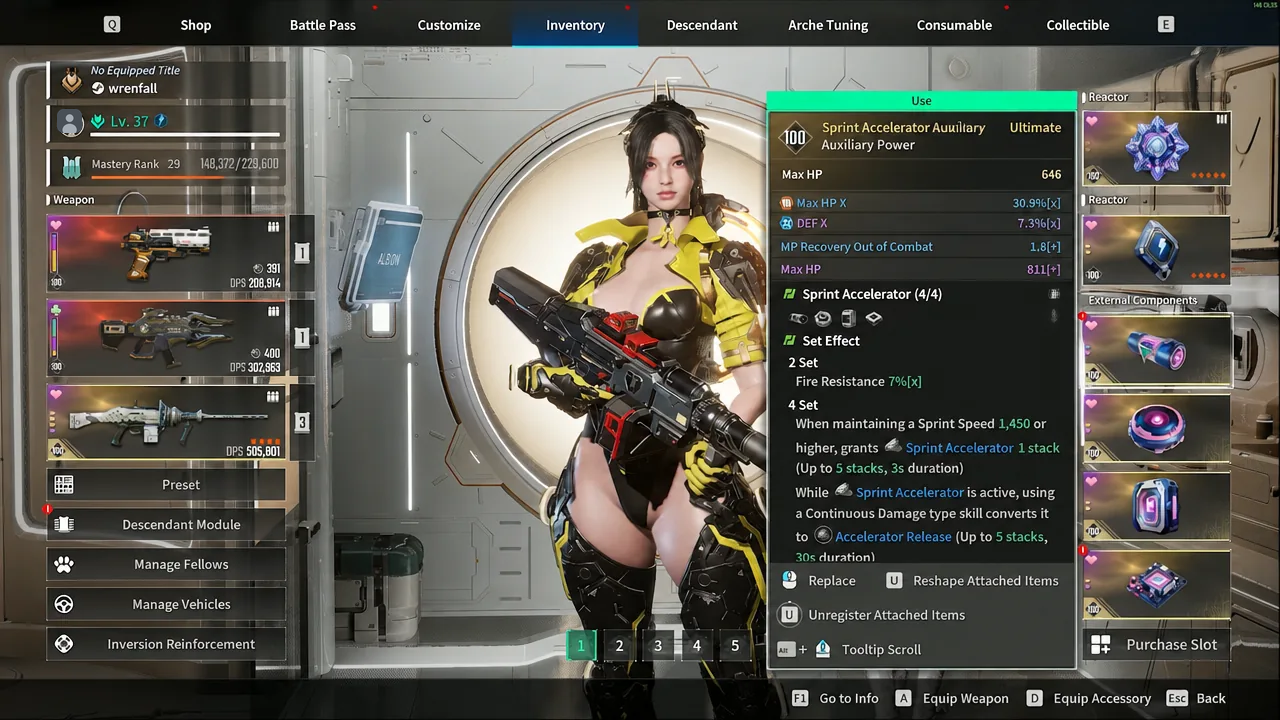
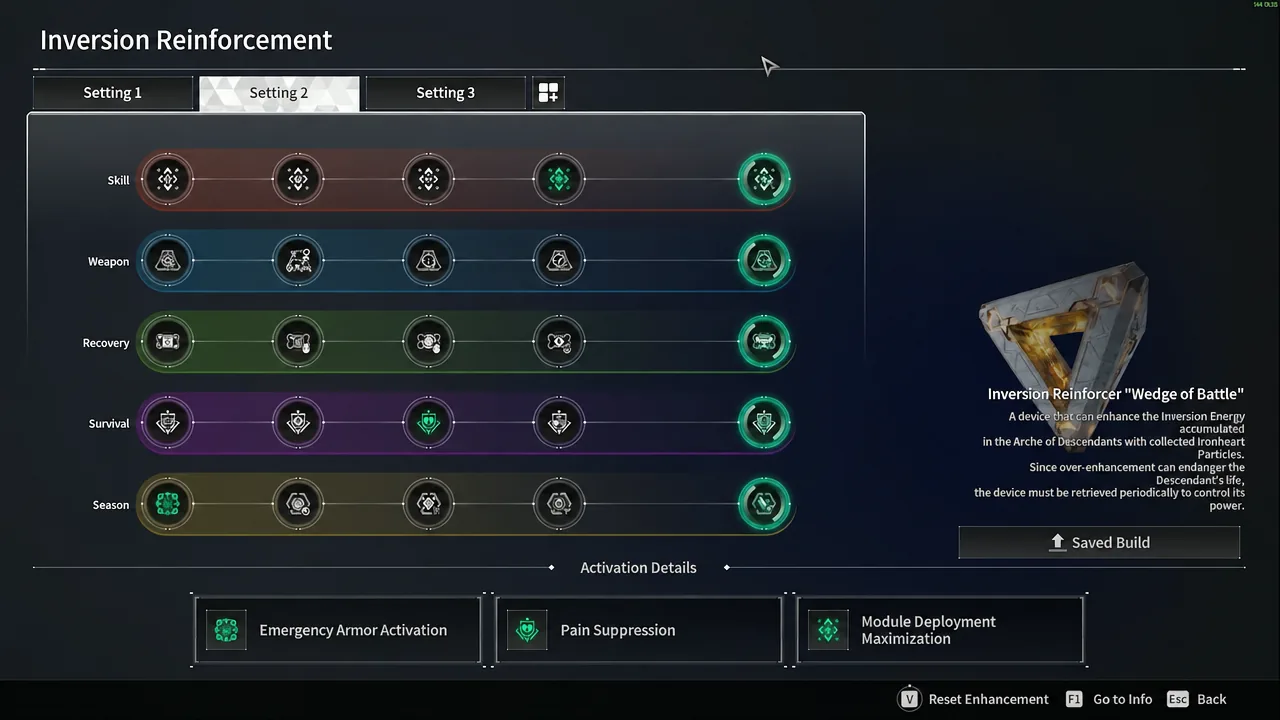
On the Arche Tuning board, point your investment at Electric Chain Catalyst and Defense Neutralization. For Inversion, the Wedge of Battle reinforcer is the pick.
Electric Charge beam build: Final Wish or High-powered Wave Release
If you preferred the old Bunny, Electric Charge puts the beam back. The fourth ability returns to a continuous discharge whose damage climbs the longer you hold it, which means everything in this build is about staying on target.
Wave Eruption, Strong Mentality, and Charge Emission form the core. The last slot is a genuine fork. Final Wish cuts skill cost at the expense of damage, so the beam lasts noticeably longer. High-powered Wave Release goes the other way, adding 55% skill critical hit damage while shortening how long you can channel. Pair either with the Pulsing Power external component set.
Electric Transition kick build: one wave, enormous numbers
This one is the novelty pick that turns out to hit absurdly hard. Electric Transition converts the kick into an electric wave, and with trial buffs stacked it has pushed into the 200 million range.
The loop has three beats. Build Electricity by moving, spend it with her first ability to convert it into kick charges, then kick to release the wave. Repeat.
Steel Vanguard is the key module, adding a pulsing damage aura around Bunny whenever a Clash-type skill connects, with that damage scaling off her HP and shield. Potent Collector supports the loop by building Electricity faster, which shortens the gap between kicks.
Before you spend Catalysts and Energy Activators
Every one of these setups assumes enough Crystallization Catalysts to unlock the socket types you need and an Energy Activator to raise module capacity. Matching a module to a slot with the same icon halves its capacity cost, and without that you will not fit the full list.
Note: Bunny remains a poor fit for Colossus fights regardless of which transcendent module you slot. Her strength is clearing rooms at speed, not standing in front of a boss.
If you only have the resources for one, build the Electric Condense version first. It carries 400% Infiltrations without demanding a specific Ancestor roll, and the other three are variations you can slot in later once you know which content you spend the most time in.





