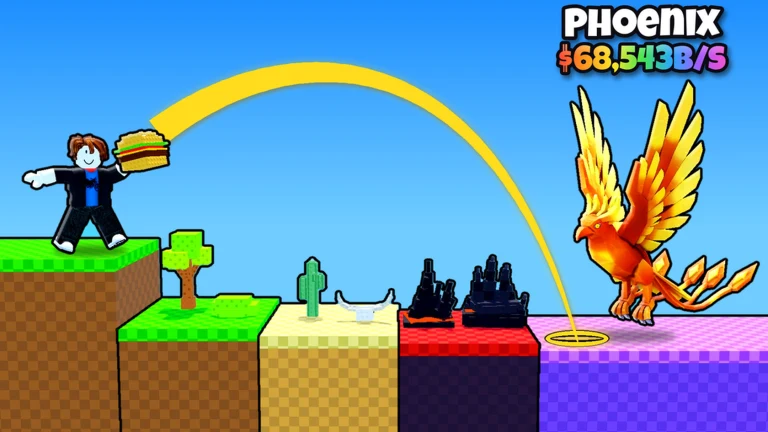
Throw Food for Animals adds content regularly, and each update rewards players who already have a strong plot, a high Throw Power level, and food that reaches the far end of the course. You can’t speed up the developer’s schedule. You can make sure your income, your training bar, and your collection are as far along as possible before new zones and animals show up.
Quick answer: No official date for the next update is confirmed. To prepare, buy the Phoenix Fillet, upgrade to the Void Bar, fill all 16 plot slots with Ancient Ruins III animals, and claim the Hellfire Trail.
Next update timing in Throw Food for Animals
No official date or time for the next Throw Food for Animals update is currently confirmed. The developer, Goofy Chupacabra, posts upcoming updates as events on the game’s Roblox page. That page is the place to check before you plan a long session around new content.
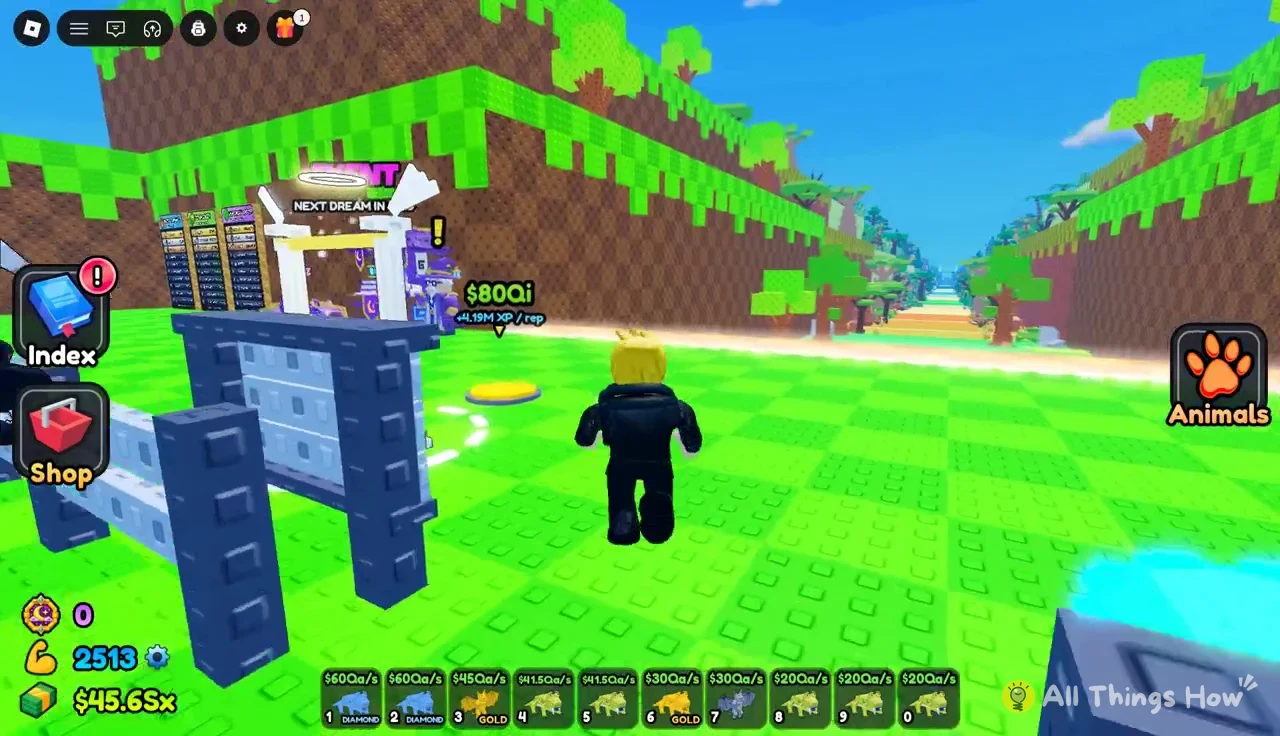
Don’t mistake the timer in the hub for an update countdown. Near the Wizard NPC, the Dreamland event area has a booth labeled “NEXT DREAM IN” with its own countdown. That clock tracks the Dreamland event cycle inside the current version of the game. It doesn’t tell you when the next patch arrives.
Pre-update checklist
These goals carry forward into any new area. Each one either pushes your food further down the course or raises the cash your plot earns per second.
- Equip the Phoenix Fillet (Tier 12, Divine) or anything above it in the Food Shop.
- Upgrade the Celestial Bar to the Void Bar and keep training past Level 500.
- Land throws consistently in Ancient Ruins III, the zone with the highest luck.
- Fill all 16 plot slots with your highest-earning animals.
- Sell spare backpack animals for cash.
- Complete the Hell section of the Animal Index and equip the Hellfire Trail.
Food Shop prices and tiers
Food is the main thing to bring. Higher-tier food travels further down the course, and further means luckier zones and rarer animals. The Elder Strawberry and Lava Steak (both Tier 11, Divine) can reach Ancient Ruins III, but the Phoenix Fillet at $45Sx is the first Tier 12 purchase and gives you more distance for each throw. Here is the full Food Shop ladder from Divine up to Sovereign.
| Food | Rarity | Tier | Price |
|---|---|---|---|
| Lava Steak | Divine | 11 | Owned |
| Elder Strawberry | Divine | 11 | Owned |
| Phoenix Fillet | Divine | 12 | $45Sx |
| Star Jelly | Celestial | 12 | $27Sx |
| Dragon’s Apple | Celestial | 13 | $180Sx |
| Starlight Donut | Celestial | 13 | $450Sx |
| Glowshroom | Celestial | 13 | $1.4Sp |
| Sundae Tower | Celestial | 13 | $3.5Sp |
| Golden Corn | Eternal | 14 | $2.50Oc |
| Roast Turkey | Eternal | 14 | $28Oc |
| Caramel Apple | Eternal | 14 | $250Oc |
| Candy Corn | Eternal | 15 | $750No |
| Hot Cider | Eternal | 15 | $8.5Dc |
| Golden Pumpkin | Eternal | 15 | $75Dc |
| Ghost Chowder | Cosmic | 16 | $18Ud |
| Calamari Rings | Cosmic | 16 | $200Ud |
| Phantom Lobster | Cosmic | 16 | $1.8Dd |
| Toxic Donut | Supreme | 17 | $1.2Td |
| Mutant Melon | Supreme | 17 | $20Td |
| Atomic Pizza | Supreme | 17 | $400Td |
| Ghost Popcorn | Supreme | 18 | $3Qid |
| Cursed Candy Apple | Supreme | 18 | $58Qid |
| Spectral Cotton Candy | Supreme | 18 | $900Qid |
| Ringmaster Cake | Supreme | 18 | $125Sxd |
| Crescent Pear | Sovereign | 19 | $5Spd |
| Sunwheel Tart | Sovereign | 19 | $170Spd |
| Royal Mooncake | Sovereign | 19 | $3.5Ocd |
| Black Sun Soufflé | Sovereign | 19 | $31Ocd |
Star Jelly shares Tier 12 with the Phoenix Fillet and costs less, so compare the two in the shop before you buy. To purchase, walk to the Food Shop stall, select the food, and pay. A bought item switches to an EQUIP button, and the food you are holding shows EQUIPPED.
Zone order and luck multipliers
The course is one long line of biomes. In order, they are Forest, Savanna, Desert, Jungle, Ocean, Mountains, Taiga, Winter, Prehistoric Forest, Deep Waters, Hell, and Ancient Ruins III. Your Luck multiplier rises as the food flies through each zone, and the zone where it lands decides which animals can show up.
| Zone | Approximate luck |
|---|---|
| Desert | 7x–8x |
| Ocean | 13x–15x |
| Taiga | 20x–21x |
| Prehistoric Forest | 25x–27x |
| Deep Waters | 28x–30x |
| Hell | 31x–33x |
| Ancient Ruins III | 34x–35x |
Ancient Ruins III tops out around 35x Luck. That’s where the Archaeopteryx, Microraptor, Qilin, and Sphinx families appear, and they’re the animals worth stacking on your plot before an update.
How to land a Perfect throw
Distance comes from your food tier, your Throw Power level, and the timing bonus you earn on each throw. The timing bonus is the only part you control in the moment, so it’s worth getting right every time.
+5, +4, and +1 appear on screen.
TAP TO THROW! appears, watch the vertical gauge. It slides up and down, from red at the bottom to green at the top.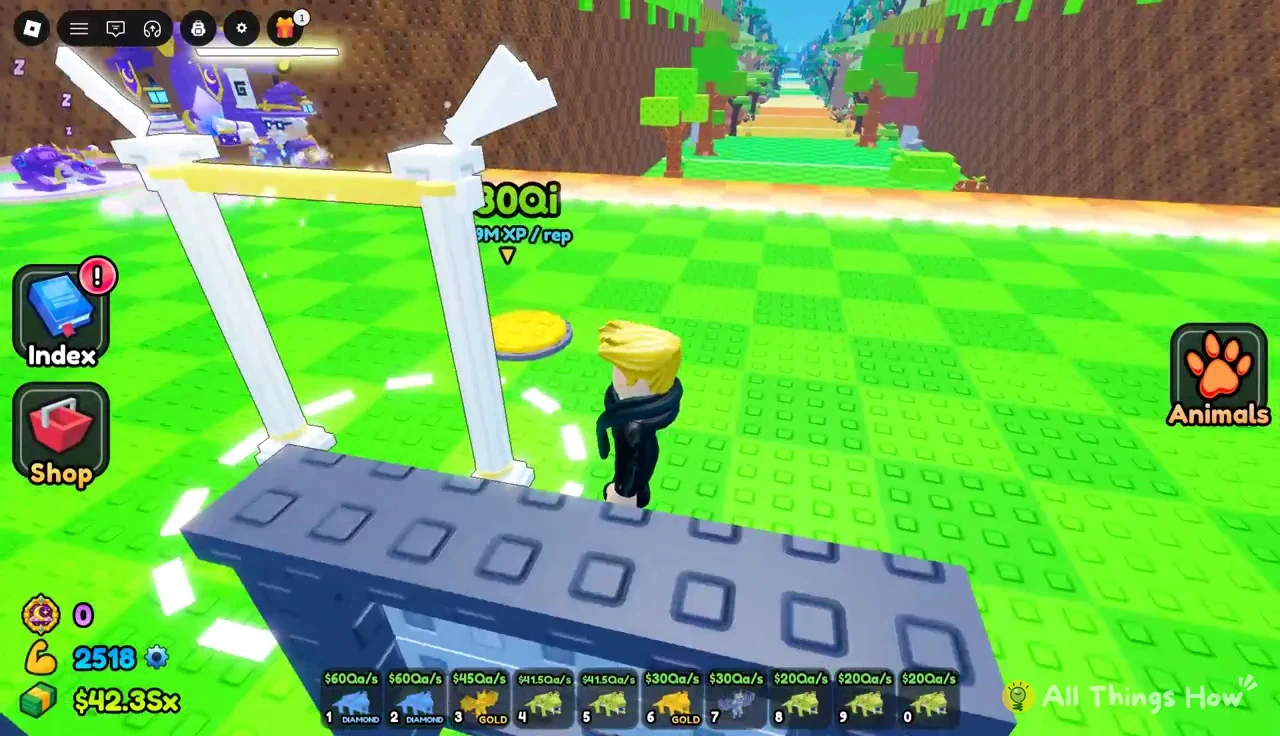
PERFECT! and adds +19 to +20 power. A slightly early or late tap gives GREAT!, which is worth roughly +15 to +18.
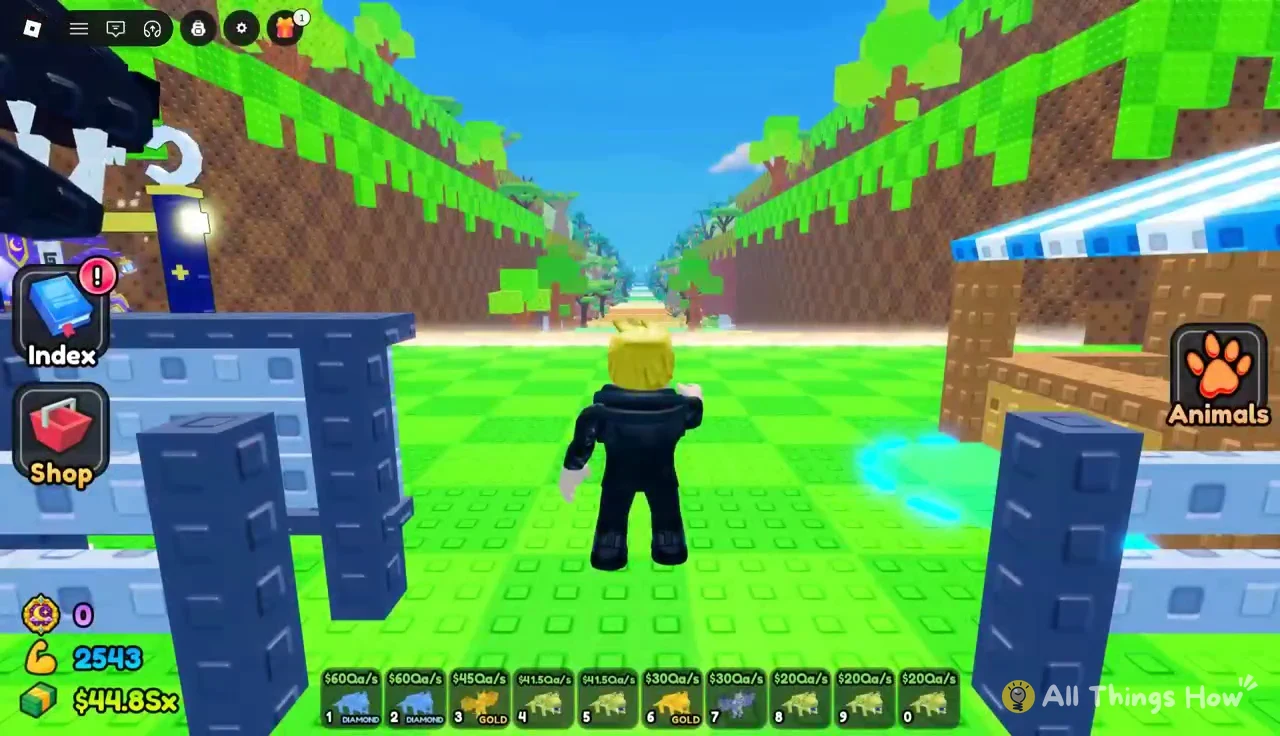
Once the throw is done, the regular controls return. Index and Shop sit on the left side of the screen, and Animals sits on the right.
Upgrading from the Celestial Bar to the Void Bar
Pull-up bars build Throw Power. Every level you gain shows LEVEL UP! Throw Power +5, so steady training adds distance to every food you own. The Void Bar doubles the XP you get from each rep compared with the Celestial Bar.
| Bar | Cost | XP per rep |
|---|---|---|
| Celestial Bar | $80Qi | +4.19M |
| Void Bar | $500Qi | +8.39M |
E Void Bar Upgrade.E Upgrade prompt appears. The cash is taken immediately and the Void Bar replaces the Celestial Bar.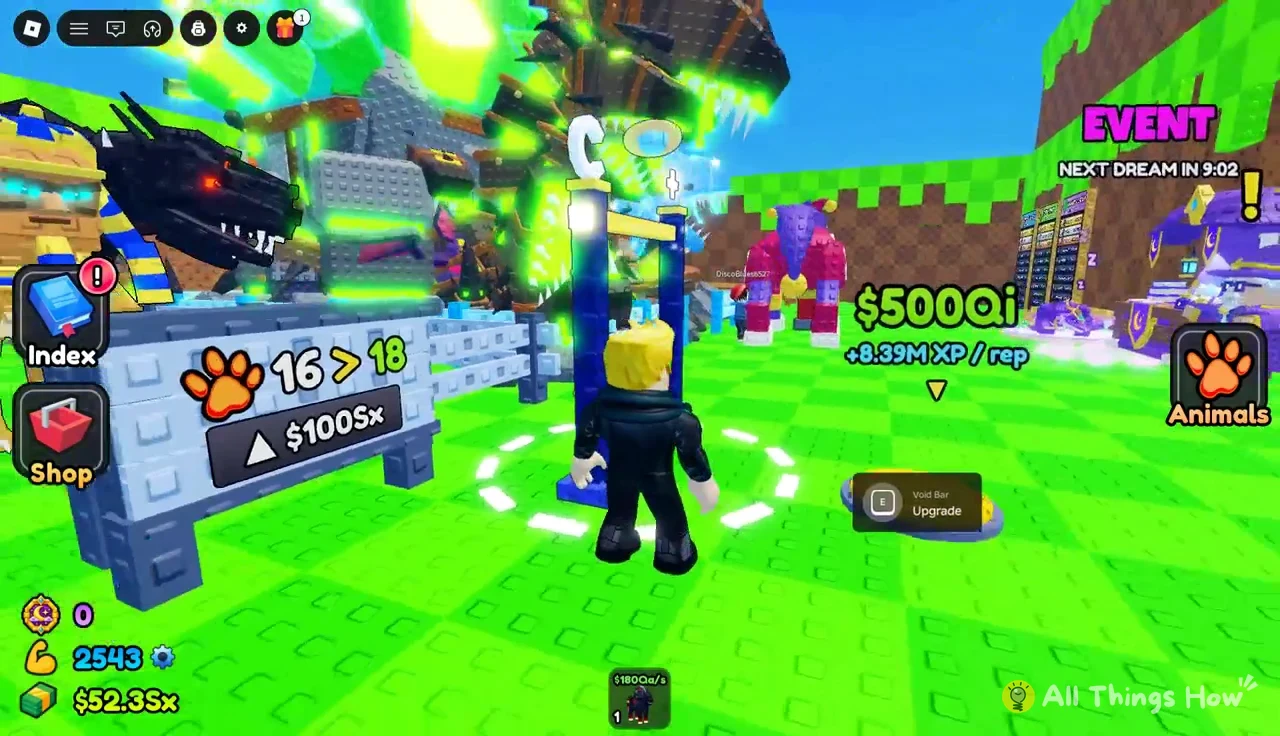
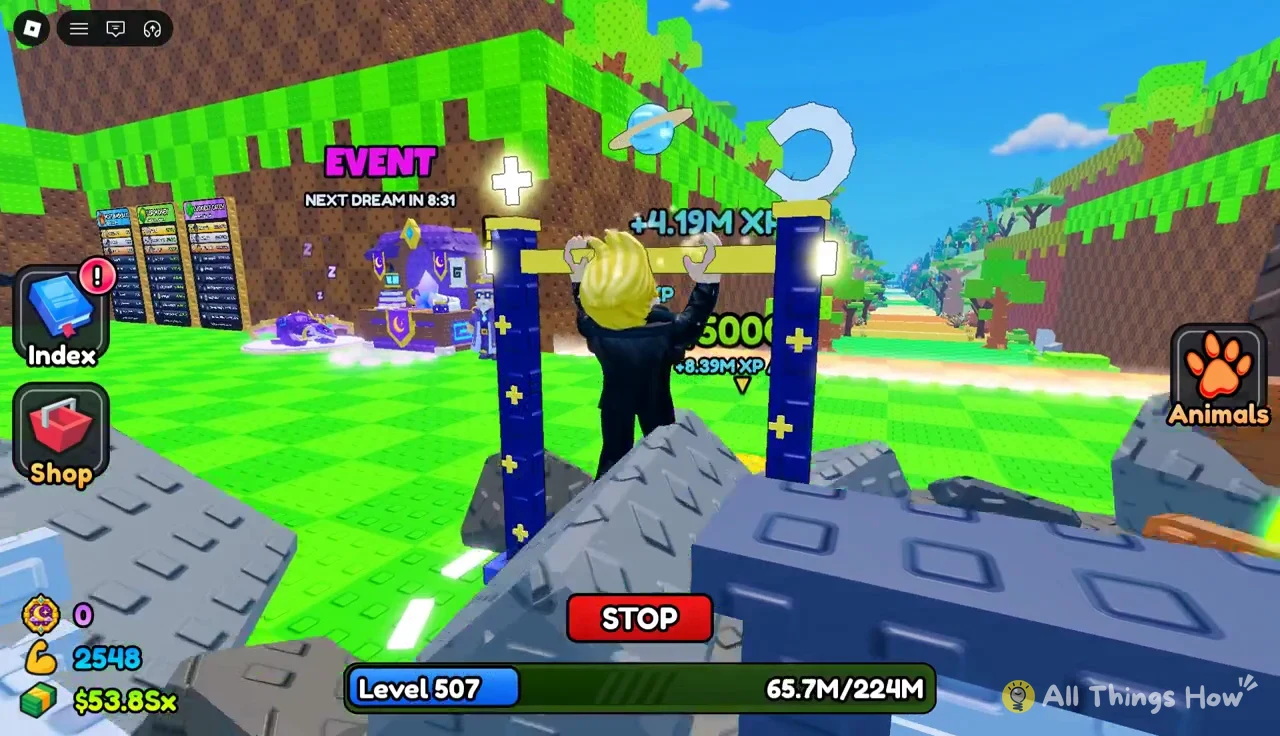
Around Level 500, training goes from 500 to 510 in a single sitting on the Void Bar. That adds +50 Throw Power, enough to make a clear difference in how far each throw travels.
Ancient Ruins III animals, variants, and income
A food drop within an animal’s reach starts a hangman-style name puzzle. Letters appear one by one until the animal’s name is complete, and then it is caught. New catches carry the tag NEW!; catches that surpass your previous best for that kind are marked NEW BEST!. Rare rolls display LUCKY! or SUPER LUCKY!, together with the odds.
Every animal comes in rarity tiers (standard, Gold, Diamond, Emerald) and can also roll a BIG size, which raises its base income. These are the Ancient Ruins III catches and what each earns on your plot.
| Animal | Income | Roll |
|---|---|---|
| EMERALD SPHINX | $24Qi/s | SUPER LUCKY! 1 in 63 |
| SPHINX BIG | $9.96Qi/s | — |
| DIAMOND QILIN | $9.6Qi/s | LUCKY! 1 in 31 |
| GOLD SPHINX | $7.2Qi/s | — |
| QILIN BIG | $6.64Qi/s | — |
| SPHINX | $4.8Qi/s | — |
| GOLD QILIN | $4.8Qi/s | — |
| ARCHAEOPTERYX BIG | $4.15Qi/s | — |
| QILIN | $3.2Qi/s | — |
| GOLD ARCHAEOPTERYX | $3Qi/s | — |
| ARCHAEOPTERYX | $2Qi/s | — |
| MICRORAPTOR | $1.2Qi/s | — |
Sphinx variants earn the most at this point in the course. A single Emerald Sphinx earns more than twice as much as any other animal in the zone. Rare server catches also appear as a broadcast banner across the top of the screen. One example is a BIG RAINBOW REACTOR GOLEM at 1 in 1.33K, marked LEGENDARY LUCK!!.
Filling the 16-slot plot
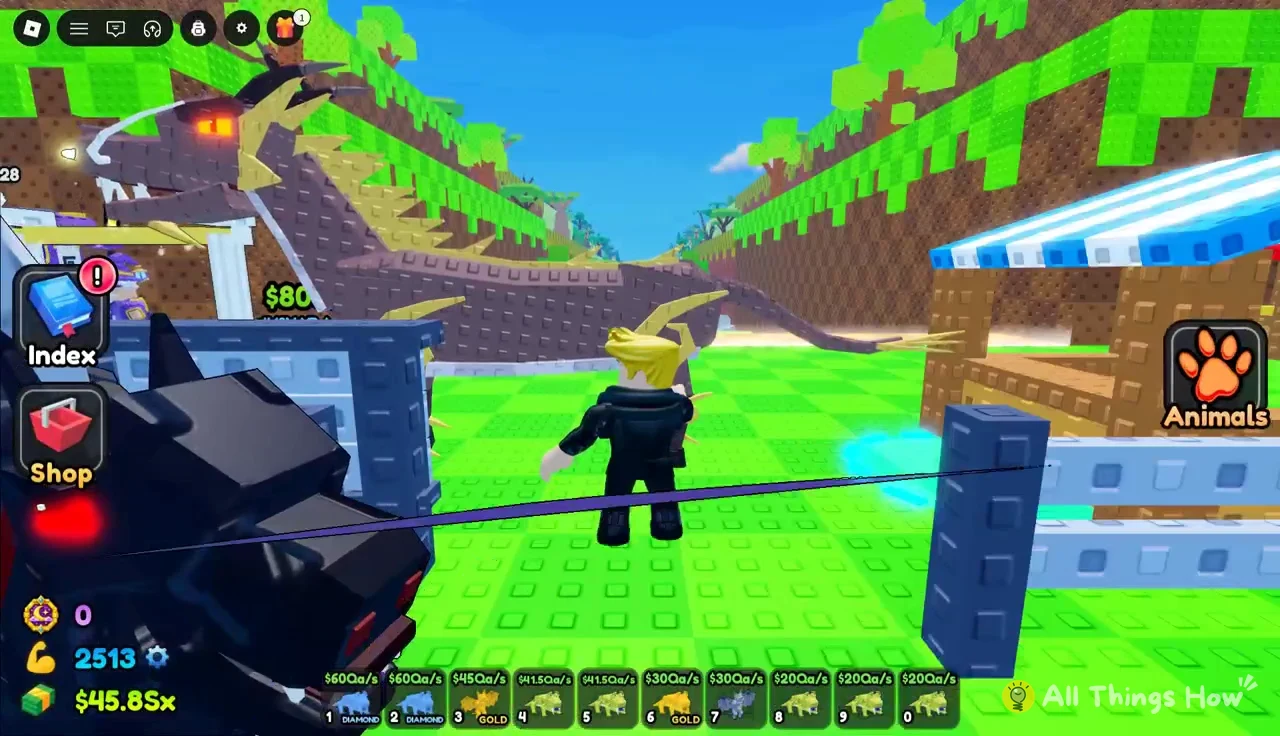
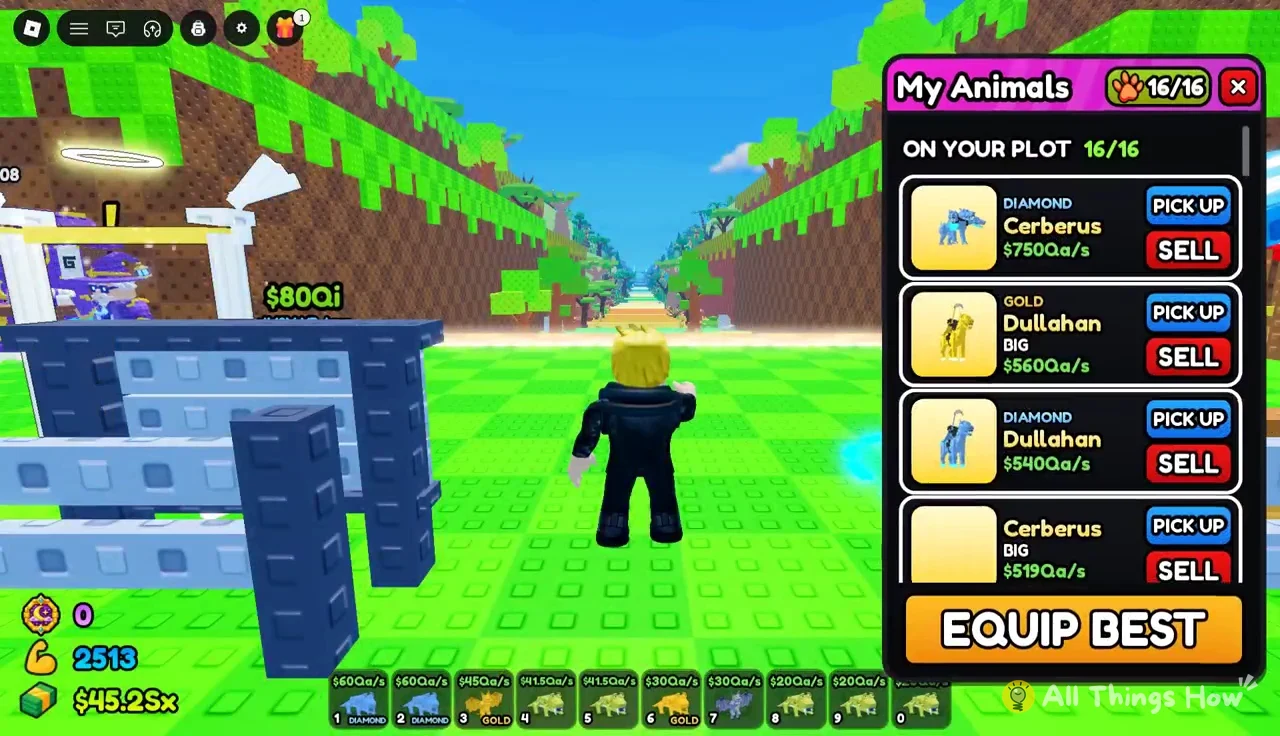
Animals only earn cash per second while they’re on your plot, and the plot holds 16 at a time. Every new high-income catch should replace your weakest equipped animal. Open the plot list with the Animals button on the right side of the screen.
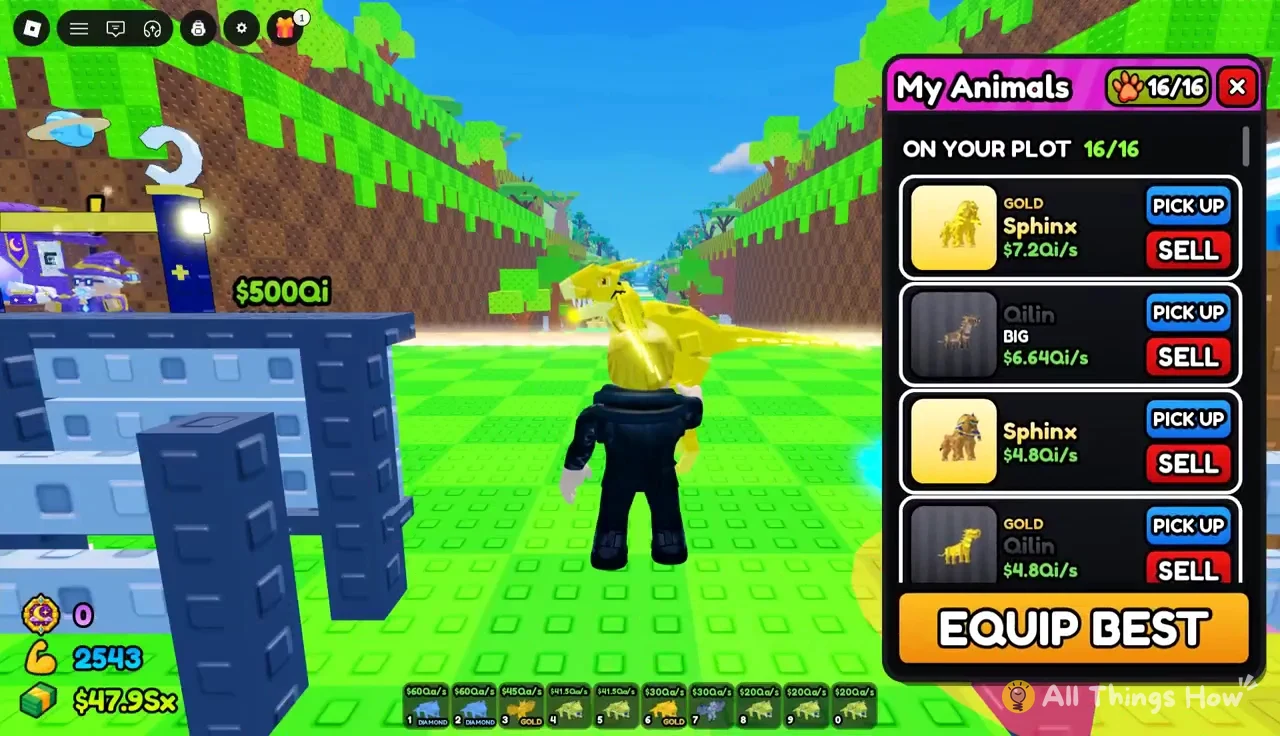
The My Animals panel shows ON YOUR PLOT 16/16 when every slot is taken. Each entry has its own PICK UP and SELL buttons.
EQUIP BEST. The game fills your plot with the highest-earning animals you own, which is the fastest way to slot in a new Sphinx or Qilin variant.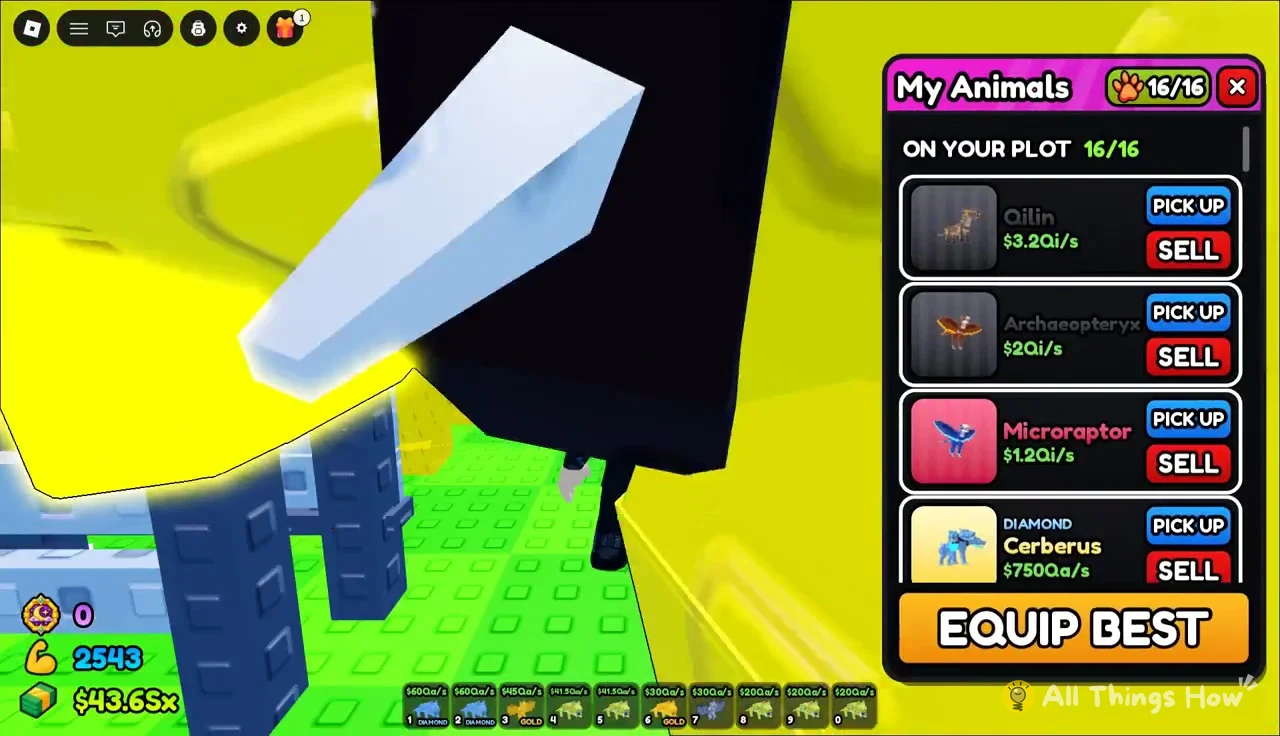
PICK UP on a weaker plot animal. That moves it to your backpack and frees a slot for the new catch.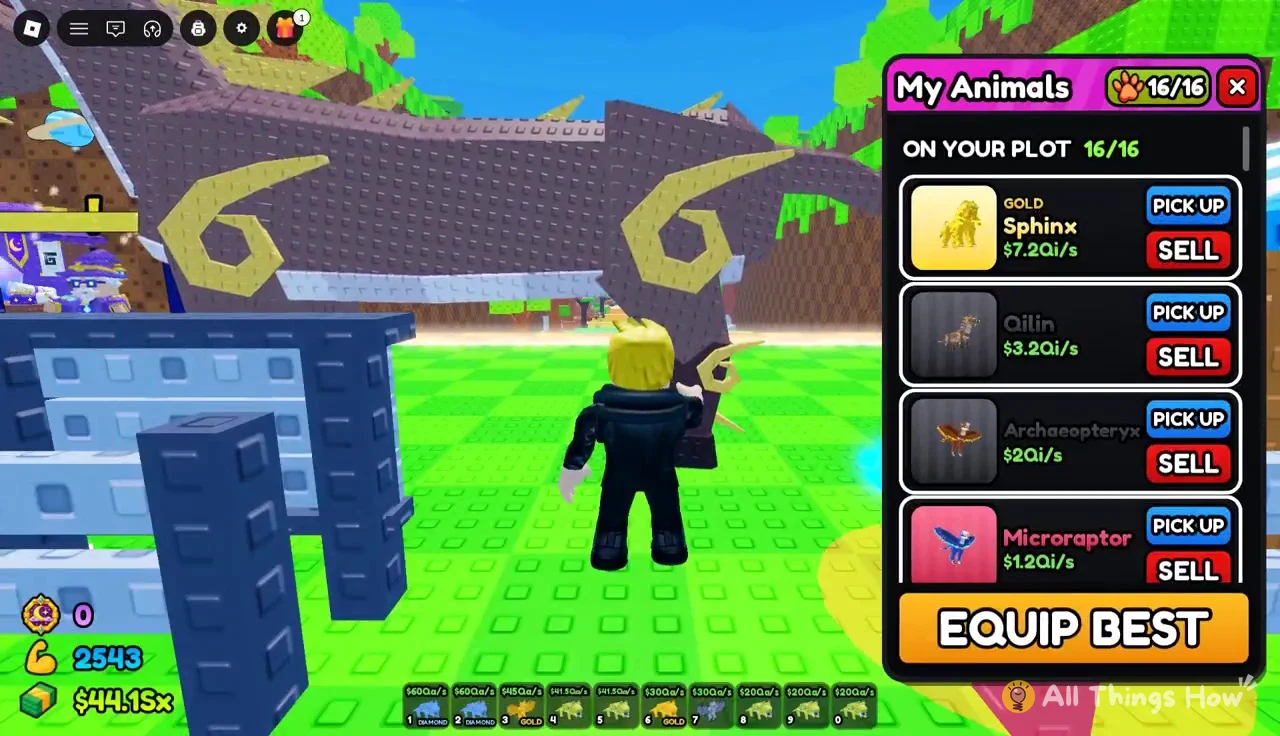
EQUIPPED and an UNEQUIP option, and the counter should read 16/16.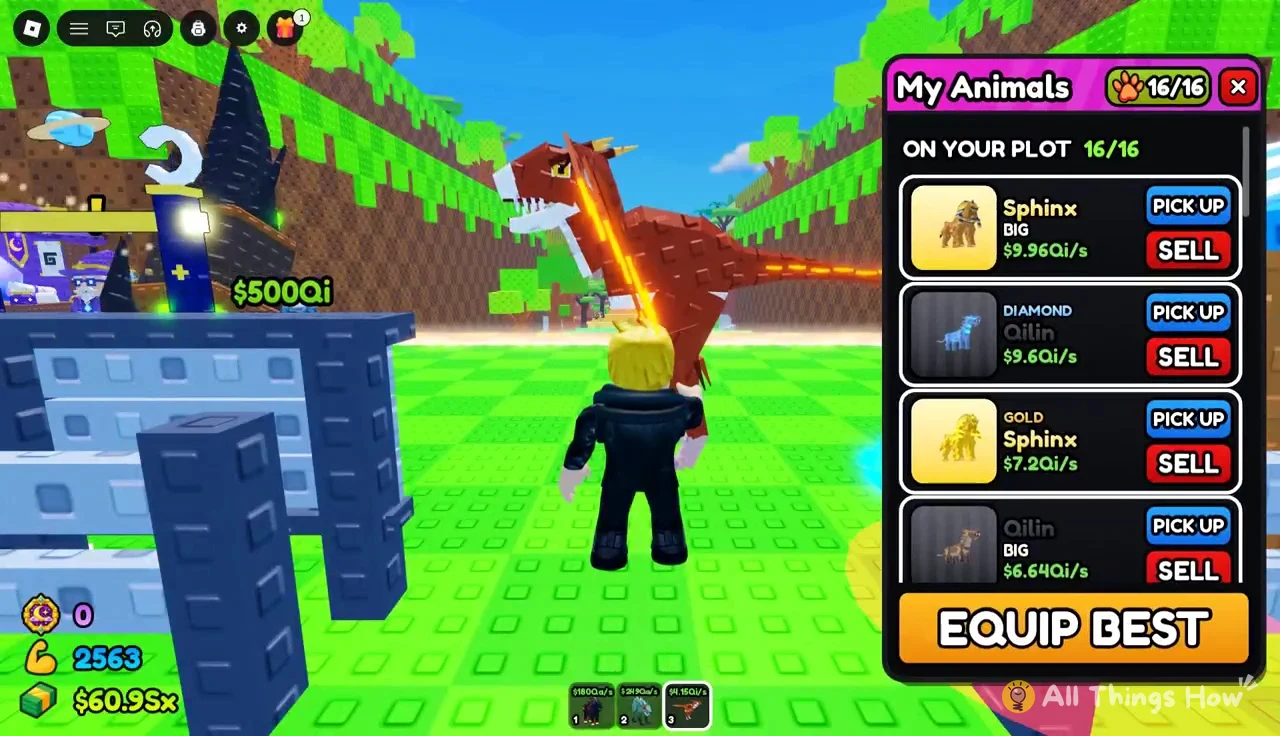
The panel also works as a quick audit. Scroll through and look for older animals like the Microraptor that are still taking up a slot when a Sphinx variant could earn several times more there.
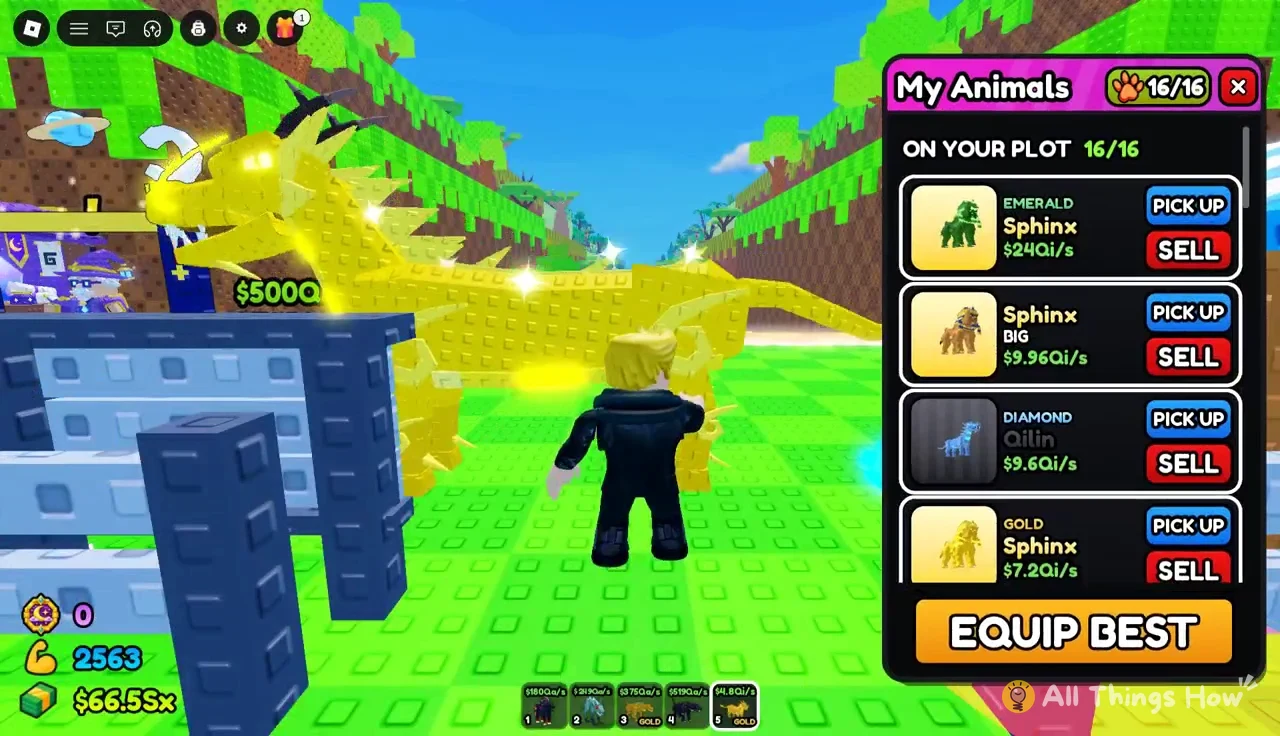
Selling spare animals for food and upgrade cash
Duplicates and older catches sitting in your backpack earn nothing. Selling them helps cover the gap to the next food tier. You can sell one animal at a time from its SELL button in My Animals, or go to the Sell stall and clear the backpack there for Qi and Qa cash.
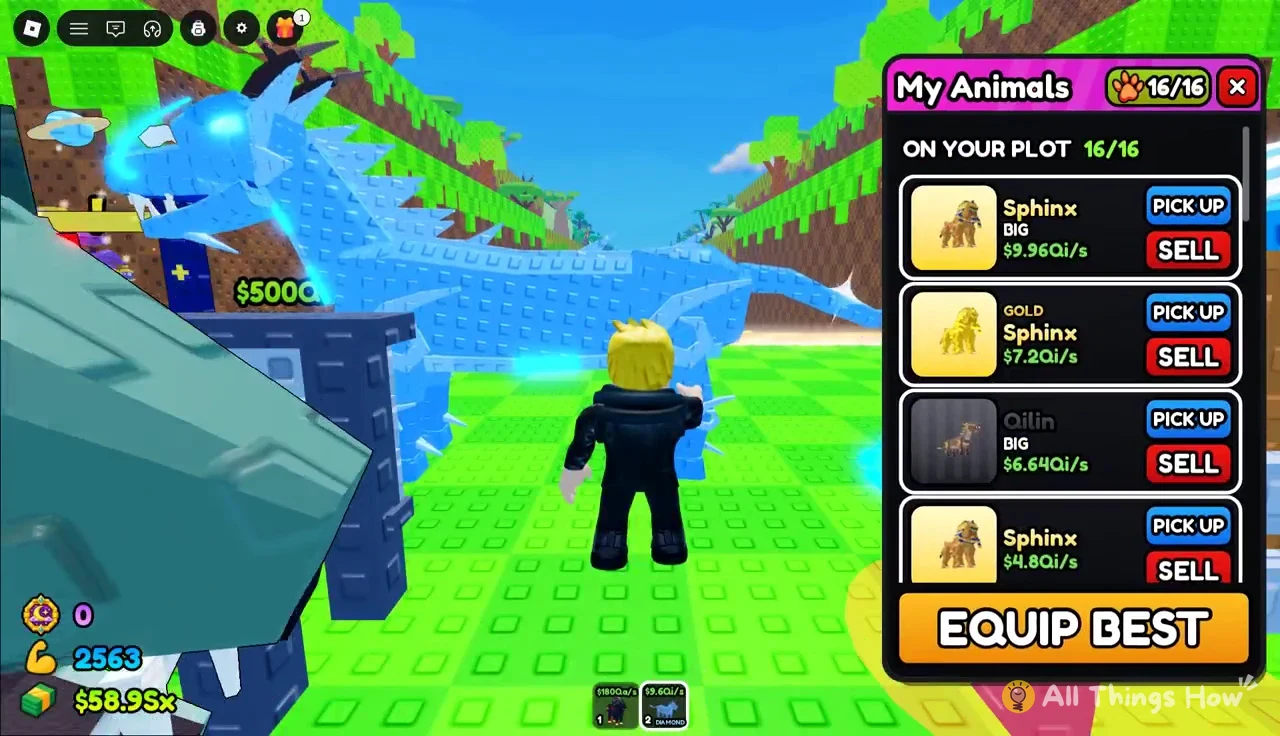
A second Sphinx you already own is the obvious thing to sell once a Sphinx BIG or Emerald Sphinx takes its slot. Check each entry before you press the button.
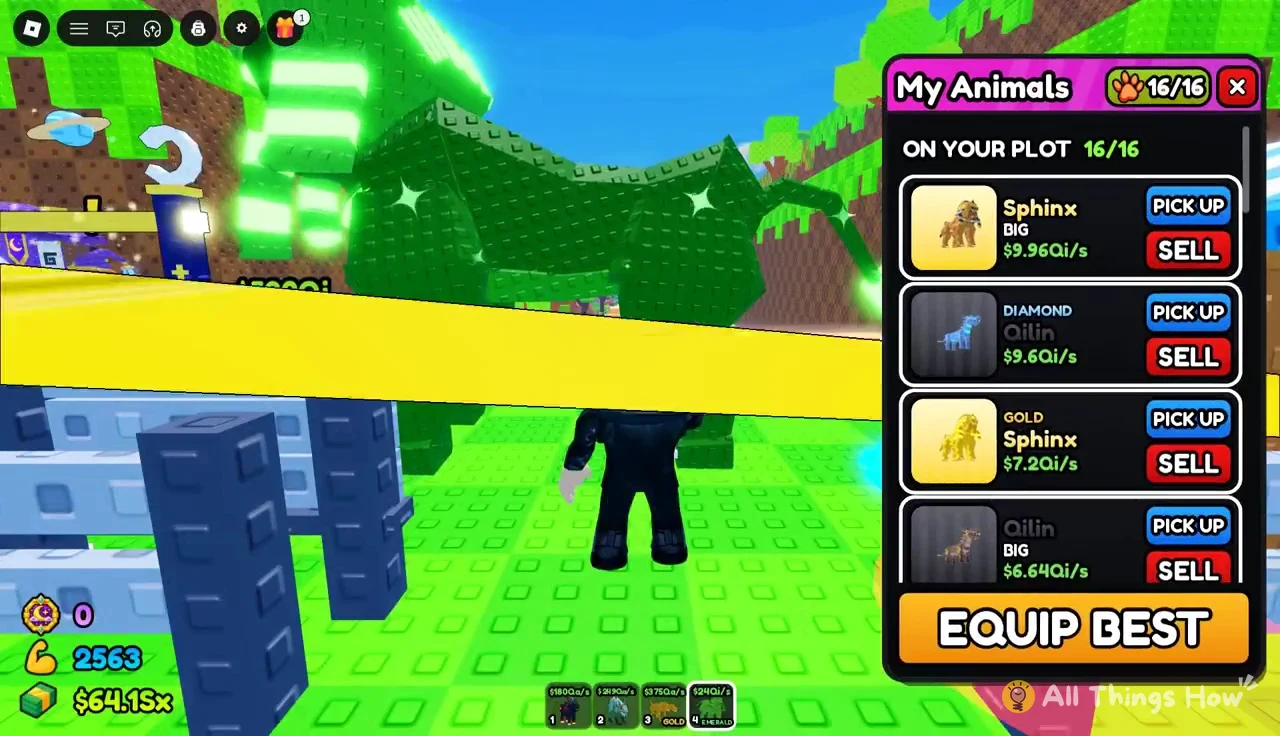
SELL ALL clears everything in your backpack in one tap. Pick up anything you want to keep before you use it. The sale is complete when the panel shows NO ANIMALS IN BACKPACK.
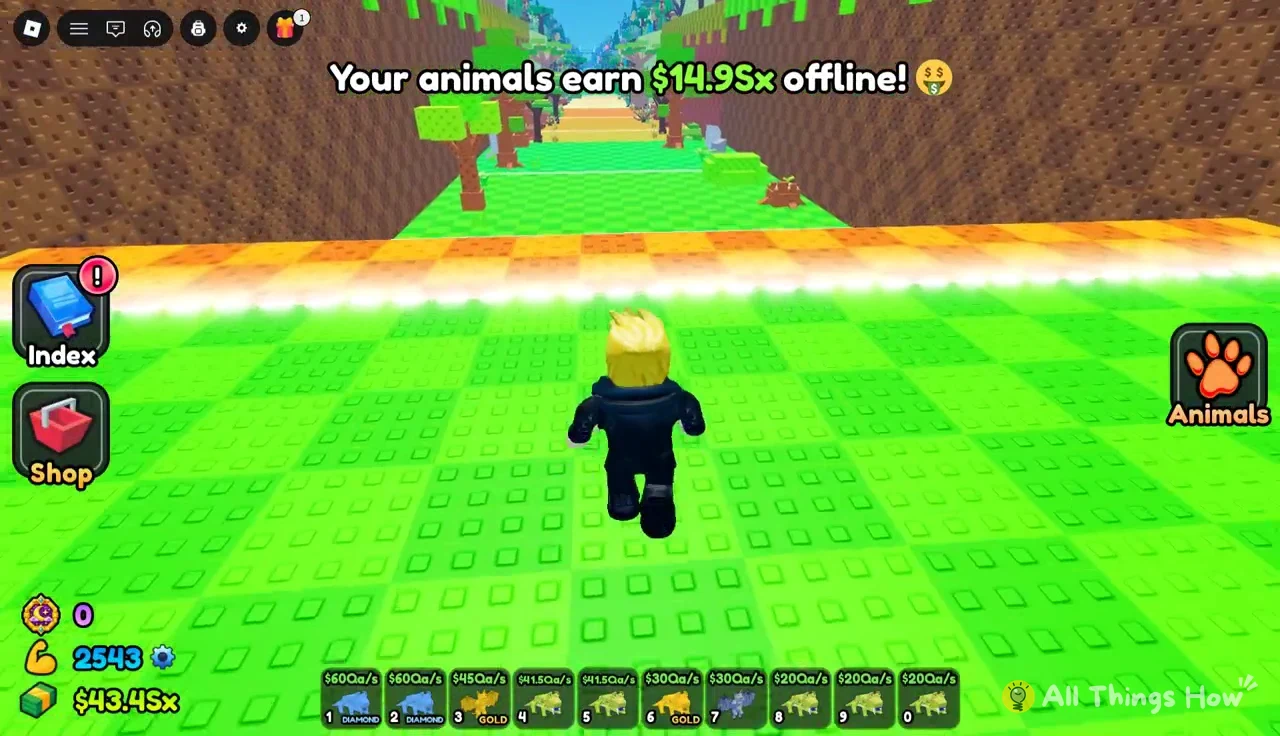
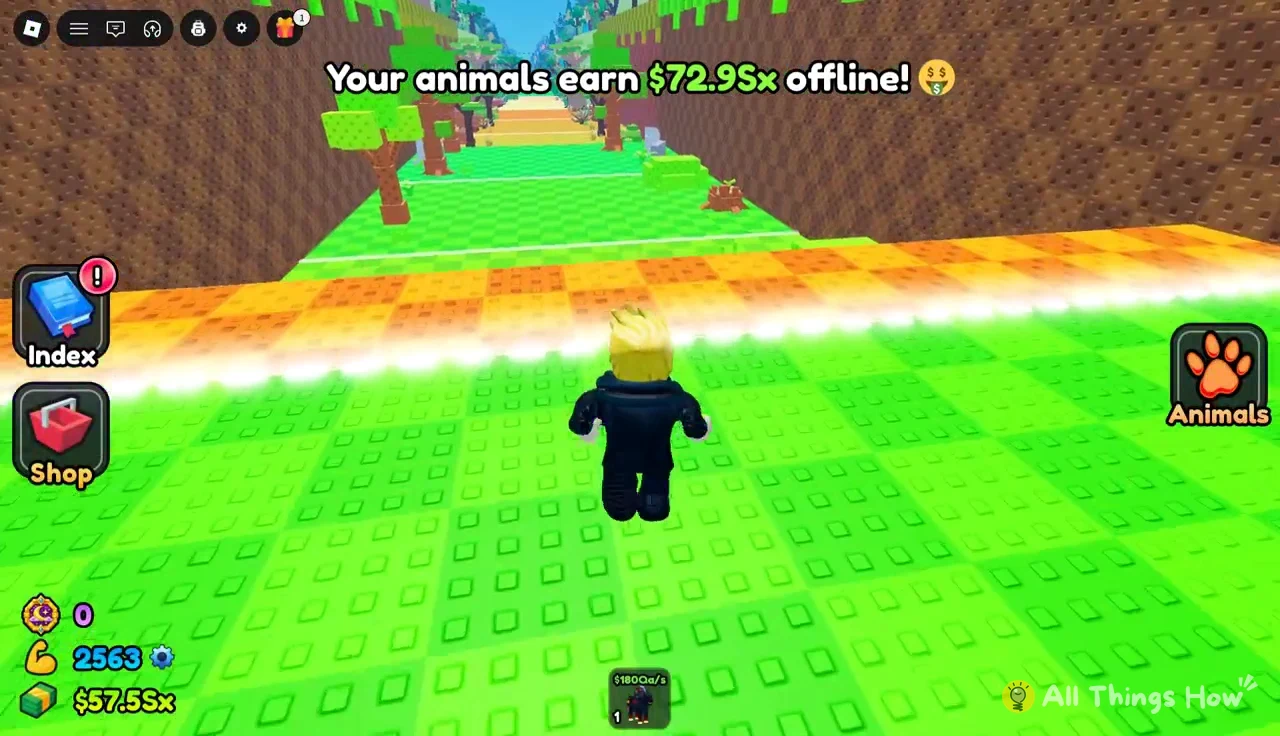
Your plot keeps earning while you’re away. When you return, a banner shows the total, such as Your animals earn $72.9Sx offline!. A full plot of high-tier animals before you log off means a bigger payout when the next update goes live.
Unlocking the Hellfire Trail from the Animal Index
Completing a full category in the Animal Index unlocks a trail you can equip. The Hellfire Trail comes from catching every animal in the Hell section. It gives +3% XP and leaves a streak of flame behind your thrown food.
To be sure it’s active, make your next throw and watch the food. A fiery particle trail should follow it all the way down the course.
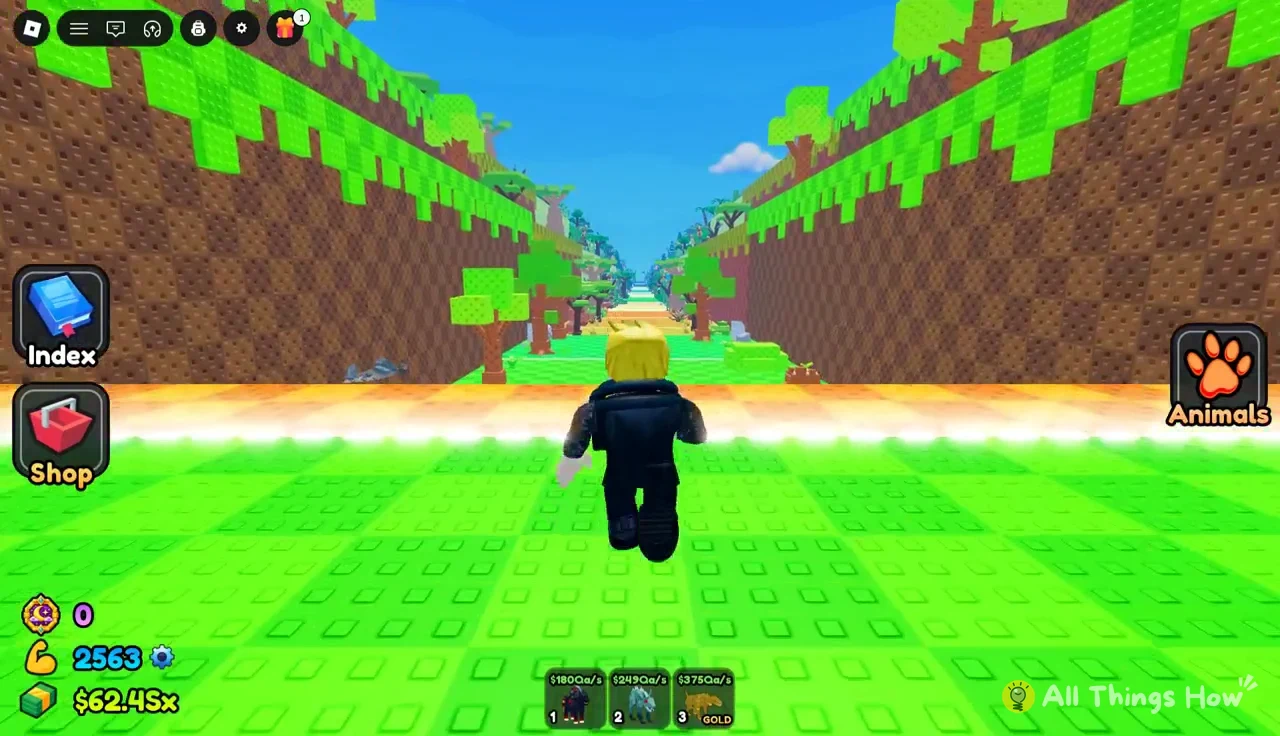
With Tier 12 food or better, the Void Bar installed, a 16/16 plot of Ancient Ruins III animals, and the Hellfire Trail adding to every training session, you’ll be in good shape for whatever area the next Throw Food for Animals update opens. Keep an eye on the game’s Roblox events list for the official date.