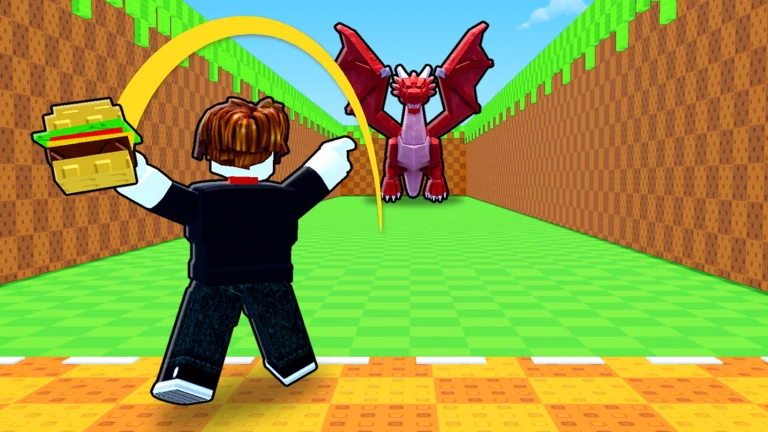
In Throw Food For Animals, the pull-up stands are where you build Throw Power, the stat that decides how far your food flies and which areas you can reach. Every rep on a bar also pays out XP and cash, so a training session keeps your level and your wallet growing while your throw gets stronger. The SELL zone is just behind the training area, so you can switch between the two without crossing the map.
Quick answer: Stand on the yellow pad at a pull-up stand and your avatar trains on its own, earning cash, power and XP each rep. Press STOP to quit, then walk behind the station to reach SELL.
How to train Throw Power on a pull-up stand
Each pull-up stand is marked out on the grass by a white dashed ring, which makes it easy to spot even from a distance. The higher-end bars look the part, too: the red dragon bar is a big, decorated station rather than a plain metal frame, and it pays out far more per rep than an early bar.
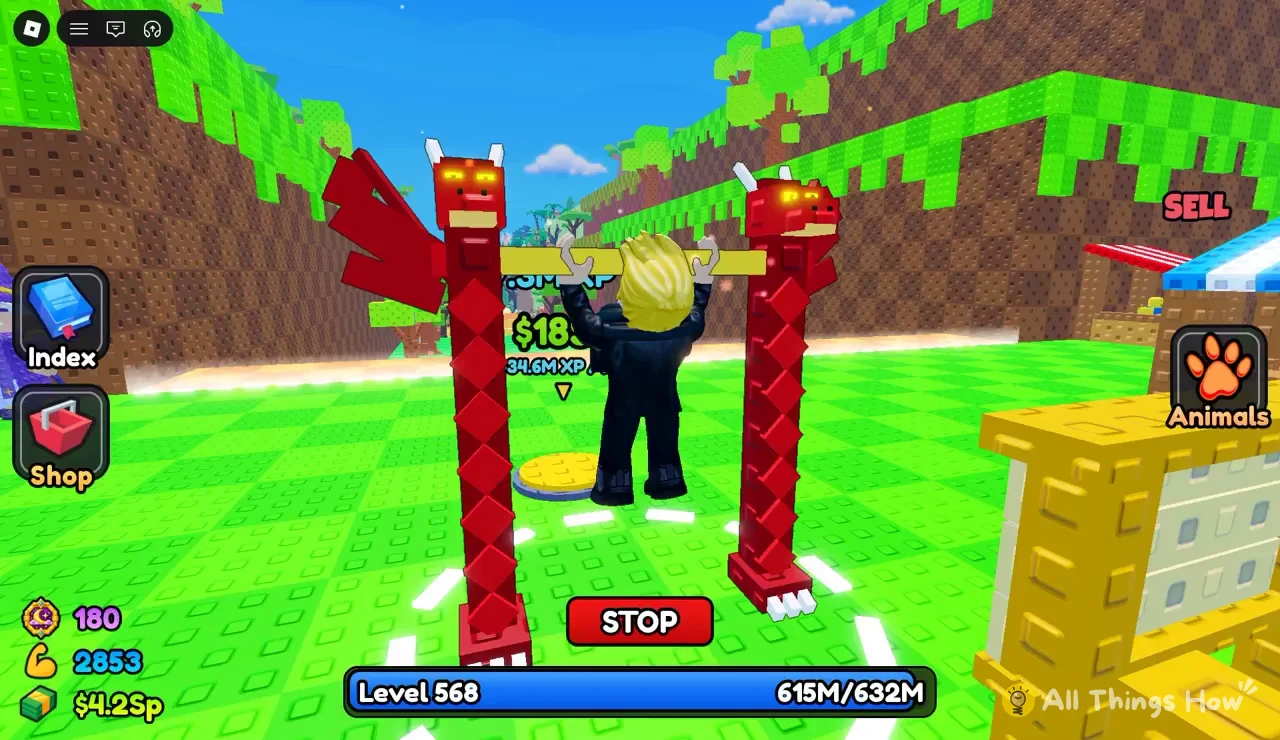
Your avatar’s outfit doesn’t change when you train. The game doesn’t put you in a uniform or hand you gear, so whatever you’re wearing stays on while you do reps.
XP and cash per rep on the red dragon bar
At level 568, one rep on the red dragon bar is worth about 34.6M XP, plus a cash payout. The cash figure starts with “+$18” on the popup but gets cut off at that size, so the full amount per rep isn’t readable from the reward text alone. You can still watch your money counter climb between reps.
Here’s how the XP bar moves over a run of reps across a level-up, which shows both the per-rep amount and what happens to extra XP:
| Level | XP bar | What happened |
|---|---|---|
| 568 | 615M/632M | One rep short of leveling |
| 569 | 17.6M/634M | Level-up, leftover XP kept |
| 569 | 52.2M/634M | +34.6M from one rep |
| 569 | 86.8M/634M | +34.6M from one rep |
| 569 | 121M/634M | +34.6M from one rep |
The rep that pushes you past 632M doesn’t waste anything. Going from 615M to 649.6M crosses the level 568 cap, and the extra 17.6M rolls straight into level 569’s bar. Each level also asks for a little more than the last, with level 568 needing 632M XP and level 569 needing 634M to reach level 570.
With that math you can work out how long a level takes. Starting level 569 at 17.6M, you need about 616M more XP, which is 18 reps on the red dragon bar at 34.6M each. Since a rep lands every few seconds, one level at this stage goes by in roughly a minute of training.
Reading the power, money and level counters
While you train, keep an eye on the counters on the HUD. They’re how you can tell a session is working, since every rep should bump the XP bar and your money at about the same time.
- Level and XP bar: your current level, with the bar showing XP earned against what the next level needs, like 121M/634M.
- Muscle power counter: a flexed-arm stat that grows with training; it reads 2853 on a level 569 account.
- Money: your cash total, which can run into huge suffixes like $4.2Sp at high levels.
- Donut counter: a separate count that sits with the other stats, at 180 on the same account.
- Index, Shop and Animals: menu buttons for your animal collection, the store and the animals you own.
The power you build at the stands is what makes your throws go farther, and farther throws reach new areas with stronger and rarer animals. The XP and cash from each rep come on top of that, so time on the bar raises your power, your level and your money together.
Where to find the SELL zone
The SELL zone is a marked spot in the world, not a menu button, and it sits right behind the pull-up area. You can’t use it while your avatar is locked into a set of reps, so press STOP first, step off the yellow pad and out of the dashed ring, then walk back past the stand to the area labeled SELL.
Because the two spots are so close together, you can train until you hit a level or power goal, stop, make the short walk to SELL, and come back to the same bar. When you’re back on the pad, the green reward popups start again over your head, which tells you the session has picked up where it left off.