
Moving Windows 11 to a new solid-state drive (SSD) significantly speeds up boot times and overall system responsiveness by replacing slower storage with faster technology. Transferring your existing Windows installation allows you to keep all your files, applications, and settings intact, avoiding the hassle of reinstalling everything from scratch.
Method 1: Clone Windows 11 to a New SSD Using Cloning Software
Cloning is the most direct and reliable way to transfer your Windows 11 installation to a new SSD. This process creates an exact copy of your current system drive, including the operating system, applications, and personal data.
Step 1: Connect the new SSD to your computer. For desktops, install it internally via SATA or M.2 slots. For laptops with only one drive slot, use a USB-to-SATA adapter or external enclosure to connect the SSD temporarily.
Step 2: Download and install reputable cloning software such as Macrium Reflect Free or AOMEI Backupper. These tools support cloning your system drive to a new SSD with ease.
Step 3: Launch the cloning software and select your current Windows 11 drive as the source disk. Then, choose the new SSD as the destination disk.
Step 4: Adjust partition sizes if necessary to fit the new SSD’s capacity. Most cloning software offers an option to automatically resize partitions during cloning.
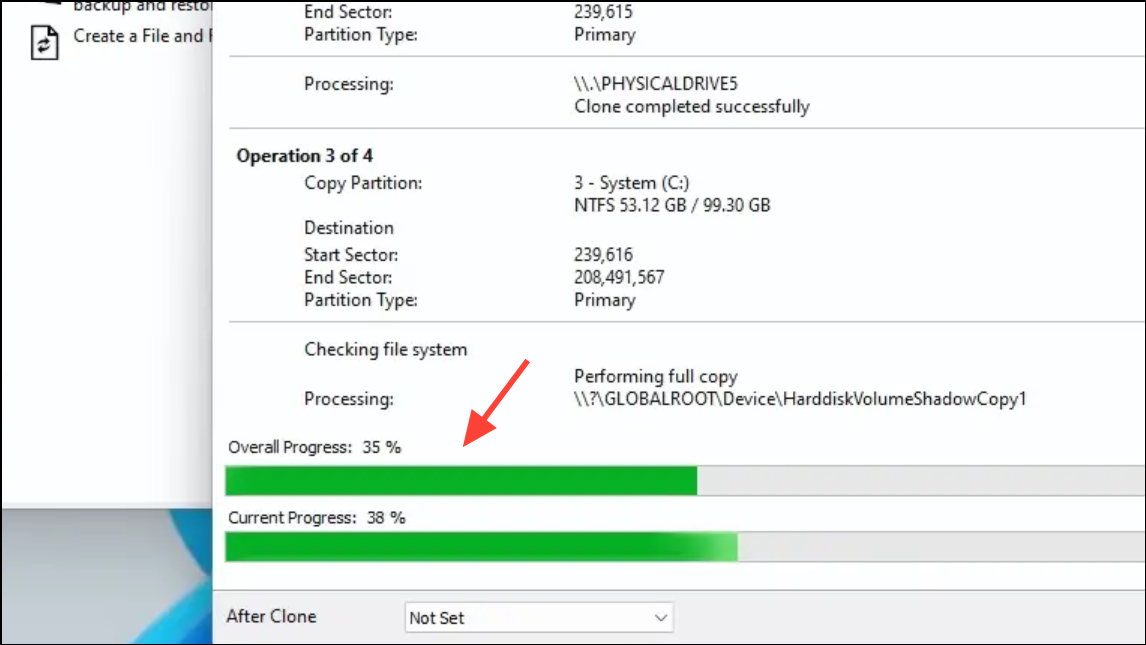
Step 5: Begin the cloning process. Depending on the amount of data, this may take from several minutes to a few hours. Ensure your computer remains powered on and avoid interrupting the process.
Step 6: After cloning completes, shut down your computer. If your system has only one drive slot, replace the old drive with the new SSD physically. If multiple drives are supported, you can keep both installed.
Step 7: Power on your computer and enter the BIOS/UEFI settings by pressing the designated key during startup (commonly F2, Delete, or Esc).
Step 8: Navigate to the boot order or boot priority section and set the new SSD as the primary boot device.
Step 9: Save the BIOS changes and exit. Your system should boot from the new SSD, delivering faster startup and application load times.
Important Notes:
- Ensure the new SSD has enough free space to accommodate all data from your current Windows drive.
- Back up important files before starting to prevent data loss in case of unexpected issues.
- Use the SSD alignment feature if available in your cloning software to optimize SSD performance.
Method 2: Transfer Windows 11 Using Windows Backup and Restore
If you prefer using built-in Windows tools, the Backup and Restore method allows you to create a system image and restore it to the new SSD.
Step 1: Connect an external storage device with sufficient space to save the system image.
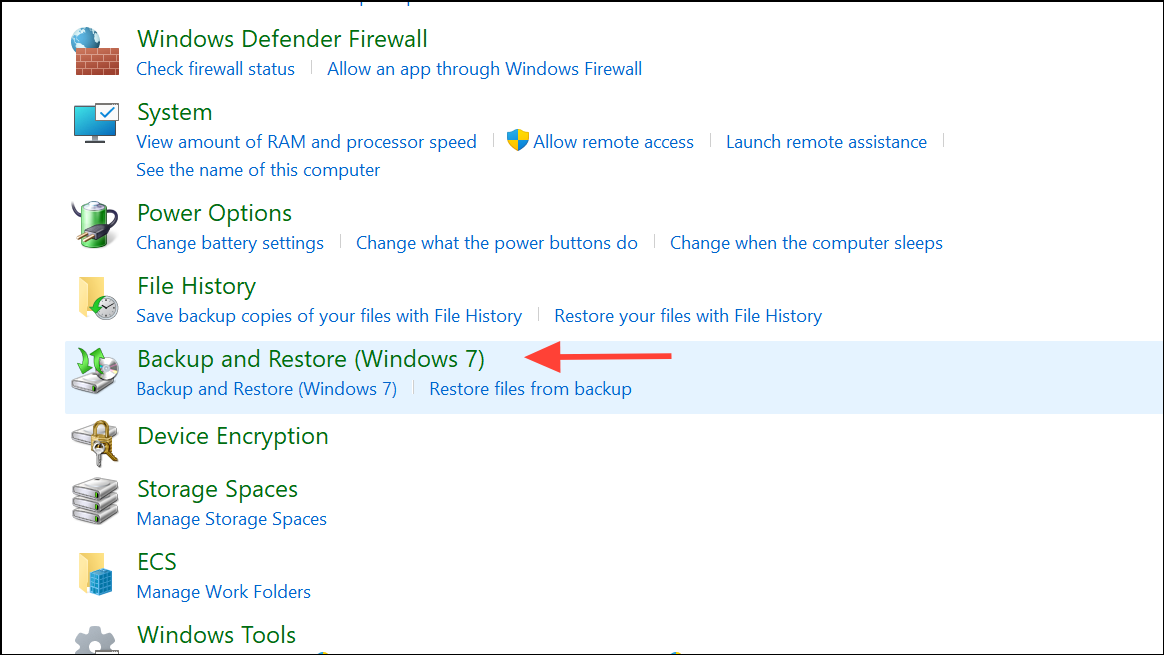
Step 2: Open the Control Panel, navigate to System and Security, then select Backup and Restore (Windows 7).
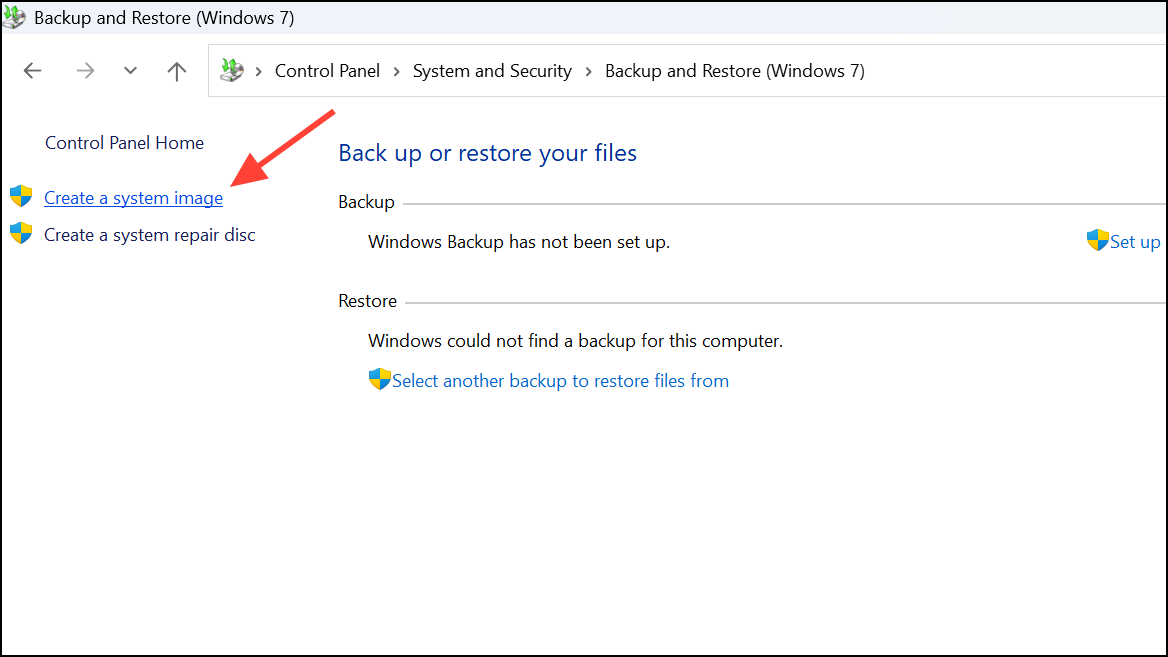
Step 3: Click on Create a system image and choose the external drive as the destination. Follow the prompts to complete the backup.
Step 4: Create a Windows 11 recovery USB drive by searching for Recovery Drive in the Start menu and following the instructions to include system files.
Step 5: Shut down your PC and install the new SSD internally or connect it externally using an adapter.
Step 6: Boot your computer from the recovery USB by adjusting the boot order in BIOS/UEFI.
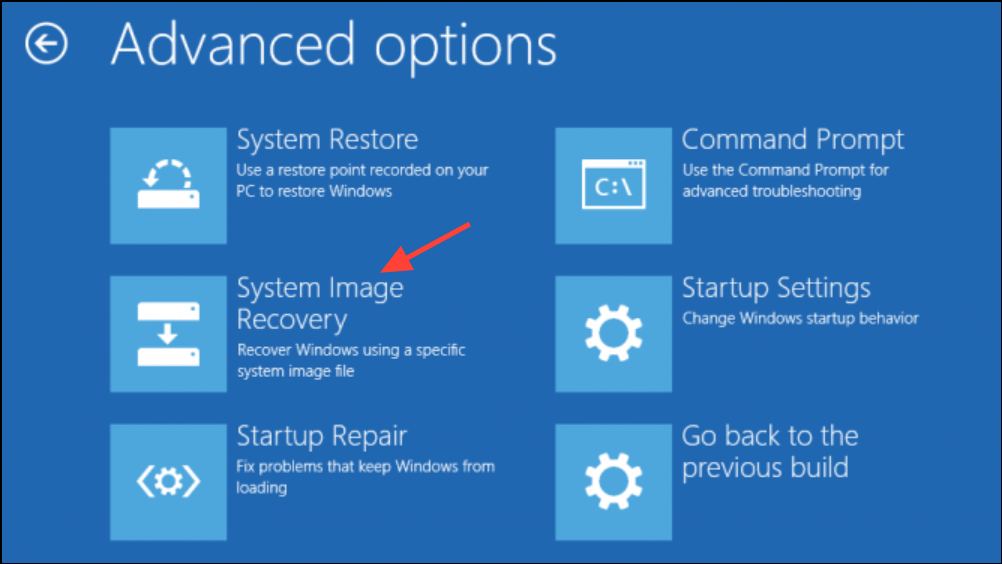
Step 7: Select Troubleshoot > Advanced options> System Image Recovery, then choose the system image you created earlier.
Step 8: Ensure you select the option to format and repartition disks to prepare the new SSD properly.
Step 9: Proceed with the restoration. Once complete, restart your computer, which should now boot from the new SSD.
Important Notes:
- This method is slower and requires more steps than cloning but uses only built-in Windows features.
- It is best suited when migrating to a larger SSD.
- Backing up critical data before starting remains essential.
Additional Tips for a Successful Transfer
- Back up your data: Regardless of the method, always back up your important files to avoid data loss.
- Check SSD compatibility: Confirm your new SSD supports your computer’s interface (SATA, NVMe, M.2).
- Initialize the SSD: If the SSD is new, initialize it in Windows Disk Management using the GPT partition style for compatibility with Windows 11.
- Verify Windows activation: After transfer, Windows 11 activation should remain intact if the motherboard hasn’t changed. If not, reactivate using your Microsoft account.
- Format old drive for storage: Once you confirm Windows boots successfully from the new SSD, format your old drive to use it as additional storage.
Transferring Windows 11 to a new SSD optimizes your system by drastically reducing boot times and application load speeds, providing a smoother and more responsive computing experience without reinstalling the operating system or software.