
Running outdated applications on Windows 11 can expose your system to security risks and stability issues. The Winget command-line tool, also known as Windows Package Manager, provides a streamlined way to keep your software up to date without relying on manual downloads or the Microsoft Store. By executing a few simple commands, you can upgrade individual apps or update every supported program on your PC in one go.
Update All Apps at Once Using Winget
Winget’s upgrade --all command allows you to update every installed application that is recognized by the package manager. This approach reduces the time and effort required to check for and install updates across multiple programs.
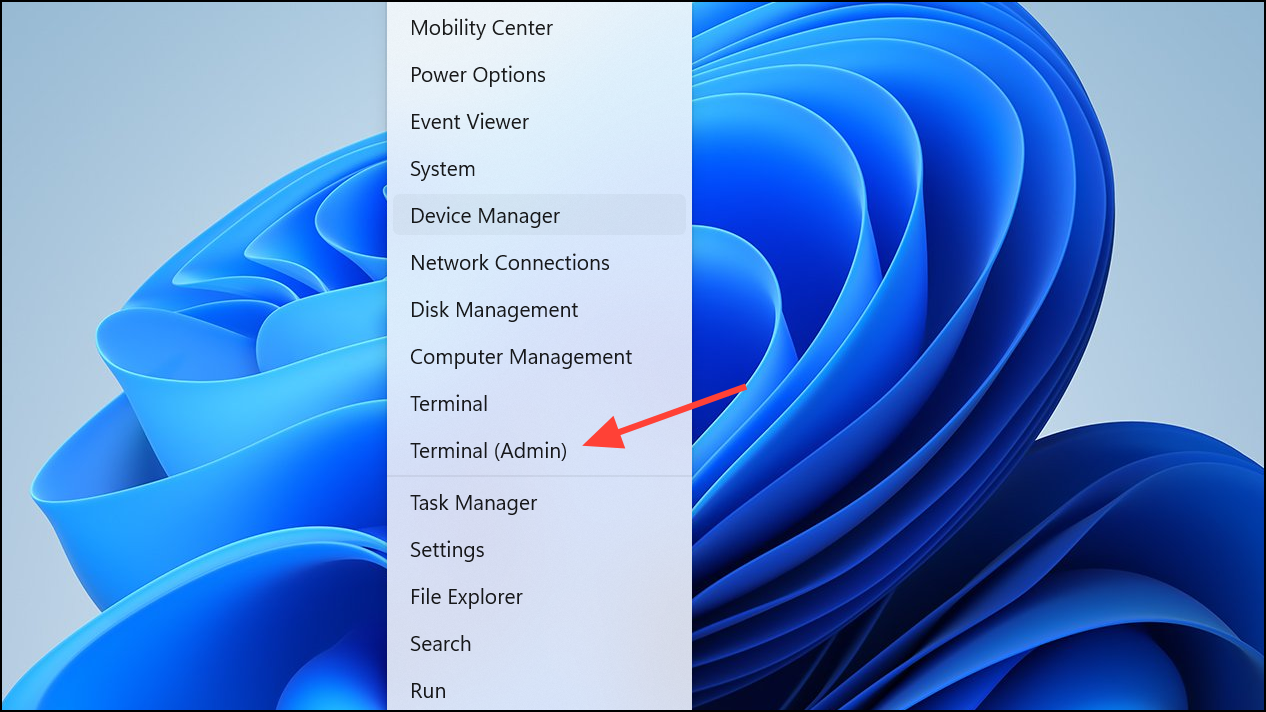
Step 1: Open an elevated terminal. Right-click the Windows icon on the taskbar and select Terminal (Admin), Command Prompt (Admin), or PowerShell (Admin). Running as administrator ensures that apps requiring elevated permissions can update successfully.
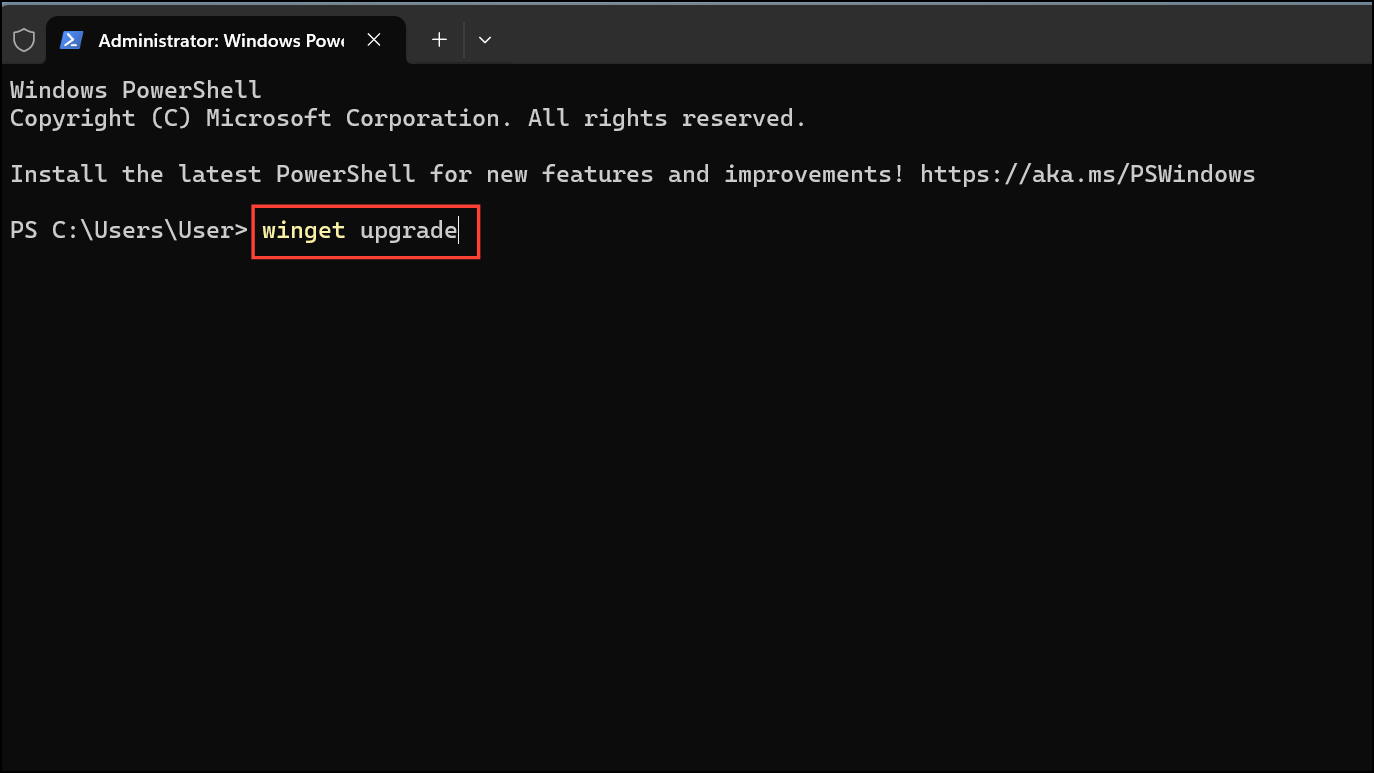
Step 2: (Optional) View which apps have available updates by entering:
winget upgradeThis command displays a list of updatable applications, including their current and available versions. Reviewing this list helps you confirm which programs will be affected.
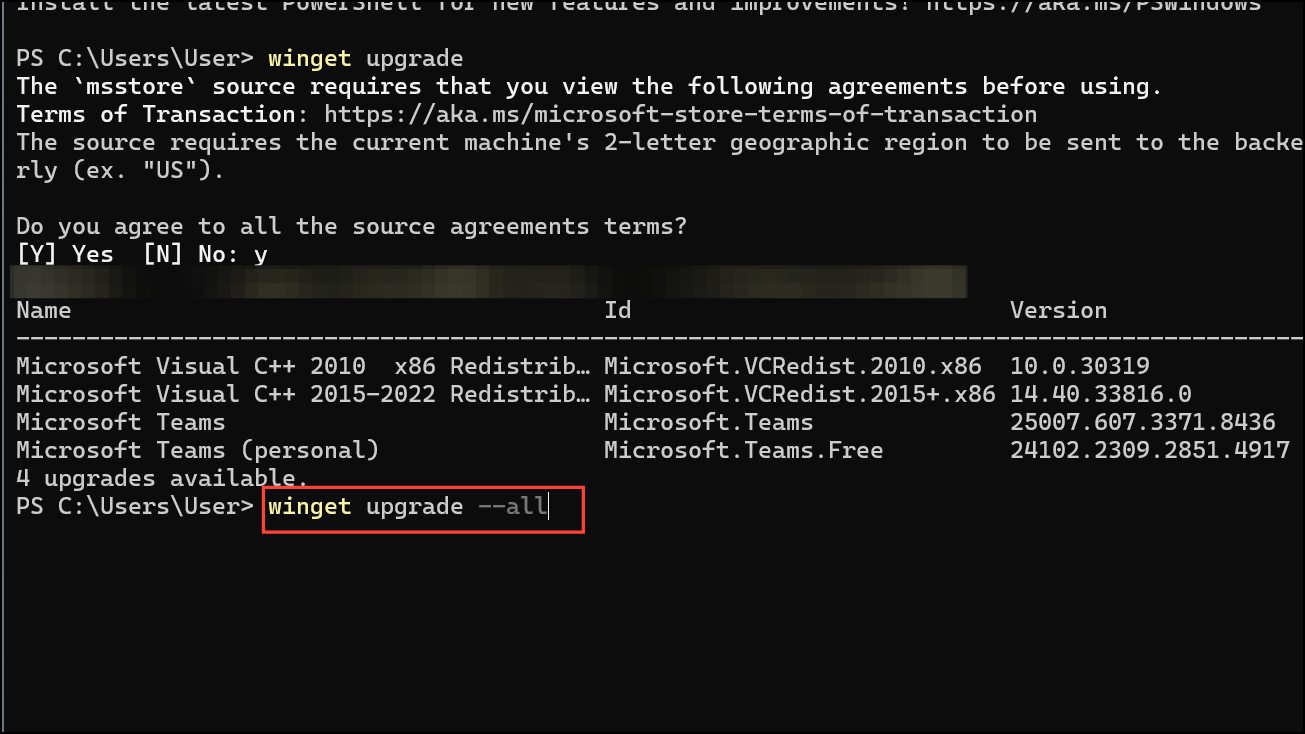
Step 3: To begin updating all apps, enter:
winget upgrade --allWinget will automatically download and install the latest versions for all detected applications. Some apps may prompt for user interaction or require you to accept license agreements during the process. If you have many programs installed, allow time for the updates to complete.
Step 4: Once the updates finish, close the terminal window. Your applications are now upgraded to their latest available versions from the Winget repositories.
Update a Specific App Using Winget
If you prefer to update one application instead of all, Winget lets you target a specific program by its name or ID.
Step 1: Open an elevated terminal as described above.
Step 2: List available updates to find the exact name or ID of your target app:
winget upgrade
Step 3: Identify the app you want to update and note its name or ID from the list.

Step 4: Run the following command, replacing APP-ID with the correct identifier:
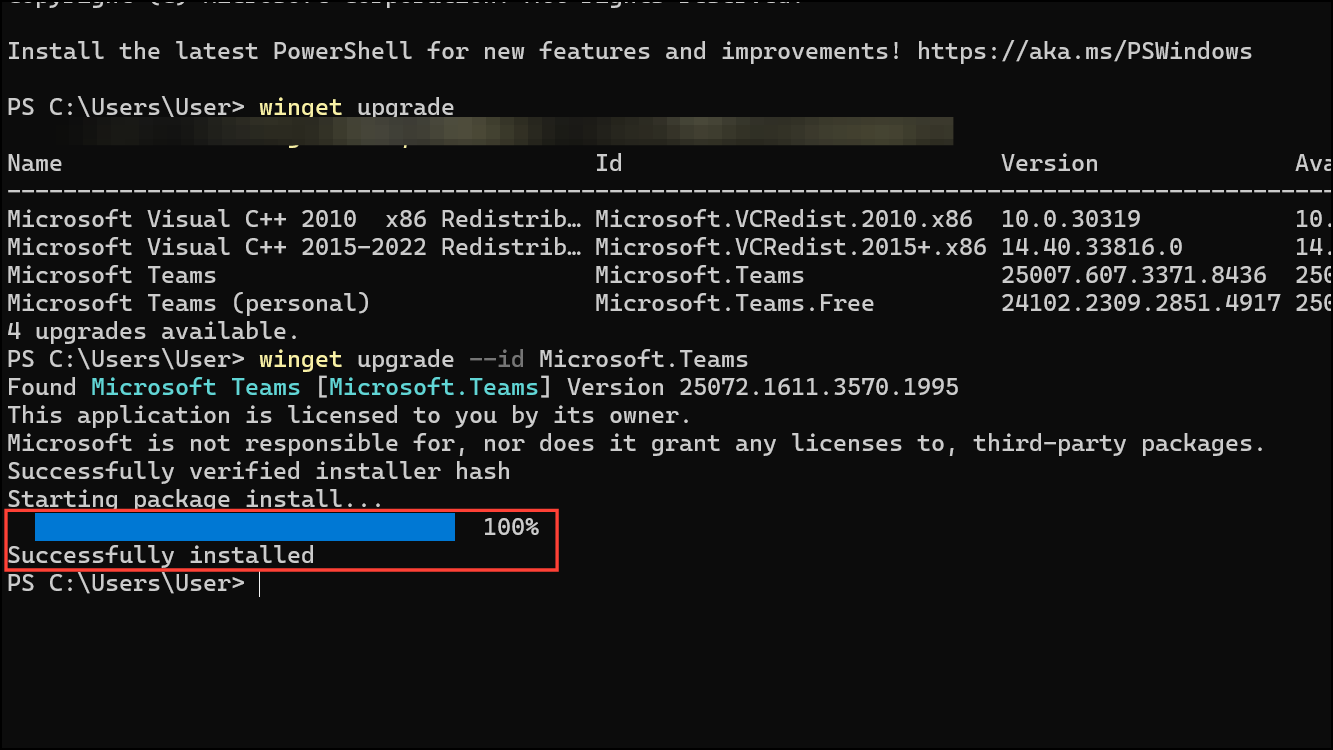
winget upgrade --id APP-IDFor example, to update Microsoft Teams, use:
winget upgrade --id Microsoft.Teams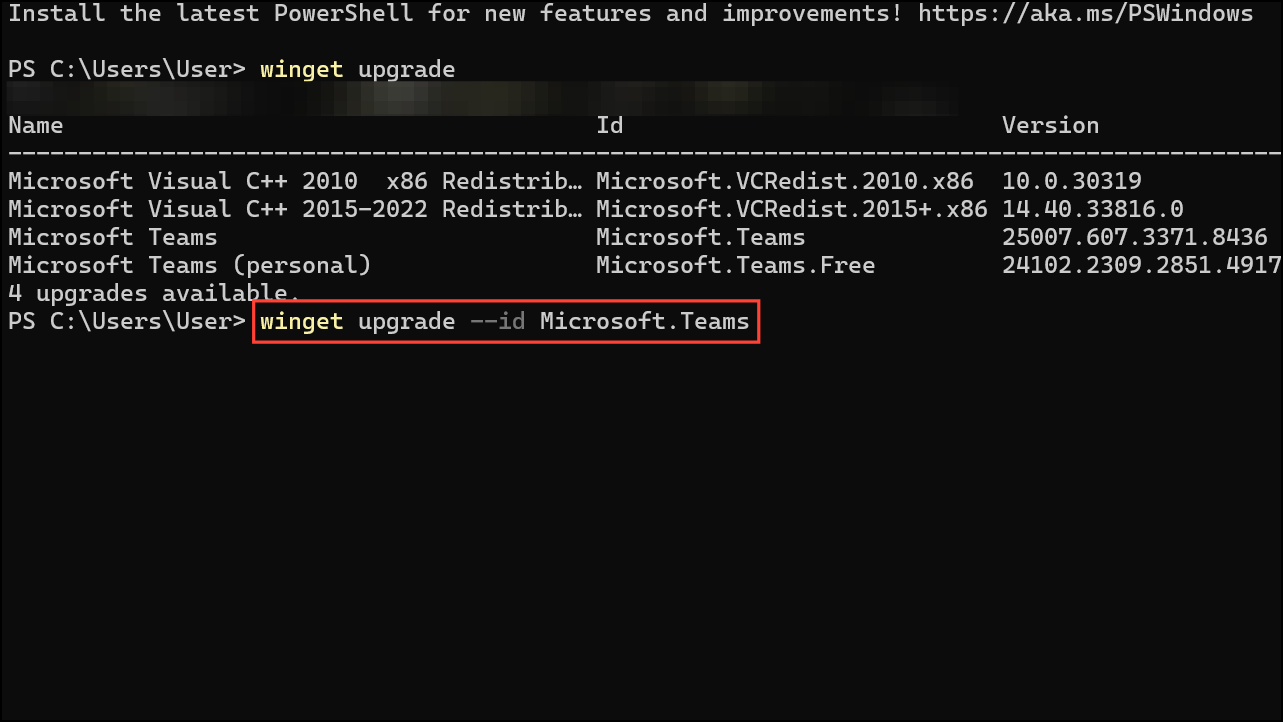
Step 5: Wait for the update to complete. The terminal will display progress and notify you when the process finishes.
This approach is useful when you only want to update a specific program or test Winget’s functionality on a single app before running a bulk update.
Troubleshooting and Tips
If Winget fails to update certain apps or displays errors about package sources, you can reset Winget’s sources to their default state with:
winget source reset --force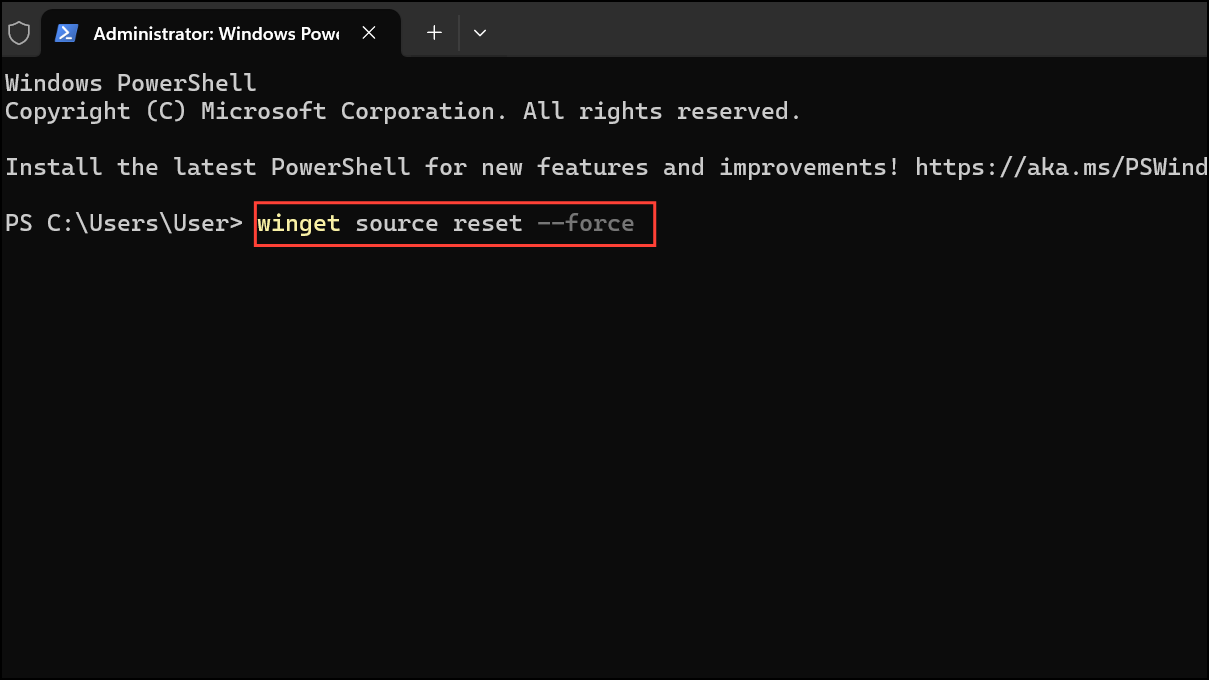
Always ensure you have administrator privileges when running update commands, as some applications require elevated permissions to install updates.
If you do not see the expected updates, confirm that you are running the latest version of Winget. To check your version, use:
winget --version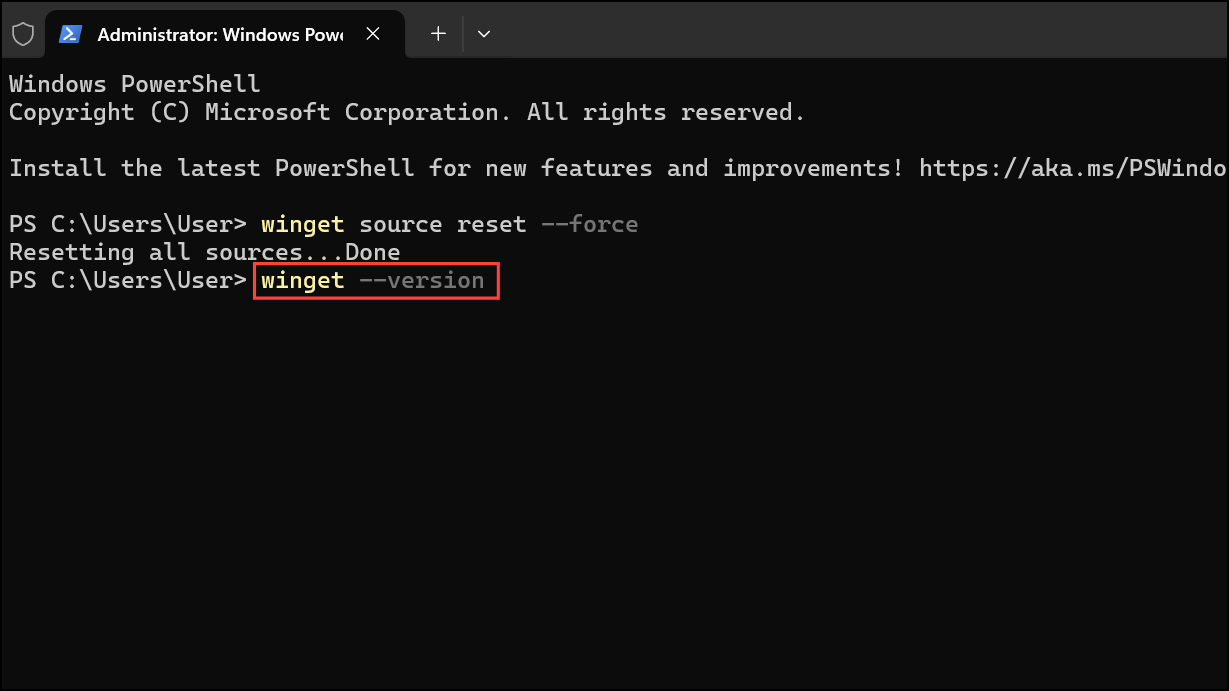
Compare this output with the latest release on the official Winget GitHub page. If needed, update Winget via the Microsoft Store (search for “App Installer”) or download the latest package from GitHub.
For users who want to automate updates, Winget commands can be incorporated into scripts or scheduled tasks, ensuring your applications stay current with minimal manual intervention.
Keeping your Windows 11 apps updated is much faster and more reliable with Winget. Whether you want to update a single program or your entire suite of applications, these commands simplify the process and help maintain system security and performance.