Anna, the Bride Drowned in Tears is a humanoid boss in Valor Mortis, fought in the Cursed Hollow during Chapter 6. She appears in a flooded village courtyard decked out with wedding garlands and candle shrines, wielding a pair of sickle-like blades, and she fights fast and up close. A clean no-damage run against her shows exactly how aggressive the encounter is and how little room she leaves between attacks.
Quick answer: Anna is a Chapter 6 boss in the Cursed Hollow. Beating her awards 14,000 Catalysts and adds a new entry to your journal.
Who Anna is and where you fight her
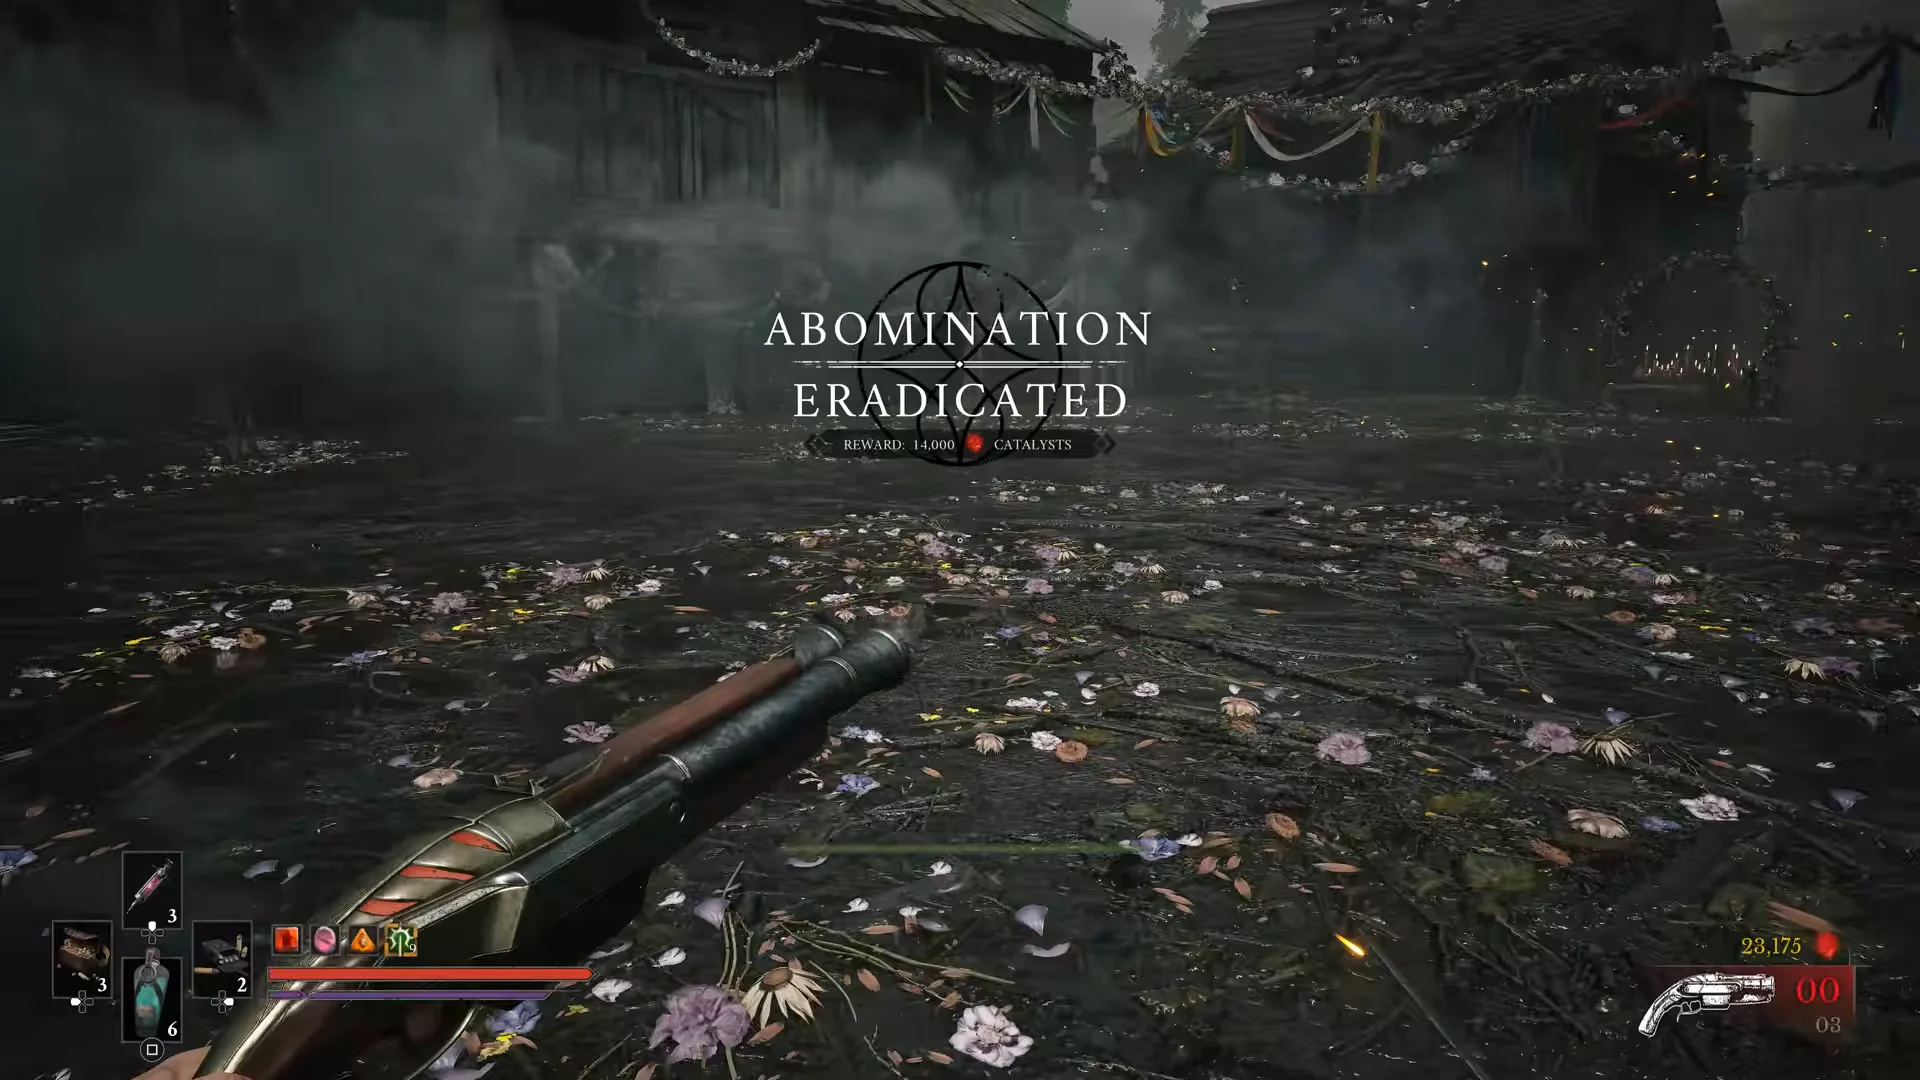
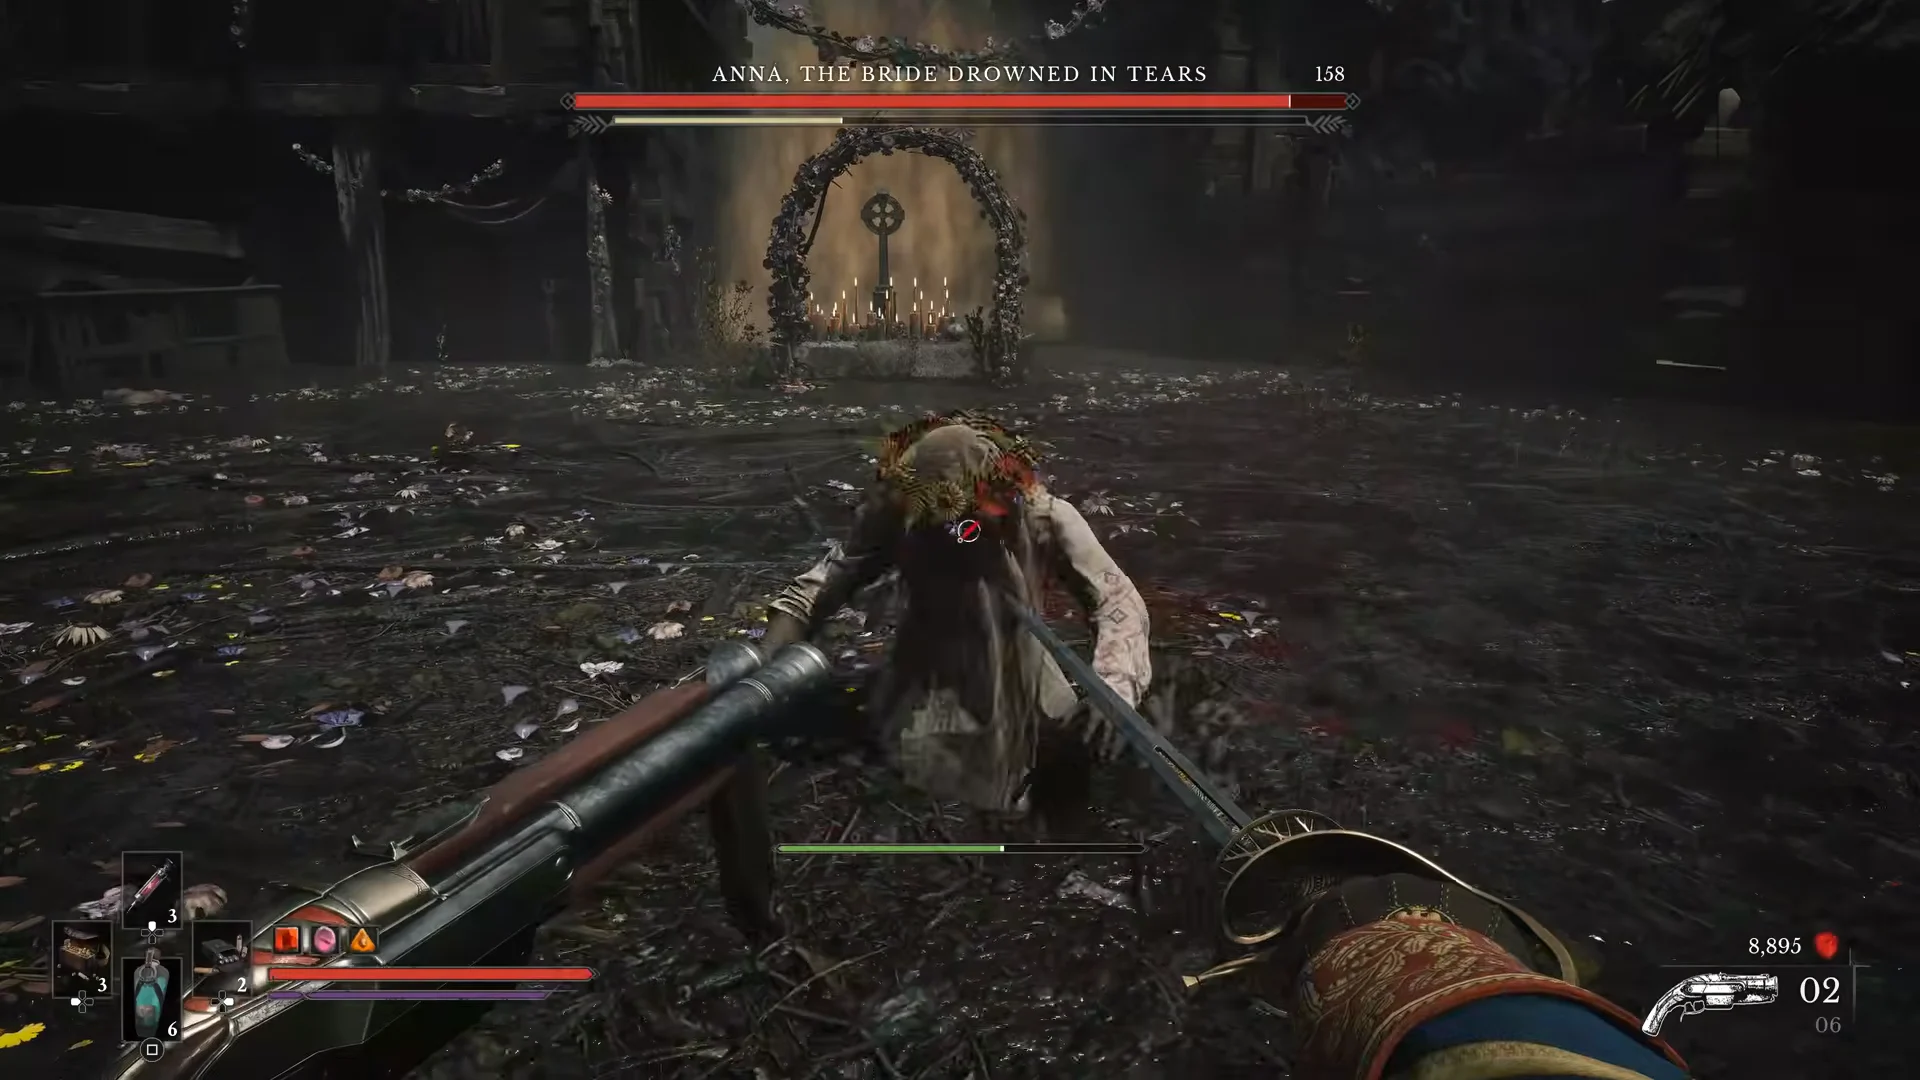
Anna was swept away by a great flood just before her wedding, never given the chance to grieve the life that ended so abruptly. The plague found her and revived both her sorrow and her anger, trapping her in a loop of violence. She fights in a tattered white bridal dress and veil with a floral crown, and her arena reflects that story: a muddy, waterlogged courtyard ringed by wooden huts, celebratory streamers, and shrines covered in lit candles.
You reach her in the Cursed Hollow, the sixth chapter. The fight triggers when you drop into the flooded street lined with wedding decor and move toward the ribbon-draped floral arch. Unlike many chapter bosses that wait at the very end, Anna shows up early, which makes her an abrupt step up for anyone who has been avoiding parrying so far.
Anna’s attacks and how they read
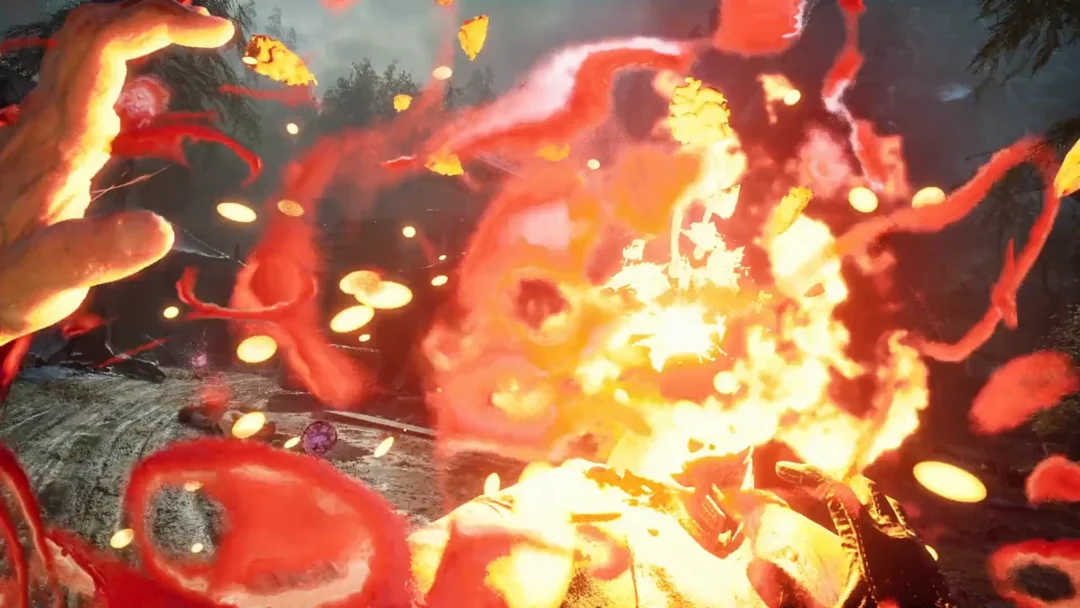
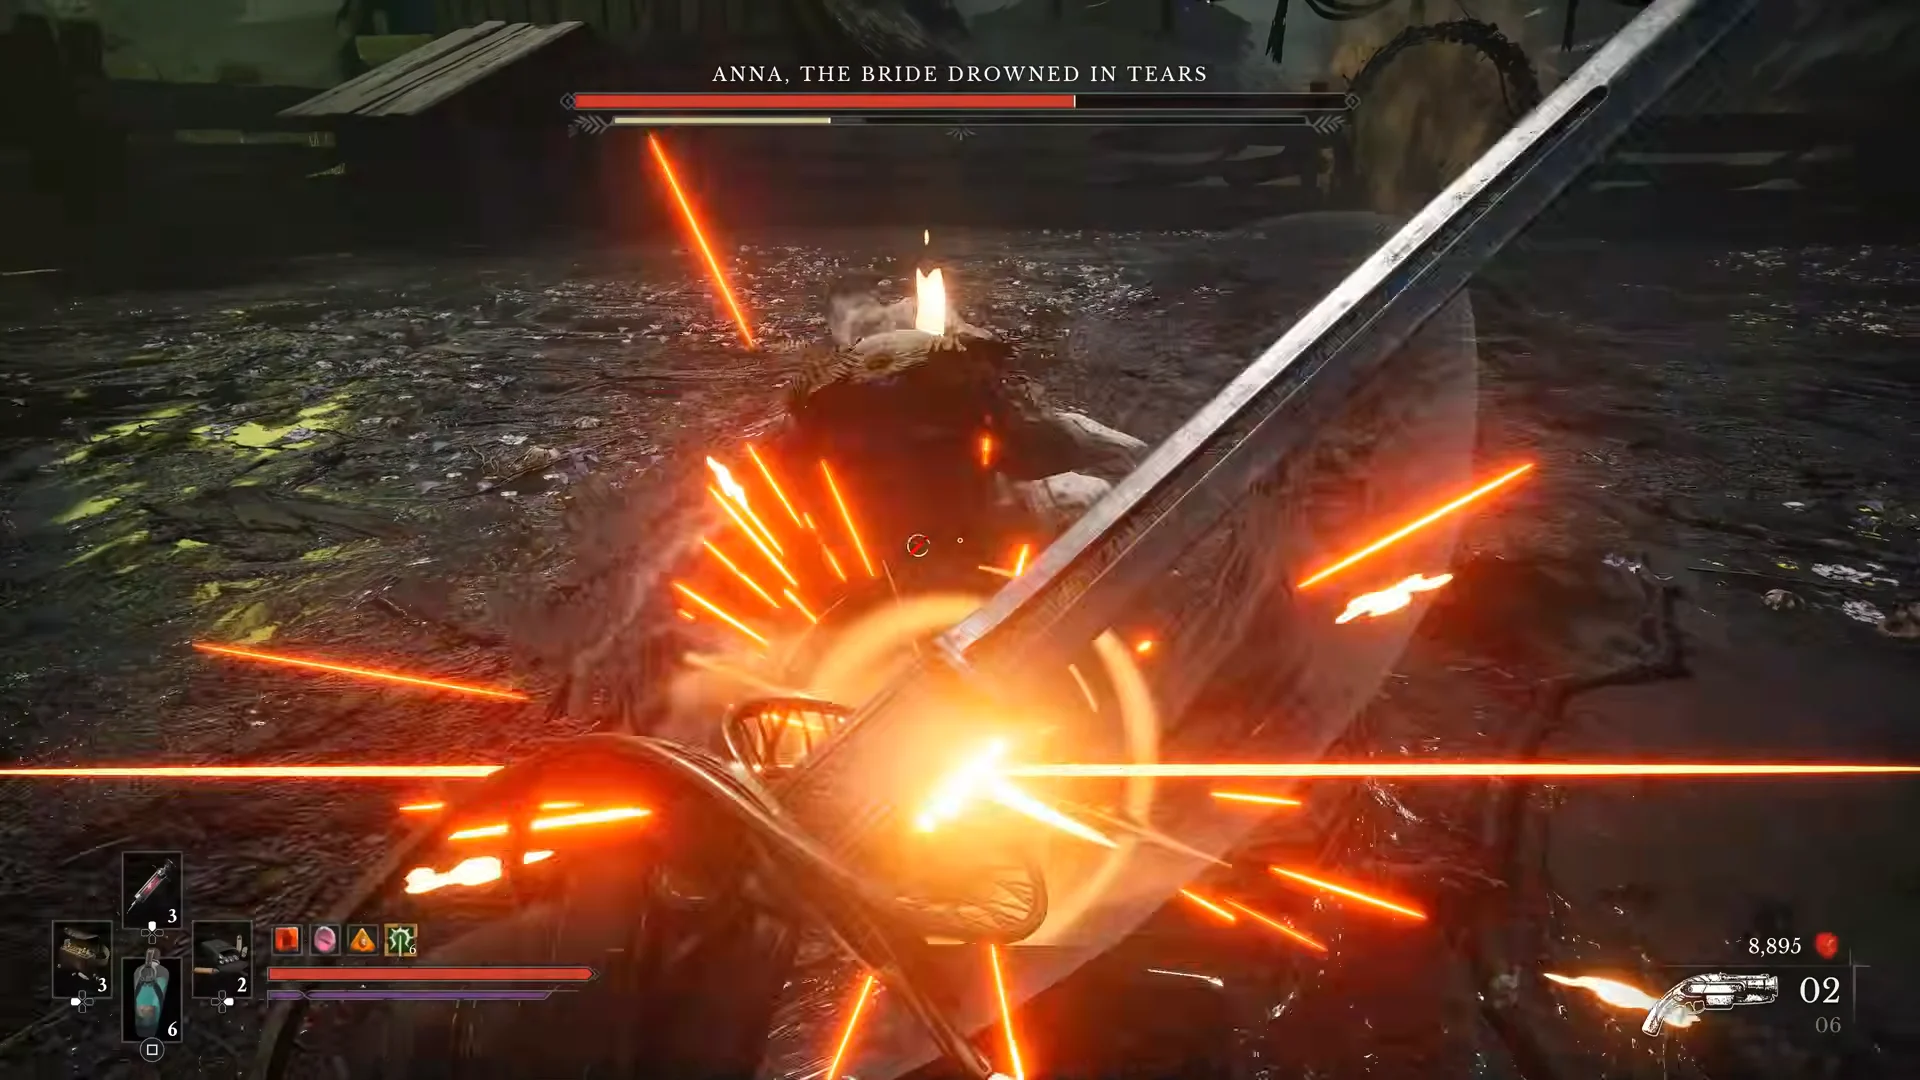
Her moveset is small but relentless. She closes distance like a normal enemy, swings erratically, and resets the spacing by sinking into the water to teleport elsewhere in the arena. Most of her strikes can be blocked or parried, and a successful parry throws out an orange spark burst that staggers her and opens a window to counter.
| Attack | What it does | Answer |
|---|---|---|
| Single slash | One top-to-bottom cut | Block or parry |
| Flurry slashes | Four alternating-side swings | Hold block or time parries |
| Leap slash | Jumping strike, body flashes red, unblockable | Dodge |
| Teleport | Sinks into water, re-emerges and charges | Stay mobile, watch your back |
| Summon | Spawns Shambling Civilians | Create space, pick them off |
The red-flashing leap is her only unblockable, so block-and-parry handles almost everything else. The teleport is her most dangerous habit, because she often reappears behind you and immediately rushes in.
The two summon phases
Anna changes the fight twice. At roughly 66% health she sinks into the ground and spawns three Shambling Civilians alongside her: one melee attacker, one that throws, and one running spear-wielder. She keeps pressing you while they close in, so the add waves are the part most likely to overwhelm you. The same setup repeats at about a third of her health remaining.
The civilians are brittle and die quickly, but the danger is the horde, not any single enemy. Keeping as much distance as possible and thinning them with gunfire, or an explosive such as a Hand Grenade, clears the pressure so you can go back to focusing on Anna herself.
What the no-damage run reveals
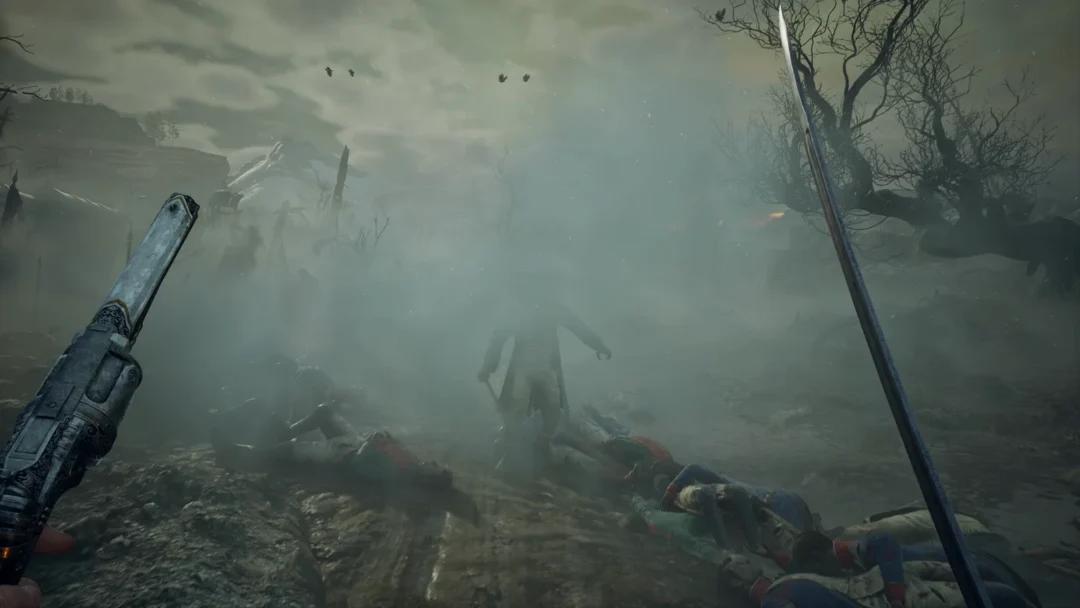
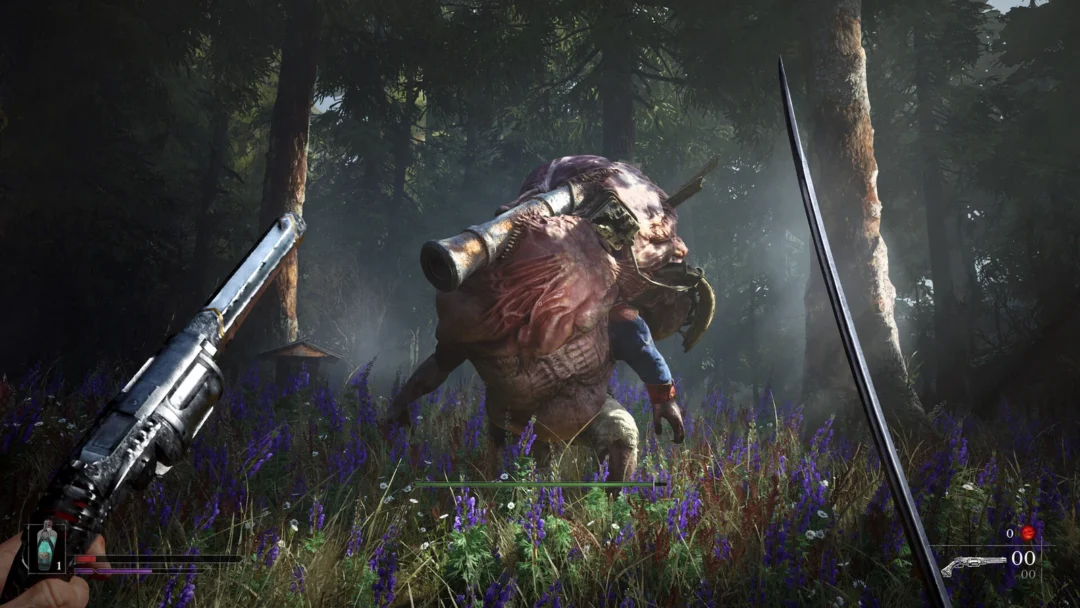
The flawless clear leans on three tools: a one-handed saber for quick slicing combos and timed parries, a sidearm pistol for rapid mid-range chip damage, and a double-barreled long gun for high-damage point-blank blasts. The player reads every red-flashed swing, deflects the flurries, and dodges the leap, turning each staggered moment into counter-damage rather than trading blows.
Ranged fire matters because of how often Anna retreats across the water. When she backs off, she can be picked at with accurate pistol or long-gun shots from cover, which also keeps the summoned civilians at bay before they reach you.
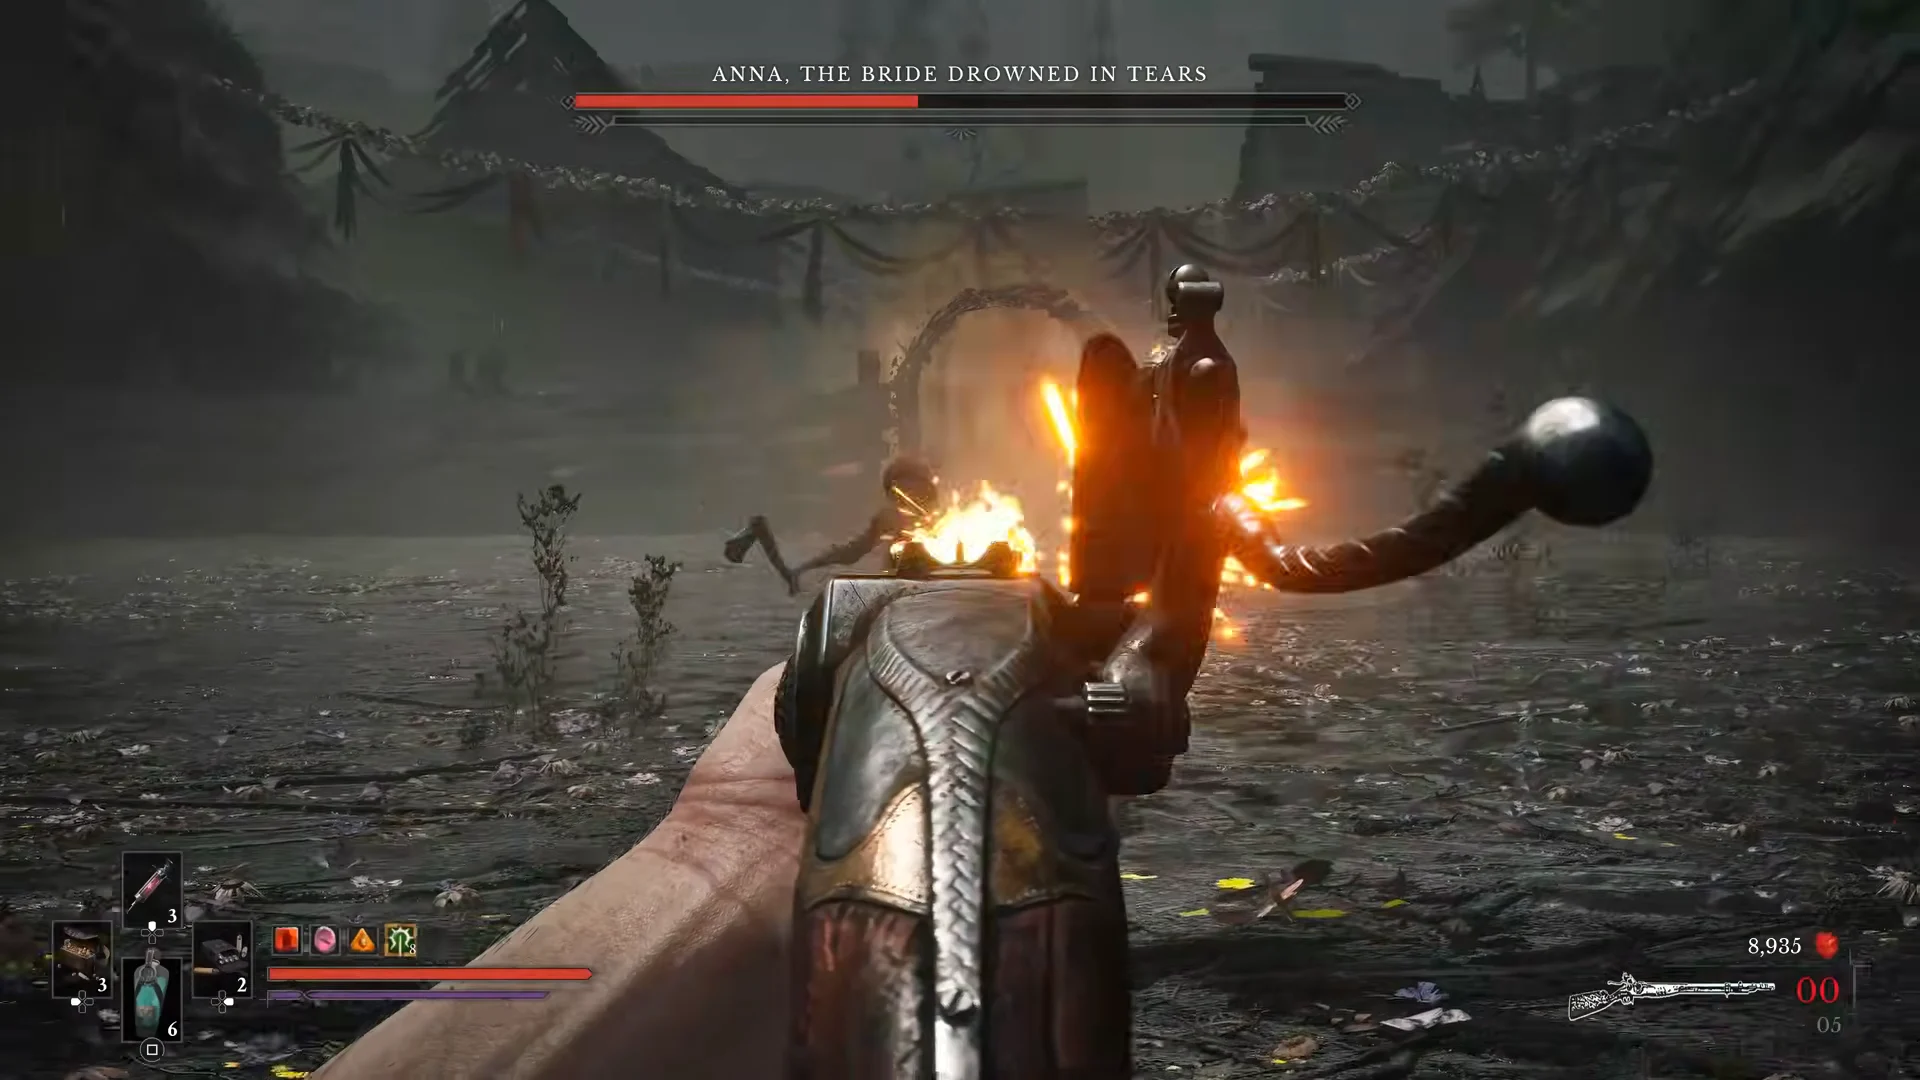
Up close, the double-barreled weapon does the heavy lifting. Its explosive muzzle flashes bite into Anna’s health between melee combos, and the run chains those blasts into saber slashes whenever she is stunned.
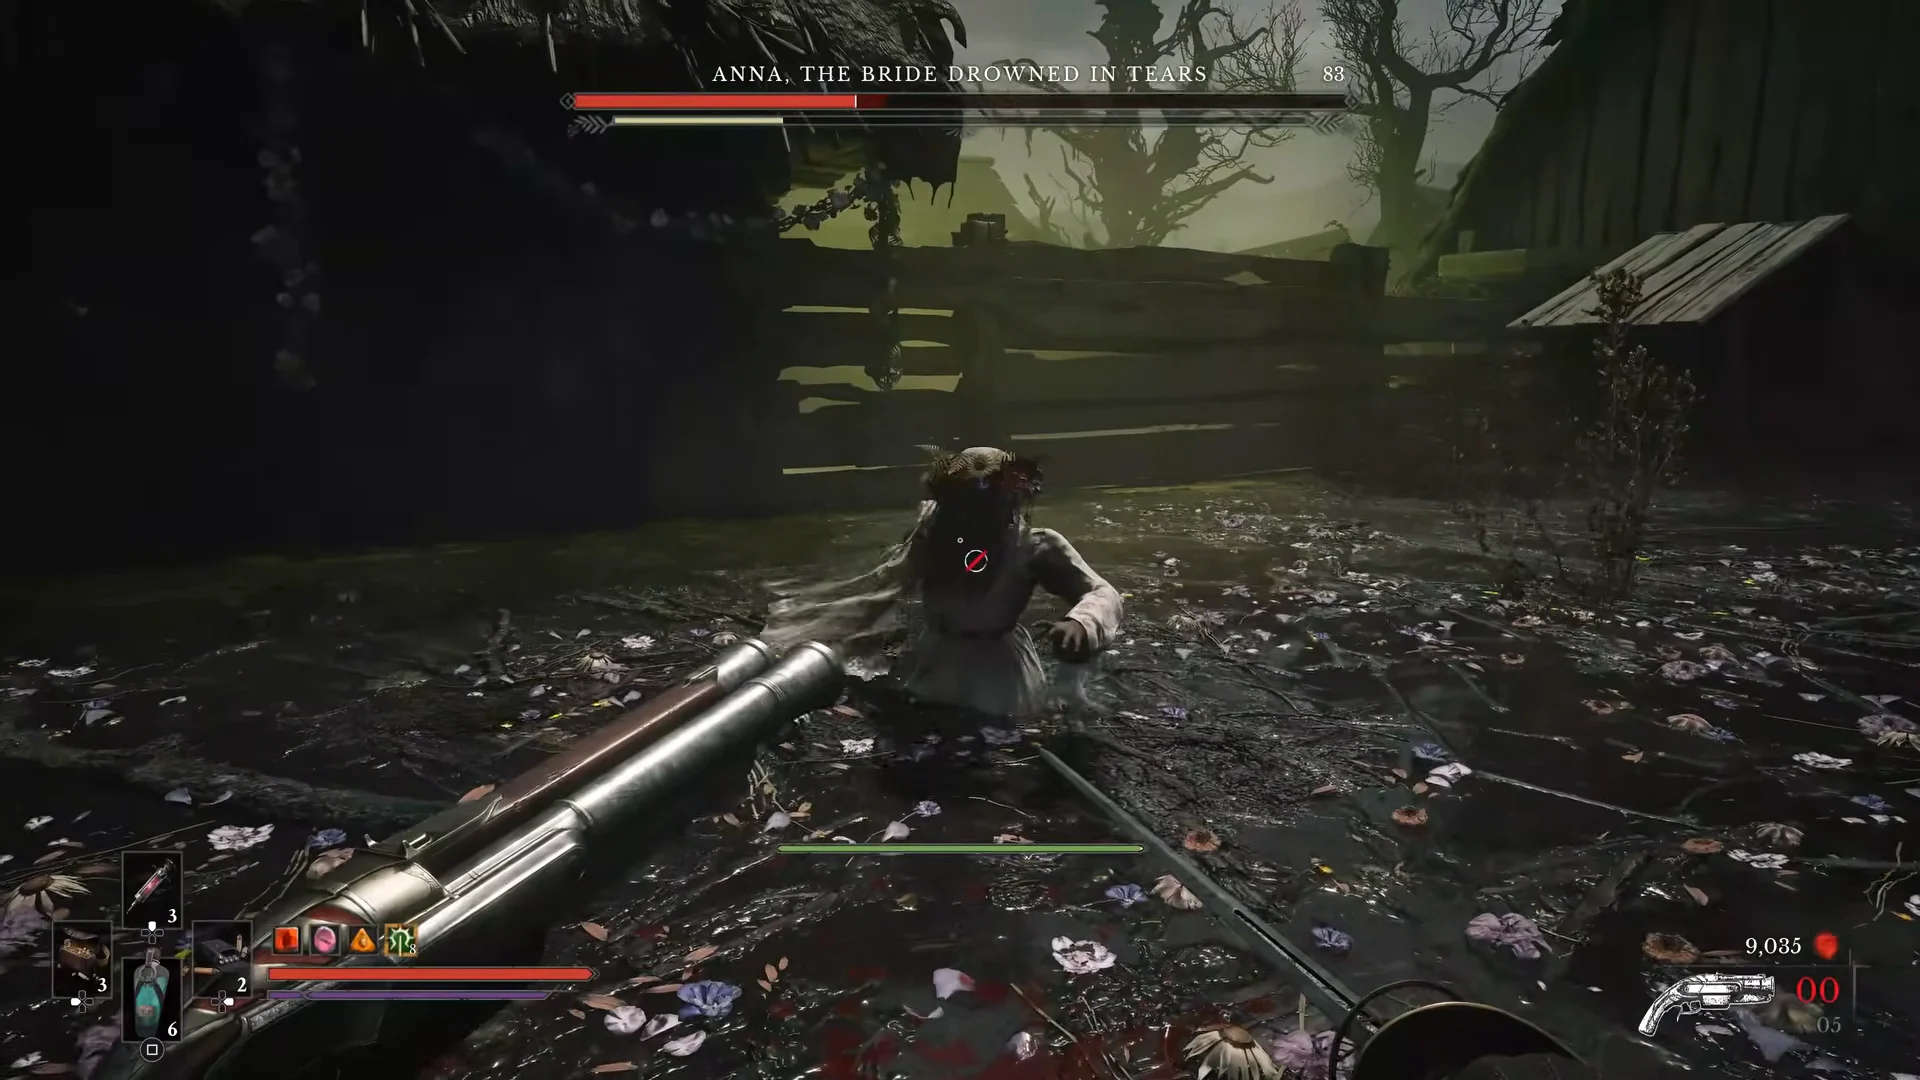
The finish is a series of counters: parrying her rapid swings, dodging the leaping strike, and answering with sword hits until her health runs out.
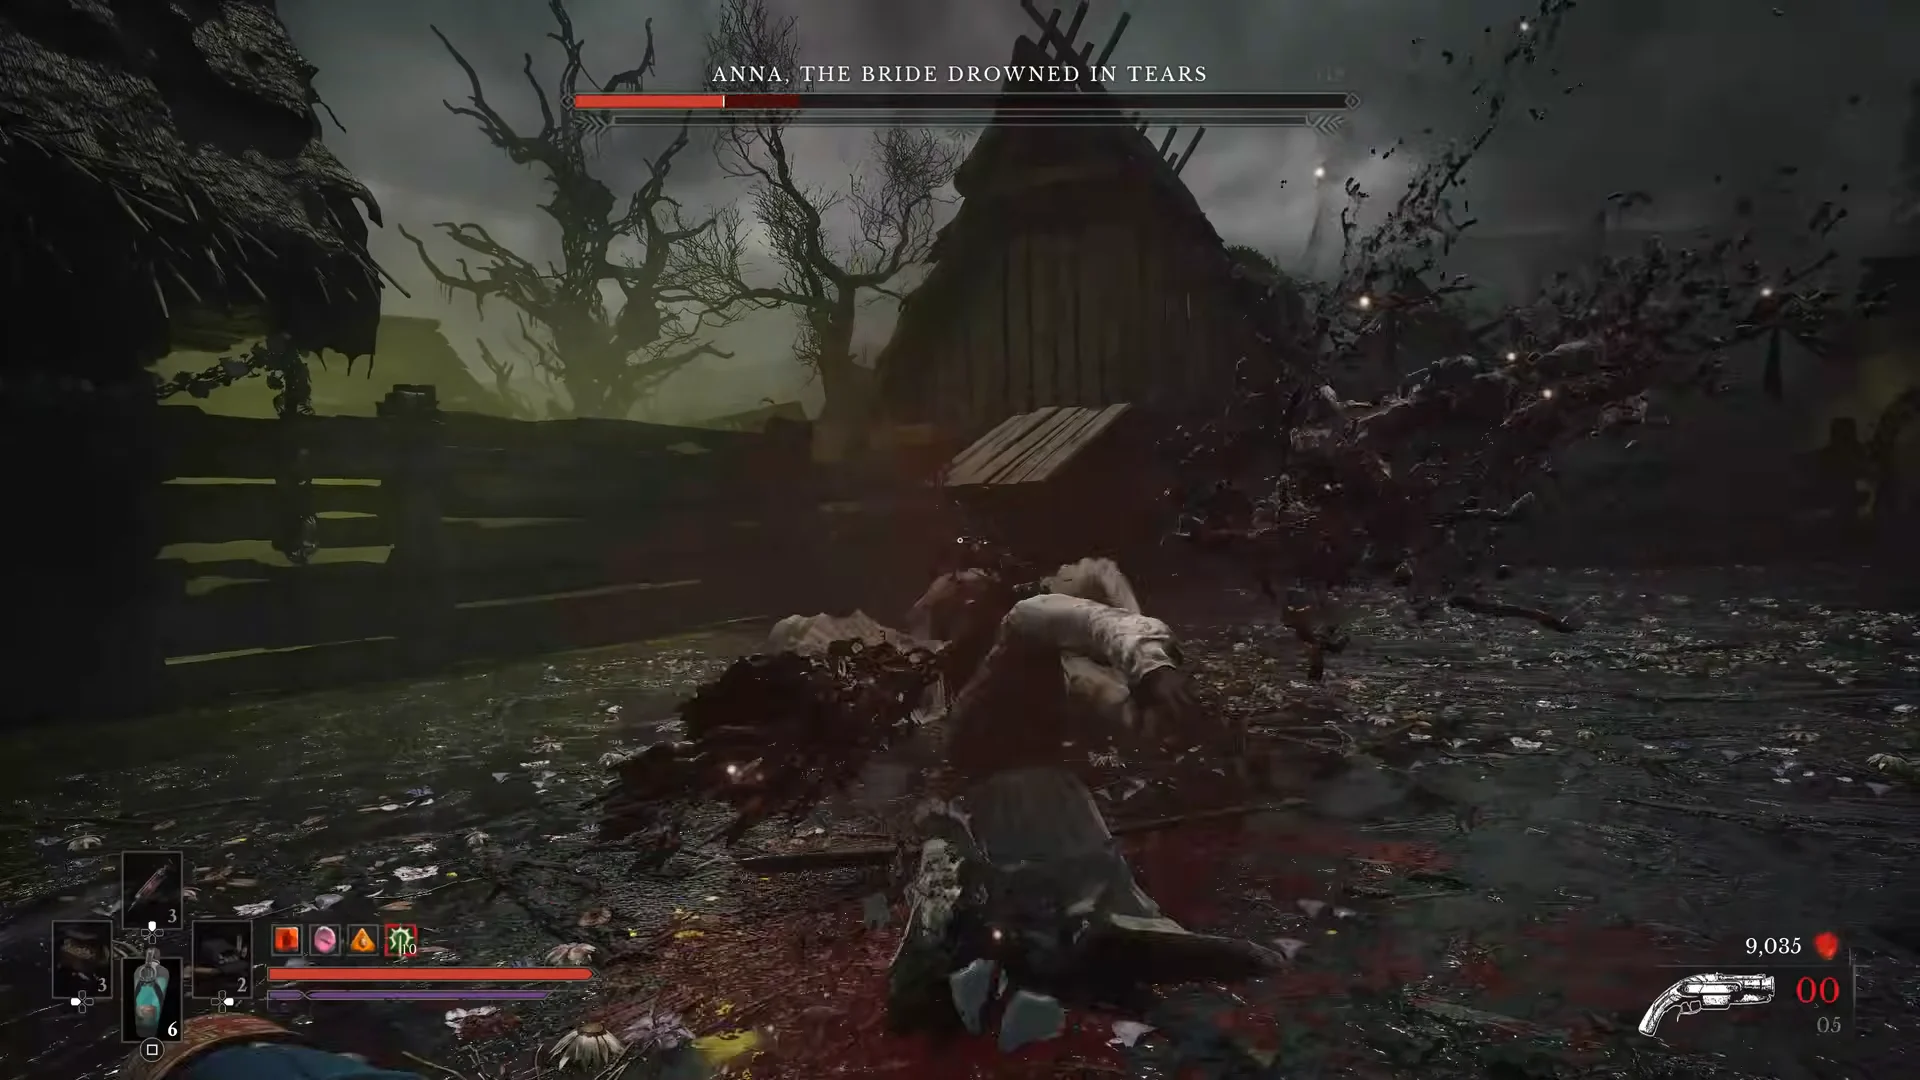
Reward and what clearing her unlocks
Defeating Anna triggers the “Abomination Eradicated” screen and pays out 14,000 Catalysts. You will also see “New entry added to the journal,” so you know the kill registered. Beyond the currency, the win opens a follow-up side quest tied to her story. If the eradication banner and catalyst payout appear, the fight is confirmed complete.