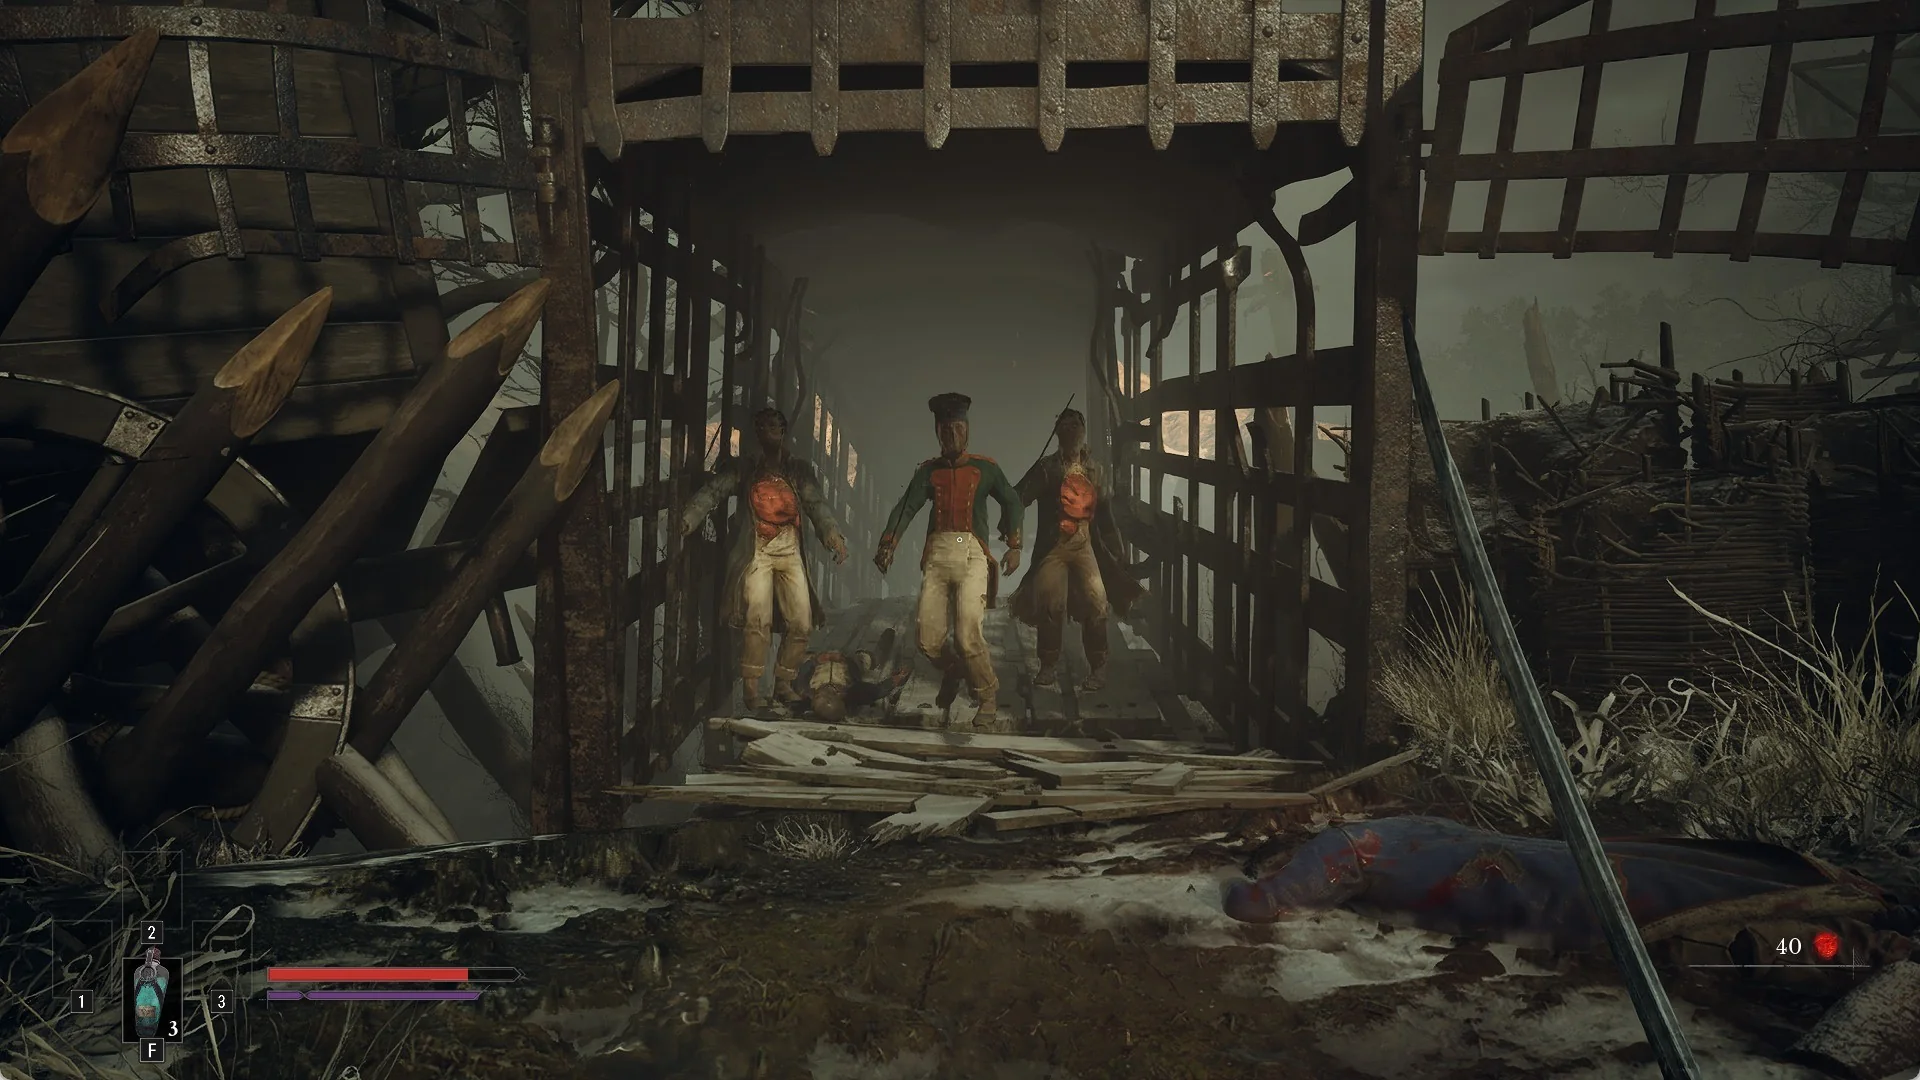
Valor Mortis gives you a small arsenal, but each piece behaves differently enough that a single weapon can anchor several very different playstyles. The Pistol can be a posture tool that props up the Rapier, or a damage dealer that triggers fire explosions. Your build is really the sum of four things working together: your stats, your Ambers, your weapon upgrades, and the items you equip.
Quick answer: Pick one damage plan (fire ignite, posture-break, or Stasis shatter), pair the weapon and Transmutation that feed it, then lock the matching upgrade branch. The five combos below each follow that pattern.
How builds work in Valor Mortis
This is a fixed-kit soulslike from One More Level, so you are not hunting for loot drops to change your weapons. You work with a Saber, a Rapier, the heavy Claymore, a Pistol, a Blunderbuss, and a Musket, plus two left-hand powers in Fire Transmutation and Stasis Transmutation. Variety comes from how you upgrade each one.
Every weapon levels up to a cap and unlocks branching upgrades along the way, many of which force a choice between two perks. Items like the Flaming Whetstone, Fire-Clad Rounds, and Mighty Rounds change what a weapon applies on hit. Keep that in mind: a build is defined less by which weapon you hold and more by which upgrade path and items you commit to.
| Build | Pairing | Core idea |
|---|---|---|
| Pistol and Saber | Pistol + Saber | Ignite, then shoot for AoE explosions |
| Pistol and Rapier | Pistol + Rapier | Break posture, punish with criticals |
 Claymore Claymore | Claymore | Aggressive melee with lifesteal |
| Fire and Saber | Fire Transmutation + Saber | Burn, then extend the burn with slashes |
| Stasis and Rapier | Stasis Transmutation + Rapier | Freeze enemies, shatter for burst damage |
Pistol and Saber: ignite explosions
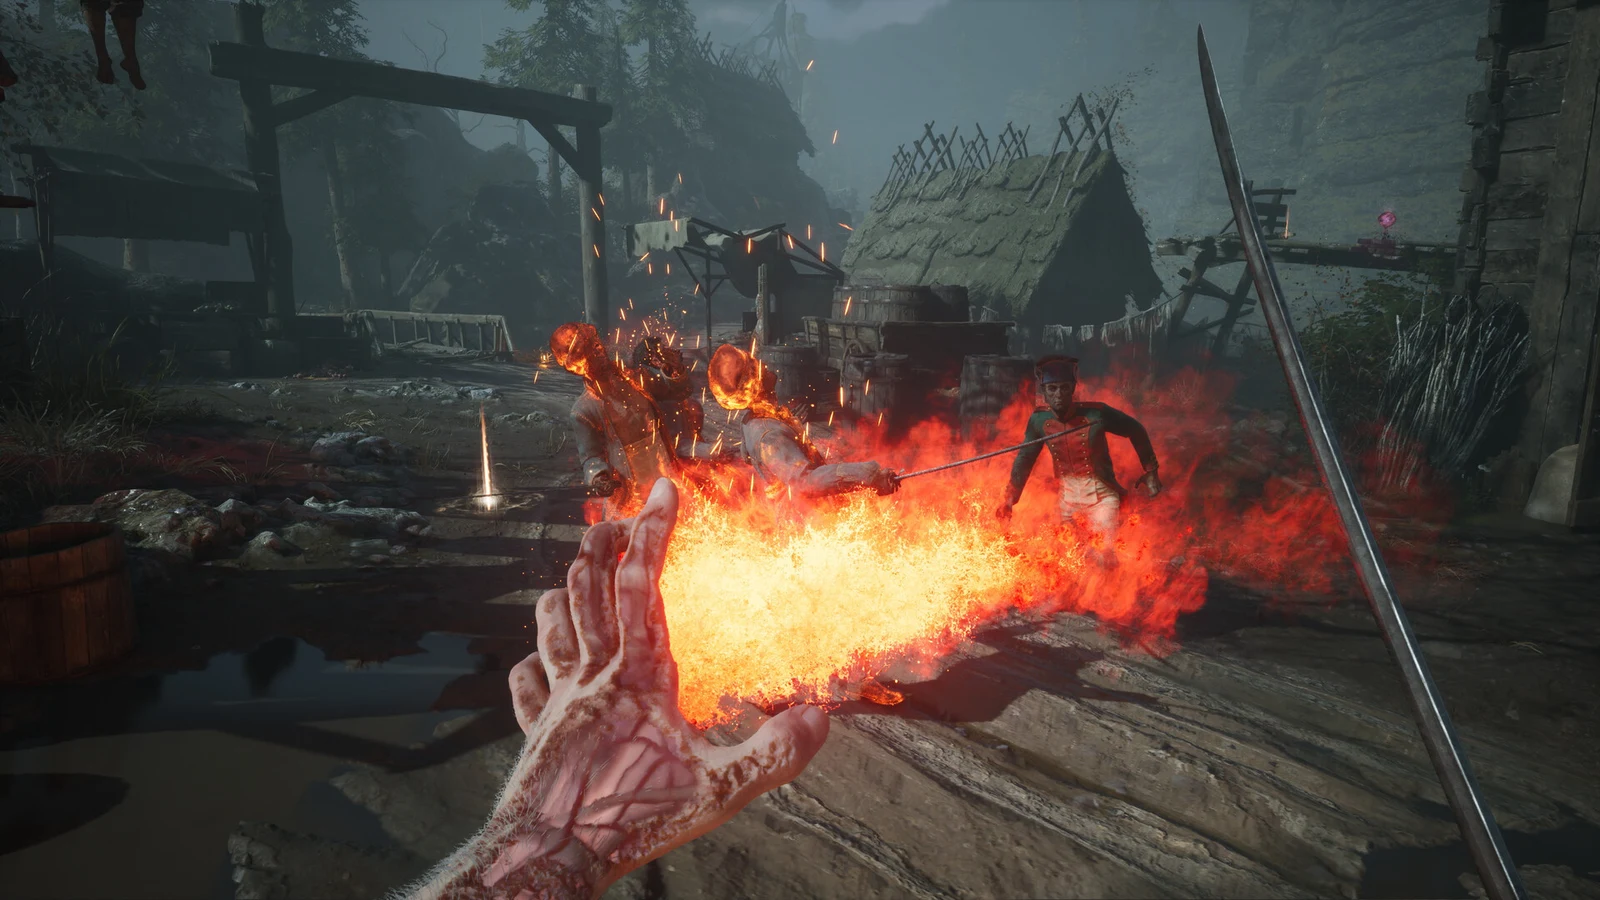
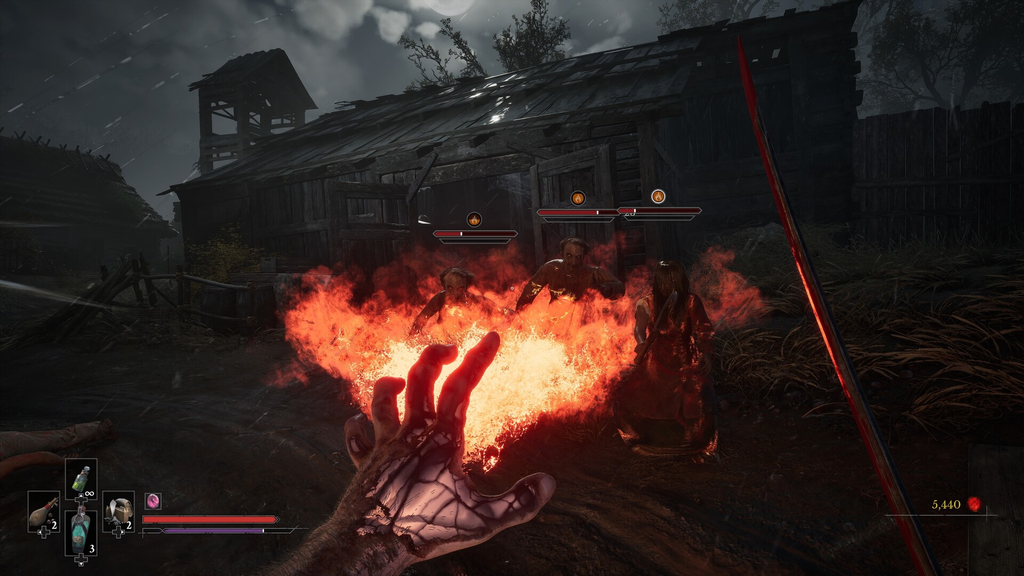
This combo turns the Pistol into a detonator. Equip the Flaming Whetstone and Fire-Clad Rounds so both the Saber and the Pistol apply Ignite and build it up on whatever you are fighting. Fire damage over time is the setup, not the payoff.
For the Pistol, choose Tactical Reload and Ingenious Engineering to increase its damage. The crucial choice is the last Fire Transmutation upgrade: select Unstable Blaze, which makes a shot at an ignited foe trigger an explosion. When a target is burning, a single amplified Pistol round uses up the Ignite and deals area damage, making it effective against groups.

Pistol and Rapier: parry and posture break
The Rapier leans on parrying, and clean parries fill an enemy’s posture meter until it breaks open for a critical attack. This build gives you a second route to the same result through the Pistol’s special bullets.
Spend Nephtoglobin to load one posture-breaking bullet, or use Mighty Rounds to load ten in a single go. Use gunfire to wear down posture, follow the break with the Rapier, and maintain pressure. Since the Rapier cannot block, parry timing is more important with this setup than with any other.
Claymore: aggressive melee lifesteal
The Claymore is a heavy weapon that trades away the ability to Parry in exchange for raw impact and the ability to channel Nephtoglobin Transmutations directly through its swings. That makes it a natural fit for a build that never backs off.
With Butcher’s Carnage equipped, each melee hit restores Health. Flasks can no longer heal you, so staying on the offensive lets your attacks keep you alive. Inflict Ignite with the Flaming Whetstone or the Claymore’s Fire Transmutation attacks, then select Brittleness and Never-Ending Inferno for Fire Transmutation. Brittleness increases the melee damage burning enemies receive, while Never-Ending Inferno extends Ignite each time you land a hit.
Butcher’s Carnage shuts off flask healing entirely, so if you stop attacking you stop recovering. This build punishes passive play.
Fire and Saber: sustained burn
This pairing covers the same burn-and-slash idea as the Claymore build, but keeps your healing flasks, so it rewards a steadier, more careful approach. Use Fire Transmutation itself to apply Ignite rather than relying only on a whetstone.
Once enemies are burning, switch to Saber slashes. The Saber keeps the Ignite effect going while adding its own damage on top of the fire ticking away. Because you are not giving up flasks, this is the more forgiving fire build of the two.
Stasis and Rapier: freeze and shatter
Stasis Transmutation fills the Stasis segments that sit beneath an enemy’s health bar. Fill all of them and the enemy freezes in place, and attacking a frozen target deals heavy damage. The Rapier is the finisher here: a hit shatters the frozen enemy for a large burst.
What makes this flexible is control over the timing. At any moment you can break the accumulated segments with the Rapier’s heavy attack to dump damage, rather than waiting for a full freeze. On Stasis Transmutation, Implosion increases the damage from triggering a segment and Expansion spreads the effect to nearby targets. The Rapier’s Astute Quarta upgrade restores Nephtoglobin on a successful Parry, which keeps your Transmutation fuel topped up between freezes.

Across all five, the throughline is the same. Decide what finishes your fights first, whether that is an explosion, a posture break, a lifesteal loop, or a Stasis shatter, and then build every upgrade and item around feeding that one moment. The weapons are fixed, but the combinations are where your run takes shape.