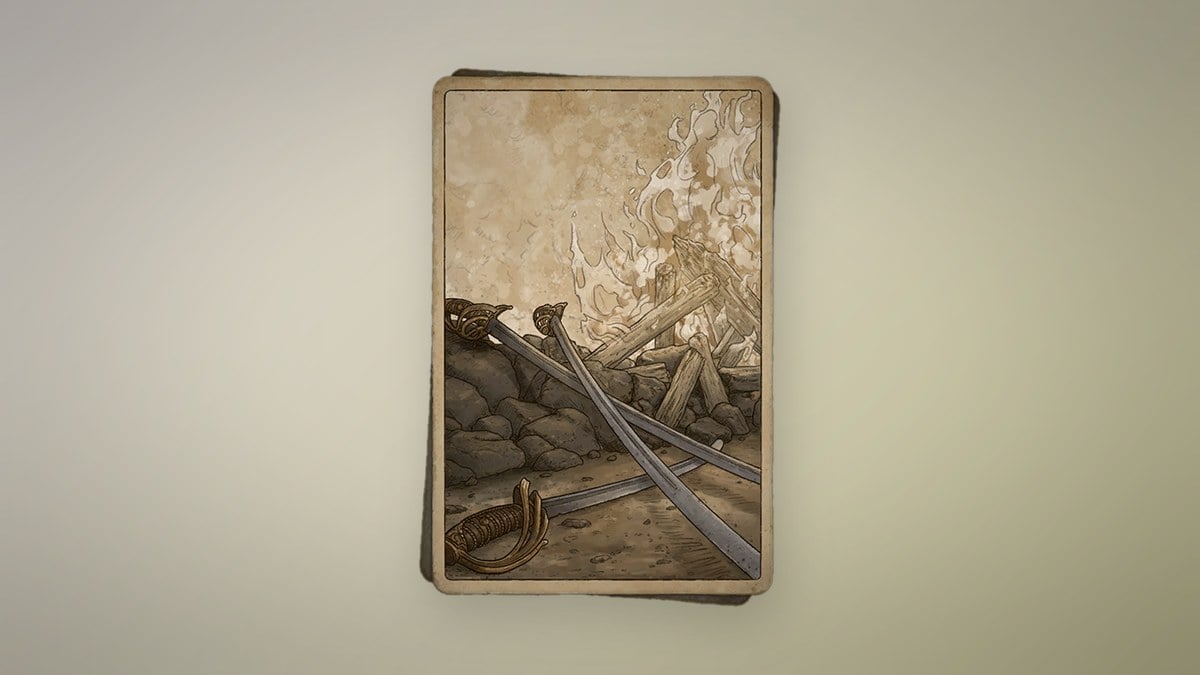
The Claymore is a two-handed greatsword in Valor Mortis, which means both hands stay on the weapon and you give up the ability to hold a firearm or a second Transmutation. You also give up parrying entirely. In exchange, you get heavy physical strikes that can channel Nephtoglobin-infused attacks, and that trade-off defines how the whole build works: you stay in the enemy’s face, burn everything around you, and heal off your own aggression.
Quick answer: Equip Butcher’s Carnage to heal on melee hits, slot the Fire Transmutation for Ignite, and upgrade both weapons toward Brittleness and Never-Ending Inferno so every swing burns and refills your Health.
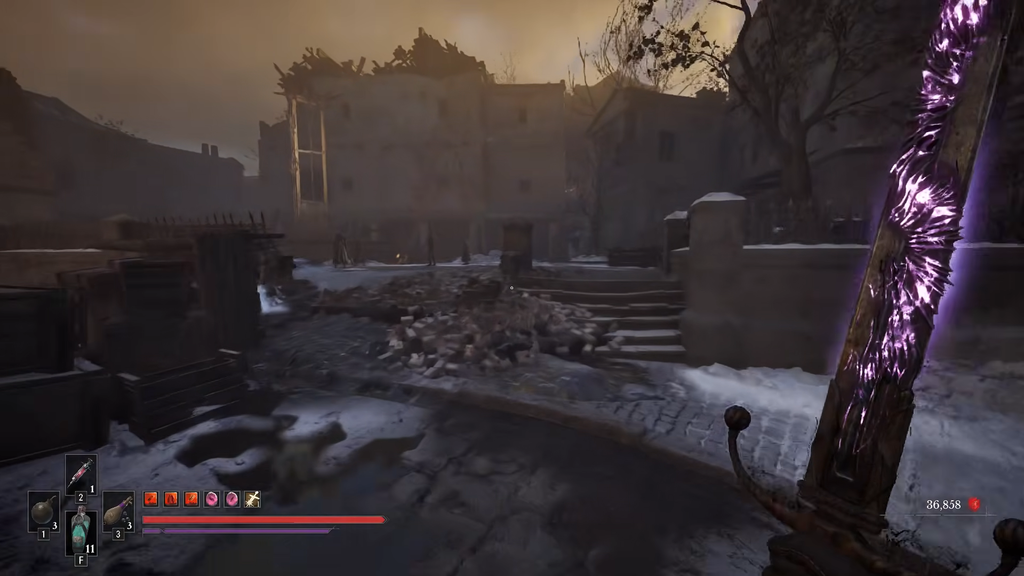
How the Claymore plays
This is a close-range weapon built to overpower enemies rather than out-finesse them. Standard swings are slow but hit hard, and a heavy attack charges in 0.5 seconds. Its real identity comes from the attack multipliers: backstabs and critical attacks both deal 10x damage, a plunge attack lands 5x, and a perfect dodge attack doubles your output. Because you cannot parry, your defensive game runs entirely through blocking and dodging, so the build leans on effects that make both of those safer.
At level 1, each Claymore hit deals 50 damage and 15 posture damage. It also has Ignite and Stasis values, since it can emit a Transmutation wave. Tap the skill button to launch a Burning Wave; keep it pressed to cast its Wave of Stasis. This build focuses on fire, so Fire Transmutation does the main work alongside your attacks.
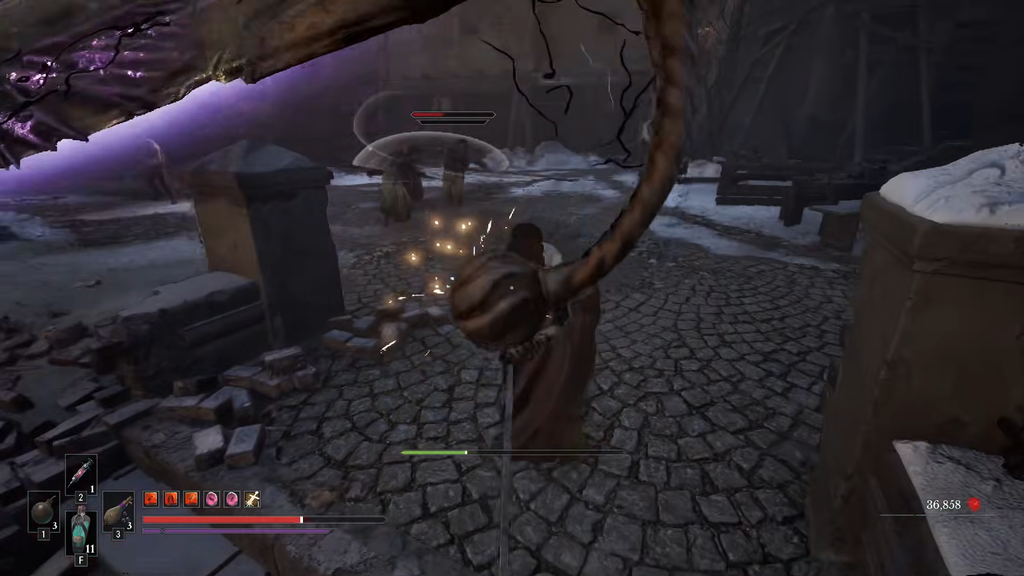
Where to get the Claymore and how to upgrade it
You obtain the Claymore from a chapel in Cursed Hollow. It is granted automatically as you advance through Chapter VI: Punishment, so a normal playthrough won’t let you miss it. After it joins your kit, every upgrade is available at James’s Iron Bench in the Abandoned Church.
The Claymore climbs to a maximum level of 10, moving from 50 damage up to 100 damage. Each level needs Blade Materials, and the tier of material rises as you go. The full cost per level is below.
| Level | Damage | Material |
|---|---|---|
| 2 | 60 | Crude Blade Material x1 |
| 3 | 70 | Crude Blade Material x2 |
| 4 | 75 | Crude Blade Material x3 |
| 5 | 80 | Pure Blade Material x1 |
| 6 | 84 | Pure Blade Material x2 |
| 7 | 88 | Pure Blade Material x3 |
| 8 | 92 | Distilled Blade Material x1 |
| 9 | 96 | Distilled Blade Material x2 |
| 10 | 100 | Quintessential Blade Material x1 |
Crude Blade Material sells for $1,500 at James’s Iron Bench and is common in the world. Pure Blade Material costs $3,000. Distilled Blade Material costs $6,000 and drops from the Risen Duellist in The Outskirts. Quintessential Blade Material is not sold; you find it in chests in the Fortress and The Outskirts, and you only need one to reach level 10.
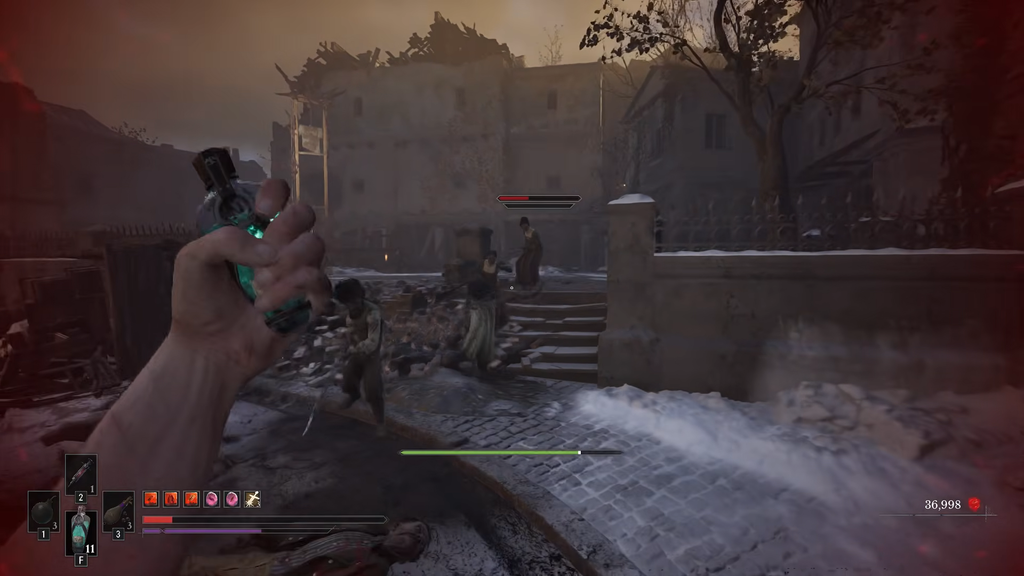
Claymore weapon effects to pick
Leveling the Claymore unlocks effects at set thresholds, and most of them keep you alive while you stay glued to the enemy. These are the ones that matter for an aggressive fire build.
- Rampage (level 2) — Landing attacks builds Rampage. Spend it to boost the damage of your next Heavy Attack or to cut the cost of your next Nephtoglobin Transmutation. After roughly seven hits you unlock a free Transmutation attack, which you spend on fire.
- Willpower (level 5, chosen over Bulwark) — Regenerates Endurance faster while you hold Block, keeping you ready to dodge and swing again. Pick Bulwark instead if explosions and projectiles are killing you.
- Flesh Wound (level 8) — Grants damage reduction while you are attacking, which rewards you for committing to swings rather than backing off.
- Bloodlust (level 10) — Restores Health whenever you spend Rampage, giving you a third healing source on top of your ambers.
Fire Transmutation upgrades for Ignite
You won’t often plant your feet and spray fire, but Fire Transmutation powers the build: it inflicts Ignite, whose burning drains enemy health over time. Two upgrades also make the effect boost your damage and help control foes.
At level 2, choose Brittleness: foes affected by Ignite take heavier hits from your Melee Attacks. This perk is the key to getting the Claymore’s strongest swings against burning opponents. Pick Never-Ending Inferno at level 5; each melee strike extends Ignite’s timer, keeping the burn active as long as you continue attacking. Back-Burner is also worthwhile at level 3, increasing damage and status buildup with extended use.

The Fire Transmutation maxes at level 5, costing Transmutation Materials rather than Blade Materials, and the final upgrade uses one Quintessential Transmutation Material found in chests at the University and Fortress.
Best ambers for the Claymore
The amber loadout is where this build commits fully to aggression. The core choice is dropping flask healing in favor of healing through combat itself.
- Butcher’s Carnage — Landing Melee Attacks restores Health, but you lose the ability to heal with Ferrofluid Flasks. It’s a steep tradeoff and central to this build. Find it in chests in The Battlefield, Vale of Wrath, and The Outskirts.
- Life Diverted — With this effect, Nephtoglobin is replenished by your Ferrofluid Flasks, while part of the damage dealt by Transmutation comes back as Health. That restores the healing your fire attacks lost when Butcher’s Carnage took it away.
- Fire Breathing — Burns nearby enemies and triggers Ignite. Follow a Fire Transmutation hit with this against enemies that resist catching fire on their own.
- Lunatic’s Grasp — Builds Ignite on enemies faster, so you reach the burning state sooner and heal and hit harder as a result. It feeds both Fire Breathing and Payback.
- Payback — Triggers a large Stasis explosion when your HP drops low. Paired with Lunatic’s Grasp it can freeze most enemies outright, giving you a safety net while you play recklessly.
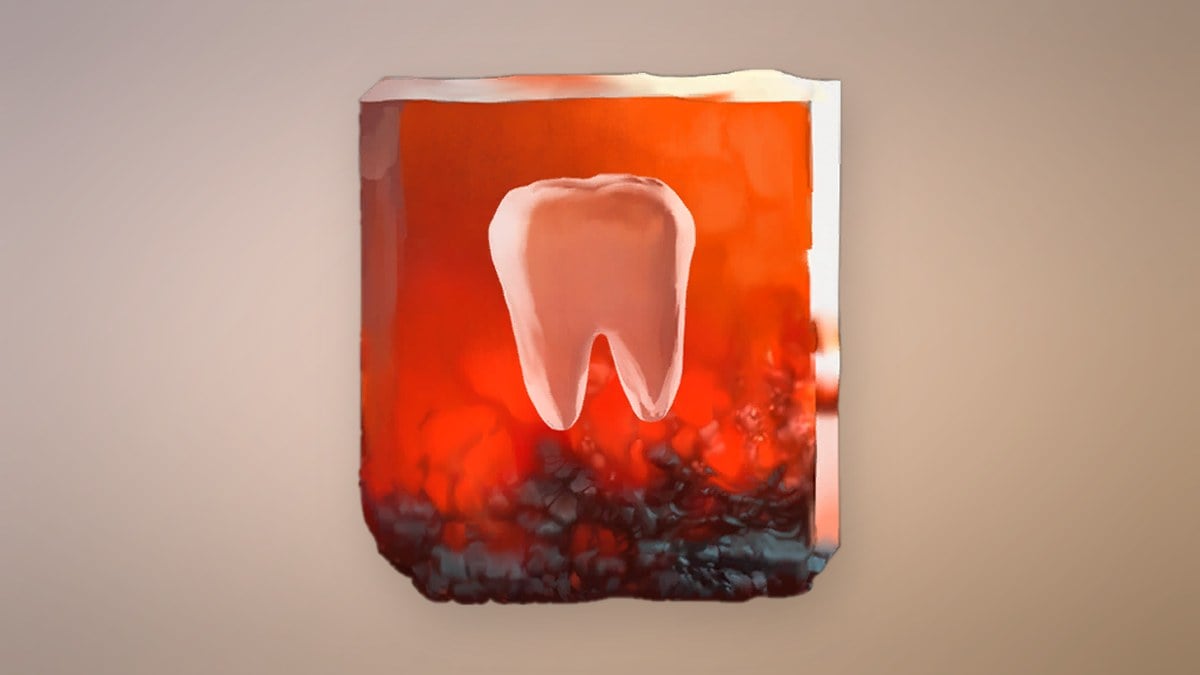
Because two of your ambers heal you through combat, pour levels into Healing Effectiveness so each hit and each siphon returns more Health.
Stats to level first
Spend Catalysts on survivability and melee output before anything else. Prioritize these stats roughly in this order:
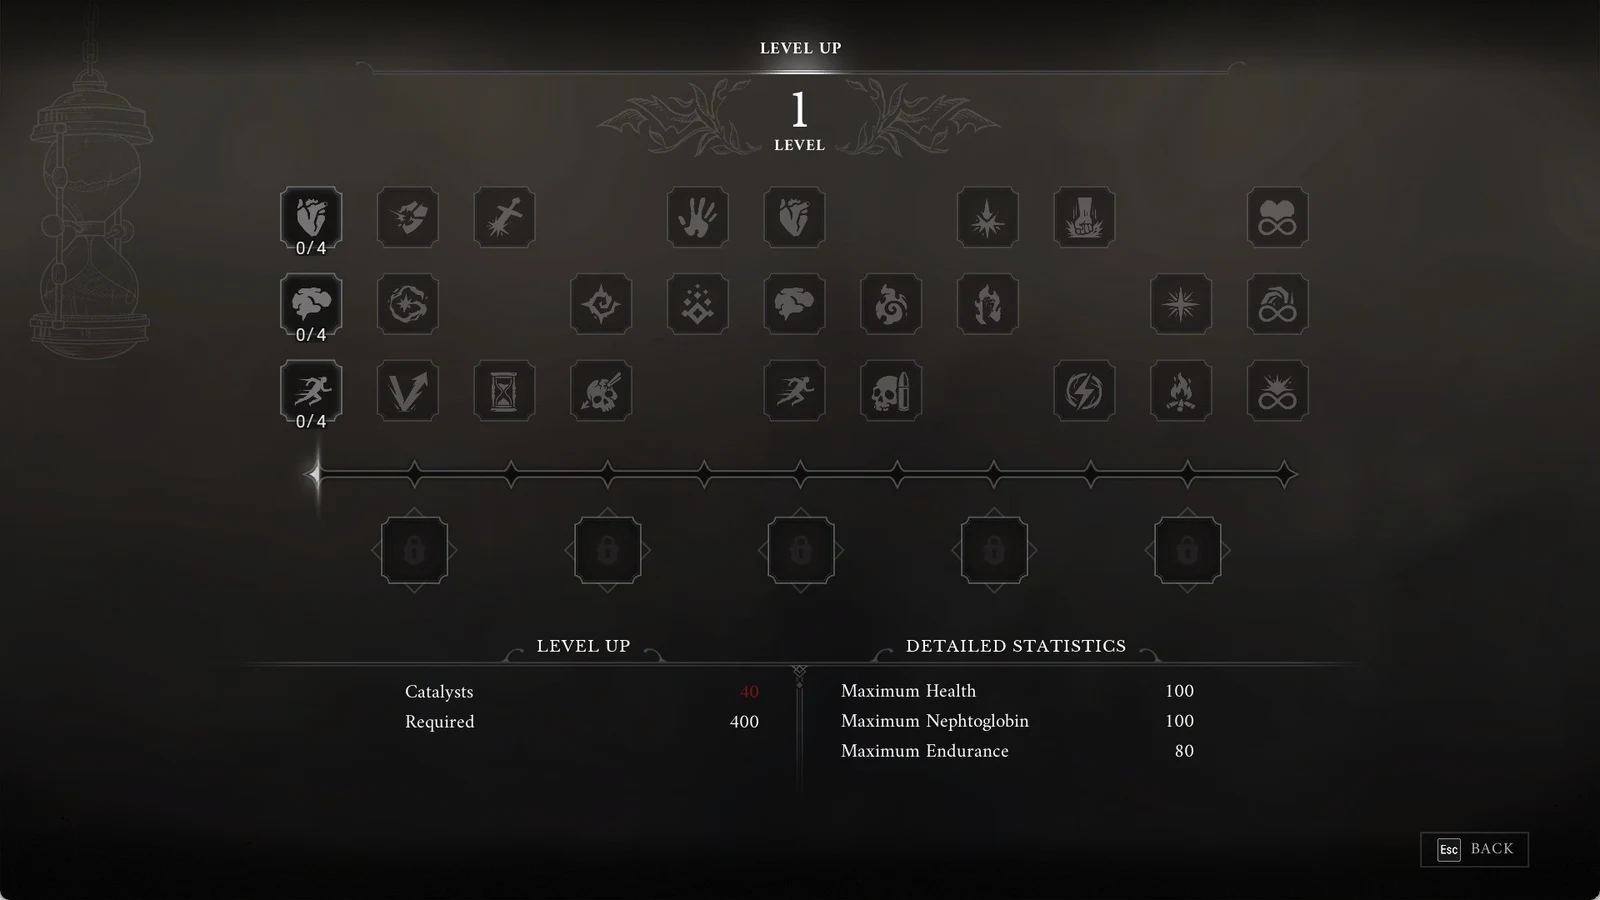
- Maximum Health
- Nephtoglobin Sufferance
- Maximum Endurance
- Blocking
- Melee Damage
- Melee Endurance Cost
- Status Buildup
- Transmutation Damage
- Physical Resistance
- Endurance Regeneration
- Healing Effectiveness
Status Buildup and Transmutation Damage both feed Ignite, while Melee Damage and the Endurance stats keep your swings landing without running you dry. Against tougher enemies and bosses, use Flaming Whetstones so every hit builds Ignite even on targets that resist it.
How to play it, and how to know it is working
The loop is simple once everything is slotted. Open with a Fire Transmutation hit or a Fire Breathing dash to set enemies alight, then wade in with Claymore swings. Brittleness means those swings hit harder against burning targets, Never-Ending Inferno keeps the burn alive as you chain attacks, and Butcher’s Carnage ticks your Health back up with every connection. Build Rampage as you go, then cash it out on a free fire Transmutation to re-light the room.
You know the build is online when enemies show the Ignite status and your Health bar climbs as you swing instead of draining. Floating damage numbers against burning enemies should be noticeably higher than against fresh ones, which confirms Brittleness is applying. If your HP drops to the danger zone and a Stasis explosion freezes the group around you, Payback has done its job and bought you the window to heal back through melee.