The Lost Boy is a short side quest in Valor Mortis that opens in Wolfsbane Field, the first Lantern area of Chapter 5 (Crime) in the Vale of Wrath. It follows Mirek, a young man who left home to fight for the resistance and never returned. The full loop takes place in one area, but the route to his body runs through a hidden crawlspace that is easy to miss. The game also has no map, so you navigate by landmarks seen from the Lantern.
Quick answer: Read Mirek’s Note in the Wolfsbane Field house, take the Cellar Key from his body in the cave to the north, then unlock the cellar marked with the bird symbol and read the note on the desk.
Before you start The Lost Boy
The quest becomes available as soon as you reach Wolfsbane Field in Chapter 5. It has four journal entries and a single ending, with no choices along the way. A few things make the run smoother.
- The Grapple ability, which you need to cross the gaps at the cave entrance and inside it.
- A Cleansing Vial or two, since a fire-based elite in the cave can set you alight.
- Hand grenades, which drain the elite’s health quickly.
- A firearm for the red glowing bulb that opens a shortcut back to the Lantern.
How to start The Lost Boy in Wolfsbane Field
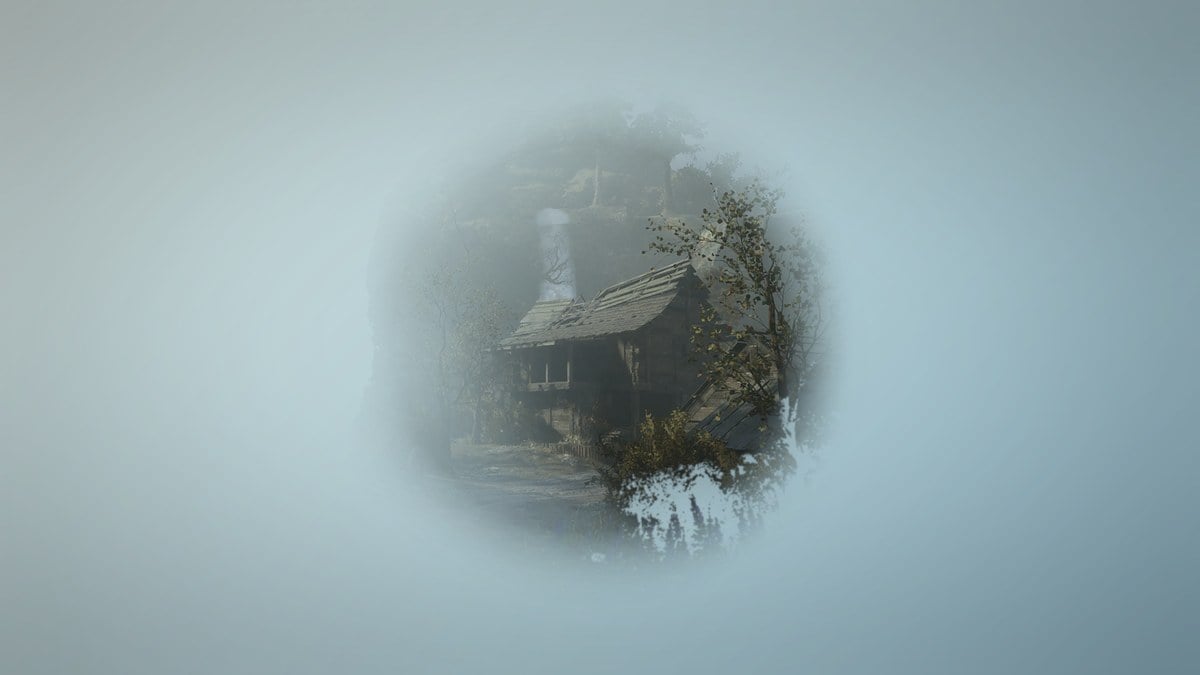
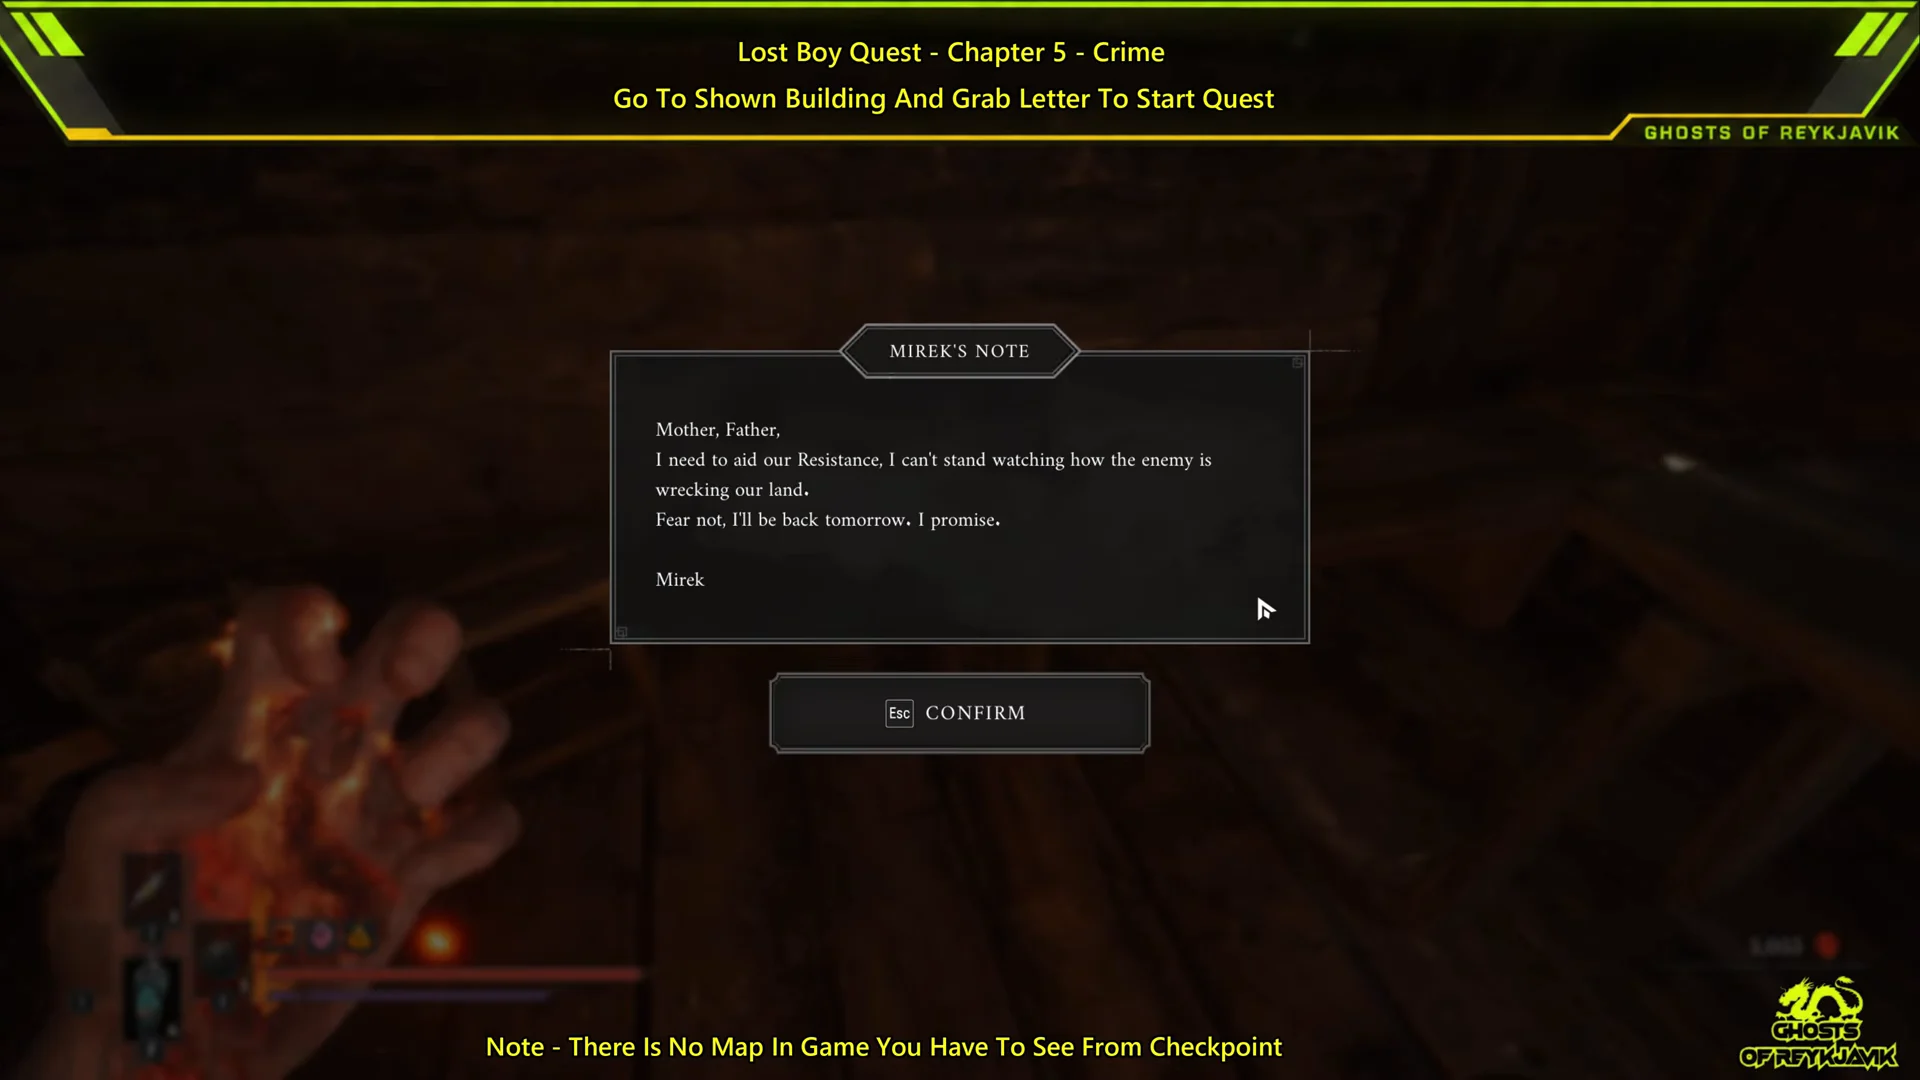
Mirek’s note is a farewell to his parents: he says he’s joining the resistance to help and expects to return the next day. Before departing, you can optionally go upstairs to view a blue Echo of his parents. The scene shows that he’s been gone for four days and introduces the Shrike, whom Mirek’s father regards as the villagers’ protector.
Where to find Mirek and the Cellar Key
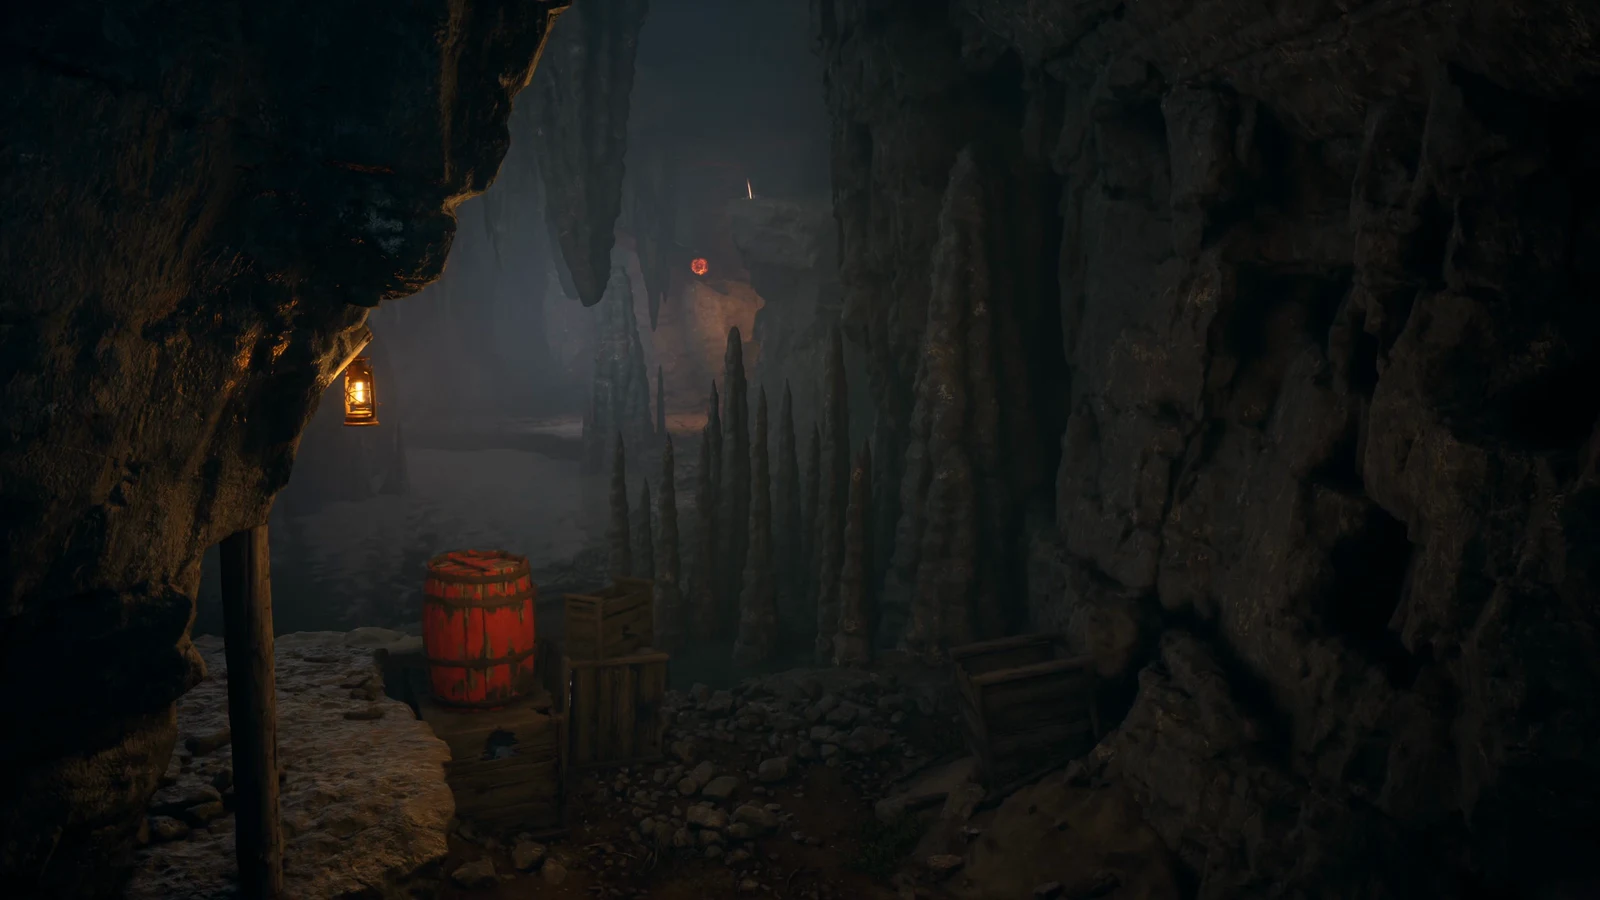
Mirek’s body lies in a cave north of the house, on the far side of the water. The quest gives you no marker, so follow the main road and its bridges around the river.
Reaching the cave
Beating the flaming elite
The platform holds a Red Eye Sapeur. His glowing slam leaves a small patch of fire, and he periodically summons phantoms that lob fire bombs at you. Those bombs hit hard and apply Ignite, which a Cleansing Vial removes. The fight goes quickly if you throw grenades or open with Stasis followed by the Blunderbuss. Defeating him drops the Equivalent Exchange Amber.
The hidden crawlspace and Mirek’s body
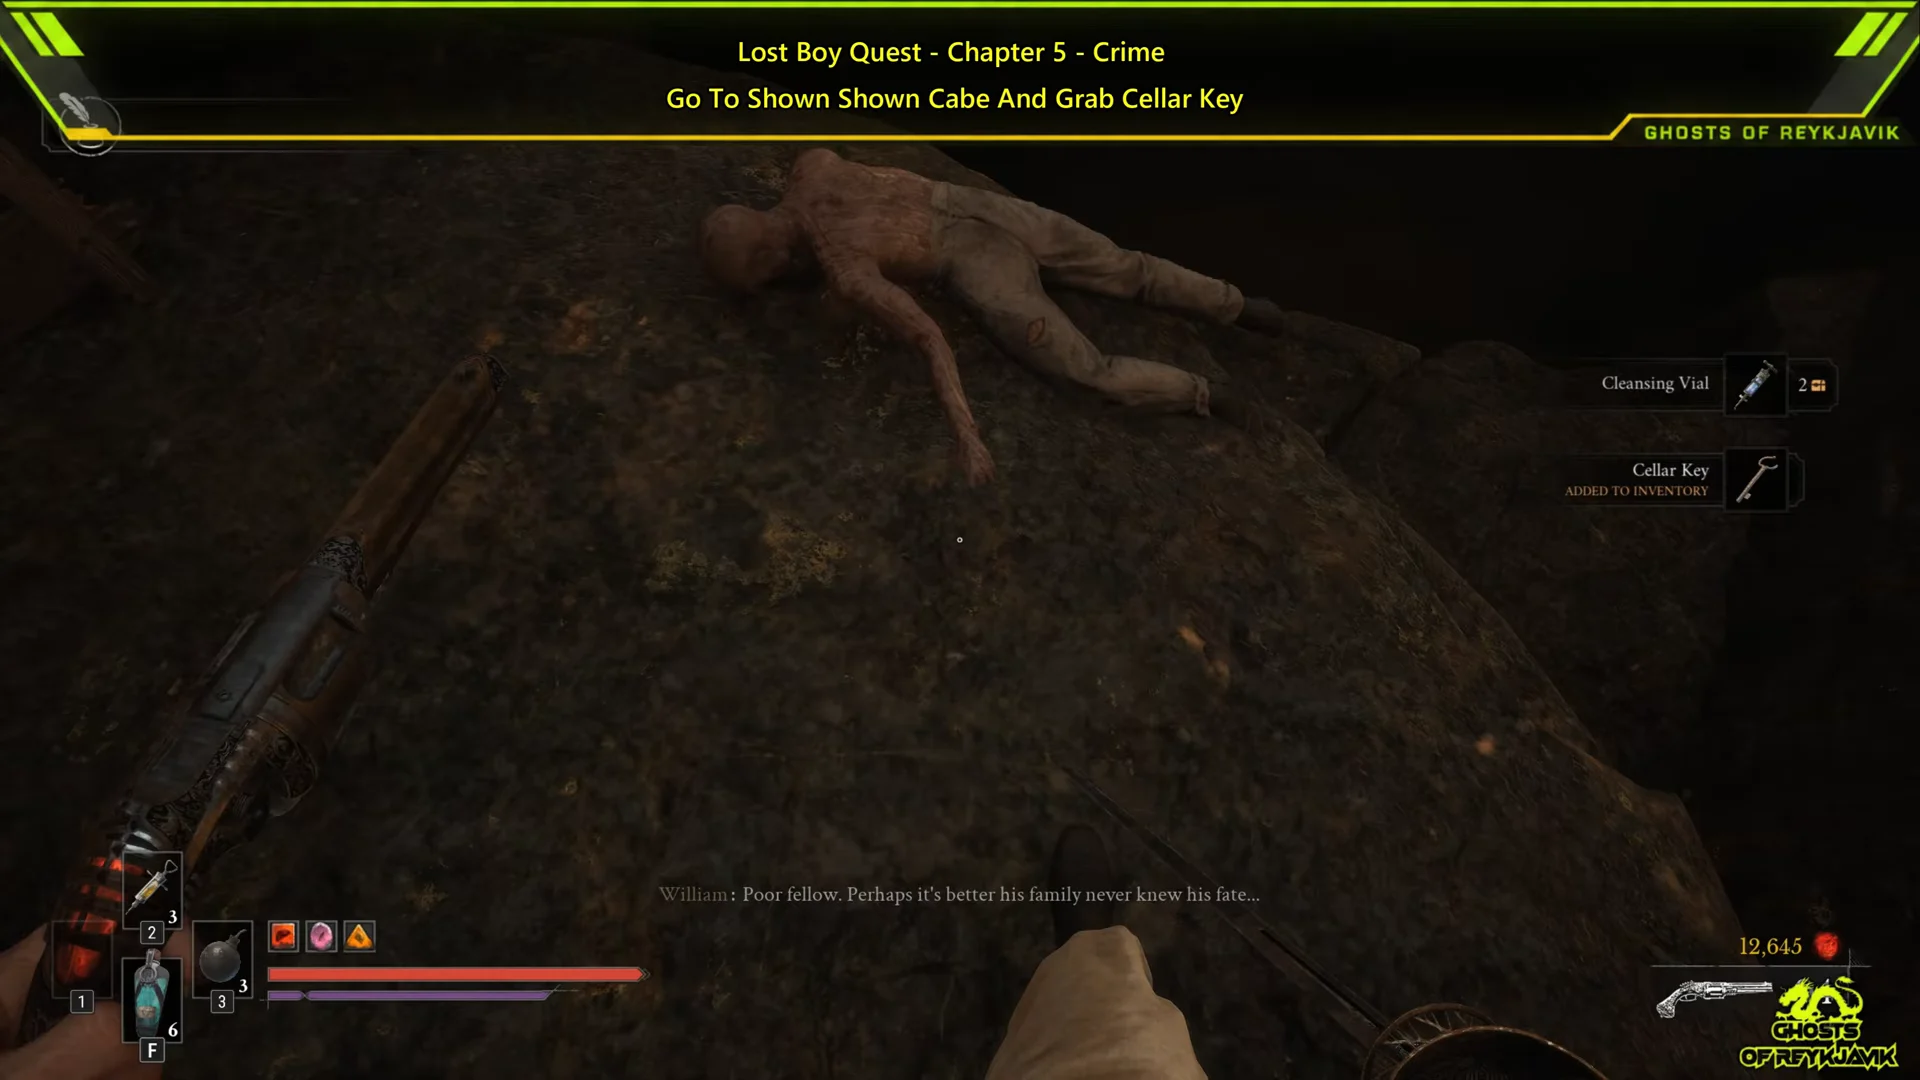
Unlock the cellar to complete The Lost Boy
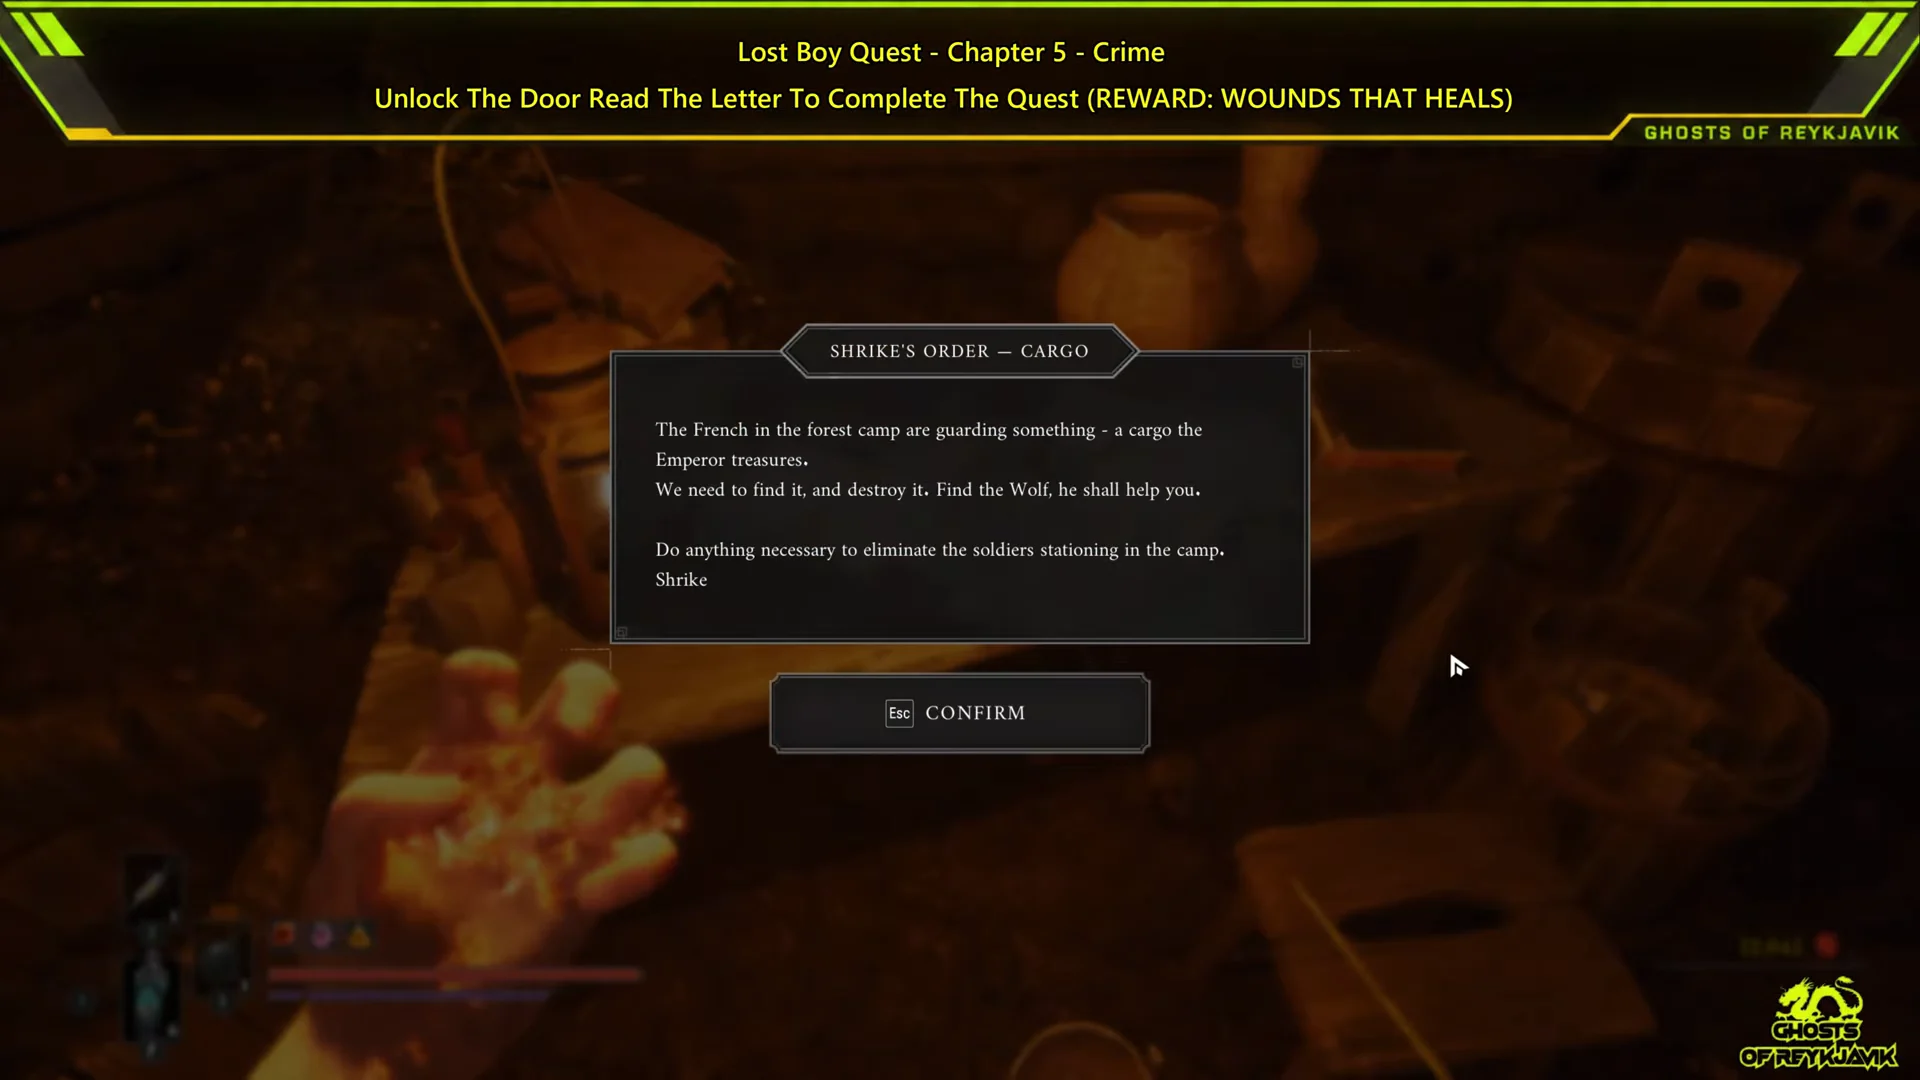
You know it worked when the Quest Complete banner appears and William comments, “A guarded cargo? This is what the rebels were after.” In the journal, The Lost Boy moves from Active to Completed, and its last entry explains that the rebels were following the Shrike’s orders to poison the water at a nearby army camp so they could intercept a valuable shipment.
The Lost Boy journal entries and quest items
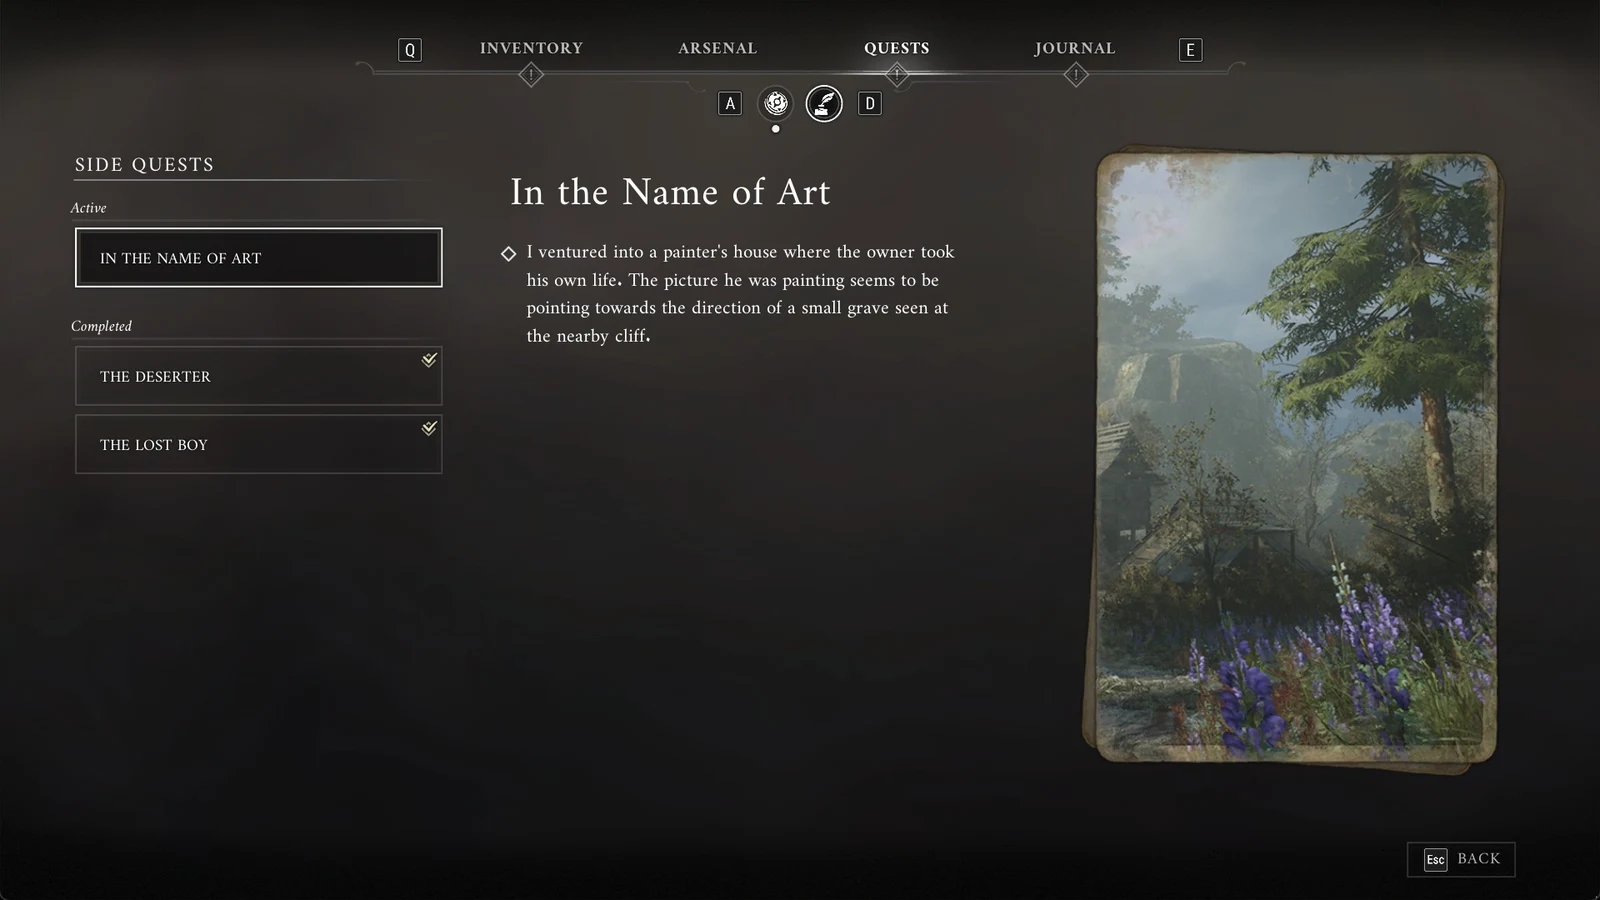
Each of the quest’s four journal entries matches a specific action, so the journal is a reliable way to check where you are.
| Entry | Triggered by | What the journal says |
|---|---|---|
| 1 | Reading Mirek’s Note | A young man left to join the resistance |
| 2 | Finding the locked cellar | A bird symbol guards the door; a key is needed |
| 3 | Taking the Cellar Key | Mirek fell from a cliff in the cave |
| 4 | Reading the cellar note | Rebels targeted an army camp’s cargo |
The third entry also notes that Mirek seems to have been part of the plan to poison the local water intake. The quest uses three items, all found in the Vale of Wrath.
| Item | Type | Where |
|---|---|---|
| Mirek’s Note | Note | Bench in Mirek’s house |
 Cellar Key | Key | Beside Mirek’s body in the cave |
| Shrike’s Orders — Cargo | Note | Desk in the cellar |
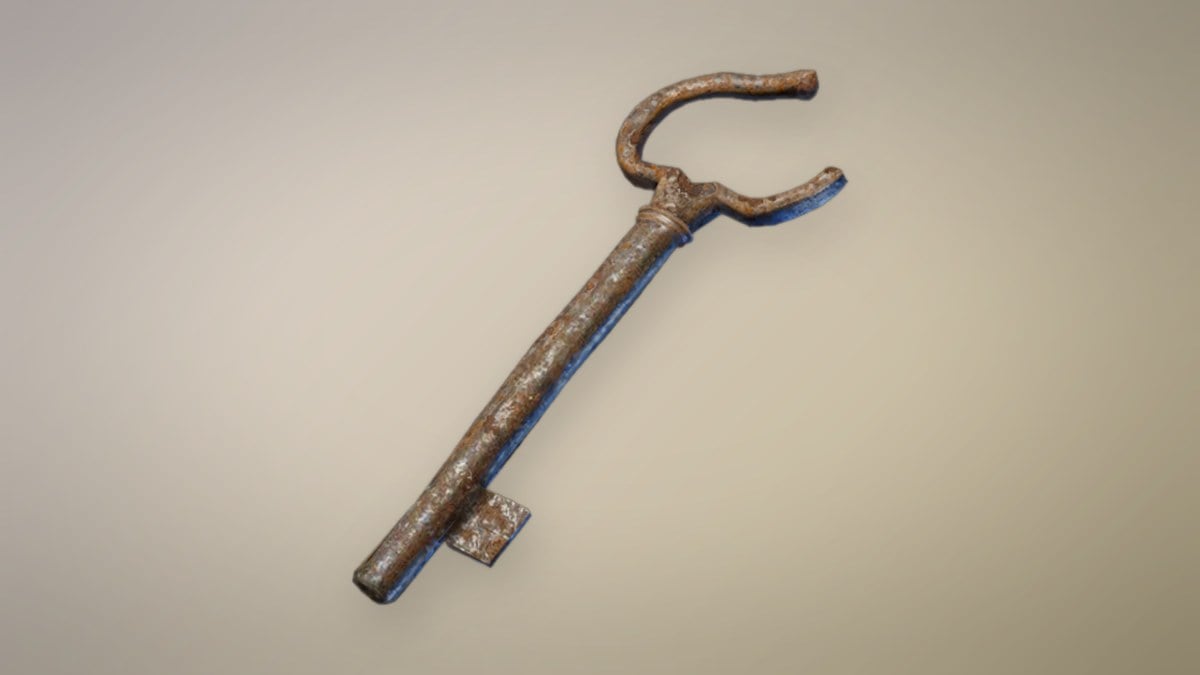
The Cellar Key is an iron key with a rough finish, and it unlocks only the cellar below Mirek’s home.
Loot along The Lost Boy route
Most of what you get from The Lost Boy comes from the cave chest and the cellar chest, plus the elite’s drop.
| Reward | Where | Quantity |
|---|---|---|
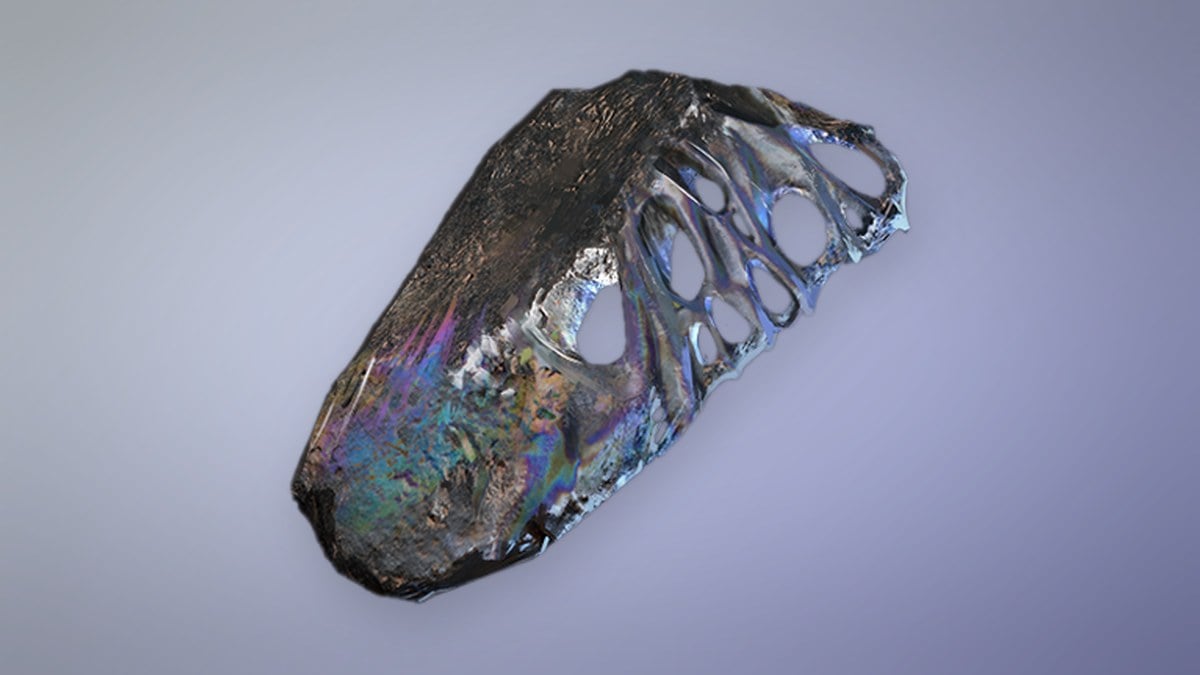
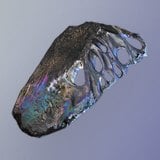 Pure Blade Material | Cave chest past the crawlspace | 1 |
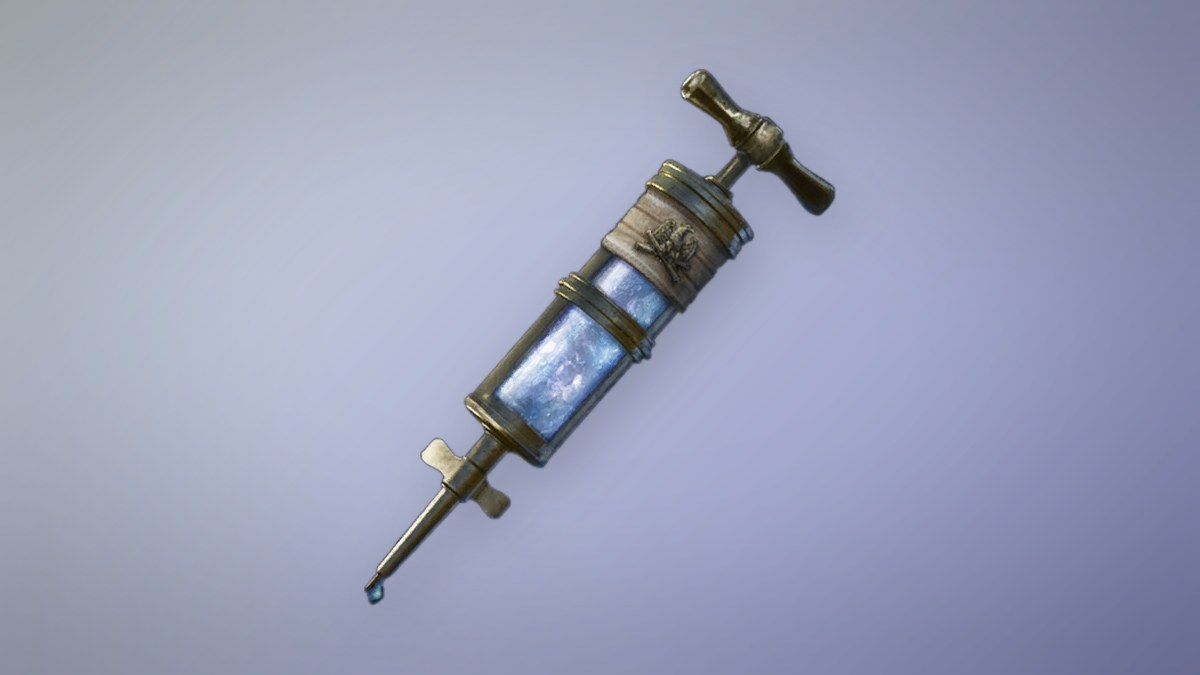
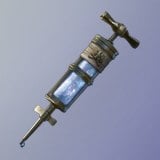 Cleansing Vial | Cave chest past the crawlspace | 2 |
| Equivalent Exchange Amber | Red Eye Sapeur drop | 1 |
| Wound that Heals Amber | Cellar chest beside the desk | 1 |
Pure Blade Material
Pure Blade Material upgrades Blades and costs $3,000. A Saber, Rapier, or Claymore requires one at level 5, two at level 6, and three at level 7, so reserve it for the blade you rely on. James’s Iron Bench stocks one starting in Chapter 5 (Crime) and two in Chapter 9 (In Ruins).
Cleansing Vial
A Cleansing Vial clears Ignite and Stasis, which is exactly what the Red Eye Sapeur’s fire bombs inflict. You can carry up to 3. Louis’s Laboratoire sells them from Chapter 5 for 1,200, and they sell back for 400.
Wound that Heals Amber
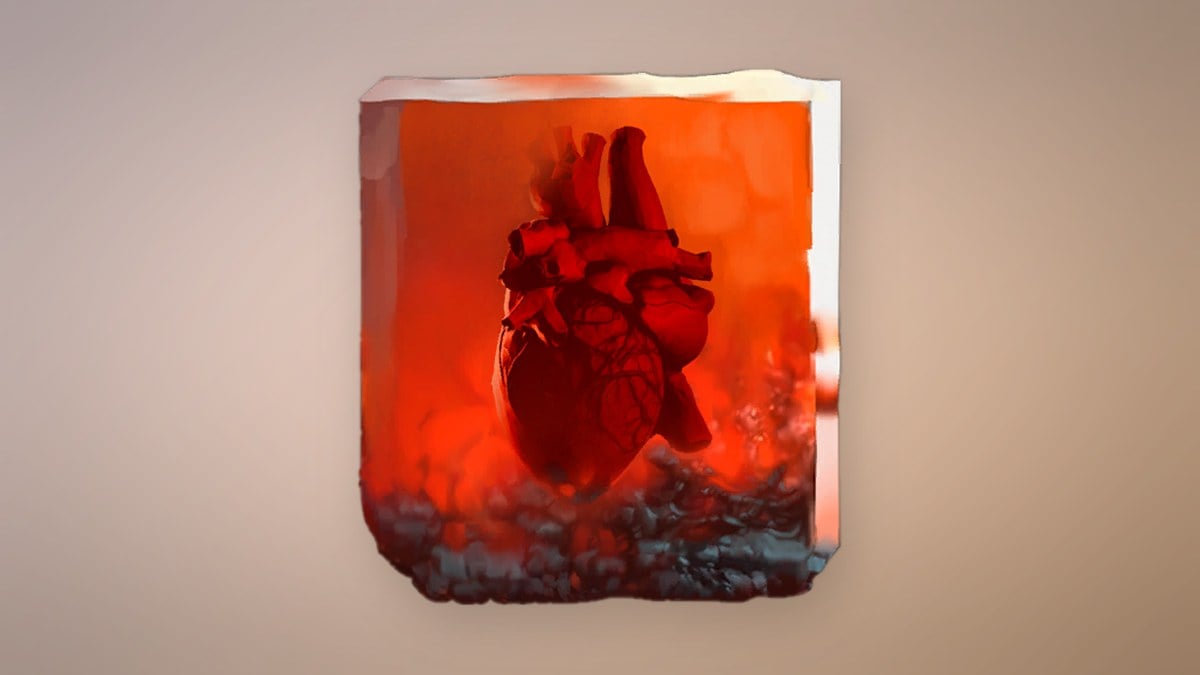
The Wound that Heals regenerates lost Health slowly over time, which means you’ll lean on Ferrofluid Flasks less between fights. It goes up to rank 3, and four copies exist in the game. Besides the cellar chest, copies come from chests in The Battlefield and the Vale of Wrath and from Volunteers in the Vale of Wrath.
The Lost Boy isn’t locked to a time window. If you skip it on your first pass through Chapter 5, you can return to Wolfsbane Field later and finish it, though doing it on arrival saves a trip back.