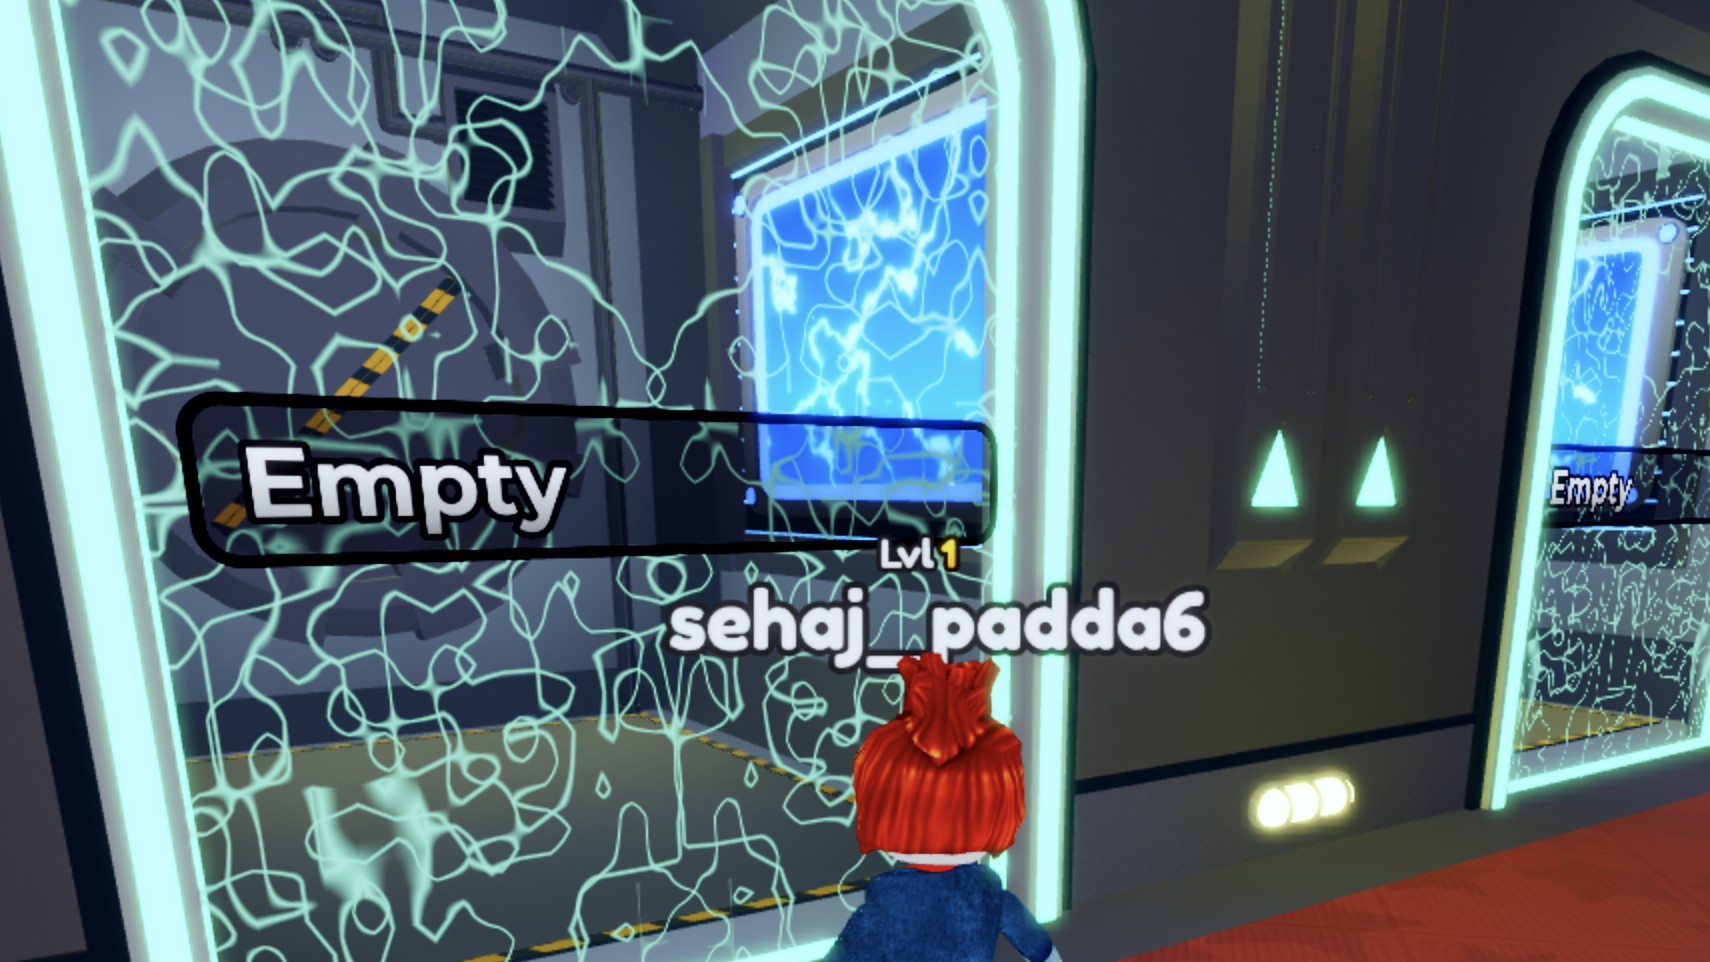
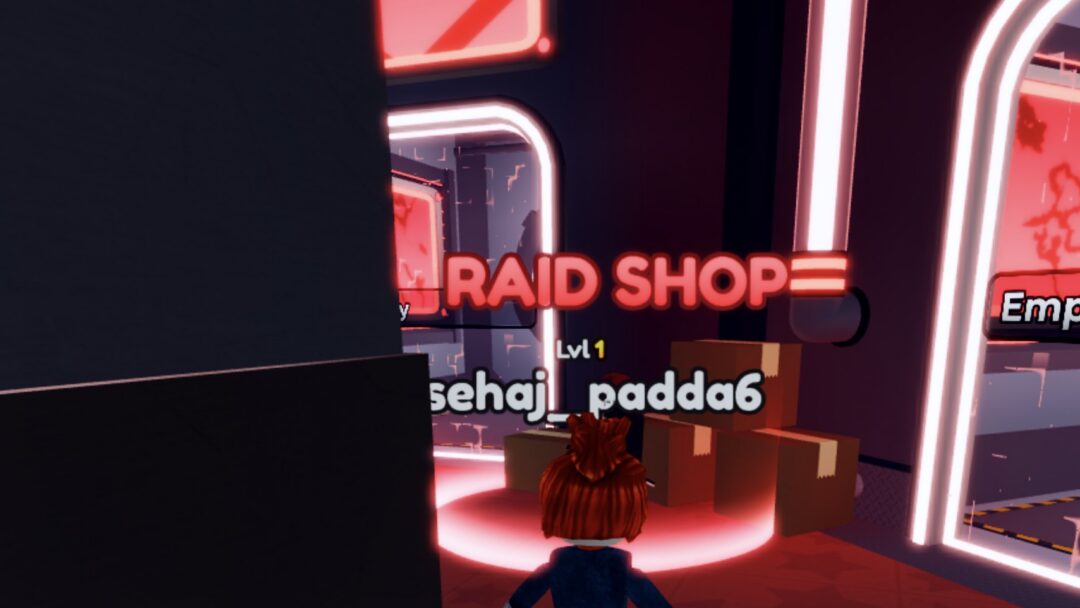
In Chapter 3: Rendezvous of Valor Mortis, Lullaby is an optional, brief task in Fallen Village that takes a single outing. You start inside an empty house, where a bloodstained crib sits amid unexplained crying. To complete the quest, recover the missing toy and return it to its proper spot. Since there is no in-game map, all route instructions use the Marketplace Lantern as their starting point.
Quick answer: Trigger the quest in the house left of the Marketplace Lantern. Take the Weathered Key from its back garden, unlock the lone house across the broken bridge, grab the Toy, and place it in the crib.
Lullaby quest overview and rewards
| Detail | Value |
|---|---|
| Quest type | Side quest |
| Chapter | Chapter 3: Rendezvous |
| Region |  Fallen Village |
| Nearest Lantern | Marketplace Lantern |
| Key item |  Weathered Key |
| Quest item |  Toy |
| Bonus pickup at start |  Flaming Whetstone |
| Completion reward | Tomorrow’s Promise amber, 1,500 currency |
The quest journal has two entries. The first records William finding a cradle that echoes with a baby’s cry and wondering how to calm the spirit. The second appears once the old toy has settled the voice in the crib. There are no choices to make and no boss fight, just a handful of infected villagers along the way.
How to start Lullaby near the Marketplace Lantern
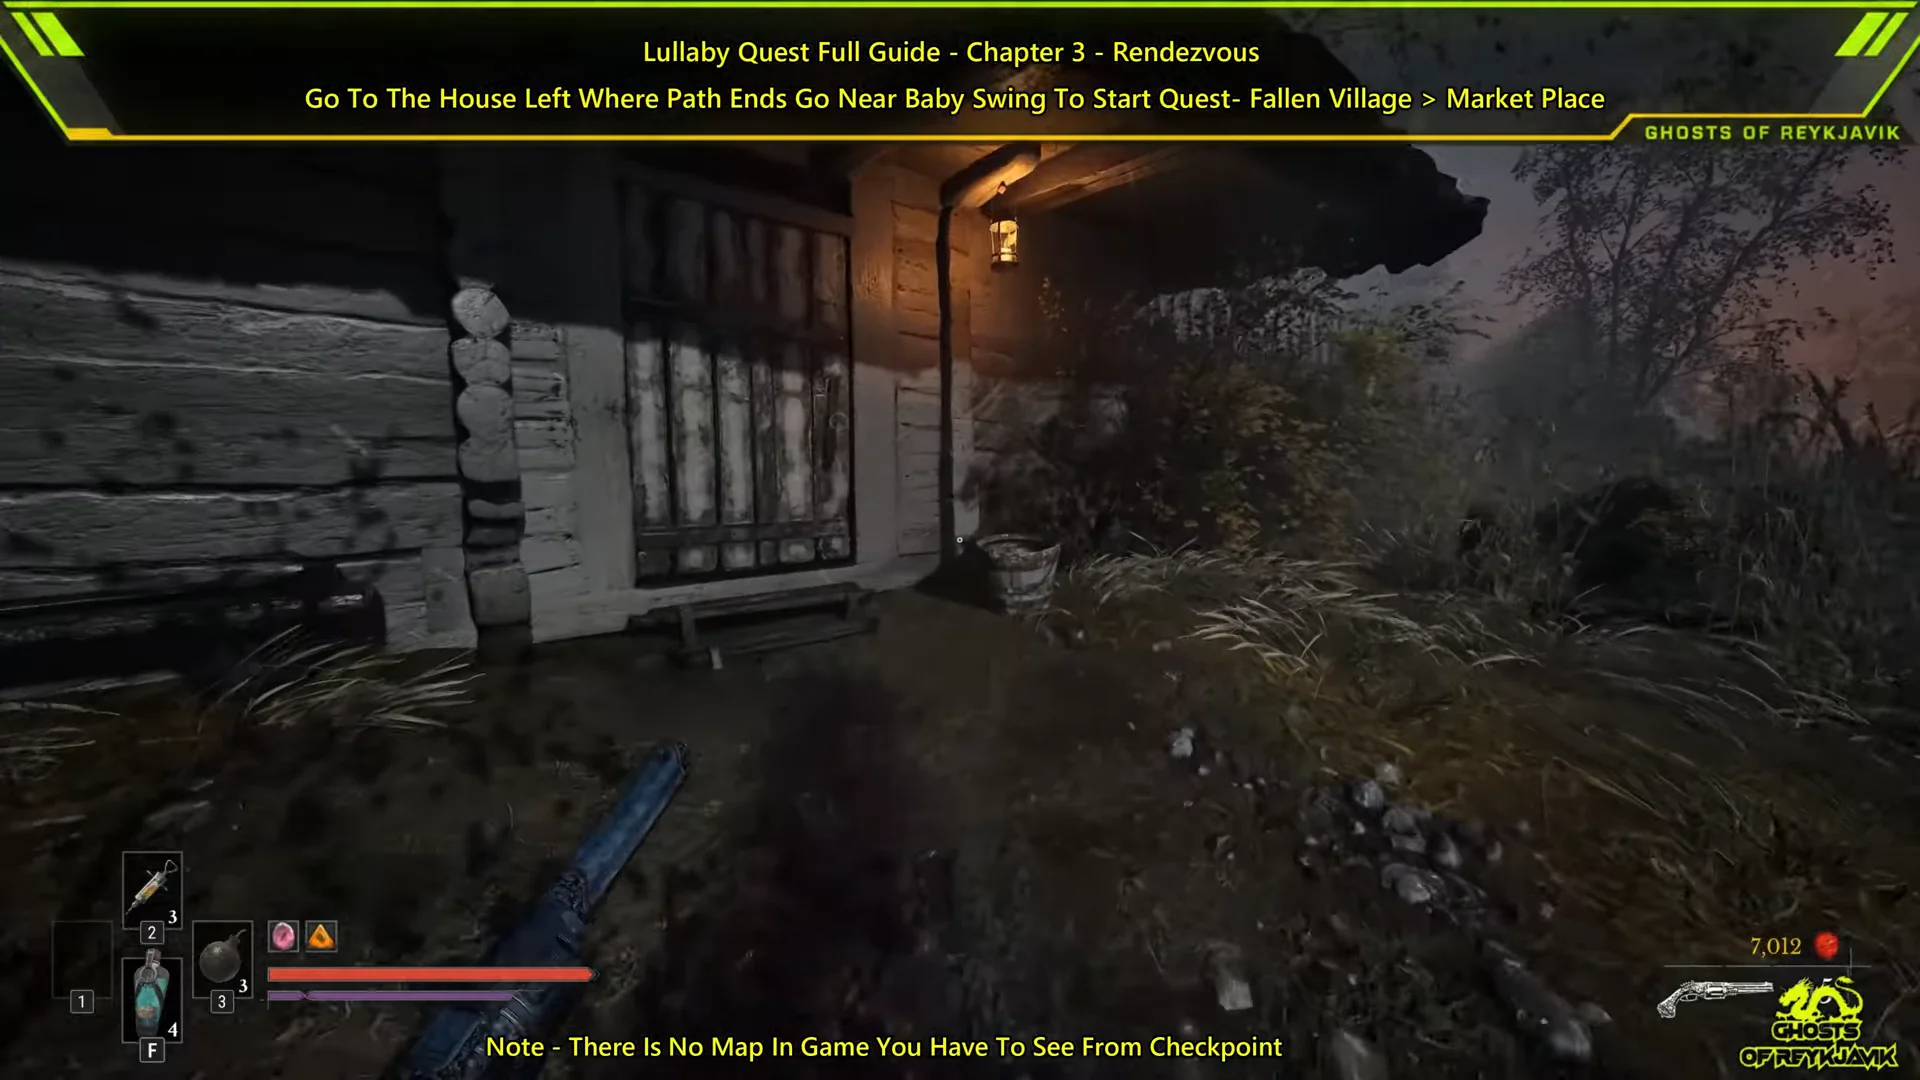
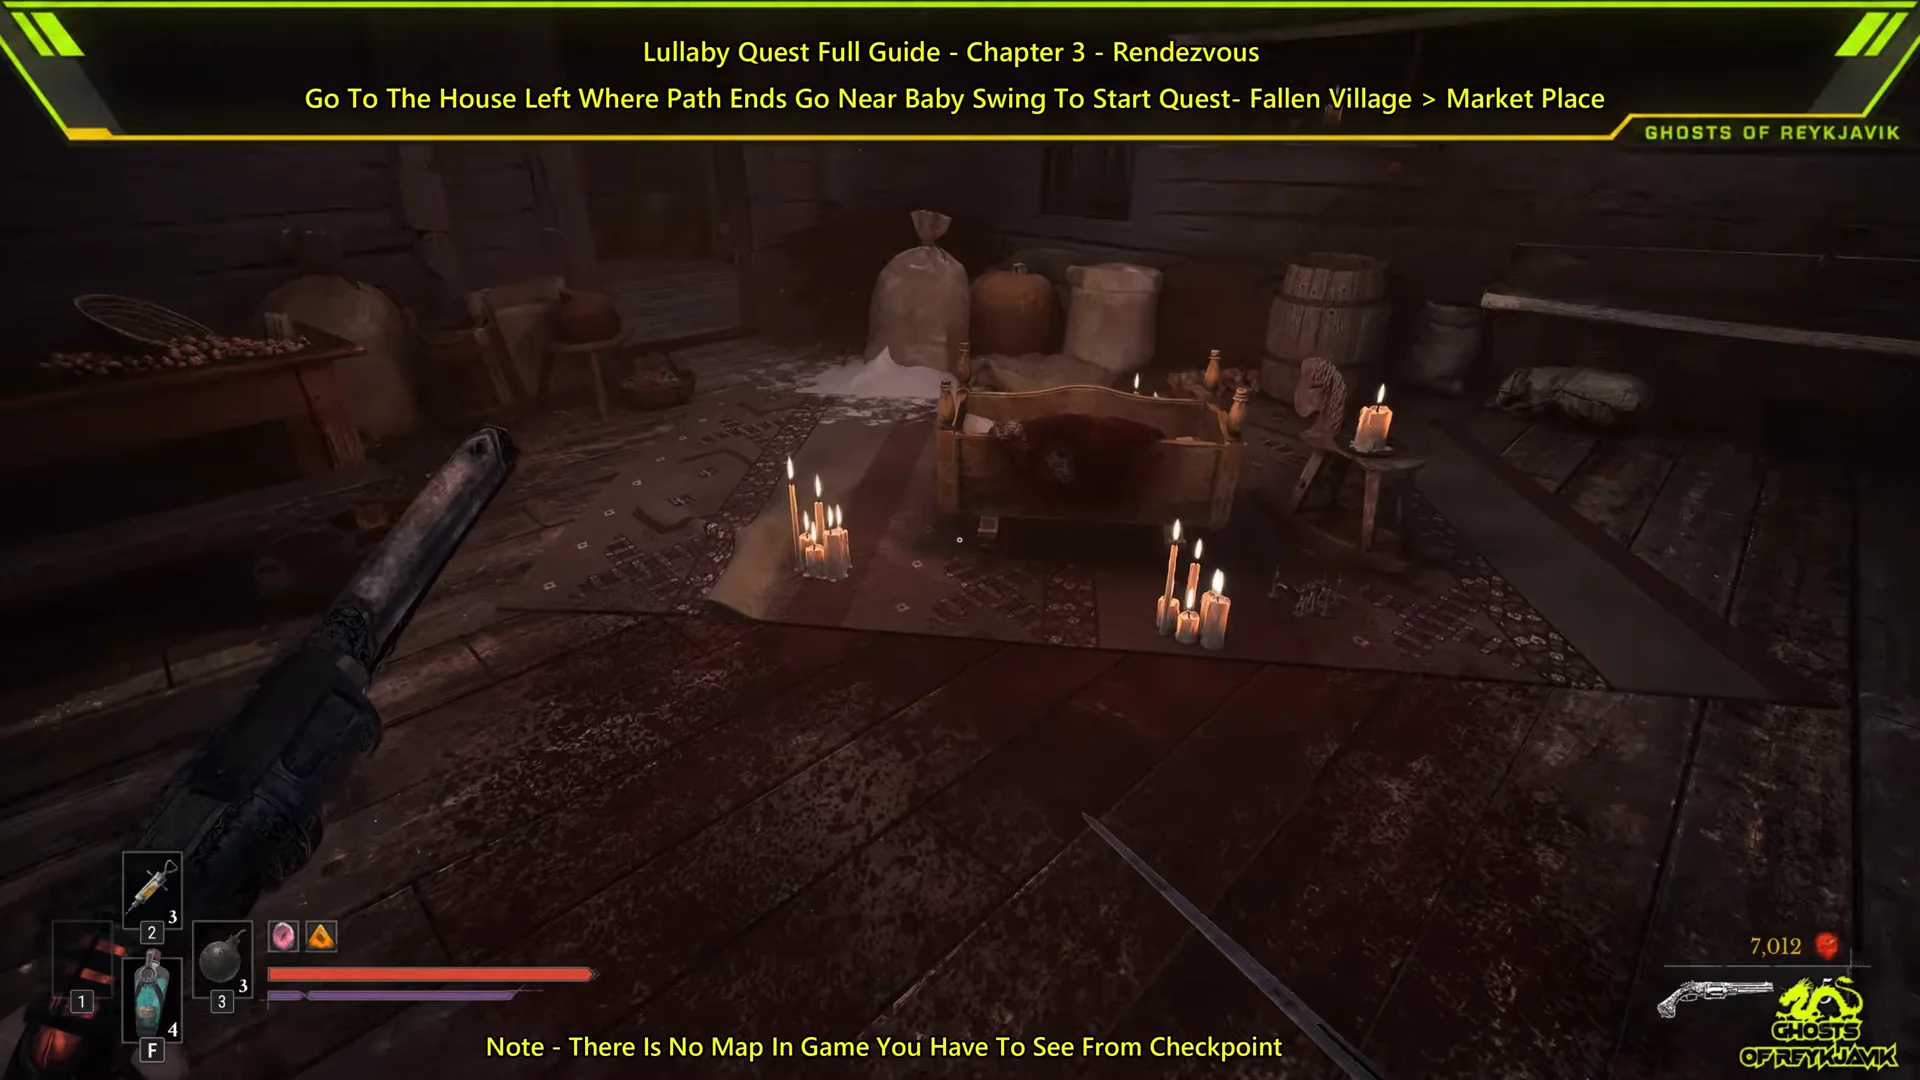
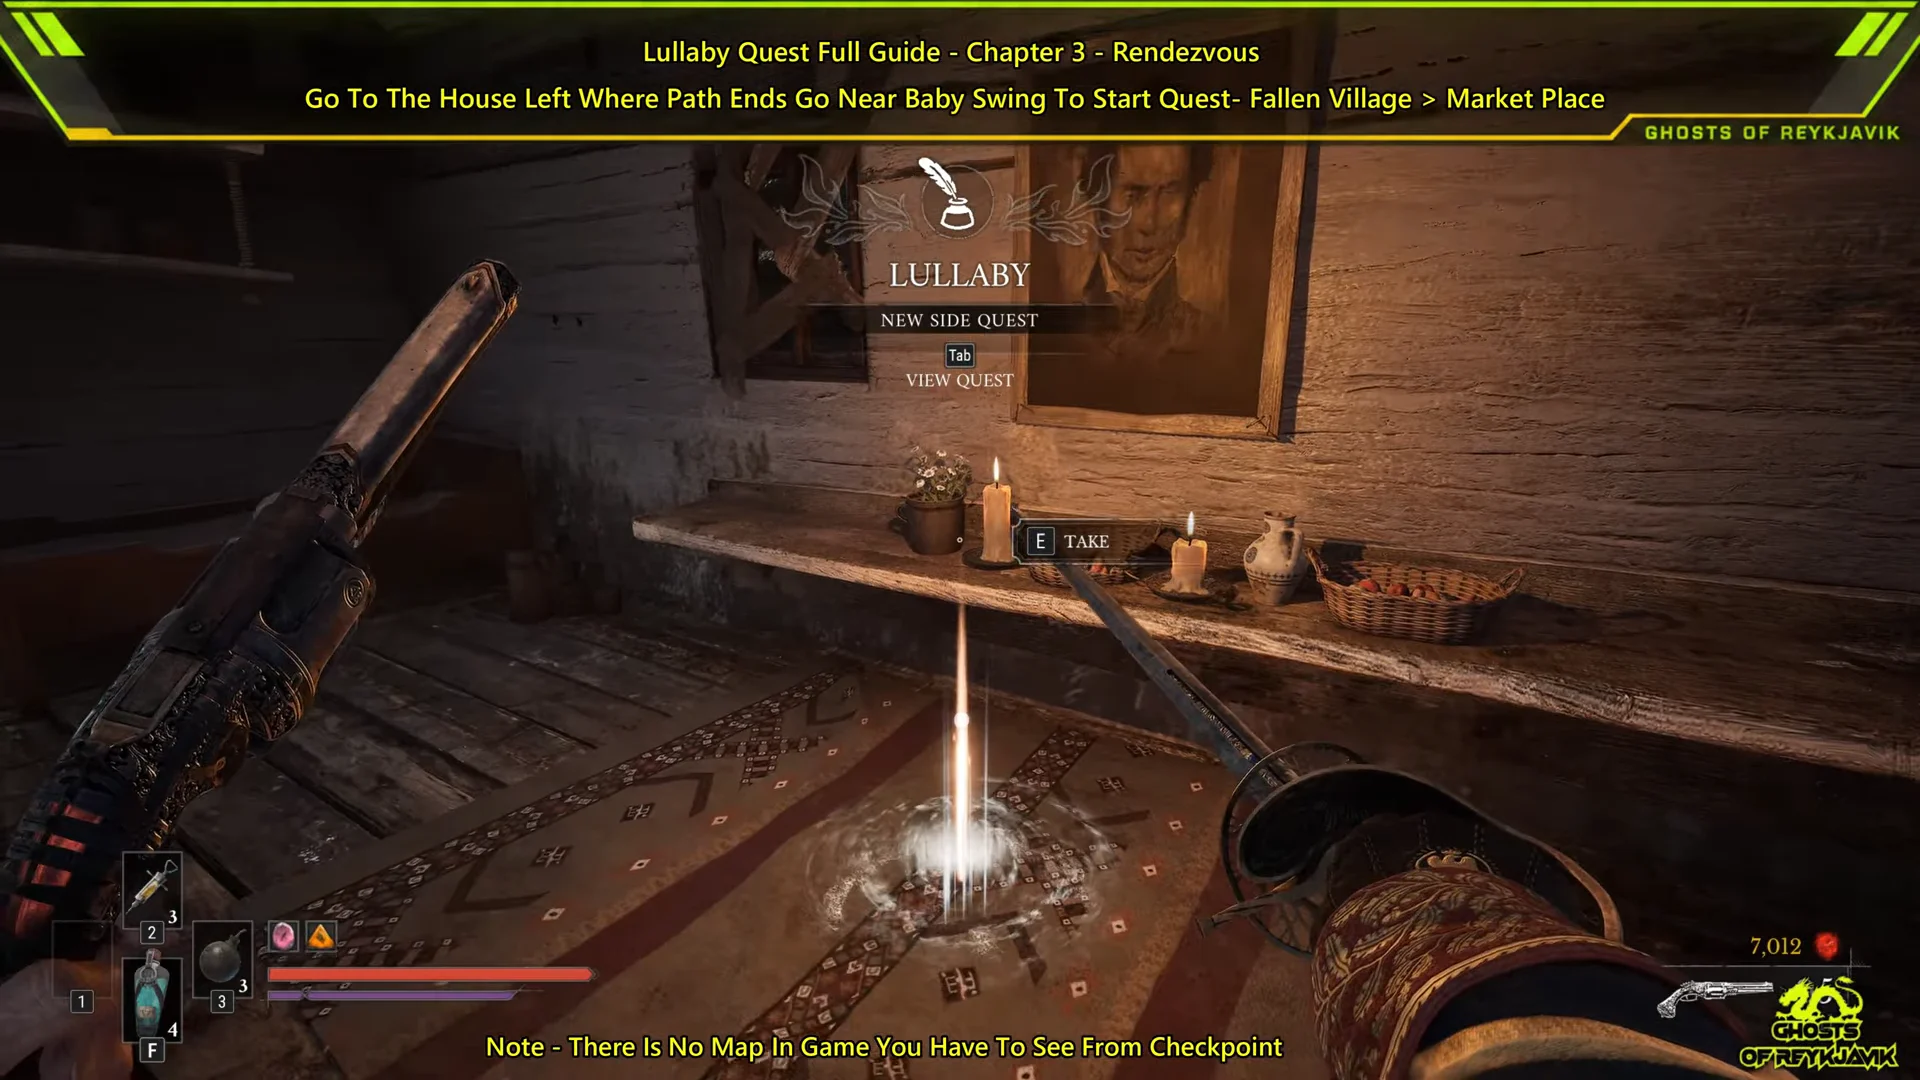
Walking up to the crib alone does not start the quest. Lullaby only shows up in your objectives after you take that glowing pickup in the second room.
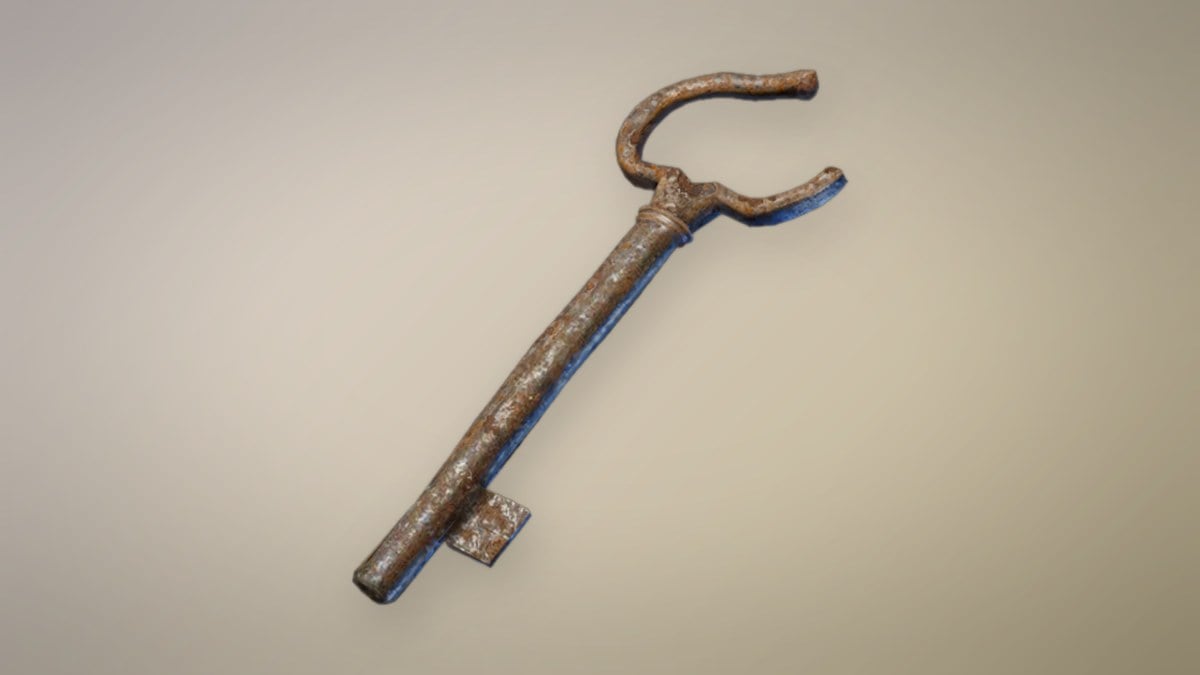
Weathered Key location in the back garden
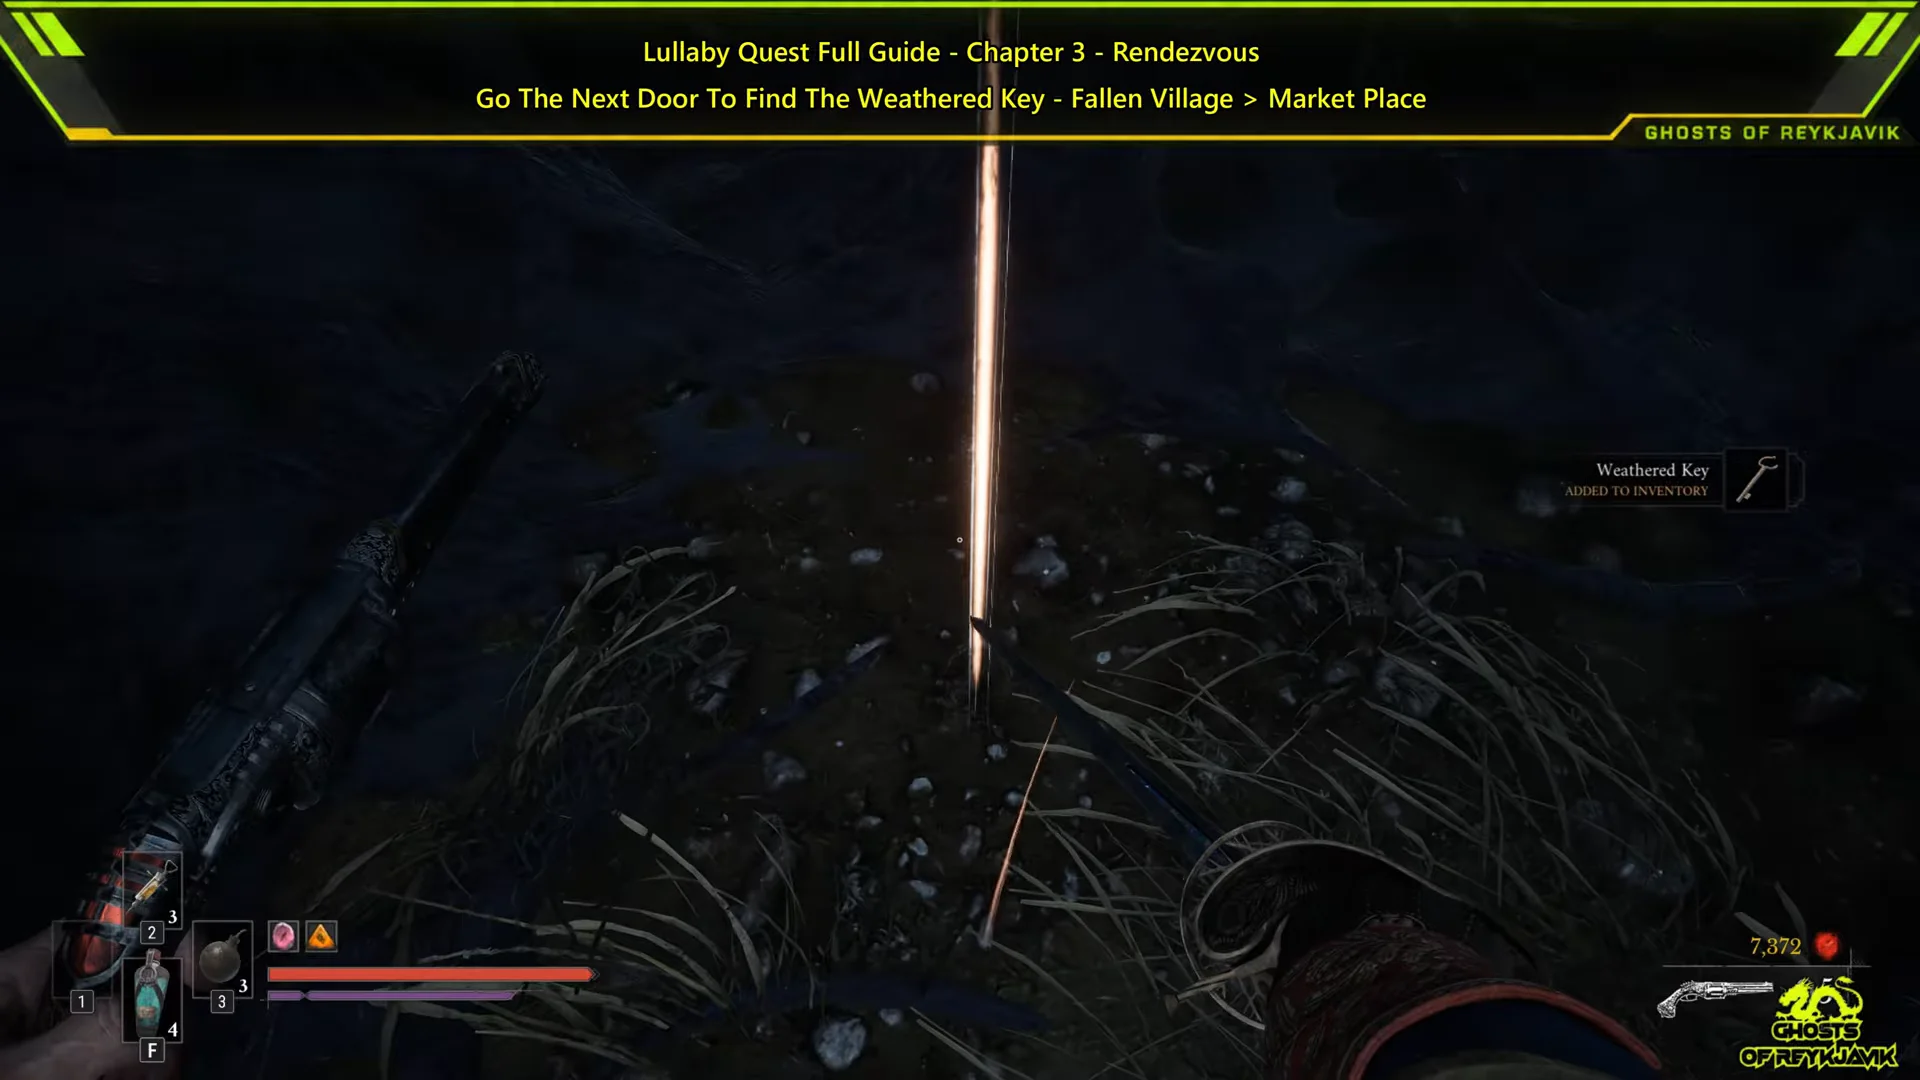
Don’t leave through the front door. Go out the back door of the same house into the alley and the fenced garden behind it. Infected villagers stand around a glowing drop on the ground. Two of them are in front of you, and a third rushes in from behind, so keep moving and watch your back. Once they’re down, pick up the item in the corner of the garden. The game confirms it with “Weathered Key ADDED TO INVENTORY.”
Toy location: the locked house across the broken bridge
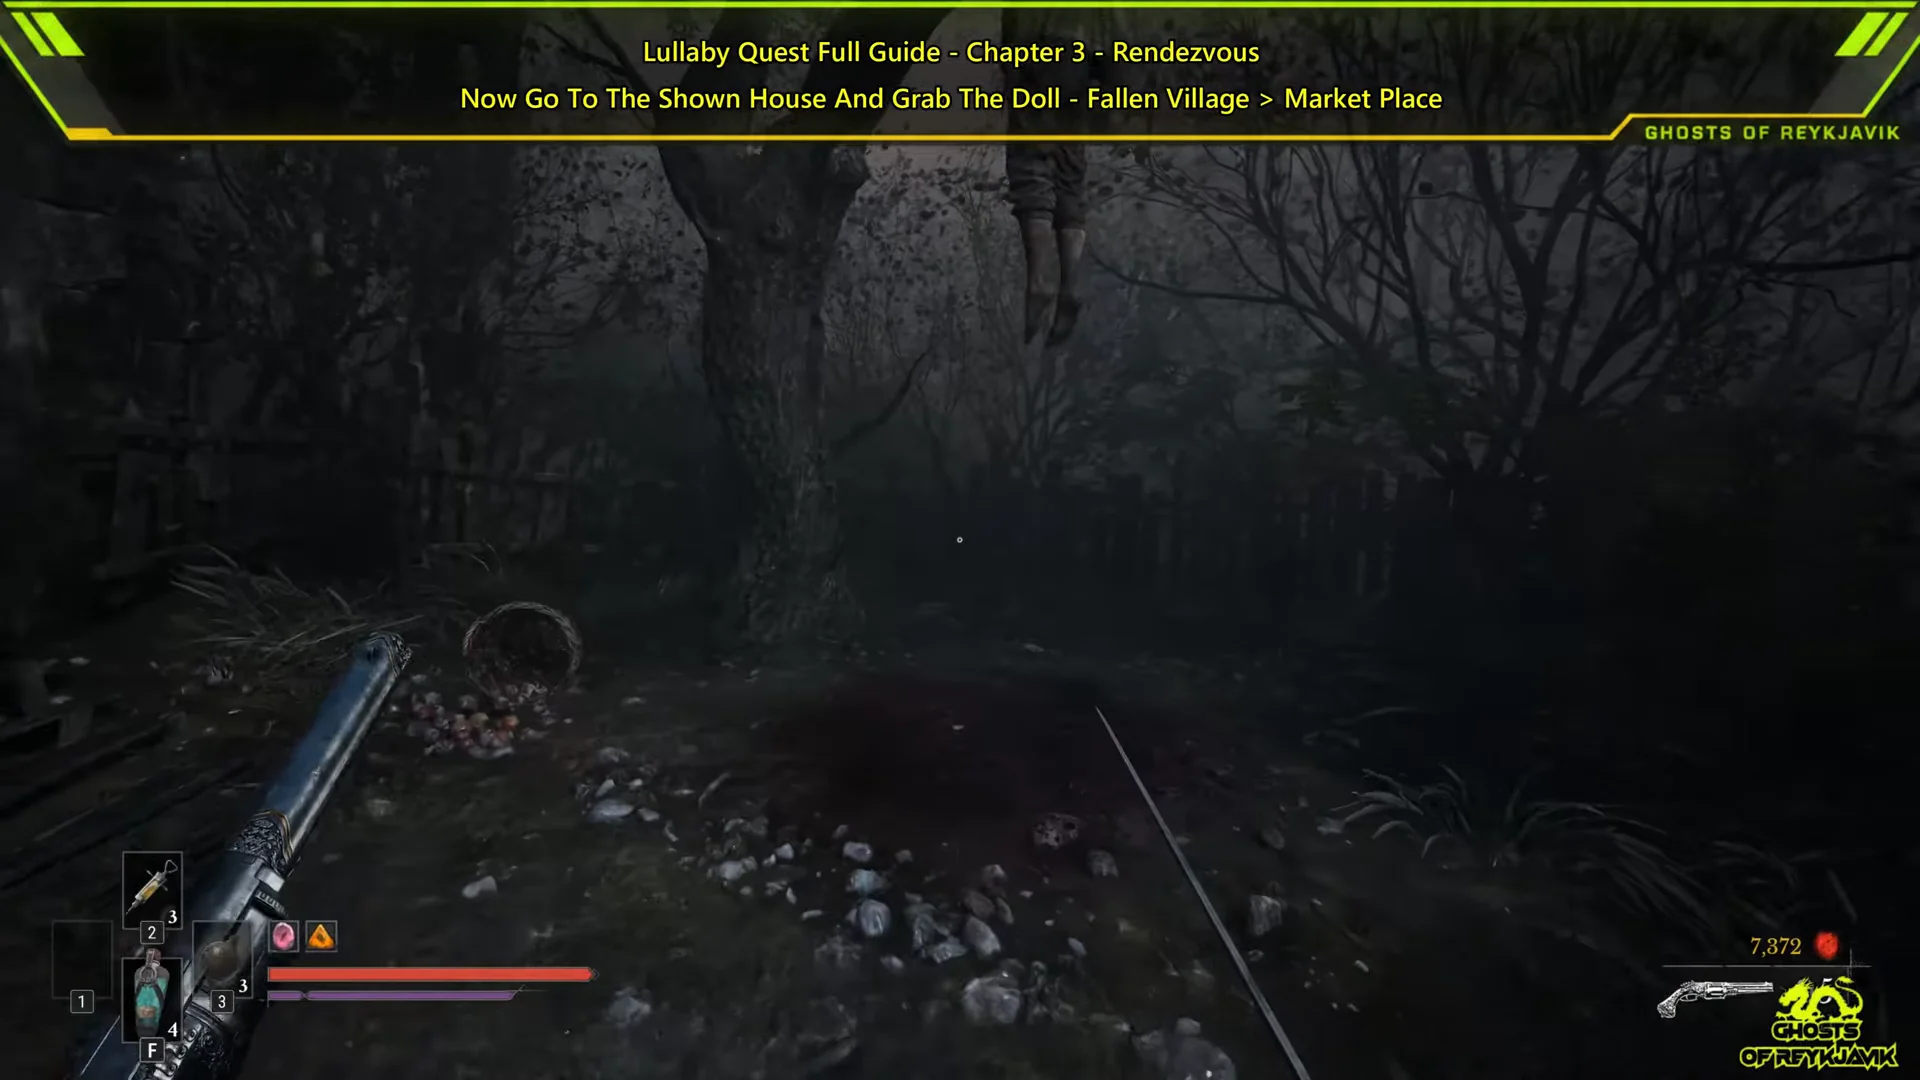
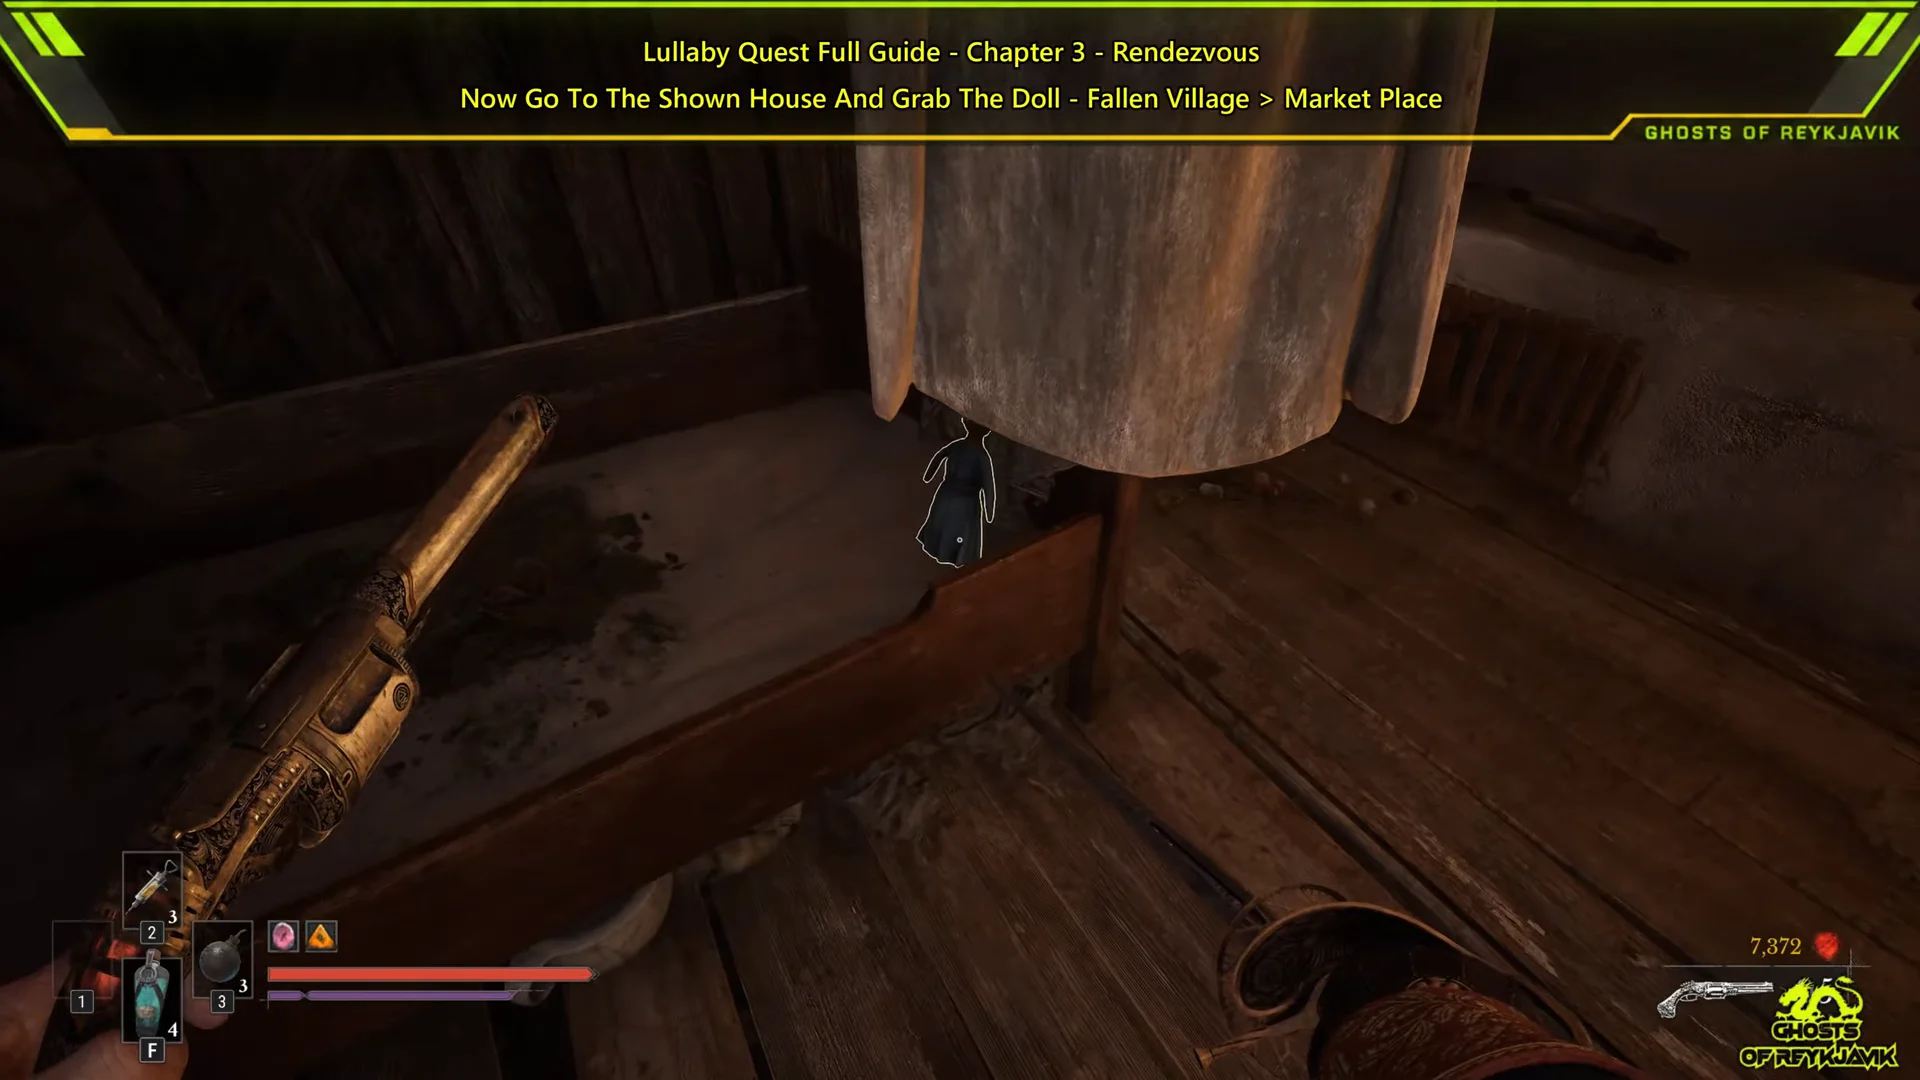
Look for the Toy away from the Marketplace Lantern: it rests in a solitary home across the water, along the path you used to enter the market. If you have been moving only ahead, that house is easy to overlook.

How to complete Lullaby: return the Toy to the crib
Retrace the bridge, or fast-travel to the Marketplace Lantern to avoid the walk. Enter the first house, then use the crib to return the Toy to it. The crying will cease; “LULLABY QUEST COMPLETE” will appear, and the Toy will disappear from your inventory. Your rewards are 1,500 currency and the Tomorrow’s Promise amber.
Your quest list confirms it. Lullaby moves to its final journal entry, and Tomorrow’s Promise appears among your ambers.
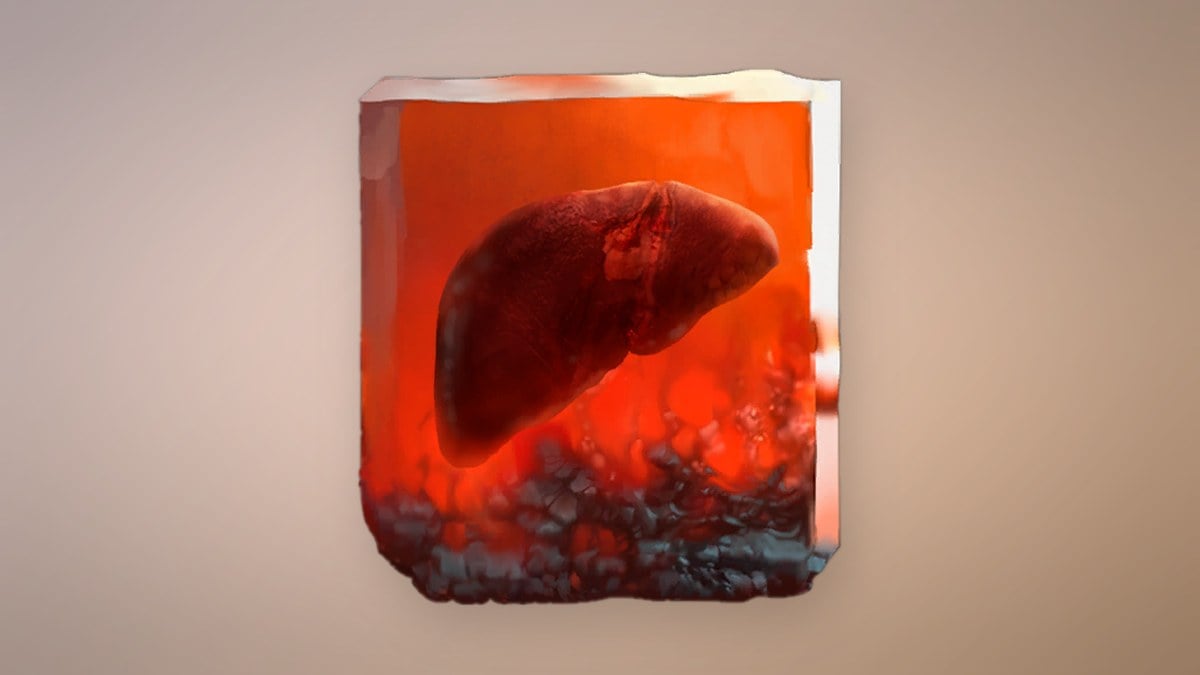
Tomorrow’s Promise amber: effect and rank values
Tomorrow’s Promise alters the Ferrofluid Flask’s healing effect: it restores Health little by little rather than in a single burst. Using another flask before the first one’s effect expires won’t combine or add time; the countdown begins again at its full starting duration.
| Rank | Regeneration (seconds) | Healing factor |
|---|---|---|
| 1 | 10 | 1.1 |
| 2 | 10 | 1.2 |
| 3 | 10 | 1.3 |
The amber goes up to rank 3. The regeneration window stays at 10 seconds at every rank, and only the healing factor increases. Picking up another copy of an amber you already own raises its rank, so duplicates are never wasted. One more copy of Tomorrow’s Promise is placed in the world, inside a chest in the Fortress. That chest is trapped.
Since the amber works through your flasks, the Ferrofluid Flask’s own potency still matters. A base flask heals 50, and each upgrade adds 10, up to 140 at the ninth upgrade. You apply those upgrades with Ferrofluid Flask Power Upgrades at a Lantern, using the Upgrade Ferrofluid Flask option. That option sits next to Level Up and Leave in the Lantern menu.
Lullaby quest items reference
| Item | Type | Where you get it | Use |
|---|---|---|---|
| Flaming Whetstone | Consumable | Altar room of the crib house | Your weapon sets enemies alight for several attacks. |
| Weathered Key | Key | Garden behind the crib house | Opens the house across the bridge |
| Toy | Quest item | Bed in the locked house | Placed in the crib to finish |
You can carry up to three Flaming Whetstones. Extras sell for 150 each, and James’s Iron Bench stocks them at 300 from Chapter 5 onward. Howlers can also drop them at a 3% rate, and more are scattered around the world, with seven in The Outskirts alone. The Weathered Key does nothing beyond this quest’s locked door.
Leaving Fallen Village before completion doesn’t affect the quest: the crib, key, and locked house remain in place. When you want to continue, fast-travel to the Marketplace Lantern and resume at the step you reached.