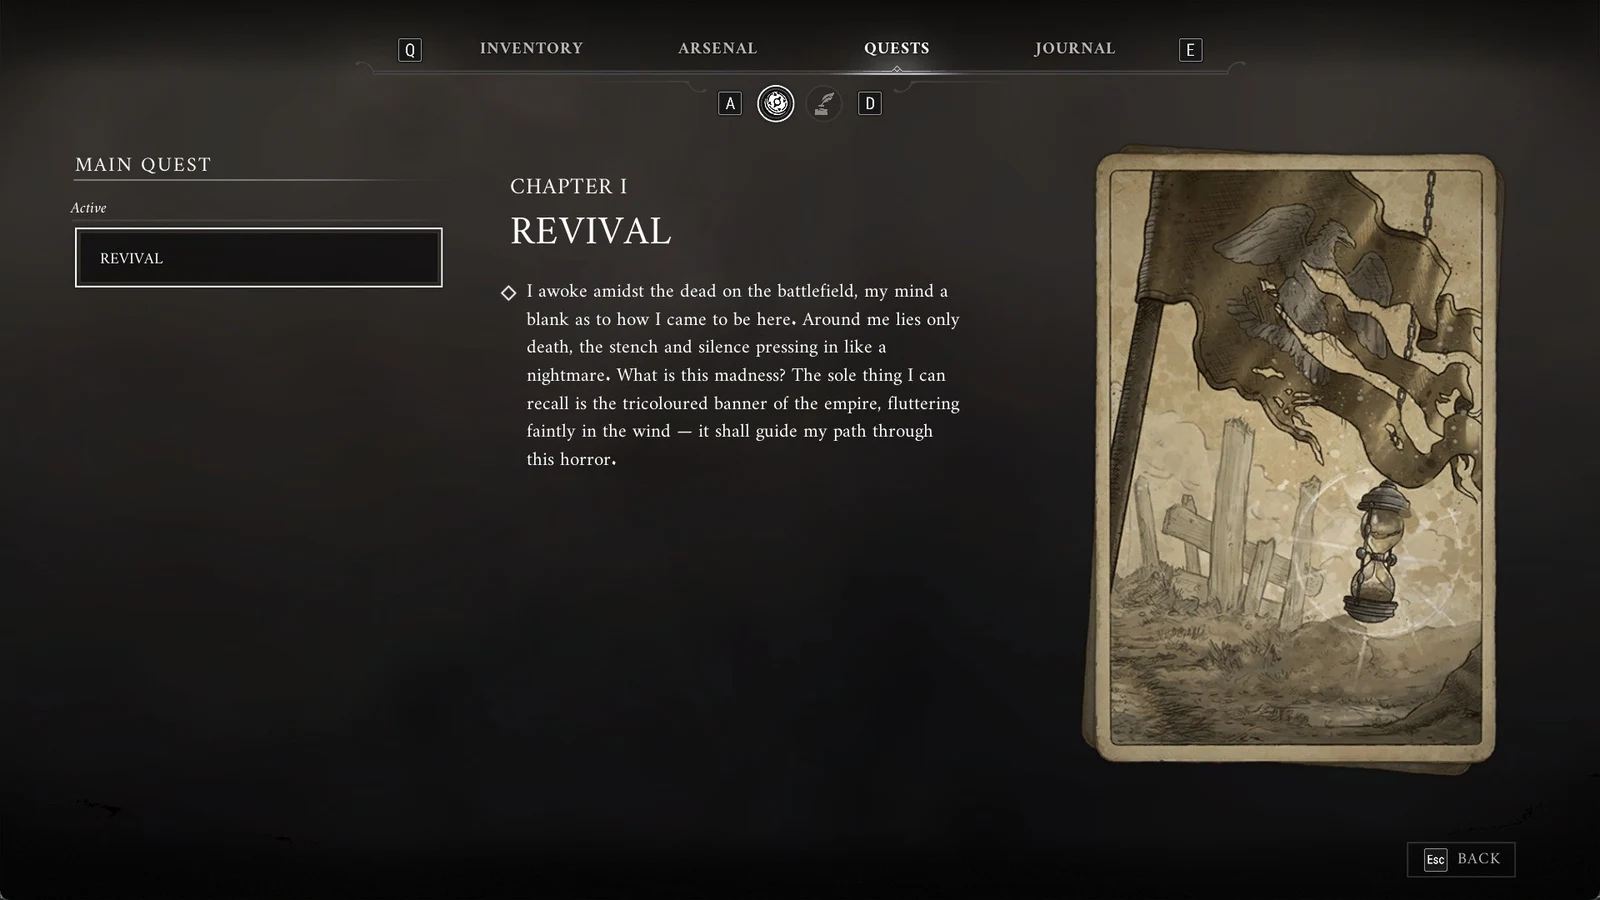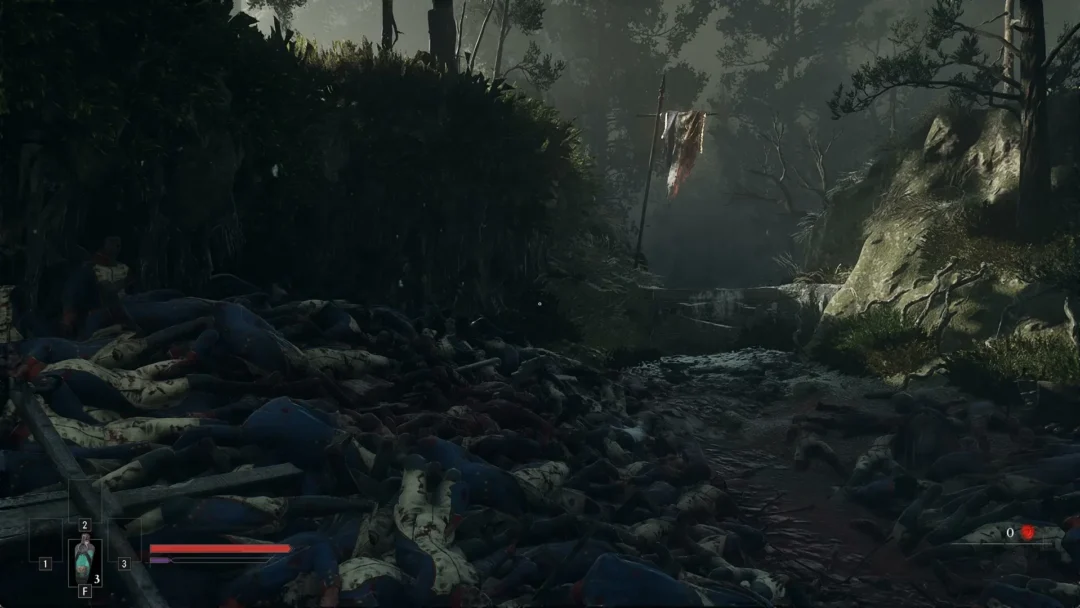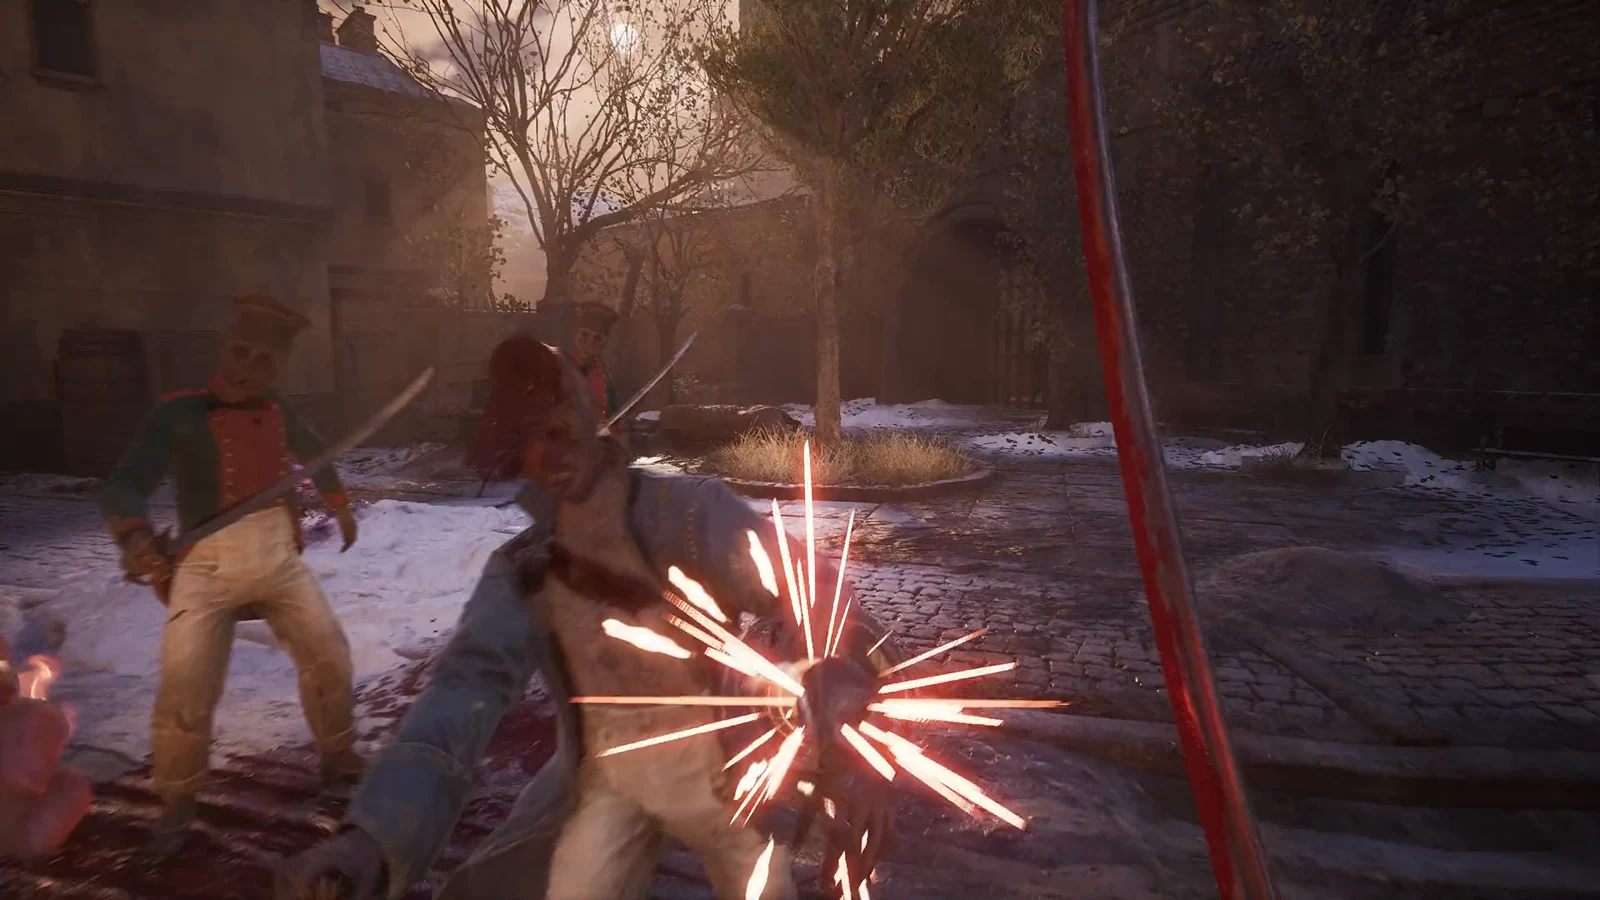
The Oathbound is a hidden side quest in Valor Mortis that spans almost the entire game. William has to track down seven Eternal Guards scattered one per chapter, defeat each of them, and collect the emblem hidden beneath their coats. Finish all seven and a sealed chamber in the Fortress opens, closing out the quest and awarding the We Wear the Same Colors achievement.
Quick answer: Defeat all seven Oathbound fencers (one in each marked chapter), collect every emblem and Mysterious Stone Pyramid, then use the Mysterious Stone Slab on the sigil in the Fortress corridor and read the Codex of the Oathbound on the round table.
The quest triggers the moment you kill your first Oathbound, no matter which chapter you reach it in. Each fencer stands near a symbol drawn in chalk, which marks the approach. They are the same enemy type as the Eternal Guardsman, so expect a fast, disciplined duellist rather than a shambling monster.
All seven Oathbound locations
| Oathbound | Chapter | Region | Nearest lantern |
|---|---|---|---|
| Valen Duroc | 1 | The Battlefield | Onslaught Arch |
| Lucien Lafontaine | 2 | Valley of Ashes | Demolished Path |
| Etienne Vauclair | 3 | Fallen Village | Fields |
| Jean Pierre Polnaire | 4 | Caverns | Old Mine |
| Severin Susse | 6 | Cursed Hollow | Village Church |
| Adrien Casell | 8 | City of Orphans | Shamble Street |
| Bastien Beaufort | 10 | Fortress | Courtyard |
Abilities you need before you start cleaning up
Several targets are locked behind traversal and combat unlocks that arrive later in the story, so you cannot clear the full set on a first pass. Come back once you have these.
- Pistol (Chapter 2) — destroys the red growth that hides Valen Duroc in Chapter 1.
- Grapple and Nephtoglobin platform traversal (Chapters 3 and 5) — needed to cross the chasm to Etienne Vauclair.
- Stasis Transmutation — freezes the cog in the Old Mine to reach Jean Pierre Polnaire.
- Shield Transmutation (Chapter 9, University) — lets you cross the toxic gas to Adrien Casell unharmed.
Walkthrough for each guard
Valen Duroc — Chapter 1, The Battlefield
From the Onslaught Arch lantern, turn around, cross the broken wooden bridge and swing to the far side. At the crossroads take the right, then keep left past the enemies until a path is blocked by a glowing red growth. Shoot the growth with the pistol to open the way through.
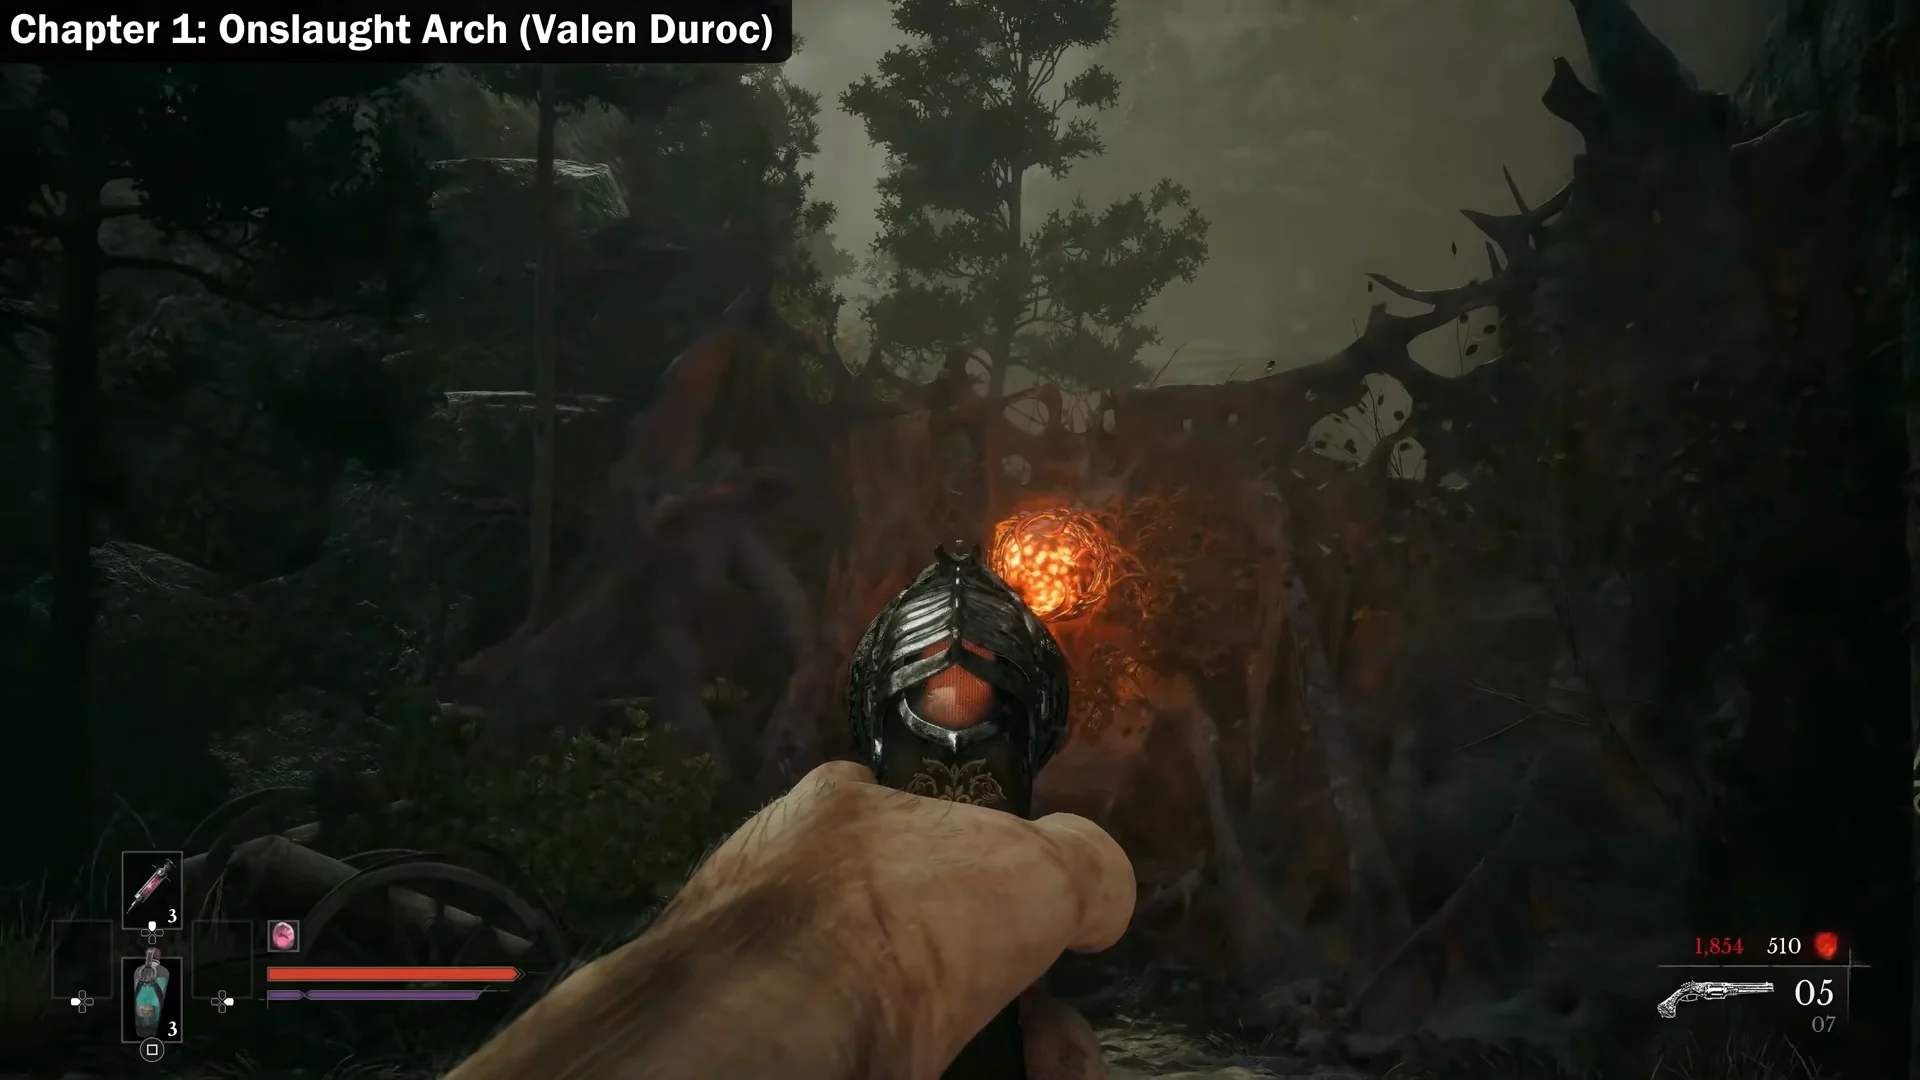
Defeat the guard to earn Valen Duroc’s Emblem and a Mysterious Stone Pyramid, which starts The Oathbound. The chest beside him holds the Duellist’s Focus amber.
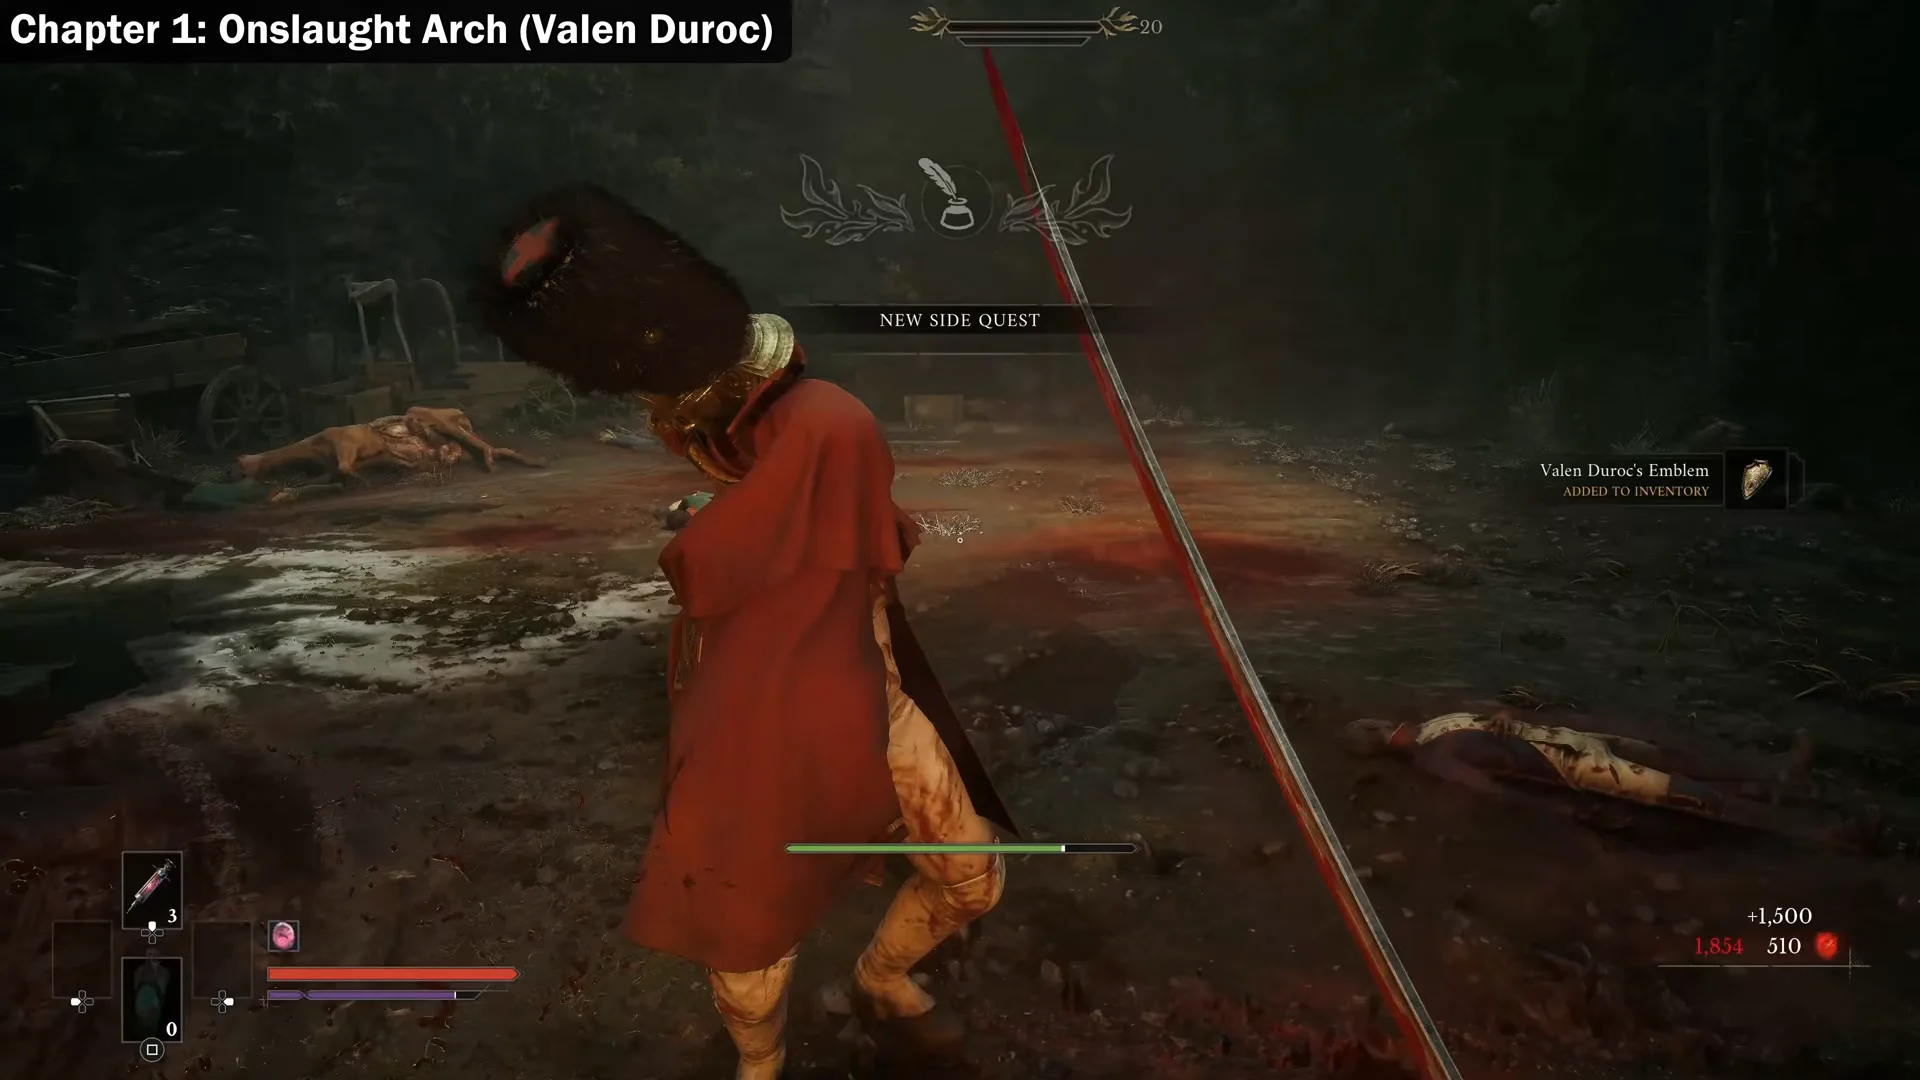
Lucien Lafontaine — Chapter 2, Valley of Ashes
Travel to the Demolished Path lantern, climb the ladder up the cliff and drop down near the tilted carriage. Follow the trail along the green hill until the Oathbound symbol appears. Defeat Lucien for Lucien Lafontaine’s Emblem, another Mysterious Stone Pyramid, and the Perfectionism amber.
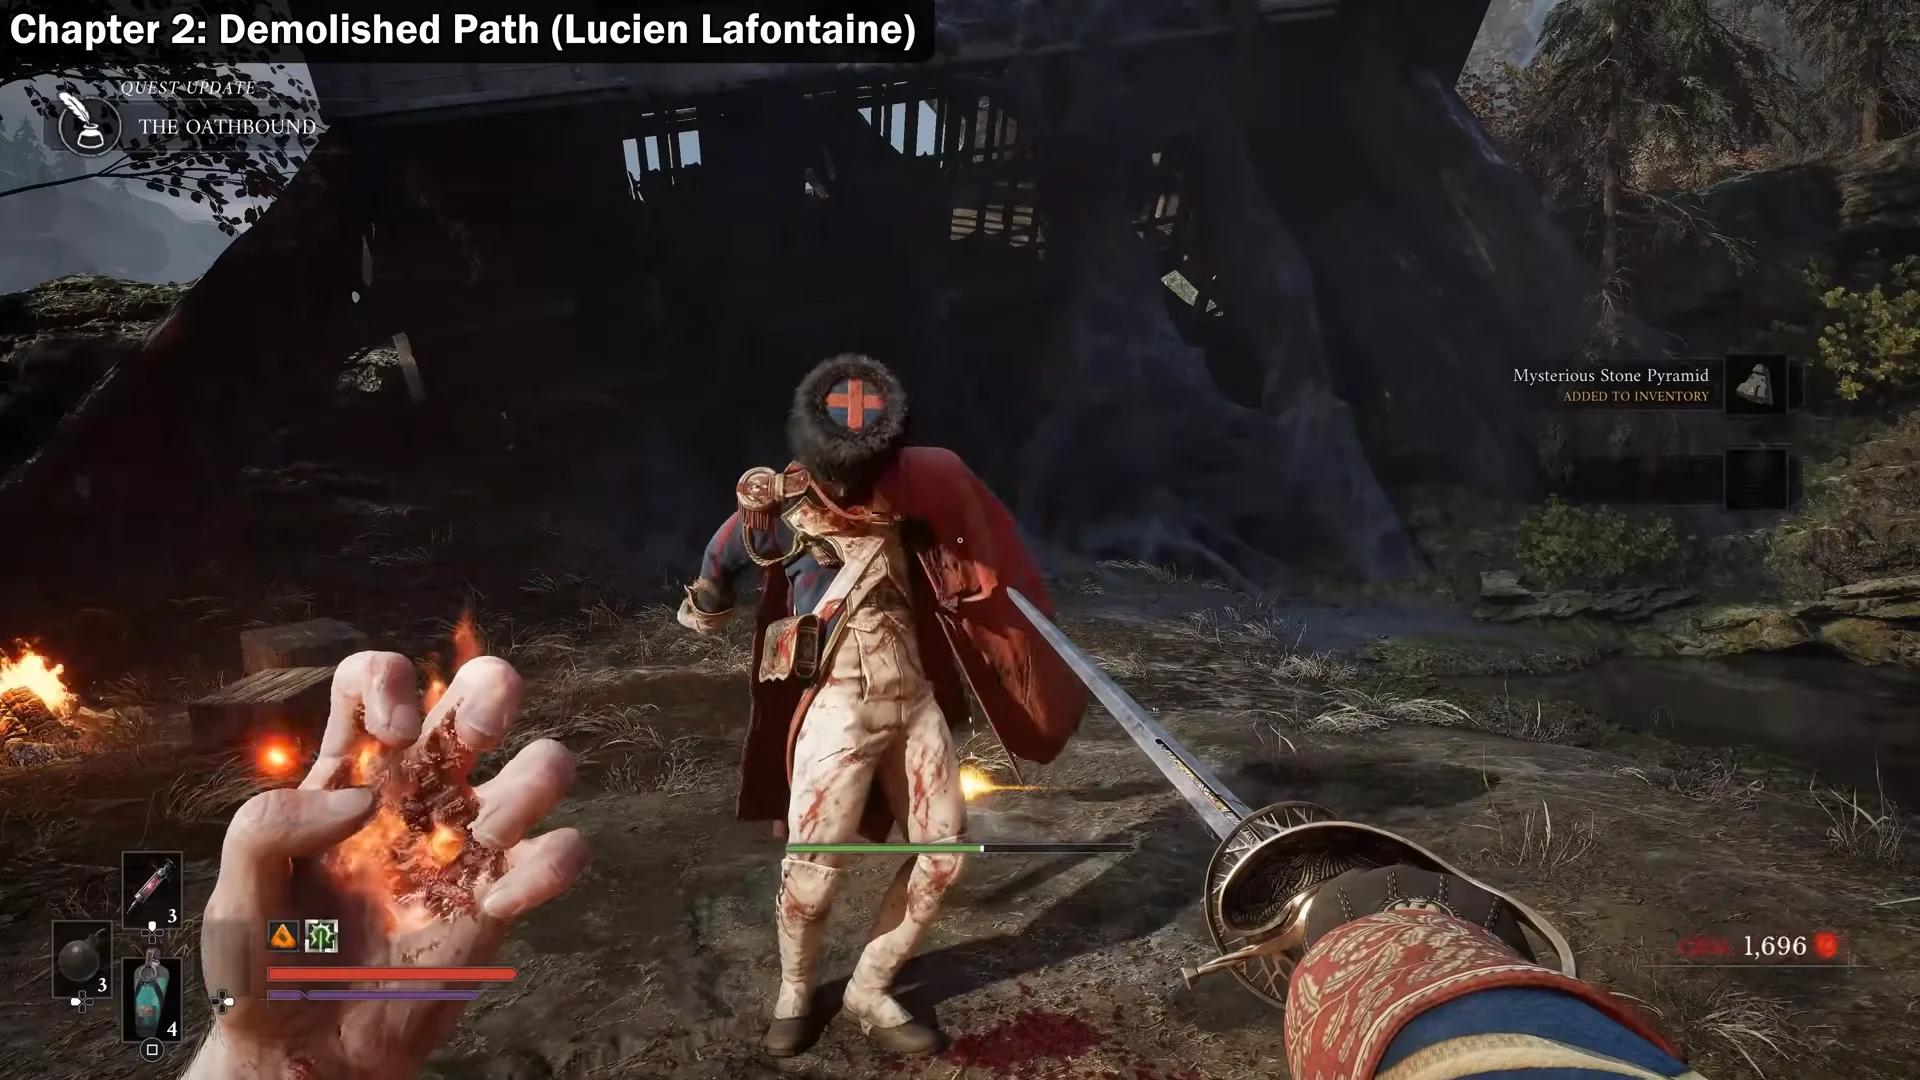
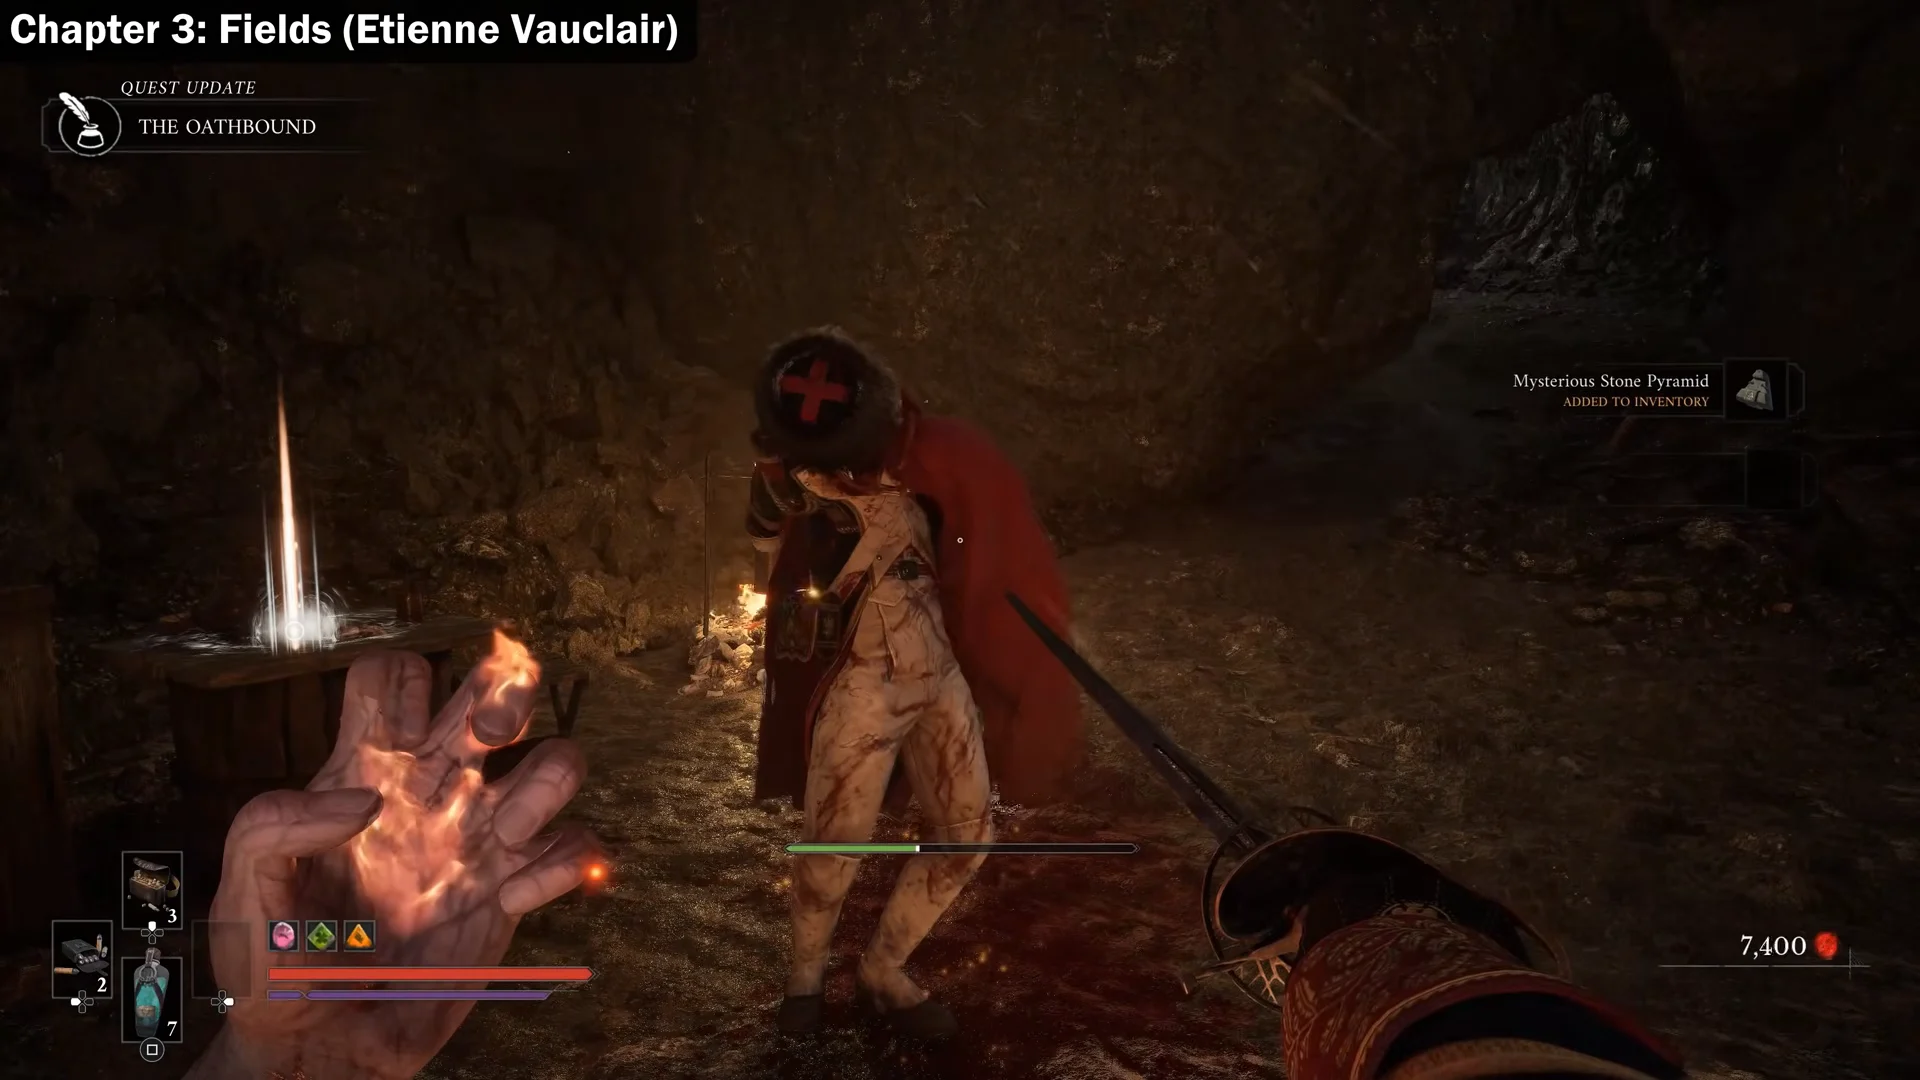
Etienne Vauclair — Chapter 3, Fallen Village
You need the grapple and the Nephtoglobin platform ability first. From the Fields lantern head down the muddy path toward the chasm, then use the spawnable platforms and grapple anchors to cross into a hidden cave. Drop to the lower ledge and shoot the glowing orange vein to open a climbing wall, which leads to the underground camp.
Defeat the fencer to claim Etienne Vauclair’s Emblem and a Mysterious Stone Pyramid. The nearby chest holds a Pure Transmutation Material.
Jean Pierre Polnaire — Chapter 4, Caverns
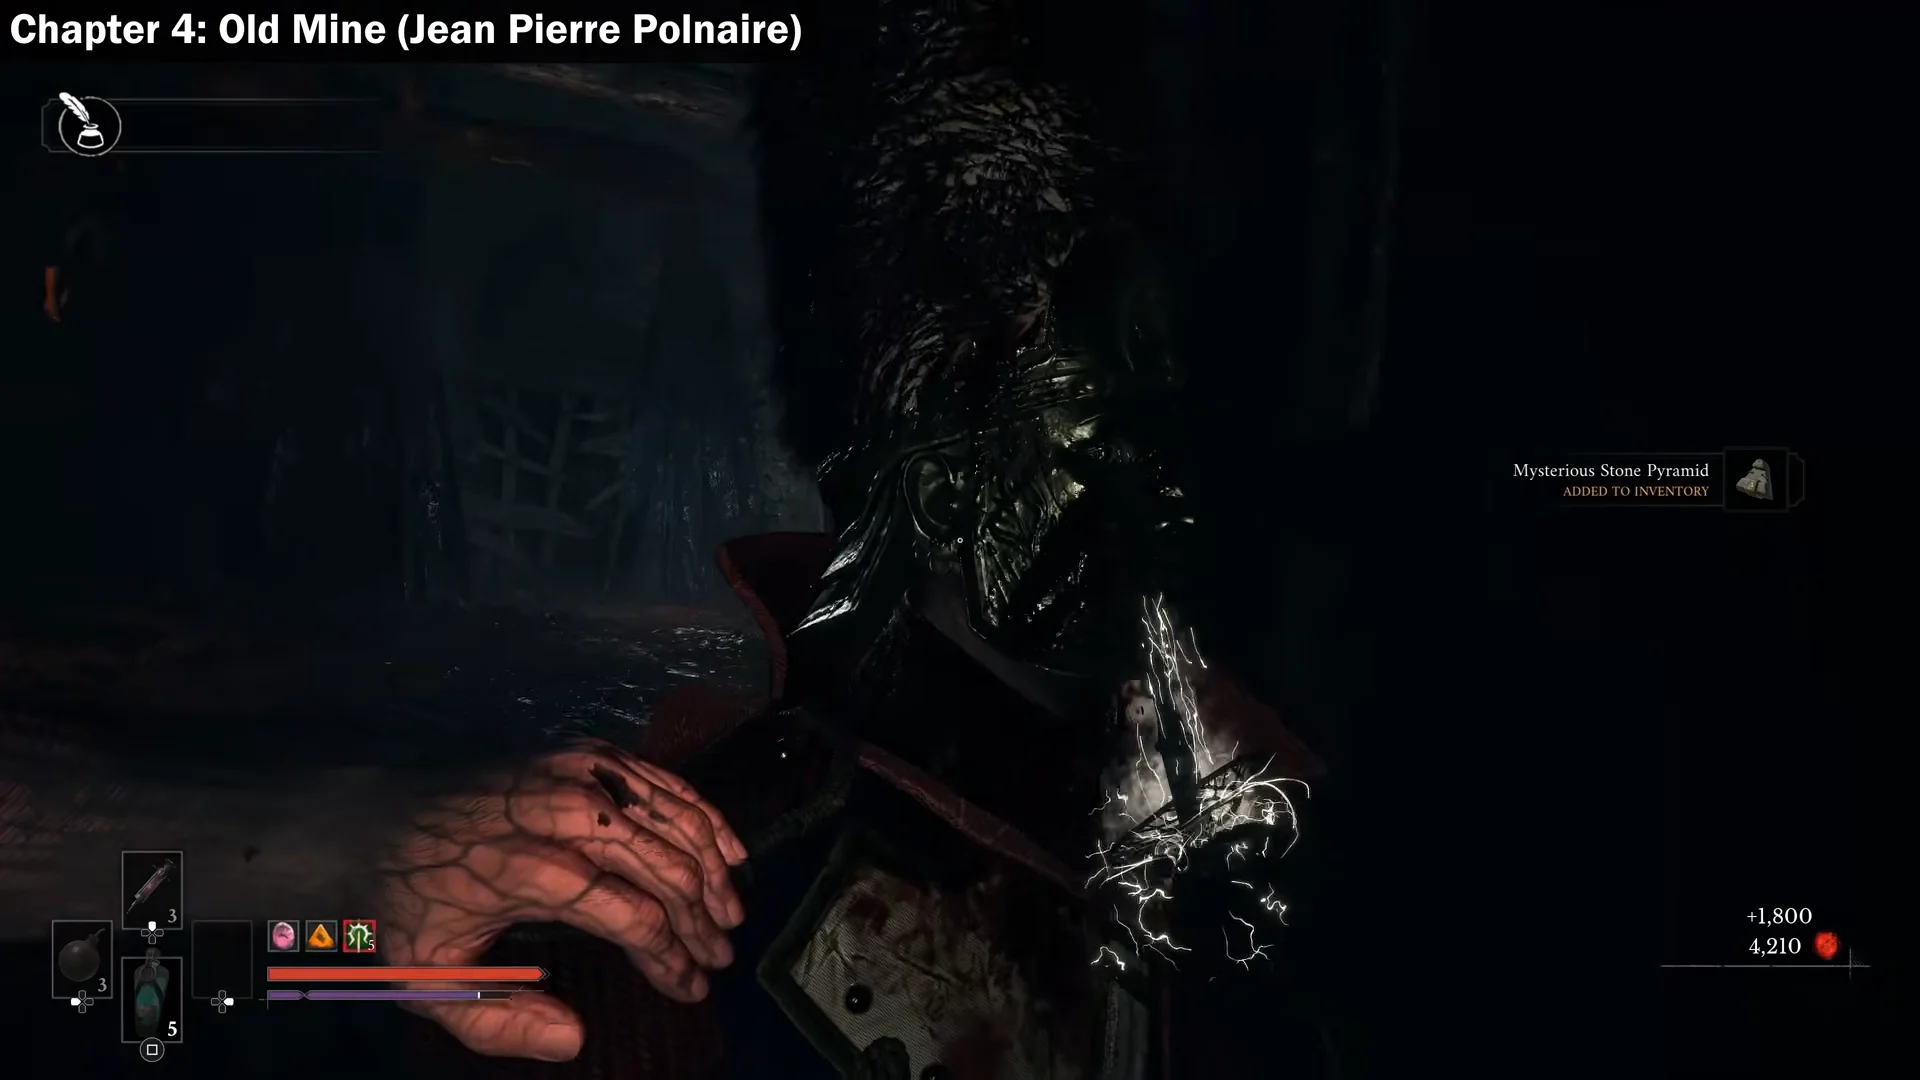
From the Old Mine lantern, follow the wooden walkways up toward the lever. Wait until the crate lines up with the lower platform, then freeze the cog with the Stasis Transmutation. Ride the crate up to the higher platform and kick the ladder to open a shortcut. Round the corner into the dark tunnel to find the guard.
Beat him for Jean Pierre Polnaire’s Emblem and a Mysterious Stone Pyramid, plus another Perfectionism amber. If this is your second copy, the amber’s rank increases.
Severin Susse — Chapter 6, Cursed Hollow
From the Village Church lantern, follow the watery path past the wooden houses, clearing enemies as you go so they do not trail you. Run along the blue wall to reach the leaning boat, jump across, and try to stay out of the poison. Go around the house to the Oathbound symbol.
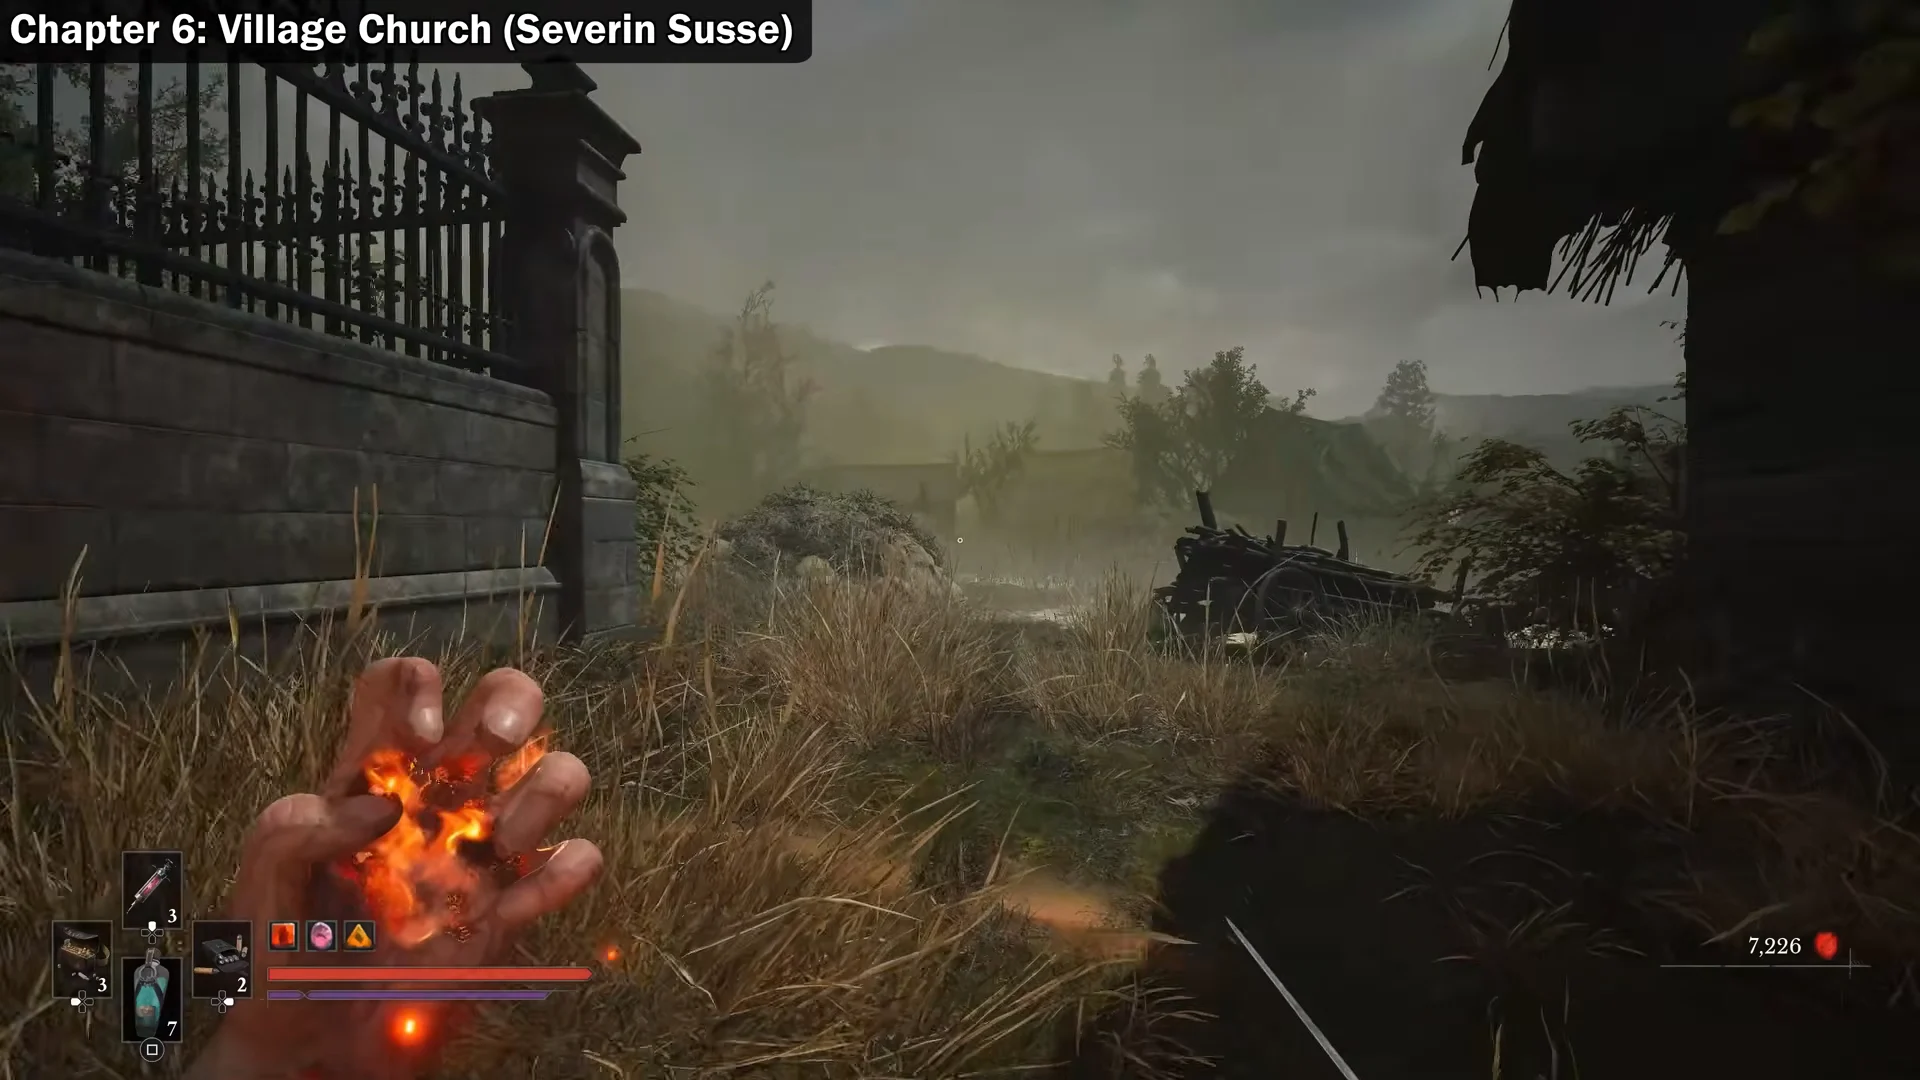
Defeat Severin to update the quest and take Severin Susse’s Emblem and a Mysterious Stone Pyramid. The chest here contains the Life Diverted amber.
Adrien Casell — Chapter 8, City of Orphans
You need the Shield Transmutation for this one. From the Shamble Street lantern, head through the archways toward the yellow toxic fog filling the street. Activate the Shield to sprint through the gas unharmed, climb the boxes past the ambushing enemies, and enter through the broken wall. Shoot the red bulb to open a shortcut, then drop down to the guard.
Killing him gives Adrien Casell’s Emblem, a Mysterious Stone Pyramid, and Superior Firearm Parts from the chest. Read the note beside the chest, where Bastien Beaufort calls the Oathbound to gather in the castle’s secret room.
Bastien Beaufort — Chapter 10, Fortress
Fast travel to the Courtyard lantern and head through the stone archway into the ruined cathedral hall. Bastien is the toughest of the seven, so treat it as a proper duel. Defeat him and search his body for Bastien Beaufort’s Emblem. With every pyramid now collected, they combine automatically into the Mysterious Stone Slab.
Eternal Guardsman combat reference
Every Oathbound is an Eternal Guardsman, which scales with the chapter you fight them in. Their health and the Catalysts they pay out climb with level, so later targets like Bastien hit much harder than Valen.
| Level | Health | Catalysts |
|---|---|---|
| 1 | 500 | 1,200 |
| 2 | 700 | 1,500 |
| 3 | 850 | 1,800 |
| 4 | 1,000 | 2,100 |
| 5 | 1,100 | 2,400 |
| 6 | 1,200 | 2,700 |
If one transforms mid-fight by crushing a vial, its enraged health jumps to 3,200. These fencers resist ranged and explosive damage by 50 percent, resist ignite and ignite buildup by 50 percent, and infection by 30 percent, so firearms and fire are blunted against them. Melee pressure is the reliable route, and they take four segments of Stasis to lock down.
Beyond their emblem, Eternal Guardsmen can drop upgrade materials such as Whetstone, Deadly Rounds, Pure Transmutation Material and Pure Blade Material, so it is worth looting every kill.
Opening the hidden chamber to finish the quest
You know it worked when the QUEST COMPLETE notification appears and the journal entry fills in the Oathbound’s story, revealing that these were Napoleon’s elite fencers who refused the plague vial and swore to protect their cargo and their humanity. The Codex itself names all seven, closing the loop on the emblems you gathered across every chapter.