Sleeping Beauty is a side quest in Valor Mortis that plays out in the toxic marsh around the Village Church, inside the Cursed Hollow region during Chapter VI: Punishment. It turns on a single moral choice at a spinning wheel, and both endings hand William the same crafting reward. The hard part is getting there: you need to start the quest at a hidden altar, defeat the Headman for his key, and loop back to a locked chamber.
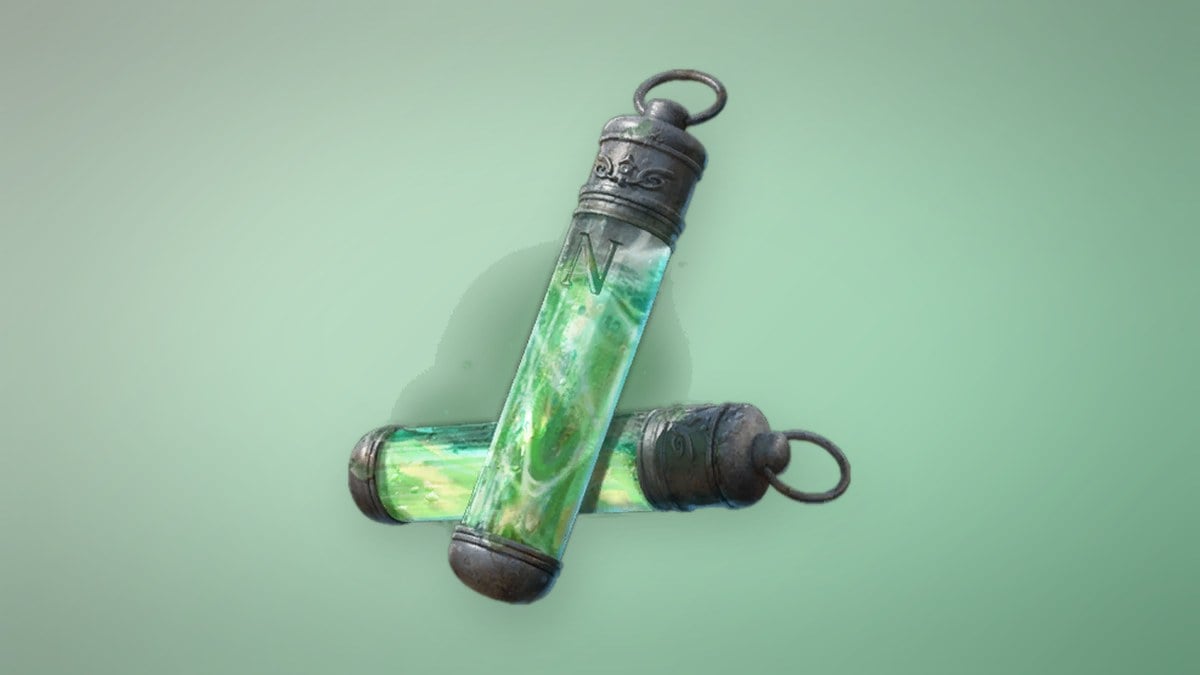
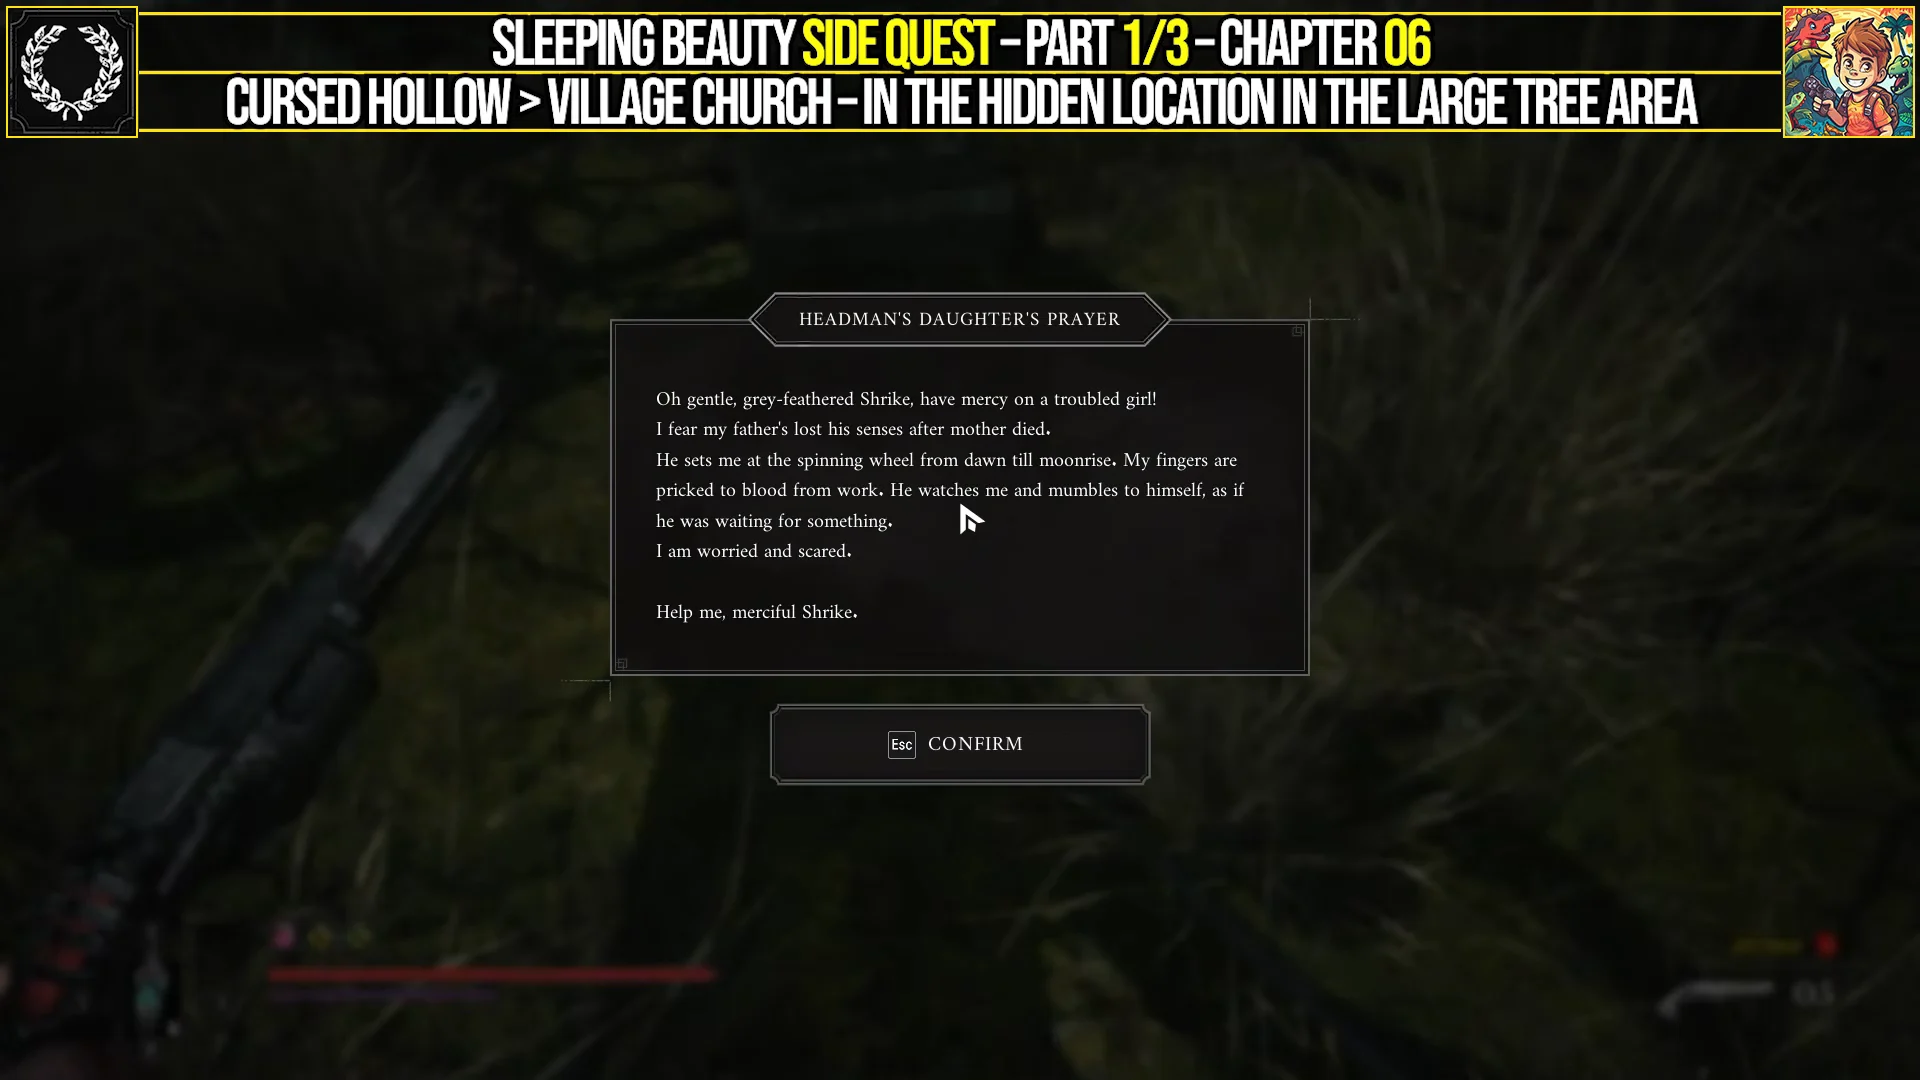
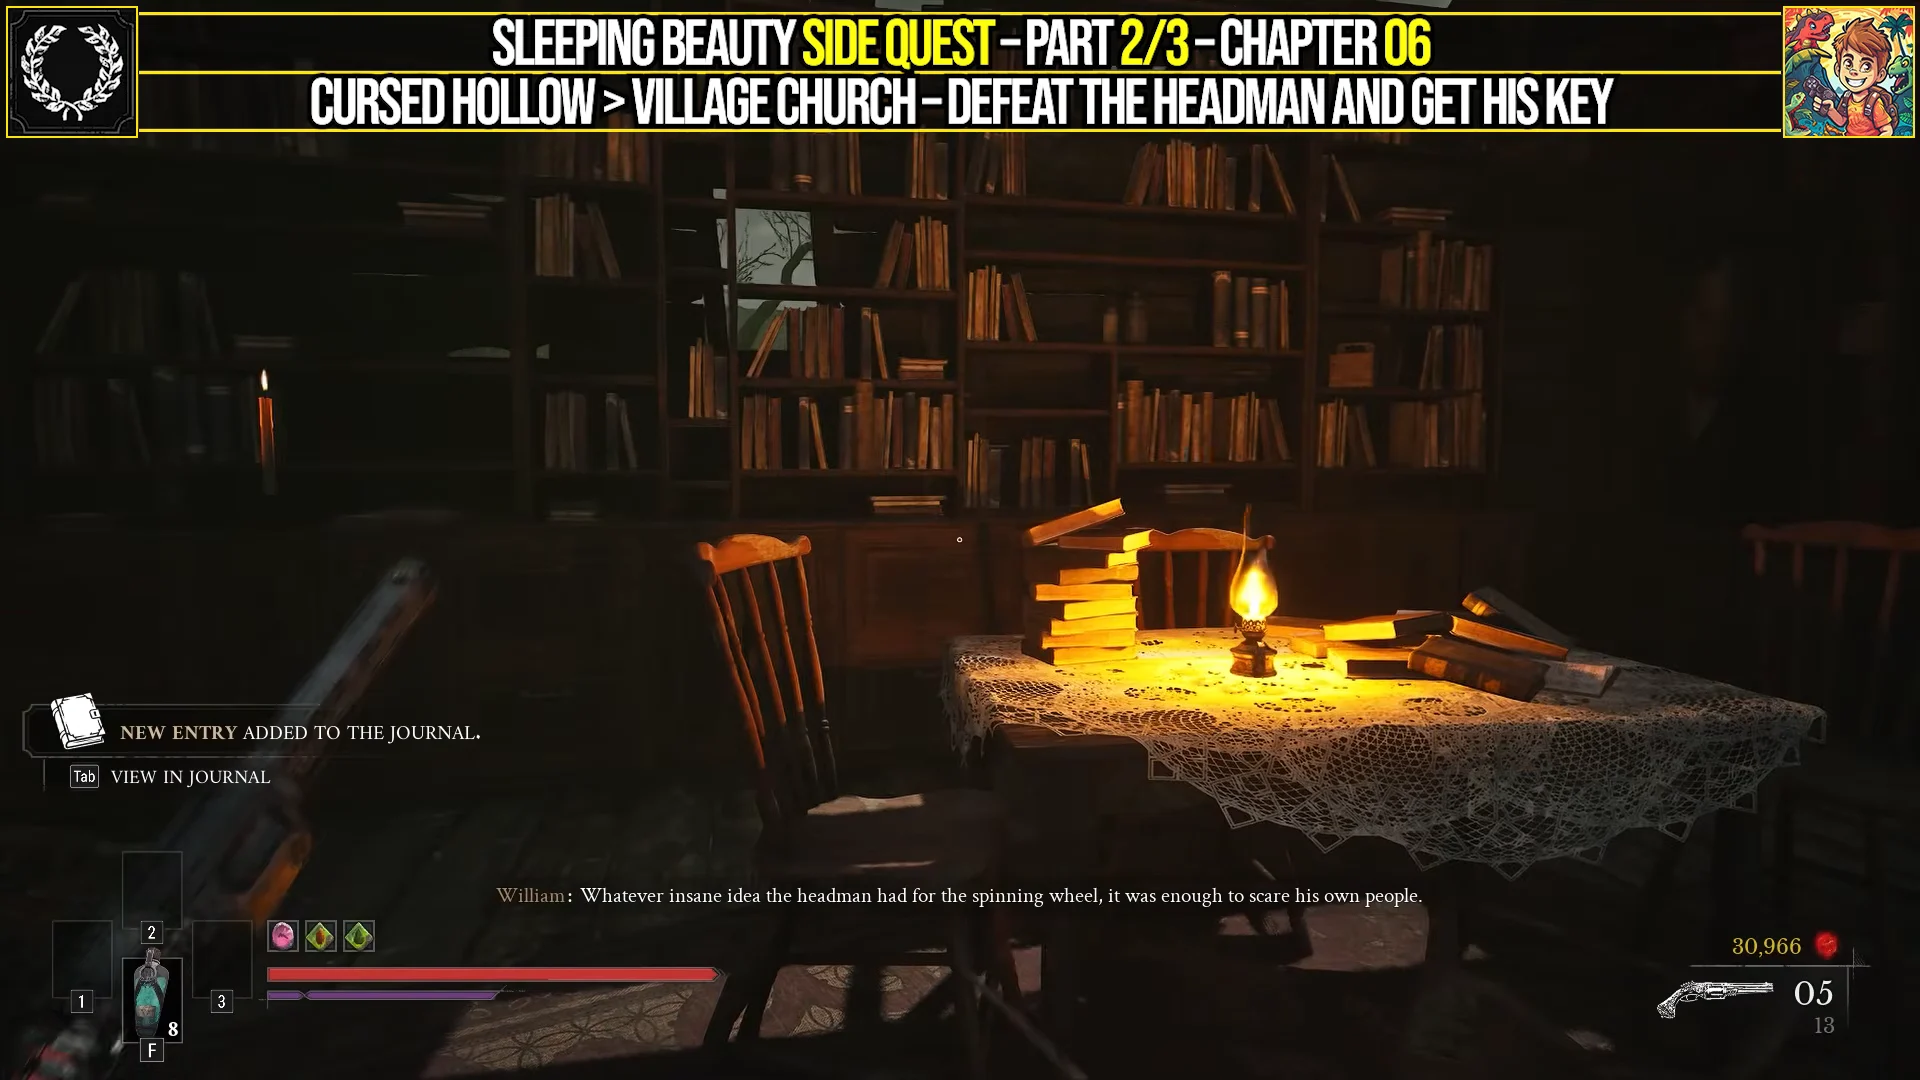
Quick answer: Read the Headman’s Daughter’s Prayer at the altar under the dead tree to start the quest. Enter the Headman’s house, defeat him, and take the Headman’s Key to unlock the chamber. When you reach the spinning wheel, select “Let Her Sleep” or “Wake her up”; either choice grants one Distilled Transmutation Material.
Where Sleeping Beauty starts in Cursed Hollow
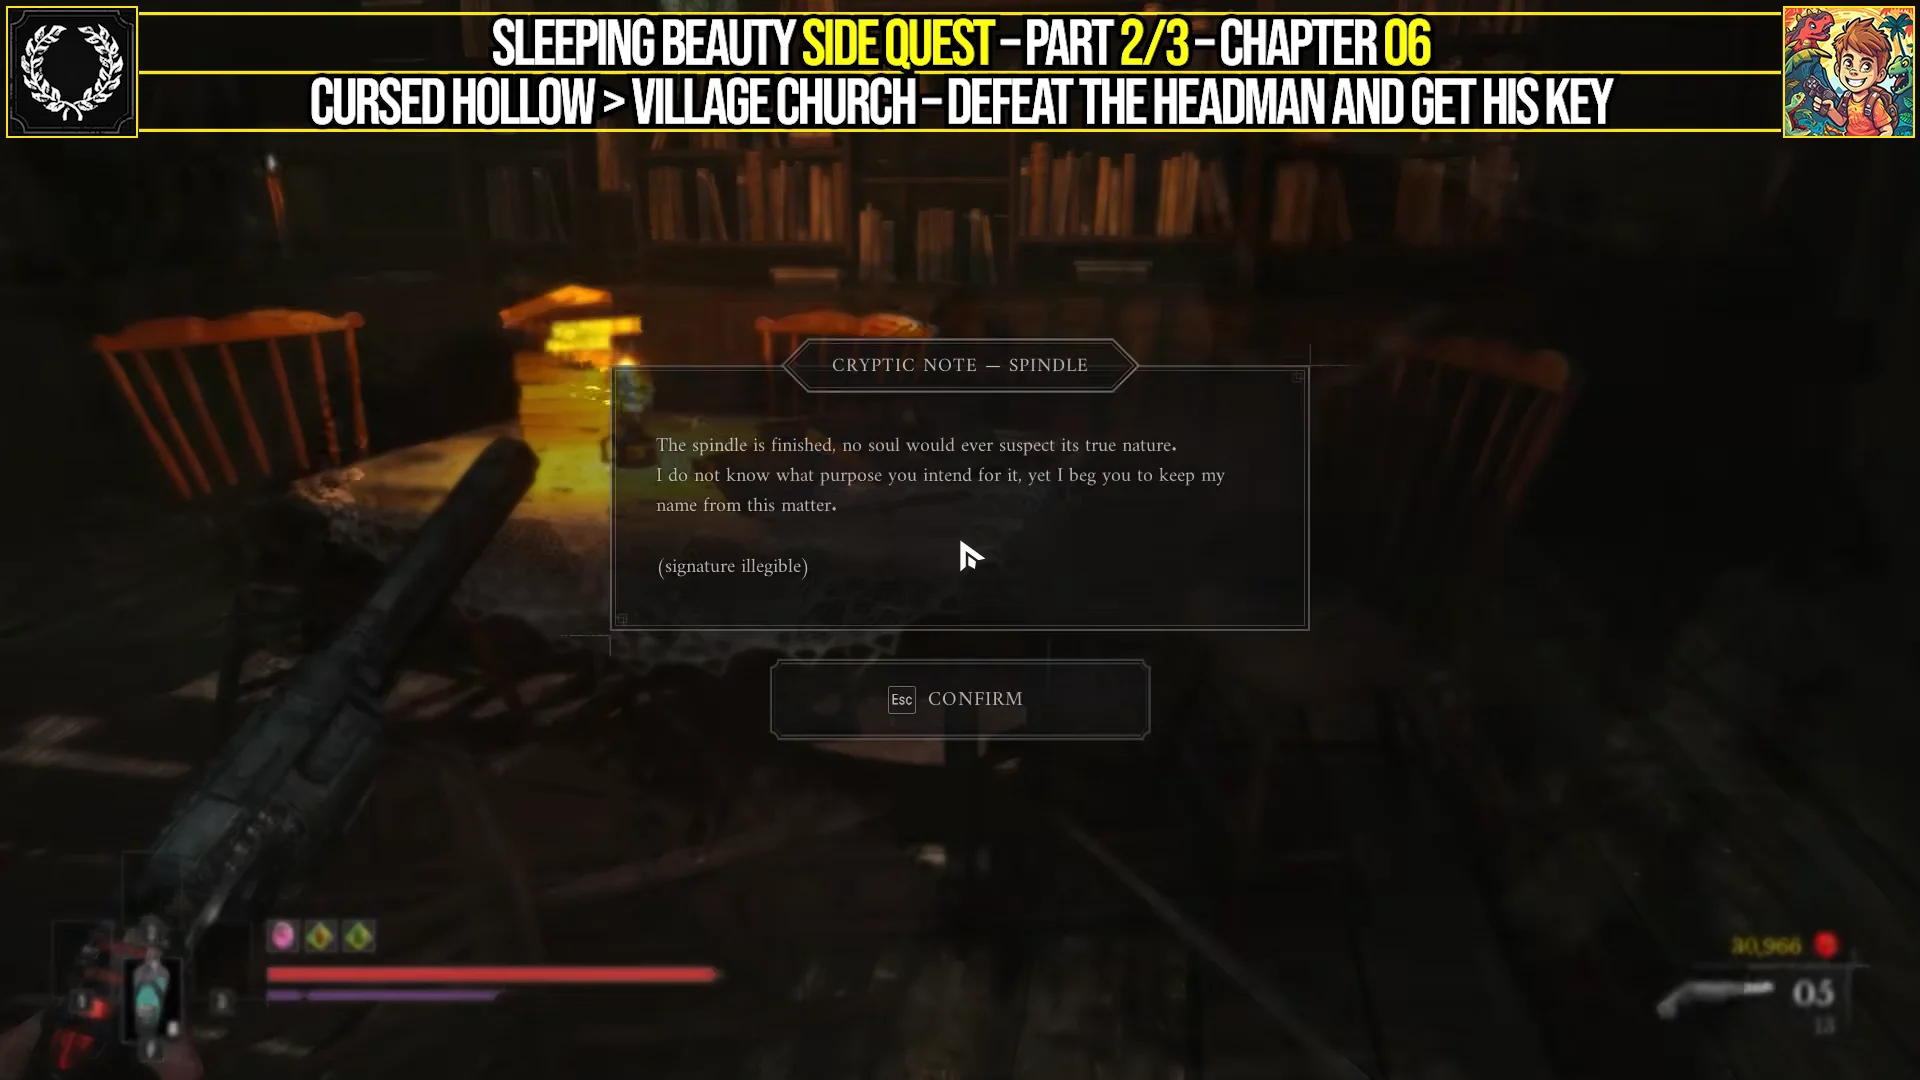
The quest begins near the Village Church lantern. From the first lantern in Cursed Hollow, take the shortcut ladder, deal with the Volunteer enemy on your left, then look right into the open area where an enemy patrols. Slip under the broken wooden fence to reach a blue memory about the Headman’s Daughter. A locked door sits nearby — you will come back to it later.
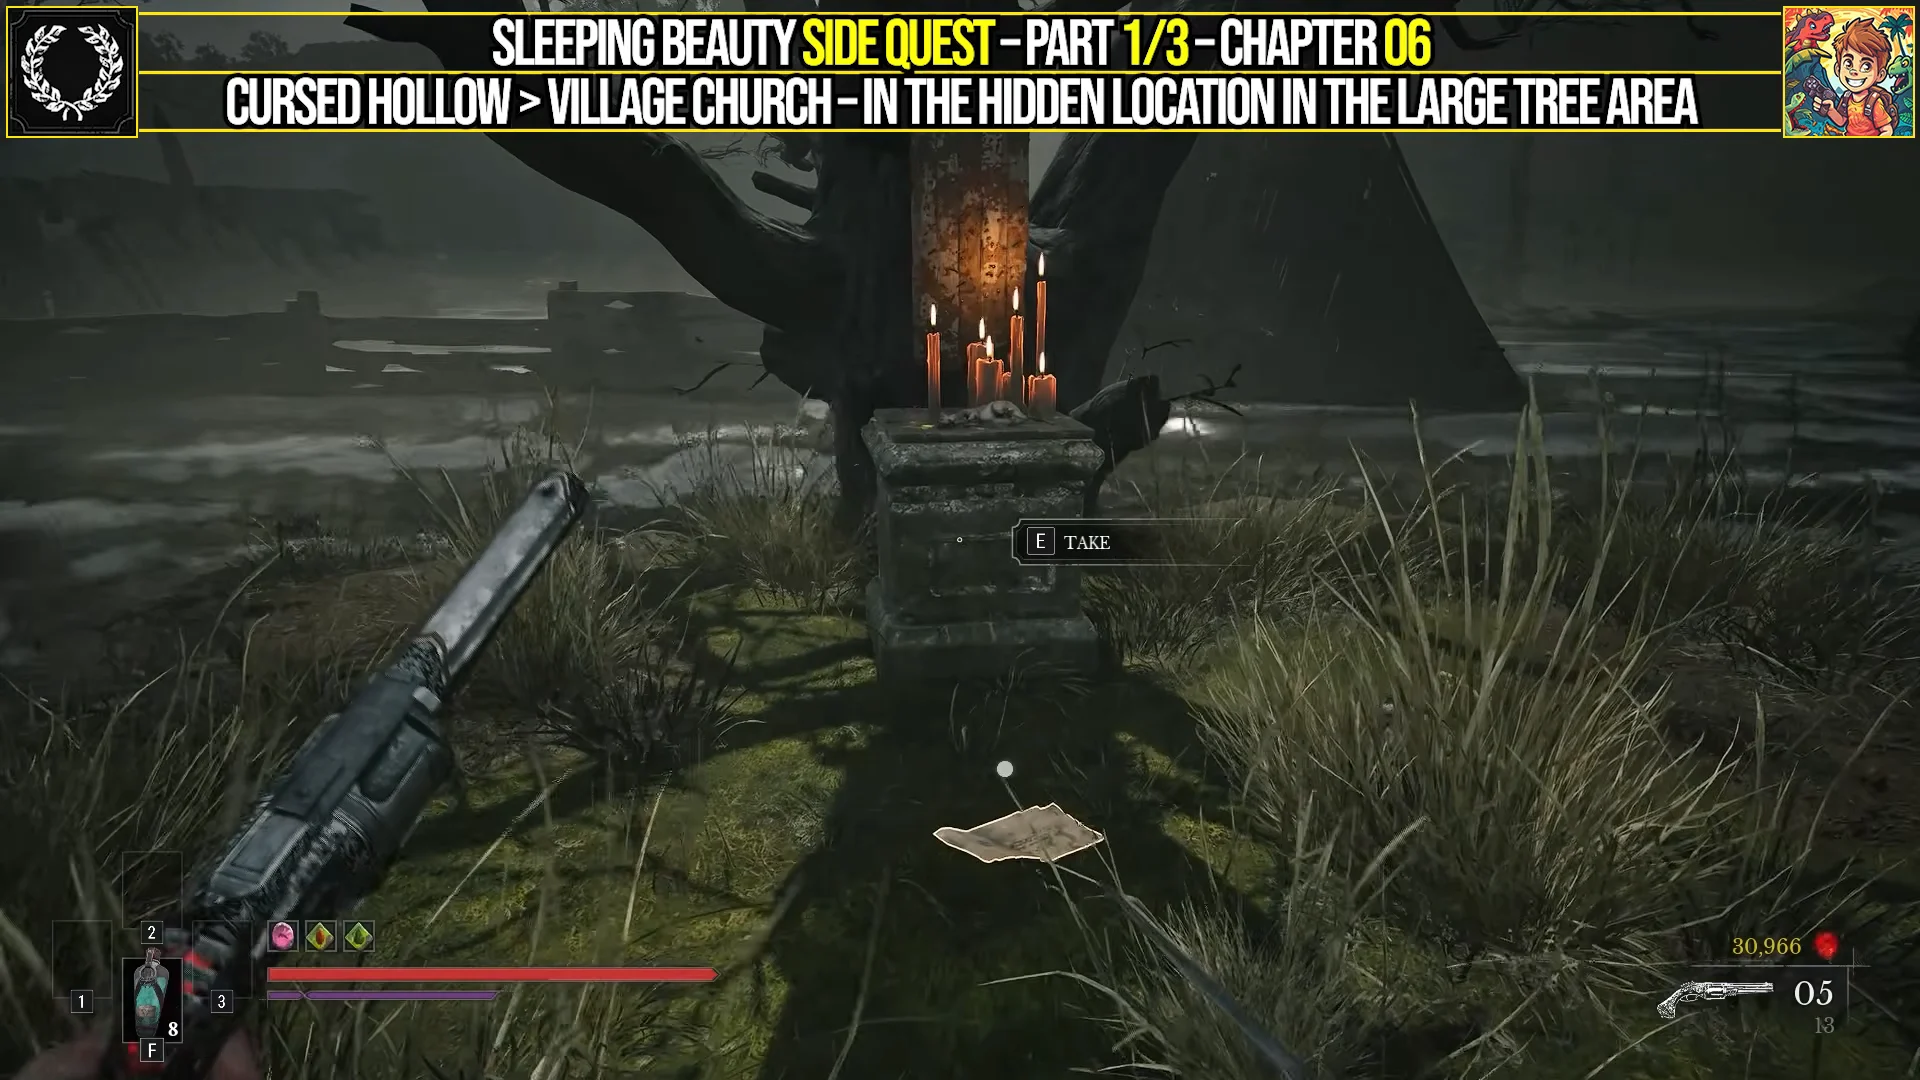
Keep moving across the raised wooden platforms toward the large dead tree. The water here is poisonous, so stay on the planks. Enemies also surface from the swamp as you cross, and flying pests will harass you, so keep pistol rounds ready.
Sleeping Beauty walkthrough
Let Her Sleep or Wake her up: both endings
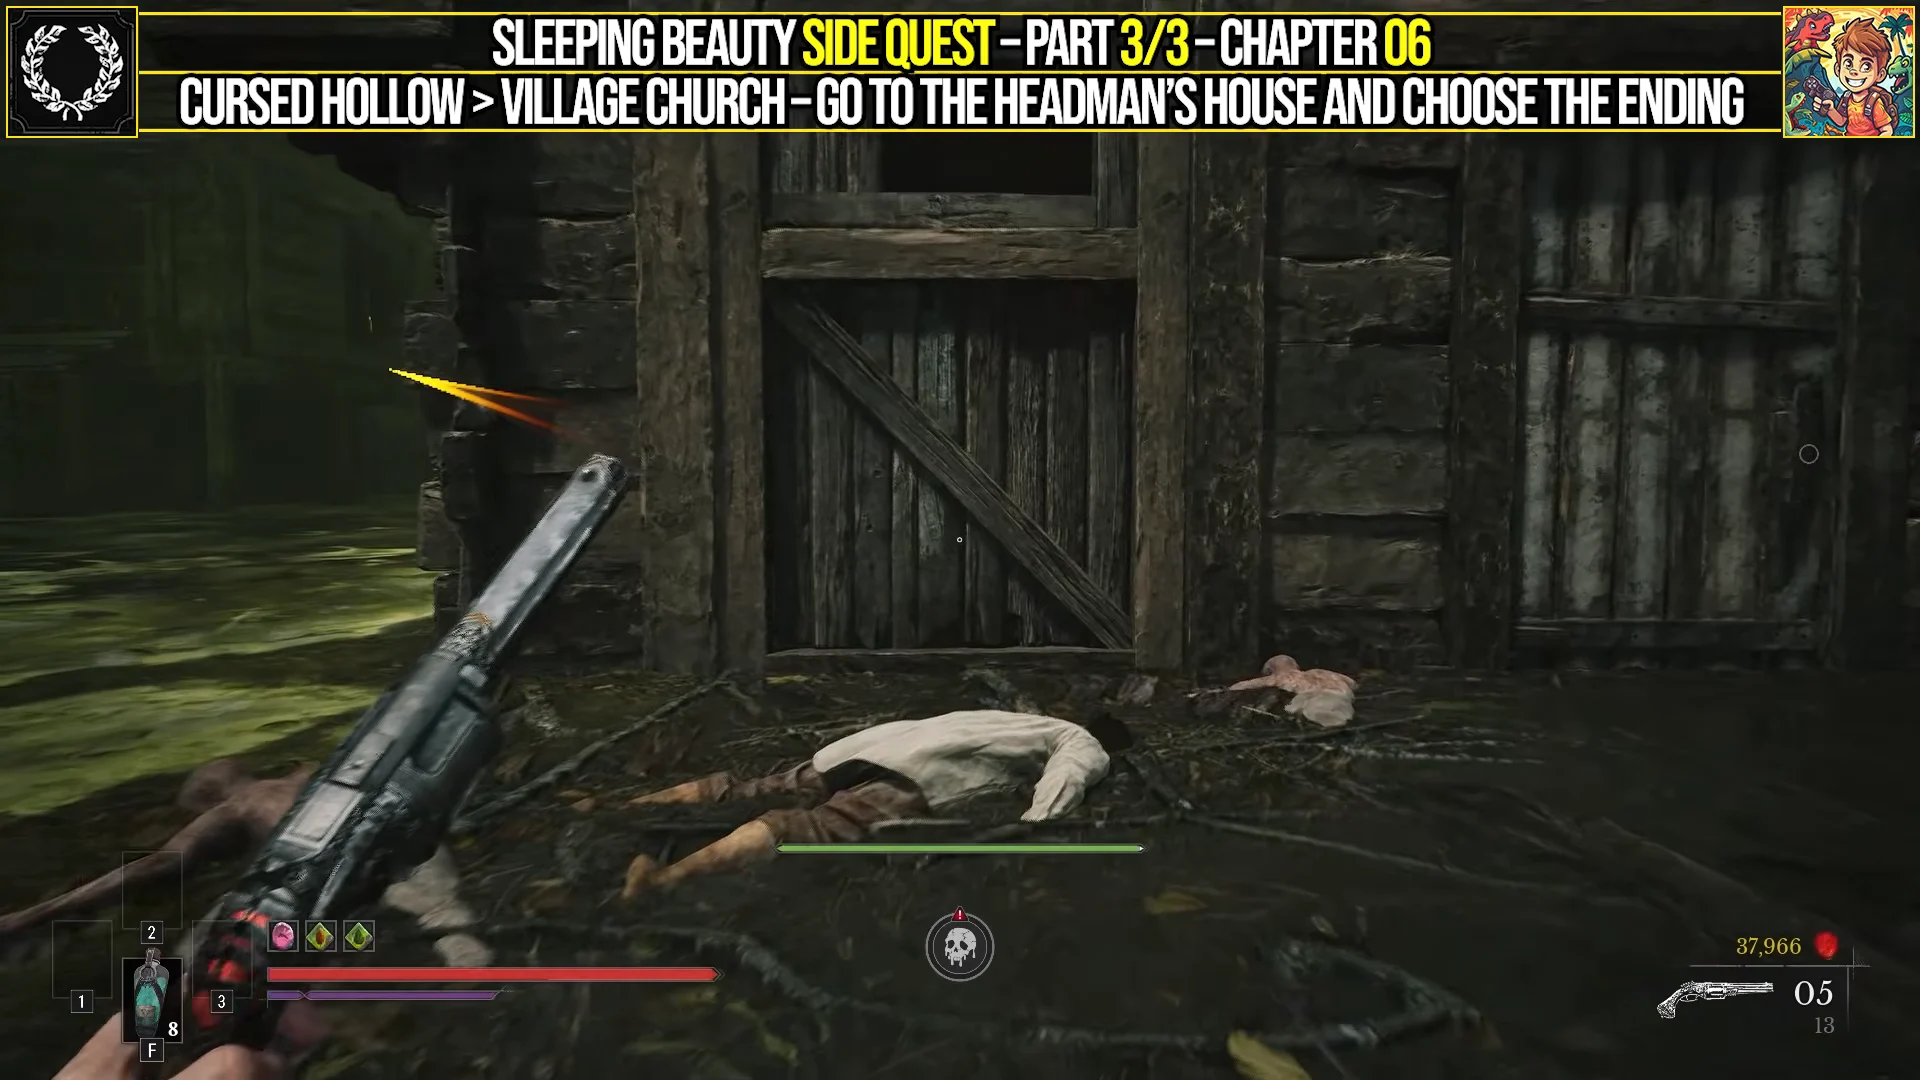
At the spinning wheel you get two prompts. Picking “[E] Let Her Sleep” pushes the pedal and lets the plague take full hold, leaving her asleep forever. Picking “[F] Wake her up” removes the spindle, and she transforms into a monster you must kill. The fight is short and no tougher than a regular villager.
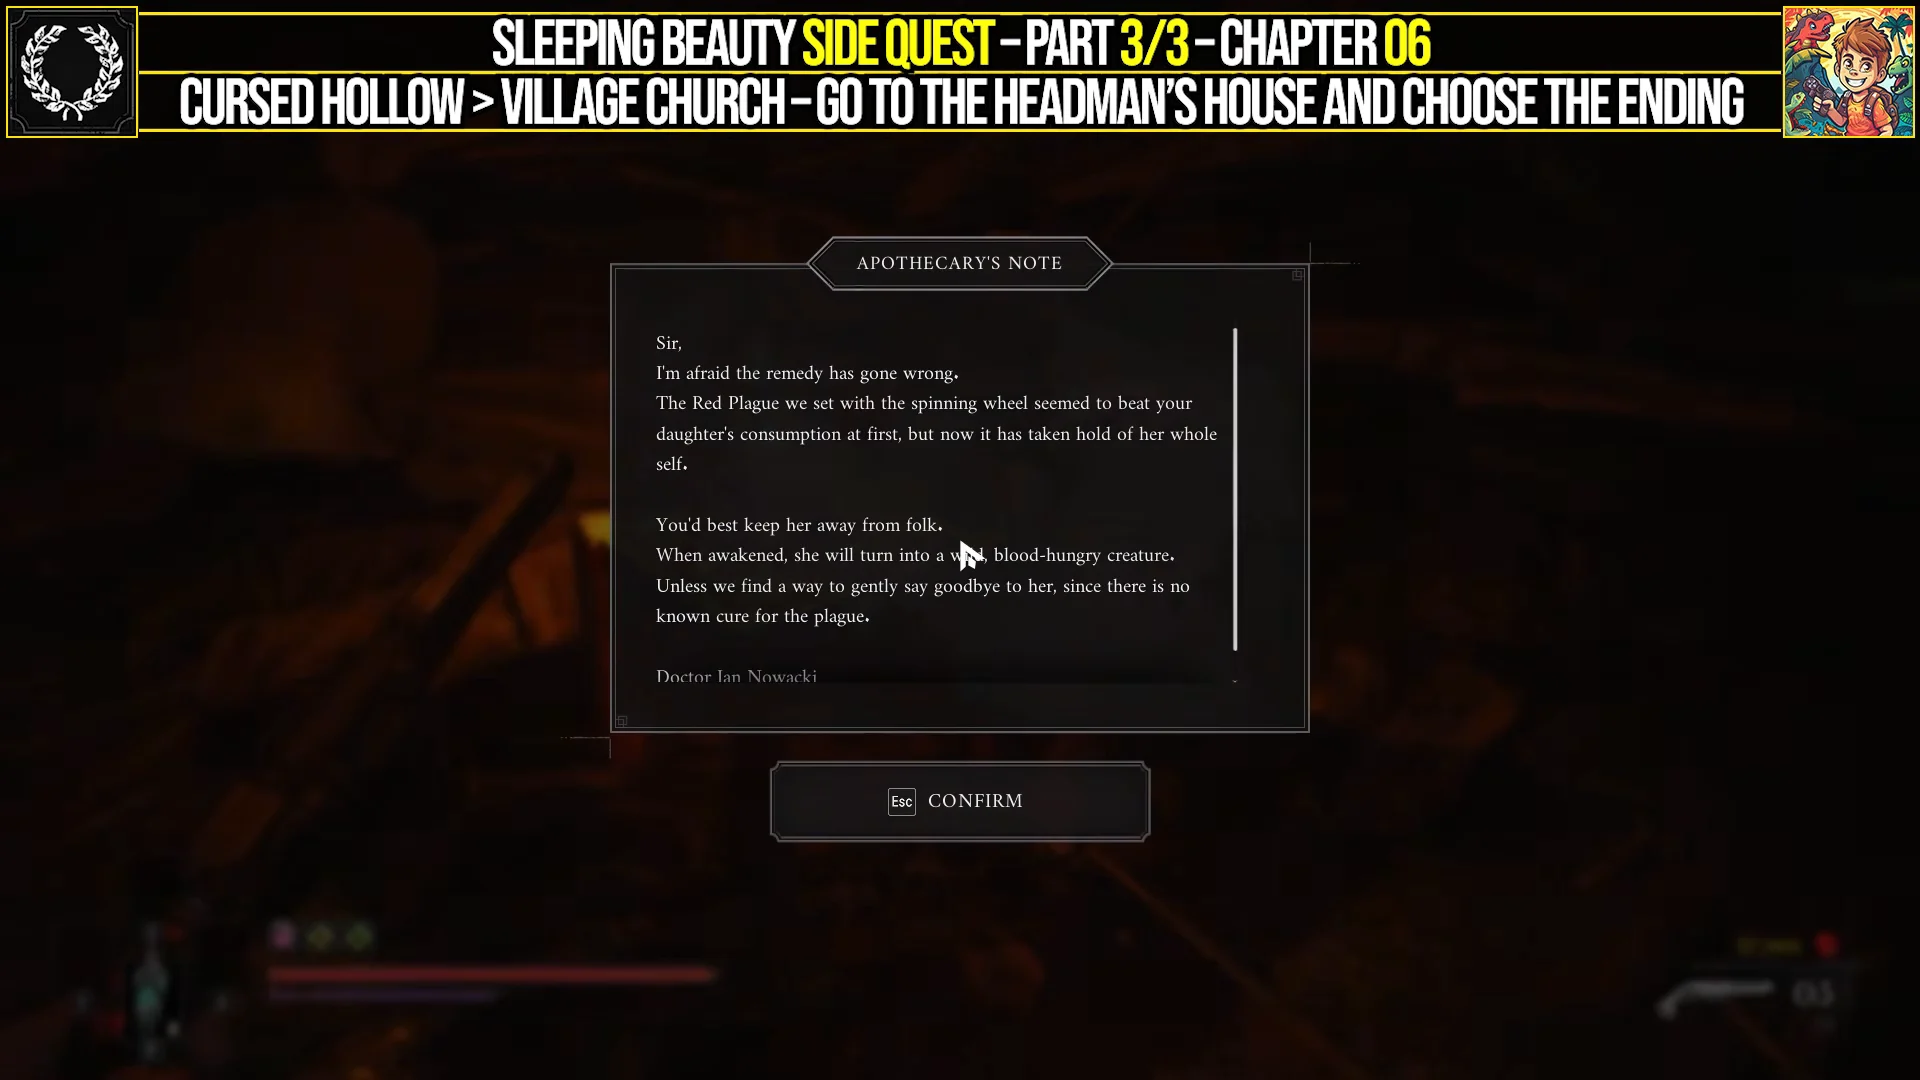
Letting her sleep matches the wish she wrote in her diary, so it reads as the kinder outcome. Waking her forces William to put her down, and he regrets it immediately. Neither path is a happy ending, and the item reward is identical, so decide on the story rather than the loot.
| Choice | Outcome | Reward |
|---|---|---|
| Let Her Sleep | She stays dormant forever, no fight |  Distilled Transmutation Material (+ Catalysts) Distilled Transmutation Material (+ Catalysts) |
| Wake her up | She mutates and you kill her | Distilled Transmutation Material (+ Catalysts) |
Read the diary before you touch the wheel. It is the only place the girl’s own wish is stated, and it changes how the two outcomes land.
Distilled Transmutation Material: what the reward does
The quest hands you one Distilled Transmutation Material regardless of your choice. It is an upgrade material used to level up Transmutations, and it carries a shop value of $8,000, making it worth holding rather than selling. Louis’s Laboratoire stocks one from Chapter 9 (In Ruins), and copies also sit in chests and in the world across several regions.
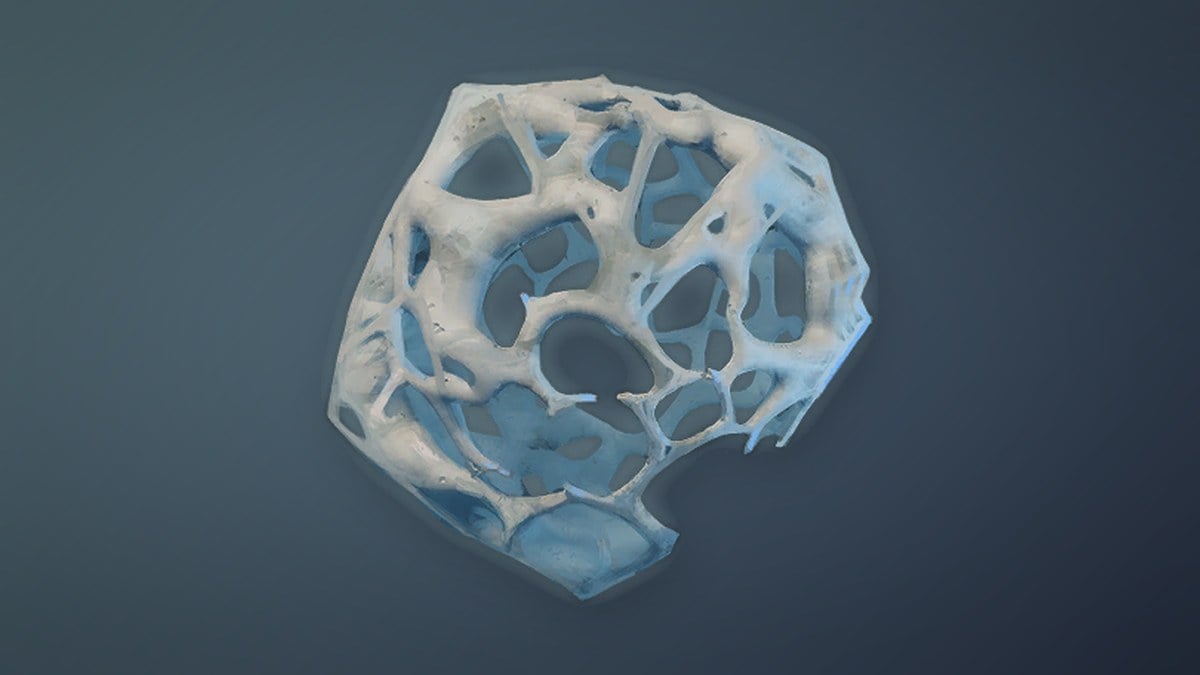
It feeds the level 4 upgrades for three Transmutations, each needing two of the material:
| Transmutation | Upgrade | Cost |
|---|---|---|
 Fire Transmutation Fire Transmutation | Level 4 | x2 |
 Stasis Transmutation Stasis Transmutation | Level 4 | x2 |
| Shield Transmutation | Level 4 | x2 |
The Headman’s Key is a one-use quest key. It is found only in Cursed Hollow, dropped by the Headman when you defeat him, and its sole purpose is opening the daughter’s chamber.
How to confirm the quest is done
You will see a “QUEST COMPLETE” notification and the Distilled Transmutation Material added to your inventory the moment the choice resolves. If you woke her, the prompt fires after she collapses in the brief fight; if you let her sleep, it fires as the plague closes over her. Either way the Sleeping Beauty entry in the side quest menu updates to its final step, and the chamber has nothing left to interact with.