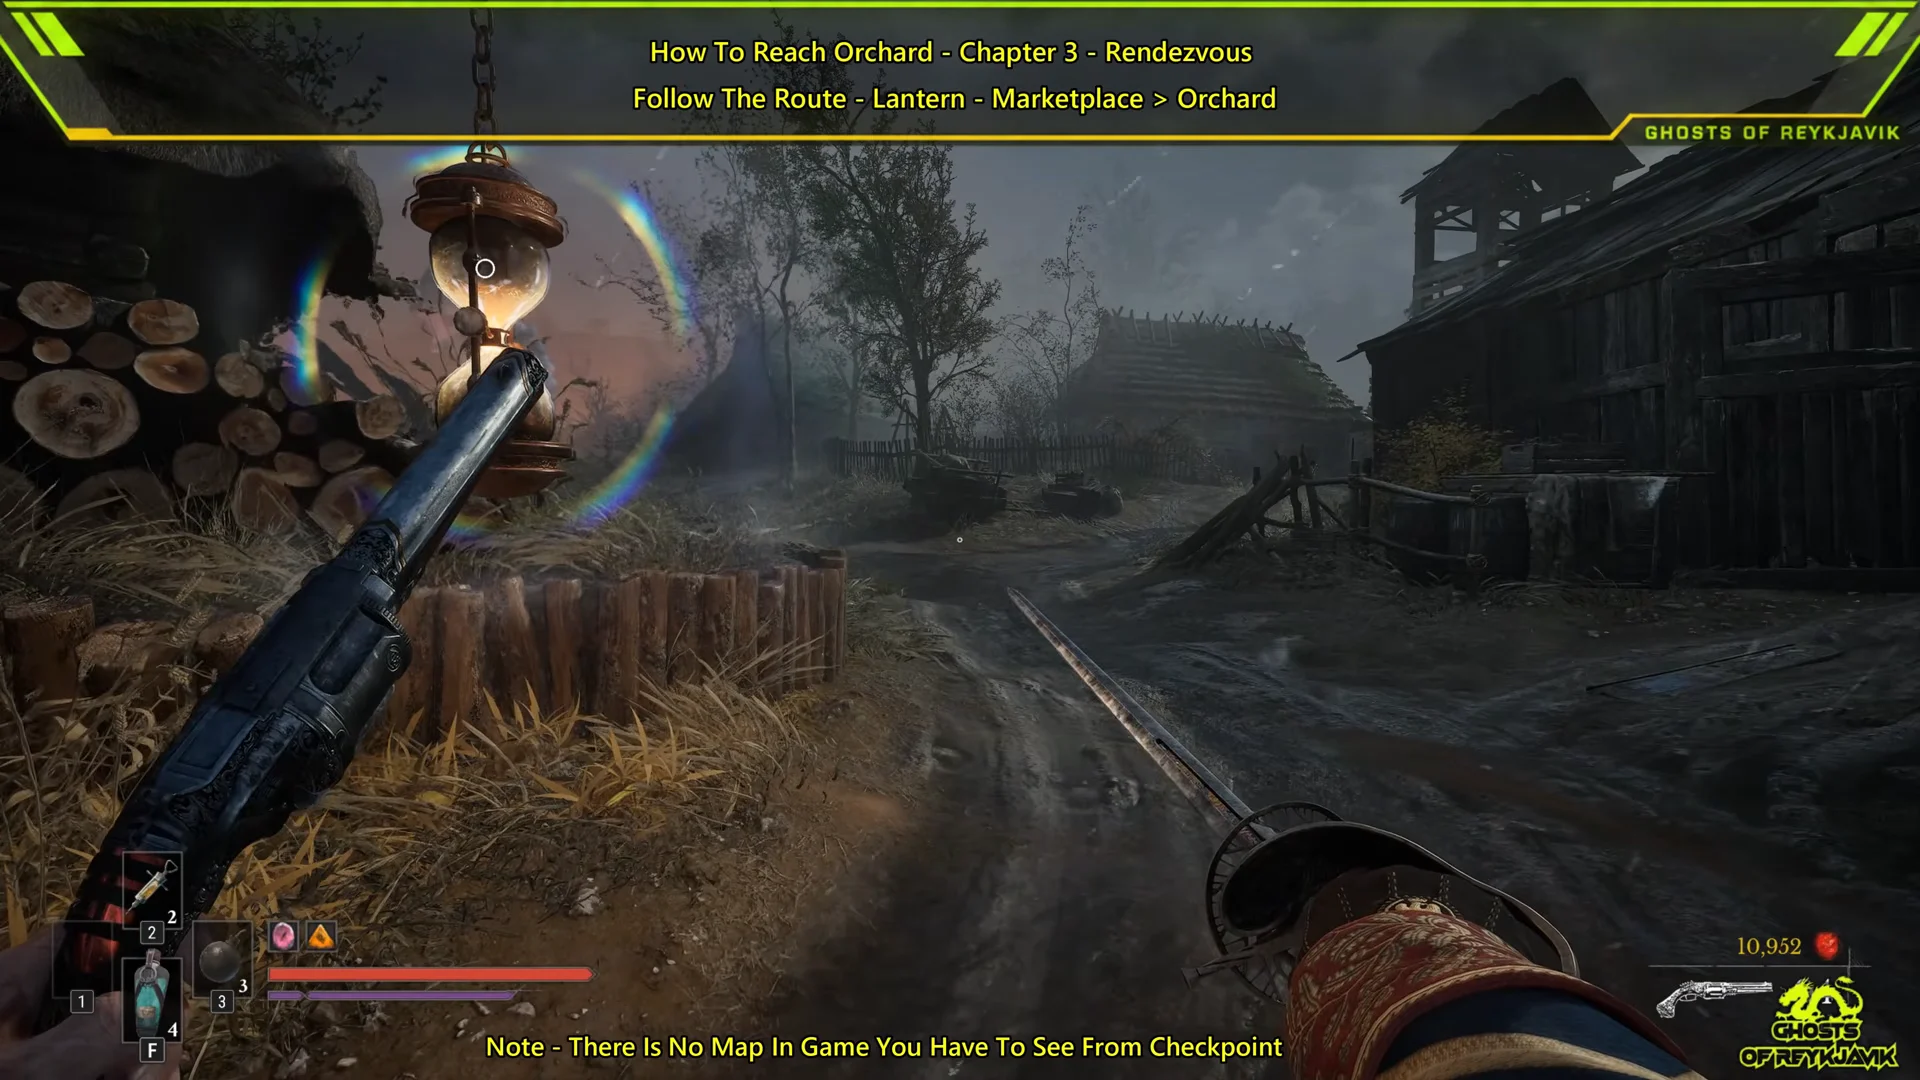
The Orchard is the third lantern in the Fallen Village, and getting to it during Chapter 3 – Rendezvous is harder than it looks. Valor Mortis has no in-game map, so you have to read the route from landmarks: a ladder over the village wall, a burning cart, a house with a back door, and a cellar sealed by corrupted roots. The path only opens after you find a key and destroy the growth that feeds those roots.
Quick answer: From the Marketplace lantern, cross the wall, go through the house into the cellar, grab the Storage Key, destroy the core behind the locked gate, then take the stairs up and follow the lanterns.
Marketplace lantern to the Fallen Village cellar
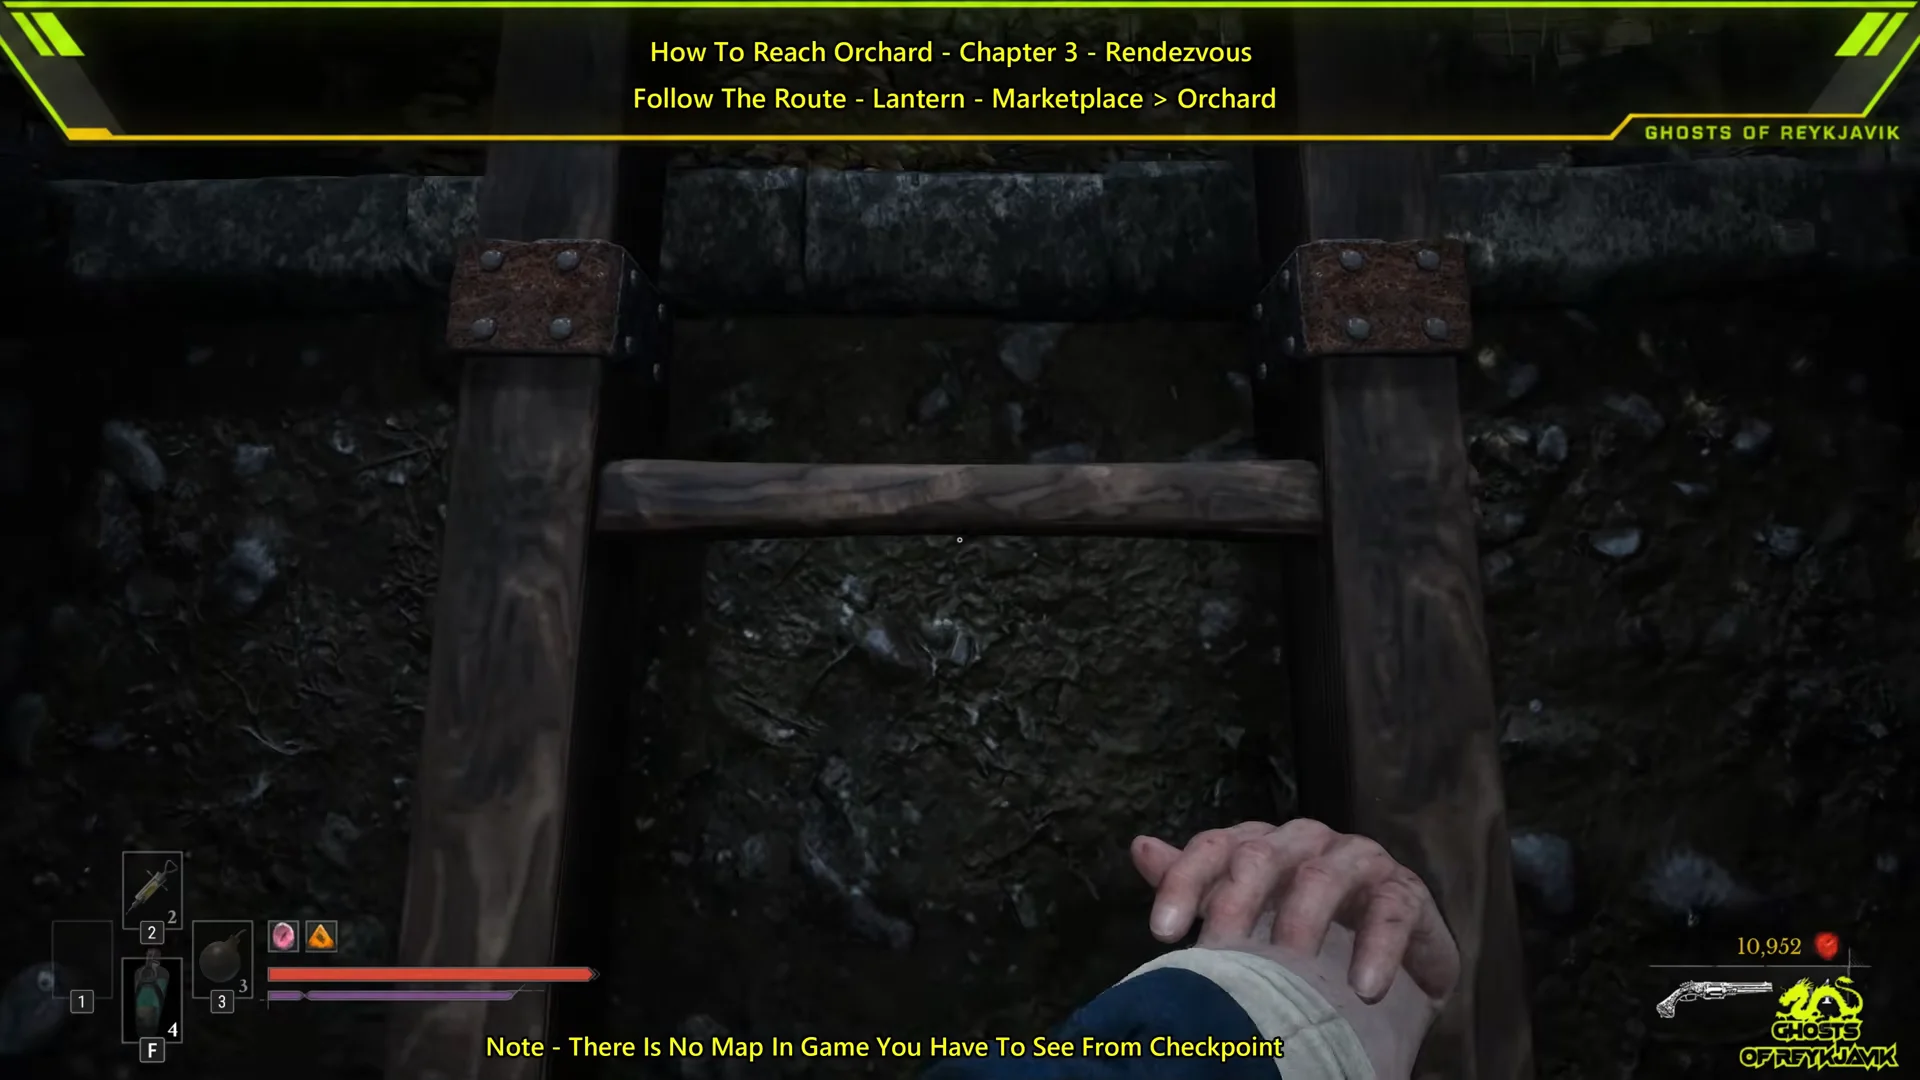
The run starts at the Marketplace lantern, the hanging hourglass checkpoint in the Fallen Village. Everything up to the cellar is on the surface and takes well under a minute if you don’t stop to fight.
Storage Key and the root barrier in the cellar
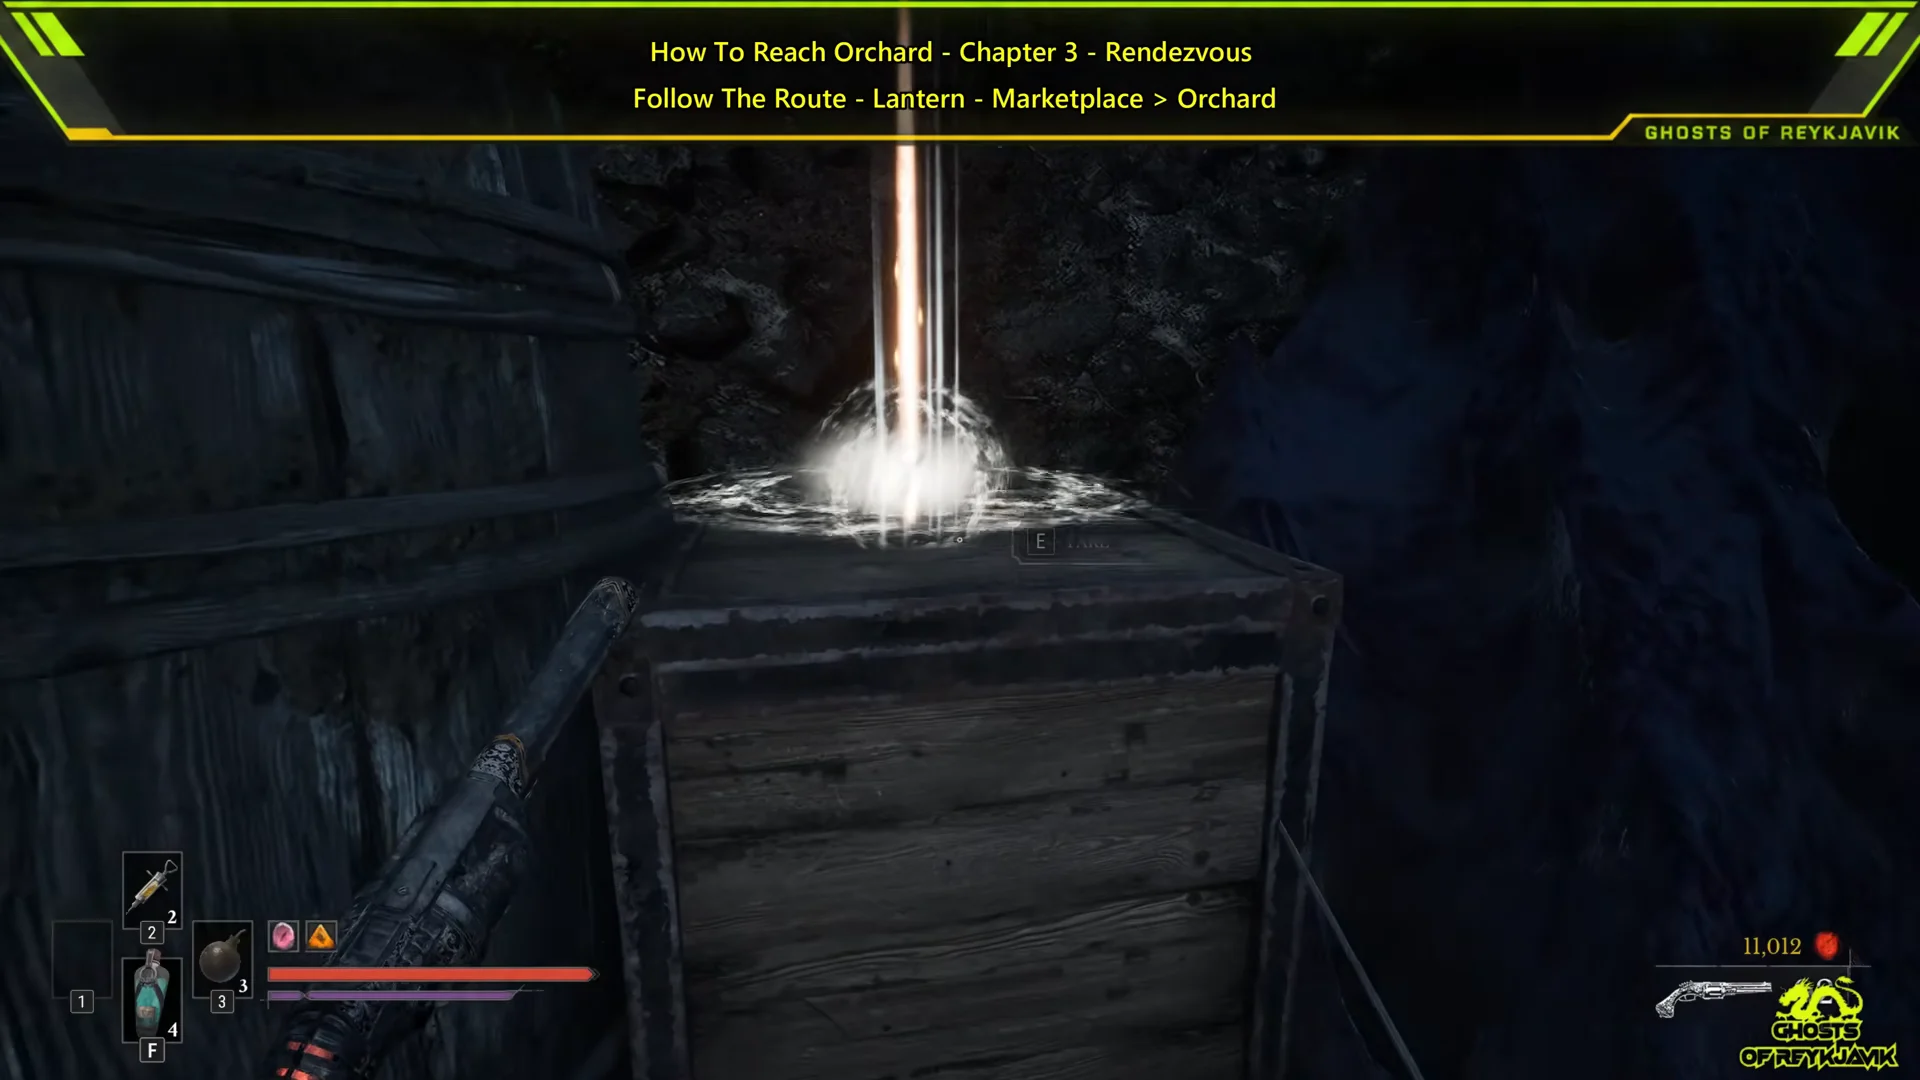
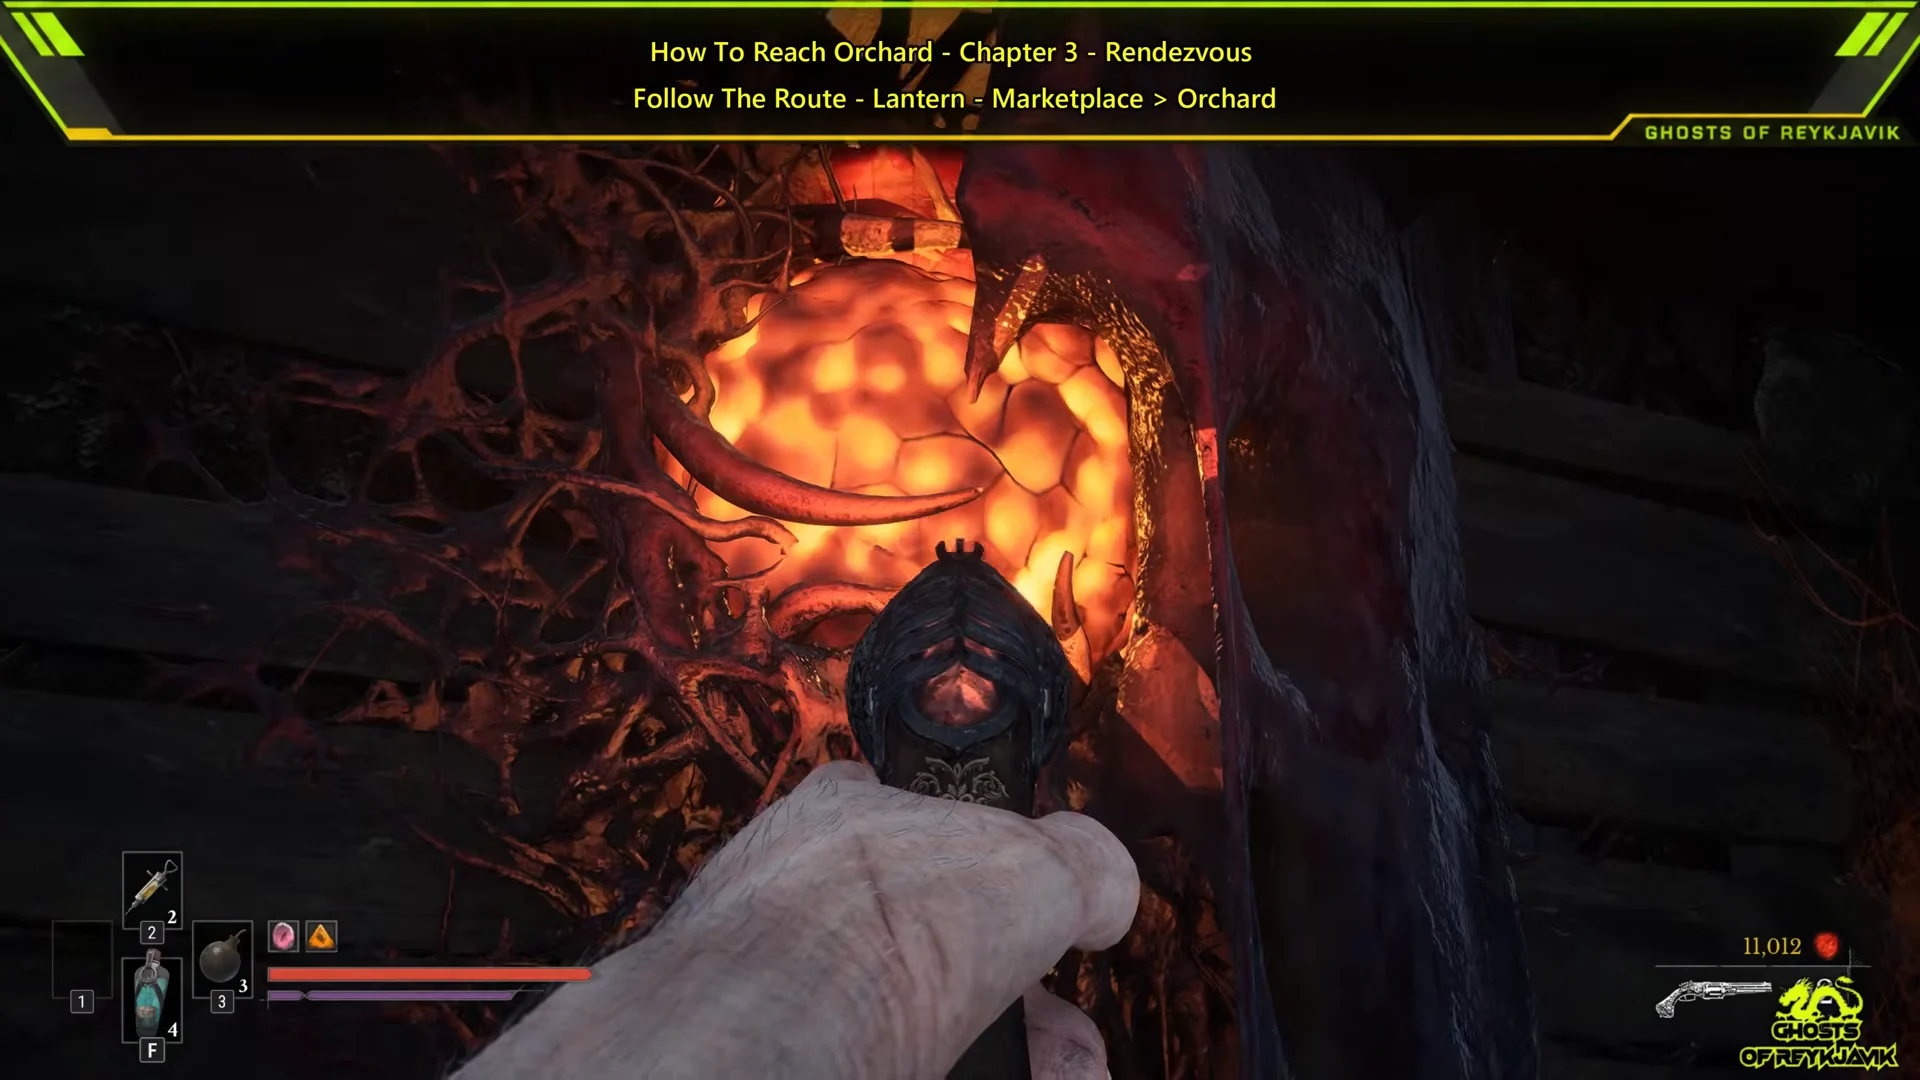
The cellar is a short puzzle. A stone staircase leads back to the surface, but red corrupted roots block it. Those roots come from a fleshy core locked inside a barred cell, and the cell needs the Storage Key. Trying the door without the key shows “This door is locked and requires Storage Key.”

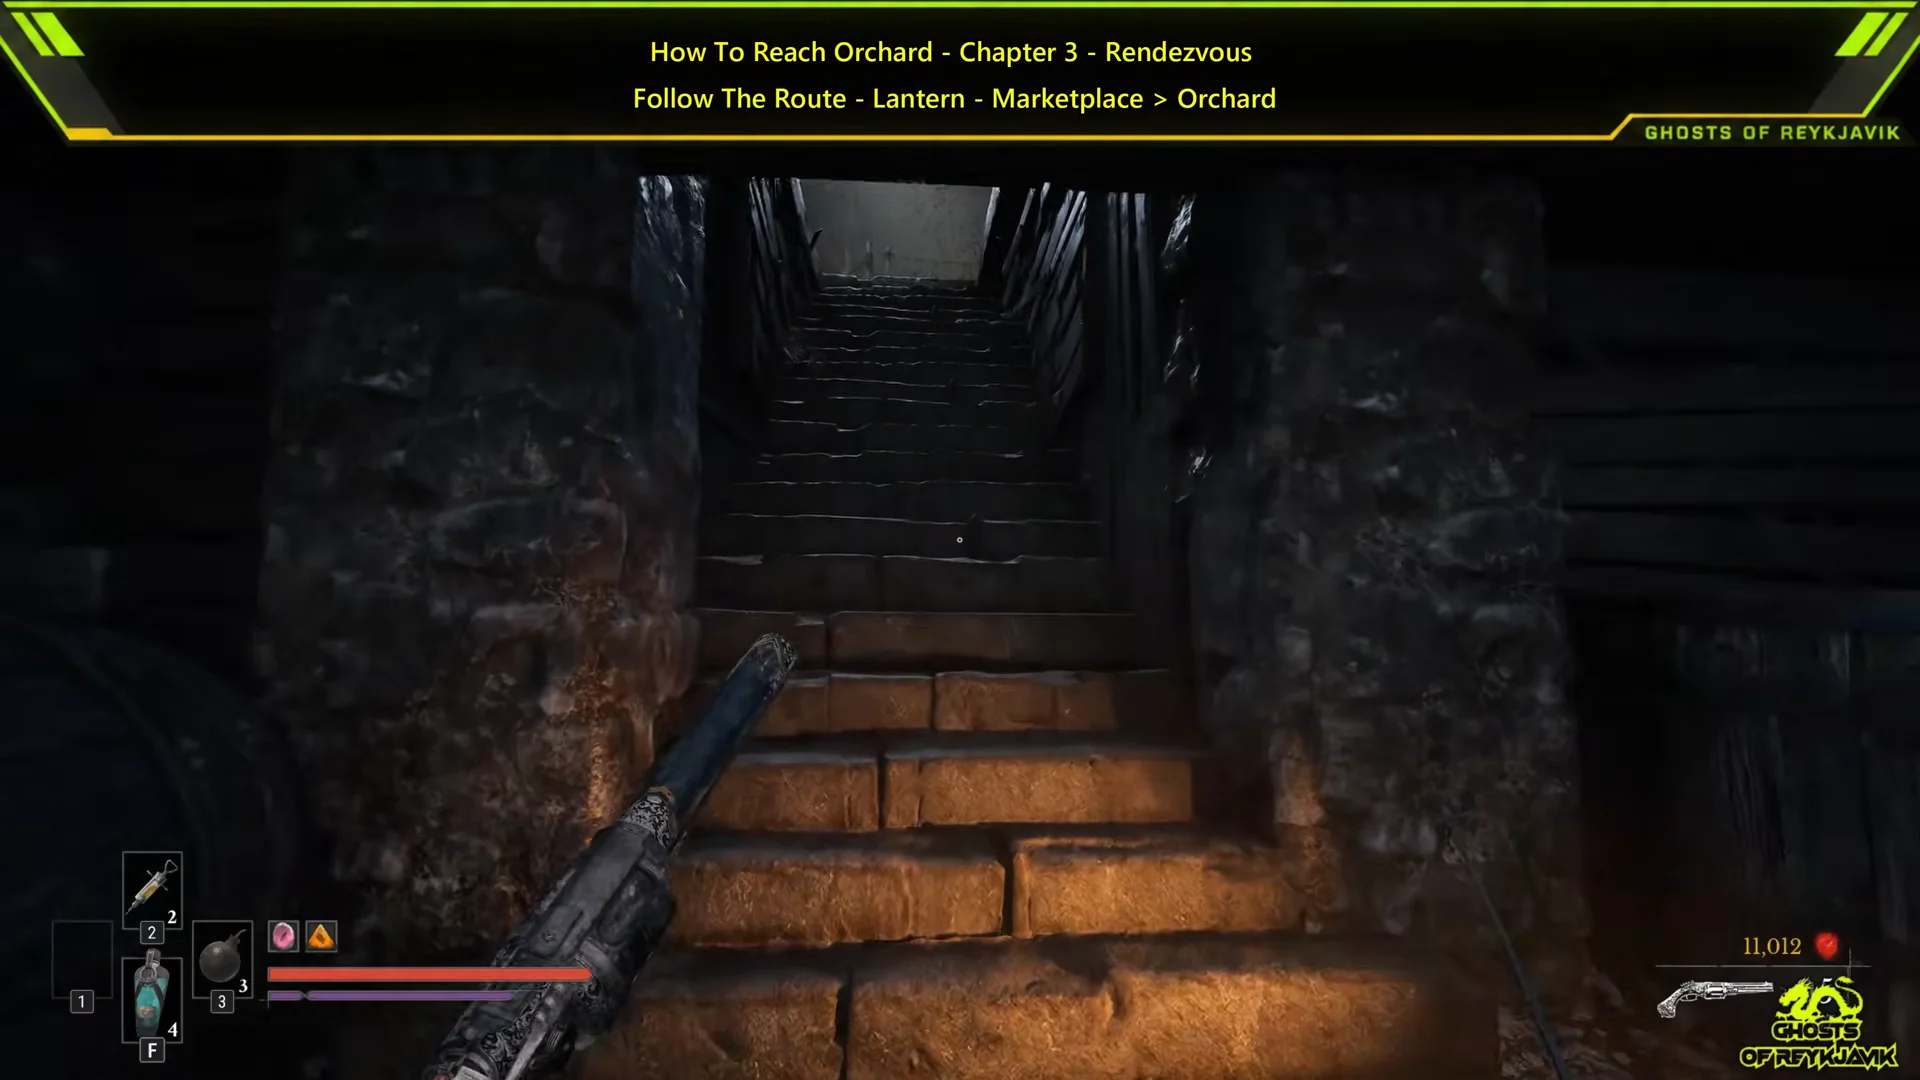
Cellar stairs to the Orchard lantern
Once the roots are gone, the rest of the trip is a straight line. The lanterns along the final path help a lot, because the Orchard is thick with fog.
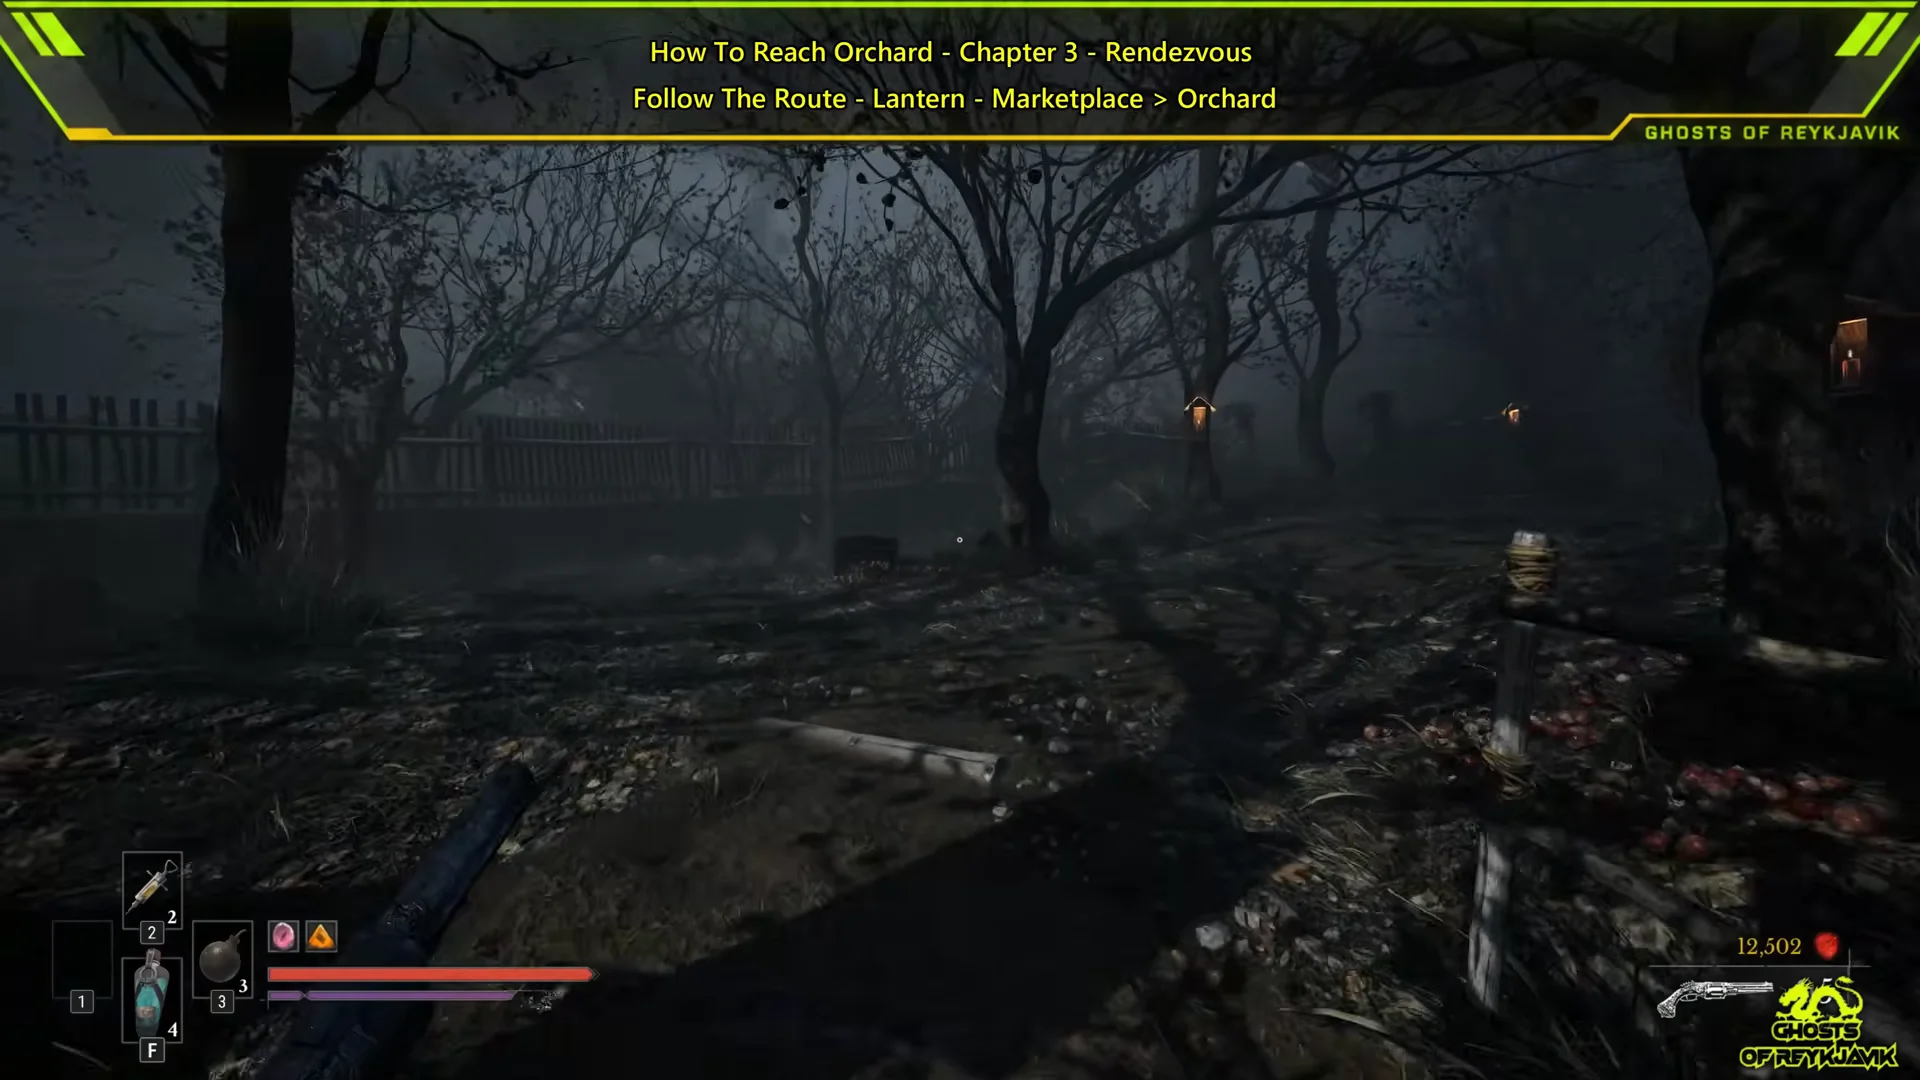
Confirming the Orchard lantern is active
Activating the Orchard lantern restocks your items from the Stash, shown as “Items restocked from Stash,” and opens the lantern menu. You’ll see four options there:
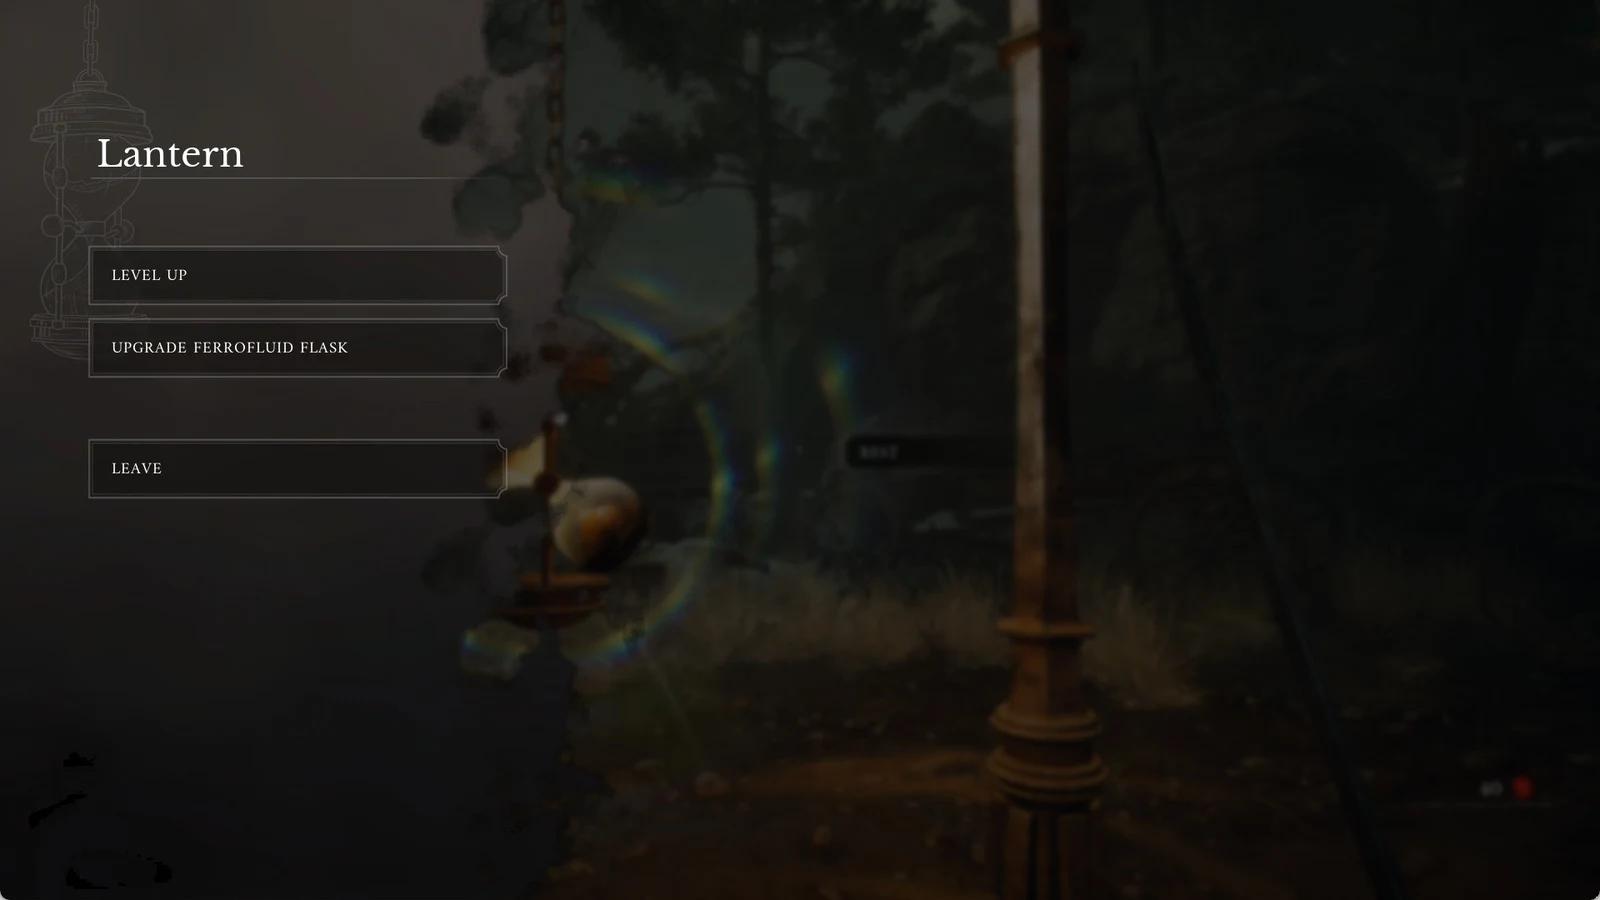
- LEVEL UP, for spending currency on your character
- TRAVEL, for moving between lanterns you’ve activated
- UPGRADE FERROFLUID FLASK, for raising flask healing
- LEAVE, to close the menu
Once this menu appears, the Orchard counts as a checkpoint. If you die later in the Fallen Village, you respawn here and don’t have to repeat the cellar.
Fallen Village lanterns and region details
The Orchard belongs to the Fallen Village, region III. Without a map, it helps to know which checkpoints exist in the area and what else is there.

| Fallen Village | Value |
|---|---|
| Region numeral | III |
| Lanterns | Fields, Marketplace, Orchard, Path of Fire |
| Boss |  The Iron Marshall The Iron Marshall |
| Chests | 9 |
| Notes placed | 5 |
Enemies in the region are Shambling Civilians, Risen Musketeer, Risen Soldier, Volunteers, Carrion, Howler, Risen Grenadier, Risen Duellist, Eternal Guardsman and Risen Sapeur. Expect some of them on the road between the Marketplace and the cellar.
The Marketplace lantern, your starting point for this route, is also in the Fallen Village.
Ferrofluid Flask upgrades at the Orchard lantern
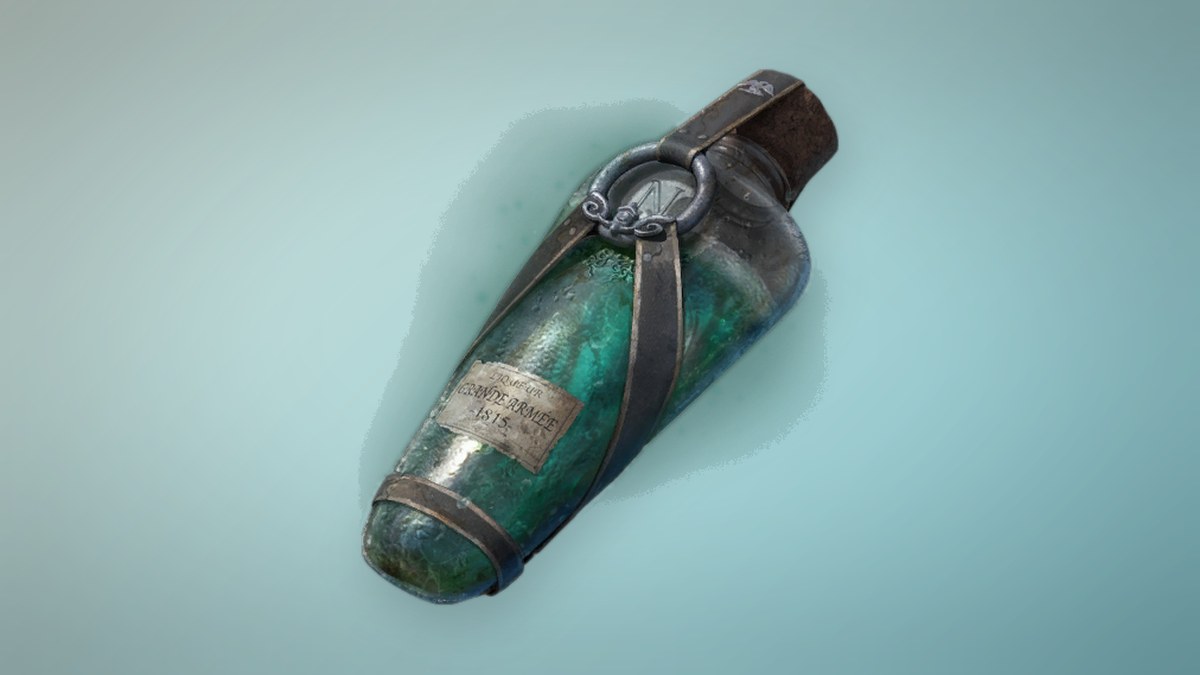
The UPGRADE FERROFLUID FLASK option is the first thing many players use at a new lantern. A Ferrofluid Flask heals 50 at base, you can carry up to 5, and each Empty Ferrofluid Flask adds one more charge. Each potency upgrade costs Ferrofluid Flask Power Upgrade materials.
| Upgrade | Healing | Power Upgrades needed |
|---|---|---|
| Base | 50 | — |
| 1 | 60 | 1 |
| 2 | 70 | 2 |
| 3 | 80 | 2 |
| 4 | 90 | 2 |
| 5 | 100 | 3 |
| 6 | 110 | 3 |
| 7 | 120 | 3 |
| 8 | 130 | 4 |
| 9 | 140 | 4 |
Taking a flask from 50 to 140 healing costs 24 Ferrofluid Flask Power Upgrades in total.
The Fallen Village holds two Ferrofluid Flask Power Upgrades in its chests. Louis’s Laboratoire sells one for $3,000 from the start of the game and restocks one more each in chapter 5 (Crime) and chapter 9 (In Ruins). The Fortress has the most in chests with four, followed by the City of Orphans and the University with three each.