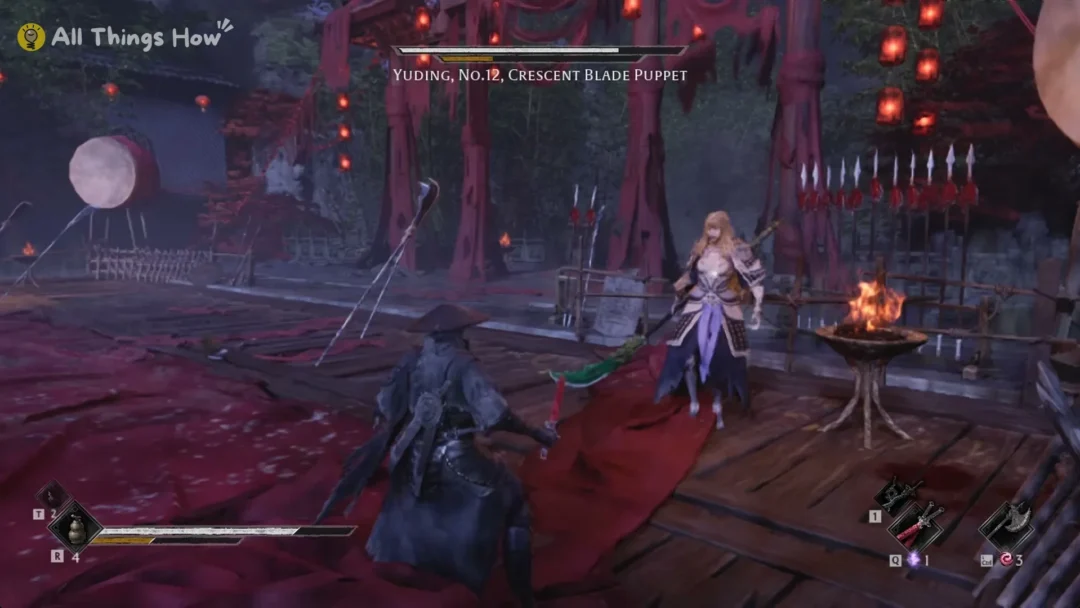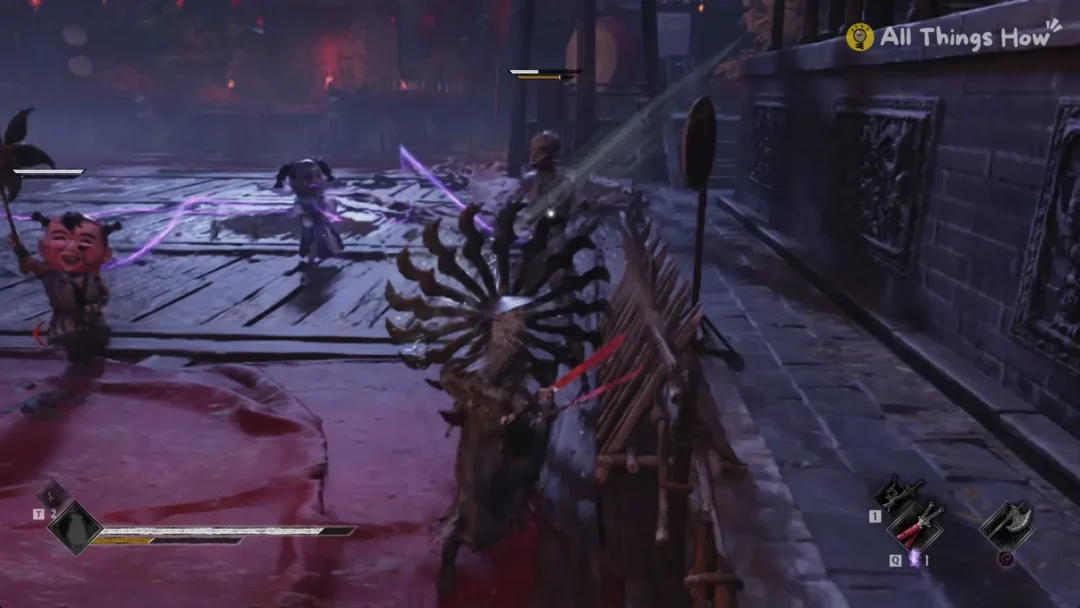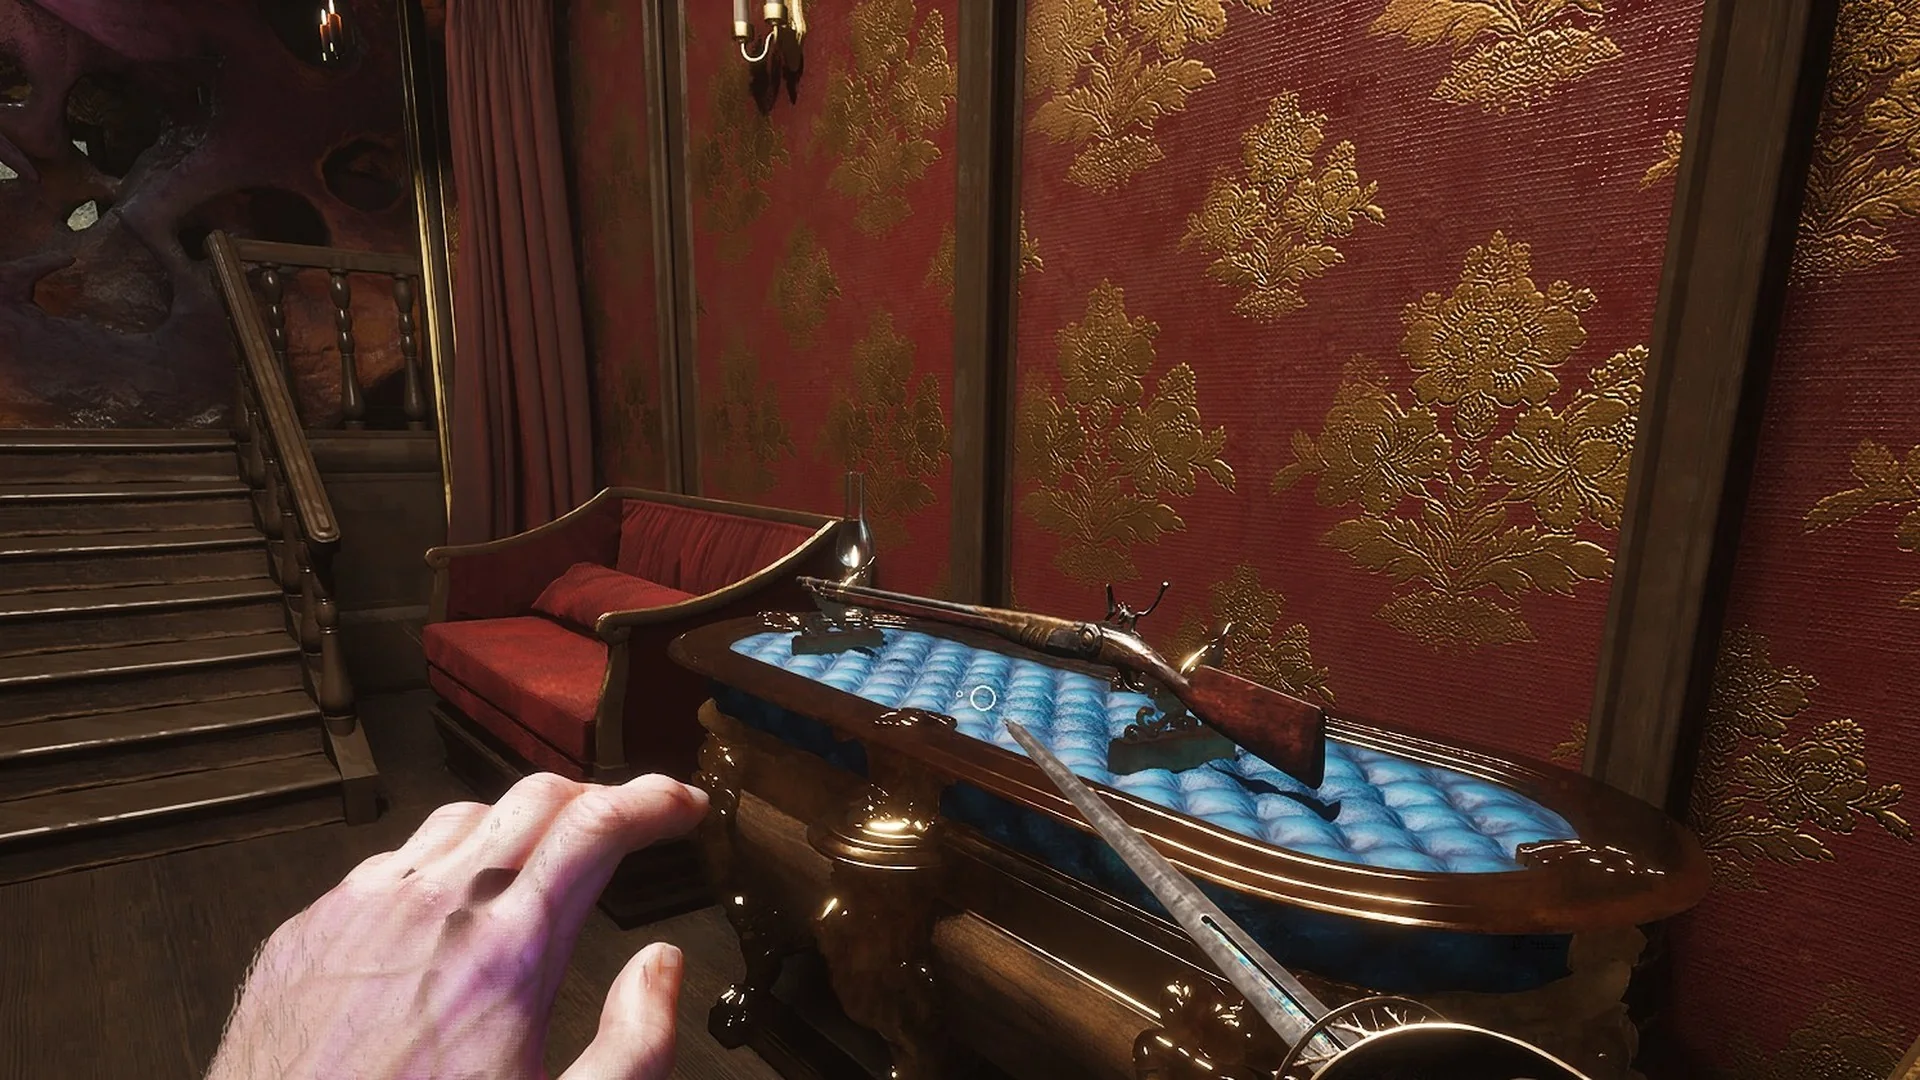
The Musket is the third and final firearm in Valor Mortis. It shows up in Chapter 5, Crime, inside a locked Eternal Guard wagon parked in an army camp in the Vale of Wrath. There’s no boss guarding it, but you can’t reach it without one key. The game also has no map, so you have to find the camp by its landmarks.
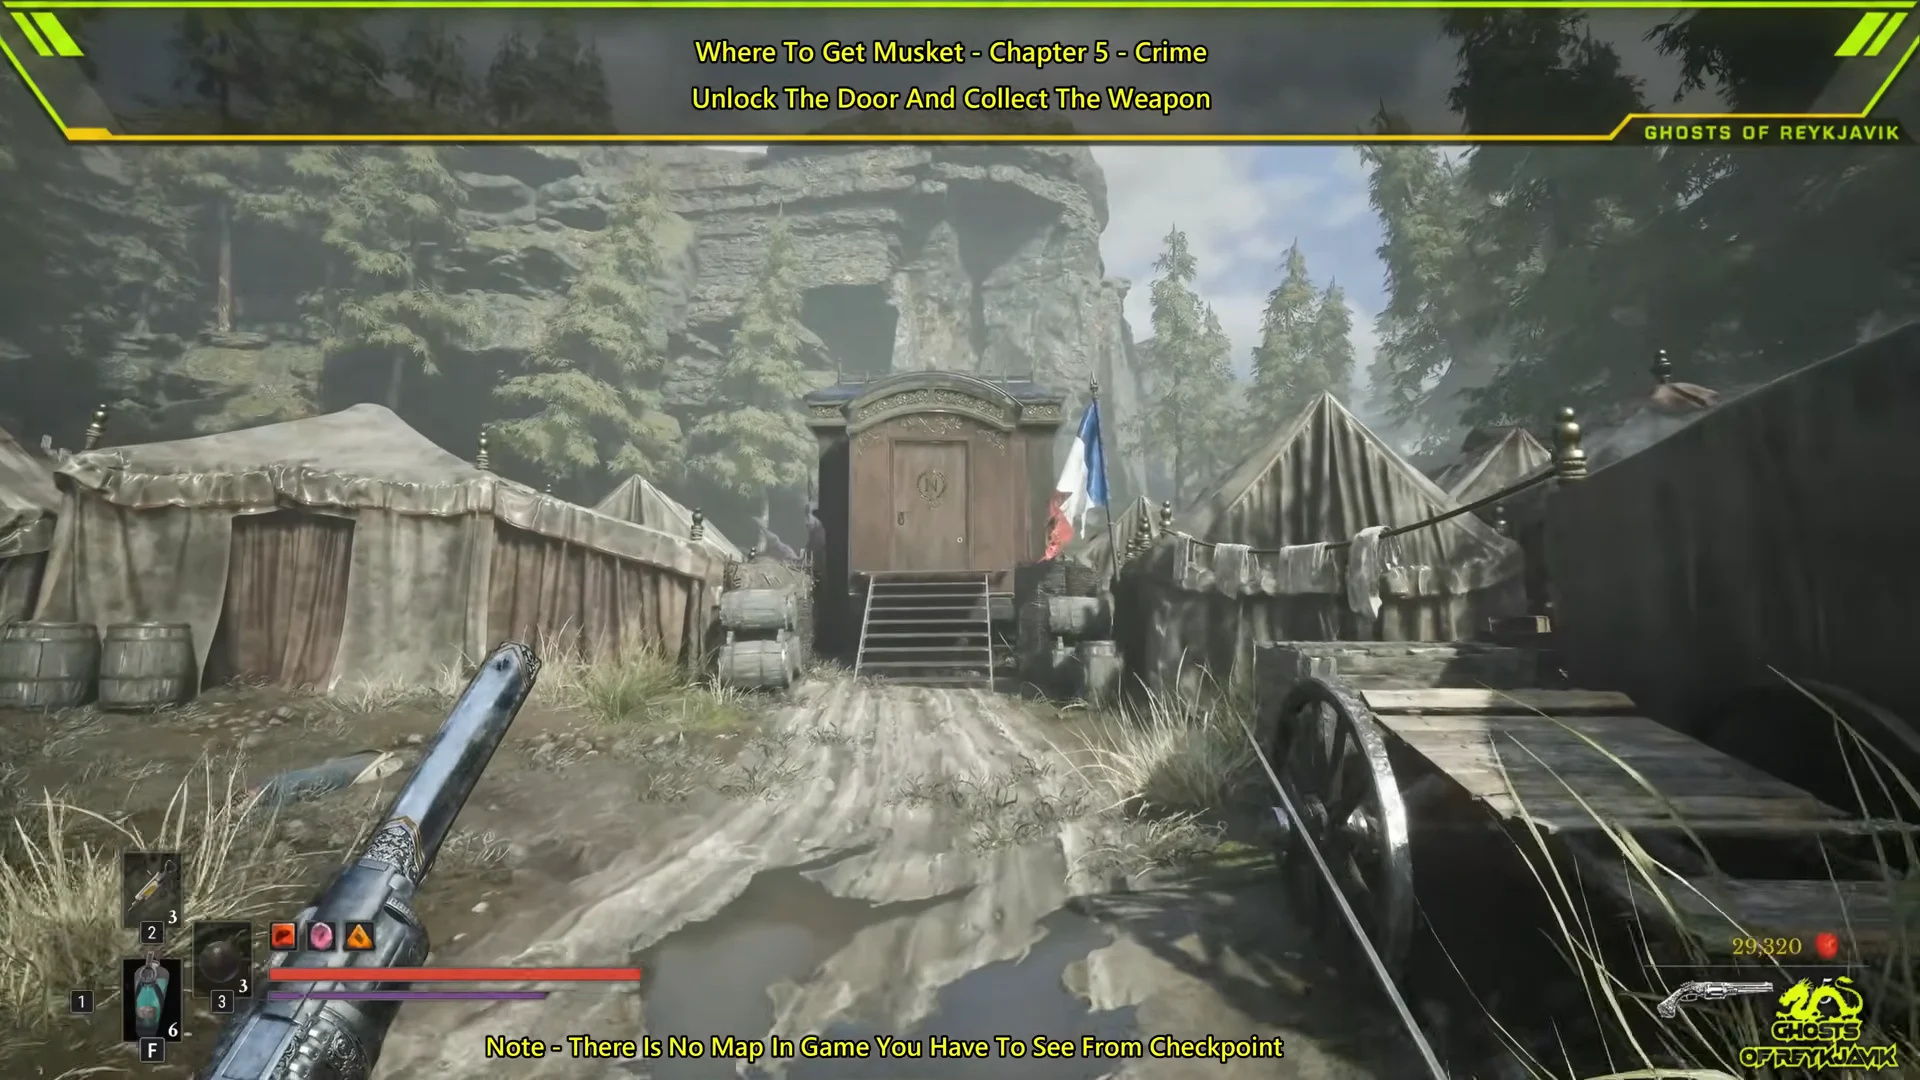
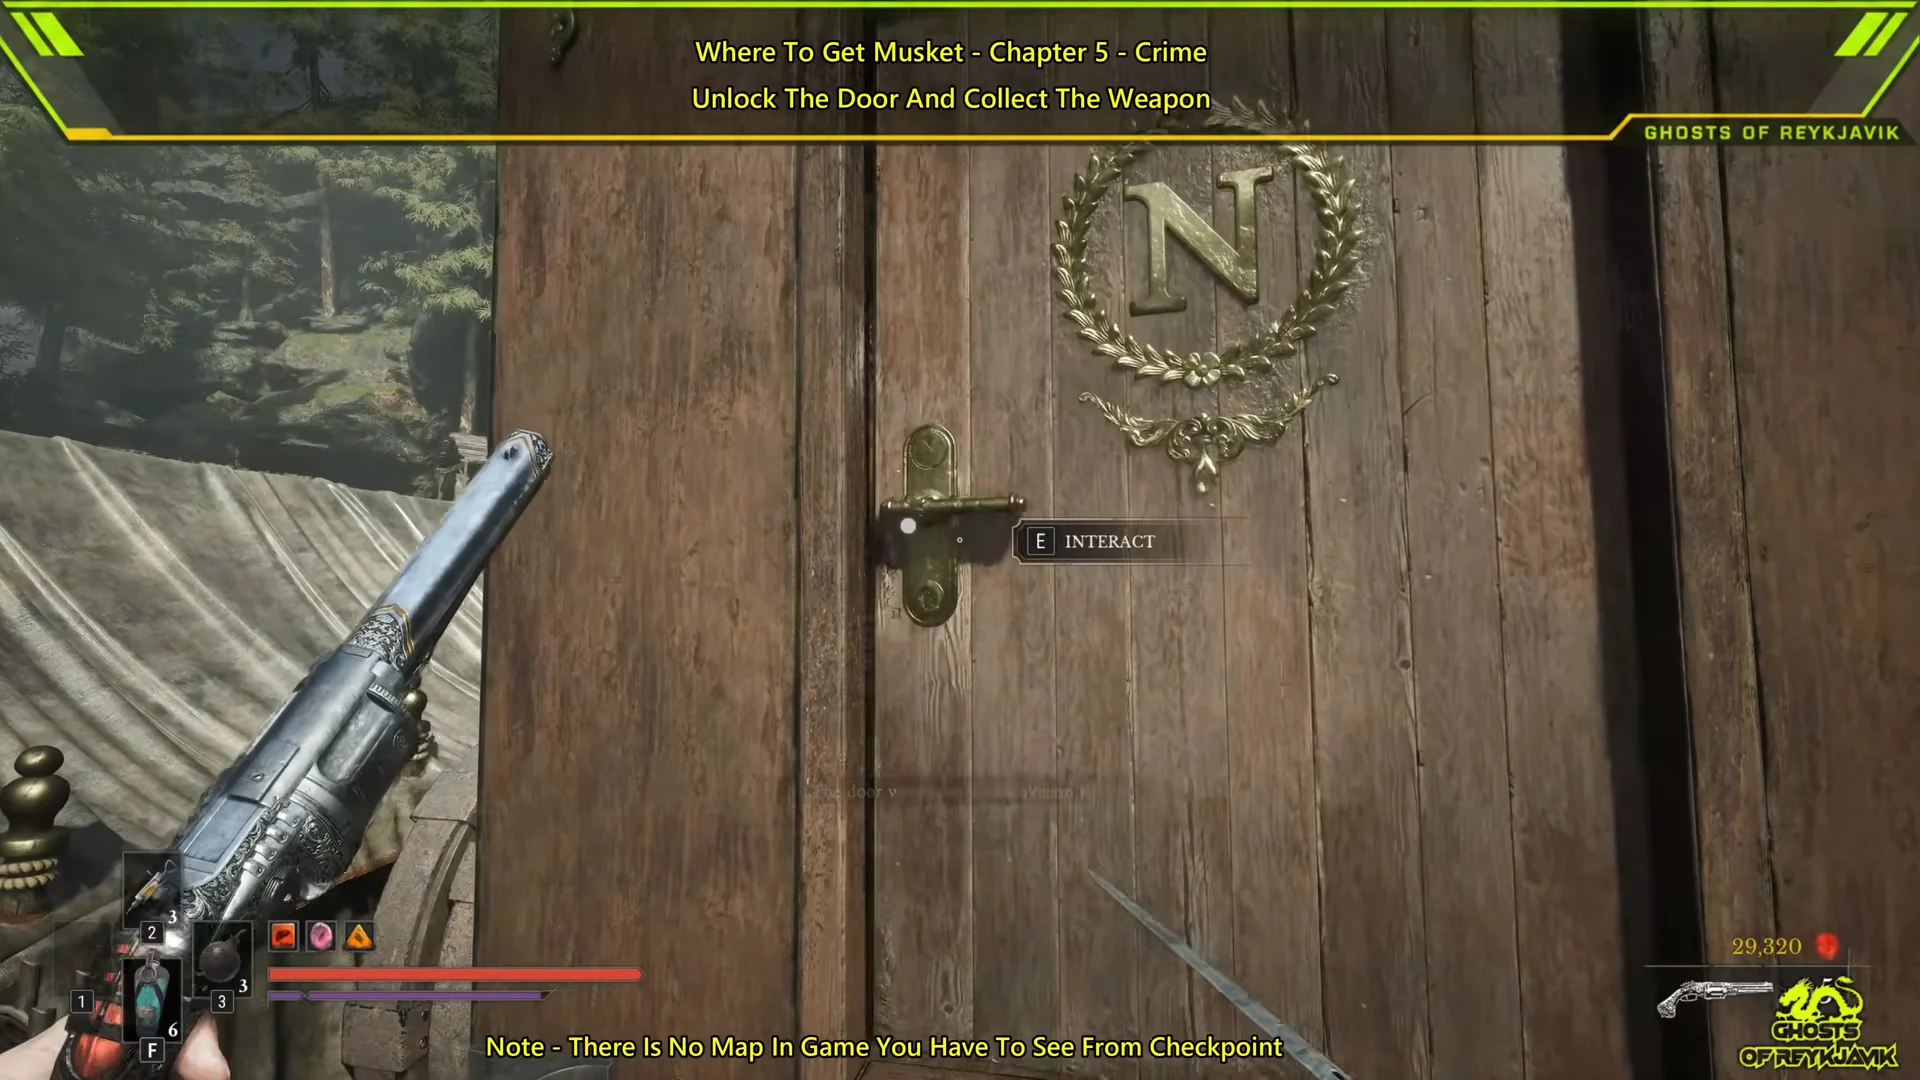
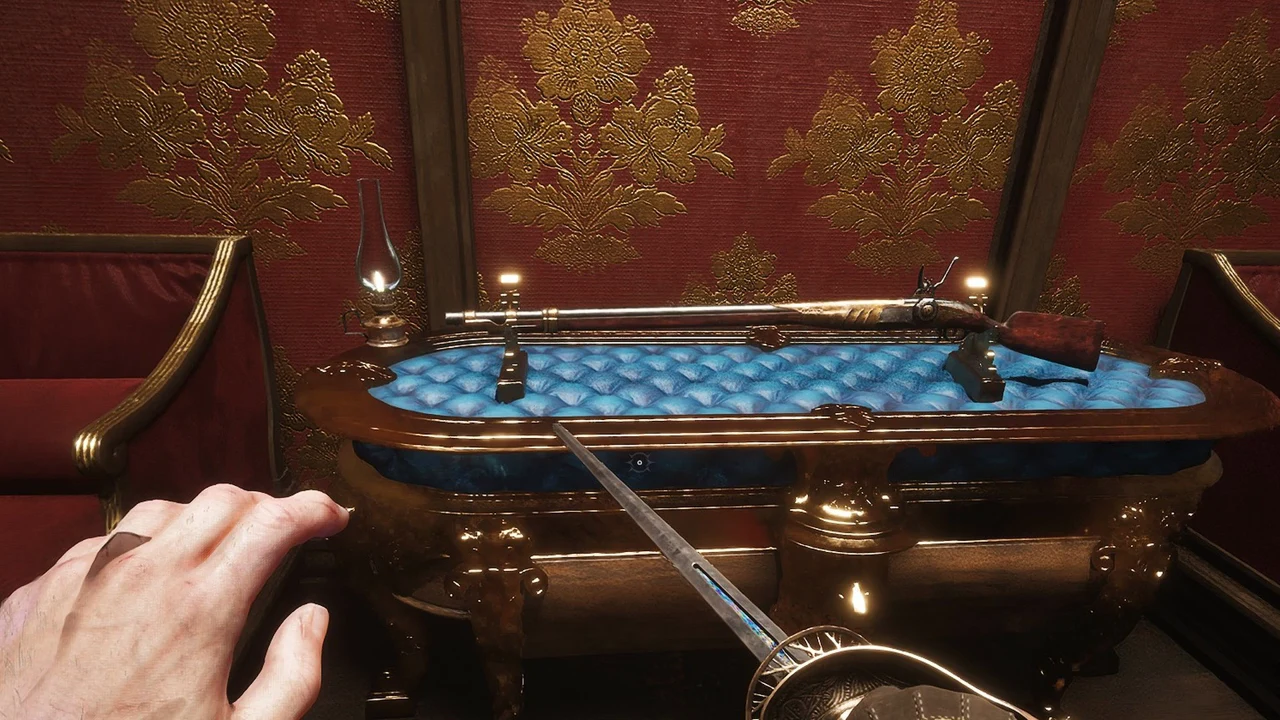
Quick answer: Kill the two-sword Volunteer in the Vale of Wrath army camp to get the Wagon Key. Then open the flagged wagon in the middle of the camp and press E on the Musket inside.
Wagon Key and other requirements for the Musket
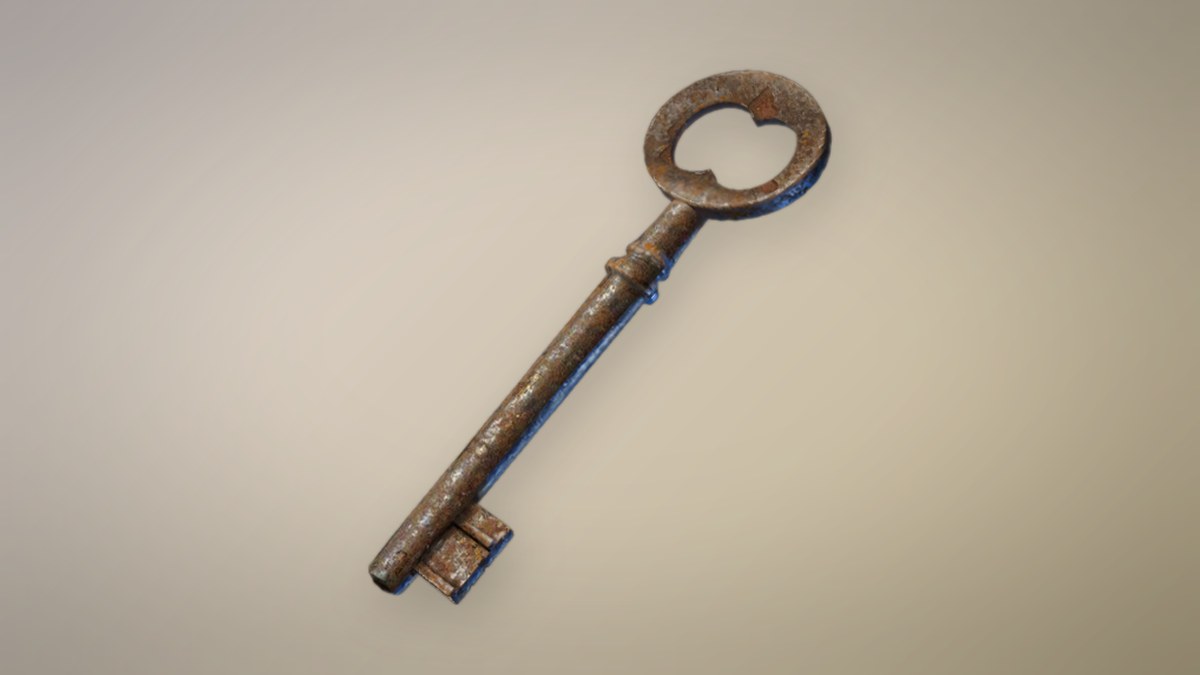
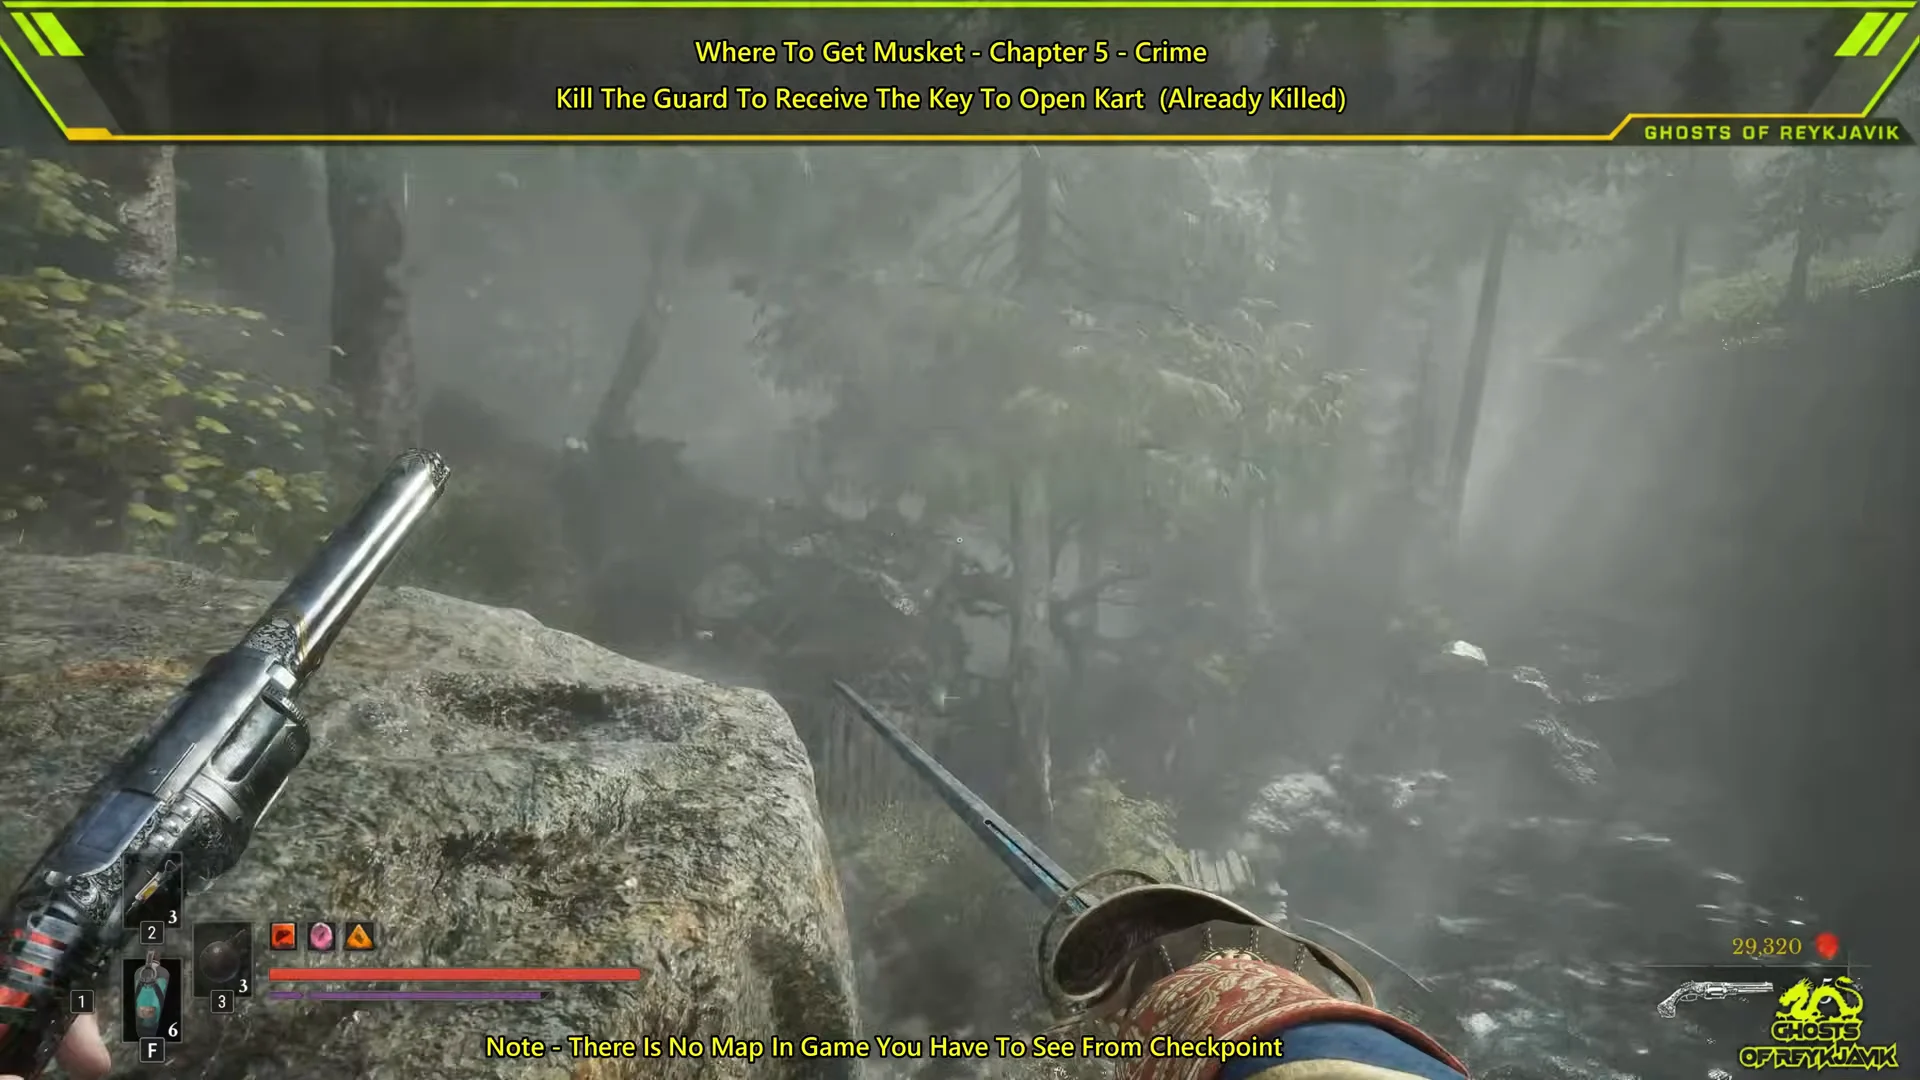
The wagon door won’t move until you’re carrying the Wagon Key. Volunteers drop it. The one you need is the Volunteer with two swords who guards the fortified camp in the Under the Bridge part of the Vale of Wrath. Kill him before you walk up to the wagon.
- Get to Chapter 5, Crime. James hands you the Outward Pass Key at the start of the chapter.
- Open the Outward Pass Gate, then make your way out of the Abandoned Church and into the Vale of Wrath.
- Kill the two-sword Volunteer in the army camp and pick up the Wagon Key.
Where the Vale of Wrath army camp is
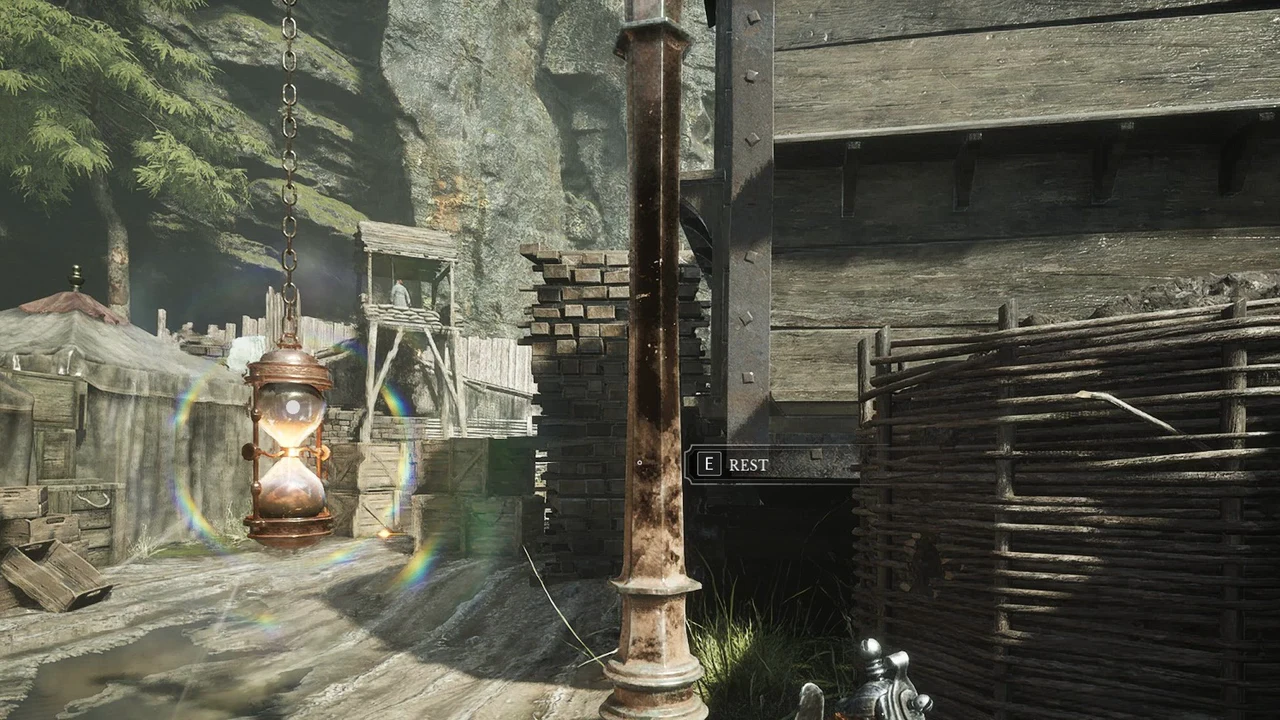
Once you’re in the Vale of Wrath, follow the main route until it splits. The left fork goes to the painter’s house. From the painter’s house, keep going straight down the path and you’ll reach the army camp. Several corrupted enemies stand along that stretch, so fight carefully on the way. The camp itself is a cluster of canvas tents, wicker fences, crates and spiked barricades.
The camp has its own checkpoint, the Poisoned Camp Lantern, which is a glowing hourglass hanging among the tents. The wagon is only a few steps from it. Rest there when you arrive so that a death during the Volunteer fight sends you back next to the wagon.
How to get the Musket from the Eternal Guard wagon
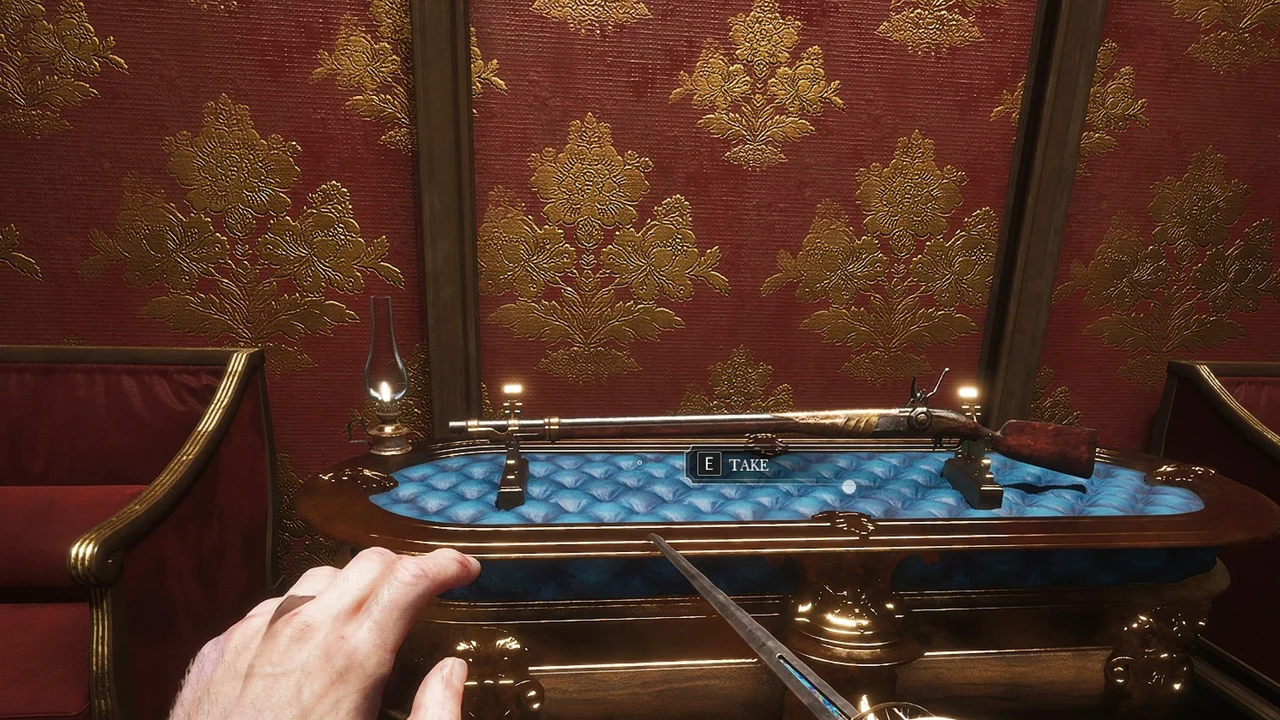
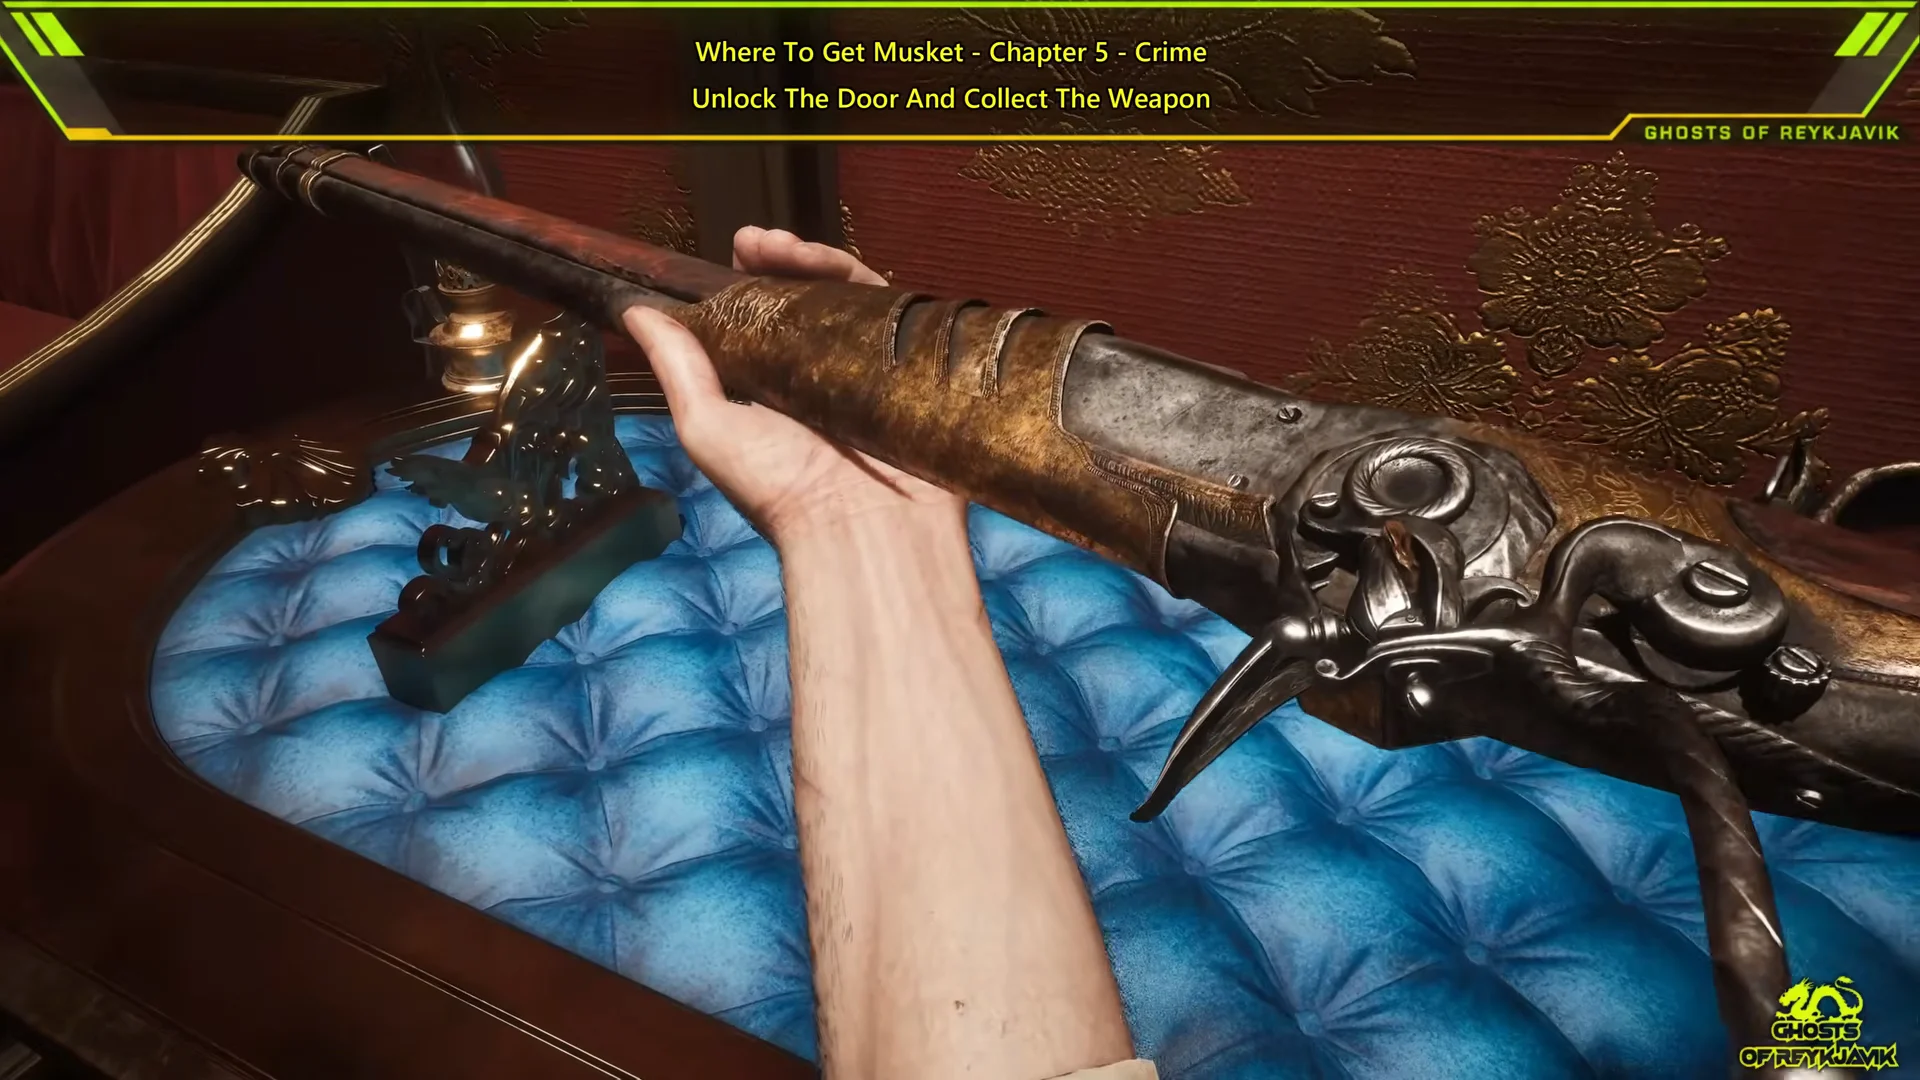
How to confirm the Musket is in your Arsenal
The pickup triggers a series of on-screen prompts and messages, one after another. If you see all of them, the Musket is yours.
- “The door was opened with Wagon Key” appears when the wagon unlocks.
- “NEW ENTRY ADDED TO THE JOURNAL” shows in the top-left as you step inside.
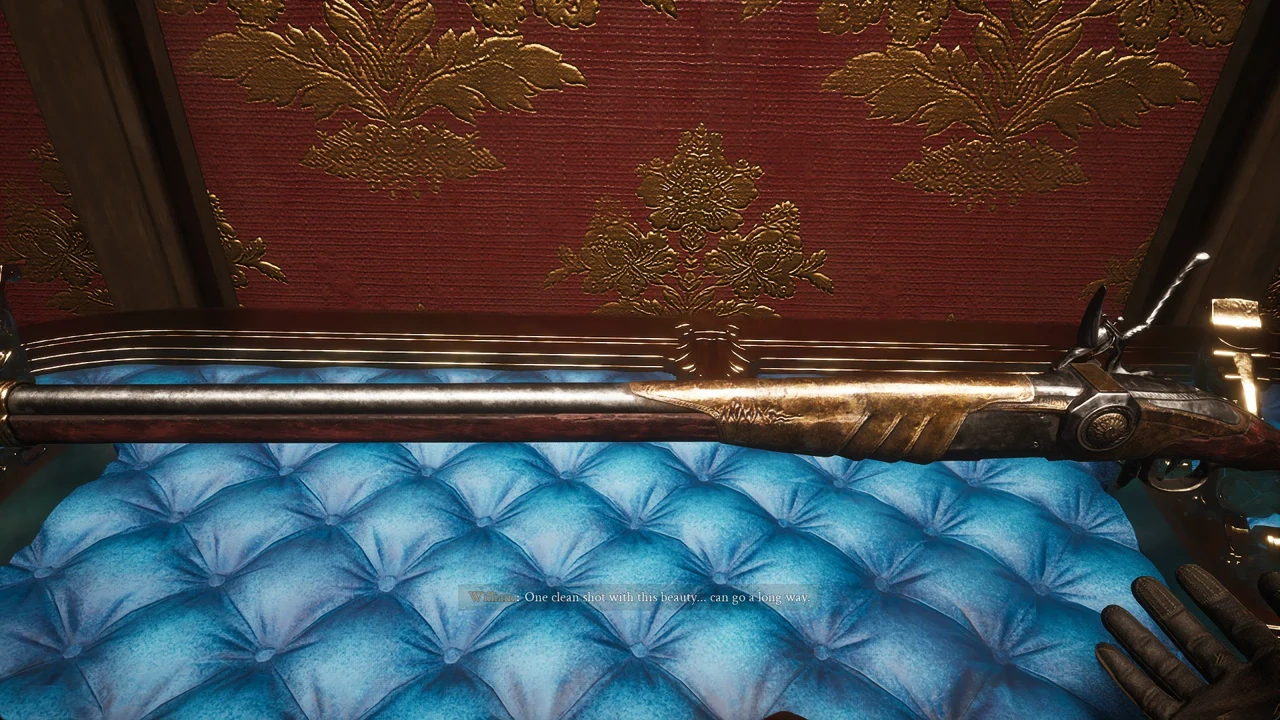
- William says: “Ah, one clean shot with this beauty… can go a long way.”
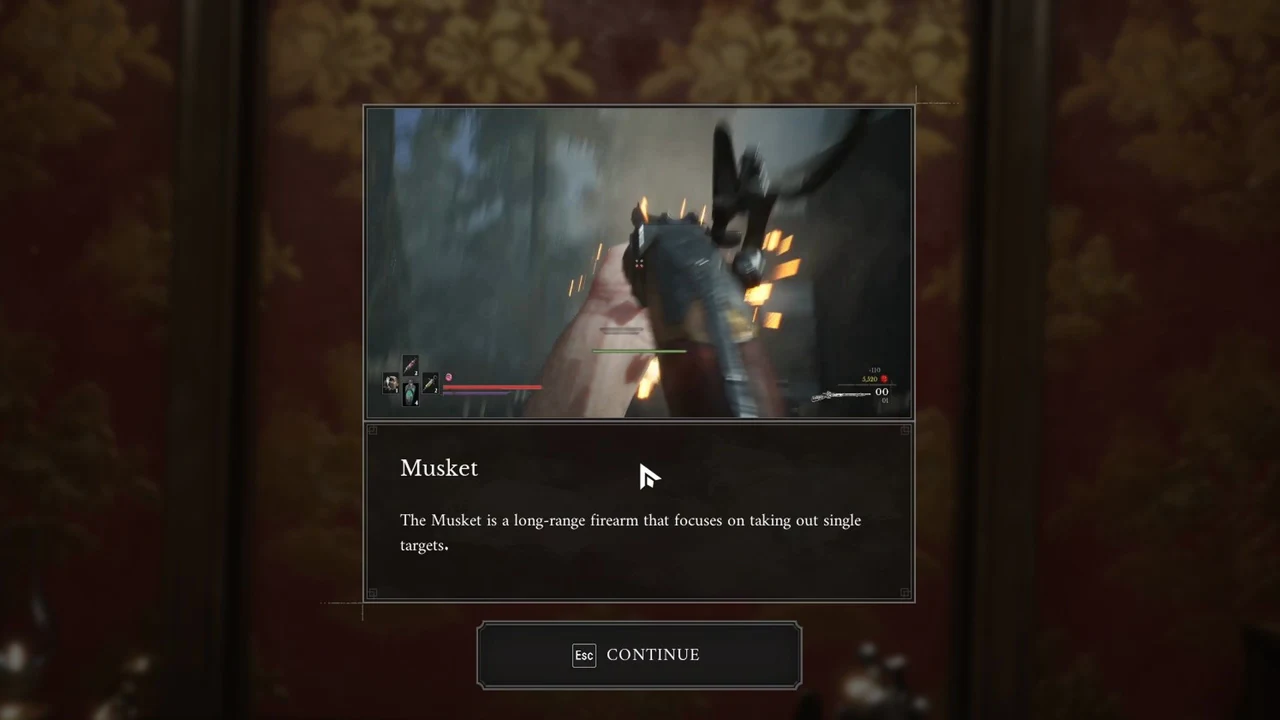
- The “Musket” tutorial card opens after the scene.
- The firearm readout in the bottom-right of the HUD shows one loaded round as 01.
Musket stats and upgrade costs by level
The Musket goes up to level 10. It starts at 150 damage and reaches 300 damage at max level. Its Posture damage stays at 20 per shot at every level. You upgrade it at James’s Iron Bench with Firearm Parts.
| Level | Damage | Upgrade cost |
|---|---|---|
| 1 | 150 | None |
| 2 | 165 | Standard Firearm Parts x1 |
| 3 | 180 | Standard Firearm Parts x2 |
| 4 | 195 | Standard Firearm Parts x3 |
| 5 | 210 | Superior Firearm Parts x1 |
| 6 | 225 | Superior Firearm Parts x2 |
| 7 | 240 | Superior Firearm Parts x3 |
| 8 | 255 | Exquisite Firearm Parts x1 |
| 9 | 270 | Exquisite Firearm Parts x2 |
| 10 | 300 | Masterwork Firearm Parts x1 |
These figures stay the same at every level:
- Ammunition capacity: 1 round
- Reload: 2.5 seconds
- Time between shots: 0.2 seconds
- Heavy attack charge: 1 second
- Damage multipliers: backstab 10x, critical attack 10x, plunge attack 0.5x, perfect dodge attack 0.26x
Its traits are Precise, Long-range, and a focus on eliminating single targets. It also fires special ammunition, not standard cartridges.
Musket upgrades and the Cannon infusion
Four upgrade slots open as you level the Musket. At level 8 you have to choose between two options, Bayonet or Scope.
| Weapon level | Upgrade | Effect |
|---|---|---|
| 2 |  Puncture | Shots pass through enemies |
| 5 |  Nephtoglobin Infusion — Cannon | Loads an explosive round |
| 8 (pick one) |  Bayonet | Higher Melee damage |
| 8 (pick one) |  Scope | Better accuracy |
| 10 |  Spacious Barrel | Larger Ammunition Capacity |
To use the Cannon infusion, hold Reload. It loads an explosive round in place of a normal shot, and it costs both Nephtoglobin and one round of Ammunition. The round’s damage depends on the Musket’s level, not on when you unlocked the infusion.
| Musket level | Cannon round damage |
|---|---|
| 5 | 140 |
| 6 | 150 |
| 7 | 160 |
| 8 | 170 |
| 9 | 180 |
| 10 | 190 |
Firearm Parts for Musket upgrades
The Pistol, the Blunderbuss and the Musket all use the same Firearm Parts. Anything you spend on one gun is gone for the other two. James’s Iron Bench sells every tier except Masterwork, and new stock appears as the chapters go on.
| Part | Musket levels | Iron Bench stock | Price |
|---|---|---|---|
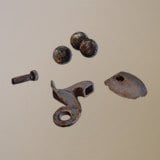 Standard Firearm Parts | 2–4 | 2 at start, 2 from Ch. 5, 2 from Ch. 9 | $1,500 |
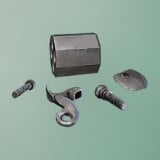 Superior Firearm Parts | 5–7 | 1 from Ch. 5, 2 from Ch. 9 | $3,000 |
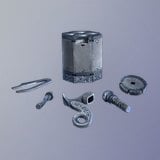 Exquisite Firearm Parts | 8–9 | 1 from Ch. 9 | $6,000 |
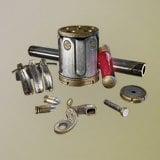 Masterwork Firearm Parts | 10 | Not sold | None |
The Vale of Wrath is a good place to stock up while you’re there. Five Standard Firearm Parts are lying around the region. It also has one Superior Firearm Parts out in the open and three more in chests. Volunteers drop Superior parts 4% of the time and Standard parts 2% of the time. Exquisite parts turn up in Vale of Wrath chests, the Fortress, Napoleon’s Prison, Cursed Hollow, the City of Orphans, The Outskirts, the University and the Abandoned Church. Masterwork Firearm Parts come only from chests in the City of Orphans and the University.
Special Cartridges ammunition for the Musket
The Musket draws from the special ammunition pouch, which it shares with the Blunderbuss. It does not use Pistol Cartridges. James’s Iron Bench sells Special Cartridges from Chapter 5, Crime, onward, and Volunteers sometimes drop them. You can also pick up Special Ammunition in stacks of 1, 2 or 4. Two pickups sit in the Fortress and one sits in Napoleon’s Prison.
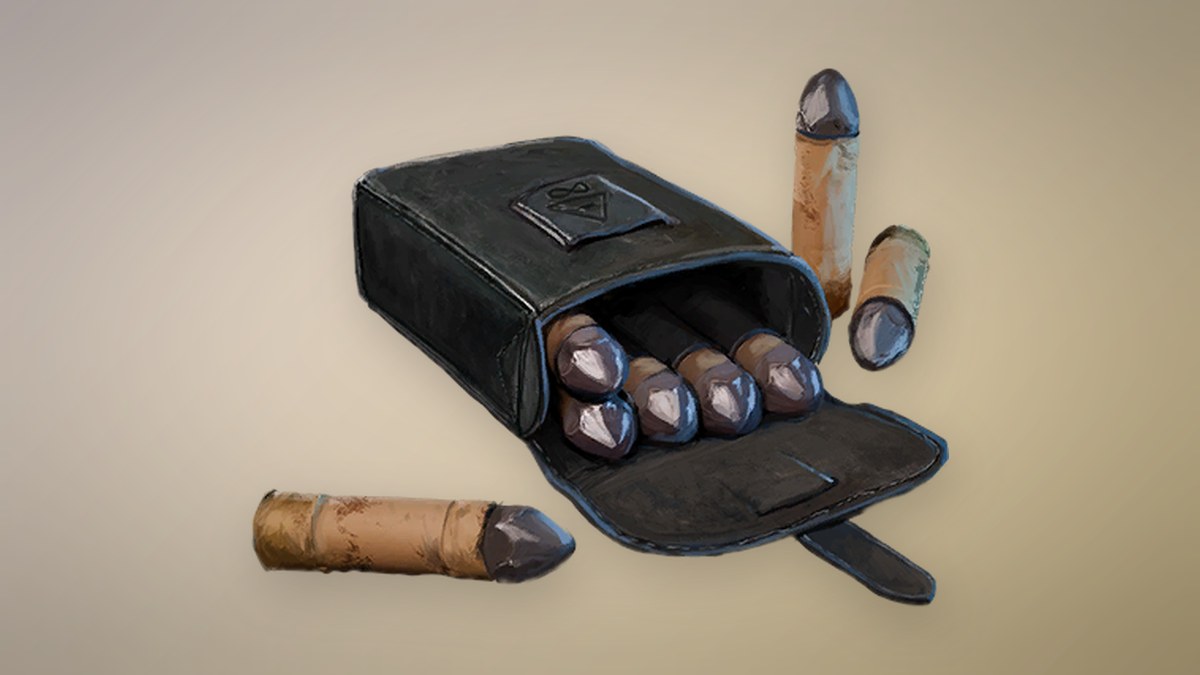
Ammo matters more for the Musket than for the Blunderbuss. The Blunderbuss holds 2 shots and deals 3 Posture damage per shot. The Musket holds 1 shot and deals 20 Posture damage, so every missed round costs you a 2.5-second reload. If you leave the Vale of Wrath without the gun, you haven’t lost it for good. You can return to the camp later in the campaign, including after the final boss, and the wagon will still be there.