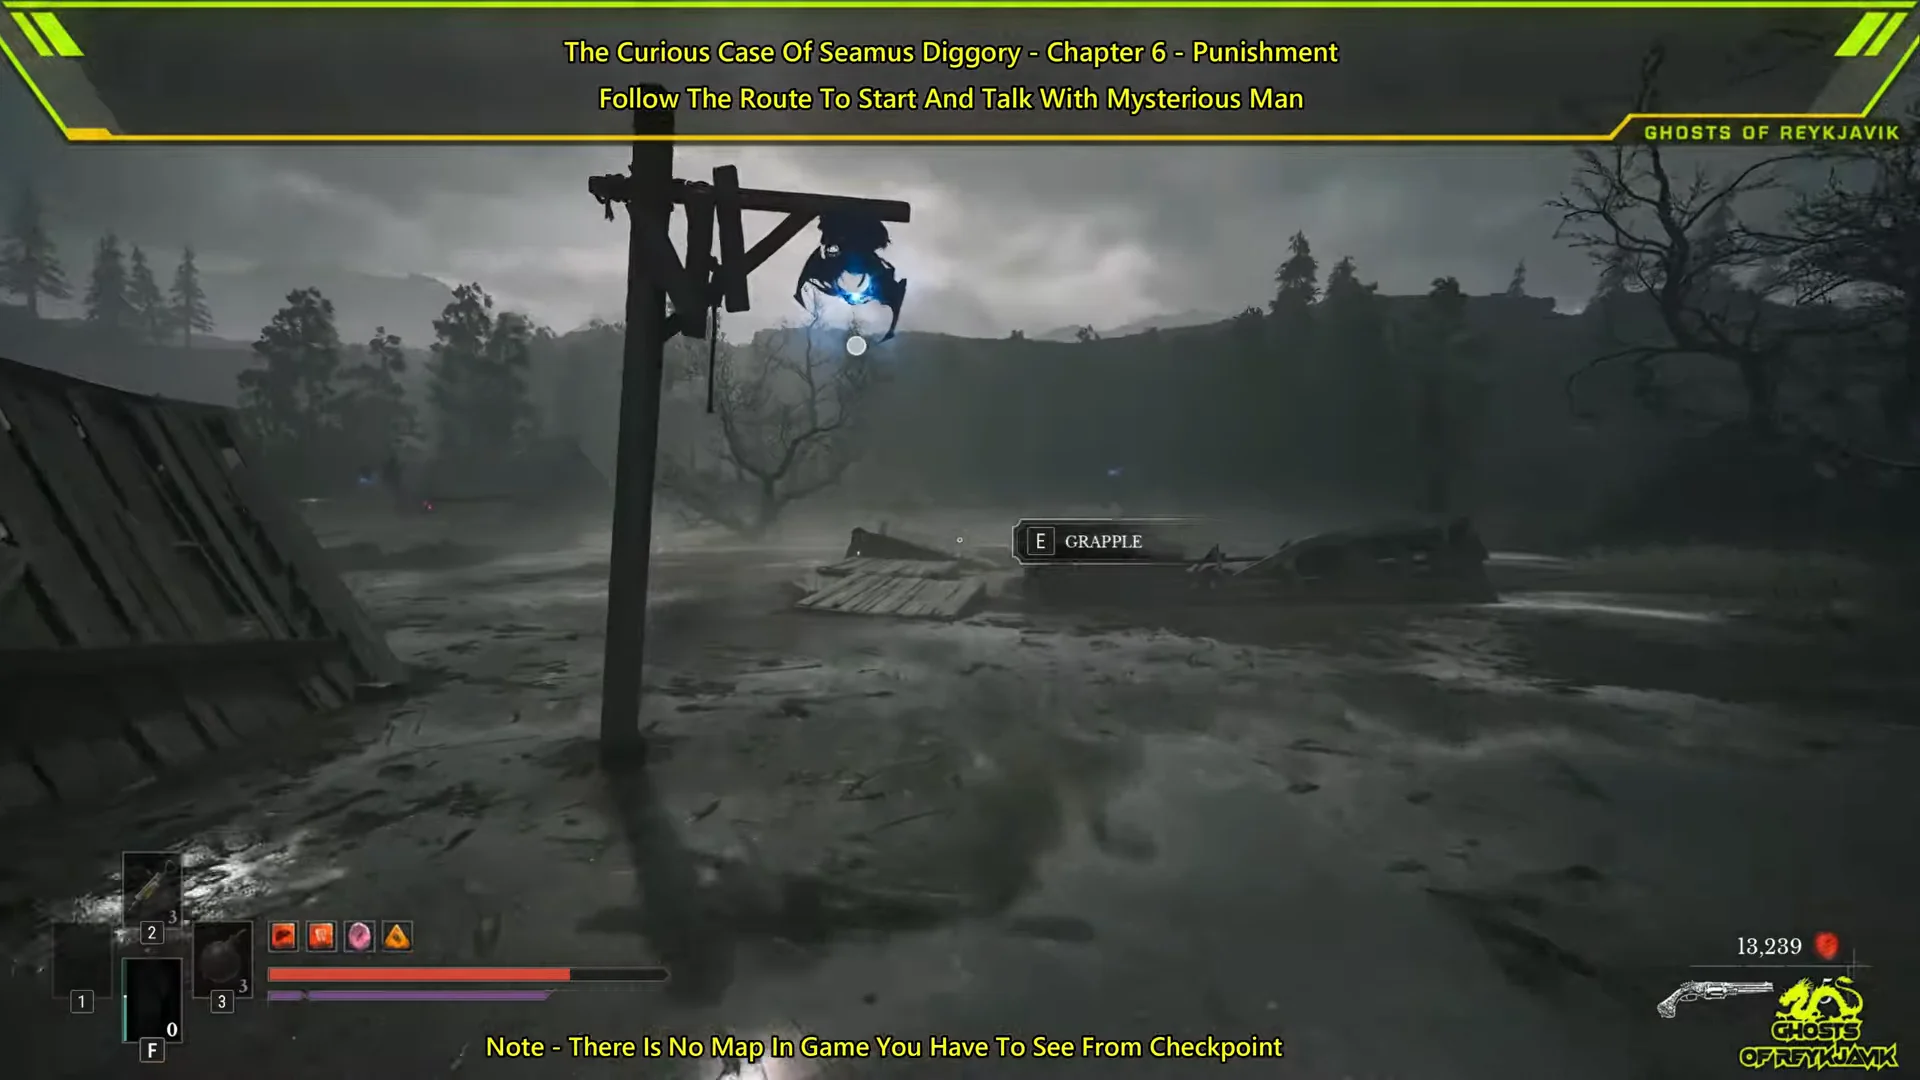
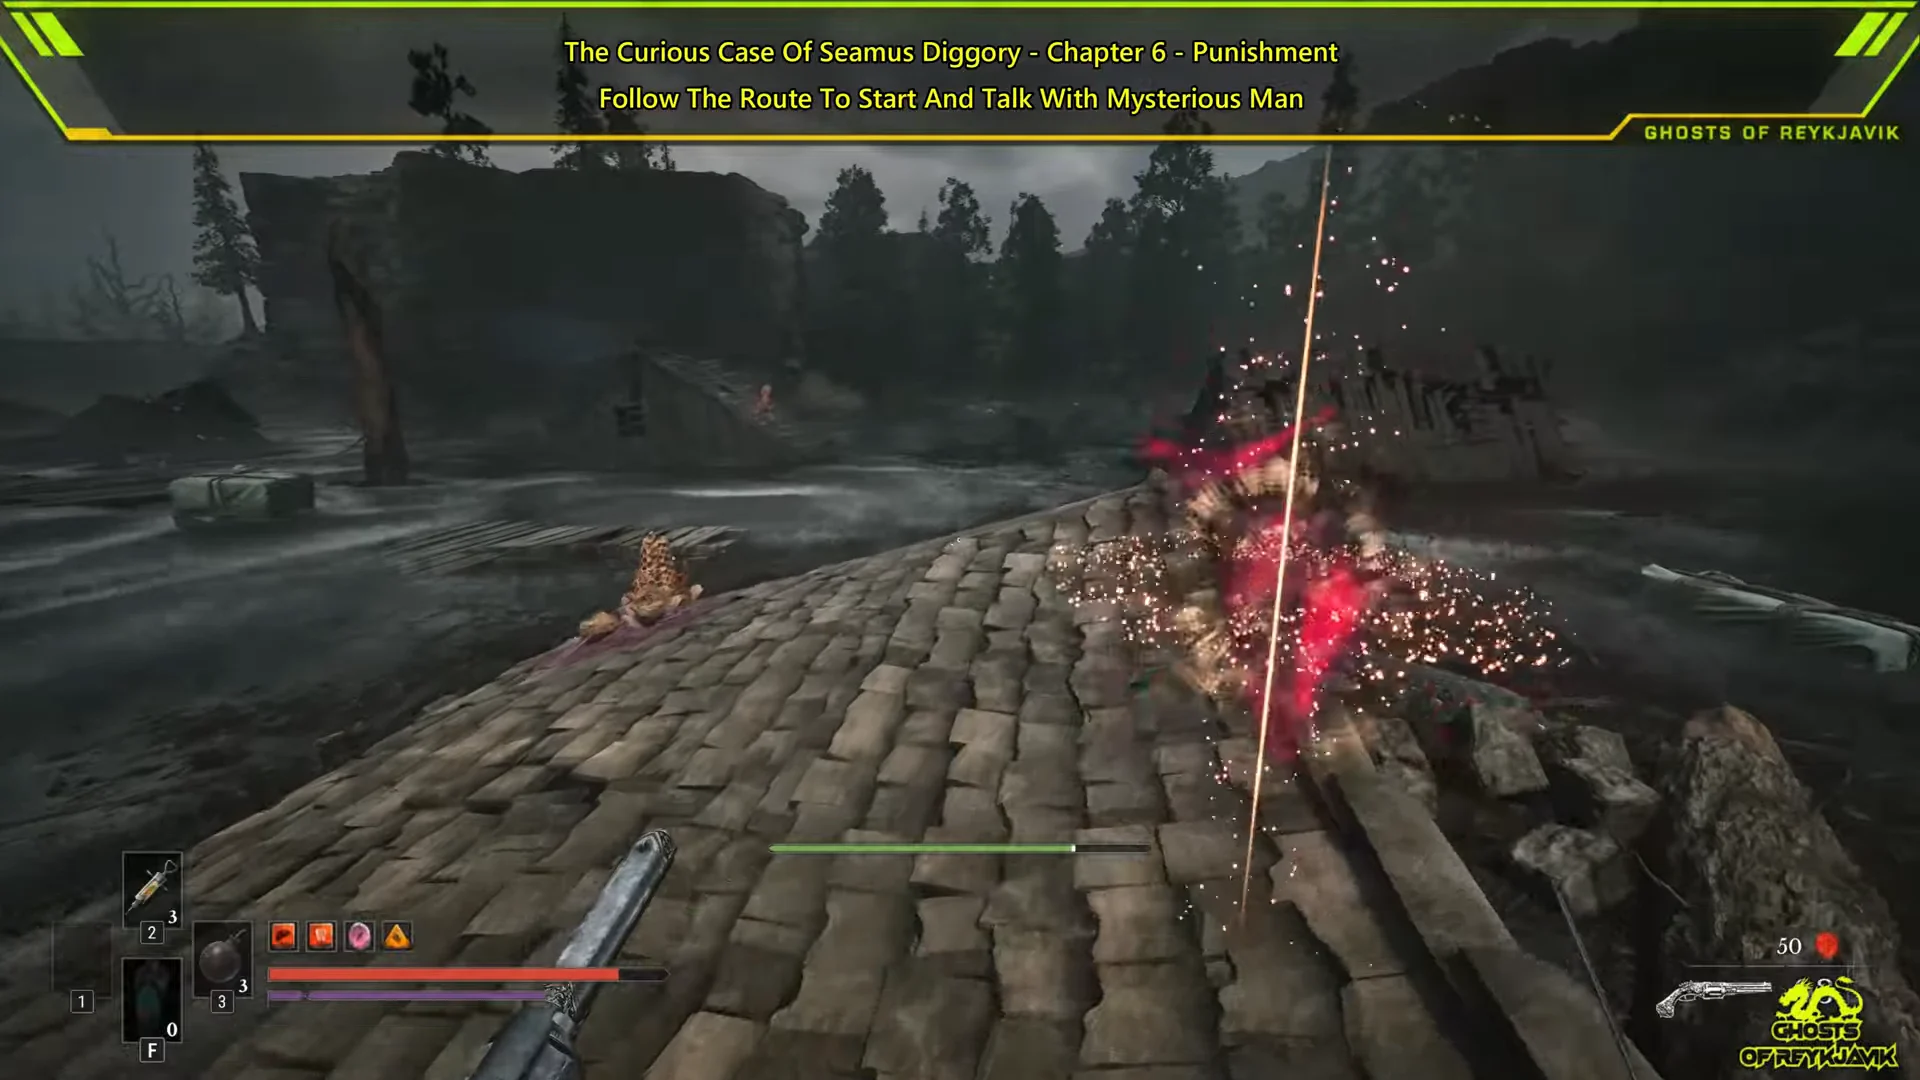
Seamus Diggory is a soldier who has locked himself inside a log shack in the Cursed Hollow during Chapter 6: Punishment of Valor Mortis. He is convinced he is turning into a vampire, he says sunlight makes him ill, and he wants a bottle of clean blood to prove it. The side quest is short. Most of the work is getting to his door, because the game has no map, so you have to find your way from the nearest Lantern by sight.
Quick answer: From the Silent Cannons Lantern, cross the river, talk to Seamus through his window, then fill the Empty Bottle at the freshly killed pig behind the big house. Give him blood or wine to finish.
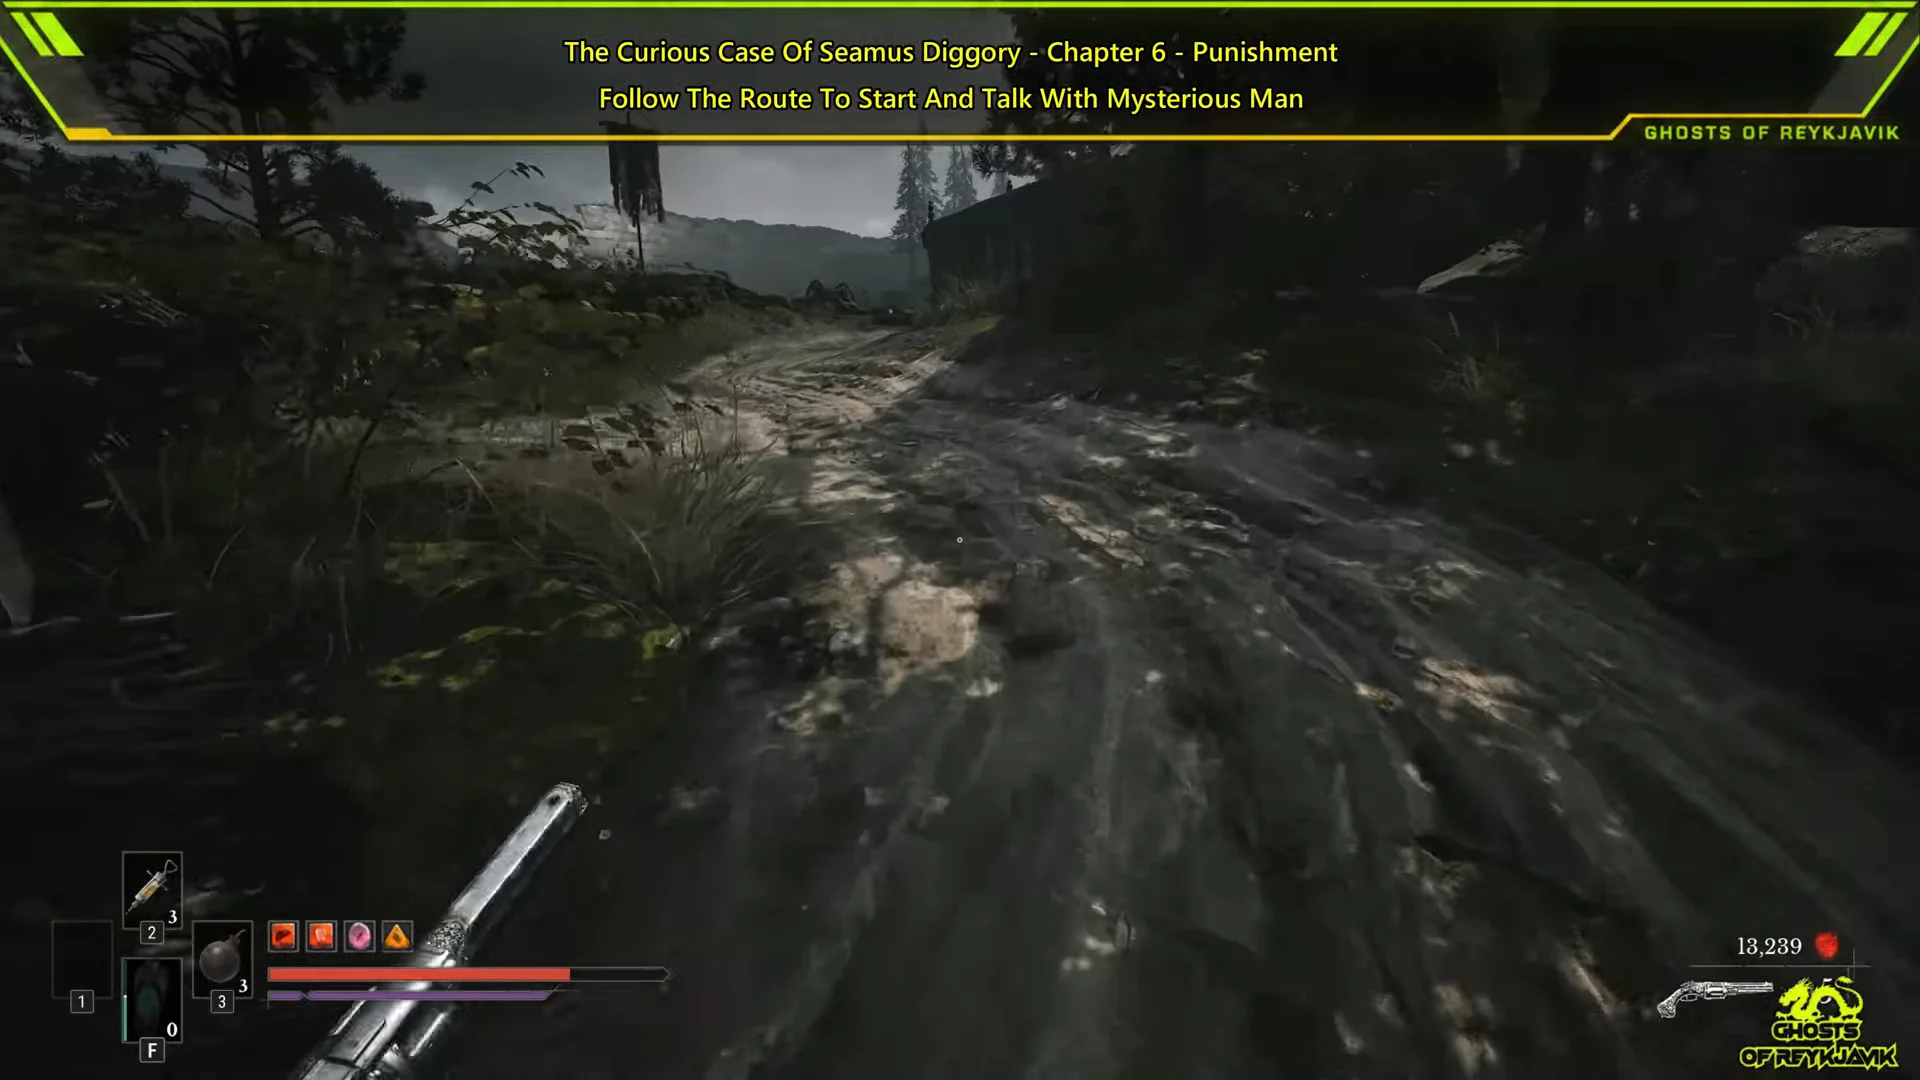
How to reach Seamus Diggory from the Silent Cannons Lantern
Once Operation Torrent was announced, Seamus abandoned his post and took refuge in a derelict shed on the far side of the river. A letter by Captain Armand de Lavigne of the 17th Light Infantry Battalion, found in the Cursed Hollow, gives this account. The route below begins at the army camp where the cannons are.

[E] TALK TO. Seamus offers two replies, “Alternate measures?” and “Desertion?”, then asks for blood and hands you an Empty Bottle as the side quest starts.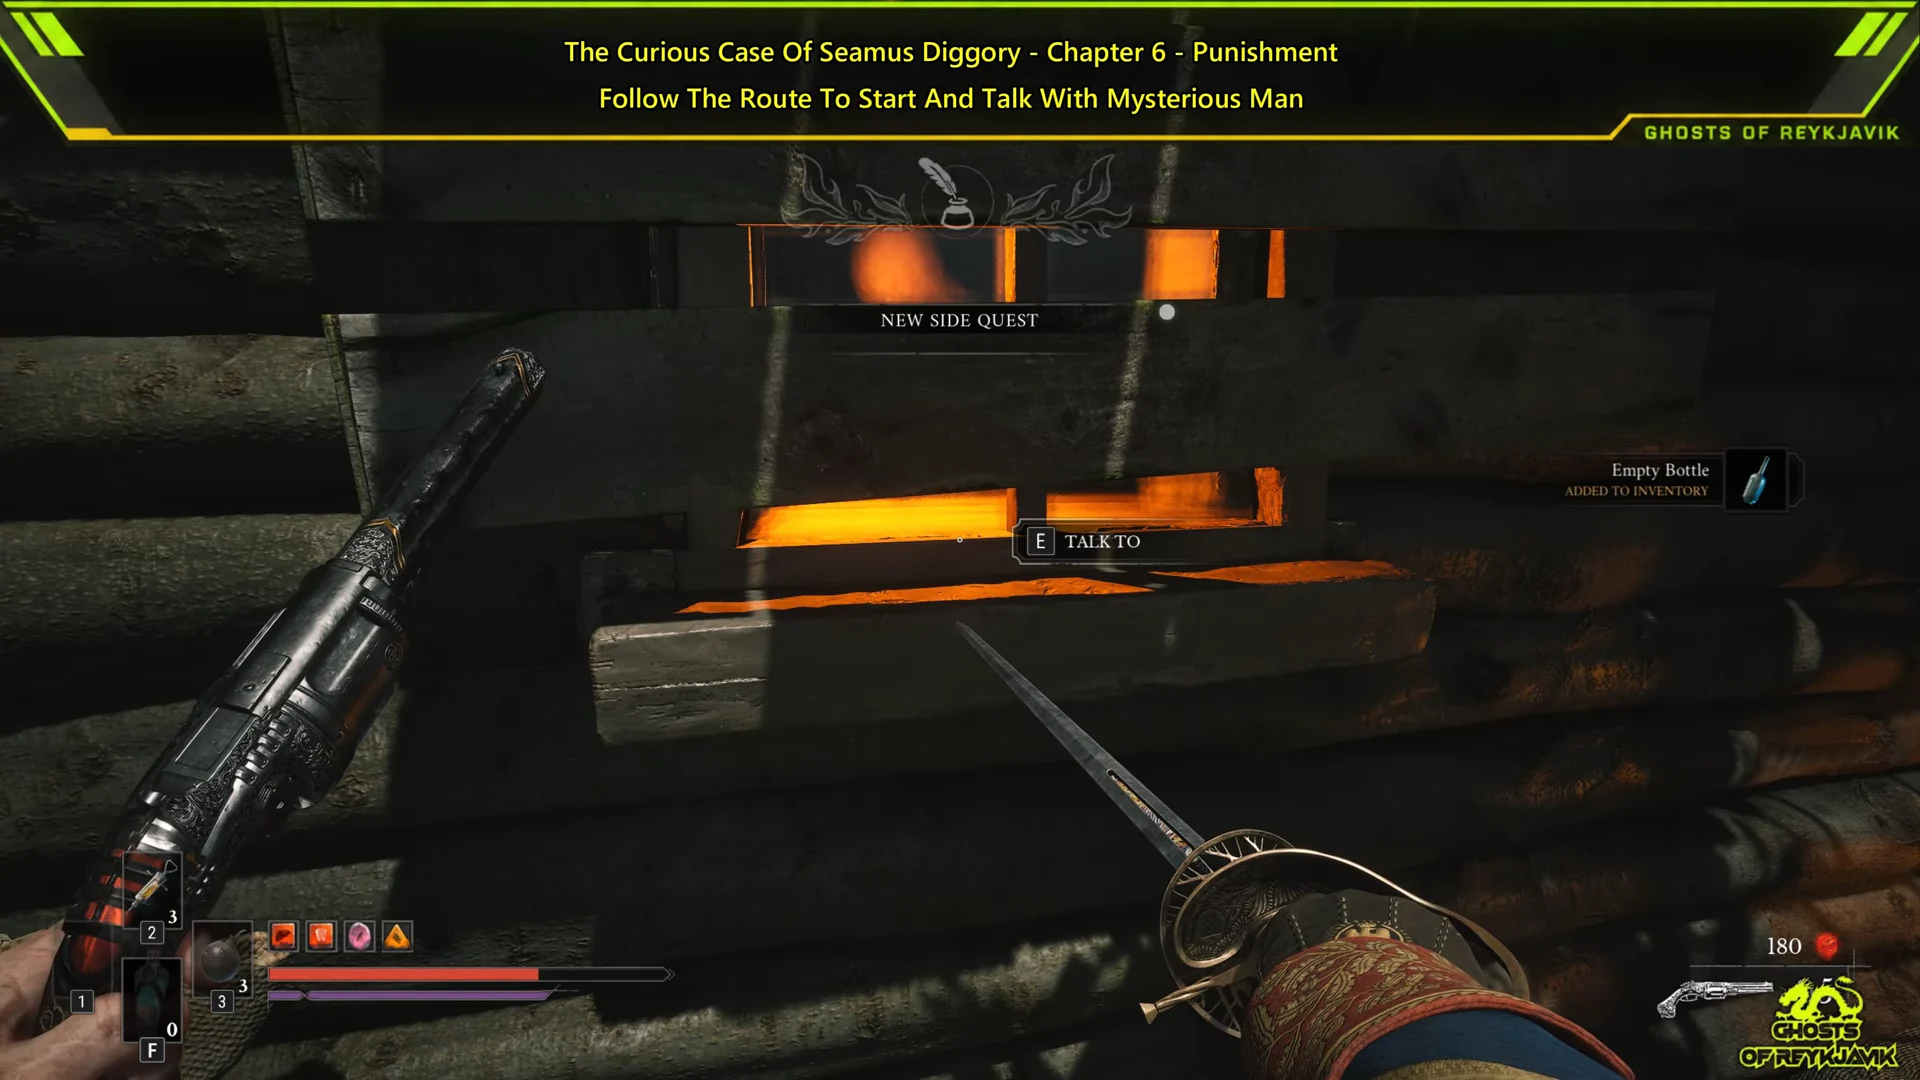
On the climb, a red chest beside the cliff holds the Indestructible Shell amber. The chest is trapped and explodes when you open it, so be ready to take the hit or back off.
Where to find clean blood and the Bottle of Wine
Seamus’s quest entry sends you to the nearby grove for an untainted sample. From his window, keep heading right toward a large house. Watch the civilians on the way, because some of them explode if they get close.
Skip the plague-tainted pigs
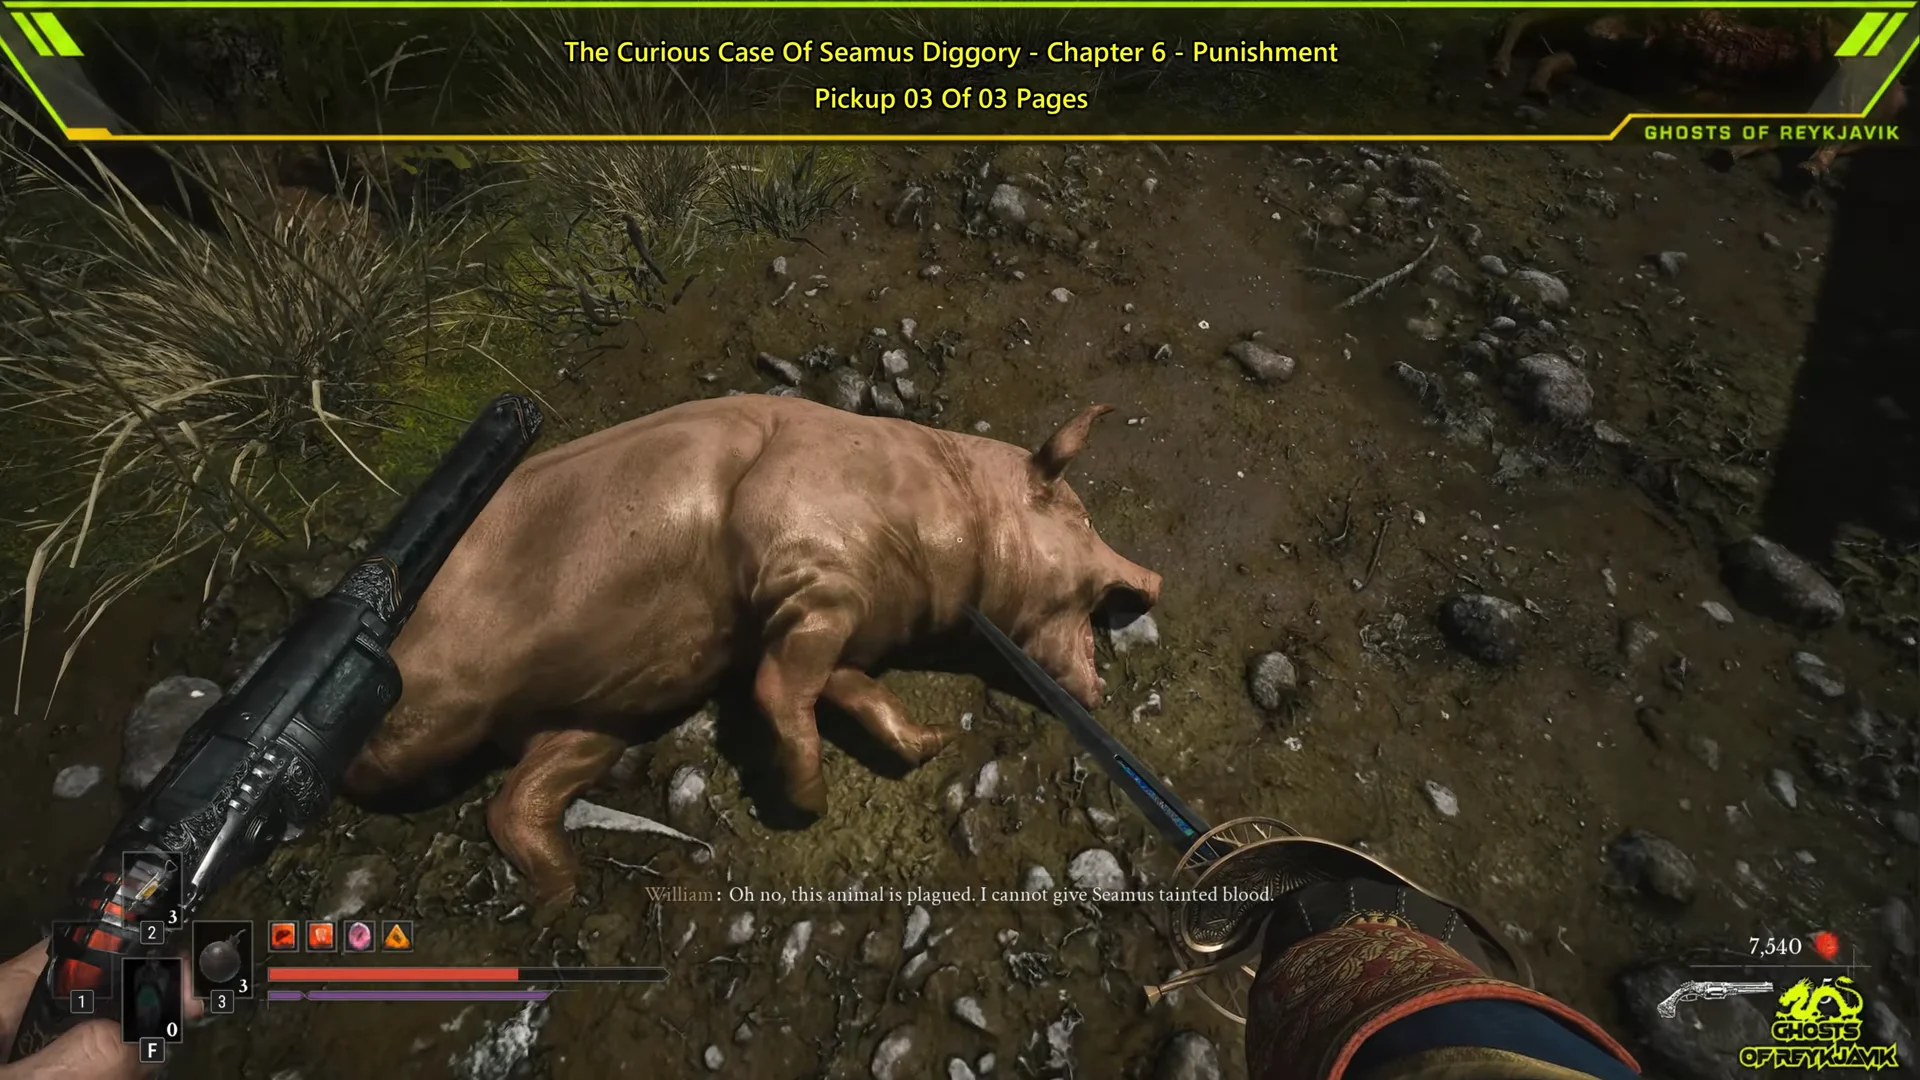
You’ll pass dead pigs along the road and on the grass, and you can investigate them. William refuses to take blood from any of them because the plague has tainted it. Only one specific fresh carcass works, and it sits farther on.
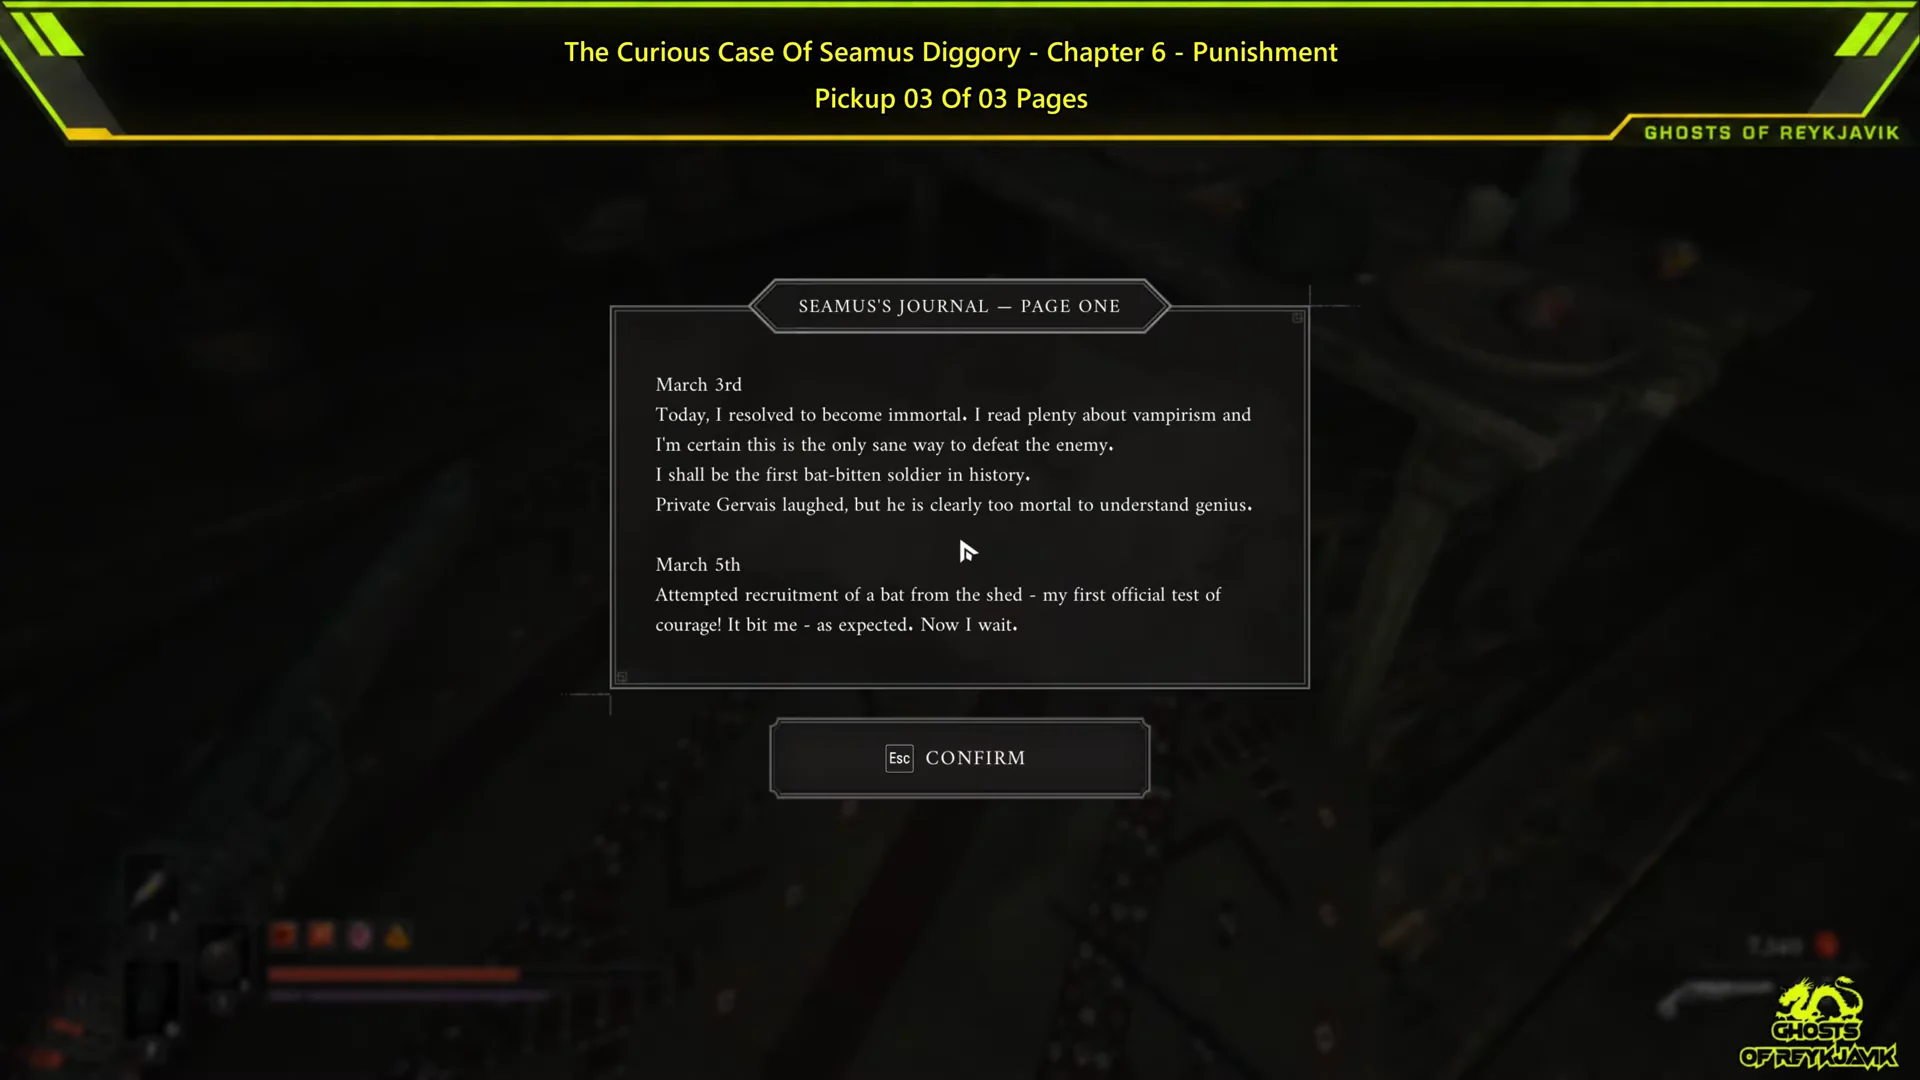
Seamus’s Journal pages in the big house
The run-down house next to the shack holds three journal pages. They are optional, but they explain why he wants blood. Each one is picked up with [E] TAKE.
| Page | Where it lies | Dated | What it covers |
|---|---|---|---|
| Page One | Inside the damaged house, low on a stool | March 3rd, 5th | Decides vampirism will make him immortal, gets a bat to bite him |
| Page Two | Floorboards of the adjoining room | March 7th | Itchy bite, paler reflection, plans to worship the devil |
| Page Three | Occult table of skulls and candles | March 10th | Devil worship failed, drinking blood is his final test |
The Howler and the fresh pig
Go out through the back of the house into the yard. A Howler, a dog mini-boss that calls in temporary dog companions during the fight, guards it. Kill the adds quickly, then focus the main target. Most of its attacks can be parried. It drops an Amber, Warrior’s Fury, and can drop it early once you defeat one of its clones.
With the Howler dead, find the recently deceased pig lying in the yard near the wooden deck and investigate it. The Empty Bottle is consumed, and a Blood-Filled Bottle appears with an “ADDED TO INVENTORY” notice.
Bottle of Wine in the butcher’s shed
Next to the animal pen there is a shed with carcasses hanging from the ceiling. A Bottle of Wine sits on a barrel among the crates inside. Picking it up triggers a quest update for The Curious Case of Seamus Diggory.
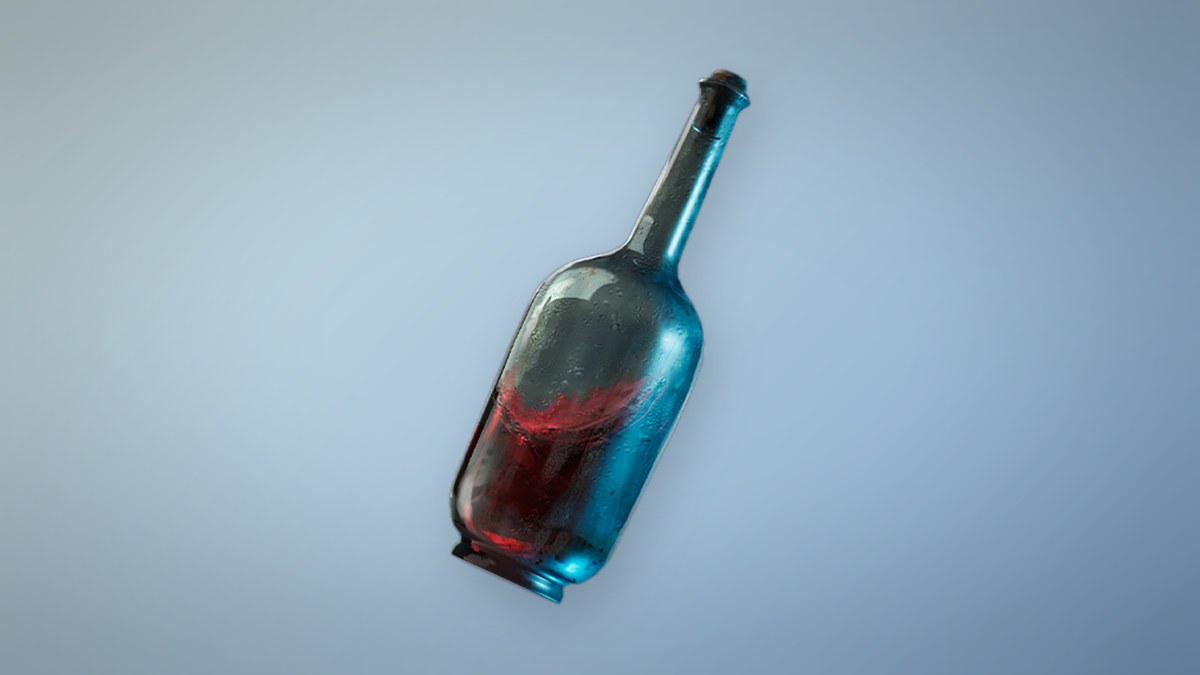
Seamus only offers a choice if you carry both bottles. If you bring only the blood, that is what he gets.
Give Blood or Give Wine: what each choice does
Go back to the shack and talk to Seamus through the window again. With both items in hand, the prompts read [E] Give Blood and [E] Give Wine. You hand over only one bottle, and the outcome is final once you pick.
| Choice | Seamus’s reaction | Rewards |
|---|---|---|
| Give Blood | Hates the taste, realizes he is still human, despairs | Ferrofluid Flask Power Upgrade, Blood and Wine trophy |
| Give Wine | Thinks it is blood, celebrates his “transformation” | Ferrofluid Flask Power Upgrade, Blood and Wine trophy |
Both bottles finish the quest and unlock the same upgrade and trophy, so the choice comes down to how you want the story to end. The blood breaks his delusion and leaves him convinced he has no protection from the plague. The wine leaves a harmless deserter happy in his shed, believing something that isn’t true.
How to confirm The Curious Case of Seamus Diggory is complete
- When his dialogue ends, the “THE CURIOUS CASE OF SEAMUS DIGGORY / QUEST COMPLETE” banner appears.
- The bottle you handed over is removed from your inventory.
- A Ferrofluid Flask Power Upgrade appears in its place, along with a Catalyst payout.
- The Blood and Wine trophy unlocks. It is a Bronze trophy and one of six side-quest trophies.
You can’t miss the quest. The shack, pig, and wine barrel remain where they are, so you can finish it later by revisiting the Cursed Hollow’s Silent Cannons area.
Items you pick up on the Seamus route
The trip from the Lantern to the shack and back also yields a handful of materials and consumables. Along the wetland trail you pass a second Lantern to rekindle, and just past it a pulsing corruption node sits beside a small rock cavity holding a Legendary Catalyst Clot. Crude Blade Material, Special Ammunition, and two Flaming Whetstones also turn up along the way.
| Item | Type | What it does | Value |
|---|---|---|---|
 Ferrofluid Flask Power Upgrade | Upgrade material | Raises flask healing at a Lantern | $3,000 |
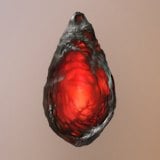 Legendary Catalyst Clot | Consumable | Grants 1000 Catalysts when used | Buy 2000, sell 1000 |
 Crude Blade Material | Upgrade material | Upgrades Saber, Rapier, Claymore | $1,500 |
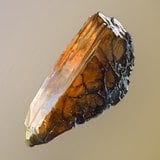 Flaming Whetstone | Consumable | Weapon sets enemies alight for a few hits | Buy 300, sell 150 |
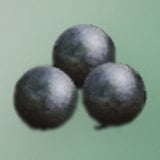 Special Ammunition | Pickup | Ammo, in stacks of 1, 2 or 4 | — |
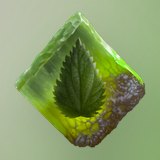 Indestructible Shell | Amber | Cuts explosion damage 40% / 50% / 60% | 3 ranks |
You can carry up to 99 Legendary Catalyst Clots, and Lucjan sells them later in the story, five in stock. Flaming Whetstones cap at three carried. Howlers drop them at 3 percent, and James’s Iron Bench stocks them from Chapter 5. Crude Blade Material goes into weapon levels 2 through 4 for the Saber, Rapier, and Claymore, at one, two, and three pieces per level.
Using the Ferrofluid Flask Power Upgrade
There’s no need to return to Seamus to use the reward. Follow the route onward into a canyon, then go through a brief tunnel to reach another flooded village, with a Lantern in the square. Use the Lantern to increase your Ferrofluid Flask’s healing.
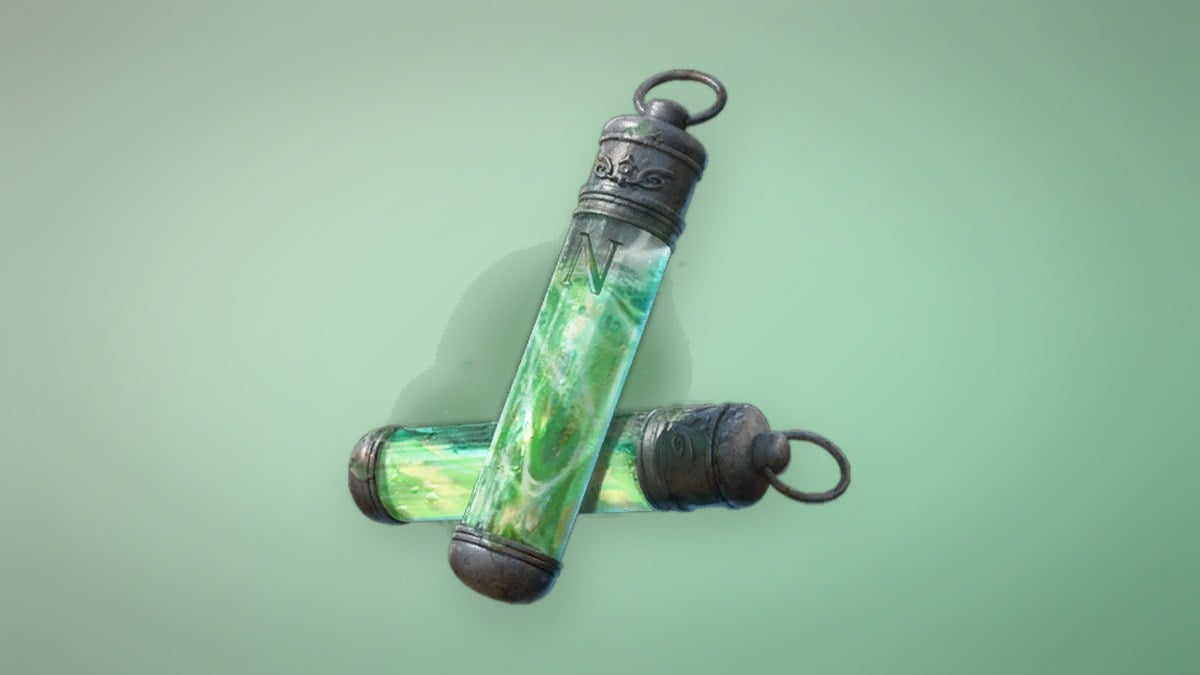
A flask starts at 50 healing, and each potency level adds 10. The material cost climbs as you go, so the single upgrade from Seamus pays for exactly the first level.
| Potency level | Healing per flask | Power Upgrades needed |
|---|---|---|
| Base | 50 | — |
| 1 | 60 | 1 |
| 2 | 70 | 2 |
| 3 | 80 | 2 |
| 4 | 90 | 2 |
| 5 | 100 | 3 |
| 6 | 110 | 3 |
| 7 | 120 | 3 |
| 8 | 130 | 4 |
| 9 | 140 | 4 |
You can carry five Ferrofluid Flasks, and each Empty Ferrofluid Flask you find adds one more charge. Beyond quest rewards, Power Upgrades come from chests, including two in the Cursed Hollow. Louis’s Laboratoire also sells one at a time, with fresh stock at the start, from Chapter 5 (Crime), and from Chapter 9 (In Ruins).
Whichever bottle you hand through the peephole, you walk away 10 points of healing per flask stronger, with a Bronze trophy and a sad, strange story about a soldier who wanted badly to stop being afraid.