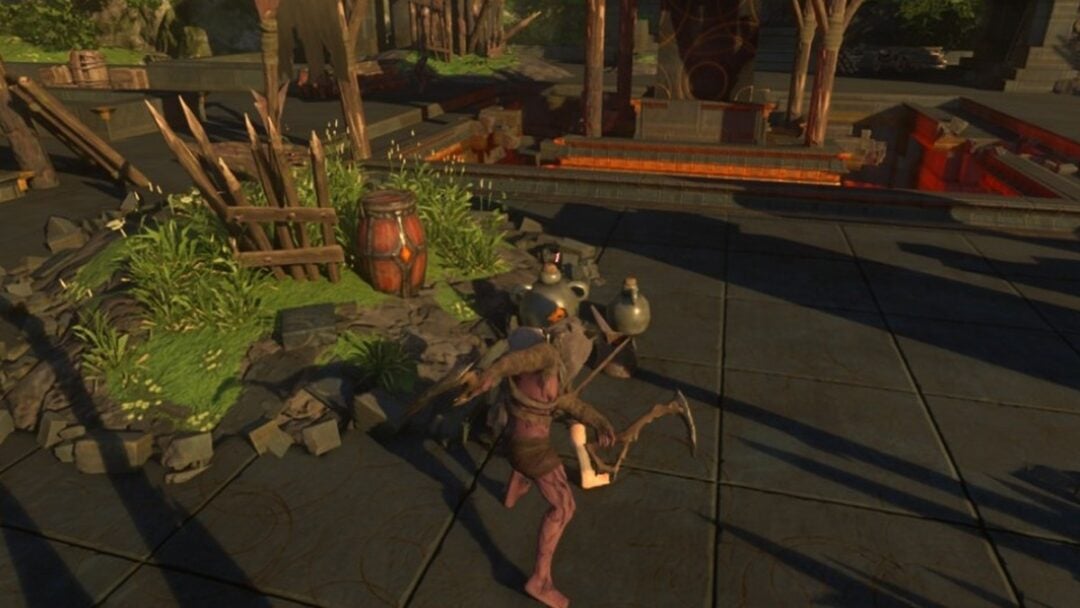
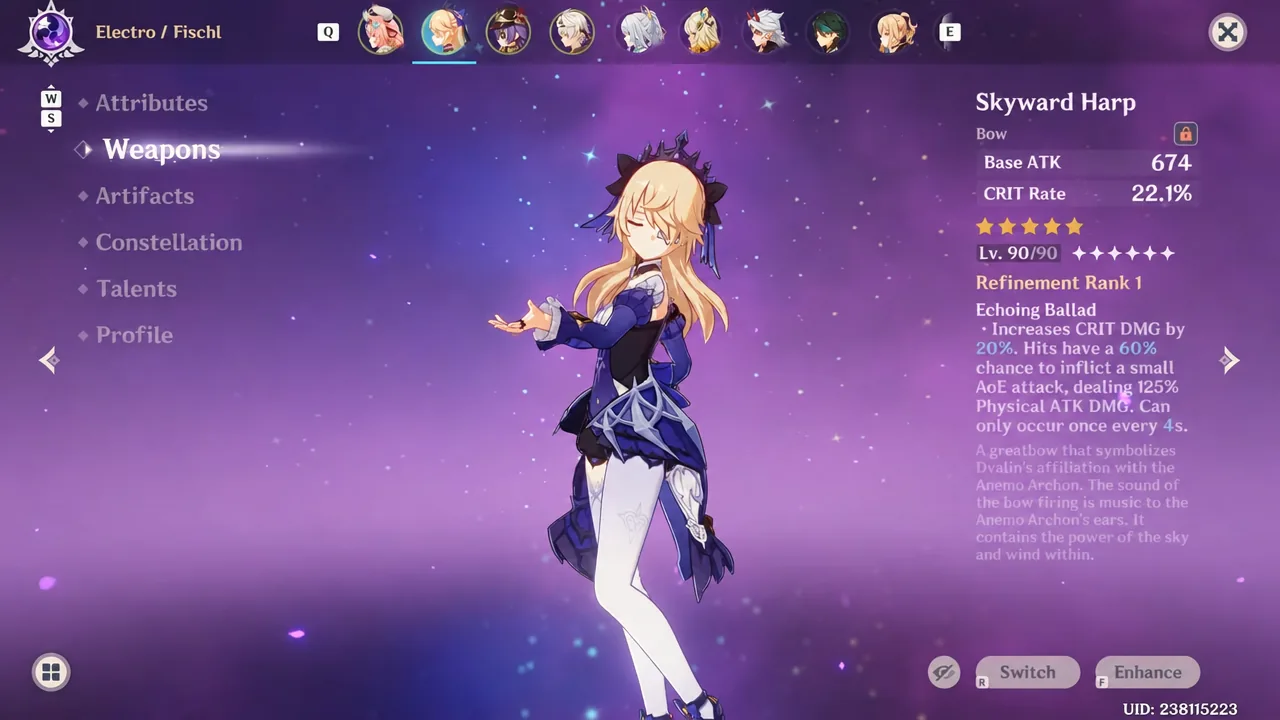
Varesa is a 5-star Electro Catalyst user whose damage sits almost entirely in her Plunging Attacks, and that makes her unusually sensitive to who stands behind her. A back-to-back combat test with an identical Varesa build makes the gap easy to read: swap the support cast, and the total damage roughly doubles.
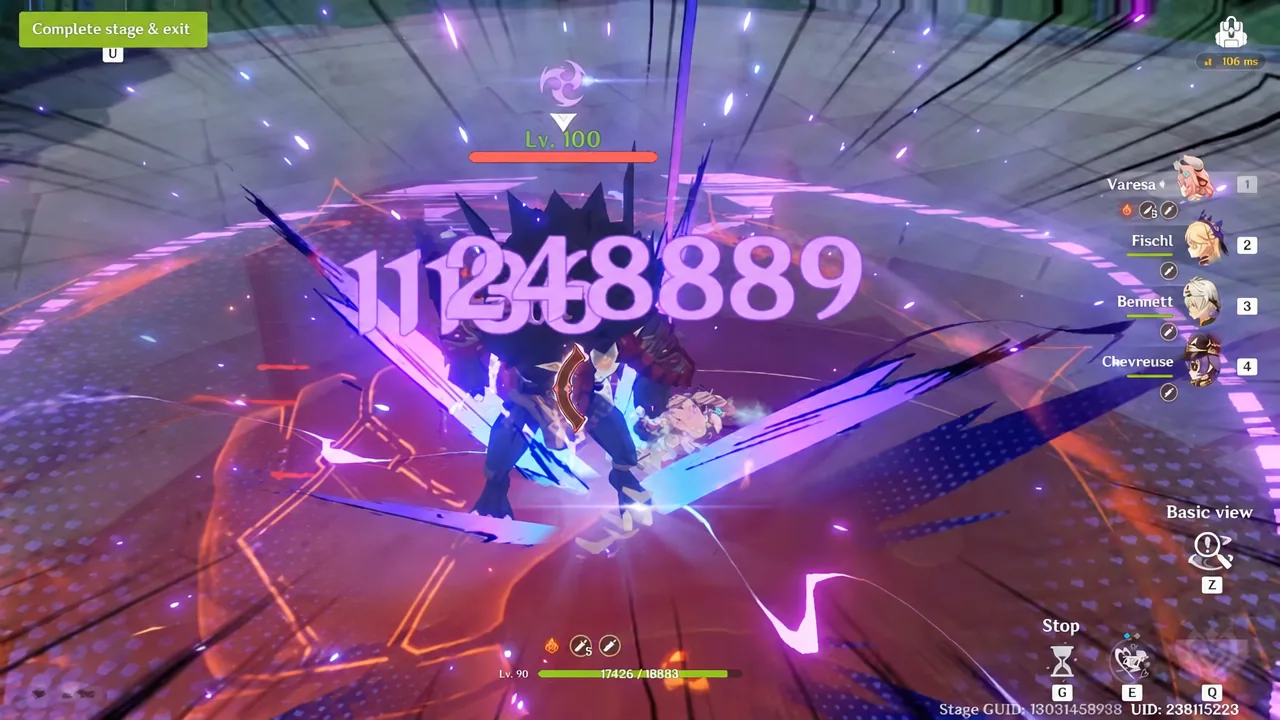
Quick answer: With the same weapon and artifacts on Varesa, the four-star core of Fischl, Bennett and Chevreuse produced 2,580,230 damage in 21.44 seconds, while the five-star core of Xianyun, Durin and Nicole produced 5,558,909 damage in 27.72 seconds — about 120,300 versus 200,500 damage per second.
Varesa 4-star vs 5-star support test results
The first run put Varesa against “The Captain” with Fischl, Bennett and Chevreuse filling out the team. It was the faster clear of the two, finishing in 21.44 seconds, but the damage ceiling stayed low because the buffs on offer are mostly flat ATK and resistance shred.
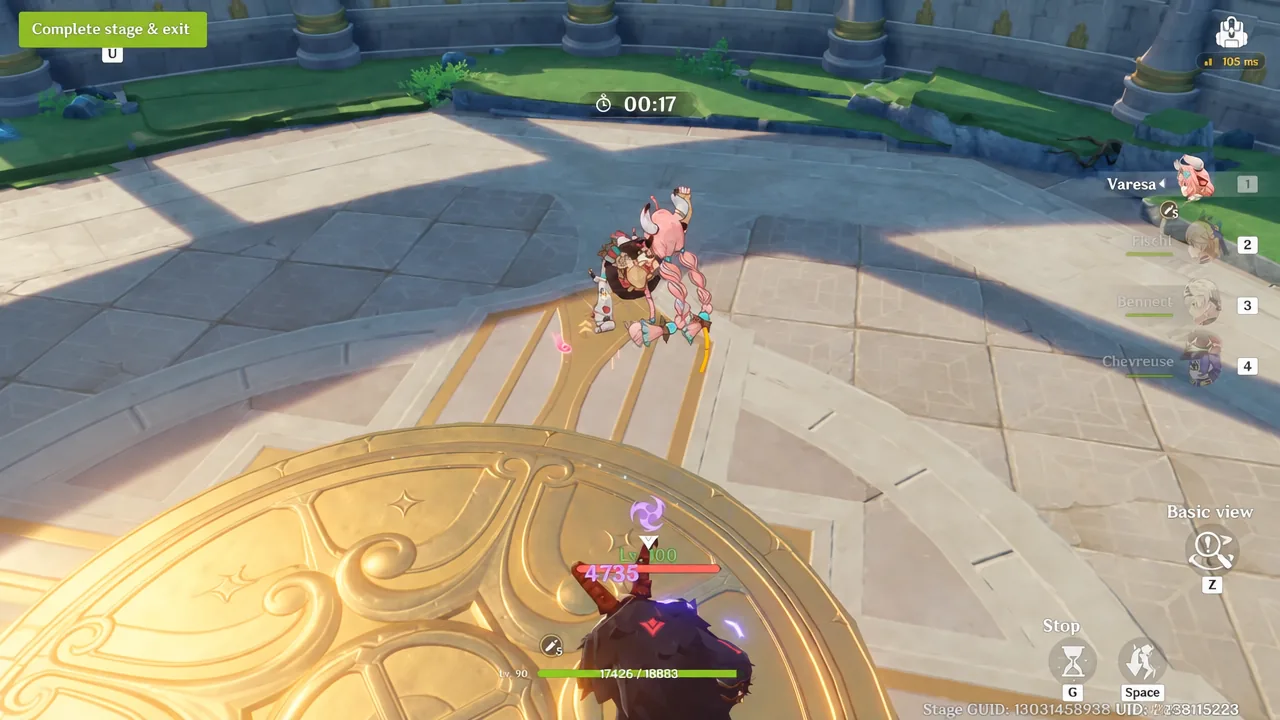
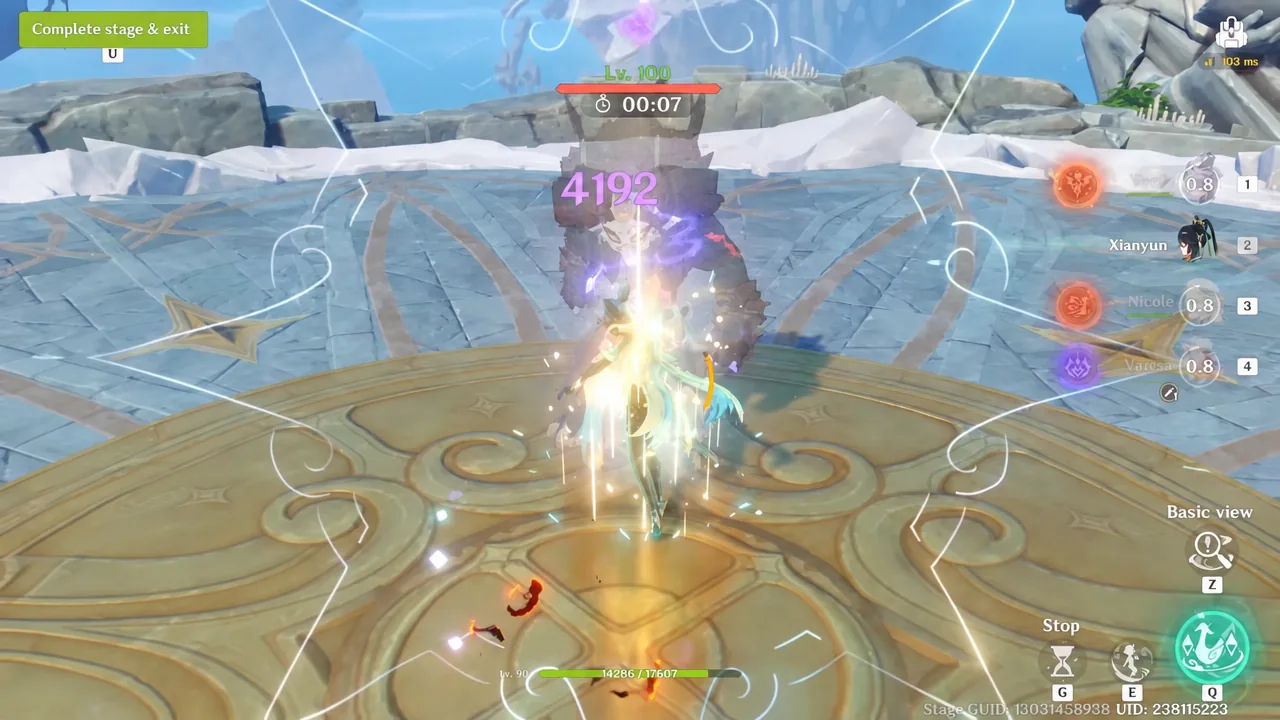
The second run swapped in Xianyun, Durin and Nicole against a different target. It took longer at 27.72 seconds, yet the total climbed to more than twice the first result. Longer rotations are not a penalty for Varesa — extra time mostly means more plunges and more of her low-cost second Burst.
| Team | Clear time | Total damage | Average DPS |
|---|---|---|---|
| Varesa, Fischl, Bennett, Chevreuse | 21.44s | 2,580,230 | ~120,300 |
| Varesa, Xianyun, Durin, Nicole | 27.72s | 5,558,909 | ~200,500 |
Varesa’s build in both runs: Vivid Notions and Long Night’s Oath
Varesa carried her signature 5-star catalyst, Vivid Notions, and the 4-piece Long Night’s Oath set in both fights. That set is the default for her because it pays out on the exact thing she does most: 25% Plunging Attack DMG from the two-piece, and up to five stacks of “Radiance Everlasting” from the four-piece, each stack adding 15% Plunging Attack DMG for six seconds. Fully stacked, that is a 100% increase on her main damage source.
The stat template is straightforward. ATK% on the Sands, Electro DMG Bonus on the Goblet, and CRIT Rate or CRIT DMG on the Circlet, with CRIT DMG, CRIT Rate, ATK% and a little Energy Recharge in the substats. Because Long Night’s Oath gives no CRIT of its own, aim for a ratio close to 1:2. Obsidian Codex is the alternative — its 40% CRIT Rate buff while consuming Nightsoul points lets you drop CRIT Rate elsewhere, and it can beat a mediocre Long Night’s Oath set.
Talent order is Normal Attack first, since her Plunging Attacks scale off it, then Elemental Burst, then Elemental Skill. Kagura’s Verity is the closest non-signature option; Lost Prayer to the Sacred Winds, Crane’s Echoing Call and Tulaytullah’s Remembrance work as CRIT stat sticks even though their passives do little for her.
Why the five-star supports scale Varesa’s plunges harder
The four-star lineup leans on Chevreuse, who shreds Pyro and Electro RES whenever Overload triggers and hands out an ATK buff scaled from her Max HP. Bennett adds his usual ATK boost and healing, and Fischl supplies off-field Electro to keep Overload firing. It is a genuinely strong package — Overload teams sit at the top of Varesa’s rankings — but the buffs are additive to her ATK rather than multiplicative on the plunge itself.
Xianyun is the piece the four-star side cannot replicate. She raises teammate CRIT Rate and, critically, increases Plunging Attack DMG directly — the single stat category that every meaningful hit Varesa lands falls under, including her special Burst. Stack that on top of Long Night’s Oath and the same rotation simply hits harder per plunge rather than more often.

How Fiery Passion and Apex Drive turn buffs into damage
Varesa’s Charged Attack launches her into the air so she can plunge. Landing a plunge in combat restores 25 Nightsoul points, and her Skill restores 20, so one Skill into a Charged Attack into a Plunge is enough to reach the 40-point cap and enter Fiery Passion. That state lasts up to 15 seconds, upgrades her Normal, Charged and Plunging Attacks, and grants an extra Tap charge of her Skill.
The payoff is Apex Drive. Plunging while in Fiery Passion briefly lets her ignore her Burst cooldown and fire “Guardian Vent: Volcano Kablam” for 30 Energy instead of the standard 70. That short Burst counts as Plunging Attack damage, so every plunge buff on the team applies to it too. In practice you use the cheap version almost exclusively, which is why an extra six seconds of fight time translates into far more than six seconds of extra damage.
Her passives push in the same direction. Rainbow Crash adds 180% of her ATK to the ground impact after a Skill while she is in Fiery Passion, and her fourth ascension passive gives 35% ATK for 12 seconds each time a nearby ally triggers a Nightsoul Burst, up to two stacks.
Varesa teams you can build in the live game
The tested lineups are not the standard competitive picks. These are the compositions Varesa normally runs, and the pattern holds — the further up the list you go, the more the supports feed her plunge multiplier rather than just her ATK.
| Archetype | Lineup | Rating |
|---|---|---|
| Overload | Varesa, Mavuika, Chevreuse, Iansan | SS |
| Overload (budget Pyro) | Varesa, Bennett, Chevreuse, Iansan | SS |
| Lunar-Charged | Varesa, Furina, Xianyun, Ineffa | SS |
| Hypercarry plunge | Varesa, Furina, Xianyun, Iansan | S |
| Apex Drive plunge | Varesa, Xilonen, Xianyun, Iansan | S |
| Aggravate | Varesa, Xilonen, Nahida, Iansan | S |
Note: Chevreuse locks your team to Electro and Pyro units only, which is the trade for her RES shred and ATK buff. Aggravate is the weakest of the three main routes for her, because her damage arrives in a few large hits rather than the many small ones Aggravate rewards.
Test conditions to keep in mind
These runs were not recorded on a normal account. Bennett appears at level 100, a cap that does not exist in the live game, which means the numbers come from a modified client. Treat the two totals as a relative comparison of support quality, not as a benchmark you can reproduce on your own account.
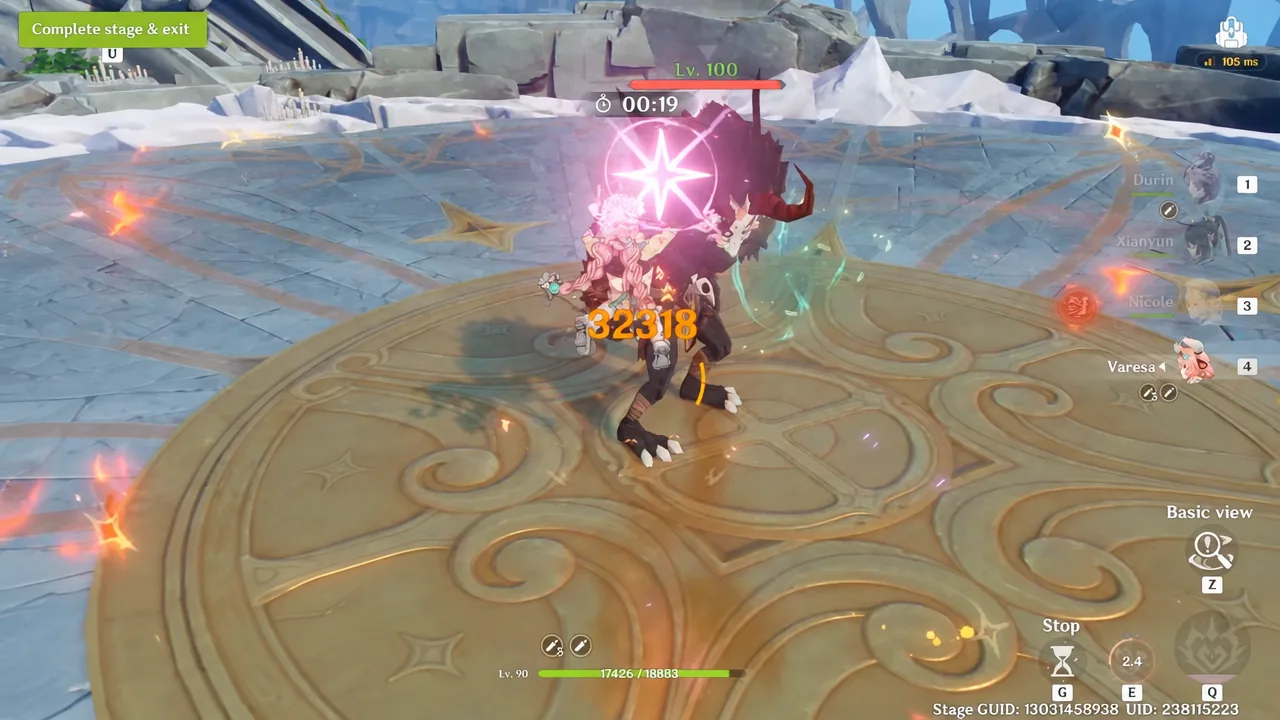
The two fights also used different enemies and different durations, so the per-second figures are the more useful line in the table than the raw totals. What survives both caveats is the direction of the result: identical gear on Varesa, different supports, roughly 1.7x the damage per second.
That is the honest read on Varesa. Her personal multipliers are high enough to keep her competitive with the top main DPS units, and her rotations are flexible enough to adapt mid-fight, but she is picky about company — the gap between her best-in-slot supports and a serviceable four-star bench is wide, and most of her preferred partners are limited five-stars. If you already own Xianyun, Iansan or Chevreuse, she slots in immediately. If you do not, budget for the supports before the character.