

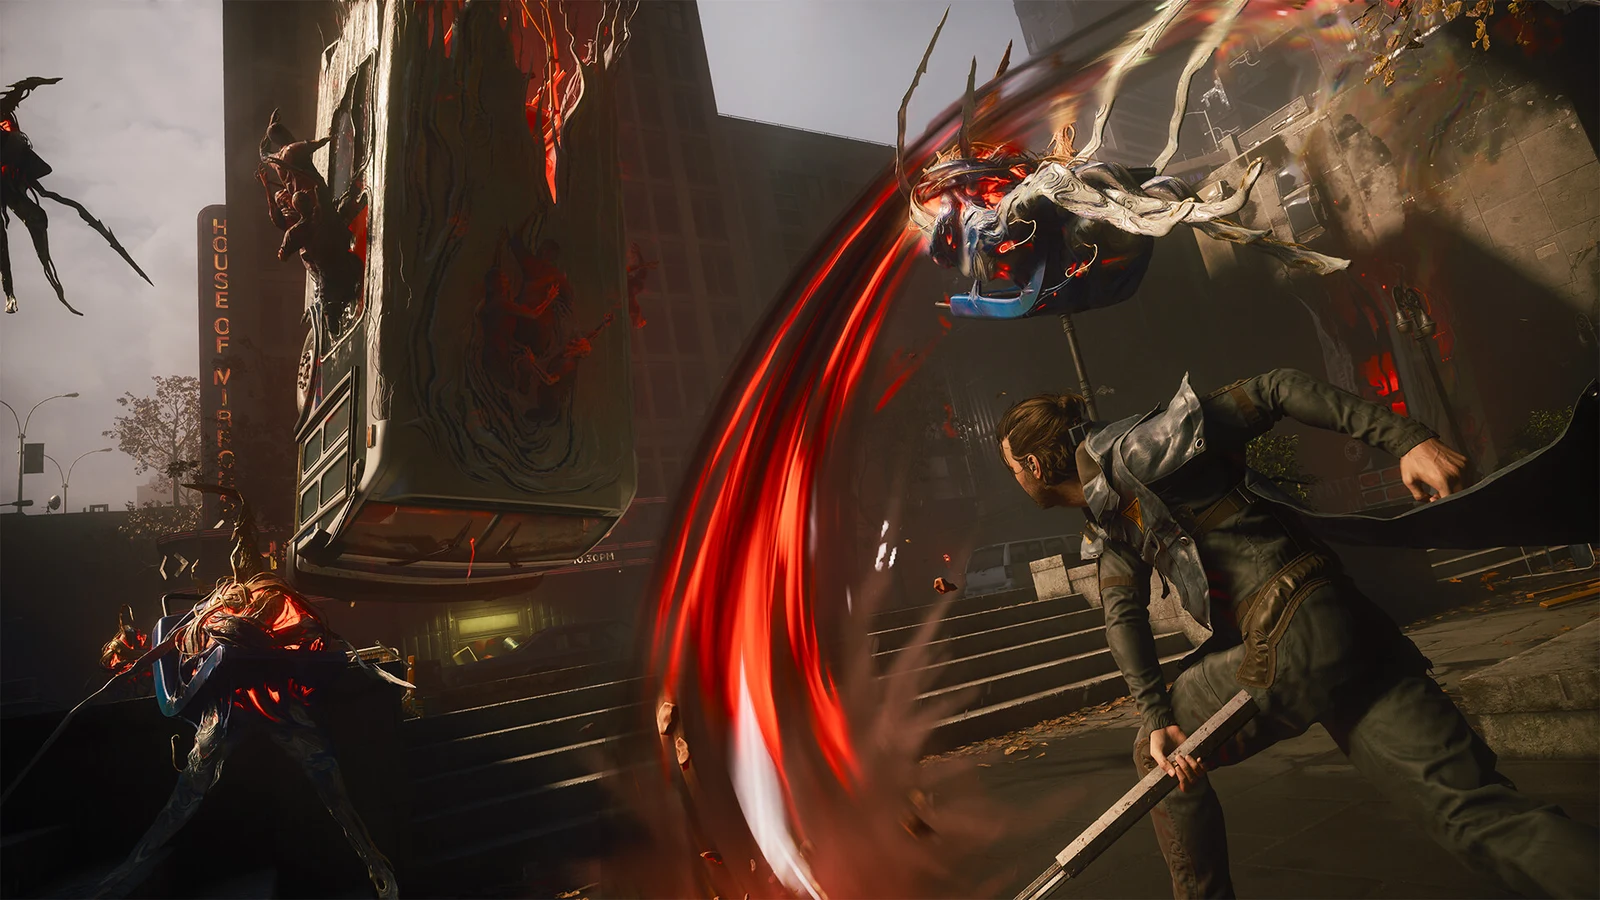
Volatile Anomaly is one of the first Combat Abilities Dylan can equip in Control Resonant, and it behaves differently from a standard attack power. It is a summon first and a projectile second. The ally you call in fights on its own, and it becomes a bomb the moment you decide to throw it.
Quick answer: Spend 300 Power to summon the ally, then 120 Power to hurl it at a locked-on target. The blast deals 150–350 Blunt damage, and it hits hardest when the summon’s health is already low.
How the summon-and-throw cycle works
The brief in-game text only explains that you summon an ally, then throw and detonate it, with the blast dealing more damage when that ally has little health. For fight planning, the ability card’s crucial addition is that summoning costs power and throwing costs power as well. Both actions draw separately from the same meter, so spending the entire gauge as soon as it fills works against players.
The detonation is the payoff, not the summon itself. Letting the ally absorb hits before you throw it is a deliberate play, not a mistake.
Volatile Anomaly damage, Falter, and Power costs
| Value | Amount |
|---|---|
| Projectile damage | 15 Blunt |
| Explosion damage | 150–350 Blunt |
| Projectile Falter | 5 |
| Explosion Falter | 25–180 |
| Power cost — summon | 300 |
| Power cost — throw | 120 |
The spread on those ranges is the whole story. A passive summon chipping away with 15 damage and 5 Falter per shot is background pressure. A detonation at the top of its range is 350 Blunt and up to 180 Falter in one hit, which is enough to break most rank-and-file enemies outright and stagger tougher ones.
Volatile Anomaly examples in combat
The ability changes role depending on the space you are fighting in and what you are fighting. These are the situations where the summon-then-throw loop pays off most clearly.
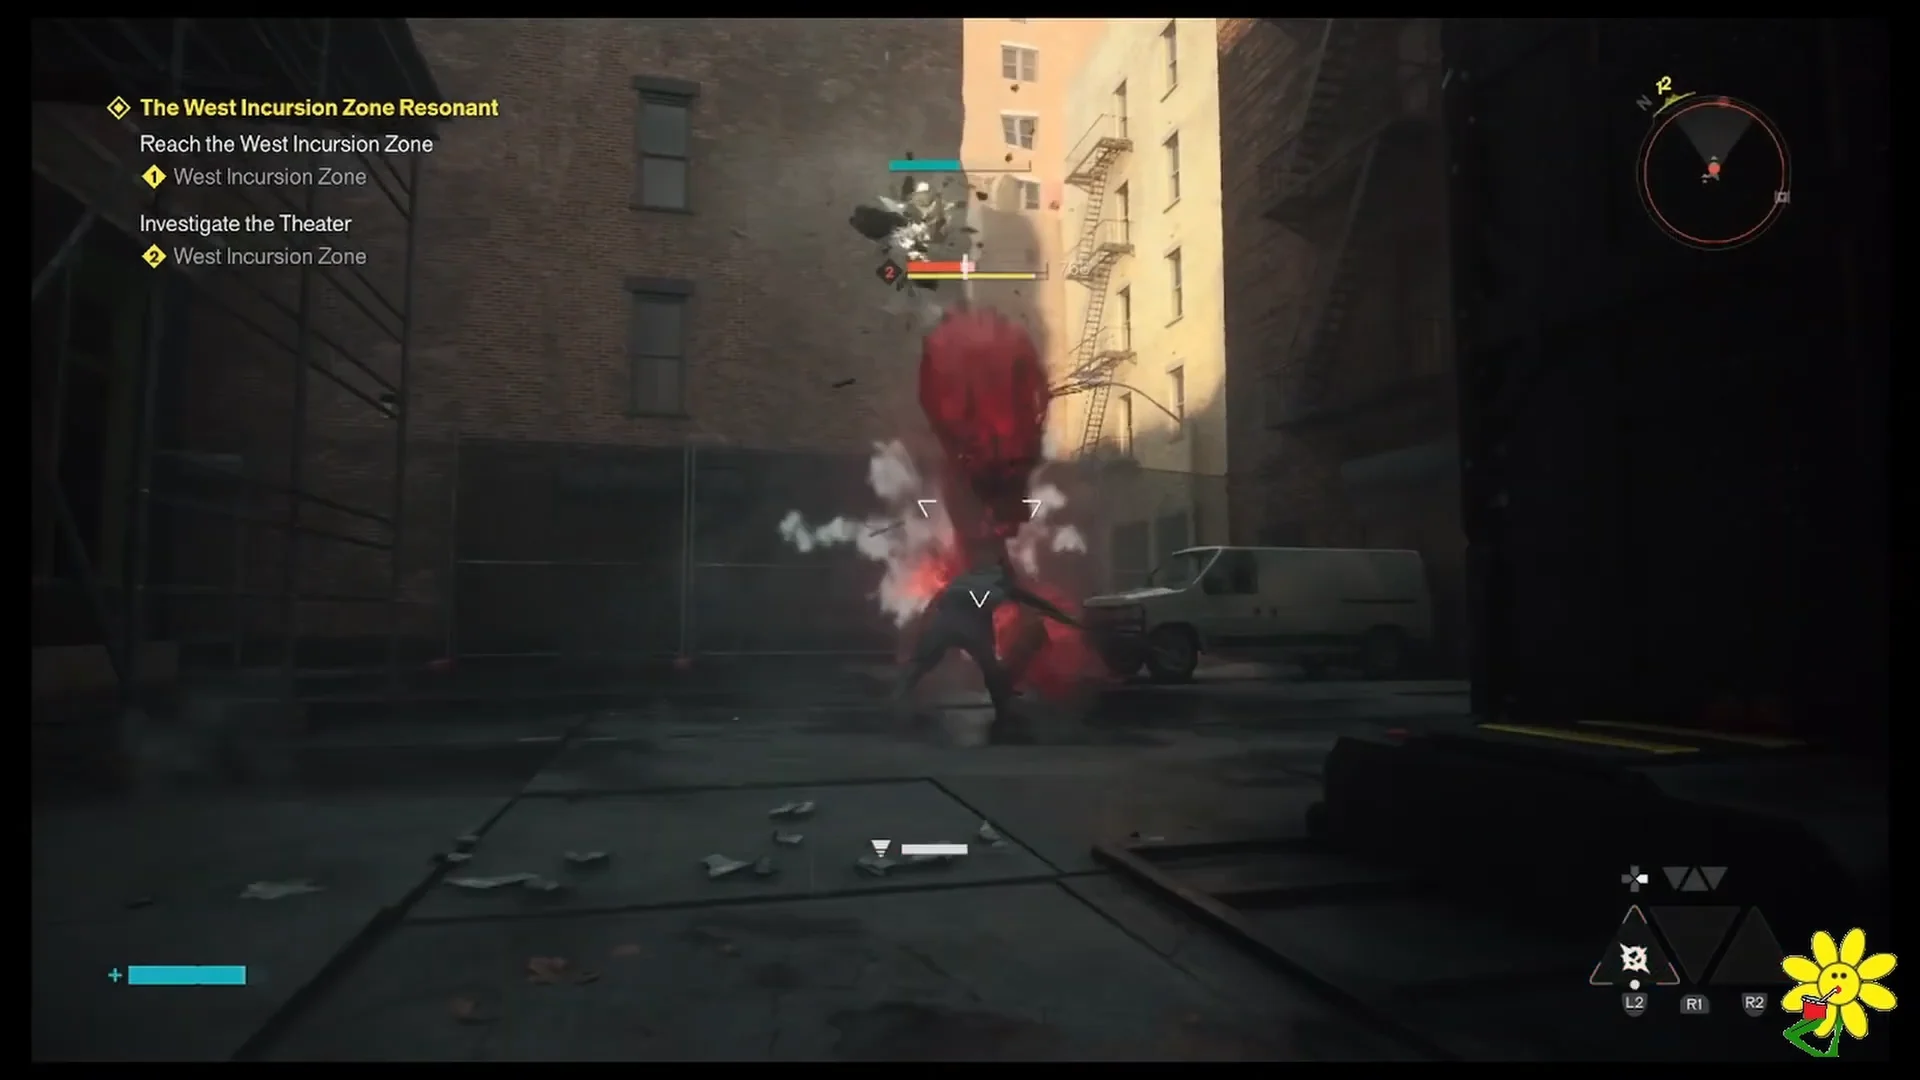
Ground enemies in tight alleyways
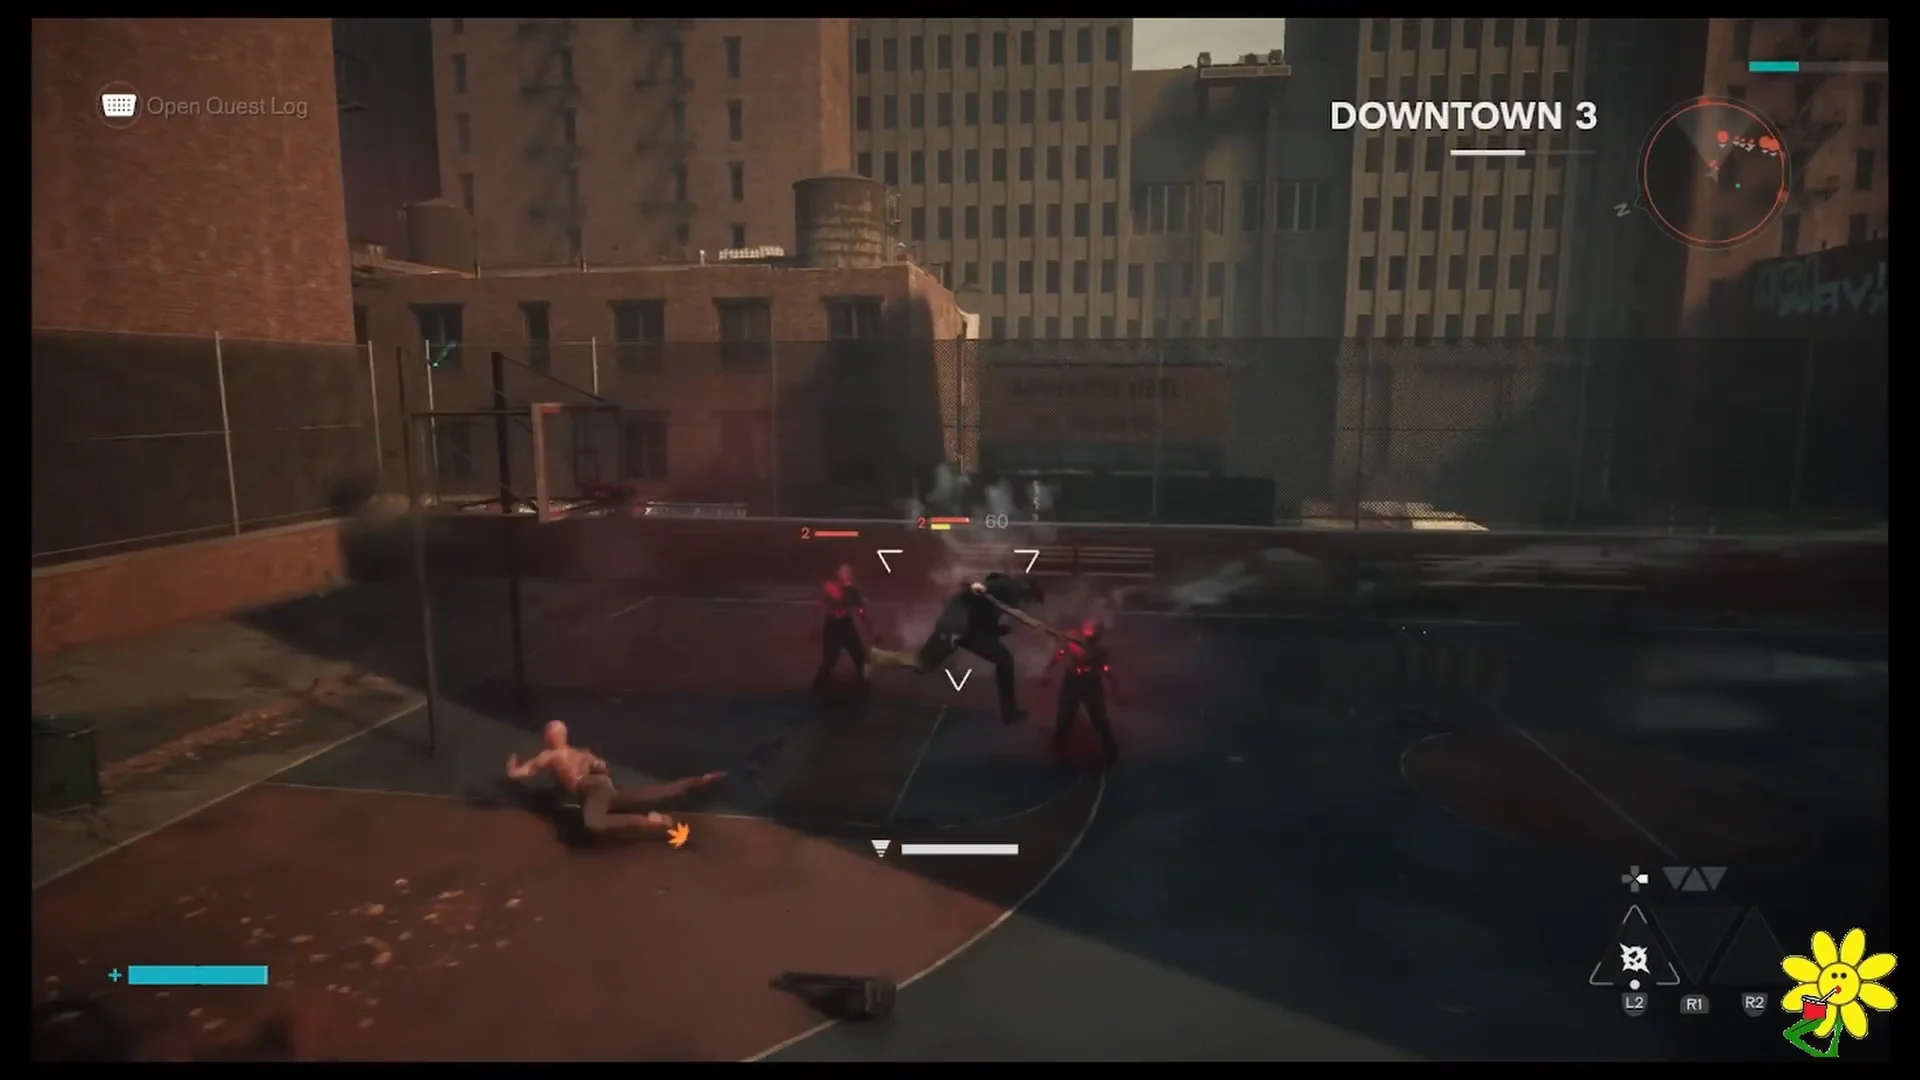
Narrow alleys are the easiest place to get value out of the ability, because enemies have nowhere to spread out. Drop the summon at the mouth of the alley, work the crowd with melee while it plinks away, then throw it into the thickest part of the group. Corridors also keep the summon relevant for longer, since enemies funnel back into its firing line instead of scattering.
Ranged and winged enemies on barricaded streets
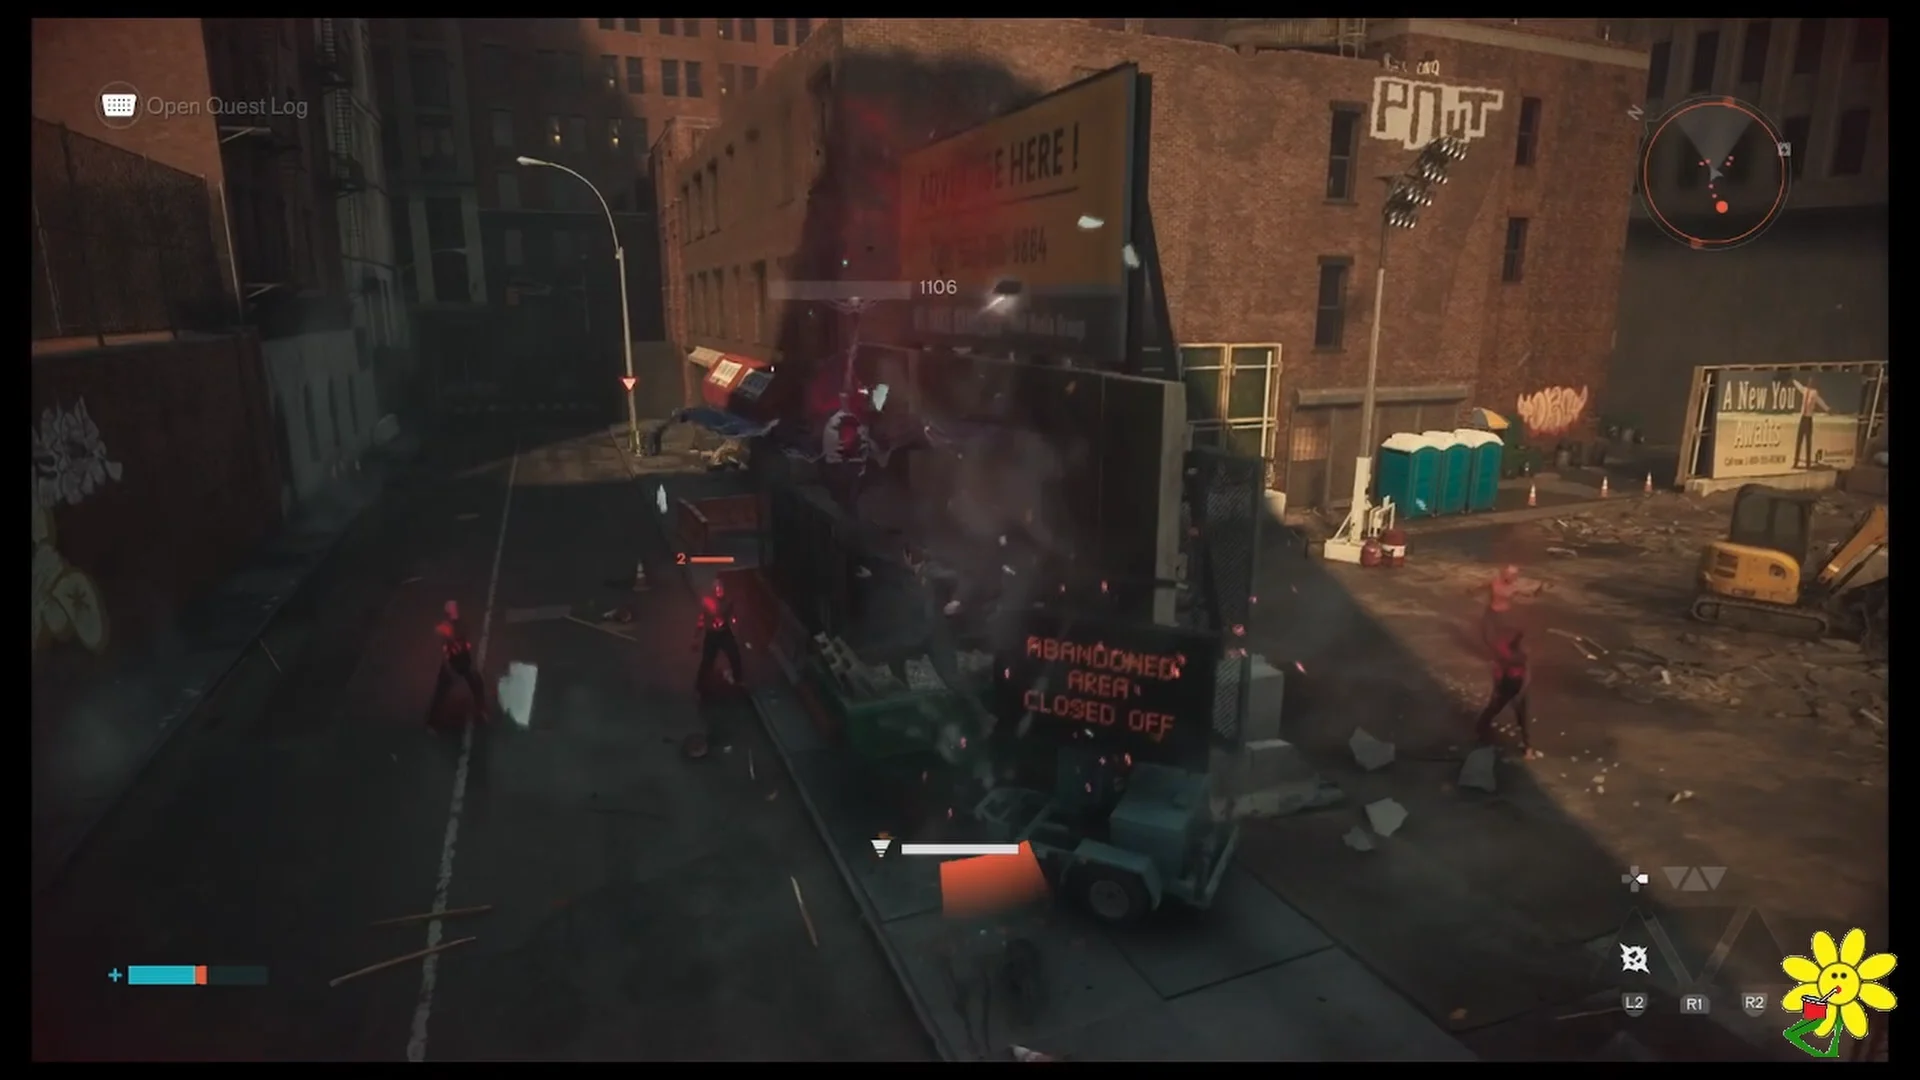
Downtown’s barricaded streets throw mixed groups at you, including enemies that fire lasers from a distance while winged foes close in. The summon is useful here as a second source of pressure that keeps working while you deal with whatever is in your face. Save the throw for the ranged attacker that refuses to come to you — the blast reaches across the street and the Falter hit interrupts its shooting.
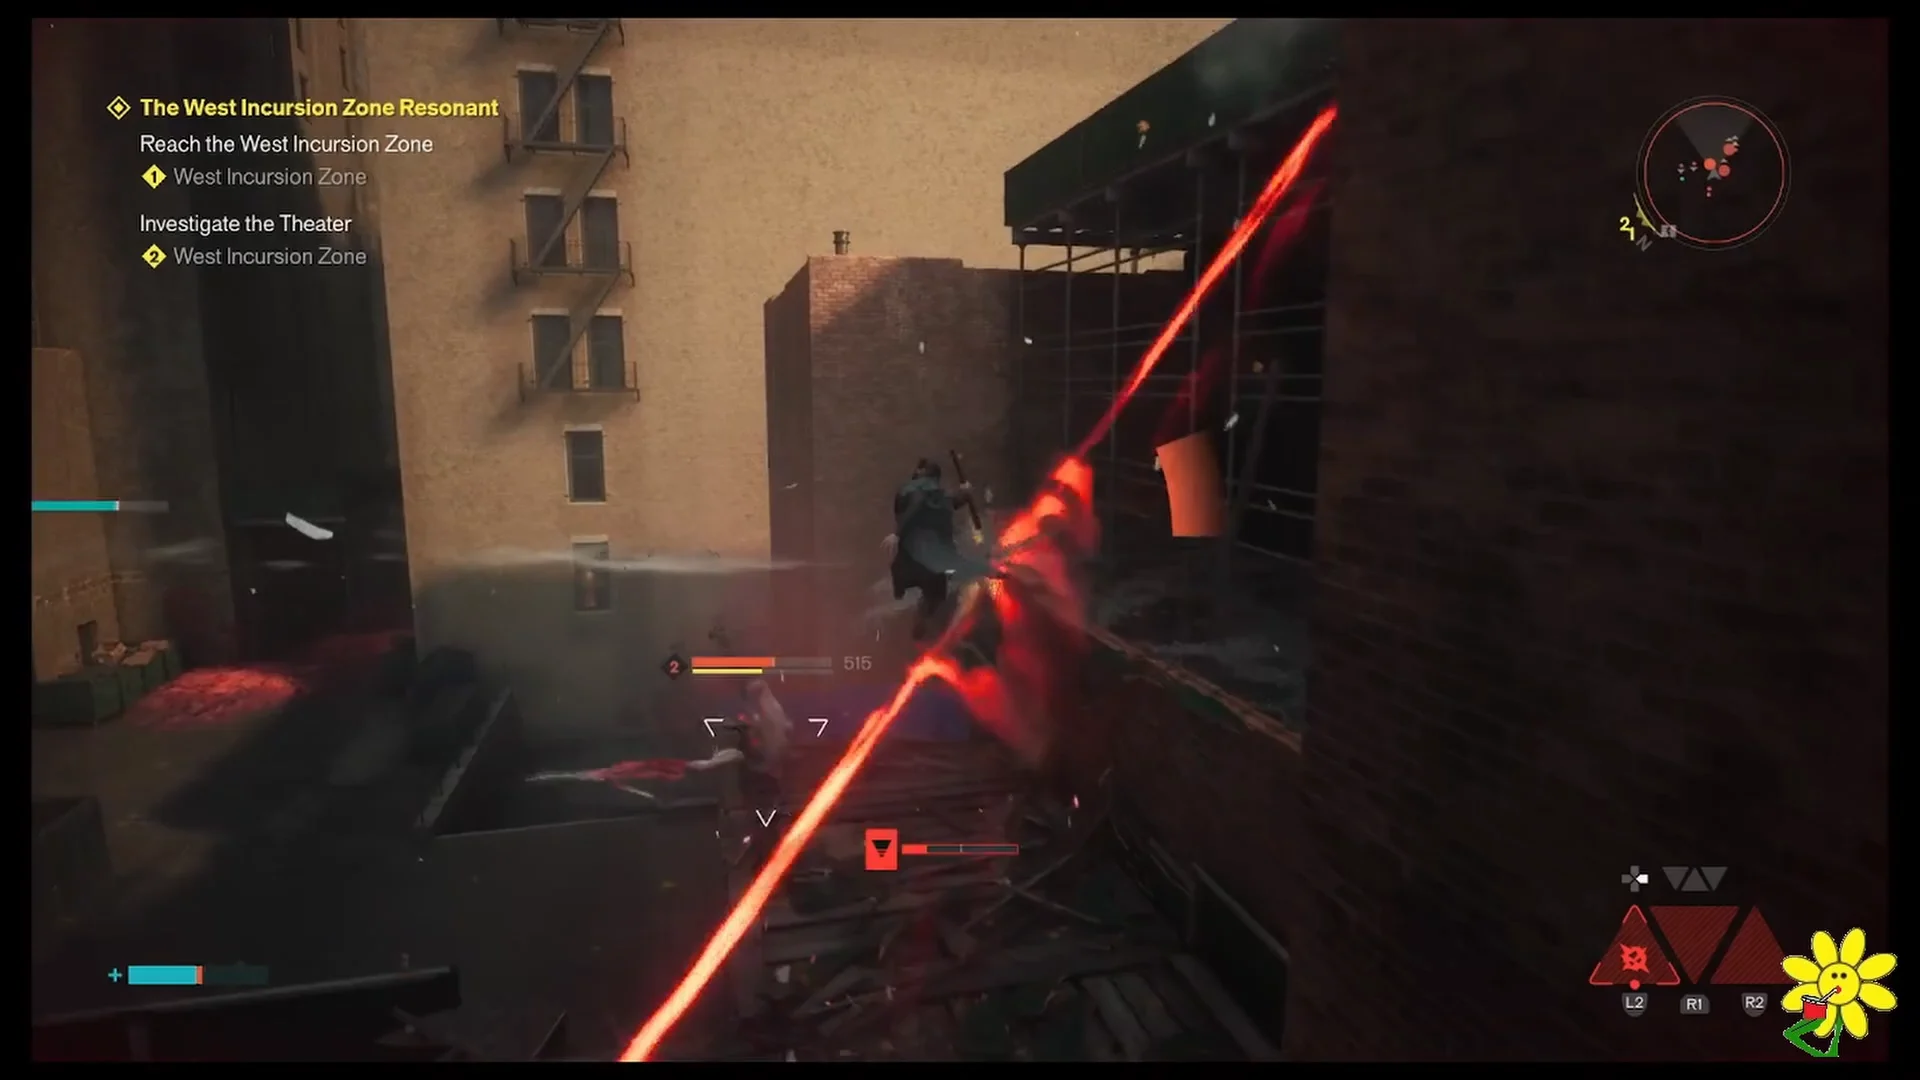
Rooftop clusters and elevated positions
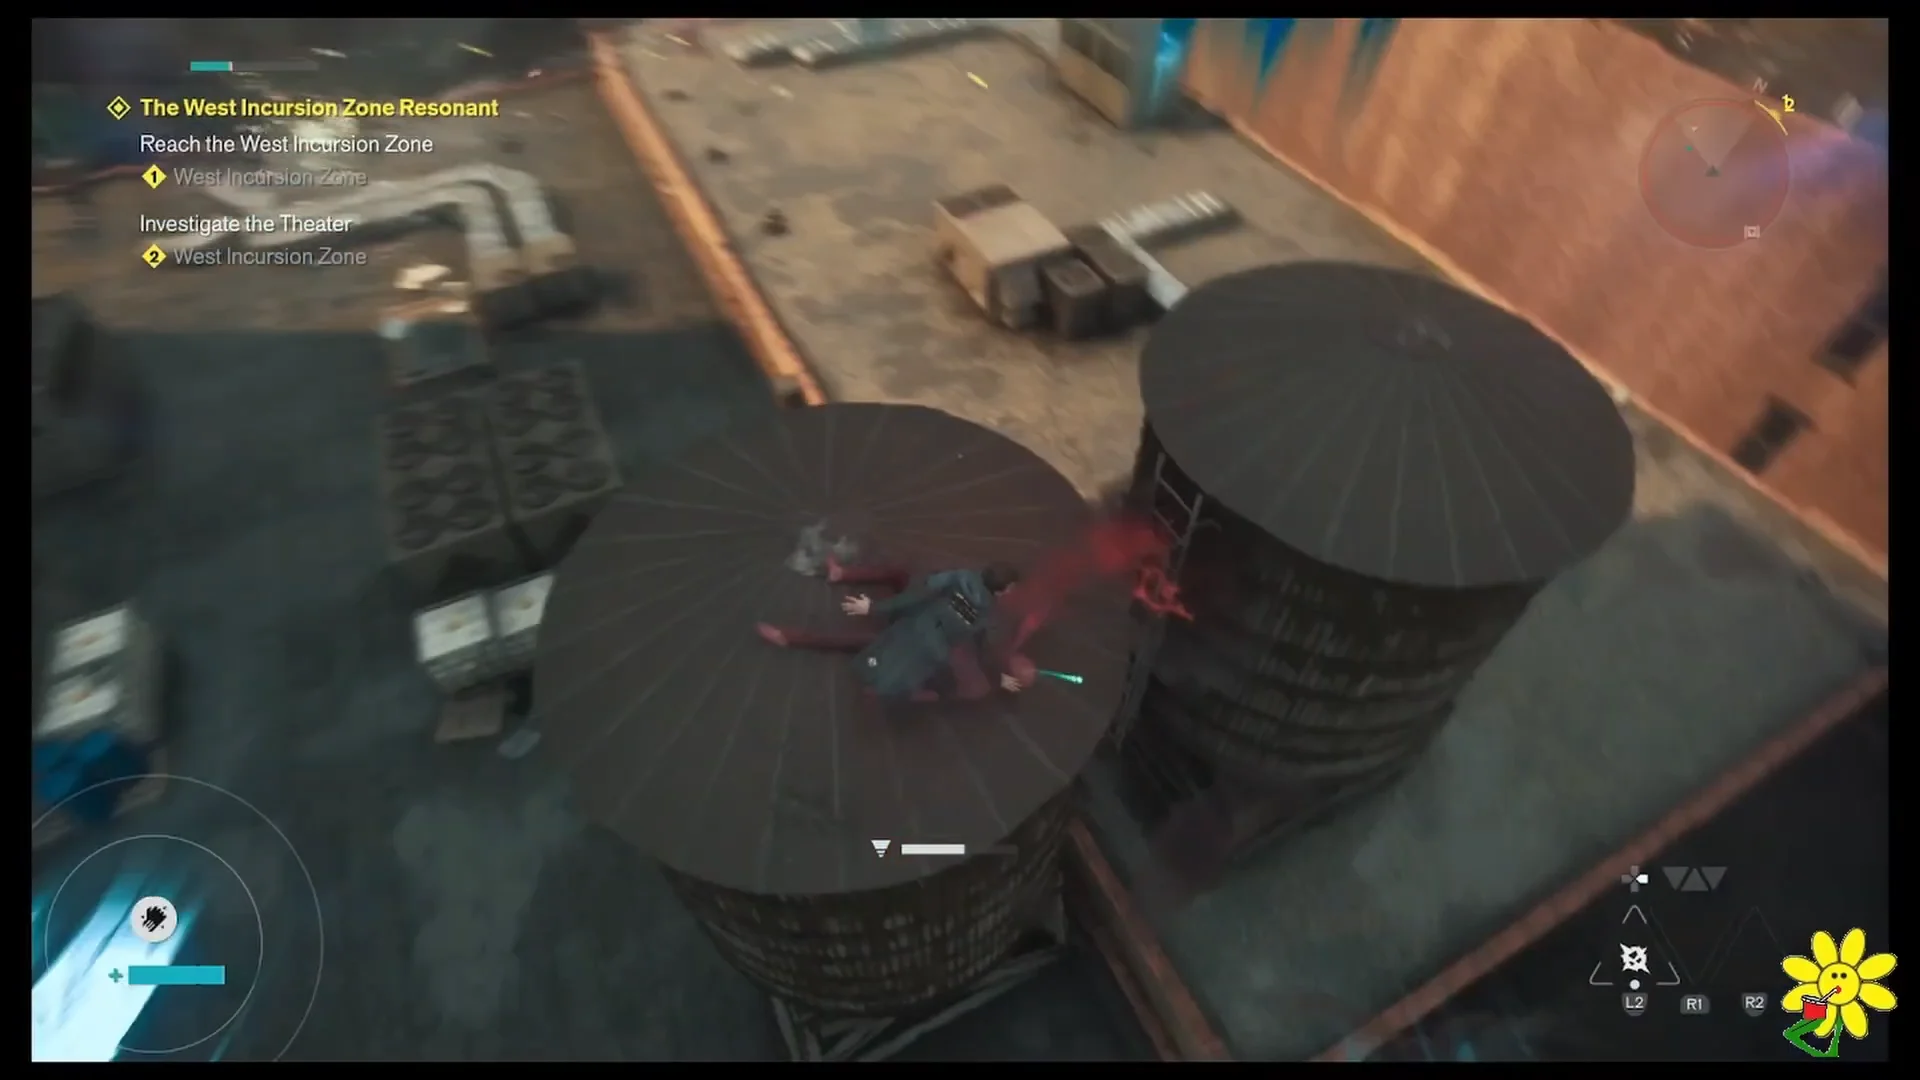
Rooftops around the West Incursion Zone let you use height as a targeting advantage. Climbing onto a water tower puts an entire cluster below you inside one blast radius, and the throw travels down without you needing line-of-sight through obstacles at ground level. It is also the safest way to open an encounter, since the summon lands first and takes the initial aggro.
Heavy brutes
Heavy-tier enemies are where the low-health detonation rule matters most. Let the summon survive long enough to take damage, then throw it into the brute while its own health bar is nearly empty. The upper end of that Falter range is usually enough to stun a Heavy outright, which opens a window to finish it before it recovers.
Swooping airborne enemies
Flying enemies that dive at you are awkward to melee consistently, and the summon helps by tracking them between your combos. The practical rhythm is to land a melee string on whatever is in range, dodge the swoop, and throw the anomaly at the flier as it pulls back up. The blast does not require a precise hit on a moving target the way a single swing does.
Where Volatile Anomaly comes from
Volatile Anomaly unlocks in Downtown at the end of the Orientation main quest, after you beat the Artist and interact with the head. That reward is a choice between three Combat Abilities — Barrage, Volatile Anomaly, and Shield — so picking one means passing on the other two for that run. Later Resonant bosses grant their own abilities the same way, and New Game Plus loosens the restriction by letting you equip more than one option from the same boss.
Skills and weapon forms that support Volatile Anomaly
The ability leans on two things: keeping the summon alive and keeping Power topped up. The right side of the skill tree covers the first half, and Power regeneration covers the second.
- Guarded Formation, Restorative Summons, Enduring Ally — extend the summon’s lifespan and add damage reduction and healing.
- Sanctioned Retaliation — refills Power, which directly raises how often you can summon and throw.
- Perfect Dodge, Retribution, Agile Response — add damage on dodge attacks for the stretches when the ability is on cooldown.
For Aberrant, the Cleave primary form is the natural partner, because it restores Power and builds Falter at the same time — the two resources this ability consumes and exploits. Its Lifted status also suspends most non-huge enemies so they cannot act, which gives you a free window to place or throw the summon. Crush as a secondary form covers armored targets with Blunt damage, and Split Pivot as a Combo Finisher stacks weaken and burn onto Heavies before the detonation lands.
How to confirm the detonation landed
You will see floating damage numbers at the point of impact and the Falter meters above affected enemies jump in a single step rather than climbing gradually. Against lesser enemies, a full Falter bar immediately opens an execution, and chaining those executions keeps Dylan’s damage buff running. Against a Heavy, the tell is the stun animation — the enemy stops mid-action and stays open long enough for a finisher.
Cleared enemies drop Source, showing up as small pickups worth anywhere from +9 to +20 at a time, so a good detonation that wipes a cluster also pays out in currency.
Treated as a one-off nuke, Volatile Anomaly is unremarkable. Treated as a resource you keep on the field, damage on purpose, and cash in at the right moment, it becomes the engine of an early-game loop that handles crowds and Heavies with the same two button presses.





