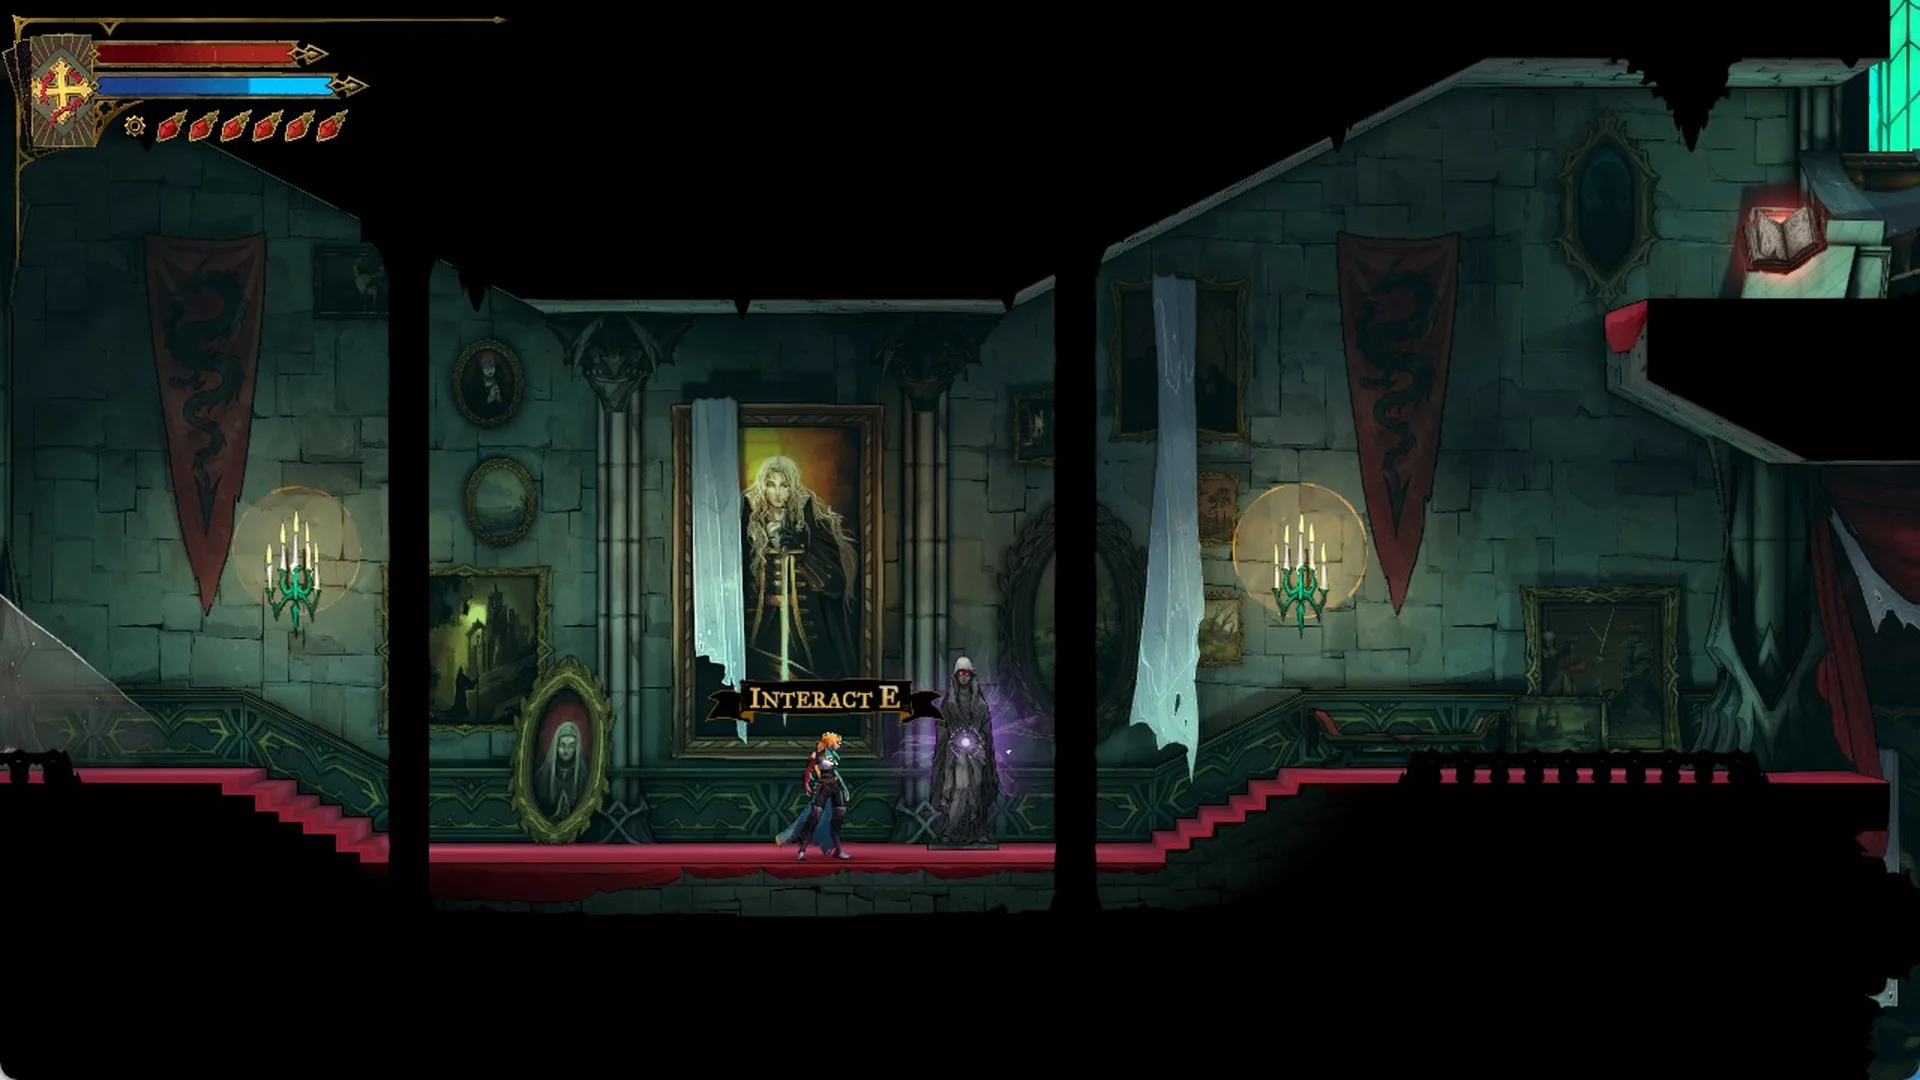
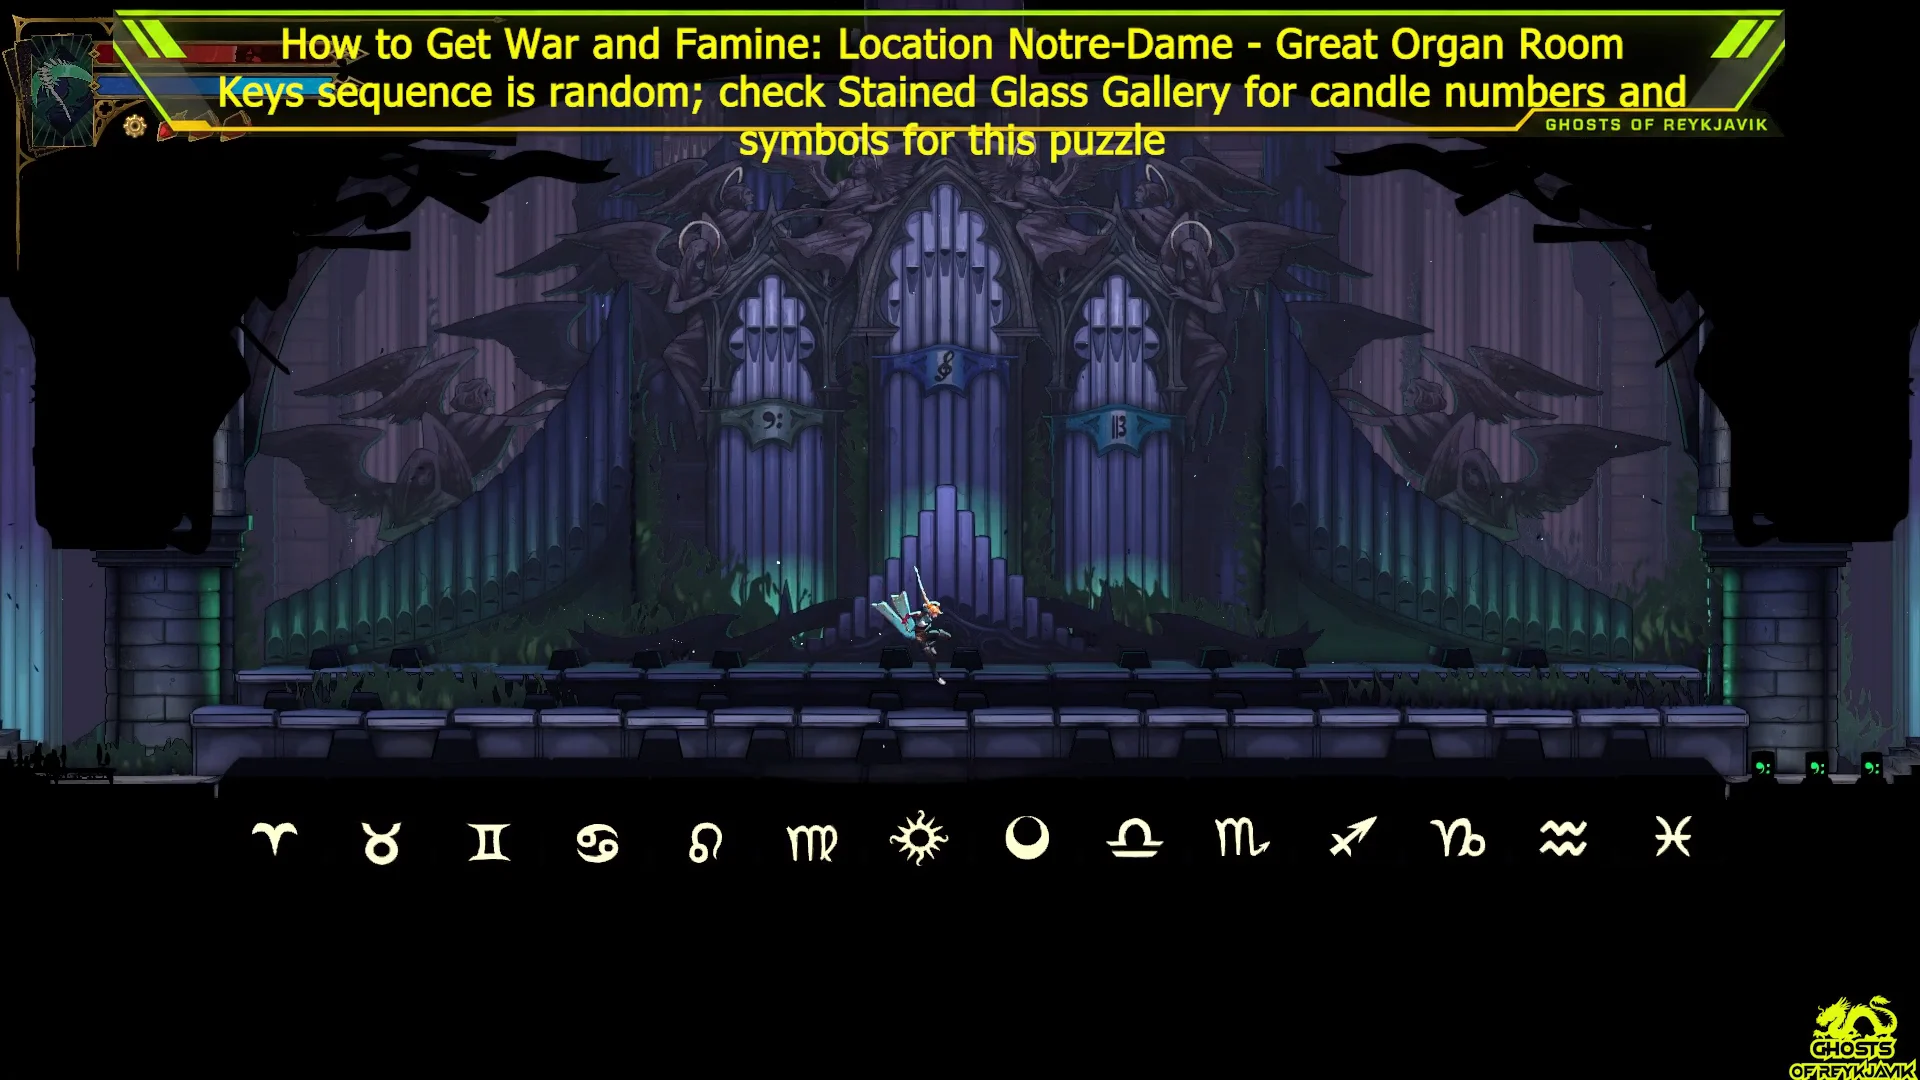
War and Famine is a pair of Legendary dual swords in Castlevania: Belmont’s Curse. You won’t find it in a chest. It sits on an altar in a hidden room under the Great Organ Room in Notre-Dame, and the only way in is to play the Giant Organ correctly. The correct melody is different in every playthrough, so you have to read the solution from your own game before you play it.
Quick answer: In the Stained Glass Gallery, count the candles under each zodiac window. Then step on the matching Giant Organ keys from fewest candles to most, go through the left passage, and pull the lever.
Where War and Famine is in Notre-Dame
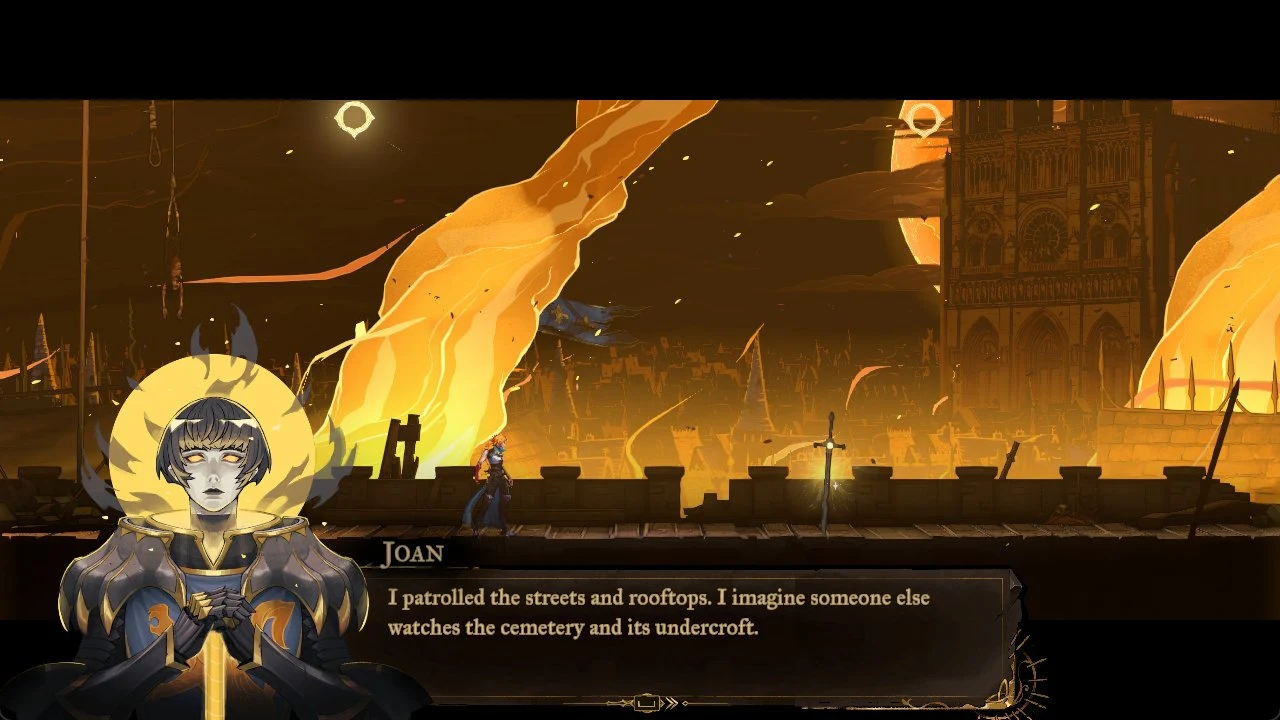
Notre-Dame belongs to the Dracula’s Castle part of the world map. The weapon is in the Great Organ Room district, which you can find on the map by its Giant Organ marker. You can see the room from the start, but the altar is in a basement below it. That basement only opens after the organ is solved. A DEF UP book is in the same district, so you can pick it up on the same trip.
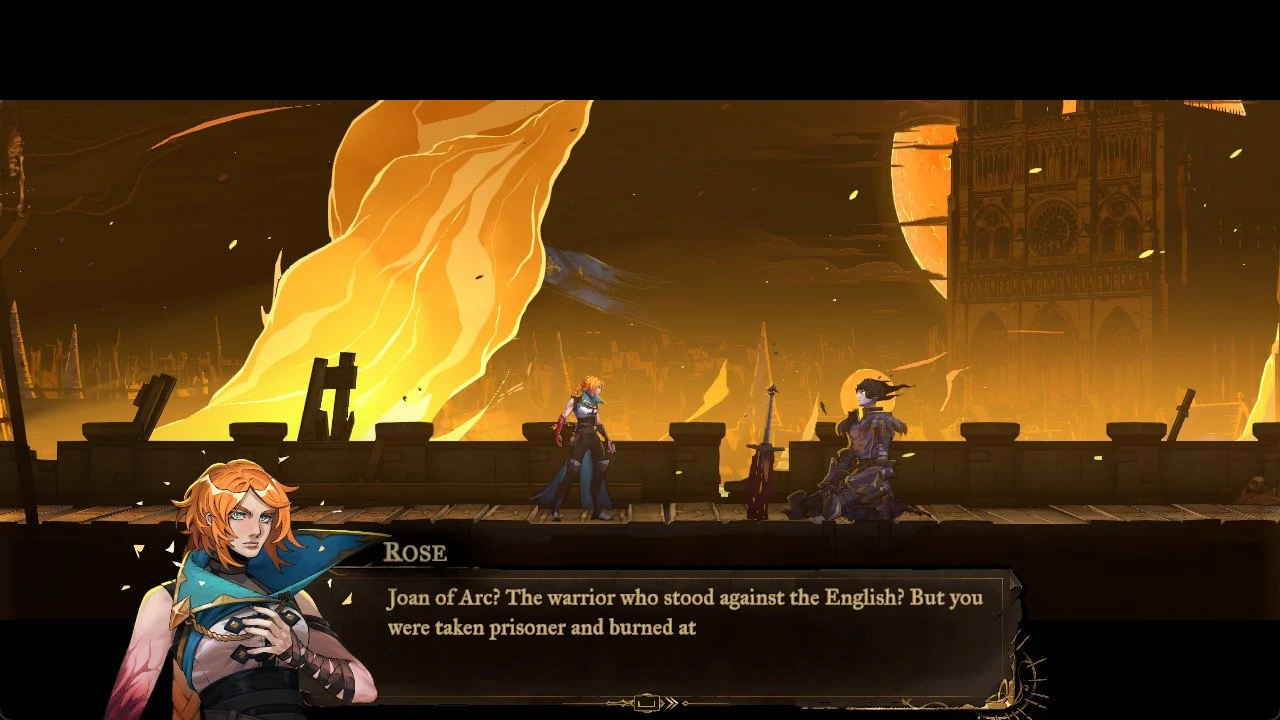
Close to the organ, an inscription warns that the order’s greatest sin lies beneath the stairs. That is a hint about where the reward is. It is not the code. The code is in another room.
Reading the organ code in the Stained Glass Gallery
The Stained Glass Gallery is marked on the Notre-Dame map. At first it looks like an empty room. Two details in it give you the whole solution.
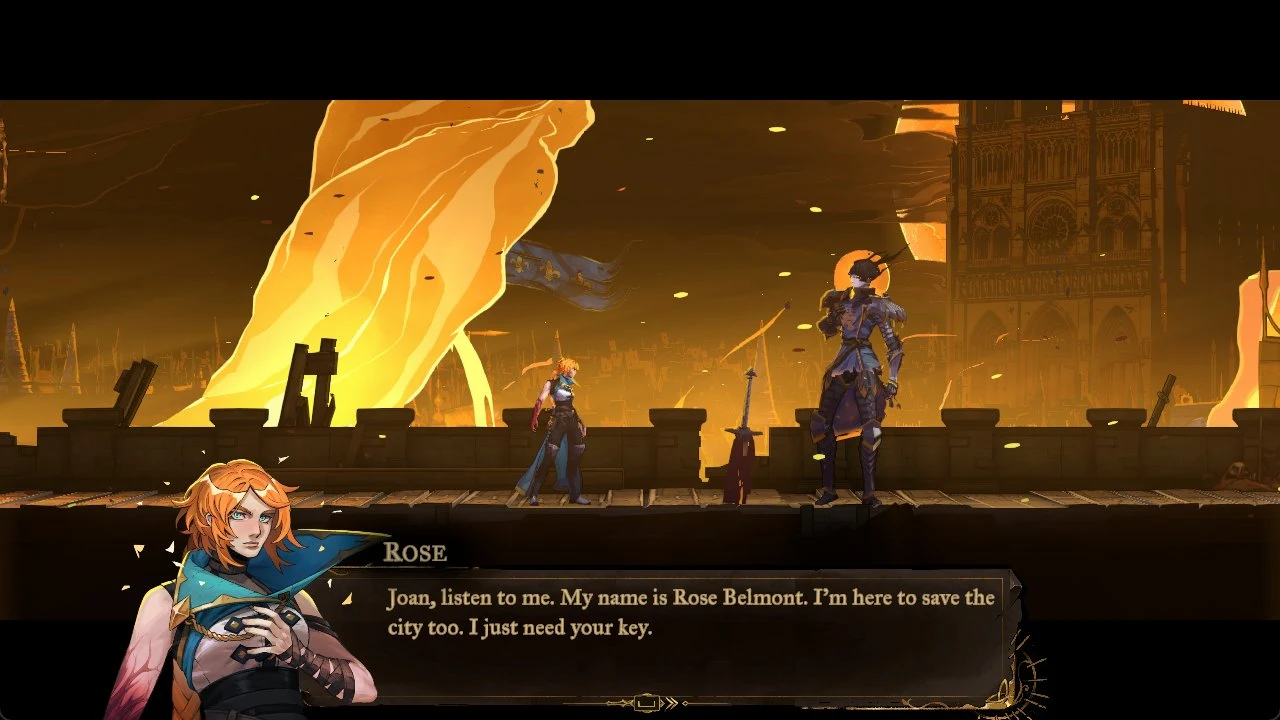
- Each window has a zodiac sign at the top.
- Candles burn at the bottom of every window, with the number ranging from one to nine.
- The candle counts change between playthroughs, so a code copied from someone else’s game will not work in yours.
- The organ keys use the same zodiac signs as the windows. That is how you match a window to a key.
Write down every sign together with its candle count. Then sort the list from the lowest count to the highest. The sorted list is the order in which you press the keys.
Make the list before you leave the gallery. A wrong key resets the whole melody, so guessing from memory costs time.
How to get War and Famine from the Giant Organ
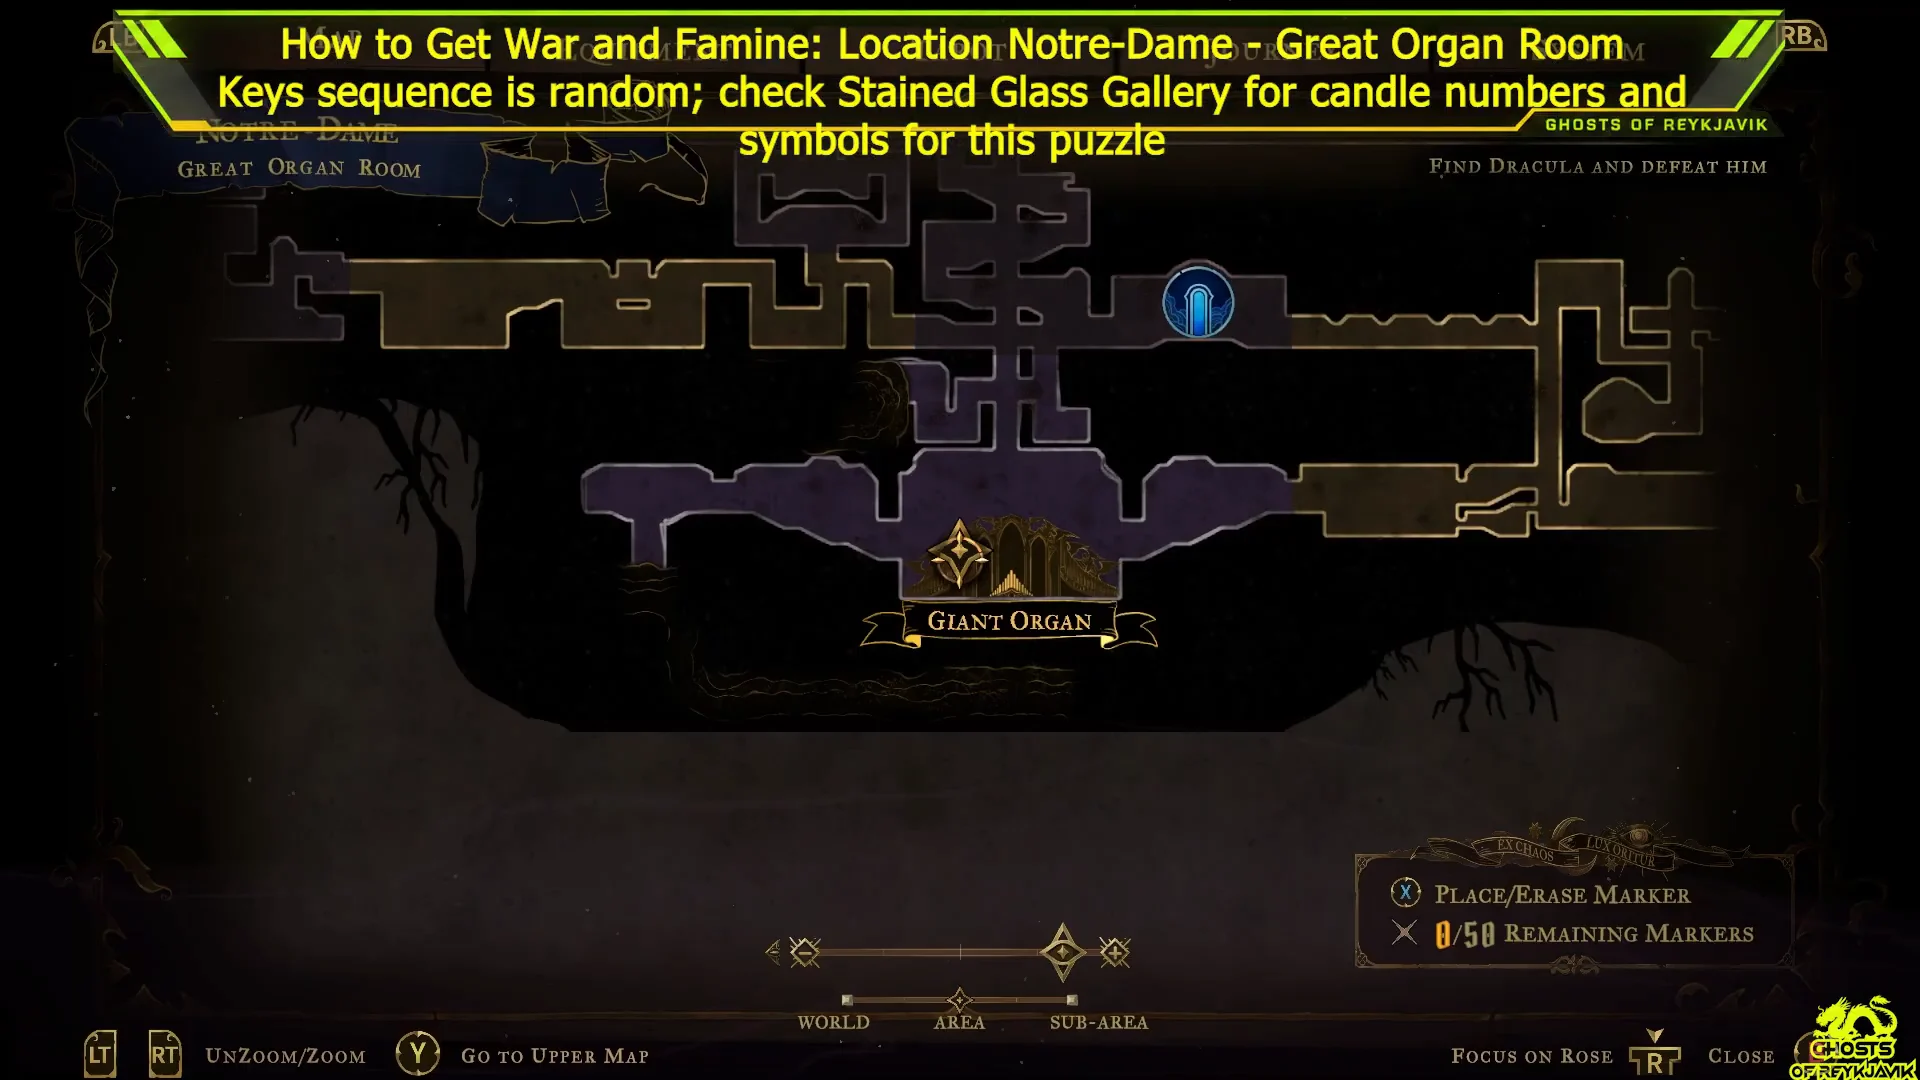
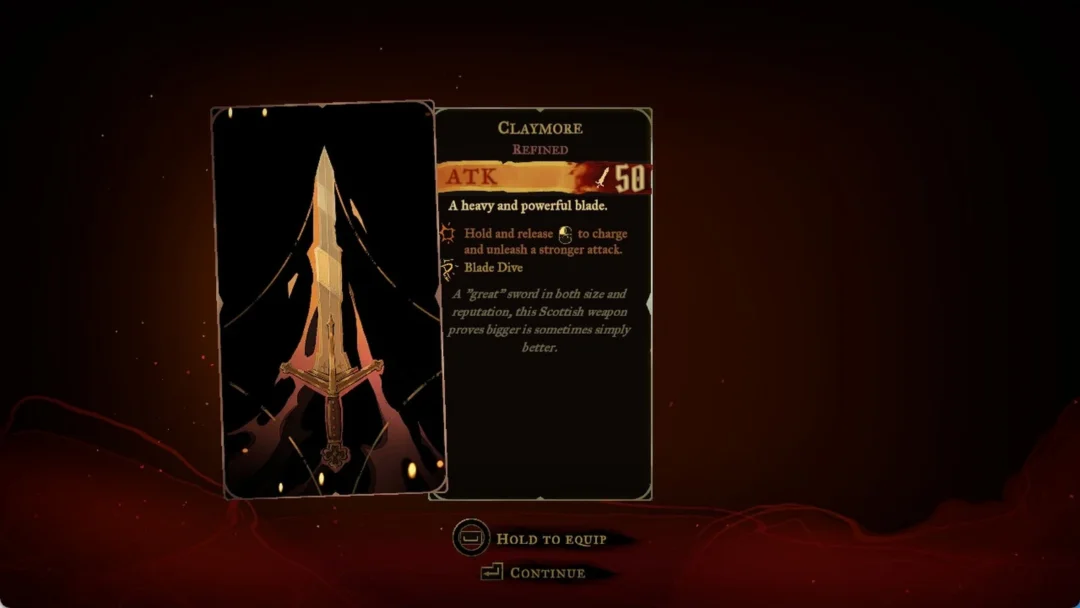
You’ll know it worked when the War and Famine weapon card opens with a Legendary tag and an option to equip it. If you hold the equip button there, the swords go straight into Rose’s hands. On the map, the altar is the underground room just below the organ chamber.
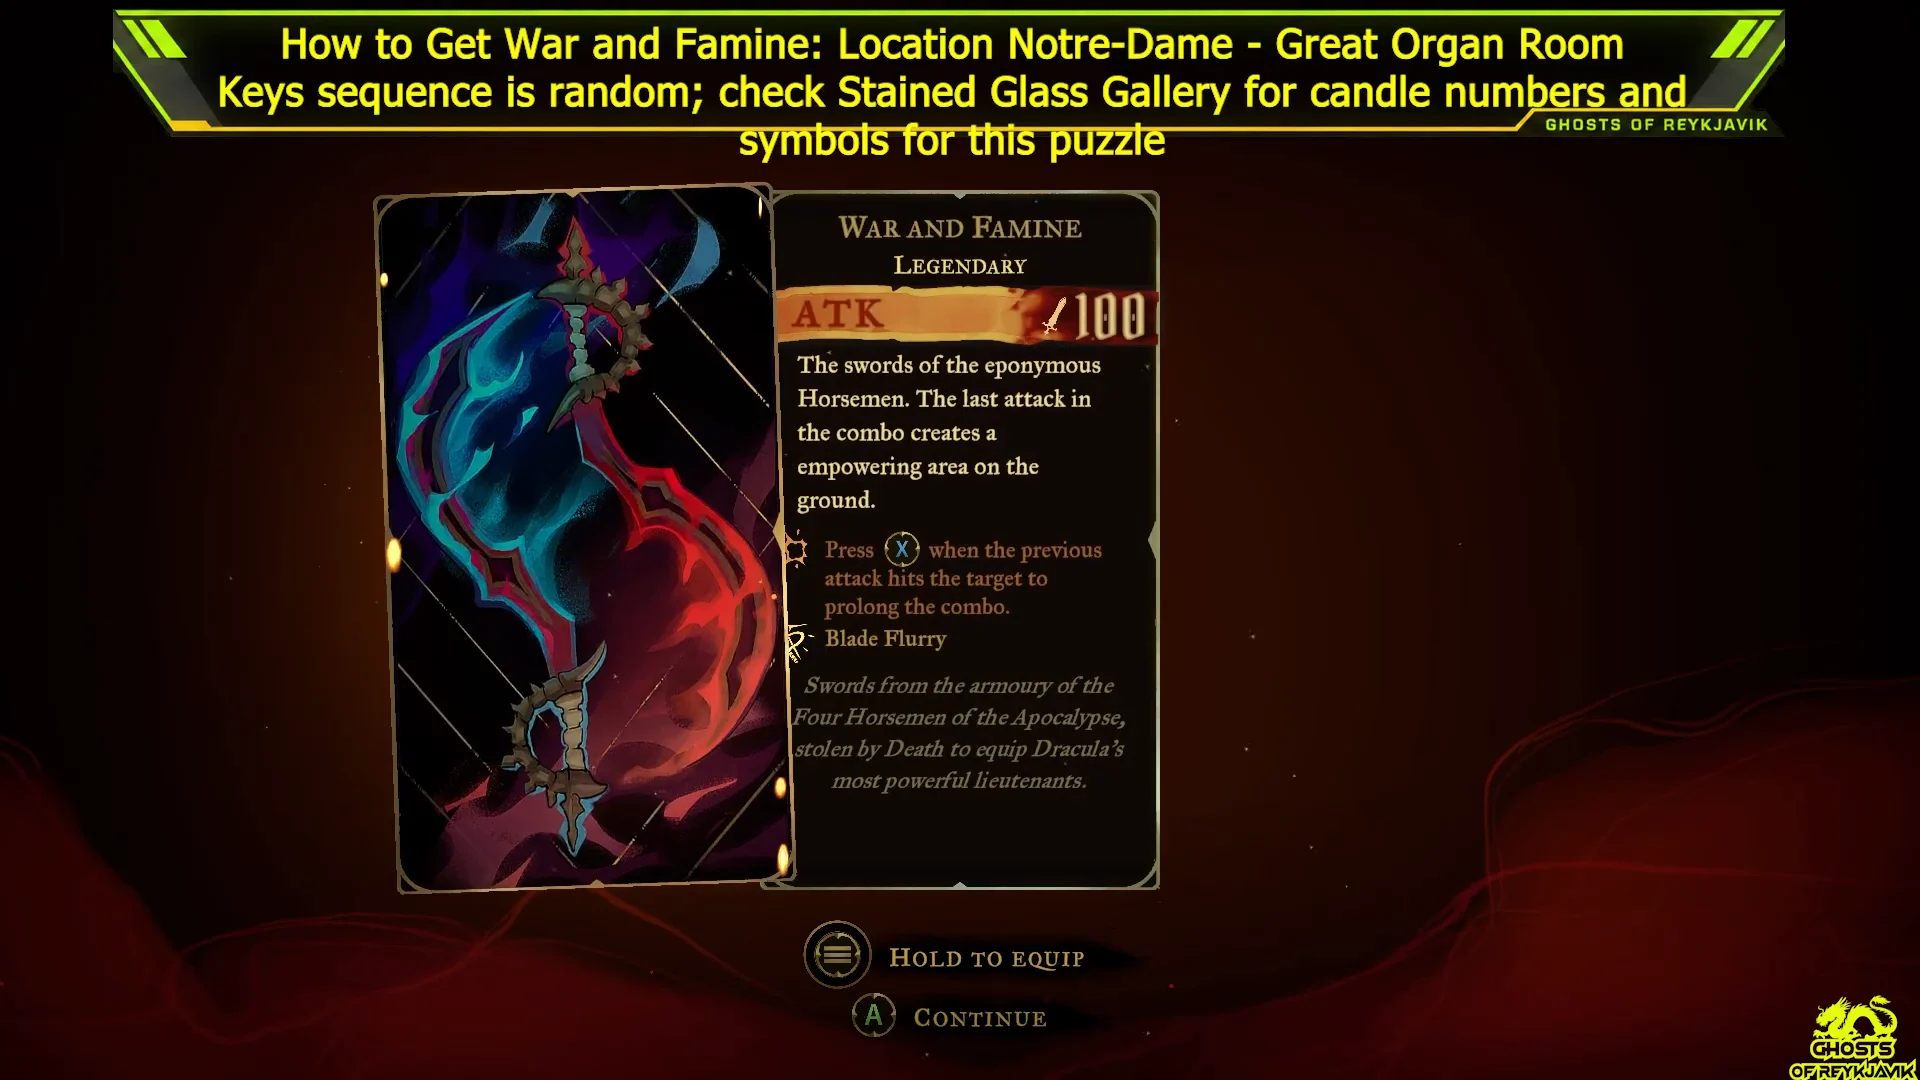
War and Famine stats and combo
| Stat | Value |
|---|---|
| Weapon type | Dual swords |
| Rarity | Legendary |
| Tier | 4 |
| ATK | 100 |
| Attack power | 33 |
| Stagger power | 30 |
| Mana per hit | 2 |
| Combo finisher | Blade Flurry |
Blade Flurry depends on good timing. After each attack connects, press Attack again to keep the combo going. The chain’s final strike creates a ground zone that boosts you for as long as it remains. According to the lore, Death stole these swords from the armory of the Apocalypse’s Four Horsemen and used them to equip Dracula’s strongest lieutenants.
Great Organ Room and Notre-Dame reference
The organ room holds more than the swords. Use this table to check what else is in the district while you’re there.
| Great Organ Room | Value |
|---|---|
| Area | Notre-Dame |
| Items | DEF UP book, War and Famine |
| Secret areas | 3 |
| Breakable walls | 1 |
| Clue | Melody Sheet for the Fugue of Notre-Dame |
Melody sheets also appear in two other Notre-Dame districts. If you’re collecting clues, these are the places to look.
| District | Clue | Other notes |
|---|---|---|
| Sealed Scriptorium | Melody Sheet for the Sonata of Notre-Dame | 1 secret area |
| Great Organ Room | Melody Sheet for the Fugue of Notre-Dame | 3 secret areas |
| La Flèche | Melody Sheet for the Concerto of Notre-Dame | Brave Heart Fragment |
Here is what the whole Notre-Dame area contains, so you can track your completion progress. The area counts 235 completion items in total. These include 4 ATK books, 3 DEF books, 19 XP statues worth 300 XP each, 3 Wise Heart Fragments, 3 Brave Heart Fragments, and 3 Mirrors of Life. Its bosses are Arthur, Death, Doppelganger and Joan. War and Famine is one of the 17 items that count toward completing the area.