

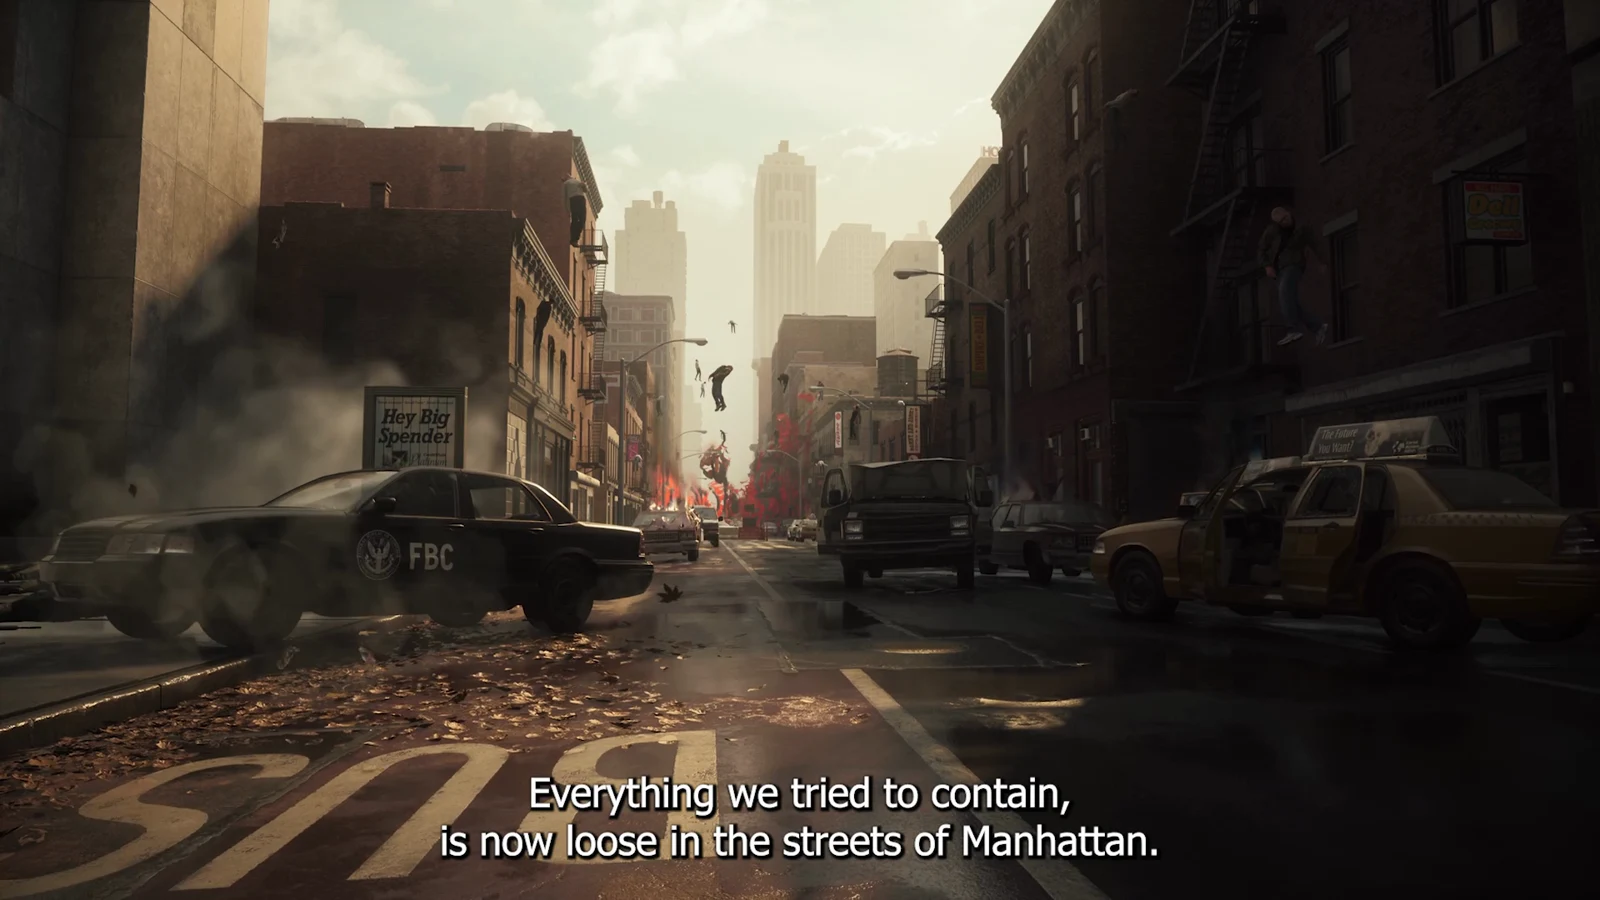
The Central Checkpoint puzzle is the first real roadblock in Control Resonant’s second mission, Welcome to Manhattan. Dylan is sent out to check on a missing maintenance worker, finds the checkpoint dead, and has to run an electrical charge through five power cores scattered across the surrounding streets and rooftops. The Aberrant can only hold that charge for a short time, so the route matters more than the fighting.
Quick answer: Hit the sparking orange cube inside the checkpoint, then strike five power cores in order — central pillar, loading dock, rooftop, FBC outpost, final street core — within roughly 20 seconds each.
Where the Central Checkpoint puzzle begins
After leaving the Federal Bureau of Control building and helping with the Mapping Pylon in Downtown, the objective points you to the Central Checkpoint. A group of Hiss is waiting outside it, so clear them before you touch anything. Inside, a file on the table to the left holds a rough hand-drawn map left by Baker, the maintenance worker who walked off the job, with five cubes numbered in the order they need to be hit.
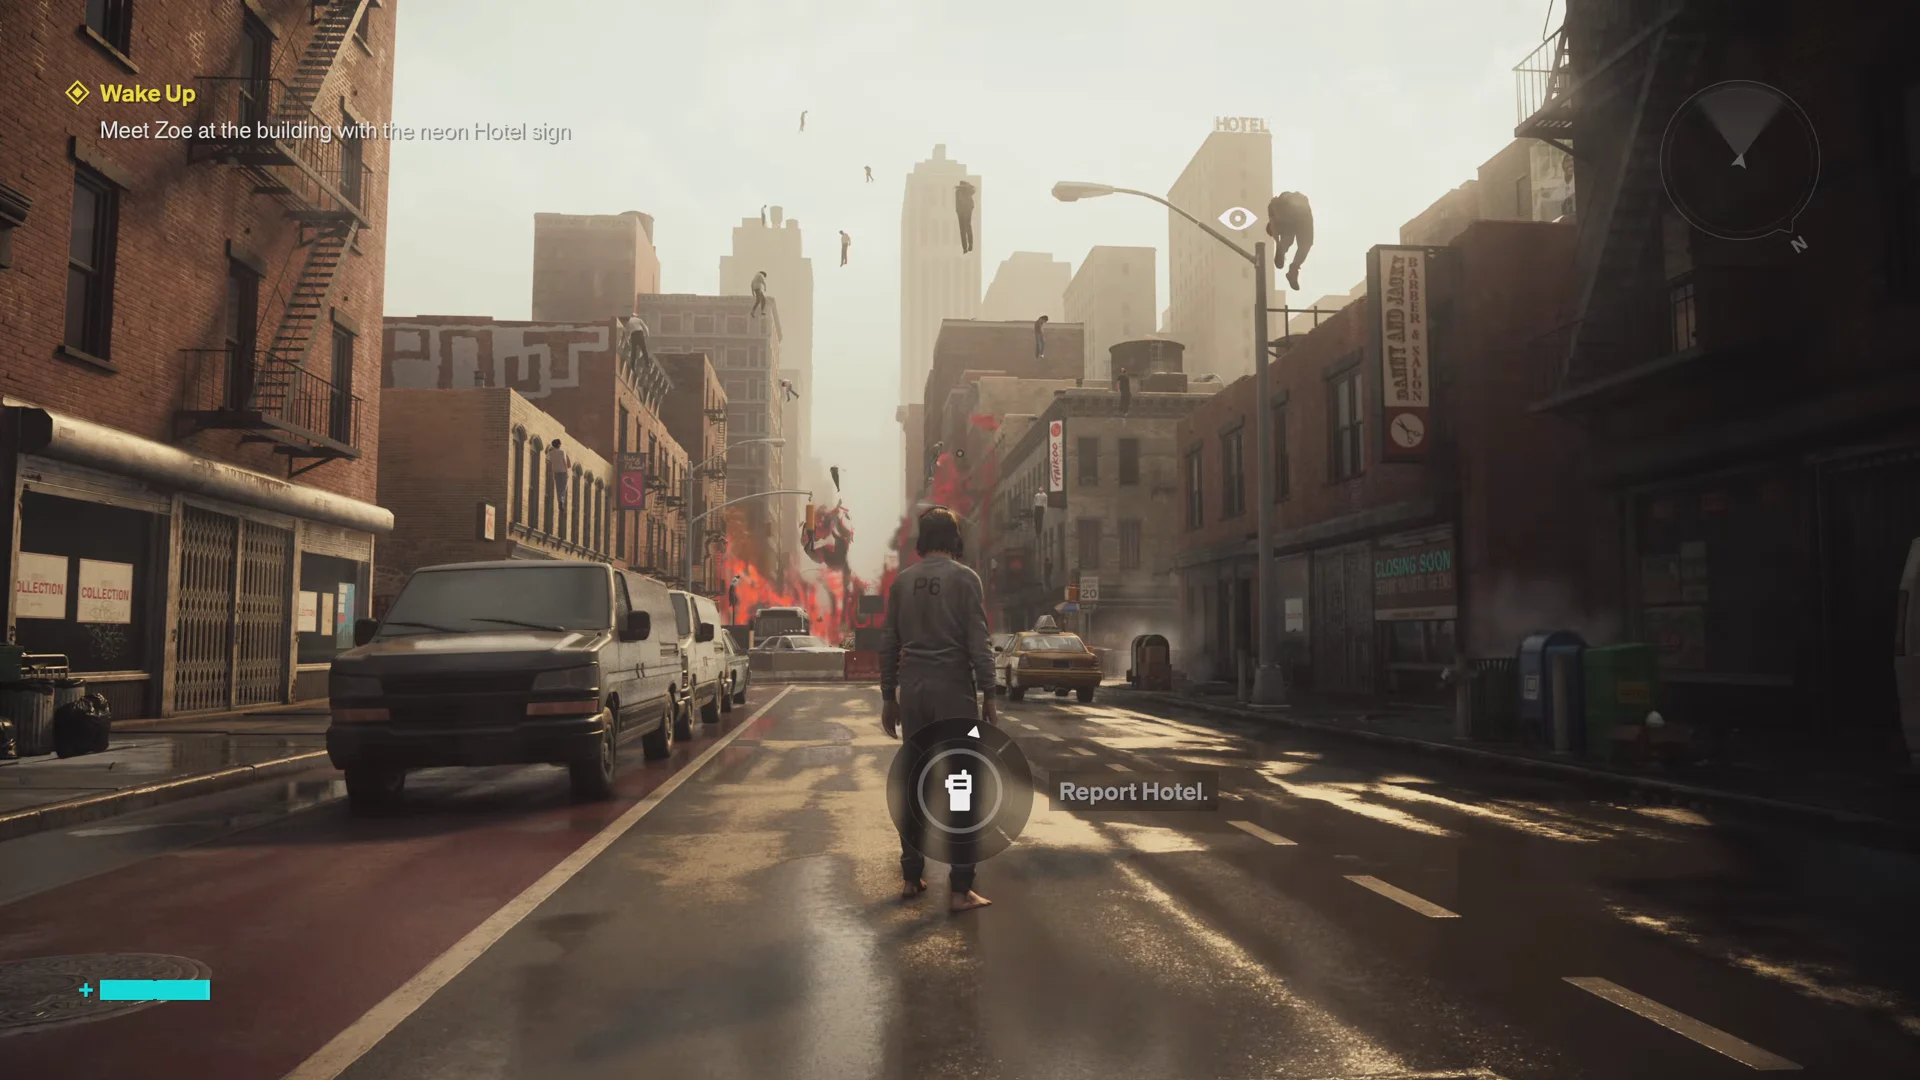
The mechanic itself is simple. Striking a charged cube pulls the electricity into the Aberrant, and striking an empty core deposits it there. Depositing the charge resets the carry timer, which is why the cores are placed the way they are. If the timer runs out mid-run, the charge snaps back to the last core you powered and you start that leg again.
Power core locations and order
| Core | Location | Route cue |
|---|---|---|
| 1 | Central pillar | Straight across from the checkpoint doors |
| 2 | Loading dock garage | Right road, first left, then down the ramp |
| 3 | Rooftop to the north | Green awnings in the alley, then up right |
| 4 | FBC outpost platform | Across the rooftops, by the armed guards |
| 5 | Main road, past the outpost | Turn right and sprint the whole way |
Core 1 is the short hop that buys you time, so do not skip it. The landmark for core 2 is a small white unionization banner on a light pole at the turn. Core 4 sits inside the walled FBC position with the green shipping containers, on a platform marked with yellow tape.
Running the charge, core by core
The rooftop stretch around core 3 usually has Hiss Elevated and Hiss Focused floating about. Go up without the charge, kill them, then come back and run the leg clean.
Pickups along the route
Three things are worth stopping for while you are between legs. At core 2, walk up to Baker’s body inside the open garage to report it — that triggers a short radio conversation with Zoe about Dylan’s guilt. The same garage holds a chest with upgrade materials.
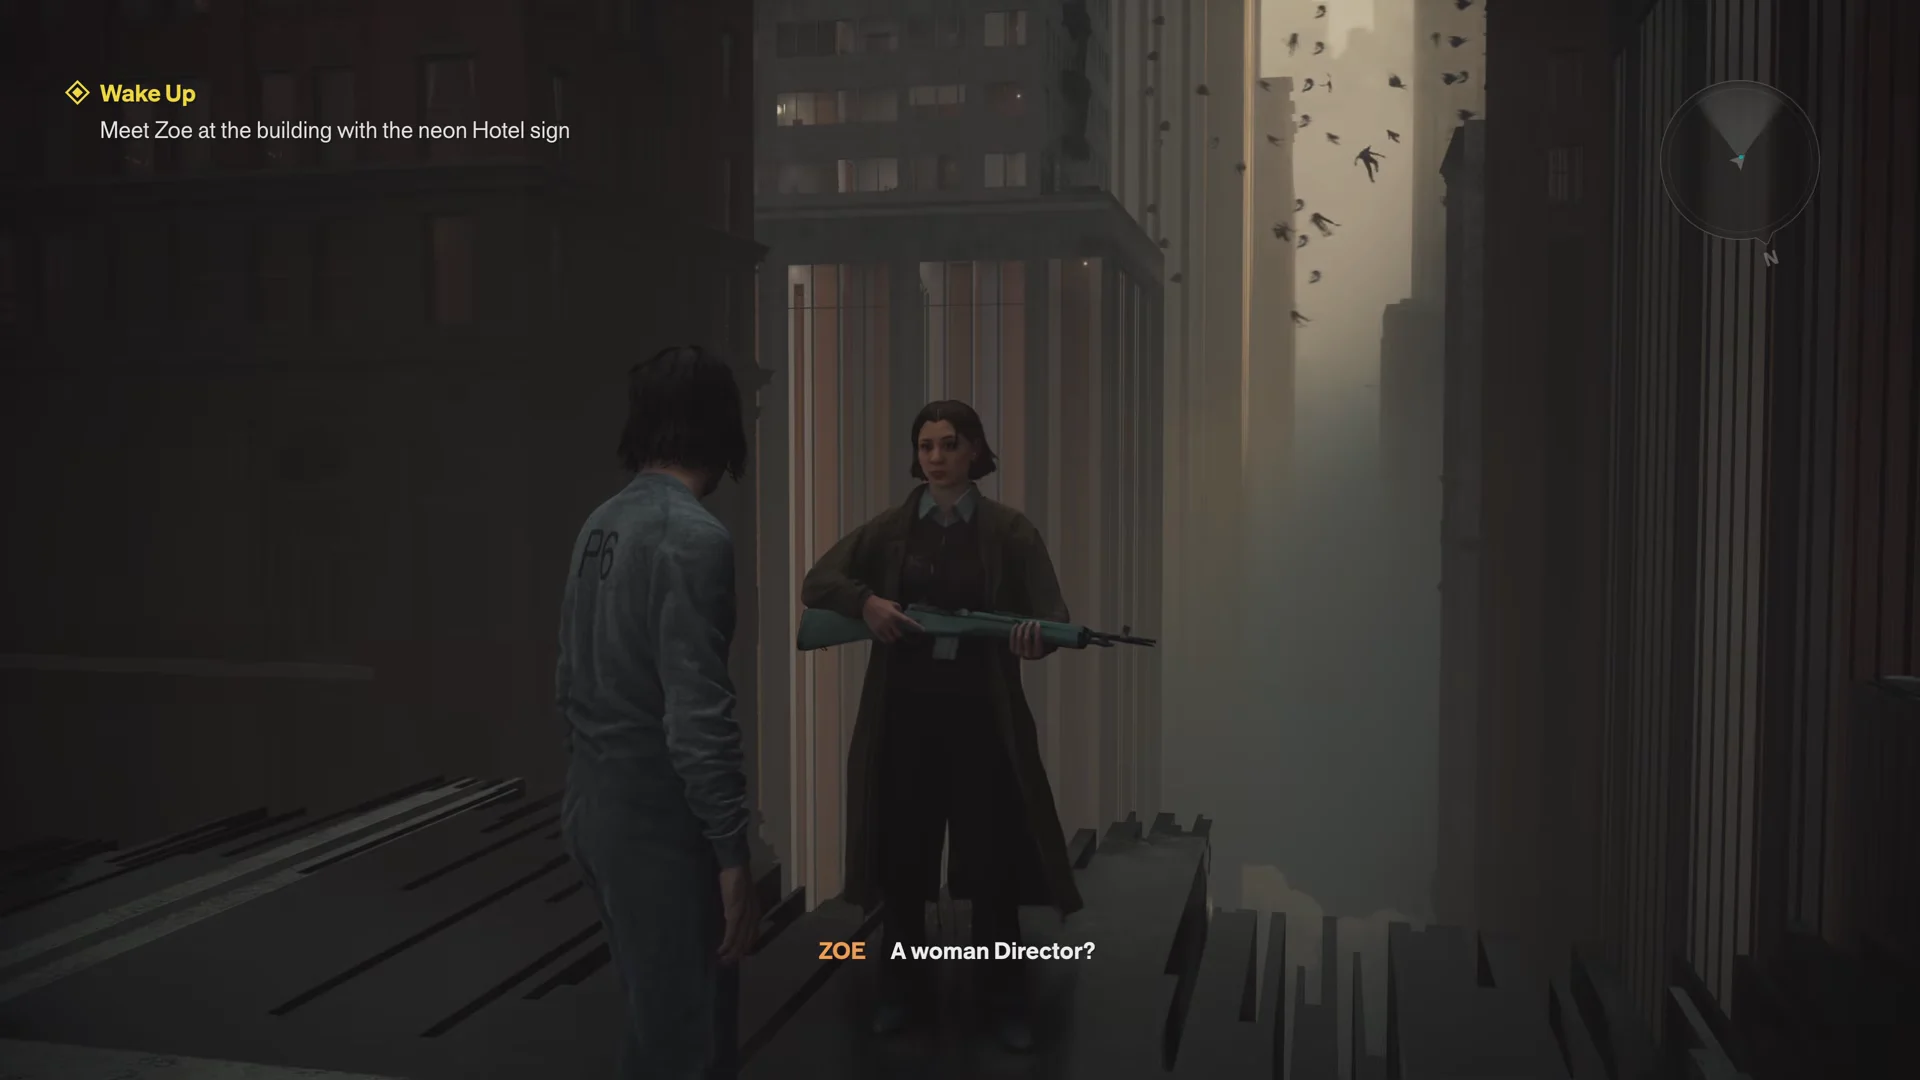
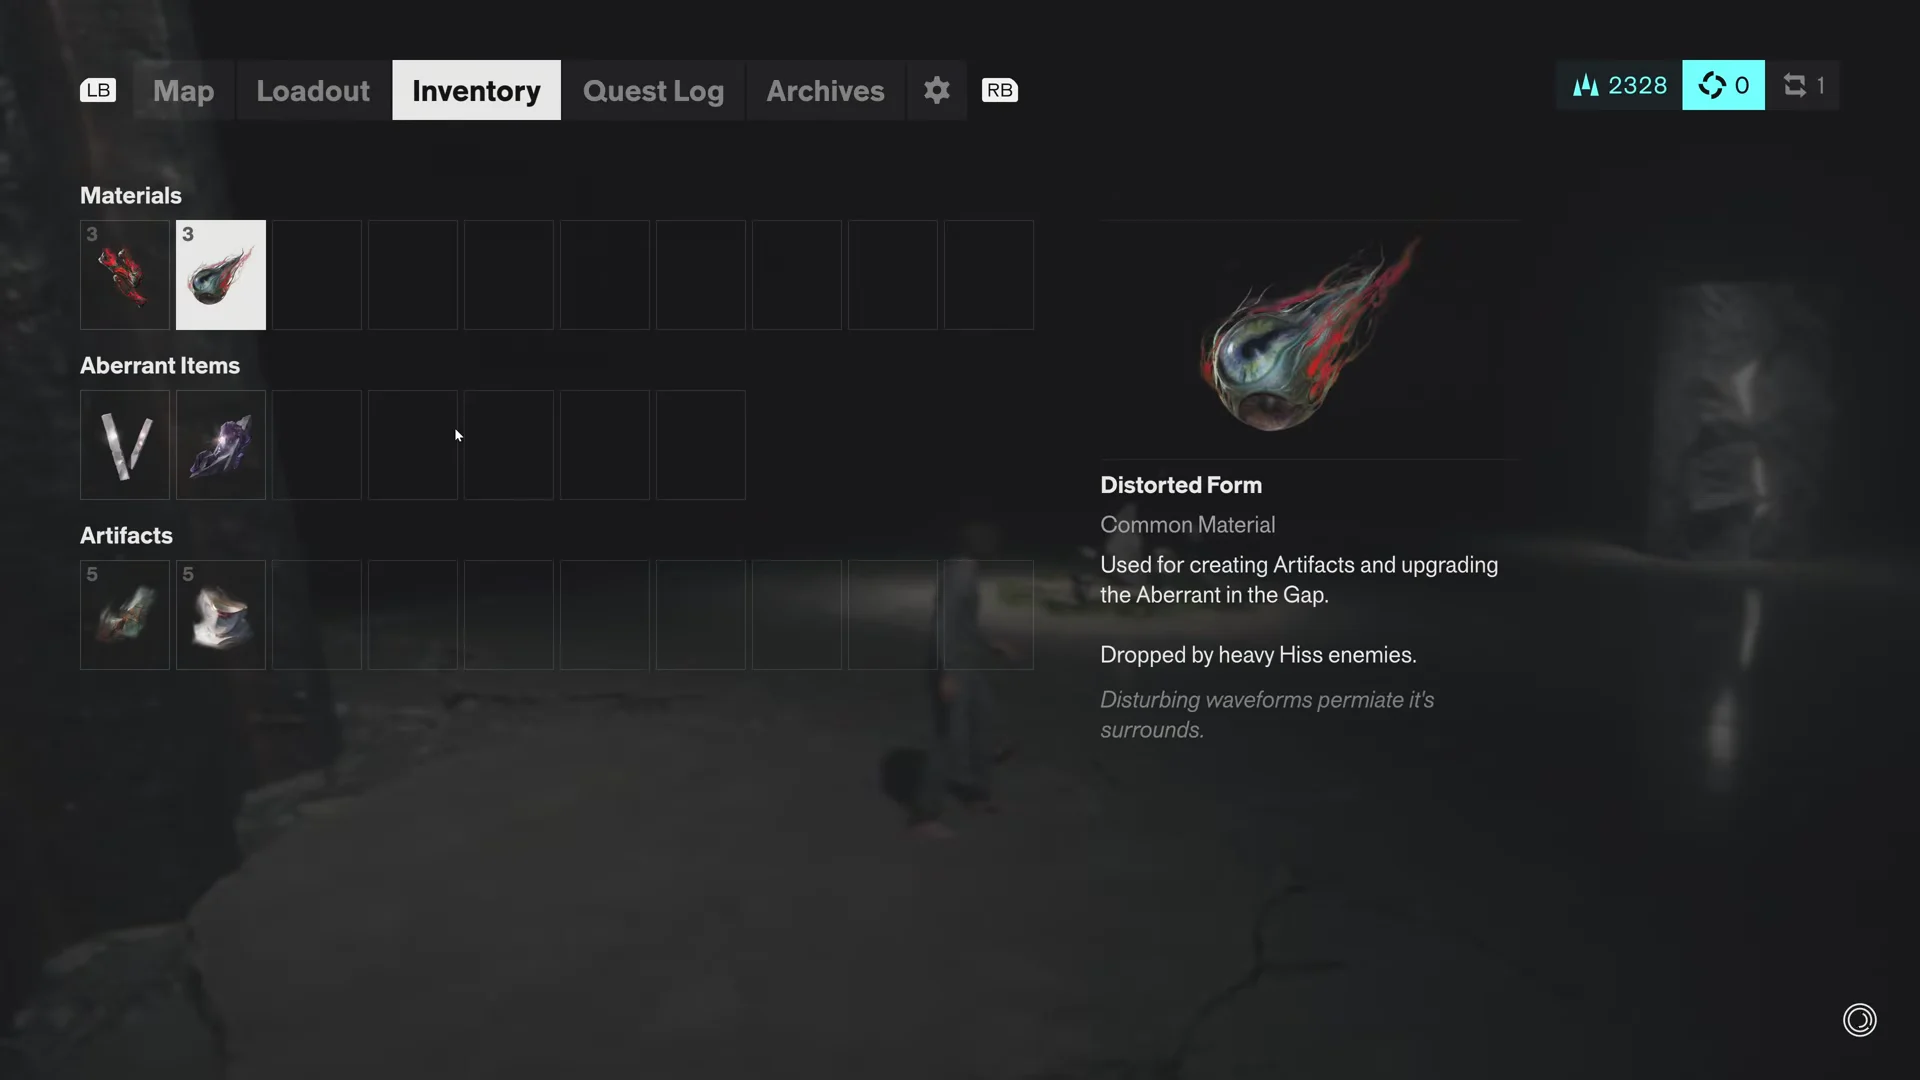
Up on the rooftop at core 3, the Power Core Complaint file is sitting on the air conditioning unit right beside the core. Materials you pick up here land in the inventory alongside the rest of your Aberrant Items, such as Corrupted Element, Aberrant Slivers and Living Shards.
Surviving the three Hiss waves at the final core
Powering the last core drops you into three waves of Hiss on the road, and it is a harsh fight this early. Kill the two Hiss Colliders first. The basic grunts keep respawning until both Colliders are down, so spending time on them is wasted effort. Collider swings are slow but hit hard, which makes dodging the reliable answer rather than trading blows.
Two Hiss Focused arrive once the Colliders die. They fire a continuous energy beam, and the large concrete slabs on either side of the road break line of sight, letting you separate them and close the gap safely.
Your Secondary Aberrant builds the Falter meter quickly on the tougher enemies. Filling it opens an Execution prompt, and each Execution restores a chunk of health and grants a temporary damage boost. Chaining those Executions across the whole fight is what keeps you alive.
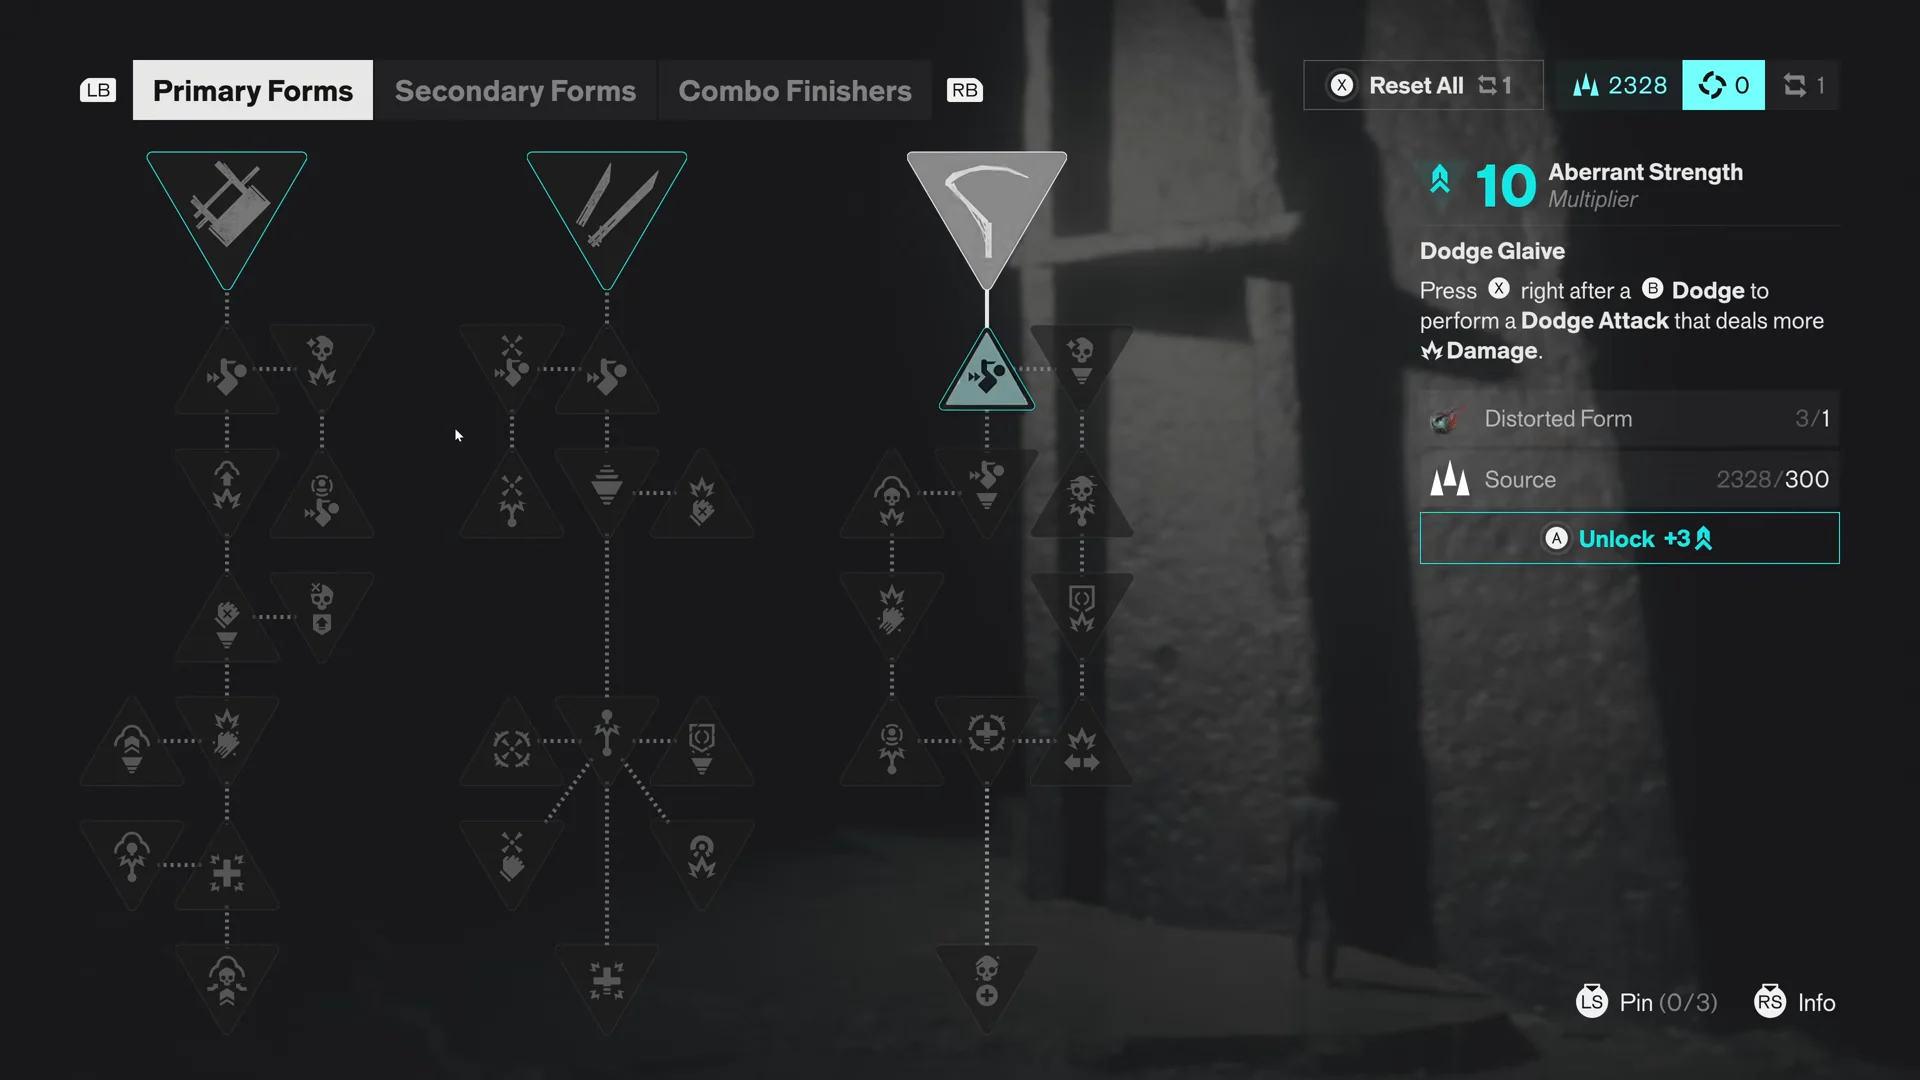
If you picked up the Dodge Glaive upgrades in the Gap, this is where they pay off. Strong Opening and Recovery Dodge on the Glaive tree give you more room to move against the Focused beams without losing pressure.
Confirming the checkpoint is powered
With every Hiss dead, two glowing green control panels come alive on the left and right sides of the checkpoint. Interact with either one and the elevator lowers, which is the clear signal that the puzzle is finished. Step on and ride it up to the Watchtower to continue Welcome to Manhattan.
If the panels are not lit, at least one Hiss from the final wave is still alive somewhere on the street. Sweep the road behind the concrete slabs before assuming something has gone wrong.





