

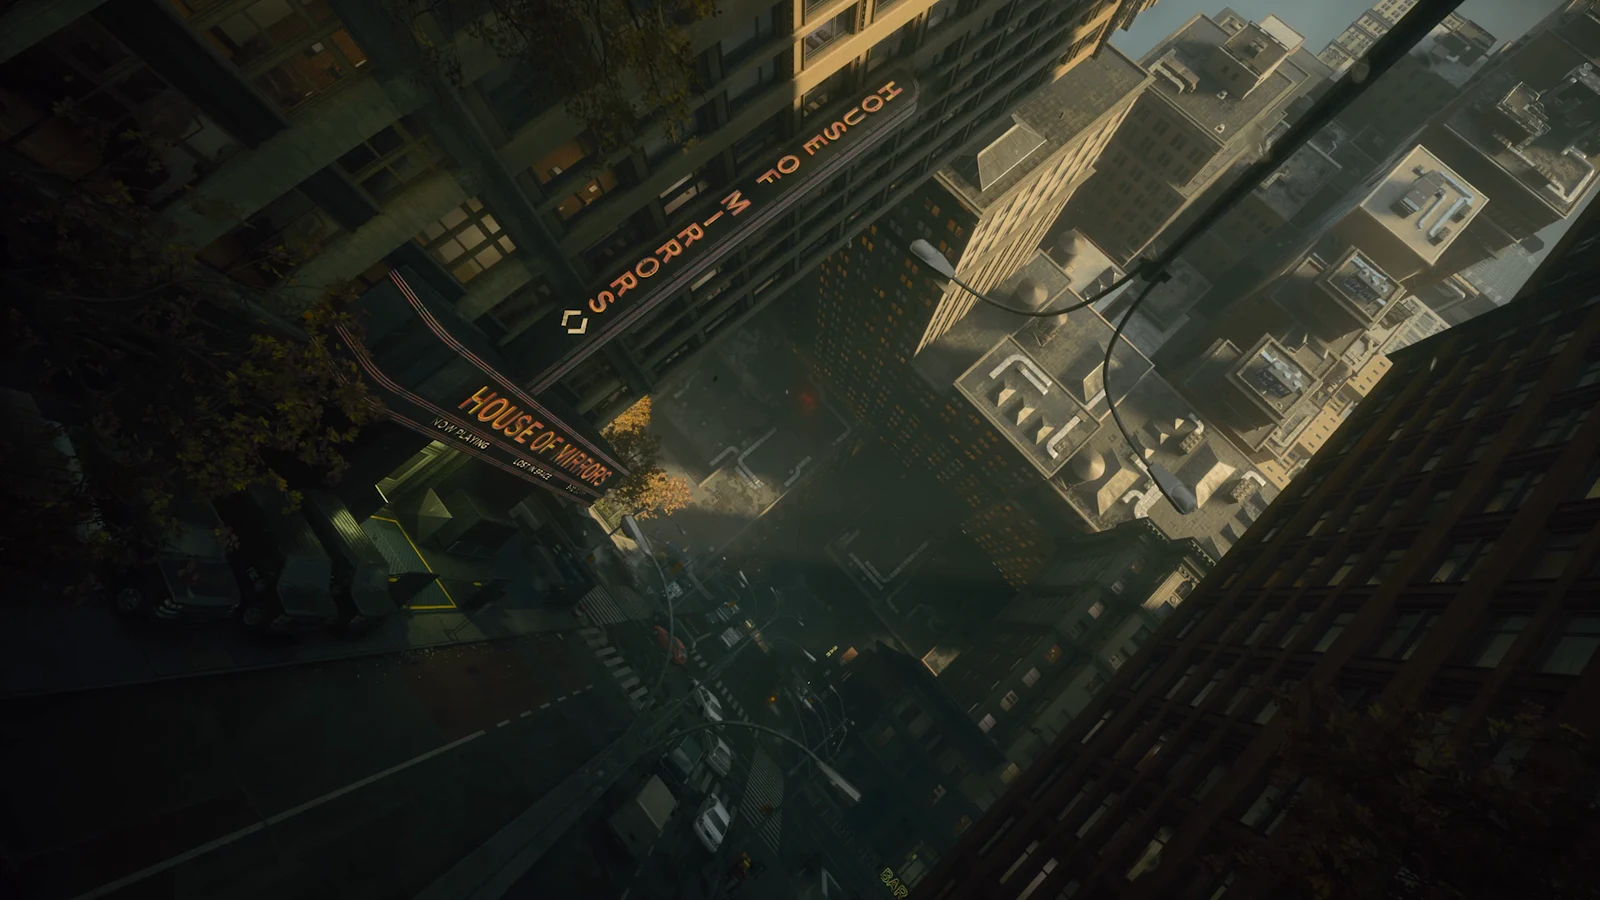
Control Resonant’s second main mission, Welcome to Manhattan, begins as soon as Orientation concludes. After Dylan finishes arranging matters with the FBC during his conversation with Zoe de Vera and Emily Pope in the Oldest House, you head into Downtown and encounter three new mechanics: Mapping Pylons, portable power-core charges, and security clearance.
Quick answer: Calibrate the Downtown Mapping Pylon, relay a single charge through five power cores to the Central Checkpoint, clear the Hiss ambush, meet Zoe at the Watchtower, then take the Level 1 Keycard from the FBC Field Office.
Welcome to Manhattan requirements and rewards
This mission belongs to the Contain the Crisis storyline, and Zoe takes over as Dylan’s handler for the crisis in Manhattan. The only prerequisite is finishing the prologue.
| Detail | Value |
|---|---|
| Storyline | Contain the Crisis |
| Prerequisite | Complete Orientation |
| Starting area | Oldest House, into Downtown |
| Rewards | Living Shard x1, Level 1 Keycard x1, Talent Point x1 |
Leave the Oldest House and bring the Downtown Mapping Pylon online
After speaking with Zoe and Pope, you can leave the Oldest House without making a lengthy return trip. From Pope’s location, go west to the exit and enter Downtown. Zoe then radios you with directions to the FBC cartography team.
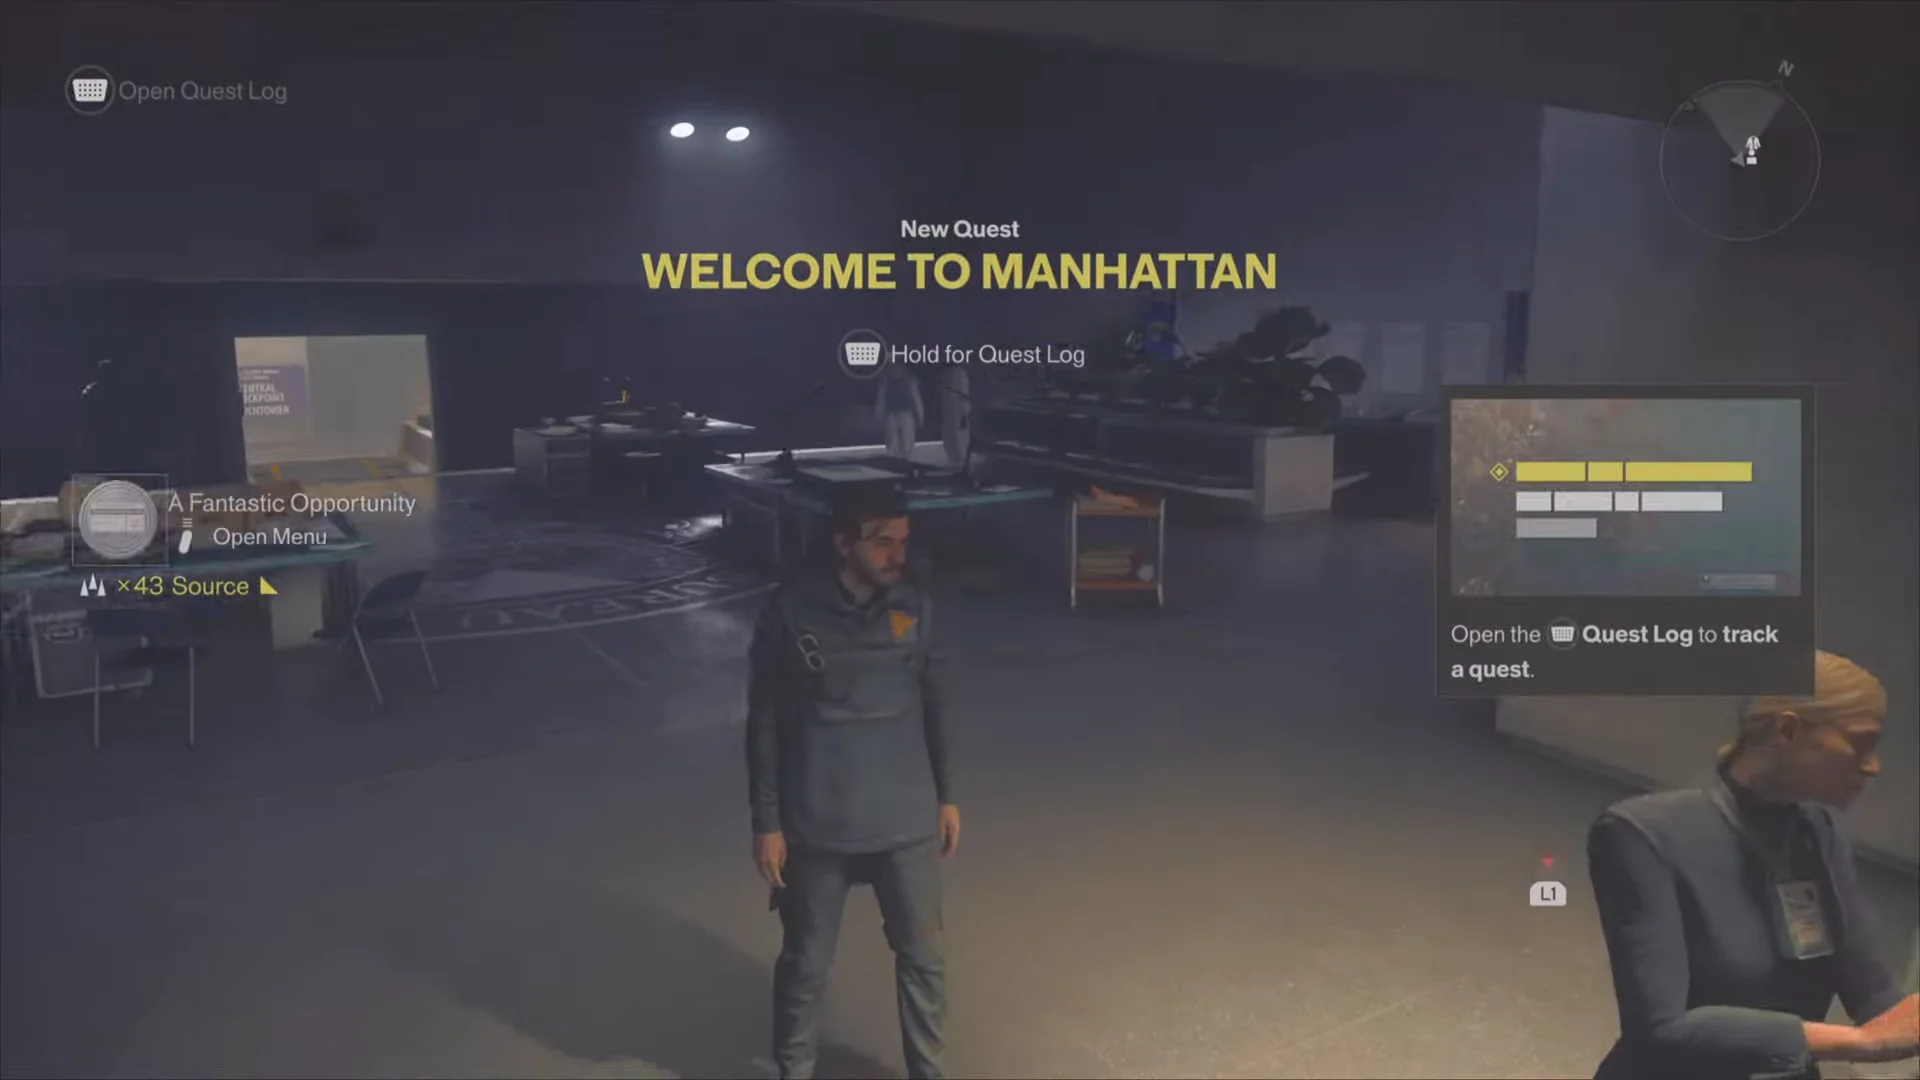
After exiting, head north into the shop marked Urban Fresh Mart to loot a Health Upgrade Point before you continue.
Find Baker’s note and the Power Core Servicing Diagram
Your next task is Find the Maintenance Worker, and the objective area lies southeast of the pylon. Travel across the rooftops to get there while avoiding the enemies below in the streets.
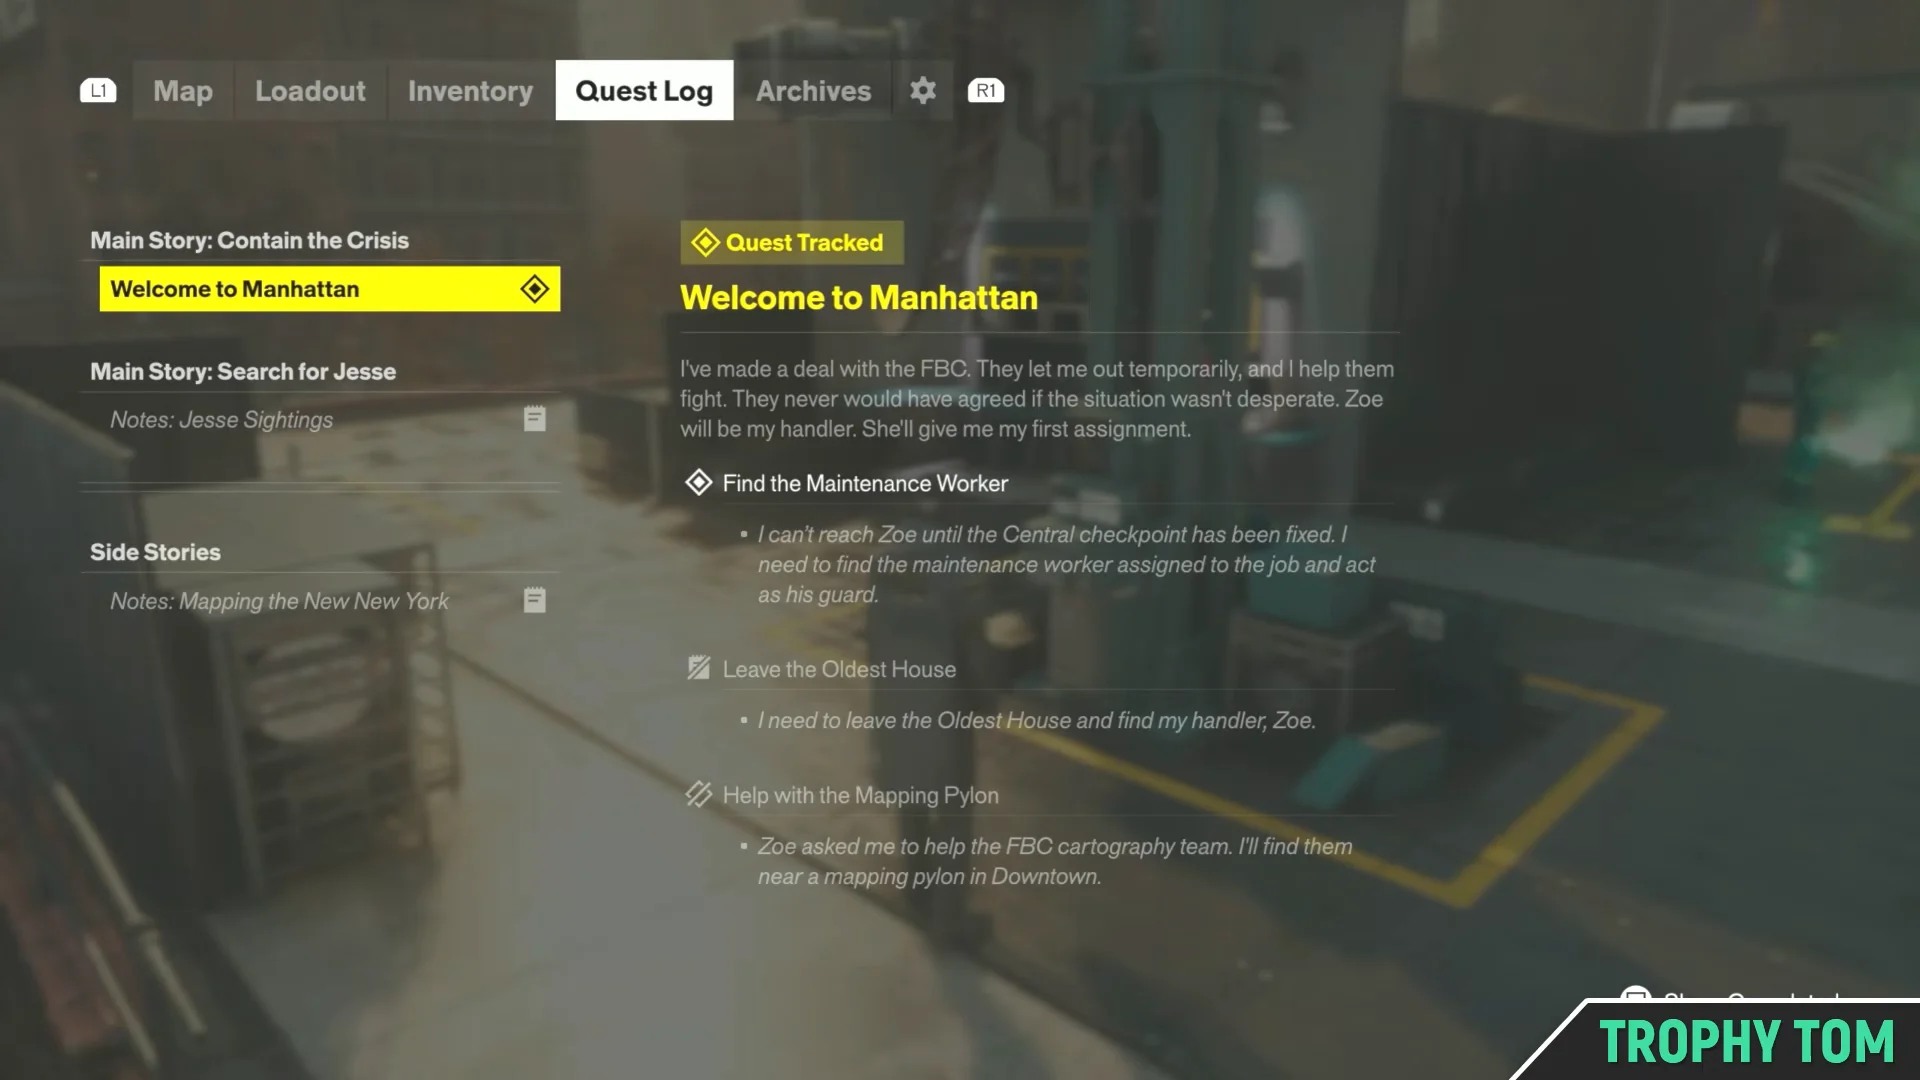
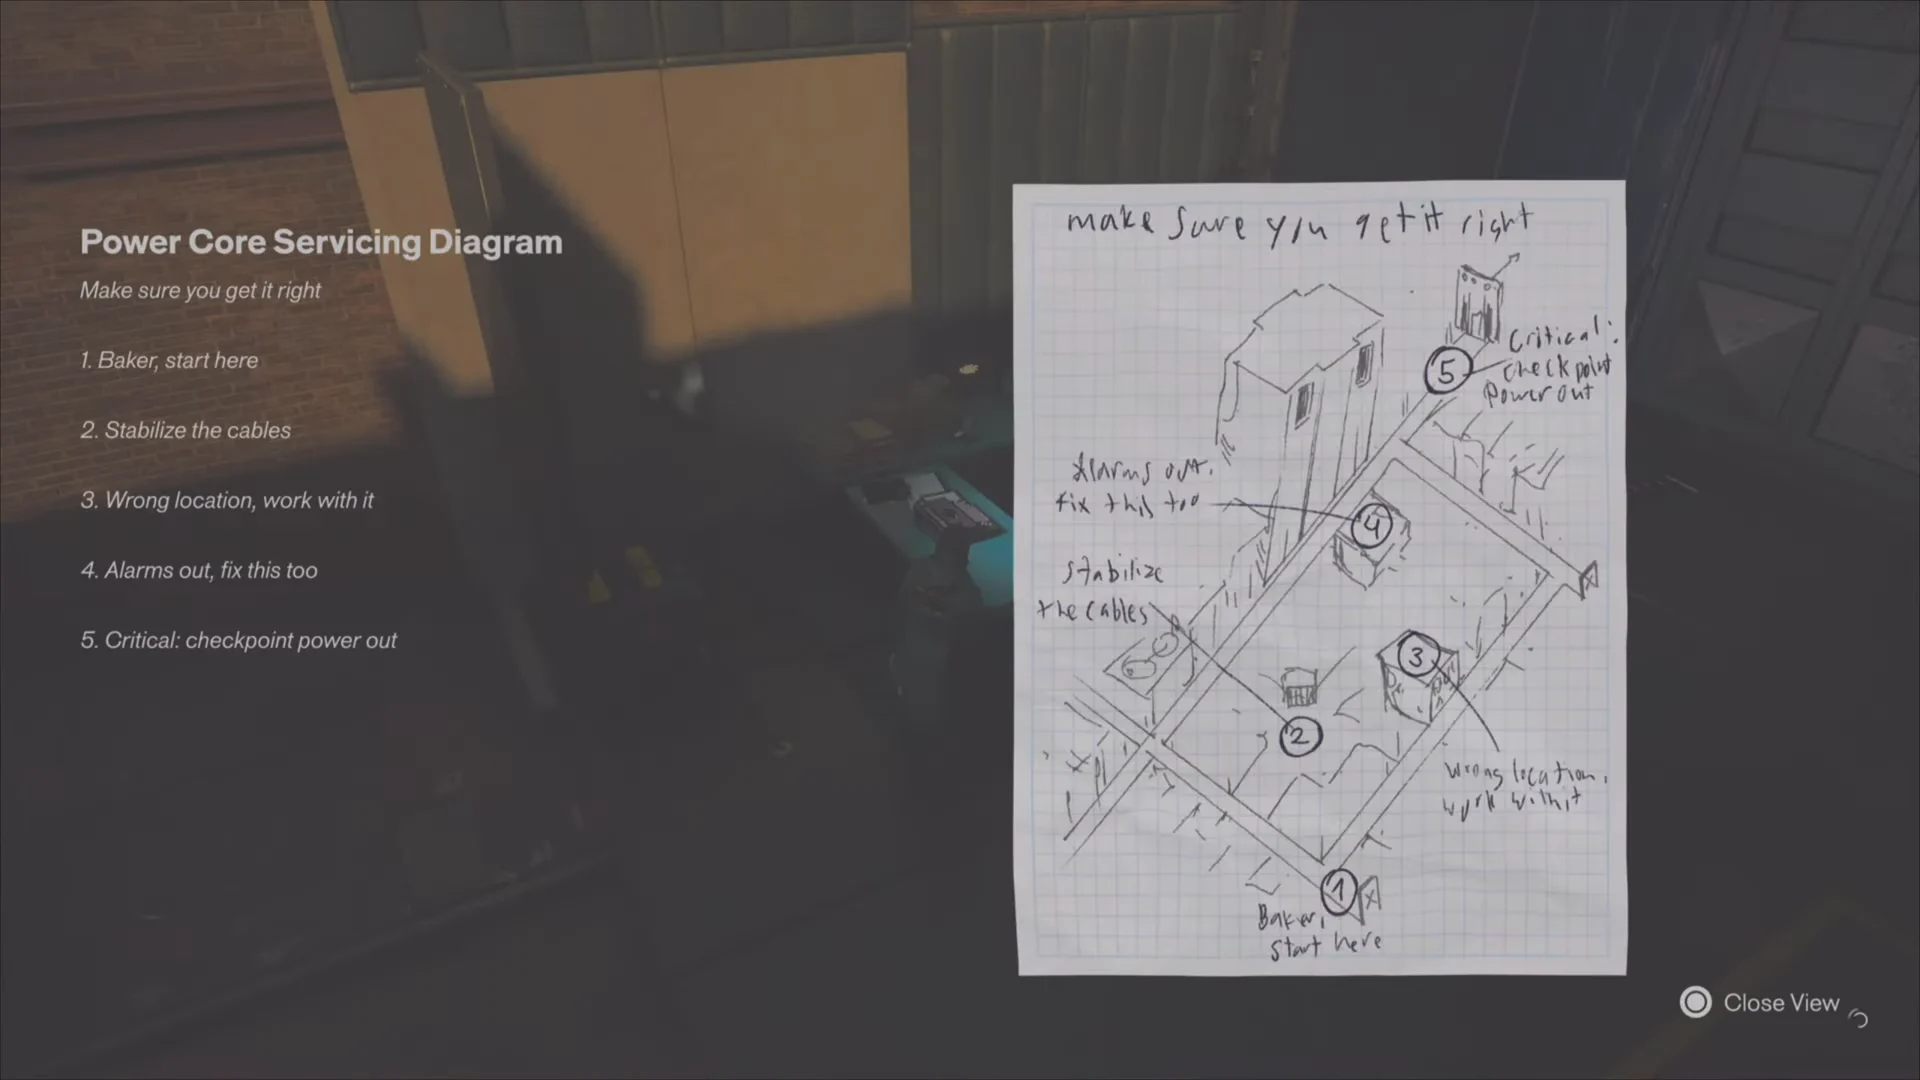
The search area is occupied by Hiss, so eliminate them before doing anything else. When the area is safe, examine the chair and read A Note From Baker. Afterward, go east to the outdoor work table and inspect the Power Core Servicing Diagram. Its hand-drawn map numbers the five power cubes in charging order, and you need both collectibles to continue.
After reading both, a fresh wave of Hiss spawns to the west. Prioritize the larger enemies to clear the area quickly.
How the power core charge works
Manhattan’s electrical charge must be carried manually. Fire your primary weapon at a sparking orange Power Core, then the charge moves onto the Aberrant. It remains there for around 20 seconds before fading and returning to the core where you took it.
An empty core becomes a checkpoint once you reach it. Put the charge inside to secure it and refresh the timer, breaking the route into five brief sprints instead of one extended run. Before lifting the charge, locate the next core on your map; also eliminate Hiss along the path so they cannot interrupt the transfer.
| Core | Location | What it does |
|---|---|---|
| 1 | Central pillar opposite the checkpoint | Resets the timer |
| 2 | Loading dock down the alley ramp | Opens Baker’s garage |
| 3 | Rooftop north, above the green awnings | Resets the timer |
| 4 | FBC outpost with green containers | Resets the timer |
| 5 | Station in front of the Central Checkpoint | Restores power |
Relay the charge to the Central Checkpoint
Survive the Hiss ambush at the checkpoint
The checkpoint gates immediately attract waves of Hiss when power returns. This creates a notable difficulty spike so early in the mission, while the exposed road provides useful space but also leaves you vulnerable.
- Prioritize the two Hiss Colliders. The grunts continue returning until both Colliders have been defeated.
- Collider strikes deal heavy damage despite their slow pace, so evade them instead of exchanging blows.
- The next arrivals are two Hiss Focused, each capable of maintaining an energy beam. Use the concrete slabs on either side of the road to break their line of sight.
- Use the Secondary Aberrant to raise Falter, then trigger Executions. They recover health and provide a temporary increase to damage.
After the final enemy is defeated, use either glowing green control panel to bring the elevator down into the checkpoint.
Meet Zoe at the Watchtower
On the north side, press the green call button to bring over the lift. Ride it upward and use the button inside to enter Zone Access. Turn right through the door, then follow the Central Checkpoint Watchtower signs along the corridors. At the end, wait until the door indicator is green before proceeding; drop down on the right and continue north into Central, where the Watchtower is located.
Zoe is waiting in her upper-floor observation office. Speak with her and inspect the buildings and districts visible from the tower to learn about them. This conversation opens the Defeating Resonants questline and unlocks the following missions:
- Evacuation Procedures (main quest)
- The West Incursion Zone Resonant
- The Central Resonant
- The Park Resonant
Activate the fast travel door next to the office before going downstairs, giving yourself a quick return route later.
Clear the underground supply route
Get the Level 1 Keycard at the FBC Field Office
Once outside in daylight, follow the boulevard northeast to the barricaded Field Office in the VERCONN building. At the security booth, a gate ranger stops Dylan and asks him to explain himself, but the response you select has no effect. Zoe then intervenes over comms and guides him through the turnstiles whatever your choice was.
Take the northern door, go up the stairs, and enter the circular Field Command lobby through the sliding doors. The Security Keycard is on the central desk; pick it up. Welcome to Manhattan ends immediately, and the Quest Completed screen appears.
Mission completion awards a Living Shard, the Level 1 Keycard, and a Talent Point for the Central Zone. The keycard provides Level 1 Security Clearance, allowing access through any door fitted with a Level 1 clearance panel. Evacuation Procedures is already queued afterward, beginning the search for the Resonants.





