The Fill Handle is a powerful autofill feature in Excel which is a tiny green square located in the lower right corner of the active cell (or the selected range of cells). It is used for quickly copying the same values down a column (or right across a row) or fill a series, such as numbers, dates, texts, formulas, or a common sequence to a desired number of cells.
When you hover over the fill handle with your mouse pointer, the mouse cursor changes from a white cross to a black plus sign. Click and hold the handle, then you can drag up, down, across over other cells. When you release your mouse button, it auto-fills the content to the cells you dragged over.
The fill handle can save a lot of time and prevent humans (like typos). In this tutorial, we will show you how to copy data and formulas or fill series of dates, texts, numbers, and other data using the fill handle.
Using AutoFill in Excel
The fill handle is one of few ways to access the autofill feature in Excel. It is like another version of copy and paste, but it’s much more than that. There are few other ways to you use the autofill command other than fill handle:
- Using Keyboard shortcuts – First select a range of cells, starting with the cell containing the data you want to be copied to the other cells. Then press
Ctrl + Dto copy down or pressCtrl + Rto fill right. - Using Fill Button – You can access the fill command by clicking on the ‘Fill’ button in the Editing group of the ‘Home’ tab. There, you will find options to fill Down, Right, Up, Left, Across Worksheets, Series, Justify, and Flash Fill.
- Double-Clicking on the Fill handle – Yet another way to autofill a column by double-clicking on the fill handle of the selected range. If the cell adjacent to the selected cell/cells have data, double click the fill handle to quickly fill down the column until there’s data in the adjacent column. If your data set has any blank cells, it will only fill until it encounters a blank cell in the adjacent column.
Duplicate Data Using Fill Handle
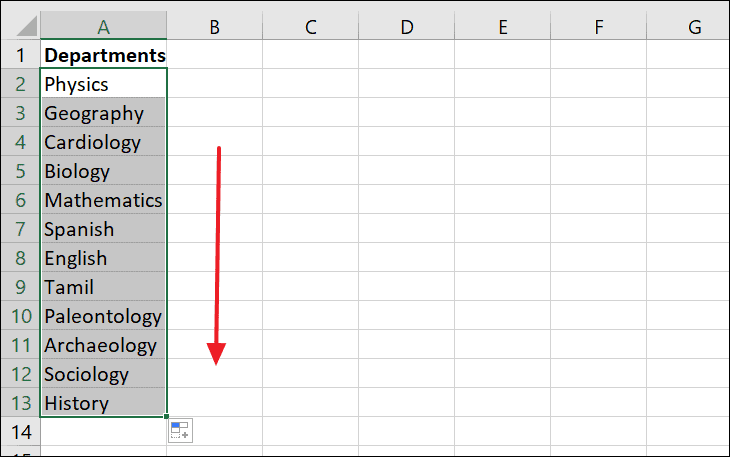
One of the basic use of the fill handle is duplicating/copying content of the cell(s) to multiple cells. You can easily copy simple text, numbers, formulas, or other data using the fill handle.
All you have to do is select the cell(s) you want to copy and drag the selection with the fill handle (at the lower right corner of the selected cell) in any direction you want. It will quickly fill data from the selected cell to dragged over cells.
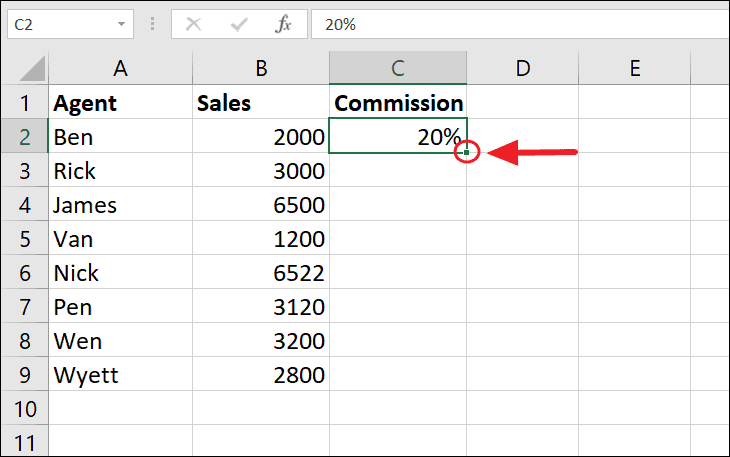
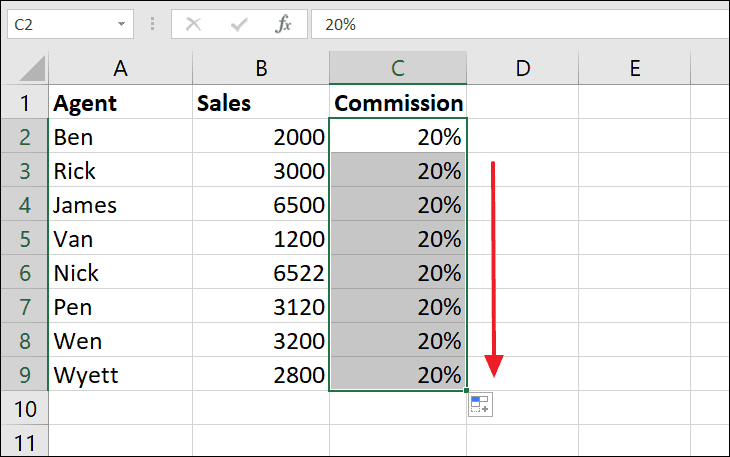
Or you can just double-click on the fill handle located at cell C2, it will fill the column until C9 because there is data until B9 in the adjacent column.
Autofill Options
What a fill handle does when you drag the mouse is that it recognizes patterns in the data and fills the list, while providing you with some additional options you can use.
As soon as you finish dragging the fill handle with the mouse (or double-click) and fill the list, you get the ‘Auto Fill Options icon at the bottom right corner of the list.
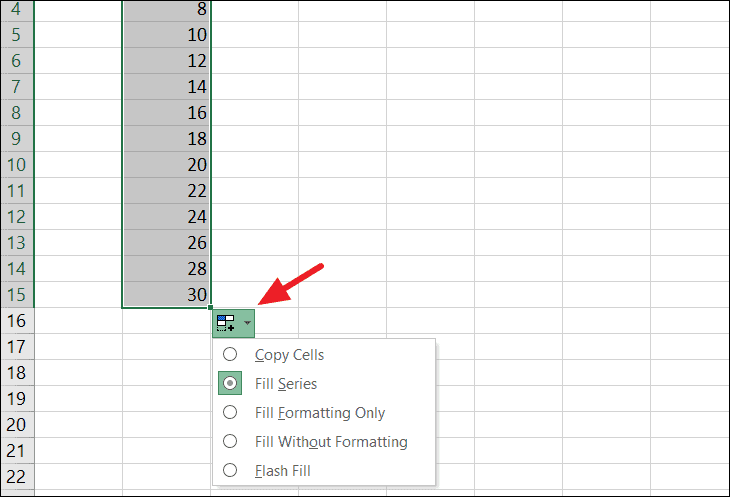
When you click on this icon, it will give you the following different options (depending on the data):
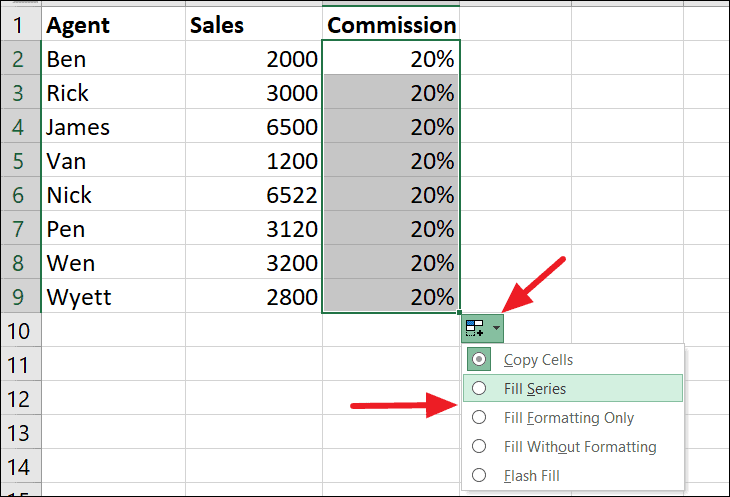
- Copy cells – This will copy the first cell across the selected cells
- Fill series – This option will fill the selected cells with a sequence/series of values (usually increasing the value by 1), beginning with the initial cell value.
- Fill formatting only – This one fills the selected range with the formatting of the initial cell, but not the values.
- Fill Without formatting – This one fills the selected range with values of the initial cell, but not the formatting.
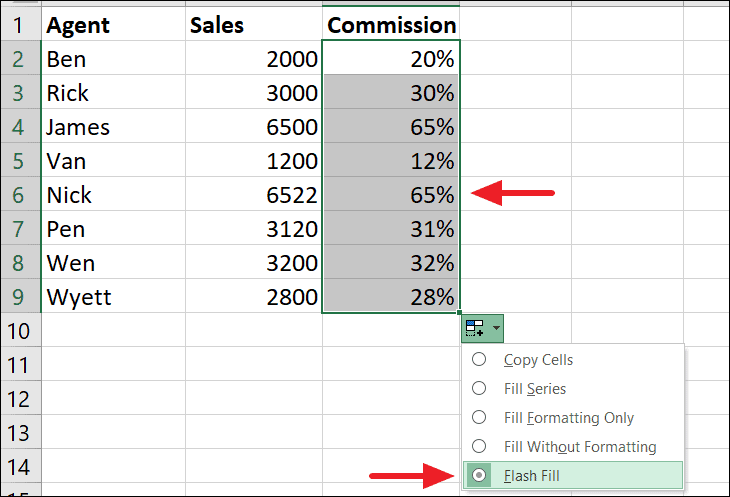
- Flash fill – This option finds the patterns from data and fills the list according to it. For example, if we use the Flash fill option in the below example, it recognizes 2000 as 20% and assumes 3000 as 30%, 6500 as 65%, and so on, and fills the list.
Autofill Text Values using Fill Handle
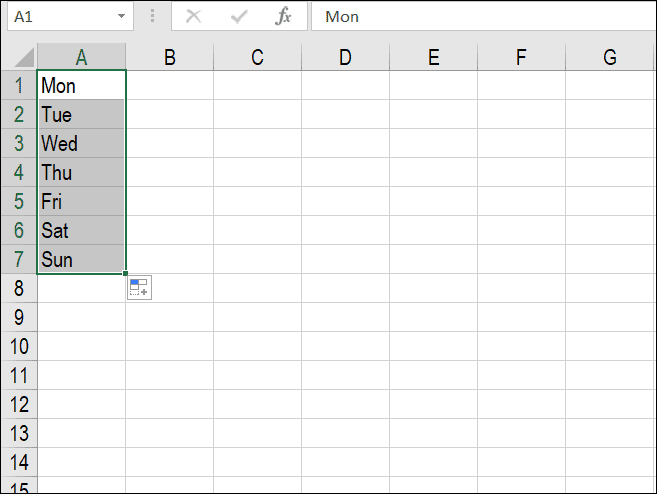
Excel fill handle can autocomplete a list with text values by copying the values(s) from the initial cell(s). But it can also recognize the text values as part of series like month names, day names, and other texts. It could be abbreviated or full names of months or weekdays, etc.
First, you have to type abbreviated or full names of month or weekdays in the first, then use the fill handle to fill other cells as shown below.
Weekdays:
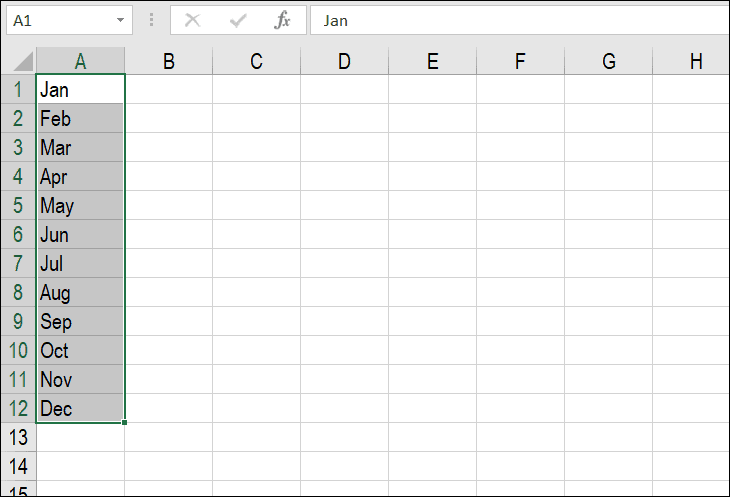
Month Names:
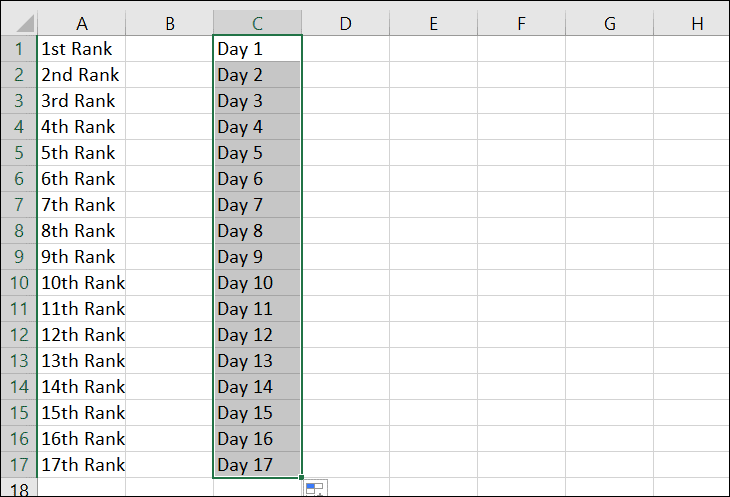
You can also use the fill handle to autocomplete other text containing numbers. Type first text into the first cell and use fill handle autofill all other cells.
Autofill Numbers using Fill Handle
You can also use fill to handle to create a sequence of numbers. It could be any kind of number such as odd number, even numbers, or numbers increment by 1, etc.
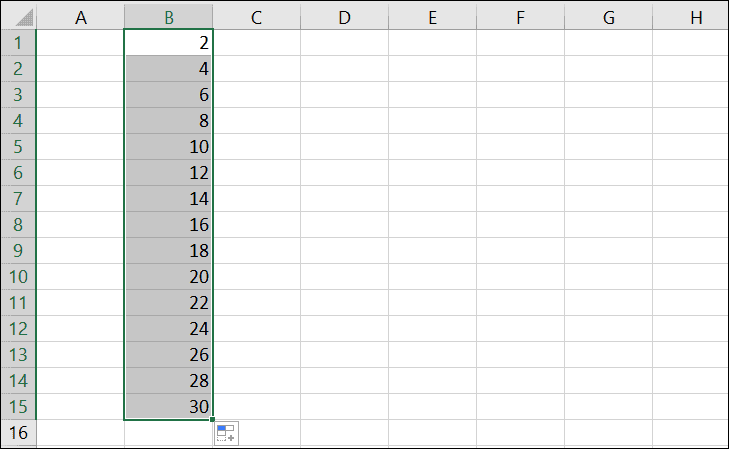
Select at least 2 numbers to establish a pattern for the first two cells and drag the fill handle through as many cells as you want. If you select only one cell with a number and drag downward, Excel just makes a copy of the same number in other cells, because there is no pattern in one number.
For example, enter the value ‘2’ into cell B1 and the value ‘4’ into cell B2. Now select B1 and B2 and use the AutoFill handle to drag downward, Excel will create a sequence of even numbers.
When you click the ‘Auto Fill Options’ icon, certain options become available as we explained before:
But instead of using the left mouse button to drag, use the right mouse button, and when you let go of the right-click button, more options will automatically pop up as shown in the screenshot below.
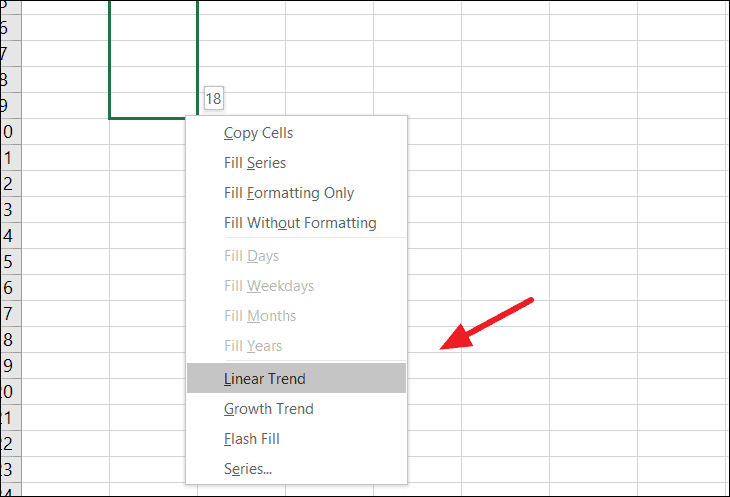
We already explained what the first four and flash fill options are for, now let’s see what the rest of these options offer us:
- Linear Trend option – Excel creates a linear series of values that can be charted on a straight line.
- Growth Trend option – Excel applies the starting values to the exponential curve algorithm to generate a growth series.
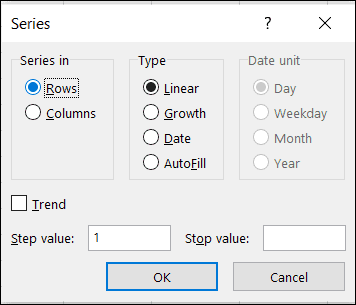
- Series option – This option opens up the Series dialog window with more advanced options you can use.
Copying Formulas Using The Fill Handle
Copying a formula is very similar to copying numbers down a column or auto-filling a series of values.
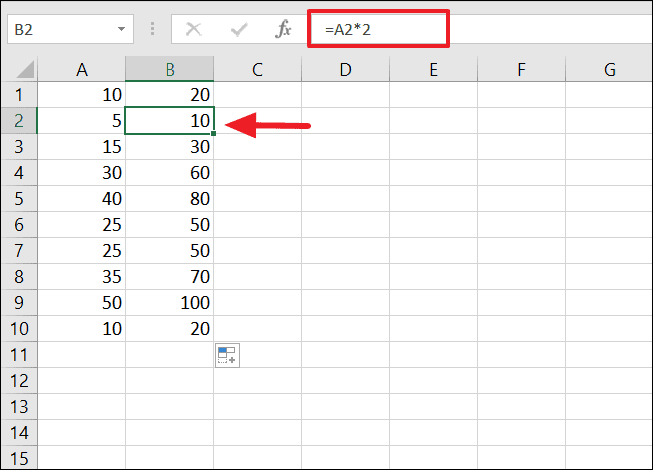
Select a cell that contains a formula and drag the fill handle over other cells to copy the formula to those cells. When you copy the formula to another cell, the cell references of the formula will automatically adjust according to the corresponding cell address.
For example, enter the formula in cell B1 and use the fill handle to copy the formula until cell B10.
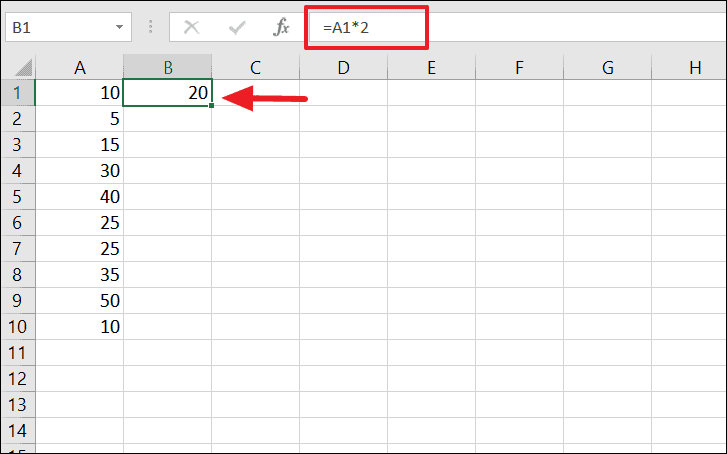
The formula automatically adjusts corresponding to the adjacent cells.
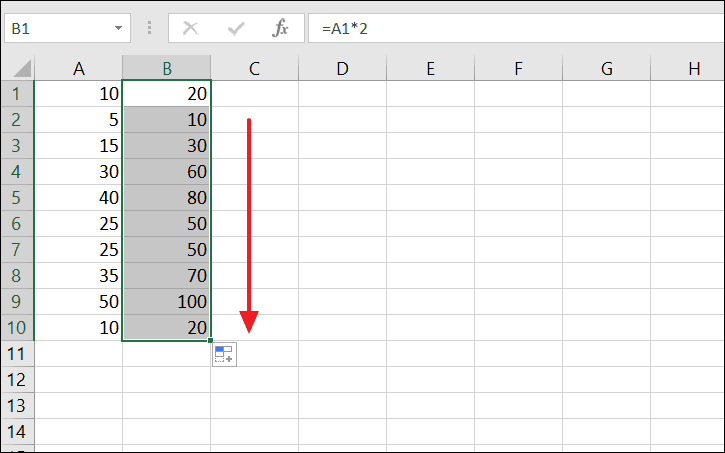
And it will give you result for each rows.
Autofill Dates using Fill Handle
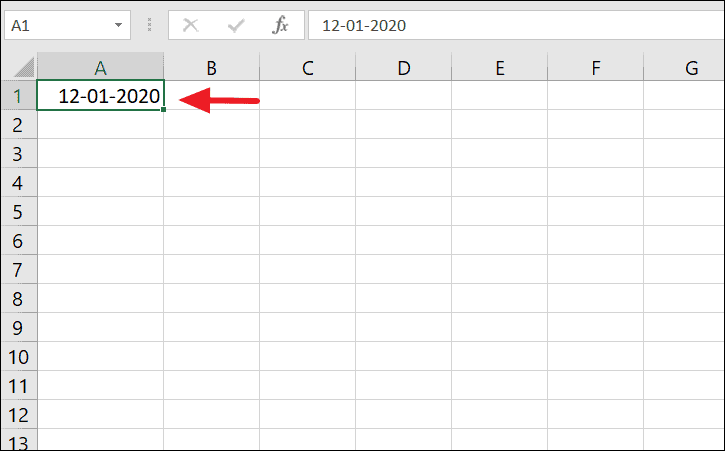
To autofill dates in a range of cells, enter the dates in the first cell in any date format that is recognizable by Excel.
Then use the fill handle to drag it down till the cell where you want the date to end.
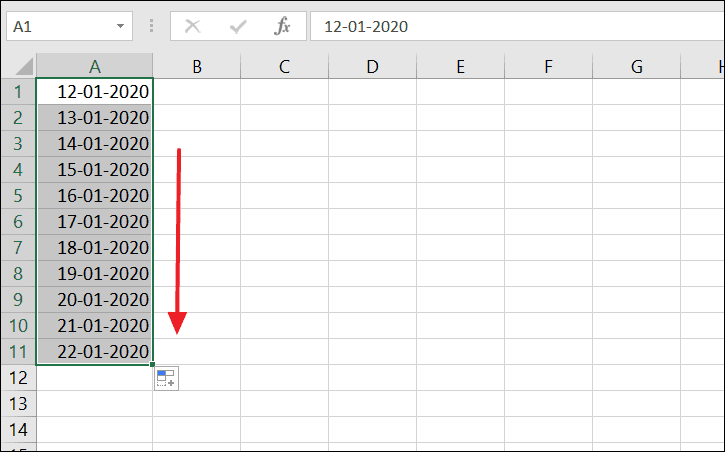
However, for dates, there are additional AutoFill options that become available when you click the ‘Auto Fill Options’ icon at the end of the auto-filled range.
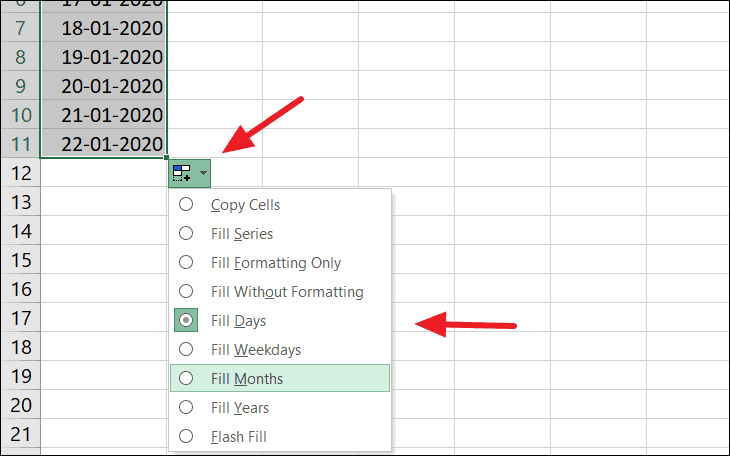
Here, we get four new advanced options for dates in addition to the five options we’ve seen before:
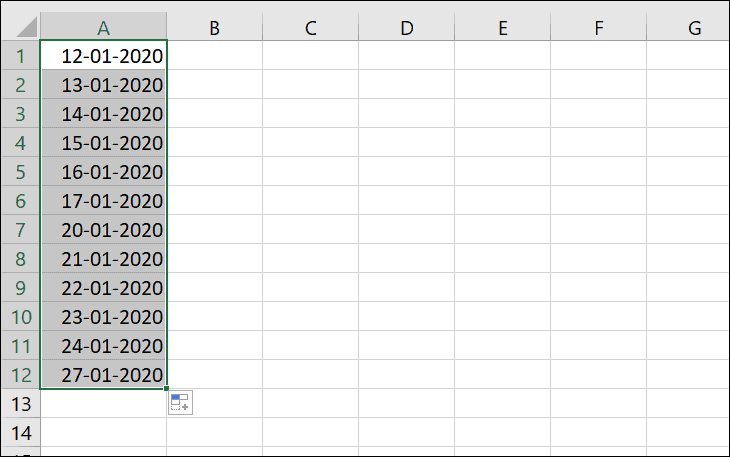
- Fill Days – This fills the list with days by incrementing by 1.
- Fill Weekdays – This fills the lists with weekdays only by excluding Saturdays or Sundays.
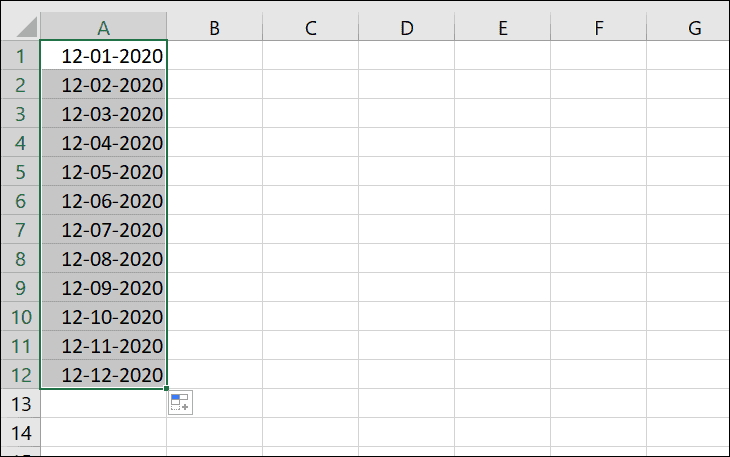
- Fill Months – This option fills the list with incrementing months while the day remains the same across all cells.
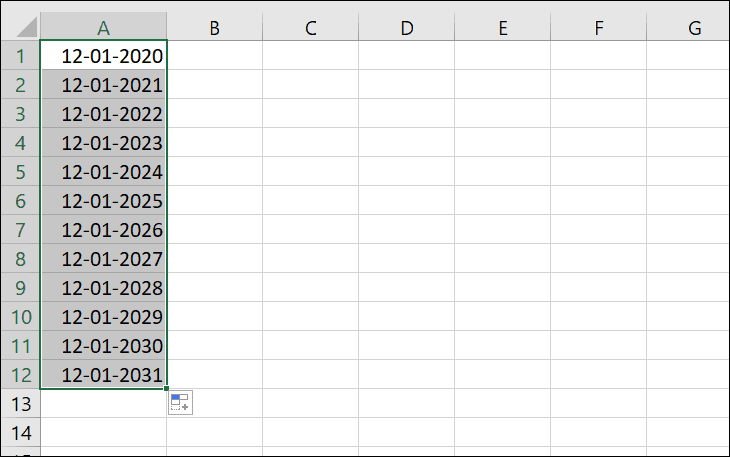
- Fill Years – This option fills the list with years that increment by 1 while the day and month remain the same.
Creating Custom List for Autofilling Data
Sometimes you don’t want to organize a list in a standard way. In such cases Excel allows you to create your own lists which you can use to organize data. You can then use that custom list for populating cells using fill handles.
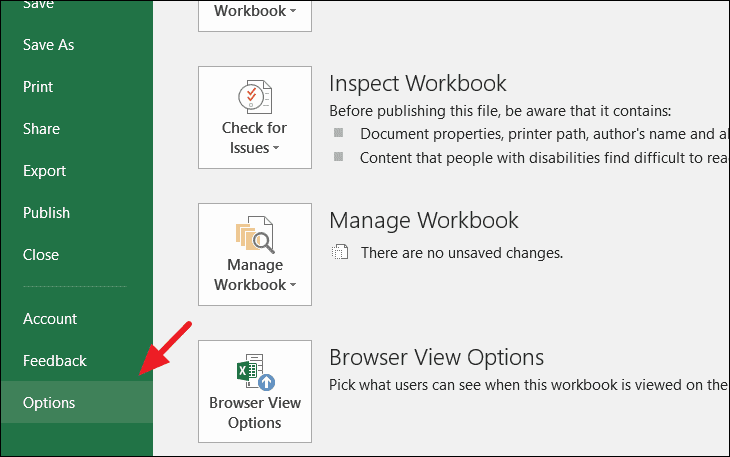
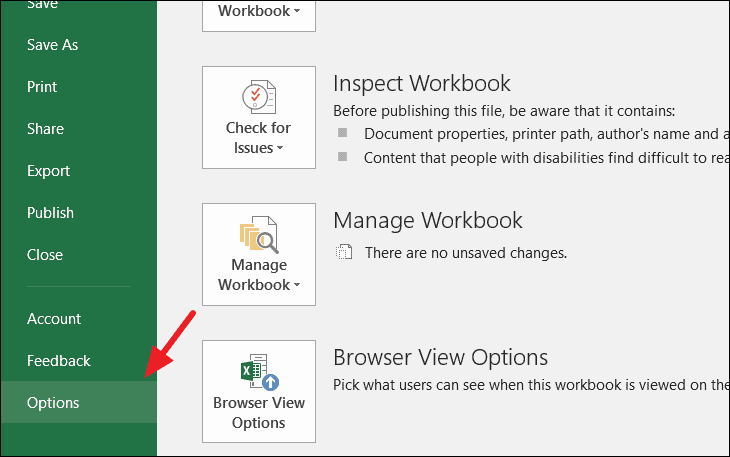
To create custom lists, go the ‘File’ tab and select ‘Options’.
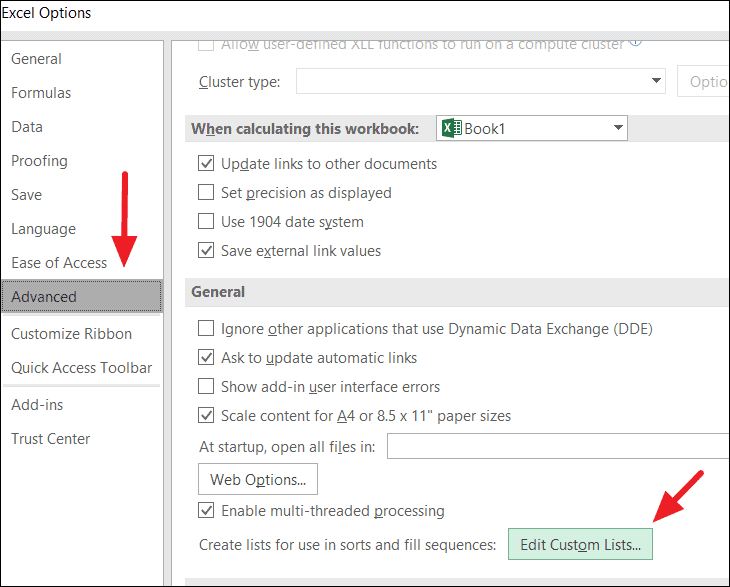
Select ‘Advanced’ in the left panel and scroll down till you see the ‘Edit Custom Lists..’ button under the ‘General’ section in the right pane. Then click that button to open the Custom List dialog box.
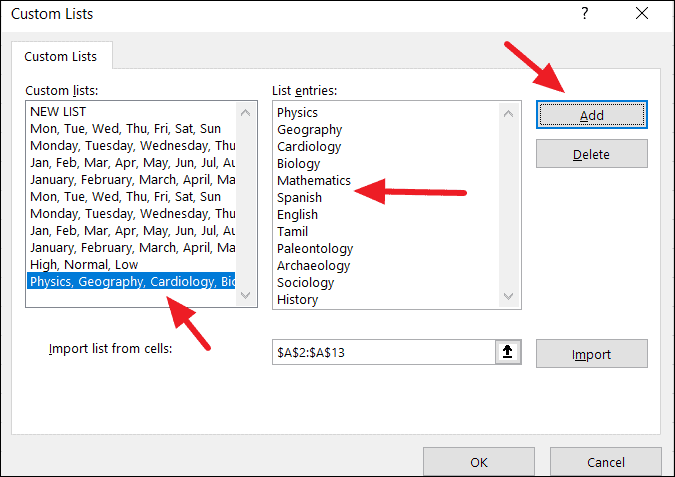
Enter your new list in the ‘List entries’ window and click ‘Add’ and your list will appear in the ‘Custom Lists’ area as shown below. Then click ‘OK’ again and again to close both dialog boxes.
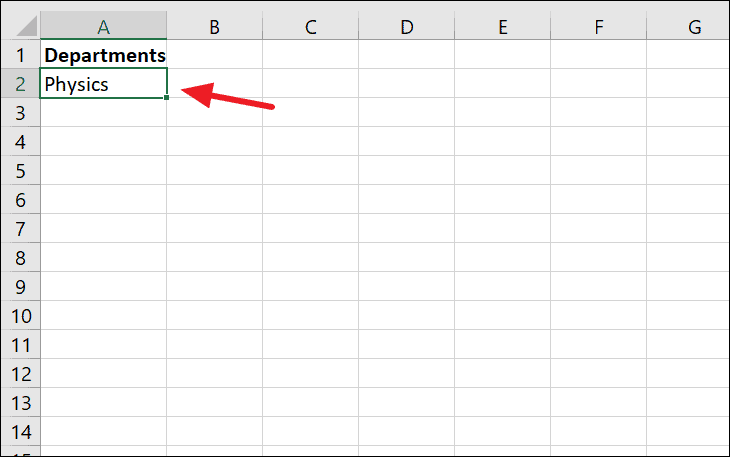
Now select the cell where your want your list and type first item of your custom list.
Then drag the fill handle to auto complete cells with the values from your custom list.
Enable or Disable the AutoFill Option in Excel
The Autofill feature in Excel is turned on by default, if the fill handle is not working, you can enable it on Excel options:
First, go to the ‘File’ tab and select ‘Options’.
In the Excel Options dialog box, select ‘Advanced’ and check the ‘Enable fill handle and cell drag-and-drop checkbox’ under the ‘Editing Options’ section. This will enable the fill handle in your Excel.
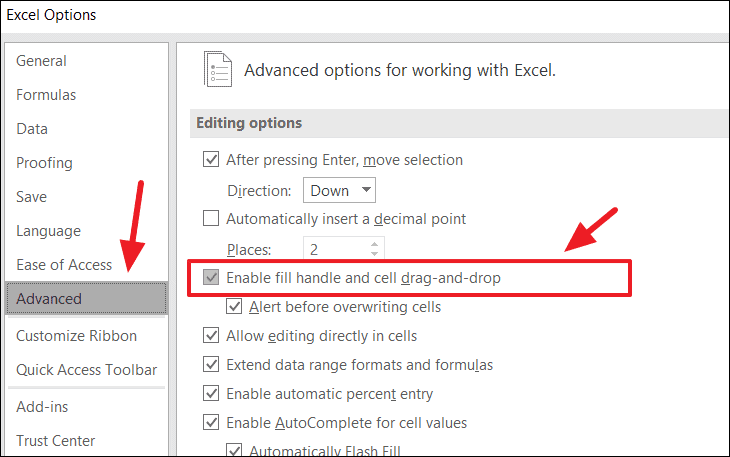
Then click ‘OK’ to close the dialog box.
That’s it.


