
Video meetings can get stale real quick. Looking at everyone through small windows in a video call can get tedious and cagey. Sometimes it does good to get out of these boxes to spark more engagement in conversations. Immersive view in Zoom does exactly that.
This innovative new view is getting rather popular with video conferencing apps. Zoom seems to be following hot on the heels of Microsoft Teams. The immersive view does feel quite familiar to Teams’ Together Mode, after all, despite their differences. Just like the Together Mode, the immersive view, too, produces the illusion of being in the same physical space as other meeting attendees.

What is Immersive View in Zoom
As the name suggests, the feature intends to offer a more immersive virtual meeting experience to its users. Immersive View in Zoom allows meeting hosts to arrange participants in a single virtual background in meetings and webinars. It’ll produce the effect of being in a same shared space, diminishing the boundaries that video feeds in meetings otherwise impose.

Using Immersive view, attendees can experience being in the same classroom, conference room, auditorium, cafe, or having a nice little chat by the fireside to name a few scenarios. The point being, there are multiple scenes from which hosts can choose to set the stage. You can even be silly and pretend you’re all portraits hanging in an Art Gallery (or Hogwarts, seeing as the portraits will be moving).

Enabling Immersive View for your Zoom Account
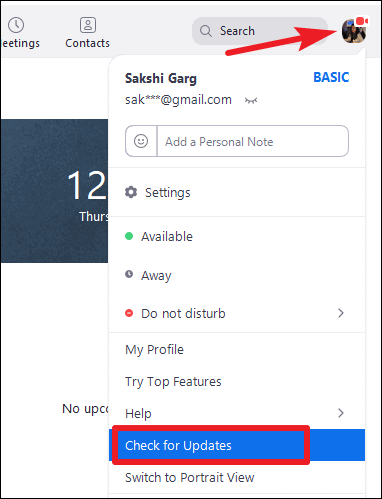
The immersive view is a free feature available to use for everyone. You need to be using Zoom 5.6.3 or higher to be able to use this feature. To update your Zoom client, click on your Profile icon on the upper right corner of the Zoom desktop app and select ‘Check for Updates’ from the menu.
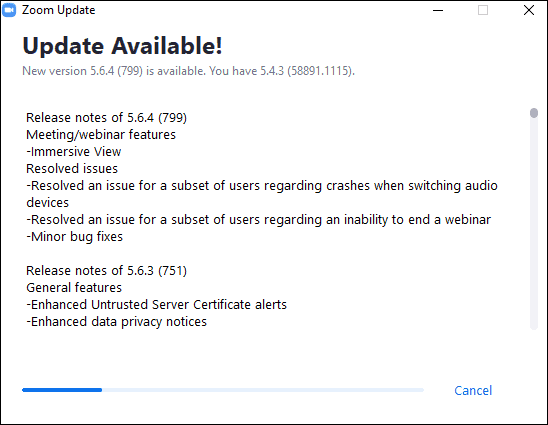
If the app hasn’t auto-updated, the update will begin.
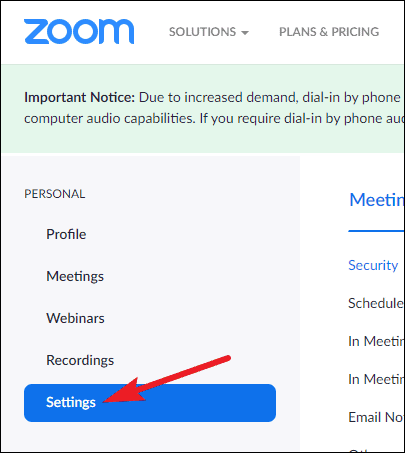
Additionally, it’ll be enabled for all Free and single Pro accounts by default. But for other account types, administrators will need to turn on the feature from the web portal. To enable Immersive View for all accounts in your organization, go to zoom.us and log in with the admin account.
Then, go to ‘Settings’ from the navigation menu on the left.
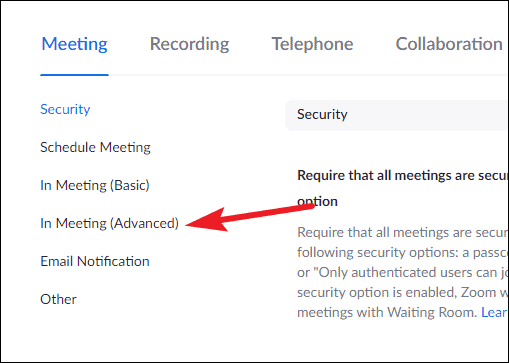
From the Meeting tab, go to ‘In Meeting (Advanced)’ section.

You’ll find the option for Immersive View there. Make sure the toggle is on, and turn it on if it isn’t.
Single account owners can also enable/ disable Immersive View from the web portal in the same way.
Note: If the option is greyed out for your account, your administrator might have disabled it.
Using Immersive View in Zoom
Only meeting hosts can enable the immersive view in meetings or webinars for other attendees. Unlike other views, the immersive view is common to all participants, and everyone sees the scene that the meeting hosts selects.
There are a few virtual scenes to choose from, and the host can also select their background as the immersive view. You can also upload other backgrounds from your computer. The number of attendees varies for each scene, but the absolute maximum that you can incorporate is 25.
Hosts can also re-arrange the position and size of attendees’ videos to make the experience more collaborative.
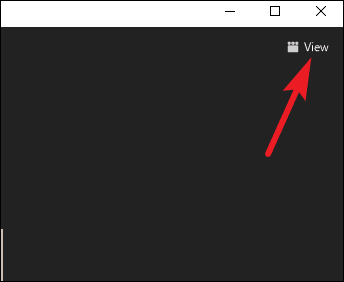
To turn on the immersive view, click on the ‘View’ option in the upper right corner of the meeting window.
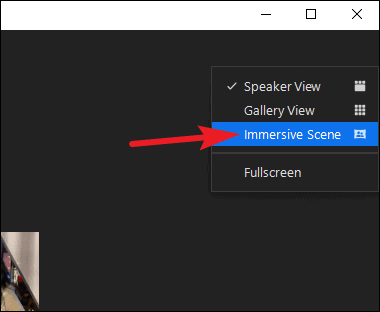
Then, select ‘Immersive Scene’ from the options that appear to switch from your current view.
The window for selecting the immersive view will pop up. First, select how you want to place the participants into the scene. ‘Automatically’ is pre-selected, but you can also switch to ‘Manually’.
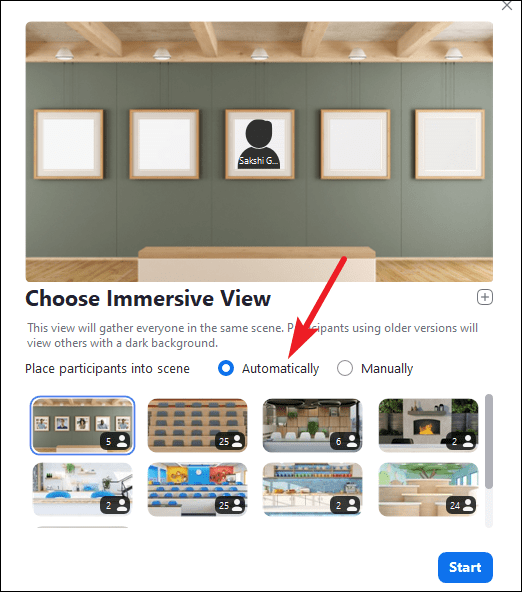
Under Automatically, Zoom will include as many participants as possible. You can swap participants later.
Under Manually, you choose which participants to include from scratch. If you choose more participants than are allowed, Zoom will automatically remove the extras.
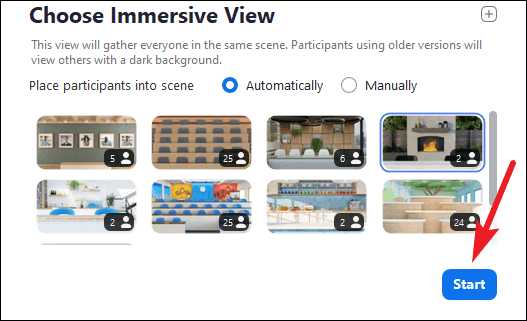
Now, you have to choose the scene. Each scene will list the number of participants it can arrange on its lower right corner. Select the scene you want to use. You can see the preview of the selected scene in the preview window.
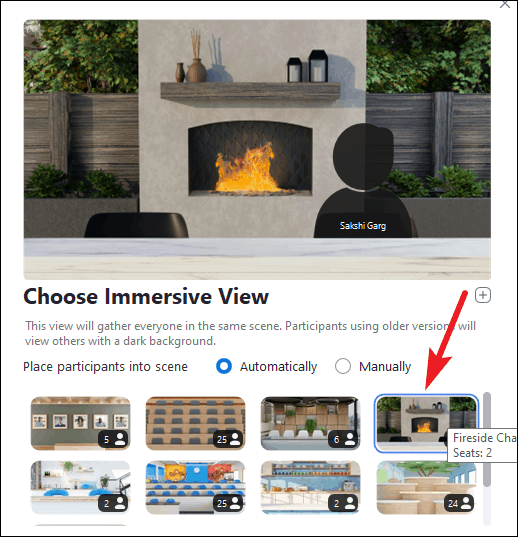
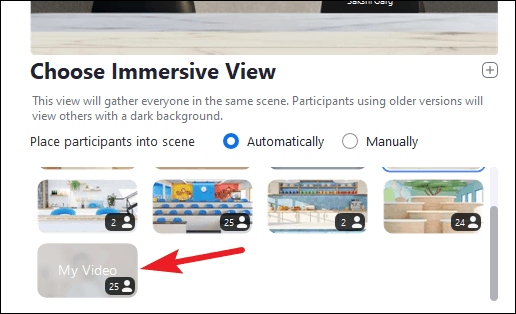
To use your video as the immersive scene, scroll down and select ‘My video’. Make sure that your video is turned on to use this scene.
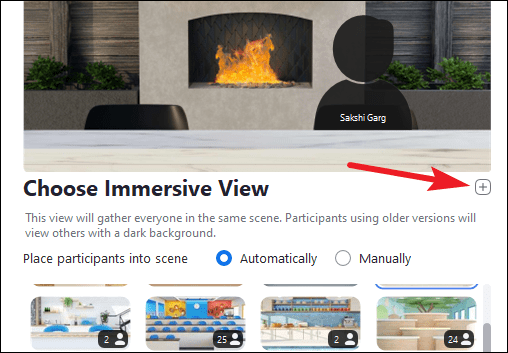
If you want to use a background from your computer instead, click the ‘+’ button and select the image. When you use a custom image, there are no pre-defined places for the attendees like in the classroom or cafe scene. You’ll have to manually drag participant videos onto the background as you see fit.
Finally, click the ‘Start’ button to begin.
As the immersive view begins, everyone in the meeting will see it on their screens. The attendees who might be using older versions of the desktop client or mobile apps will continue to see the Gallery or Speaker view only but with black backgrounds. Other people in the meeting will still see these users in the Immersive view.
If any users have their video off, their profile picture will appear instead.
For meetings with more than 25 participants, the additional participants will appear in a thumbnail strip above the immersive scene.
If the host starts sharing their screen, the immersive view will turn off. As soon as the screen-sharing session ends, the immersive view will resume with the previous scene. Immersive view also isn’t available in recordings.
The meeting recording will feature the same view (Gallery/ Speaker) that was active before the immersive view began.
Immersive View will be great to add the much-needed spruce to your video meetings. With the feeling of being in the same physical space, virtual meetings will be more fun, collaborative, and engaging!


