
Education and technology are inextricably linked today. The sheer volume of the apps for learning in the market is increasing every day. And it’s a good thing – technology can make education more engaging and interesting.
But if your school uses numerous apps for your classwork, it also means that you have to remember the sign-in information for all these apps. And if you’re a parent of a young kid who has to navigate through all these apps at home, it can be a headache for you too. The Clever Portal exists solely to make your life easy.
What is the Clever Portal
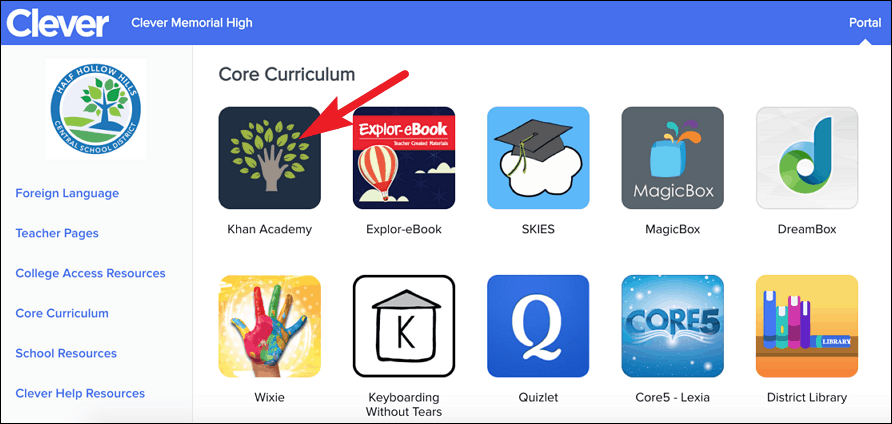
Clever is an online student portal that acts as an access point for all the different resources a school requires its students to access. You can think of it as a single bridge that leads you to all your destinations.
It’s like a digital hub, where all the resources your school needs you to access are present. And with a single access to the Clever Portal, you’ll have access to all these resources – in one fell swoop! With Clever, there’s no need to remember the usernames and passwords for all the different apps; you only need to remember the login information for Clever.
So, no more meltdowns about losing the login information for the app your teacher needs you to access.
How to login into Clever at Home
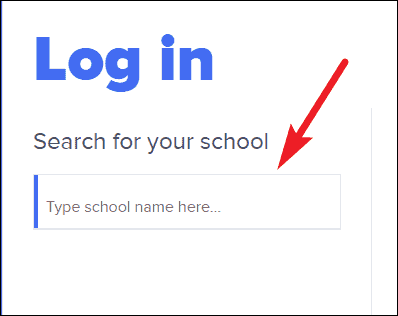
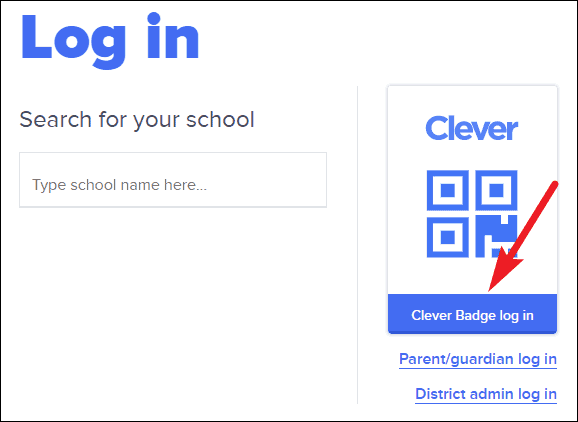
Go to your school district’s Clever login page. If you don’t know it, go to clever.com/login and start typing your school’s name in the search box to search for it.
Then, enter the username and password provided to you by your school district. It could be your student ID, roll number, email address, or anything else. Click on the ‘Log in with Clever’ option if your school has provided a Clever username and password.
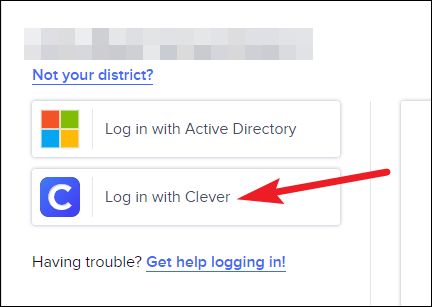
Your school could have also set up the login with either Google or Active Directory instead of Clever username and password. If you are using the ‘Log in with Google’ button, enter your school-provided email address.

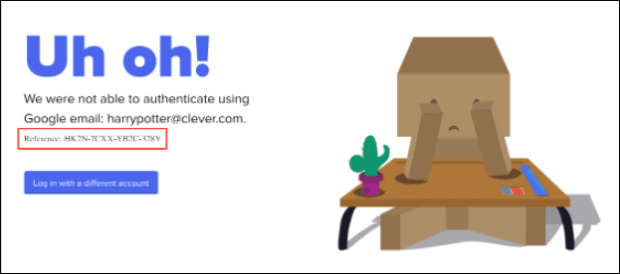
Enter only the school-provided email address, or it will show an error while logging in.
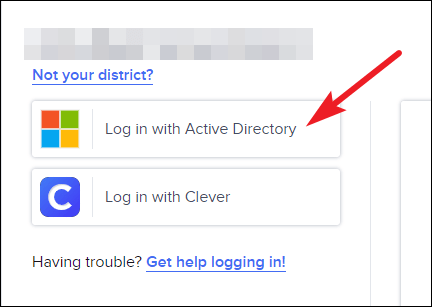
If you are using the ‘Log in with Active Directory’ button, you’ll need to enter the email address and password provided for ADFS (Active Directory Federation Service) to you by the school.
Once you have logged in, you’ll see all the apps provided by your school there. Click on the one you want to use.
Using a Clever Badge
There’s another easy method to log into the Clever Portal – the Clever Badge. A Clever Badge is simply a piece of paper with a QR code on it. Your school may have already provided it to you. If not, you can also request your teacher for it.
On the login page, click on the ‘Clever Badge log in’ option to log in using the badge. You can also directly go to clever.com/badges.
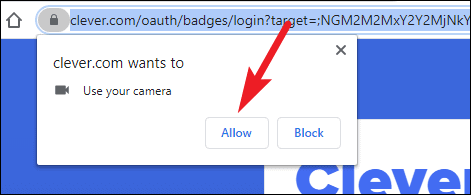
The Clever Badge login requires the use of a webcam. So, if your device does not have a working webcam, you won’t be able to use it. If you’re using this method for the first time, your browser will ask you to allow clever.com to access your camera. Click on the ‘Allow’ button.
Then, hold up your badge to your camera until a green checkmark appears. When the checkmark appears, the login will be successful.
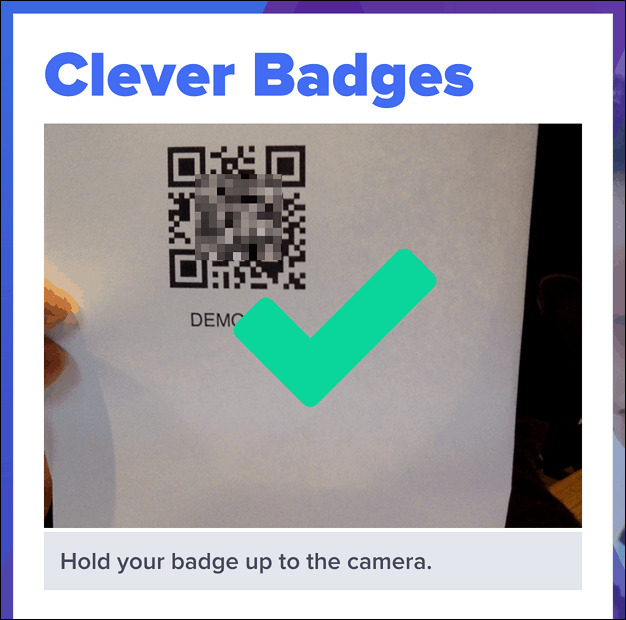
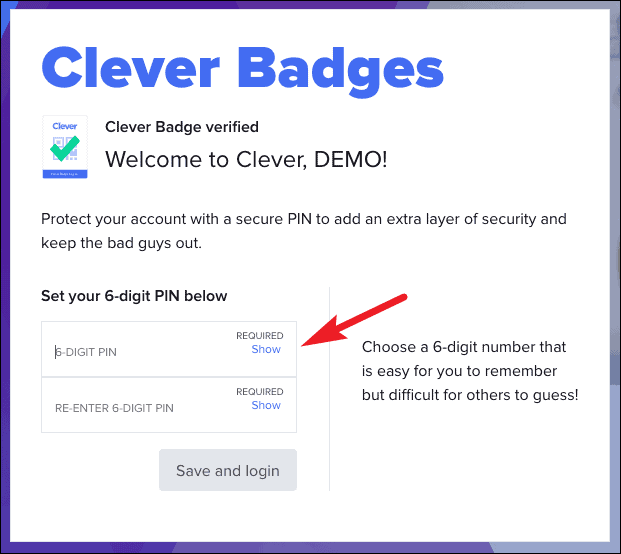
While using your badge for the first time, if your school has set up the 6-digit PIN, you will need to create it for your account. You’ll need to enter this PIN every time you log in with your badge, so make sure to set a PIN you’ll remember.
The Clever Portal is a great way to save the time it takes to log into all the different apps to access the study material and devote that time to actual studying. The students’ information is always secure with the Clever Portal, so that’s one less thing to worry about it in addition to not having to remember all the different login info.