
The Temp folder in Windows 11 serves as a storage location for various temporary files created by the operating system and applications. These files include:
- Error logs and data
- Launch configurations
- Browsing data
- Application data
- Windows updates
- Installation files
- Cached data
The size of this folder varies among users, depending on factors such as the duration of the operating system’s installation and the number of applications installed.
Accessing the Temp folder
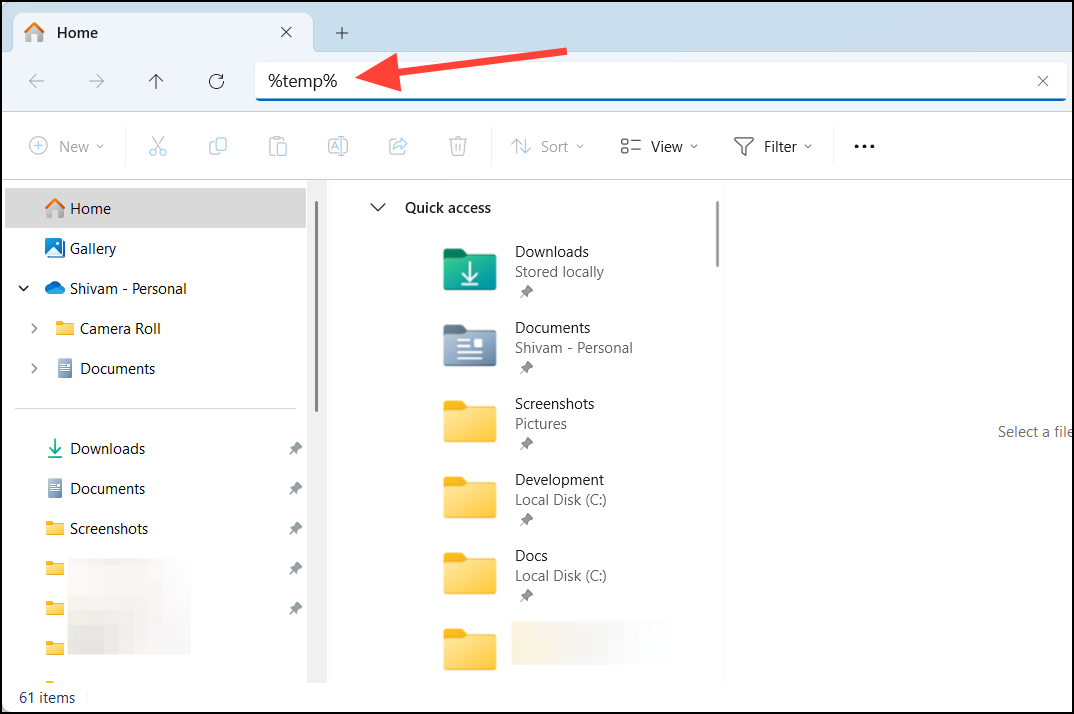
The most direct method to access the Temp folder in Windows 11 is through the File Explorer. Here’s how:
- Open File Explorer by pressing
Windows key + E. - In the address bar, type
%temp%and pressEnteron your keyboard.
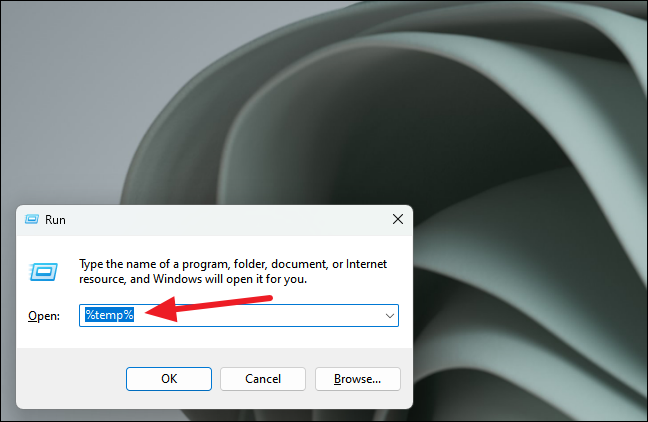
Alternatively, you can use the Run dialog:
- Press
Windows key + Rto open the Run dialog. - Type
%temp%and press Enter.
Managing Temp files
Delete Temp files through Settings
For a safer approach to managing Temp files, you can use the Windows Settings:
- Open Settings by pressing
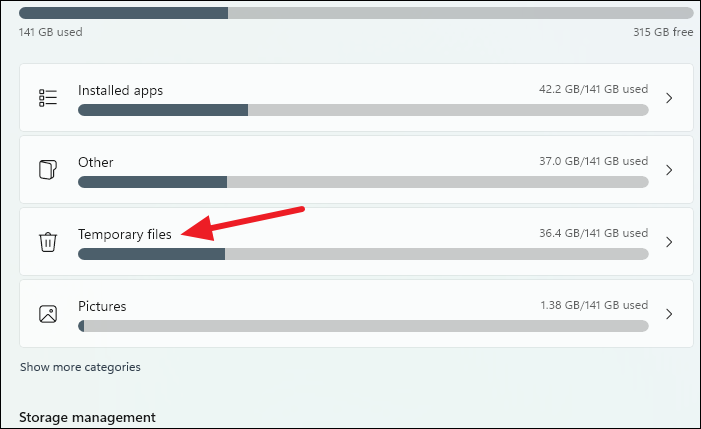
Windows key + I. - Navigate to System > Storage.
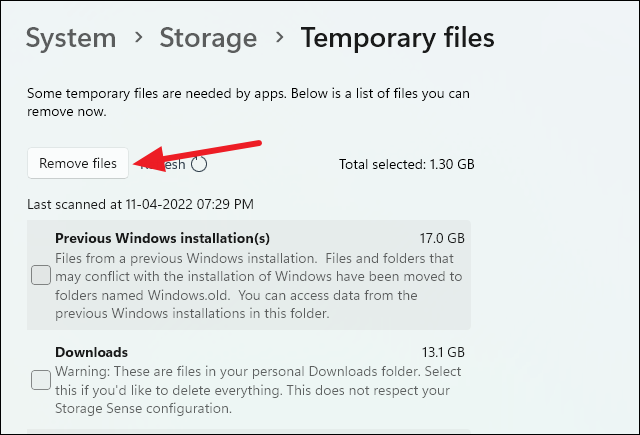
- Wait for the storage usage to load, then click on “Temporary files”.
- Select the files you want to remove.
- Click “Remove files” to delete the selected temporary files.
Use Storage Sense for automatic cleanup
To automate the process of managing temporary files, you can configure Storage Sense:
- In Settings, go to System > Storage.
- Scroll down and click on “Storage Sense”.
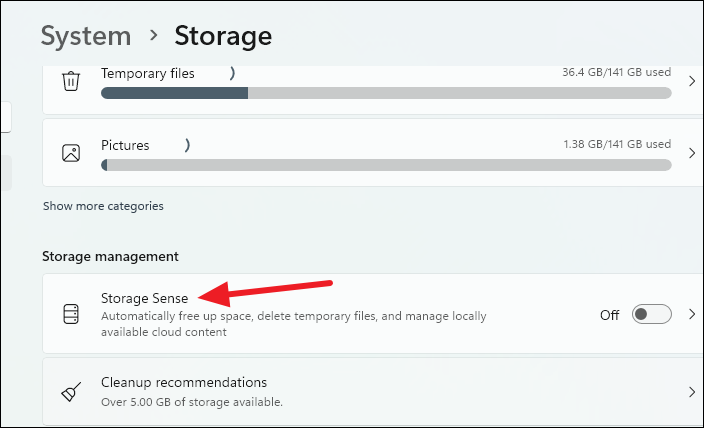
- Enable “Automatic User content cleanup”.
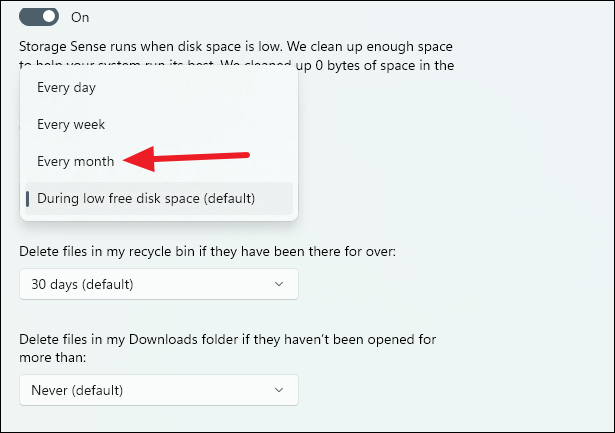
- Configure how often Storage Sense should run (daily, weekly, or monthly).
- Set preferences for deleting files from the Recycle Bin and Downloads folder.
You can also manually run Storage Sense by clicking the “Run Storage Sense now” button at the bottom of the settings page.
Can you delete the Temp folder?
While it’s safe to delete the contents of the Temp folder, you should never delete the folder itself. The files within are not critical to your computer’s functioning, but the folder is necessary for Windows and applications to store temporary data.
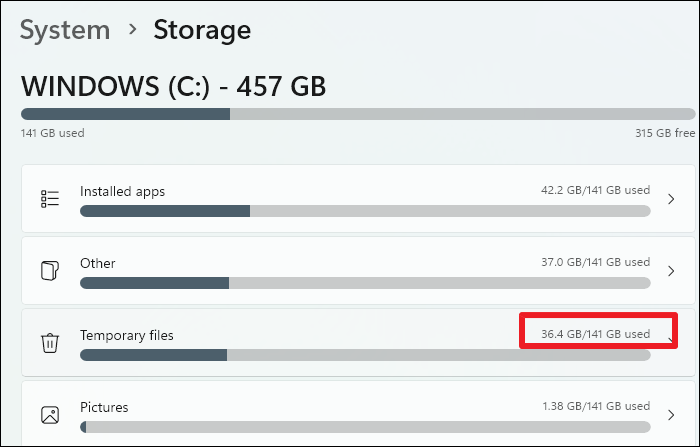
To check how much space temporary files are occupying:
- Open Settings and go to System > Storage.
- Wait for the storage usage to load.
- Look for the “Temporary files” entry to see the total space used.
Regular maintenance of the Temp folder can significantly improve your computer’s performance and free up valuable disk space. By understanding its location and utilizing the built-in Windows tools, you can efficiently manage temporary files in Windows 11.


