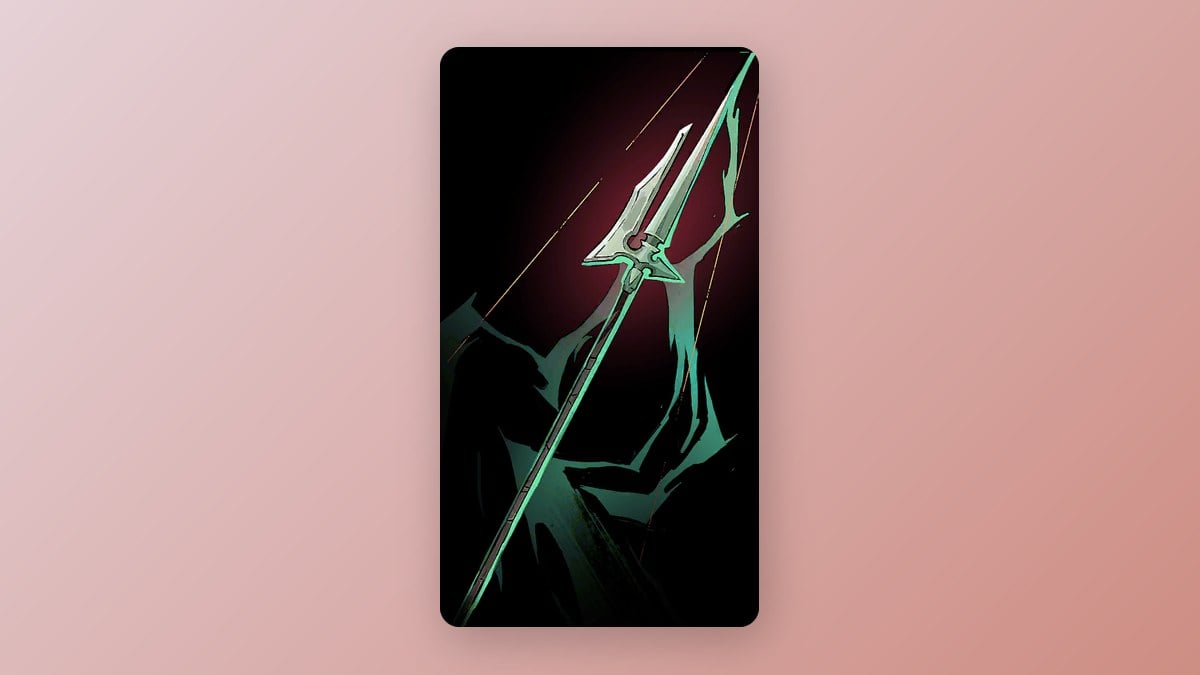
The Halberd is a Refined spear in Castlevania: Belmont’s Curse, and it’s hidden in plain sight. You can see its alcove from the main gallery in Mechanic’s Ascent, but a gate seals it off, so walking up to it doesn’t work. You have to come in from above, after a loop through the eastern half of the Clock Tower.
Quick answer: Open the gold chest in a gated alcove in Mechanic’s Ascent (Clock Tower). Reach it from above via Serpent Pinion, Eastern Steps, Daedalus Crossing, and the Western Maintenance Shaft, not from the gallery floor.
Halberd chest location in Mechanic’s Ascent
Mechanic’s Ascent is part of the Clock Tower in Dracula’s Castle. Find the gallery where a hooded statue stands between a pair of candelabra. Immediately to its right, slightly raised above the floor, is the Halberd’s alcove, encircled by large rotating gears.
Here’s what the alcove looks like once you know where to look:
- A gate closes off its right side, and it starts out shut.
- A cog mechanism sits beside a lever fixed to the alcove’s left wall.
- The ornate gold chest sits on the ledge between them.
- The district’s Mirror of Life is the closest one to the chest.
The hooded statue in the gallery also holds a clue. Interacting with it adds a new clue about the Zealot, the arcana tied to Isaac, who waits deeper in the Clock Tower.
Route to the Halberd from the Eastern Access Shaft
The path loops east and up, then back west and down. If you start inside Mechanic’s Ascent, head down through the Lower Gallery to the Eastern Access Shaft first. Expect saw blades, grapple rings, and a few fights on the way.
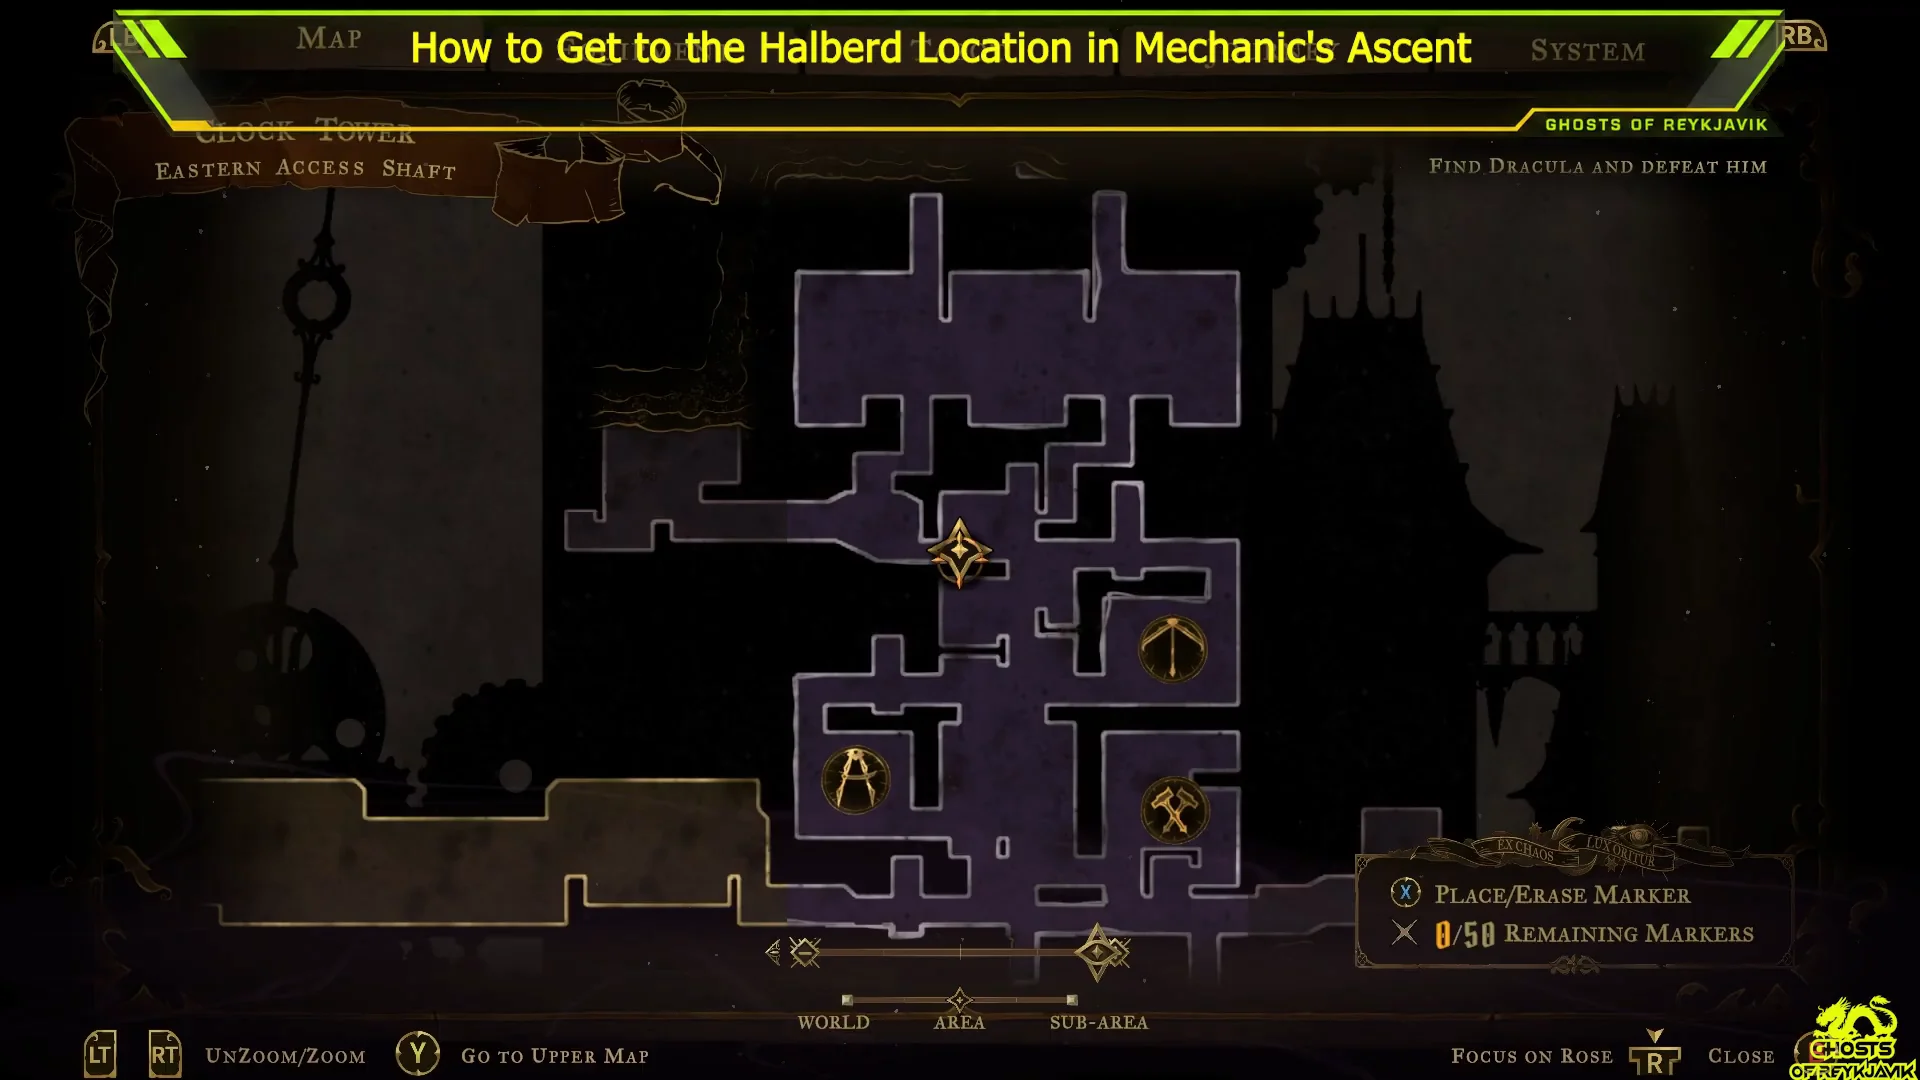
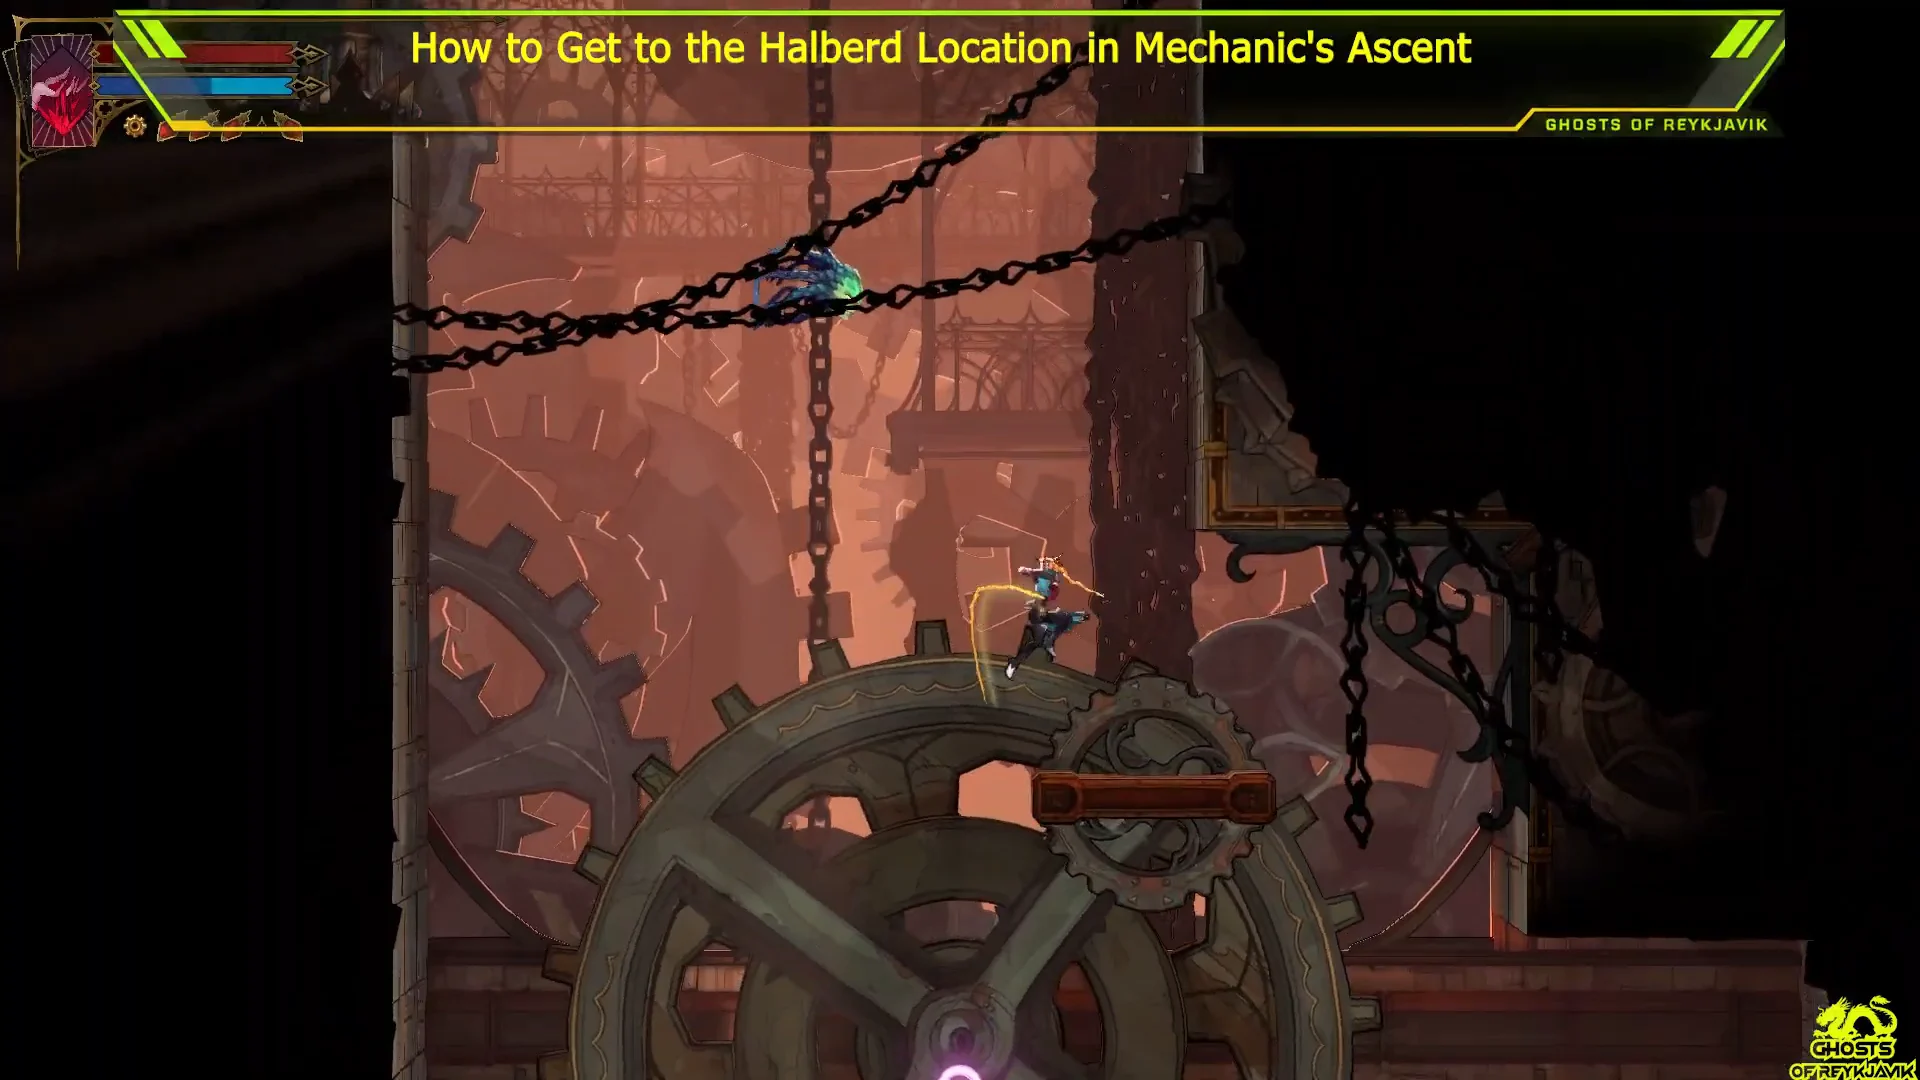
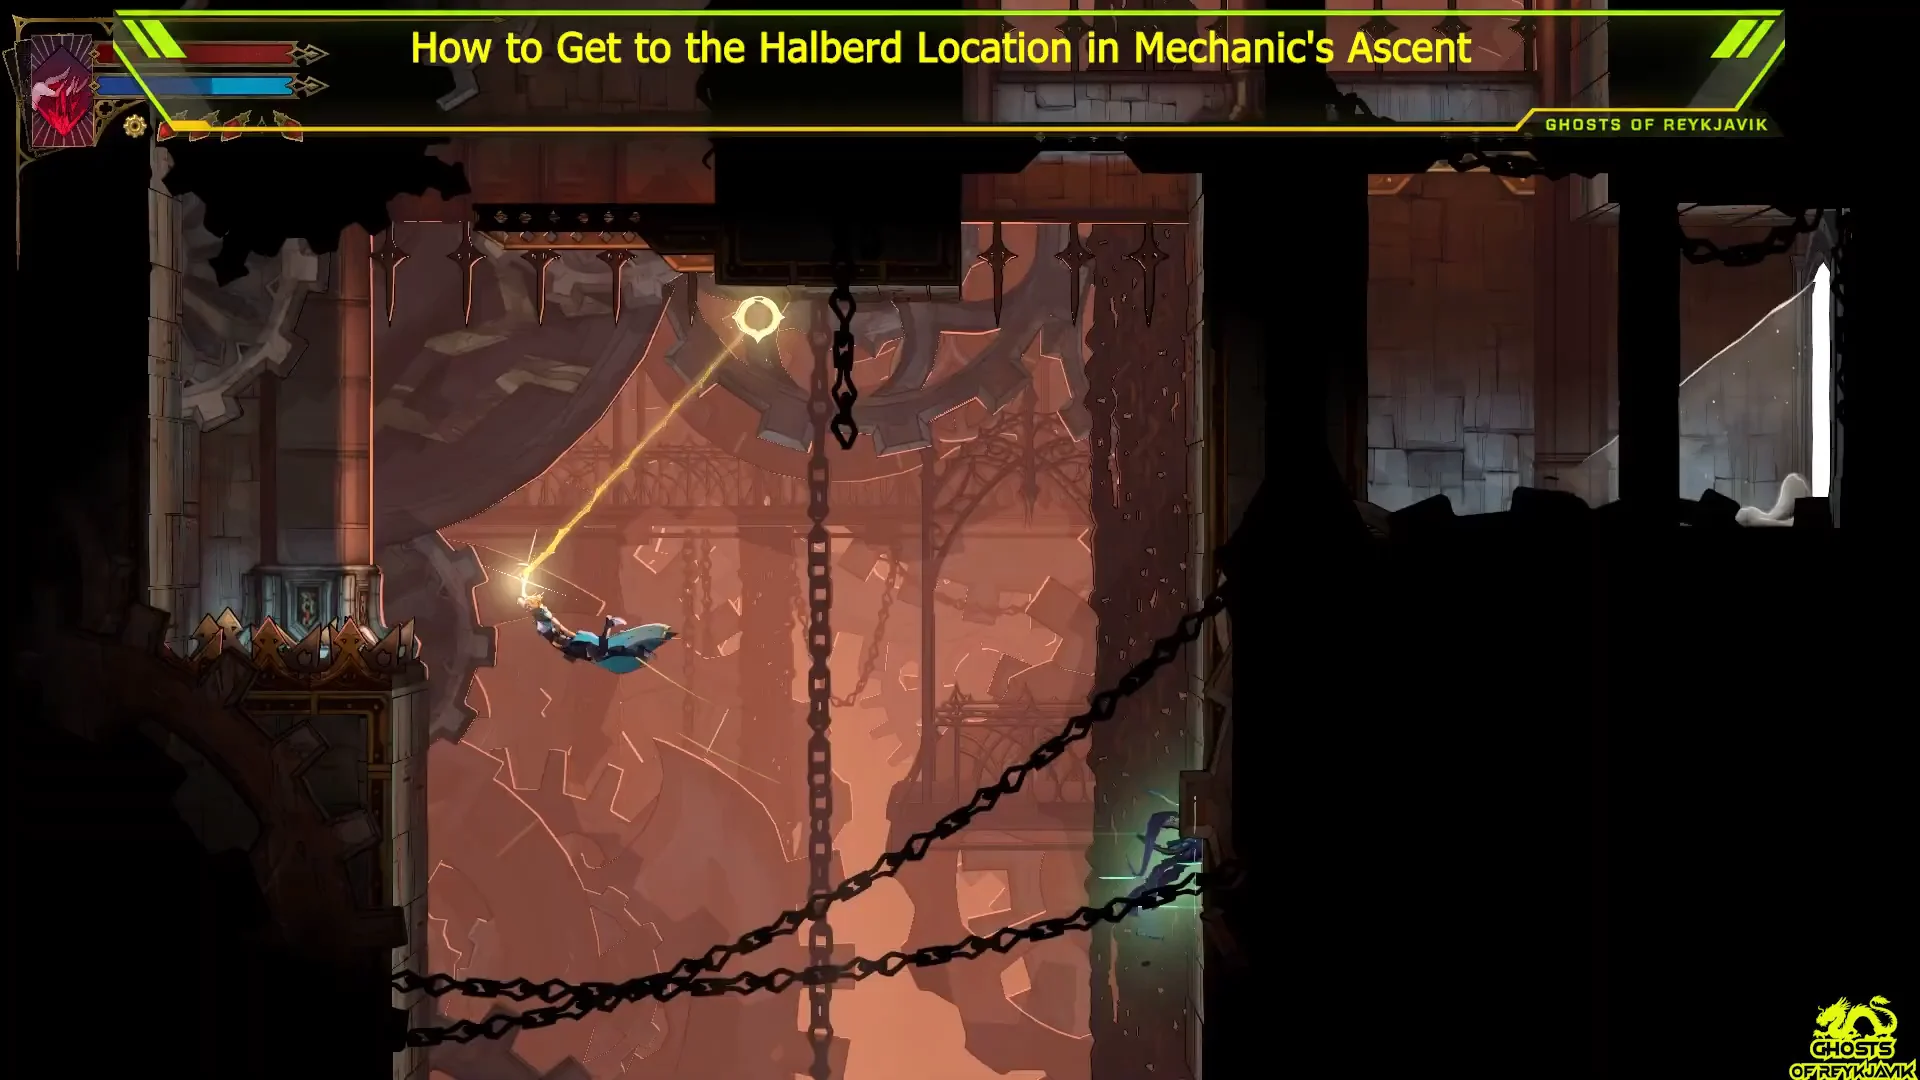
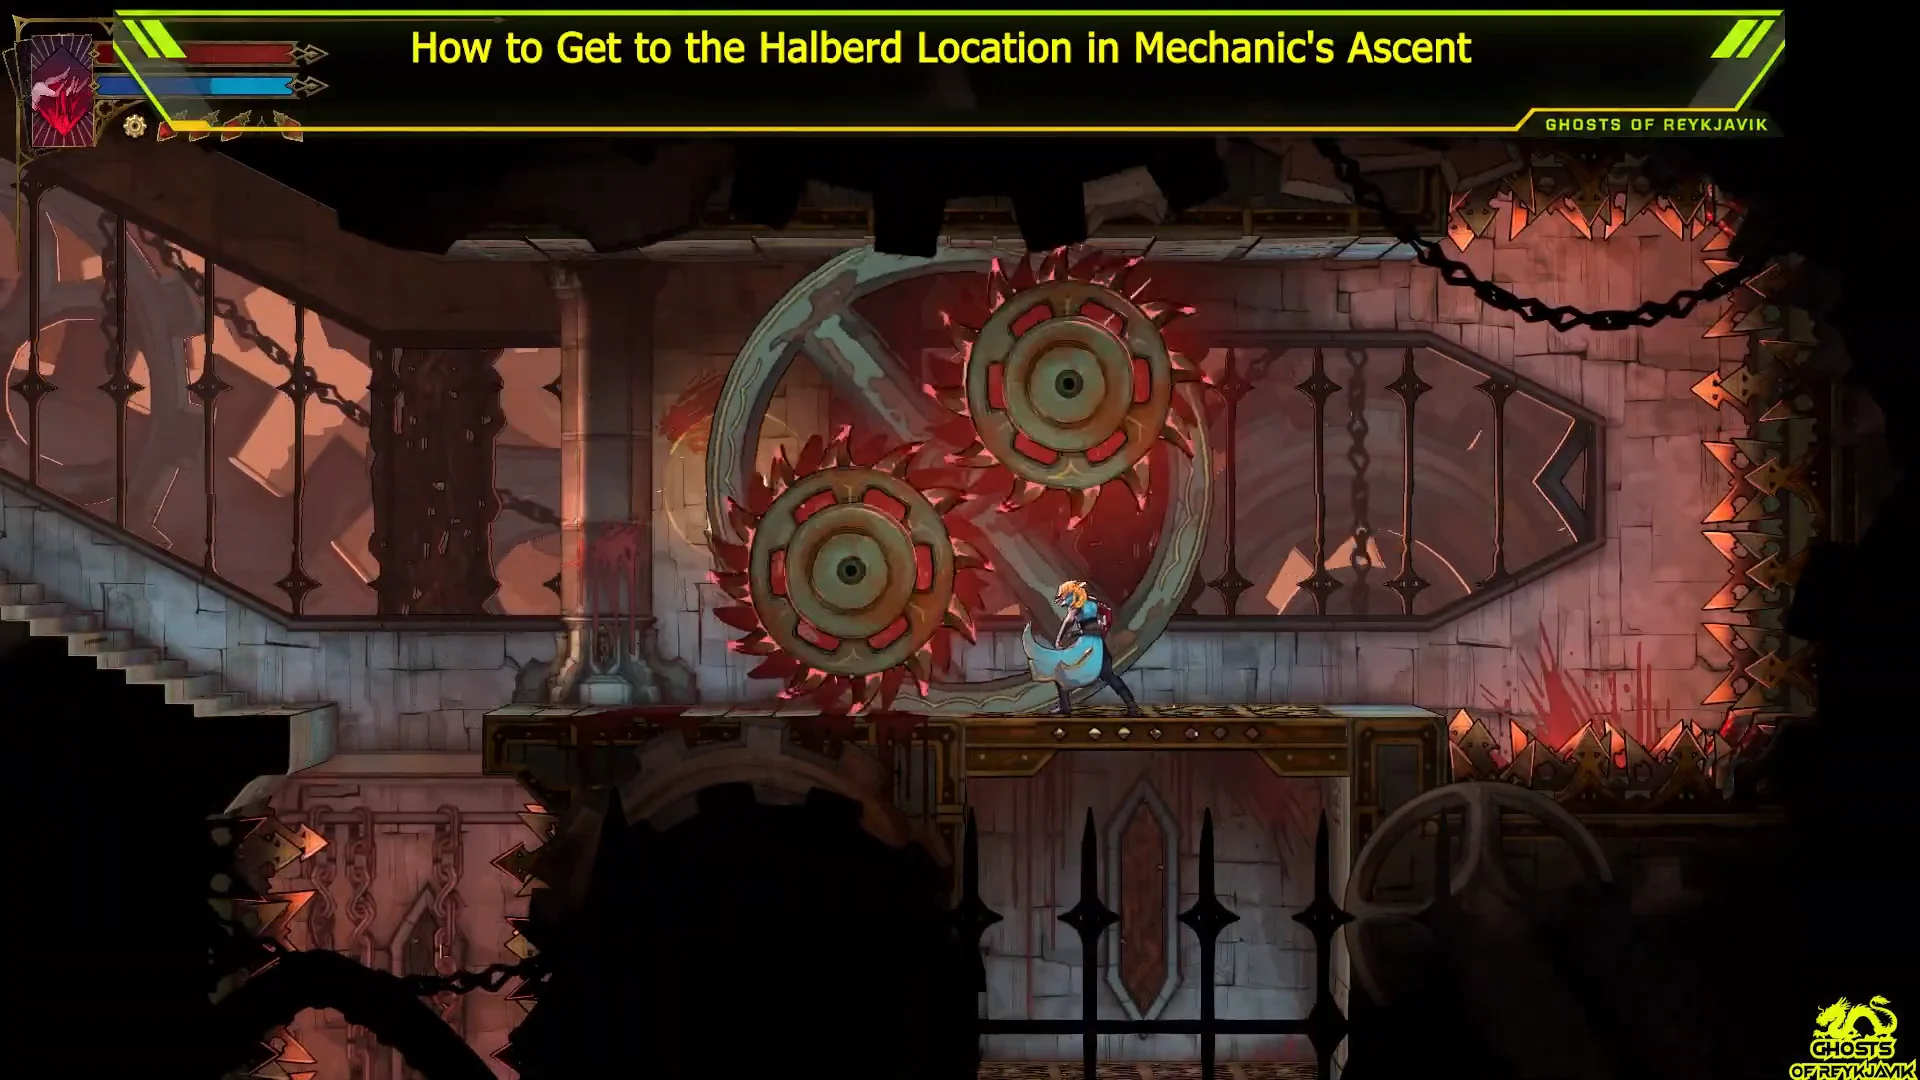
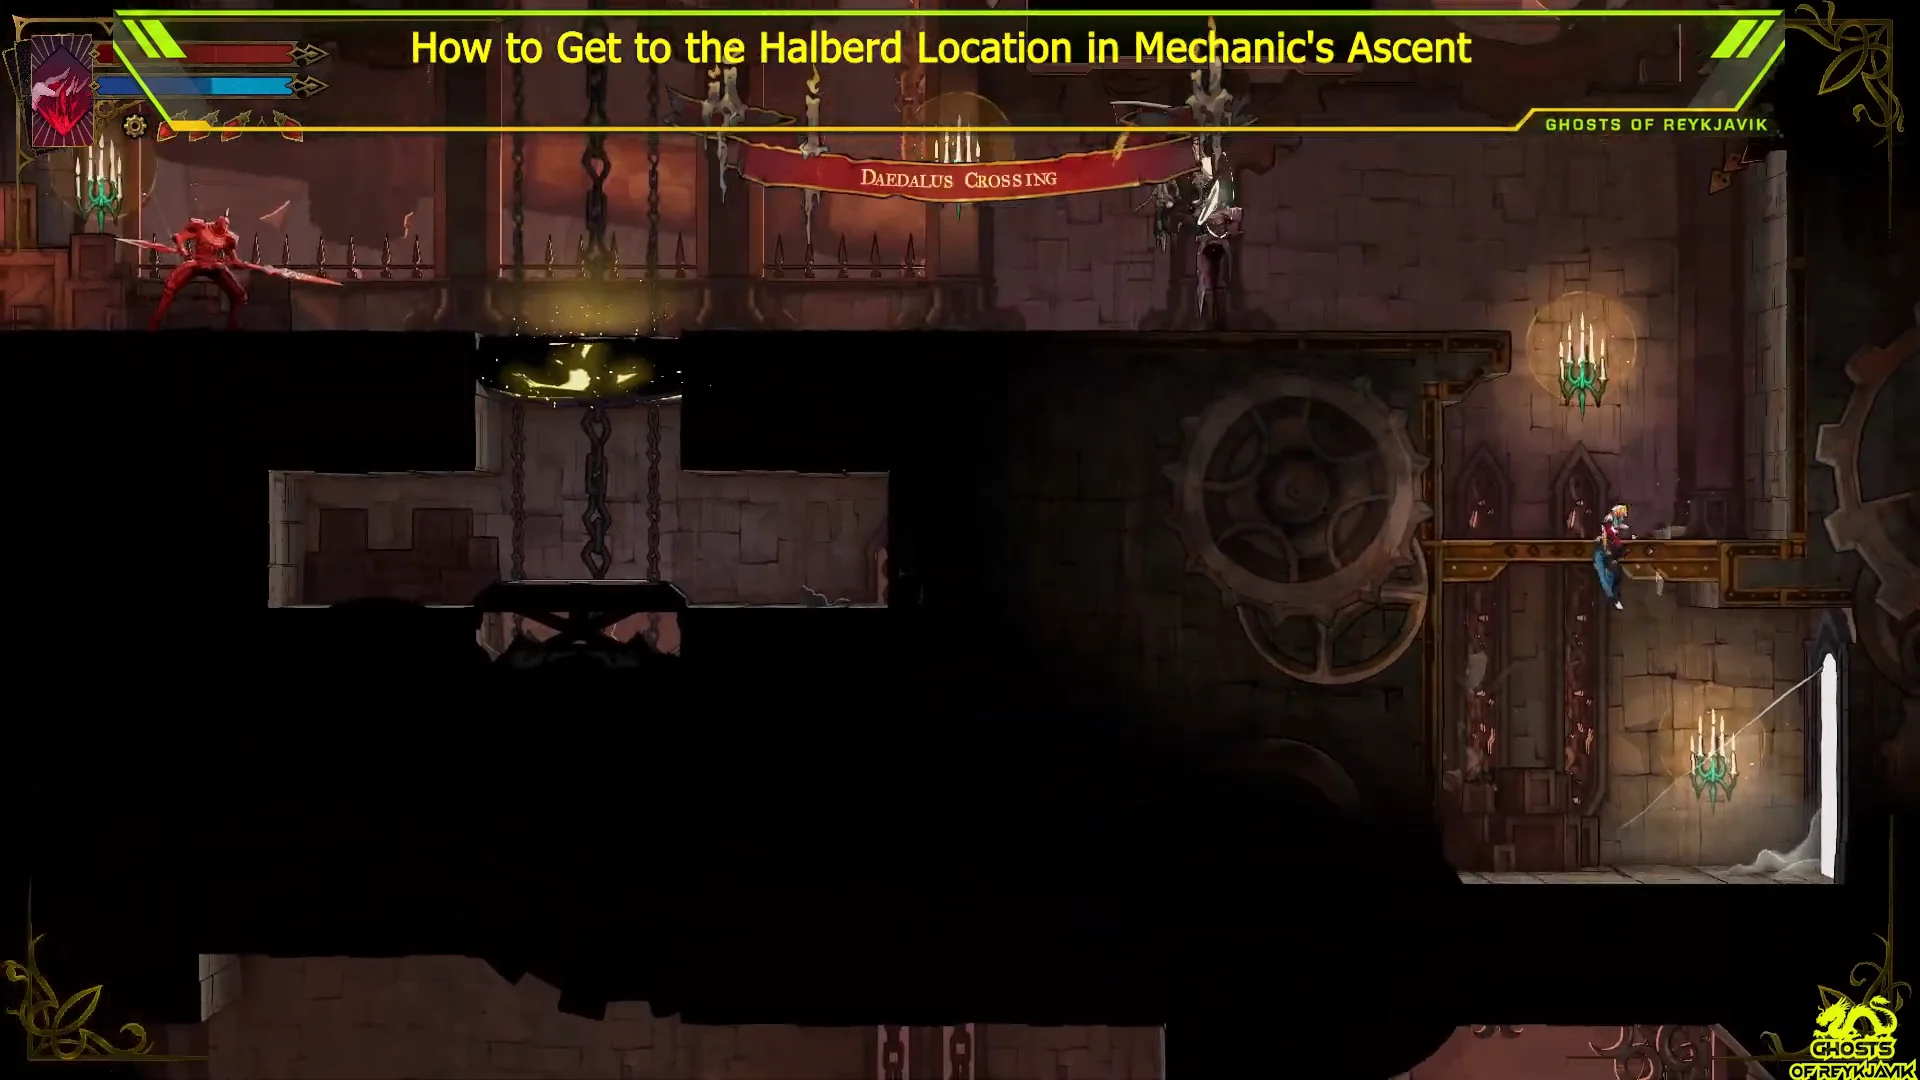
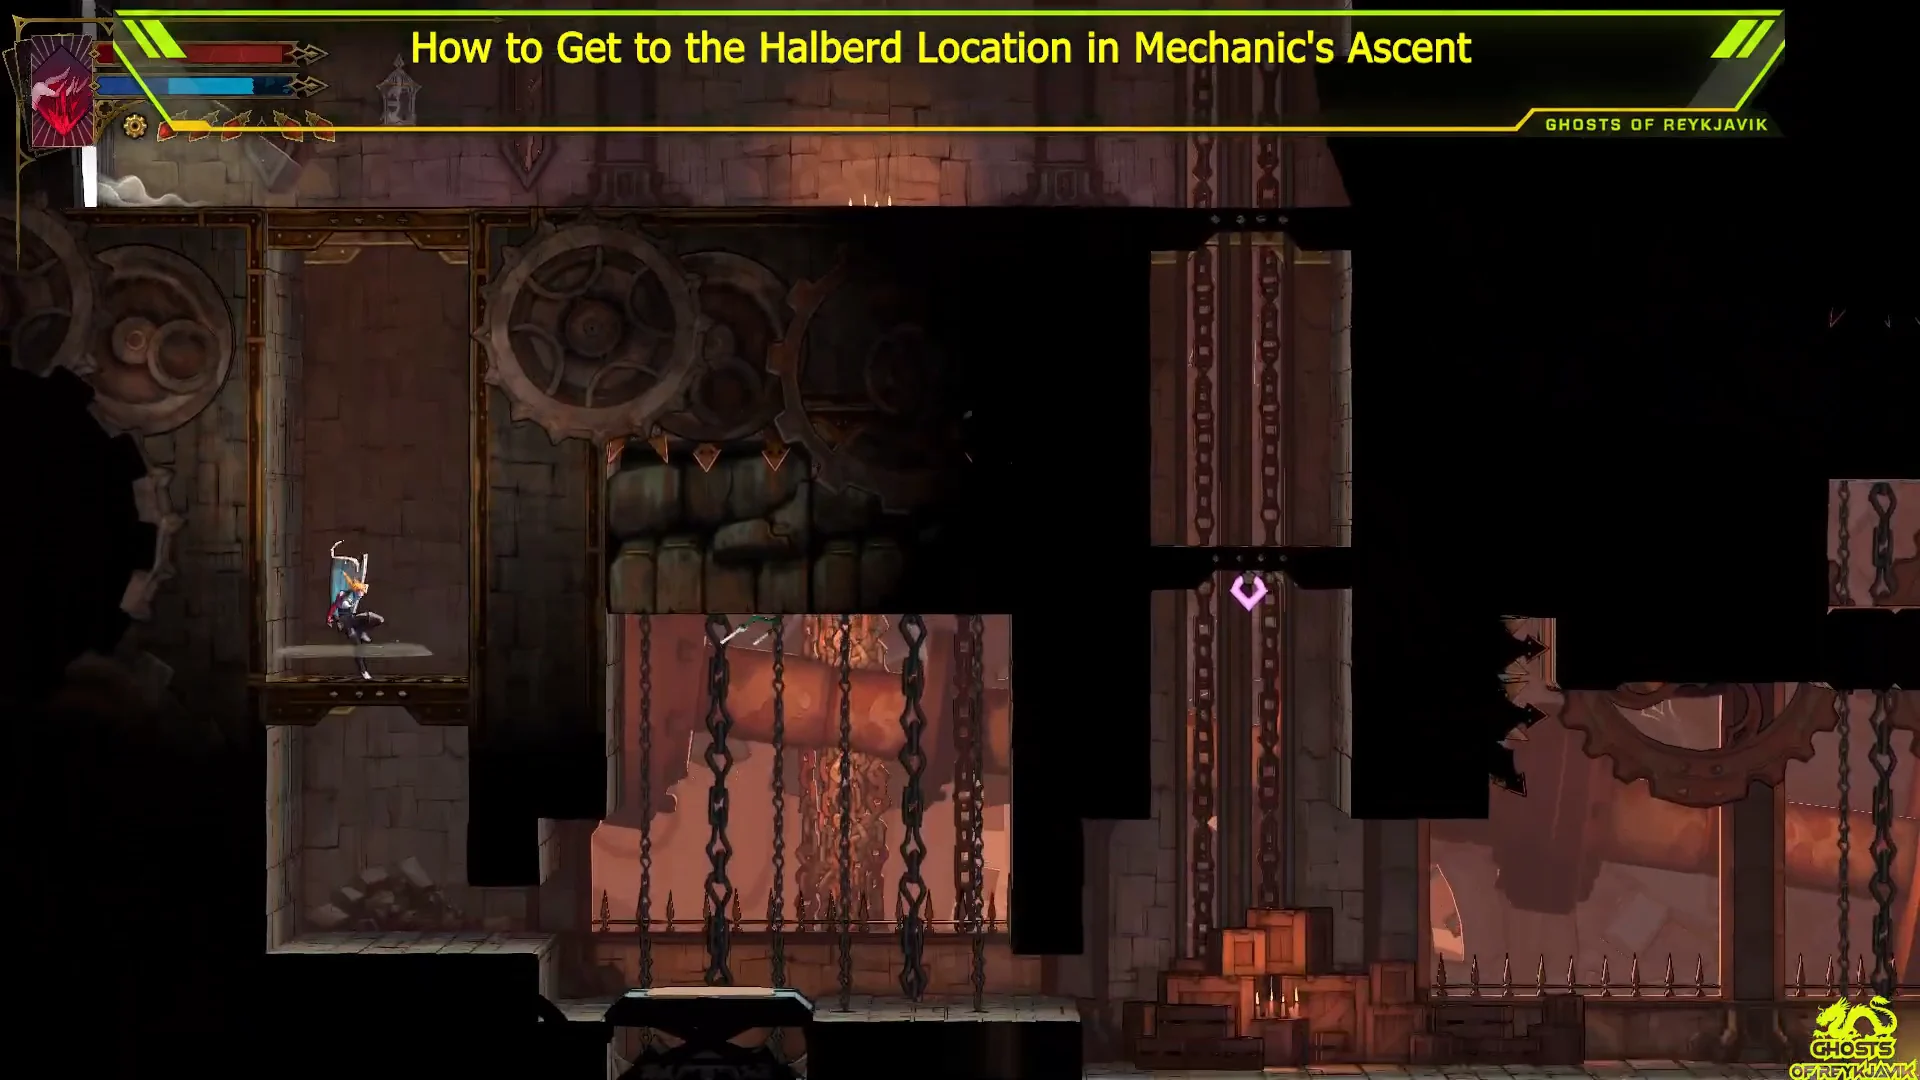
The blueprints add a new clue about the Builder. When Rose reads them, she says, “This map… it shows a sealed off section of the castle.” That sealed section is where you’re headed.
Halberd weapon card and how to confirm the pickup
When the chest opens, the HALBERD weapon card fills the screen. It shows a Refined rarity tag and ATK 50, so you know you have it. Hold the equip button (Y on Xbox) to equip it right away, or continue to close the card and keep exploring.
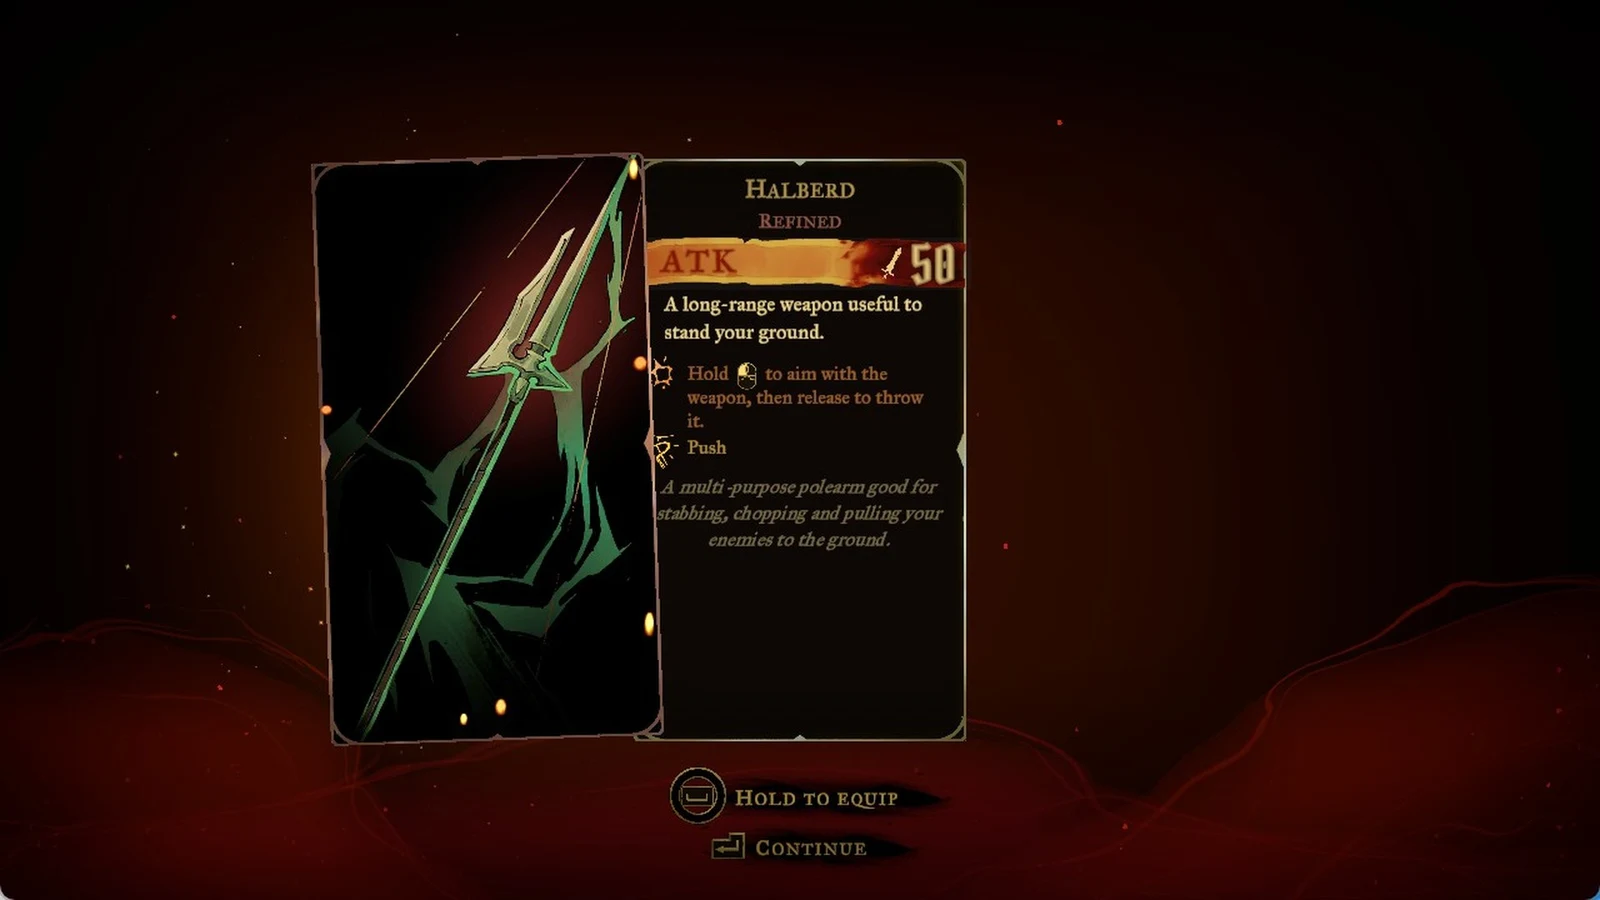
The card describes it as a weapon that reaches far and helps you hold your position. You can throw it too: hold the attack button (X on Xbox, left mouse on PC) to aim, then release. Its lore says the polearm was made to stab, chop, and pull enemies to the ground.
Halberd stats compared with the Whip
Most players will still be using the Whip from the Catacombs of Paris when they reach the Halberd. Here is how the two compare.
| Stat | Halberd | Whip |
|---|---|---|
| Weapon type | Spear |  Whip |
| Rarity / tier | Refined / 2 | Ordinary / 1 |
| ATK | 50 | 25 |
| Attack power | 28 | 24 |
| Stagger power | 30 | 30 |
| Mana per hit | 3 | 3 |
| Combo finisher | Push | Whip Drag |
| Found in | Clock Tower | Catacombs of Paris |
The Halberd has twice the Whip’s ATK and a higher attack power. It matches the Whip on stagger and mana gain per hit. Their special moves work differently. The Halberd can be aimed and thrown, while the Whip deals extra damage at the far end of its reach.
Clock Tower districts along the Halberd route
Several districts on the way hold collectibles you can pick up on the same trip.
| District | Items | Secret areas | Other |
|---|---|---|---|
| Eastern Access Shaft |  Sinister Rune | 4 | 1 breakable wall |
| Daedalus Crossing | DEF UP book, Hollow Bone, Vile Trinket | 6 | Blueprints clue, 1 breakable wall |
| Western Maintenance Shaft | — | 1 | — |
| Mechanic’s Ascent |  Halberd | 2 | Mirror of Life, 1 breakable wall |
Mechanic’s Ascent also holds a clue noting that Isaac waits in the Clock Tower. If you’re working toward full completion, the Clock Tower as a whole has 236 completion items, including 3 Wise Heart Fragments, 3 Brave Heart Fragments, 1 ATK book, 2 DEF books, and 14 XP statues worth 350 XP each. The Halberd counts as one of the area’s 13 items.