
Wizard Alchemy throws a lot at you in the first hour. Races, shards, potion crafting, ascension, quest chains, and a shop full of wands all show up before the game really explains how they connect. Get the opening sequence right and progression speeds up dramatically. Get it wrong and you’ll burn materials on weak potions while watching enemies chew through your HP.
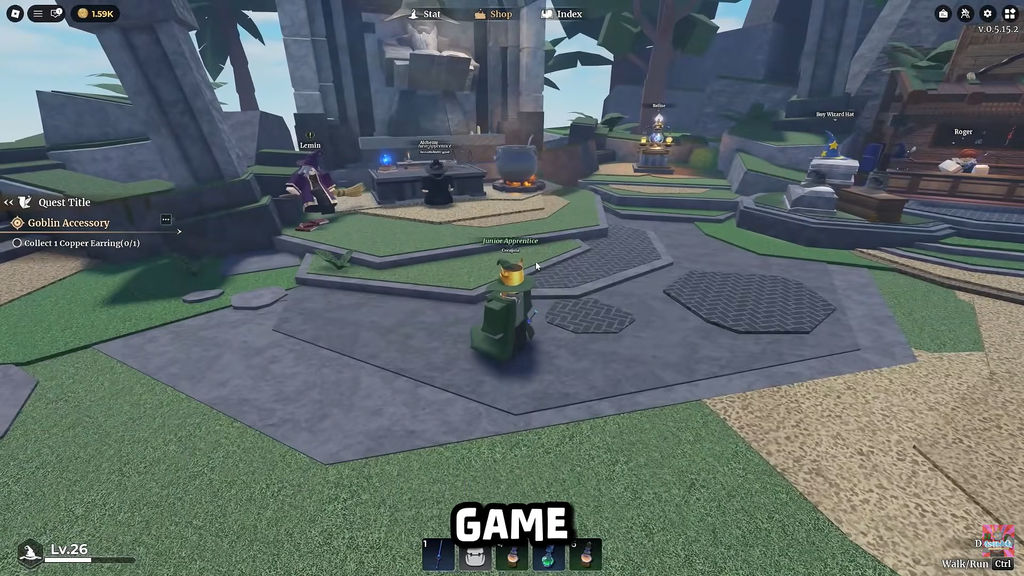
Redeem the launch codes before anything else
Two codes are currently active, and both give five Race Rerolls each. Race choice has a large effect on damage scaling and combat speed, so you want these rerolls before you commit to a race.
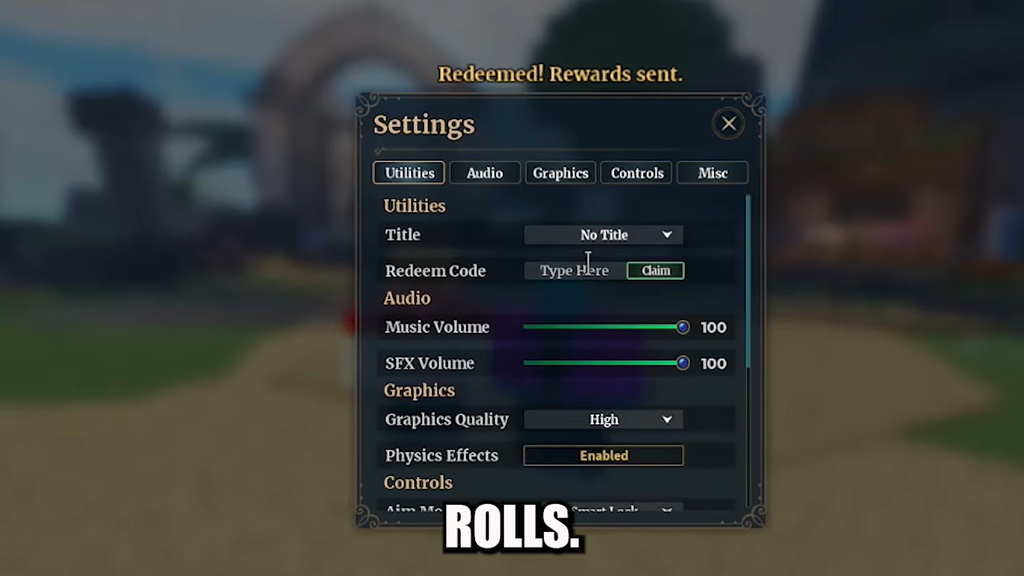
If Claim doesn’t respond, rejoin the server and try again. Case matters, so type the codes exactly as shown.
Pick a race target before you spin
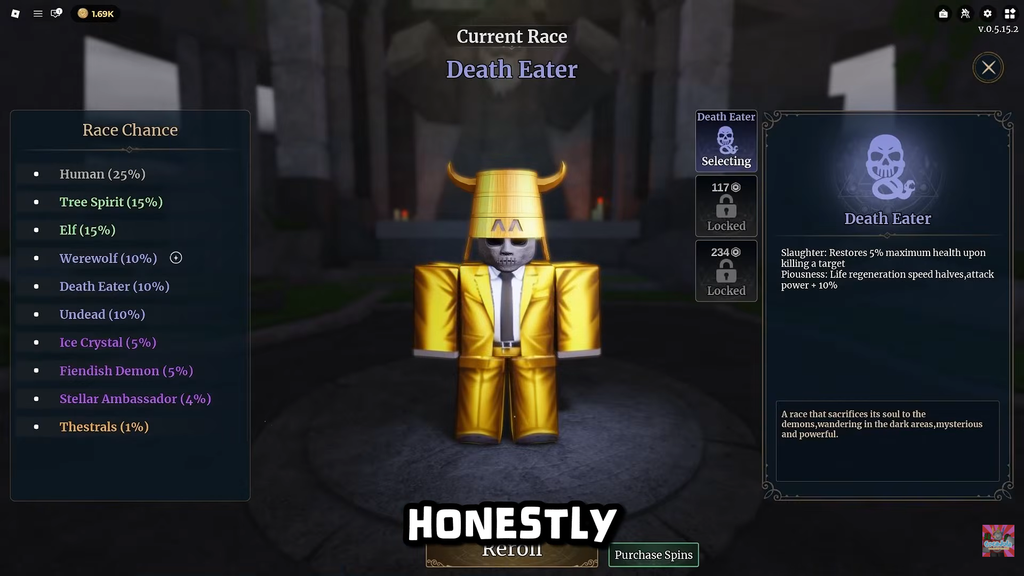
Every race grants passive bonuses that affect damage, cooldowns, or general stat growth. The rarest 1% race is the strongest overall, but realistic targets matter more than chasing a single outcome.
| Tier | Race | Why it works |
|---|---|---|
| S | Thestral | Top-end DPS scaling, fastest combat progression |
| A | Stellar Ambassador, Death Eater | Balanced all-purpose growth |
| B | Fiendish Demon, Ice Crystal | Strong element-focused builds (Crystal pairs well with Ice potions) |
| Early | Werewolf | Practical upgrade over Human while you save rerolls |
If Thestral doesn’t appear, settle on Werewolf for early play and keep spinning when you earn more rerolls. Ice Crystal is a solid fallback if you want to commit to Ice or Dark potion lines, since Ice builds remain strong throughout boss farming.
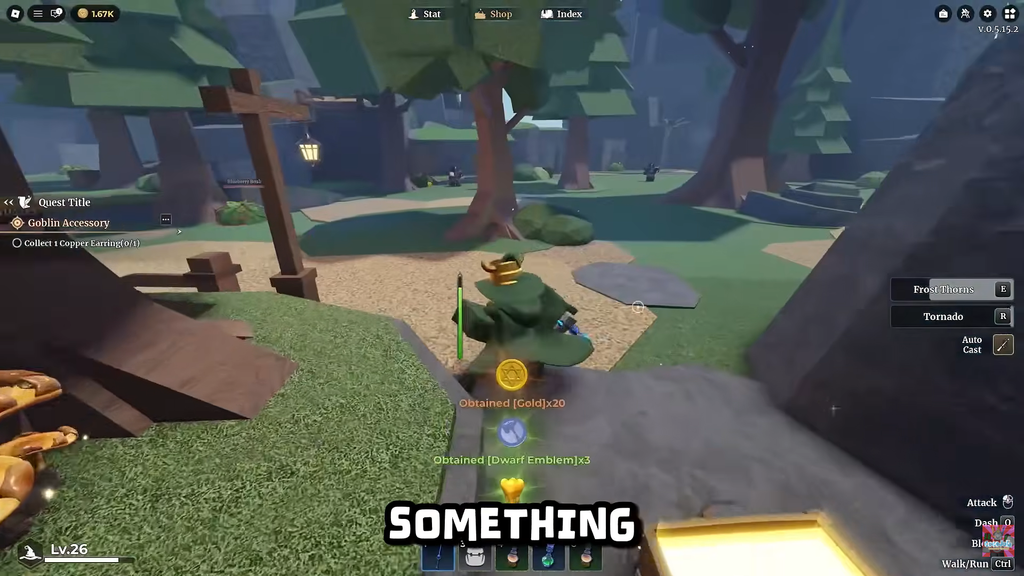
Farm starter materials on Departure Isle
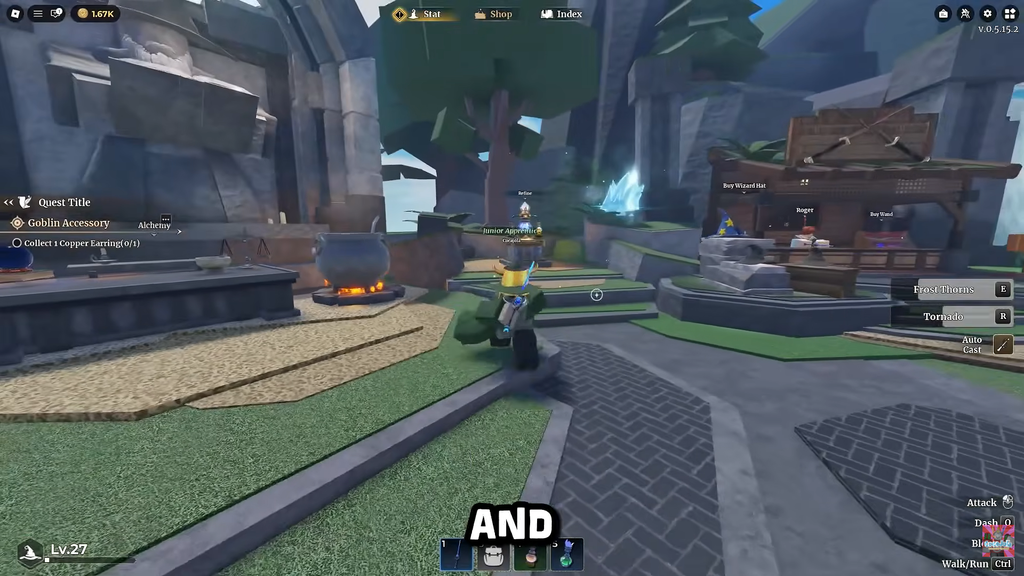
Your first potion unlocks need cheap, common ingredients. Departure Isle has all of them within walking distance of the spawn area.
Focus on three things while you explore: Blueberry Bushes, Seagull Eggs from Bird Nests, and Goblin Fingers from Knife Goblins. Destroy every plant cluster you pass. Mushroom Clusters and Blueberries drop alchemy materials you’ll need within the first 20 minutes of brewing.
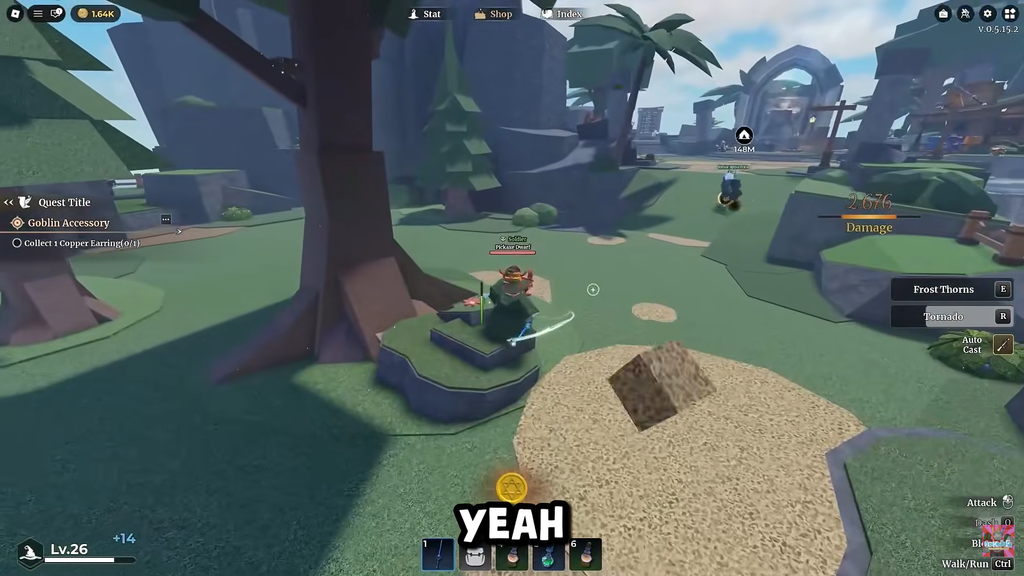
Knife Goblins drop Goblin Finger and Goblin Bone. Pickaxe Dwarves drop Dwarf Emblem and Golden Tooth. Both routes feed early potions and pay out gold for your first wand.
Brew the right first potions
Potions unlock spells when you drink them, so your material route should always serve the next unlock tier. Don’t waste high-value materials on starter recipes.
| Tier | Potions | Notes |
|---|---|---|
| Starter | Wind Blade, Rock Blast, Ice Spike | Low magic-power thresholds, reliable first unlocks |
| Mid | Fire Arrow, Earth Shield, Ice Turtle | Broader combat options, defensive utility |
| Late | Dragon Breath, Lotus Bloom, Radiant Sword | High Magic thresholds, save Furnace Core for these |
Ice Spike is the standout early pick. Bound to the E key, it gives you ranged magical damage that solves most early enemy problems before you can afford a better wand.
How crafting actually works: every material has a magic power value. Higher total magic power means stronger spells and better effects. Furnace Core is one of the best raw-power materials in the game, so save it for late-tier brews rather than wasting it on Wind Blade.
Elemental Shards modify the element of a potion. Adding an Ice Shard, Fire Shard, or Dark Shard at the end of a recipe gives roughly a 50% bias toward that element. Stack high magic-power materials first, then drop in a shard to lock in the element you want.
Buy wands in the right order
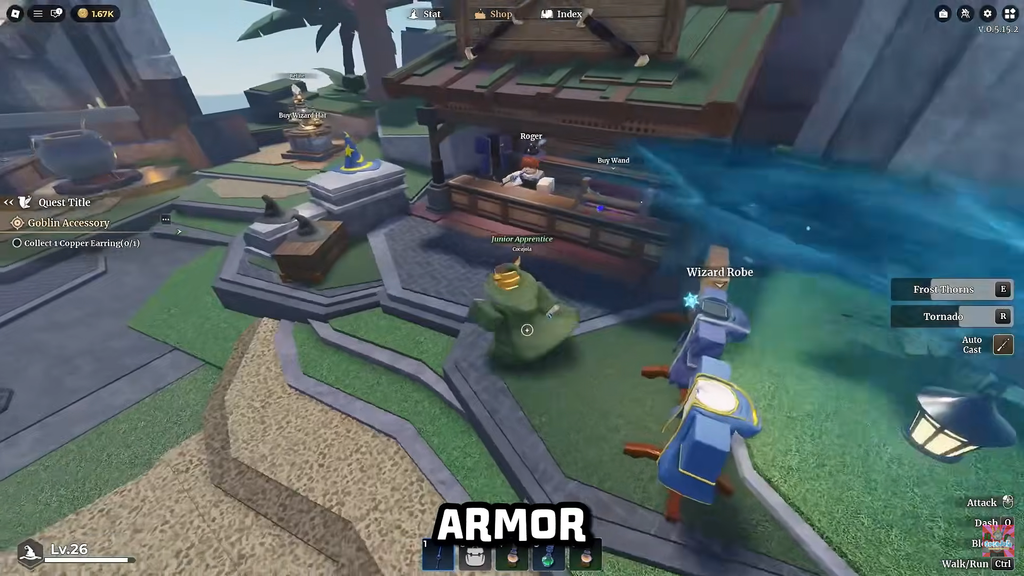
Wand upgrades directly multiply your damage and farming speed. Spend gold on these before robes or hats.
| Wand | Cost | Why buy it |
|---|---|---|
| Wingbird Wand | 200 gold | 20 Attack, +5% Attack Bonus. First practical upgrade from starter damage. |
| Azure / Demon Trident | 500–8,000 gold | Mid-game attack and bonus scaling. |
| Ice Star Wand | 20,000 gold | Cooldown reduction. Found inside a waterfall near the starting village. |
| Ember Staff | 30,000 gold | Late-game attack with crit support. Hidden in a treehouse near the Dwarf King area. |
The Ember Staff is easy to miss because it sits high above the ground. The Ice Wizard Wand is tucked behind a waterfall and is one of the strongest mid-game purchases if you’re building around cooldown reduction.
Farm gold efficiently
Gold pays for wands, robes, hats, and ascension costs, so a consistent farming loop matters more than any single drop.
Early on, run Pickaxe Dwarf and Knife Goblin loops in the forest for emblems, fingers, and quick gold. Once you can handle harder enemies, shift to the beach and cave routes for Warhammer Dwarf and Archer Goblin drops — Golden Tooth, Goblin Bone, and Copper Earring become much more common.
The fastest mid-to-late game gold source is the Dwarf King. He drops valuable materials including Flame Crest, Copper Earring, and Furnace Core, and the gold payout is the highest in the early map. Rotate Dwarf King runs whenever you’re saving for a wand upgrade or your next ascension.
Mutant enemies are the priority for rare drops. Mutant Warhammer Dwarf and Mutant Goblin Archer hit harder than their normal counterparts but pay out shards and rare materials at much higher rates.
Chest routes for shards
Magic chests scattered around the map drop elemental shards, materials, and occasionally rare crafting items. They respawn after several hours, so you can loop them on a schedule.
Productive chest areas include the lighthouse, the waterfalls, the mountain paths, and the Dwarf King zone. The giant bird nest near the top of the map is harder to reach but contains valuable materials worth the climb. Chest runs are one of the most efficient ways to stockpile Fire Shards, Ice Shards, and Dark Shards without grinding mutant enemies.
Stat point allocation
Every level grants stat points across Attack, HP, Cooldown Reduction, and Movement Speed. You can reset your build for free, so don’t agonize over the first allocation.
The strongest beginner setup is heavy Attack with Cooldown Reduction as a secondary. Faster kills mean less incoming damage, and reduced cooldowns let you spam alchemy spells. HP is useful if you struggle to survive boss fights, but most players drop it once they unlock better robes.
Robes and wizard hats sold at Roger’s shop fill the survivability gap instead. The Starmoon and Golden Reverie sets are efficient first HP upgrades. The Starlight set is the next jump once your gold farming is stable.
Learn to parry early
Parrying is required for fighting stronger enemies. When a red indicator appears above an enemy, press F to parry. Time it correctly and the attack is blocked entirely.
The Dwarf King, Elite Goblins, and Archer enemies all telegraph parryable attacks. Without parrying, these fights become brutal damage races you’ll usually lose. Practice on weaker enemies that show the red indicator before you commit to a Dwarf King run.
Ascend on schedule
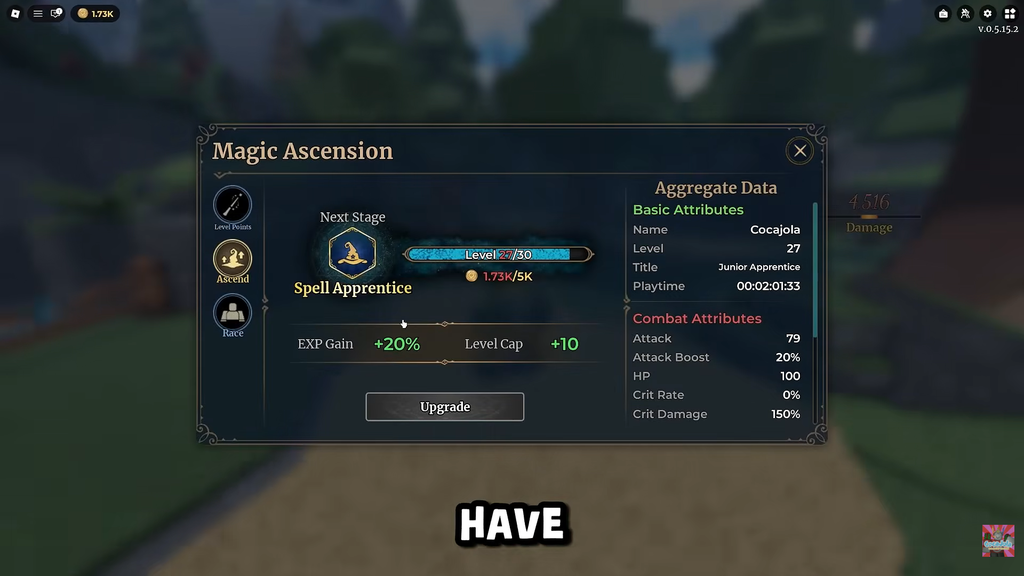
Ascension is the prestige system, and ignoring it slows your account growth significantly. The first ascension requires Level 10 and 300 coins, and it rewards +20% EXP gain plus a +10 level cap increase.
Each ascension stacks permanent progression bonuses, so the earlier you start the loop, the faster every subsequent level becomes. Ascend as soon as you meet the requirements rather than holding onto a high level for the sake of it.
Controls reference
| Action | Input |
|---|---|
| Movement | WASD |
| Jump | Space |
| Dash | Q |
| Attack | Left Mouse Button |
| Cast spell | E or R |
| Parry | F (when red indicator appears) |
| Toggle walk/run | CTRL |
Stack the opening correctly and the rest of the game opens up fast. Codes first, race target second, then a tight loop of quests, plant-and-enemy farming, and incremental wand upgrades. Once you can survive the Dwarf King, gold stops being a bottleneck and you can focus on shard collection and late-tier potion brewing.