007 First Light: Against the Odds Mission Walkthrough (Chapter 1)
A complete route through the prologue mission, from the Iceland beach landing to freeing the captives and escaping the camp.
A complete route through the prologue mission, from the Iceland beach landing to freeing the captives and escaping the camp.
by Pallav Pathak
Against the Odds is the opening chapter of 007 First Light, doubling as a prologue and a tutorial for movement, cover, and stealth takedowns. Bond starts unarmed on an Icelandic beach after an aerial ambush, links up with an MI6 handler by radio, infiltrates an enemy camp, frees two groups of captives, and escapes during a noisy distraction. The whole mission funnels you down a mostly linear path, so the goal here is to handle each beat cleanly without alerting patrols.
🎯
Quick answer: Sneak up the beach using rocks and tall grass, enter Cabin A2 through the window, search Cabins A2 and A4, reverse the BT-65 truck, apply the antidote in the medical tent, rescue captives in Cabin G9 then Cabin B4, sabotage the mast wire, and clear the final QTE fight to escape.
After the opening cutscene, Bond comes to on the shoreline with no weapon. The early section is pure stealth and traversal, with the game prompting you to crouch, take cover, and squeeze through gaps.
When patrolling enemies appear, take cover behind the rocks. Wait for them to move left, then push forward and squeeze through the narrow gap in the rock face while crouched.
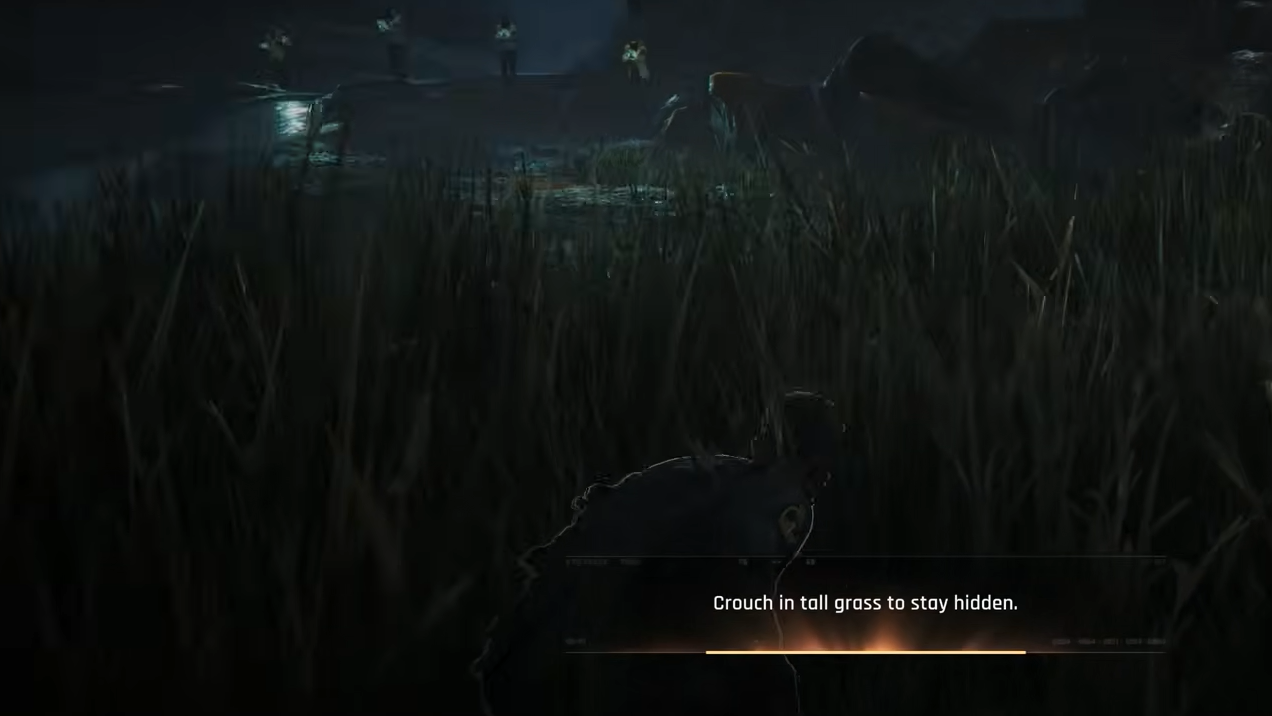
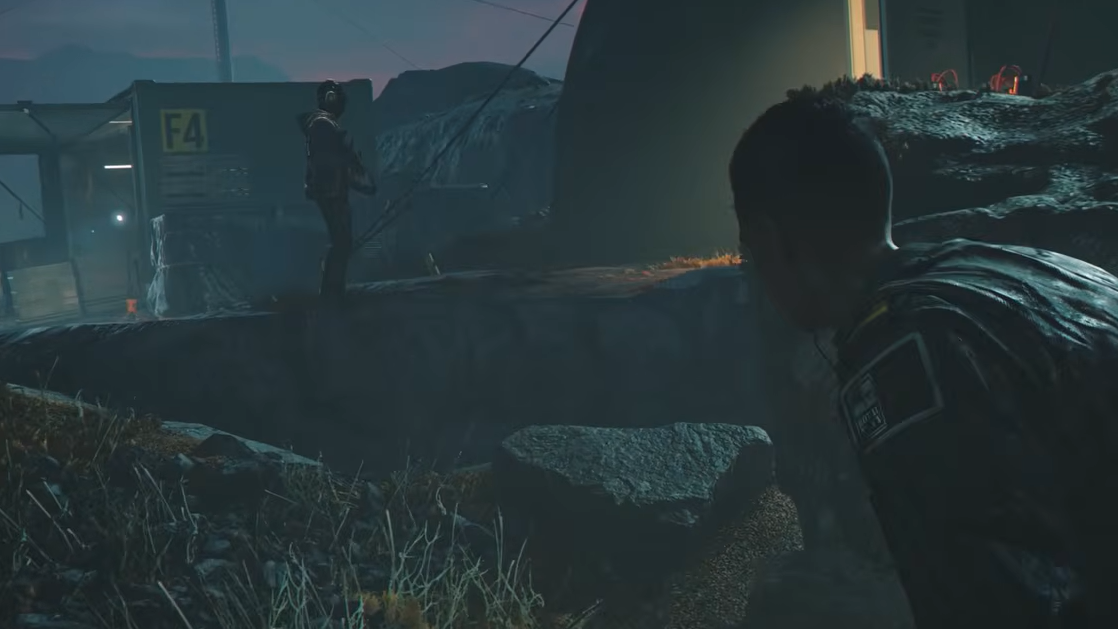
Skirt around the right side of the small pool of water and drop into the tall grass. When the radio chirps, mash the interact key to silence it before the nearby patrol turns around.
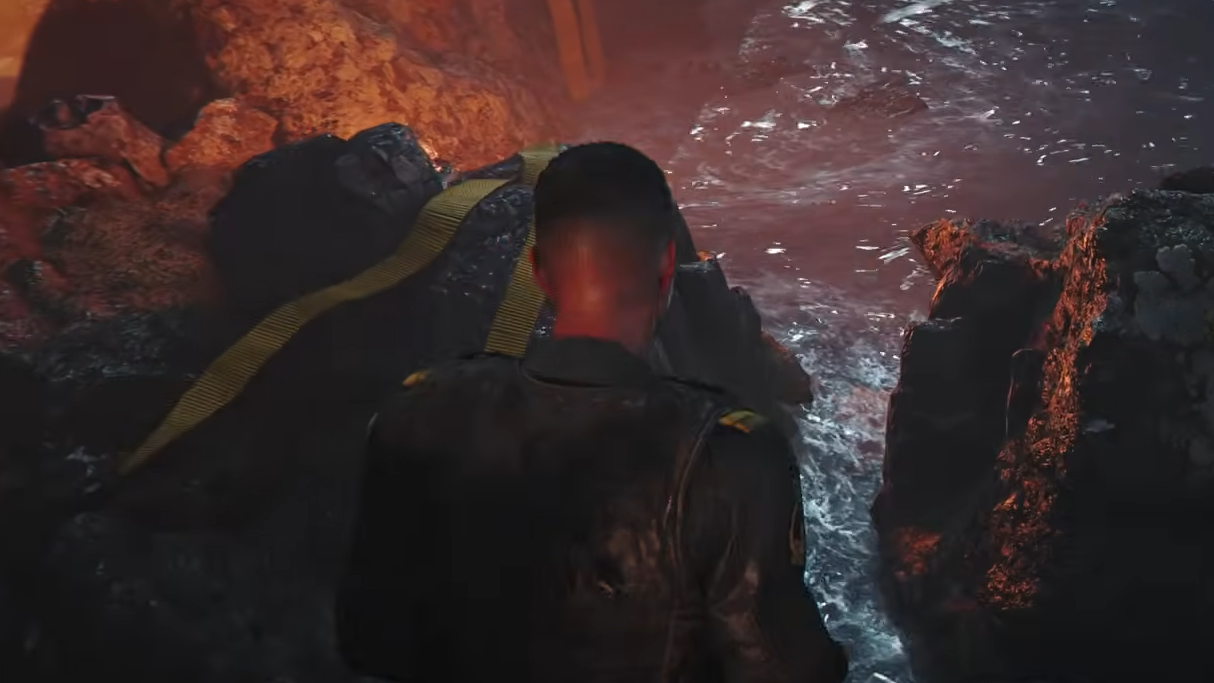
Continue right through the grass, then hold forward and jump to mantle up to a higher ledge. A cutscene plays where the MI6 handler establishes contact.
Continue right through the grass | Image credit: IO Interactive A/S (via YouTube/@FightinCowboy)
Locate and reach the camp
The next stretch is a climbing sequence that ends with your first view of the enemy compound. There is one correct route, so look for ledges, white chalk grips, and gaps you can sidle through.
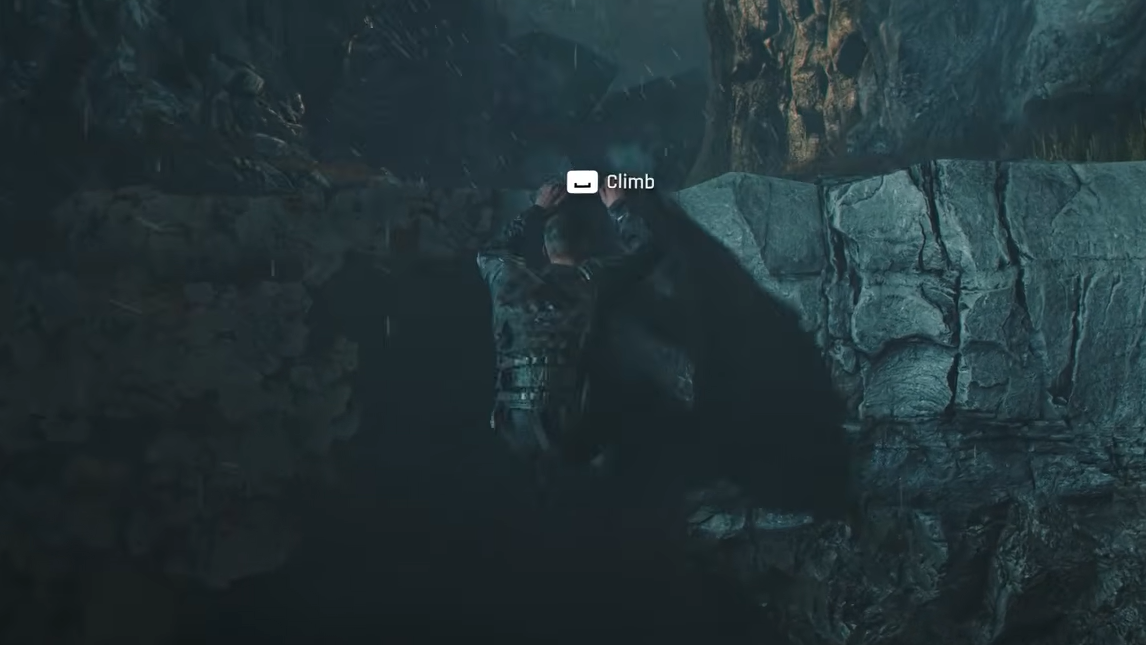
Sidle along the next ledge into an open area. Jump left onto the platform, head up and left into the cave, then jump the gap at the end and squeeze through the narrow opening to spot the camp below.
Follow the path right, climb up, and grab the ledge at the top to traverse left. Drop onto the lower ledge to trigger a cutscene of Bond sliding down to the camp perimeter.
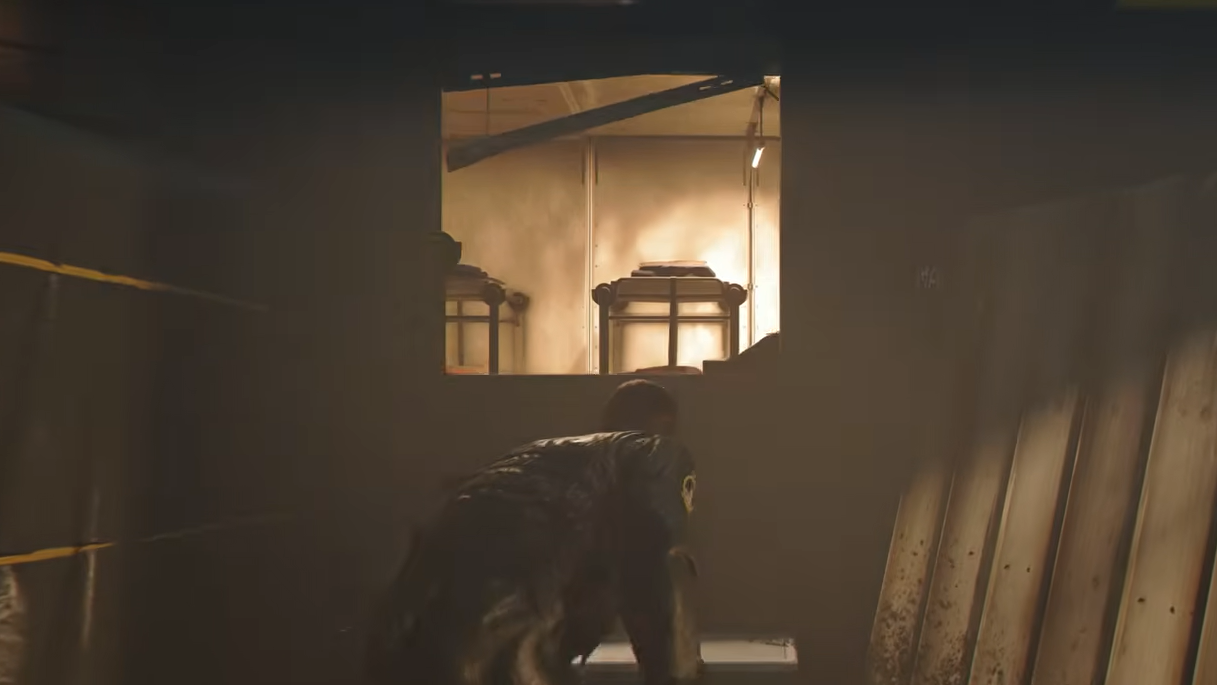
Use the rocks and tall grass to move right past the two guards inspecting an MI6 explosive. When they walk off, climb in through the window of Cabin A2.
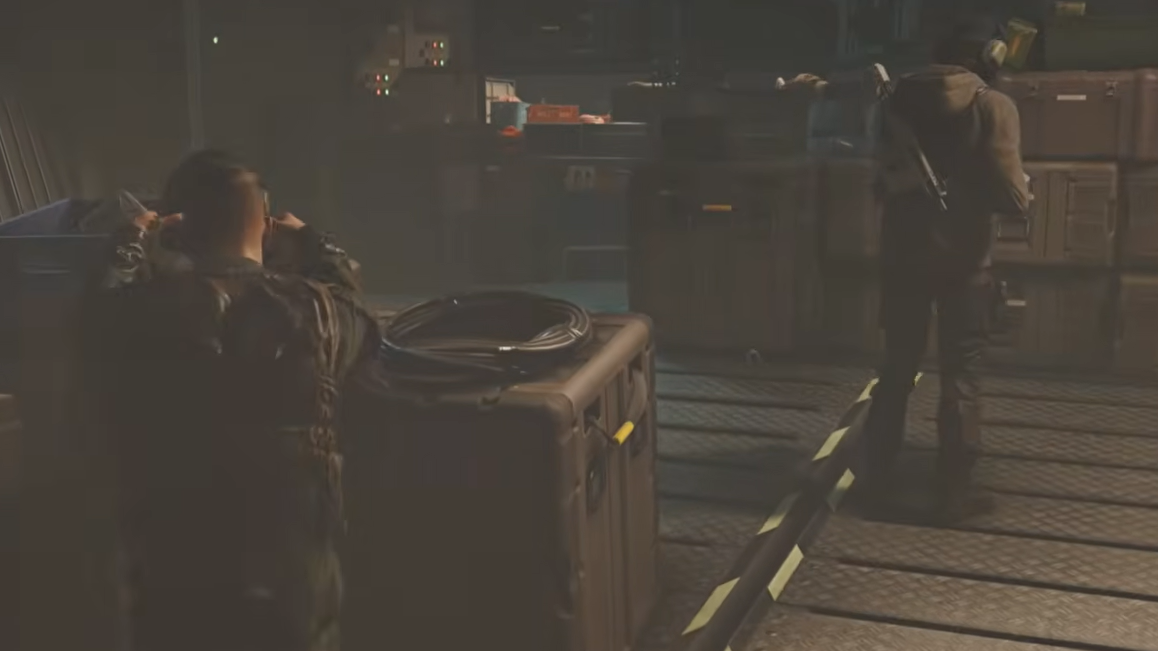
Climb in through the window of Cabin A2 | Image credit: IO Interactive A/S (via YouTube/@FightinCowboy)
Search Cabin A2 and Cabin A4
Two cabins back to back, each with a short list of objects to inspect before the next objective triggers.
Cabin
Items to inspect
Exit
A2
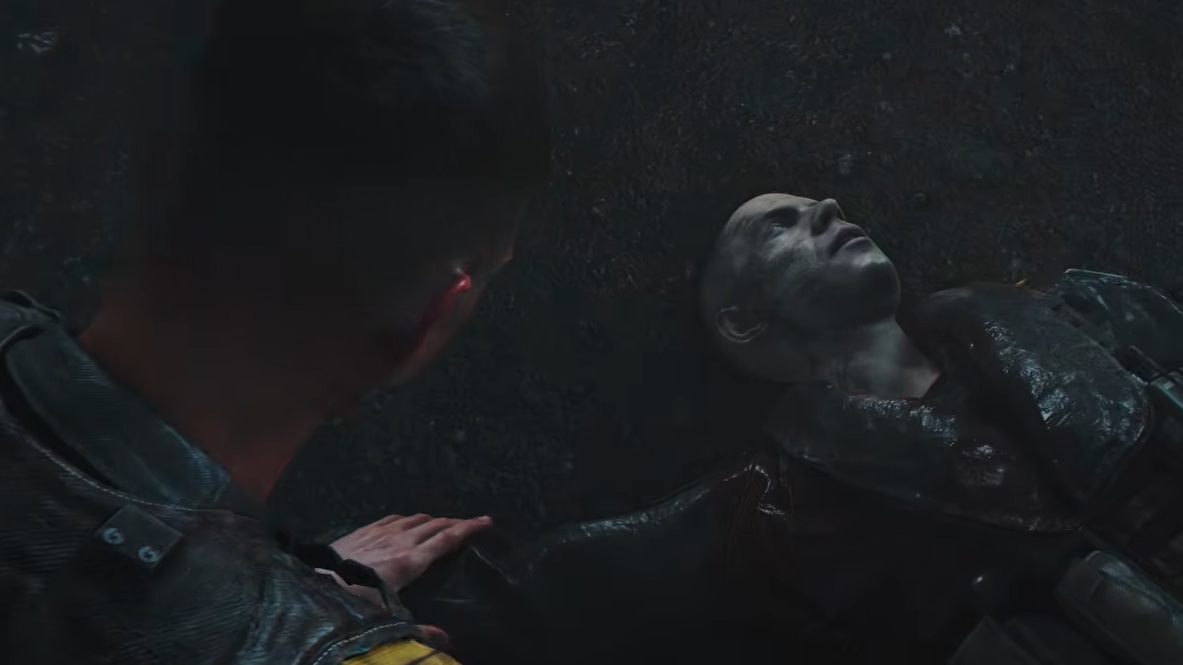
Open briefcase, dead body, SMG on the floor
Front door
A4
Lighter, radio, patch on the bag, torn page, rocket launcher on the table
Opposite door (toward the BT-65 truck)
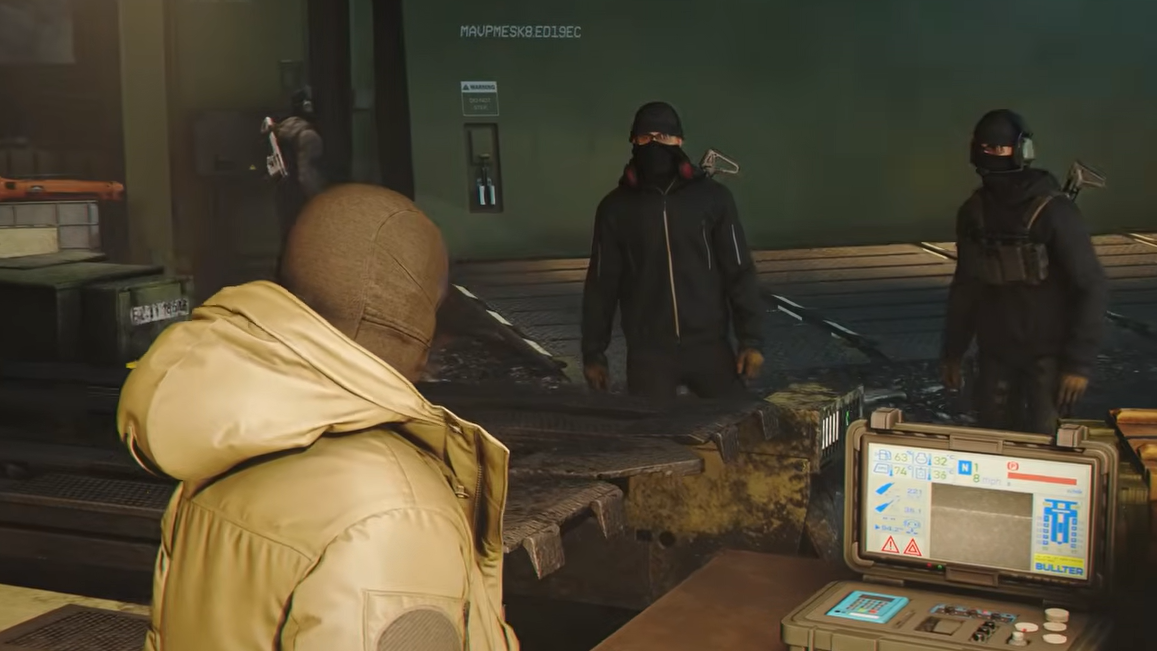
After leaving Cabin A4, interact with the computer terminal outside to reverse the BT-65 truck blocking the path. The 7 of Acorns playing-card collectible sits on a nearby shelf if you want to grab it on the way through. Continue to the objective marker and step into the large tent.
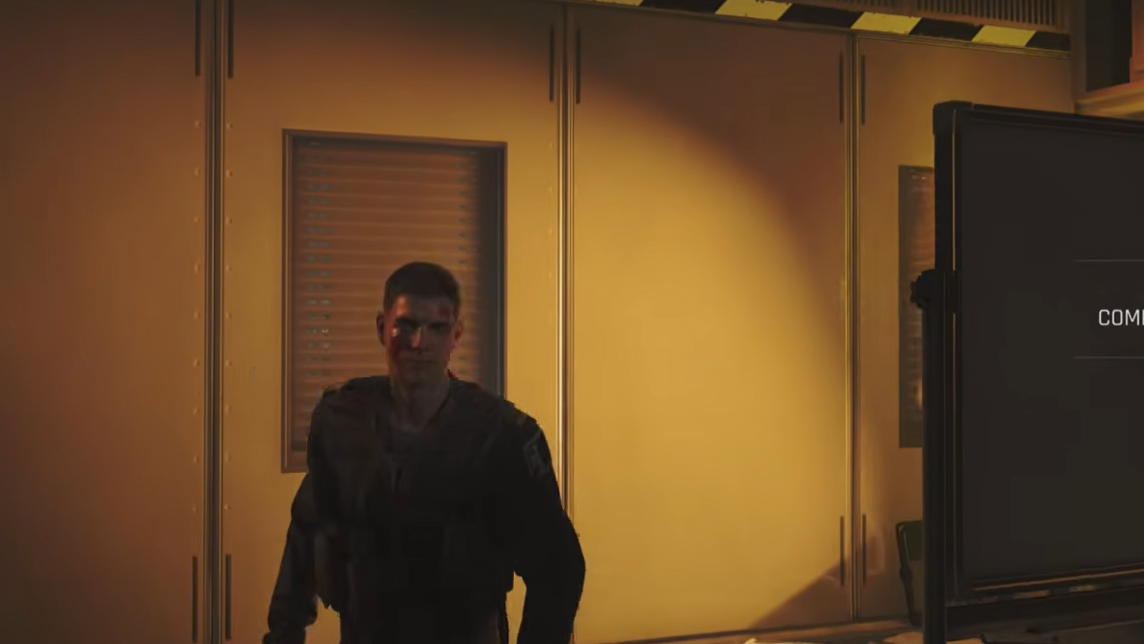
Interact with the computer terminal outside | Image credit: IO Interactive A/S (via YouTube/@FightinCowboy)
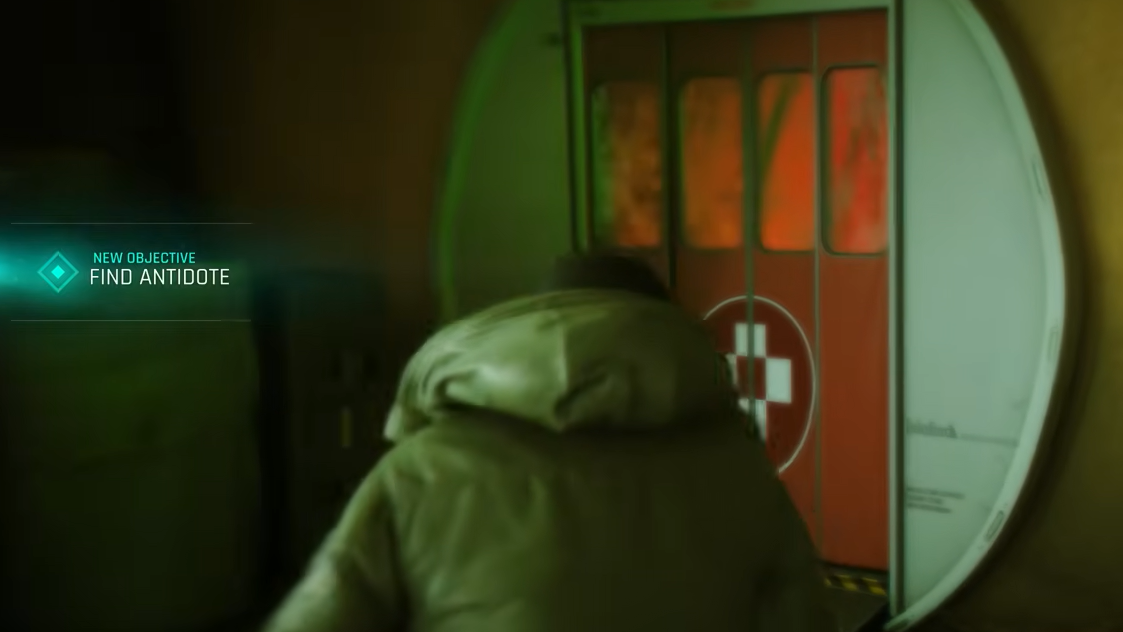
Inspect the crashed object and get the antidote
Inside the tent, Bond needs to examine a recovered object and then cure himself before chasing the next lead.
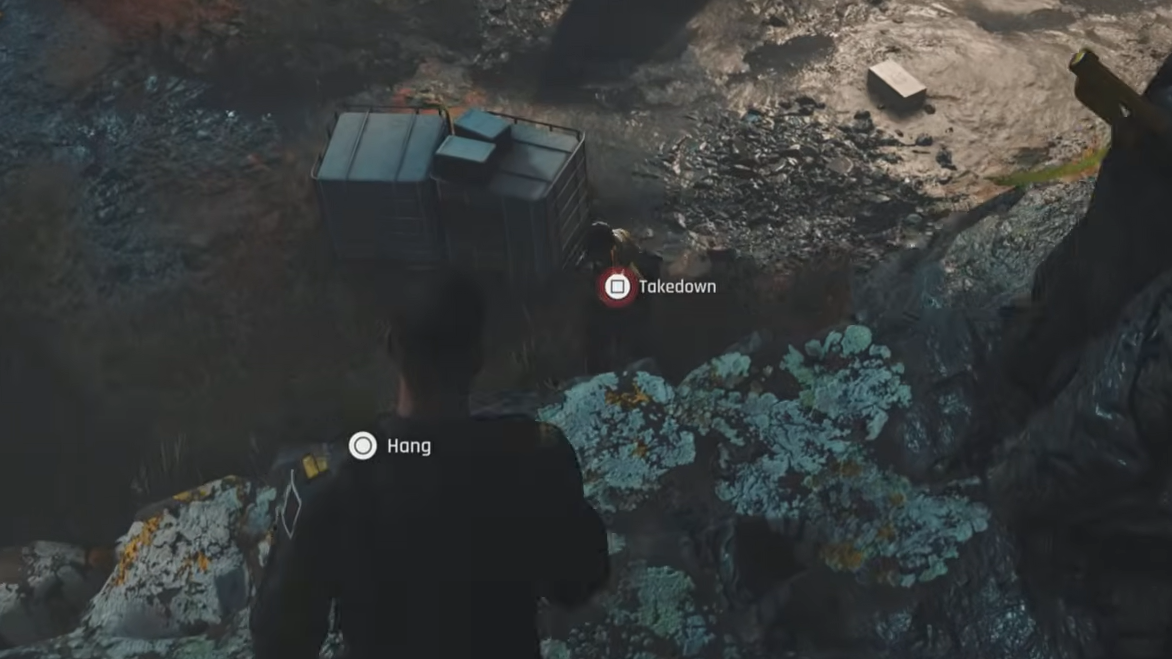
Move right out of the lower area, climb up, and enter Cabin B4 through the window. Take down the guard inside while crouched, free the captives, and grab the detonator off the table.
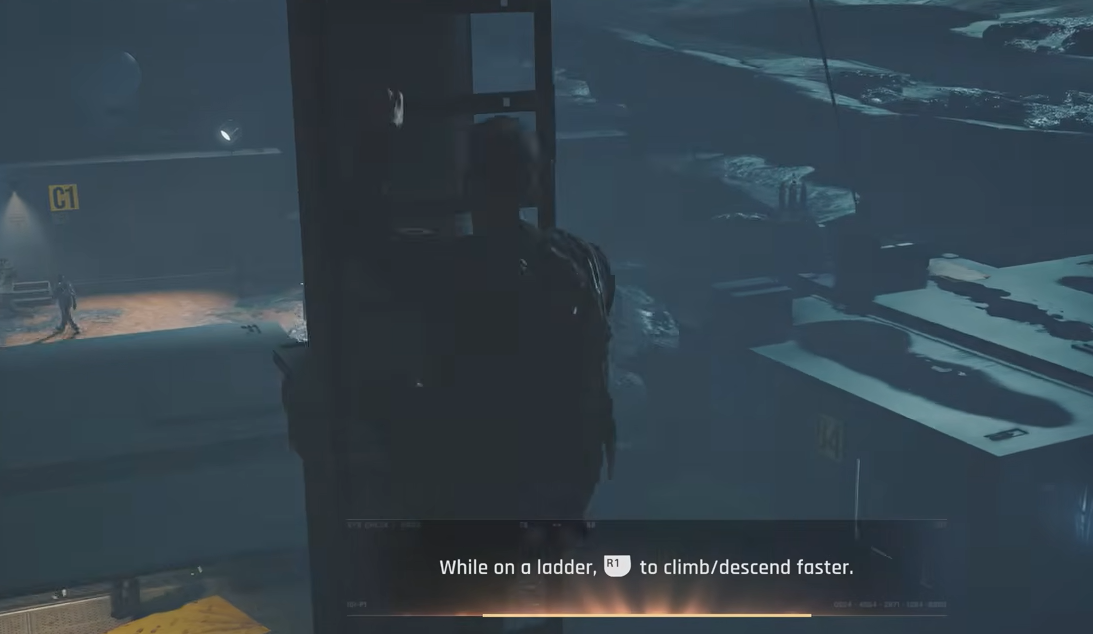
After the cutscene, climb the newly available ladder onto the rooftop and interact with the mast wire to sabotage the support cable.
⚠️
If the storage key prompt does not appear in G9 or B4, the guard inside was likely killed in a way that locked the body. Reload the last checkpoint and use a clean stealth takedown from behind.
Escape the camp
The final stretch is scripted action, mixing a chase, a melee QTE, and an ATV brawl. Stay ready for button prompts.
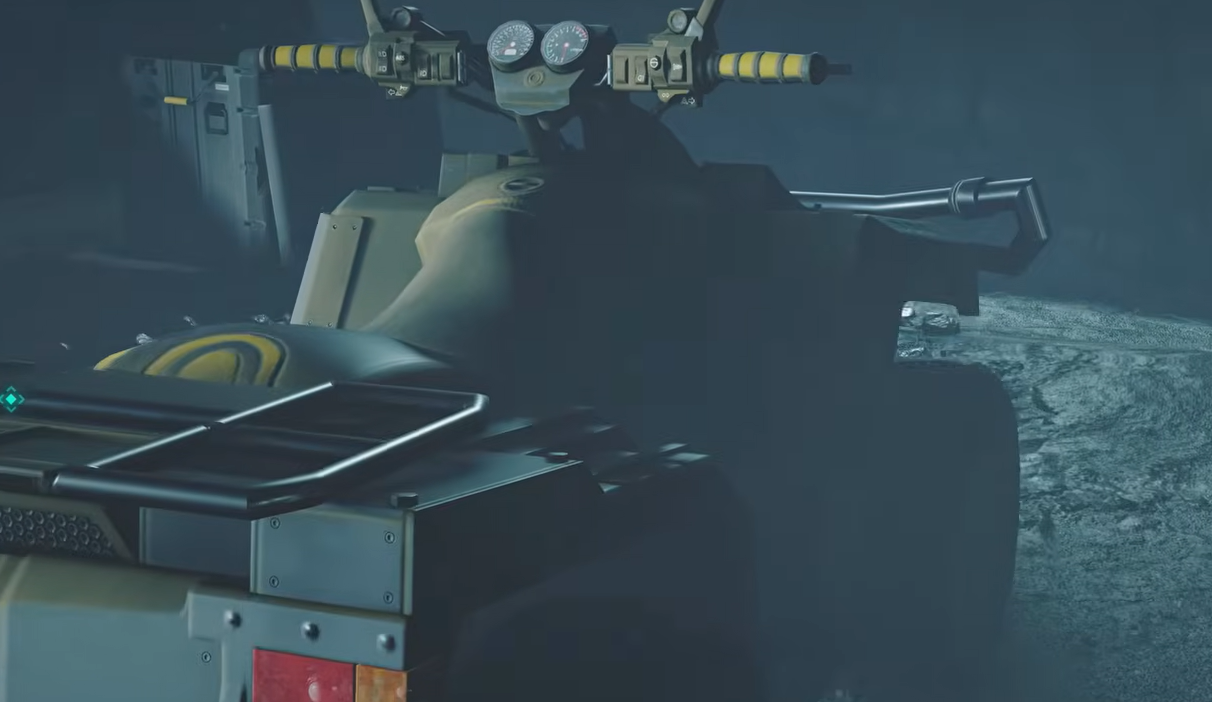
Sprint along the objective marker behind the allies. When an enemy comes at you on an ATV, hit the attack prompt the moment it appears to knock him off.
That wraps the prologue. The story moves straight into Chapter 2, In His Majesty’s Secret Service, where Bond reaches MI6 headquarters and meets M for the first time. If you are chasing the Iceland outfit, replay Against the Odds later to clear its eight challenges, including stealth-only and no-kill runs through the same route above.