007 First Light: How to Complete the No Help Needed Challenge
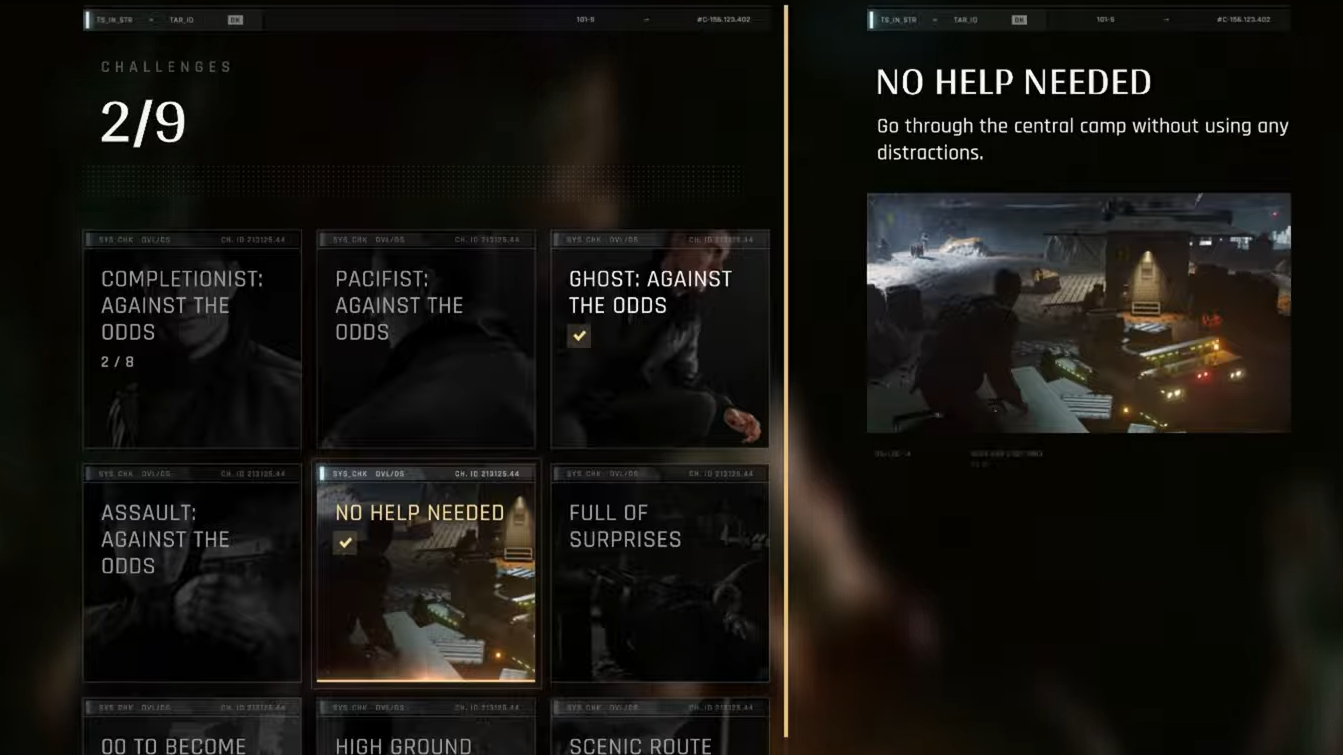
Clear the prologue's Central Camp without triggering a single distraction to bank the No Help Needed challenge.
Clear the prologue’s Central Camp without triggering a single distraction to bank the No Help Needed challenge.
by Pallav Pathak
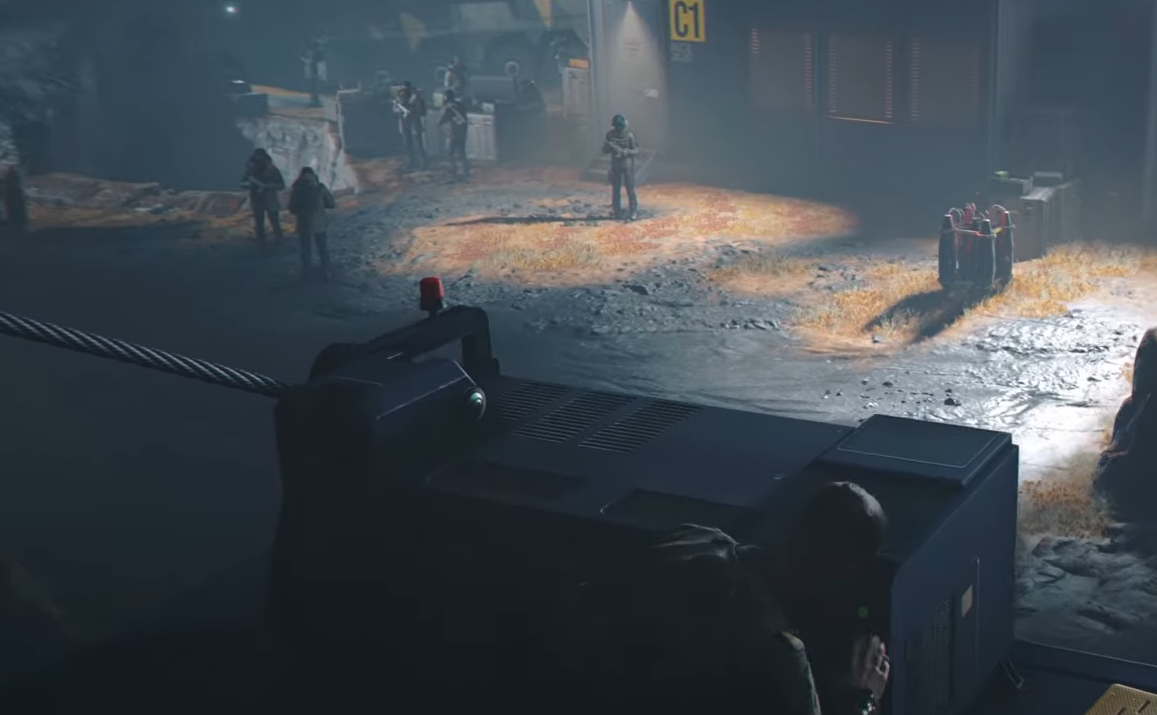
No Help Needed is one of the challenges tucked into Against the Odds, the Icelandic prologue of 007 First Light. It lives entirely in the Central Camp section, where Bond has to free two groups of captives held in buildings B4 and G9. The challenge has a single rule that trips most players up. You cannot trigger any of the camp’s distractions during the run.
✅
Quick answer: Finish the Central Camp section without interacting with the BT65 Control Station laptop and without sabotaging the ATV’s brakes. Either action counts as a distraction and voids the challenge.
Because the requirement is about what you avoid rather than what you do, No Help Needed stacks cleanly with two other challenges from the same mission. You can complete Pacifist and Ghost on the exact same run as long as you stay undetected and only take down the guards the route requires.
No Help Needed requirements and failure conditions
The challenge fails the moment you use one of the two environmental distractions in Central Camp. Both are easy to set off by accident if you are following a general walkthrough that uses them on purpose, so keep your hands off them.
Element
What it does
Effect on No Help Needed
BT65 Control Station (laptop)
Triggers a camp distraction
Fails the challenge if activated
ATV brakes
Triggers a second distraction
Fails the challenge if sabotaged
Guard takedowns on the route
Required to reach and free captives
Allowed
Note: the Central Camp section can be replayed on its own through Select Chapter from the main menu, so you do not need to restart the whole prologue if a run goes wrong.
The route to clear No Help Needed, Pacifist, and Ghost in one run
This path keeps you unseen, limits takedowns to the two guards you must remove to free captives, and never touches a distraction. Follow it in order.
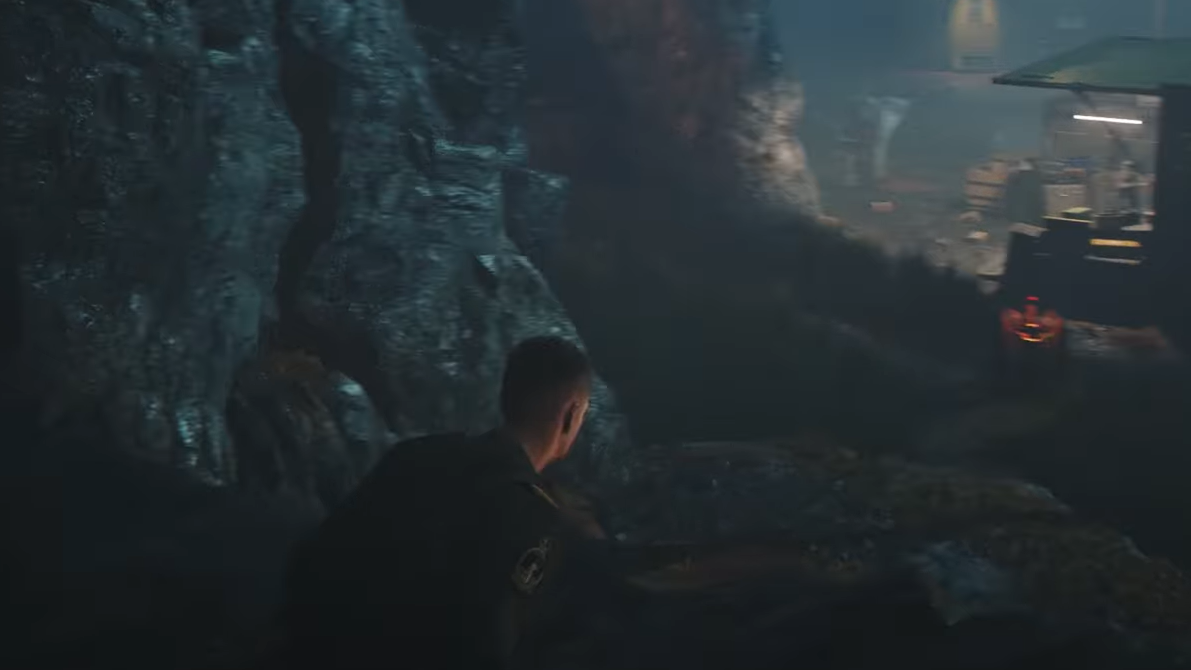
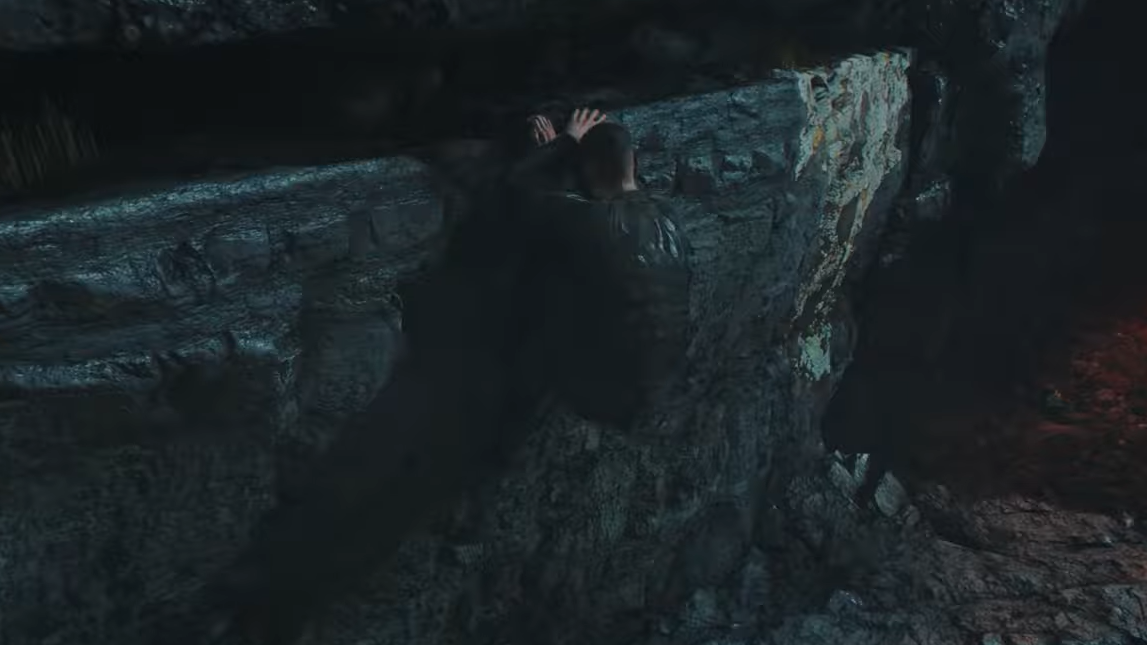
Do not activate the BT65 Control Station laptop on the crates near G9, and do not sabotage the ATV brakes along the rocky ledge. Both are presented as helpful distractions in standard walkthroughs, but using either one ends your No Help Needed attempt instantly.
How to confirm the challenge worked
No Help Needed registers when you complete the Central Camp section, having never set off a distraction. The challenge ticks over in the mission’s challenge tracker once the run ends. If it does not unlock, the cause is almost always the same. You touched the BT65 laptop or the ATV at some point, which the game logged as a distraction.
Clearing all of the unique Against the Odds challenges unlocks the Completionist: Against the Odds challenge and the Iceland outfit, so a clean No Help Needed run also moves you toward both of those rewards.