

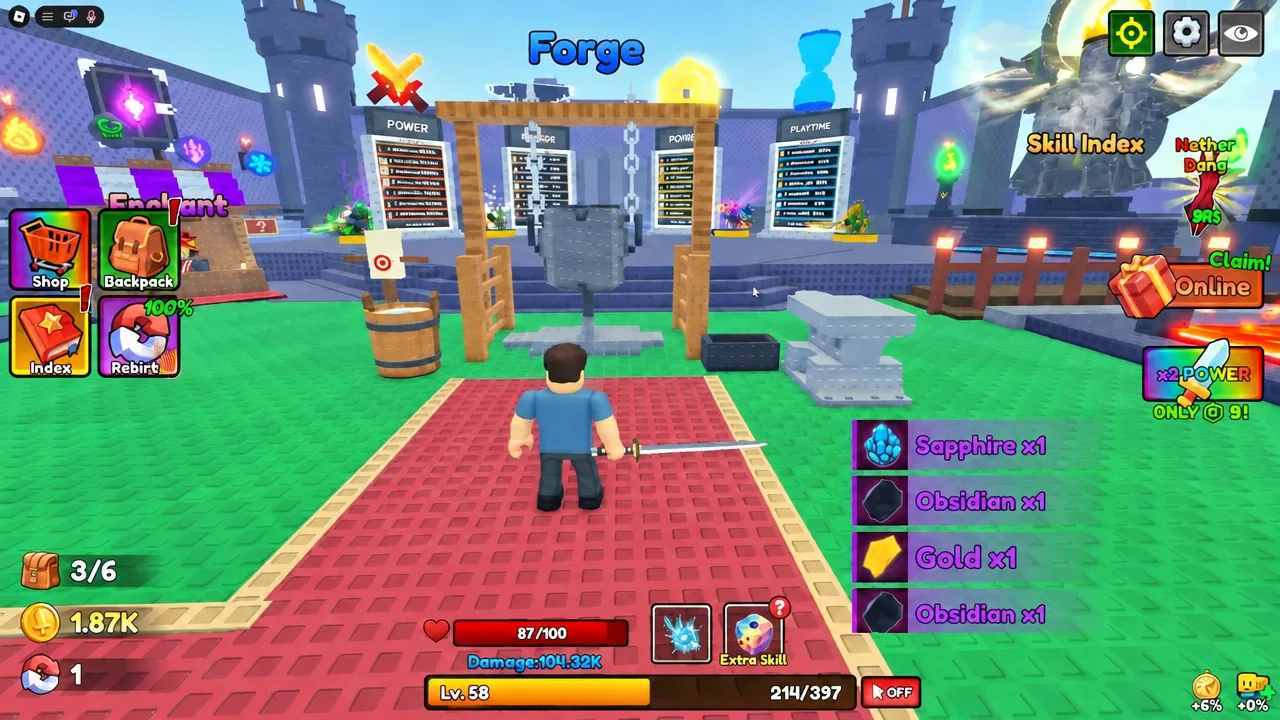
+1 Loot To Forge is a Roblox clicker-RPG built on one tight loop: click to raise your power, clear dungeon stages, haul ore back to the hub, and turn that ore into gear strong enough to reach the next stage. The trap most new players fall into is selling everything they pick up. Gold is easy to replace. Good ore is what actually moves you forward.
Quick answer: Clear the Dungeon portal through Stage 7, keep the rarest ores you pick up, and feed them into the Forge cauldron in the hub instead of selling them at the Sell stall.
The core loop in +1 Loot To Forge
Everything in the game runs through four places, and you will cycle between them for the entire session.
- Train area — click to build Power, with multiplier zones that raise how much each click is worth.
- Dungeon portal — stage-by-stage combat where enemies drop ore.
- Sell stall — converts ore into gold.
- Forge — turns ore into weapons instead of currency.
Your gold pays for upgrades and enchants. Your ore pays for weapons. Splitting your haul between the two is the whole game, and the split should lean toward the Forge once you have a stack of anything rarer than the basics.
Dungeon stages and what drops where
The Dungeon portal sits in the lobby and drops you into a numbered run. Early stages throw goblins at you; the desert stages in the middle are where the loot gets worth carrying home.
| Stage | Enemies | Ore seen here |
|---|---|---|
| 2–4 | Goblins, Armored Goblins | Starter clears, low value |
| 5–6 | Desert Zombies | Amethyst, Nova Ore, Sunfire Ore |
| 7 | Jackal Zombies | Emerald, Mystic Crystal, Gold, Sapphire, Obsidian, Fire Crystal |
| 8 | Pharaoh Zombies, Desert Reaper | Gated behind a 500M HP boss |
Combat is simple slashes plus your ability keys, and the goblins on Stage 2 exist mostly to warm you up. Do not linger there — the first meaningful drops start once the desert stages open.
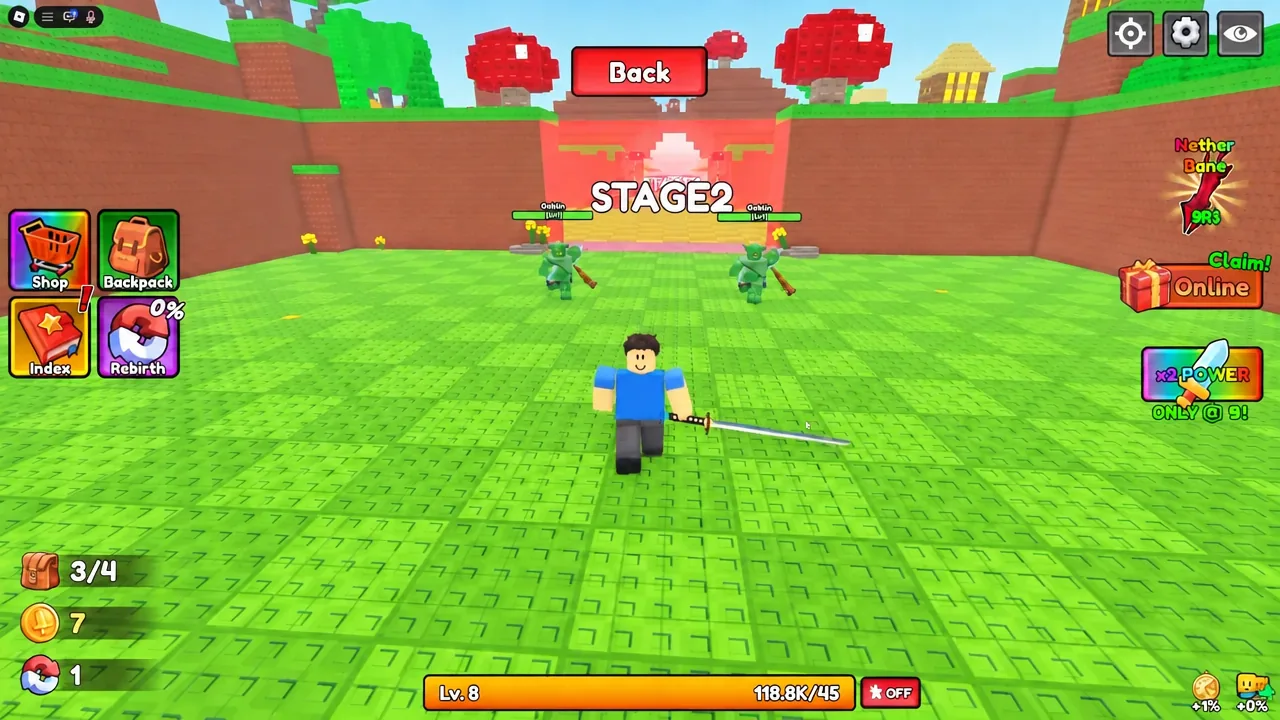
Jackal Zombies on Stage 7 are the most efficient farm target in the early game because they cover most of the ore types a decent weapon recipe needs.
Raise Max Ore Count before anything else
The Upgrade station in the lobby holds the single most important early purchase: Max Ore Count. It sets how much ore you can carry out of a run, and at Lv.1 you will hit the ceiling long before you finish Stage 7. Pushing it to Lv.3 roughly triples the value of every trip without changing anything about how you fight.
Fund it with the junk ore you do not need for a recipe. A single run’s worth of Sunfire Ore, Mystic Crystal, and Emerald sold at the Sell stall covers the first few levels, and a later haul of Sapphire, Gold, and Obsidian can clear 2,000 coins on its own.
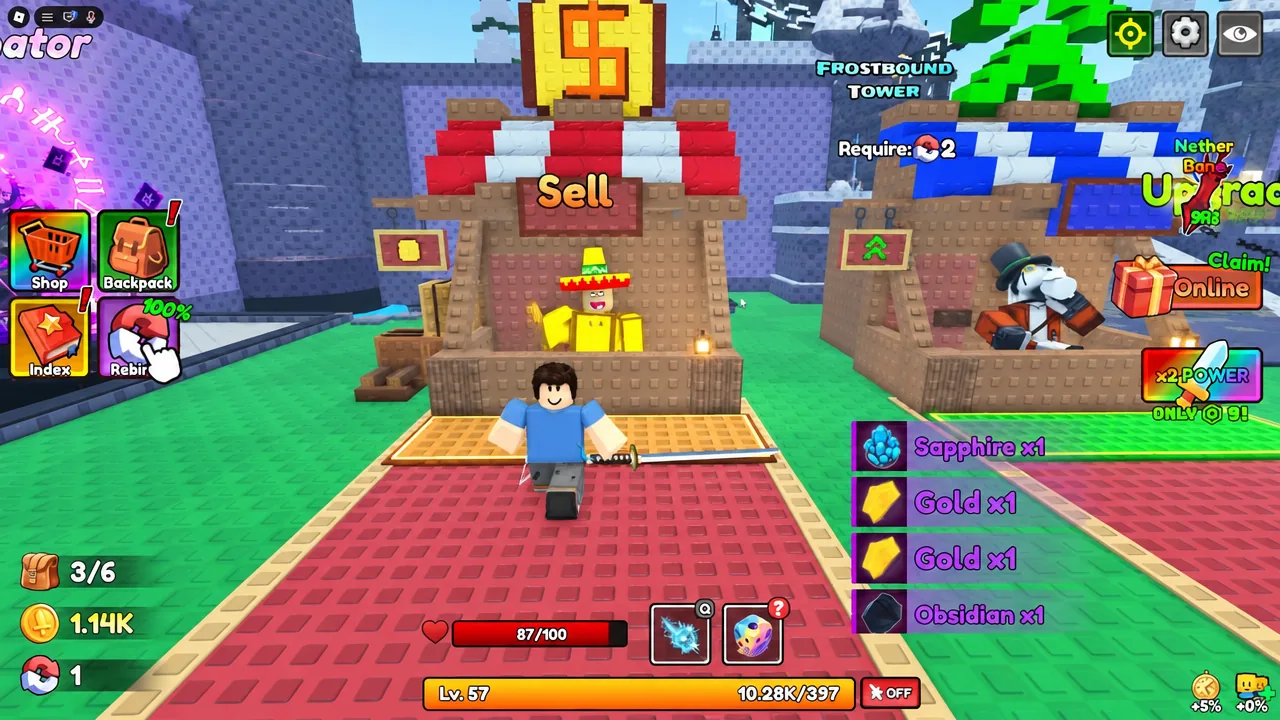
Check the Forge before you sell. Gold, Obsidian, Sapphire, and Fire Crystal are all recipe ingredients, so dumping a full stack of them at the stall costs you a weapon.
How to forge a weapon at the cauldron
The Forge sits in the main hub next to the other stalls. You drop ore into the cauldron, and the combination decides what comes out and how rare it is. A mix of Gold, Obsidian, Sapphire, and Fire Crystal produces the Epic Phantom Violet Katana, which is a large damage jump over anything you start with.
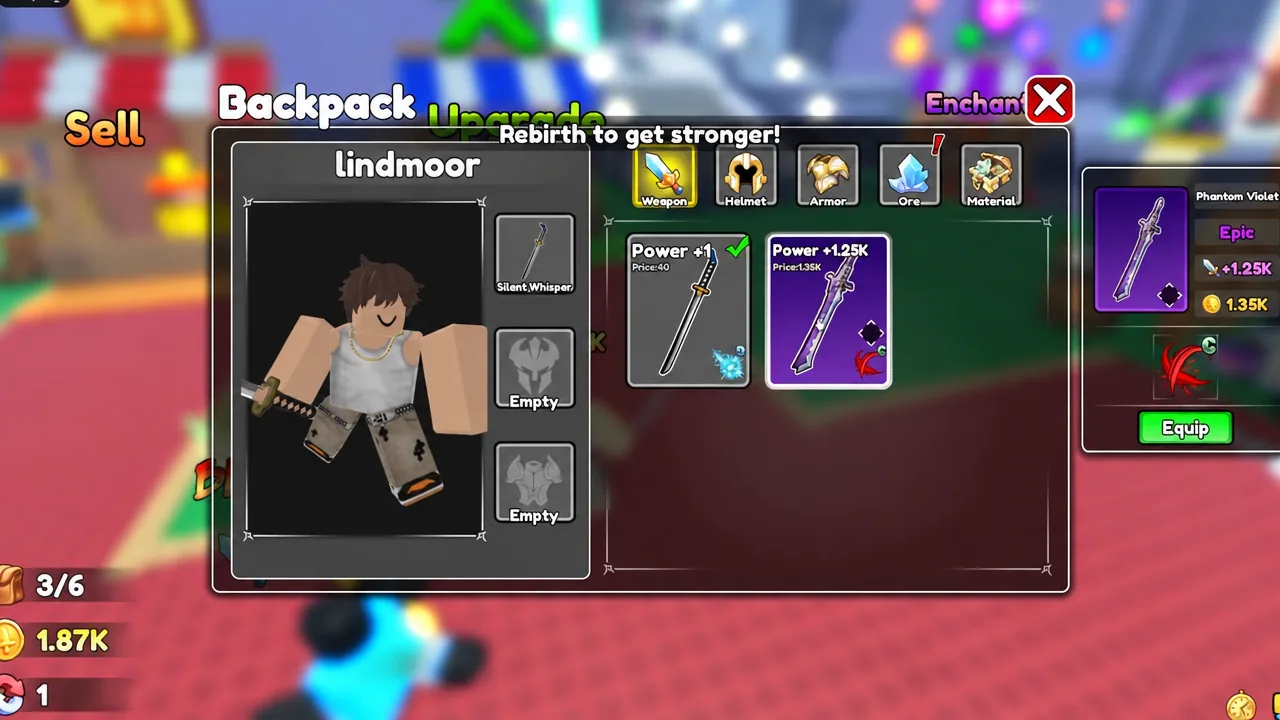
A freshly forged katana carries you through the goblin and zombie waves at a much faster clip, which in turn means more ore per minute for the next craft. That is the compounding part of the loop.
Enchanting gear for extra stats
The Enchant station handles three separate slots: weapons, helmets, and armors. It is a gold sink rather than an ore sink, which makes it the right home for the coins you earn selling surplus ore. Enchant the weapon first, since damage is what gates your stage progress, then move to armor once you are dying on entry to a new stage instead of running out of damage.
Training multipliers and Power
The Train area is where Power is generated, and it is split into zones with different multipliers. Standing in a higher zone means every click counts for more, so there is no reason to grind in a low zone once you can survive a better one.
| Zone | Power multiplier |
|---|---|
| First tier | x2 |
| Second tier | x8 |
| Third tier | x15 |
| Fourth tier | x100 |
Power feeds your damage, so a stalled dungeon run is usually a training problem, not a gear problem. If your forged weapon suddenly feels weak, go back and train in the highest multiplier zone you can reach before blaming the recipe.
When to use Rebirth
Rebirth wipes your accumulated Power and hands back a permanent multiplier in exchange. It is the standard reset mechanic, and the correct time to use it is when your training gains have flattened out and a new stage still kills you. Resetting early feels bad; resetting late wastes hours of clicking that a multiplier would have covered in minutes.
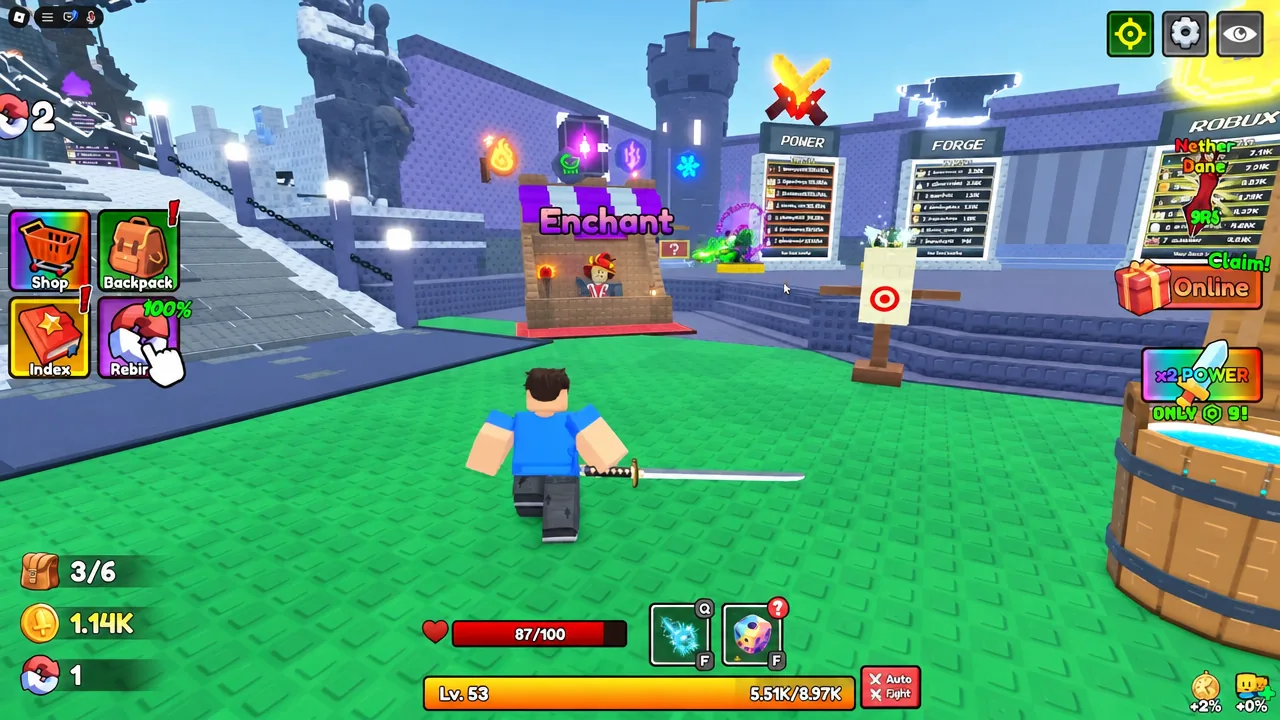
Forged weapons and equipment stay in your Backpack, so dump any leftover ore into the Forge before you commit to the reset.
Stage 8 and the Desert Reaper
Stage 8 is the first real wall. Pharaoh Zombies hit considerably harder than the Jackal Zombies before them, and the stage is anchored by the Desert Reaper, a boss with 500 million HP. Walking in with a single Epic weapon and a handful of training levels ends with a fast trip back to the lobby.
Treat it as a benchmark rather than a destination. Farm Stage 7 until your carry capacity is maxed, forge and enchant repeatedly off that ore, push the highest training multiplier you can hold, and bank a rebirth or two before you try the Reaper seriously. The loop is short enough that each cycle visibly moves the boss health bar further than the last.





