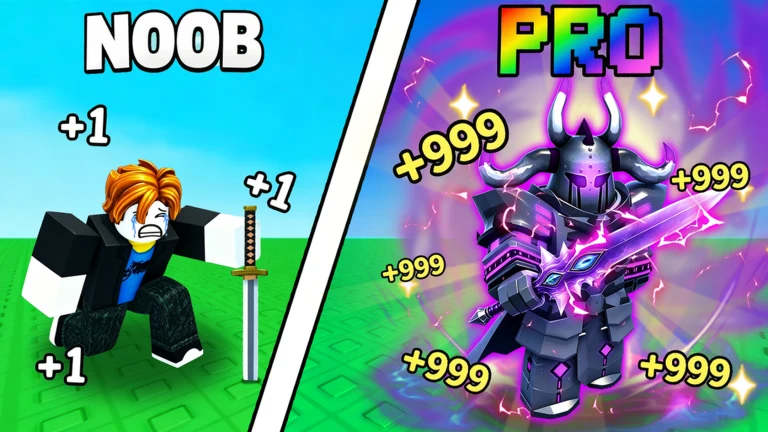
The strongest armor set you can build in +1 Loot To Forge pairs the Eternal Helmet in the head slot with Warlord’s Golden Armor in the chest slot. Both come from the Light armor path in the Forge, both need Apex materials to craft, and both scale further through the Enhance system once they are on your character.
Quick answer: Farm four Apex materials, open the Forge, pick the Light Helmet and Light Armor recipes (never Heavy), and craft. Then enhance each piece with Ember Stones toward +7 to +10, using Protection Scrolls past +6.
The best armor set and its recipes
Two pieces carry the set. Both sit in the Forge’s armor section, and both must be crafted through the Light recipe for that slot. Picking Heavy instead produces a different, weaker piece and burns your Apex materials for nothing.
| Slot | Piece | Recipe | Craft cost |
|---|---|---|---|
| Head | Eternal Helmet | Light Helmet | 4 Apex |
| Chest | Warlord’s Golden Armor | Light Armor | 4 Apex |
A clean helmet craft can land as high as 85% Eternal Helmet Power, which makes it the top head option available. The chest piece follows the same pattern through the Light Armor recipe.
How to farm Apex materials
Apex is the ore both pieces depend on, so stock it before you touch the Forge. You do not need boss kills for it. Regular enemies in the later stages drop Apex once you have progressed far enough to reach them.
The requirement is reaching the point where Apex starts dropping consistently and being strong enough to clear those enemies quickly. When you can delete mobs in that zone, park there and collect several Apex per pass instead of wasting time on slow fights.

Earlier stages feed you the low-tier ores like Sunfire Ore, Nova Ore and Amethyst, which matter for selling and lower crafts but not for this set. Push deeper until Apex shows up in the drop pool.

Crafting the set in the Forge
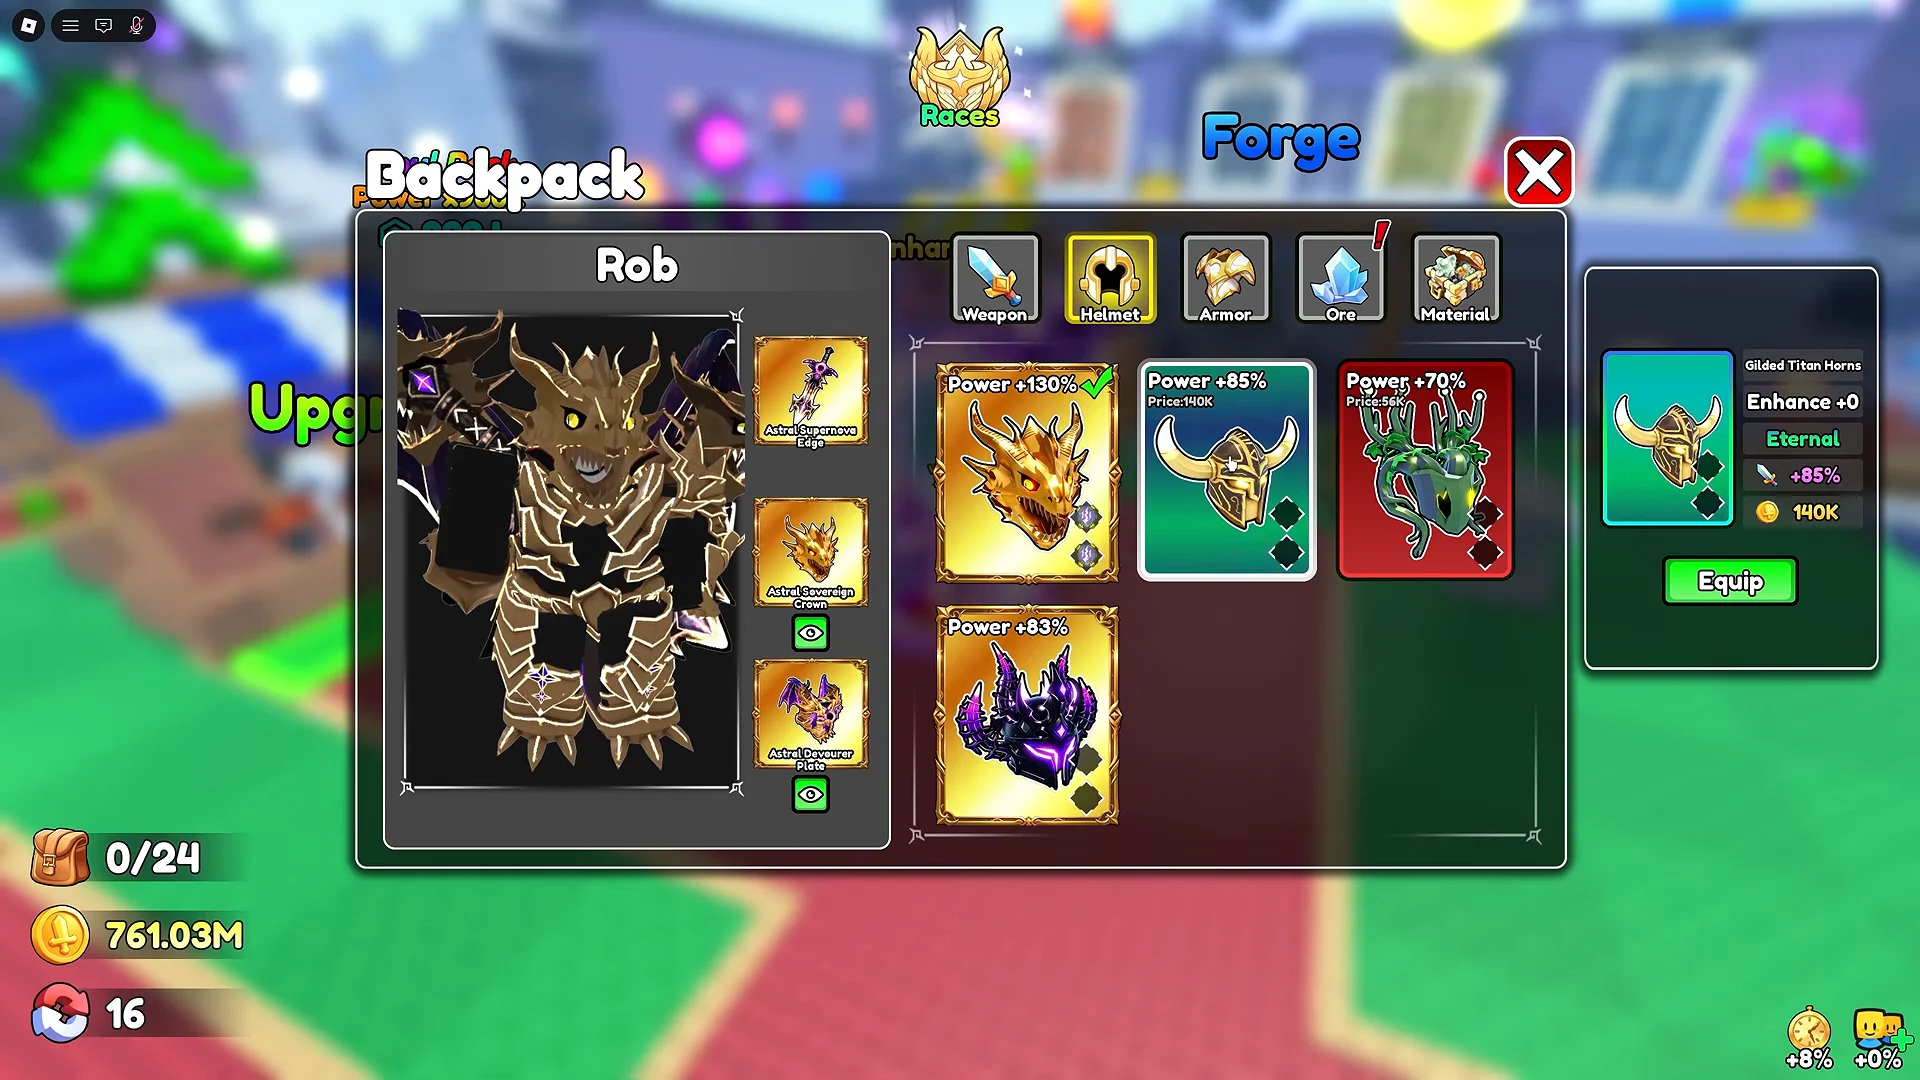
Check the armor preview before you confirm. The chest slot is where it is easiest to leave Heavy Armor selected by accident, and a wrong pick can eat more than a dozen Apex in a single bad craft.
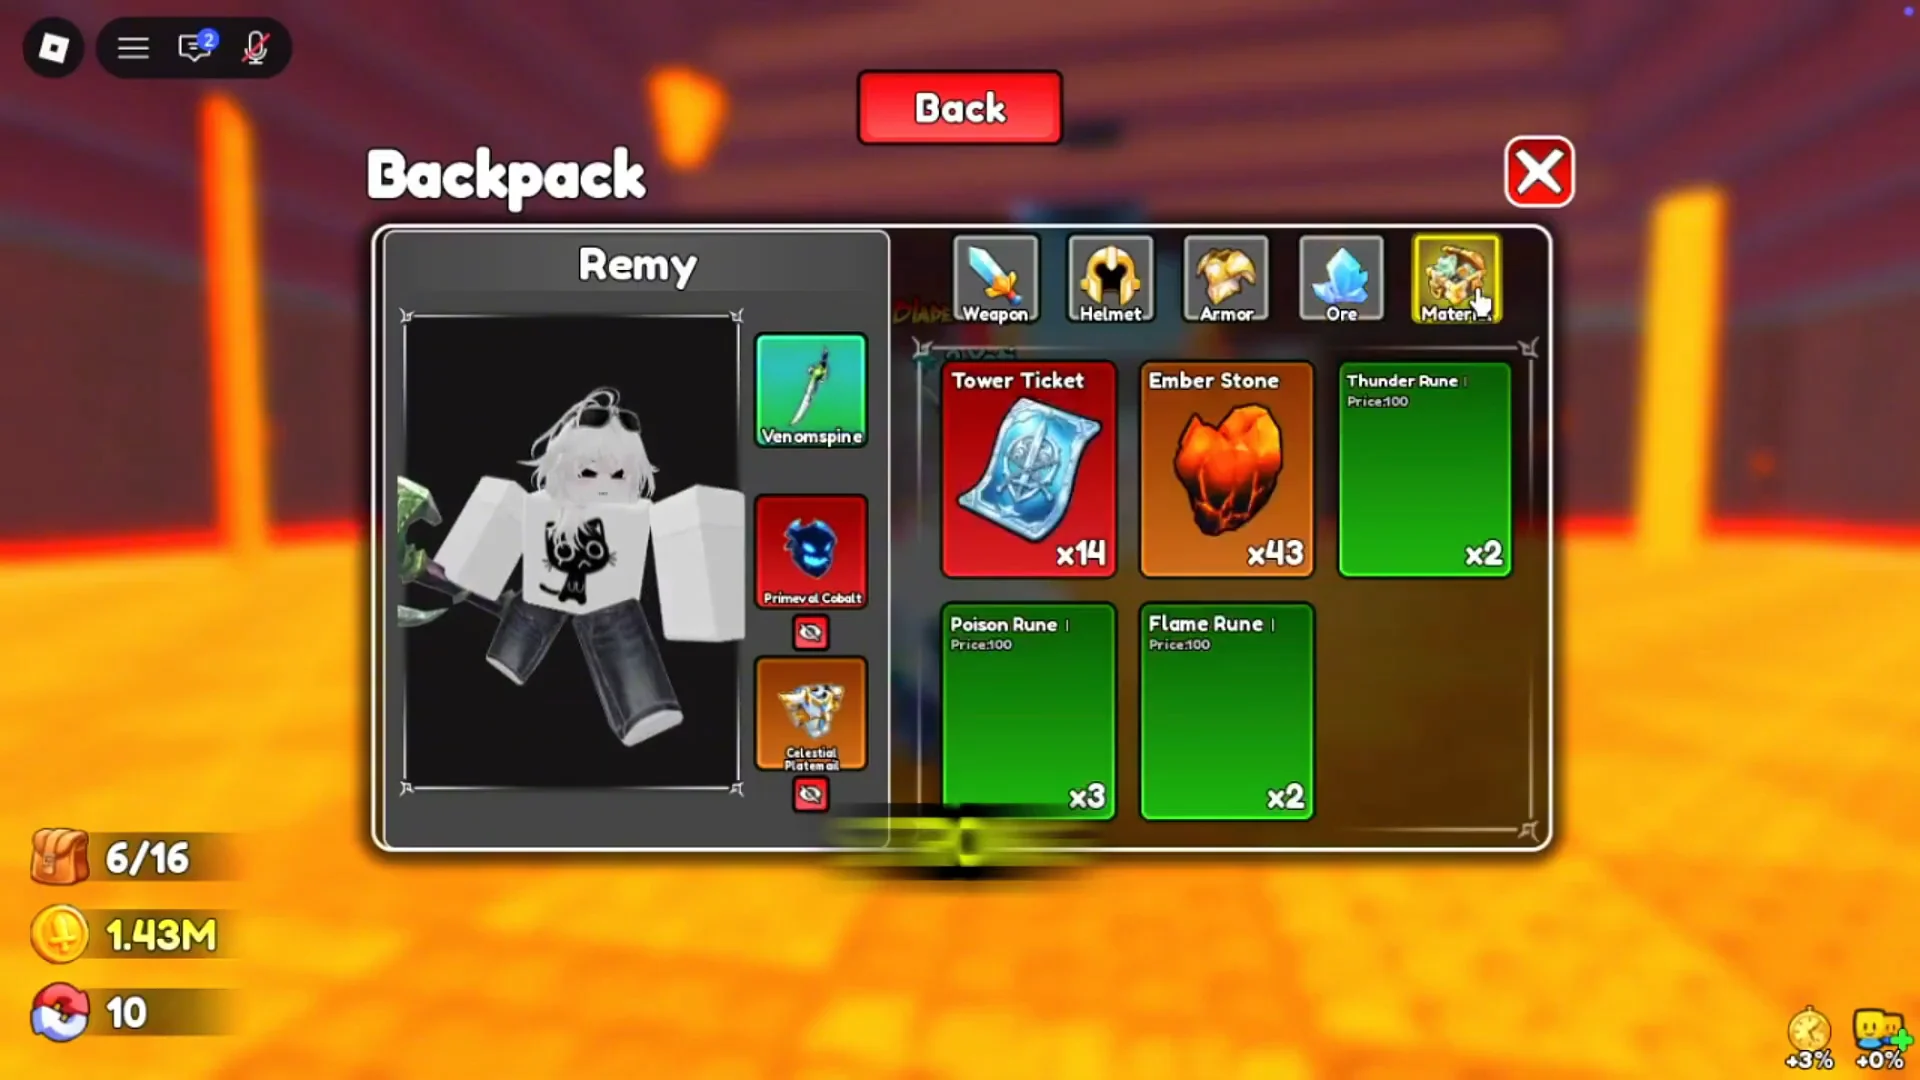
You know it worked when the crafted piece appears in your Backpack under its slot and you can equip it. Put on both pieces and your overhead power and armor stats update immediately.
Enhancing armor with Ember Stones
Crafting is only the start of the power curve. The Enhance system raises the level and stats of your helmet, chest and sword, and it runs on Ember Stones plus coins. Each successful attempt bumps the item’s enhancement level.
Success becomes less likely as the level rises, and an upgrade attempt may fail. At enhancement level +6 and above, failure may reduce the item’s level, making every attempt beyond that point risky.
Protection Scrolls
A Protection Scroll keeps a failed enhancement from reducing the item’s level. Use them to take valuable gear past +6 toward +10 without losing ground on a bad roll. Save them for your best helmet, chest and weapon, not low-level upgrades where failure has no cost.
Where to farm Ember Stones
Ember Stones drop from normal stage enemies, so you collect them naturally while farming. But clearing rounds in the Frostbound Tower is far faster once you can survive it, which makes the Tower the better choice when you need a large stack for enhancing.
| Method | Approximate yield | Best for |
|---|---|---|
| Frostbound Tower round | ~40 to 162+ per run | Fast bulk farming |
| Overnight AFK stage | ~2,400 per session | Passive collection |
AFK farming works if your character one-shots everything on an easy stage with few spawns. Leave it running and the stones pile up while you are away. The catch is scale: an overnight run of roughly 2,400 stones sounds large, but high-level enhancements burn through that quickly, so the Tower stays the stronger option for serious upgrading.
How high to enhance, and the quests to claim
There is no need to max a single item right away. The system gets steadily more expensive and failures grow frustrating at the top. Reaching +7, +8, or +10 on your best gear already delivers a large stat jump, and stopping there leaves materials for your other slots.
While you grind, check the Enhancement Quests. They hand out extra materials for hitting a set number of enhancements, and there are quests tied to forging armor and weapons too. Running them alongside your normal upgrading returns resources like Ember Stones and Prismatic Stones, which cuts down the grind.
Enhance your sword in the same pass as your armor. Higher weapon power keeps your one-shot clear speed in farming zones, which in turn makes gathering more Apex and Ember Stones much quicker.
A workable order is to craft both armor pieces first, farm Ember Stones through the Frostbound Tower, then spend them on enhancements while saving Protection Scrolls for anything past +6. Do that and the Eternal Helmet and Warlord’s Golden Armor become the backbone of a set you can keep scaling long after the first craft.