+1 Money Roll To Get Rich is an incremental simulator from Laser Miners Inc. where you collect cash on foot, then roll down a long obstacle track to bank Wins. Everything else in the game — gear, pets, auras, rebirths — exists to push your roll a few stages further before you run out of momentum.
Quick answer: Reach Stage 10 on the World 1 track and take the teleport at the end of it to unlock World 2. To roll that far, buy each gear tier as soon as you can afford it, equip your highest-rarity pets and an aura, and rebirth every time you hit a level wall to bank a permanent cash multiplier.
The cash, level, and Wins loop
The loop has three steps and never changes. You walk around the spawn area picking up green cash stacks, which fills your level bar. Levels give you the power to roll further. Then you roll down the track, and the furthest stage you survive pays out Wins at the Claim Wins Here pad.
Cash and Wins are separate currencies with separate jobs. Cash buys gear upgrades and auras. Wins buy eggs, including the Rare Egg. Neither one converts into the other, so a run that ignores rolling will stall out at the egg shop, and a run that ignores cash collection will stall out at the gear shop.
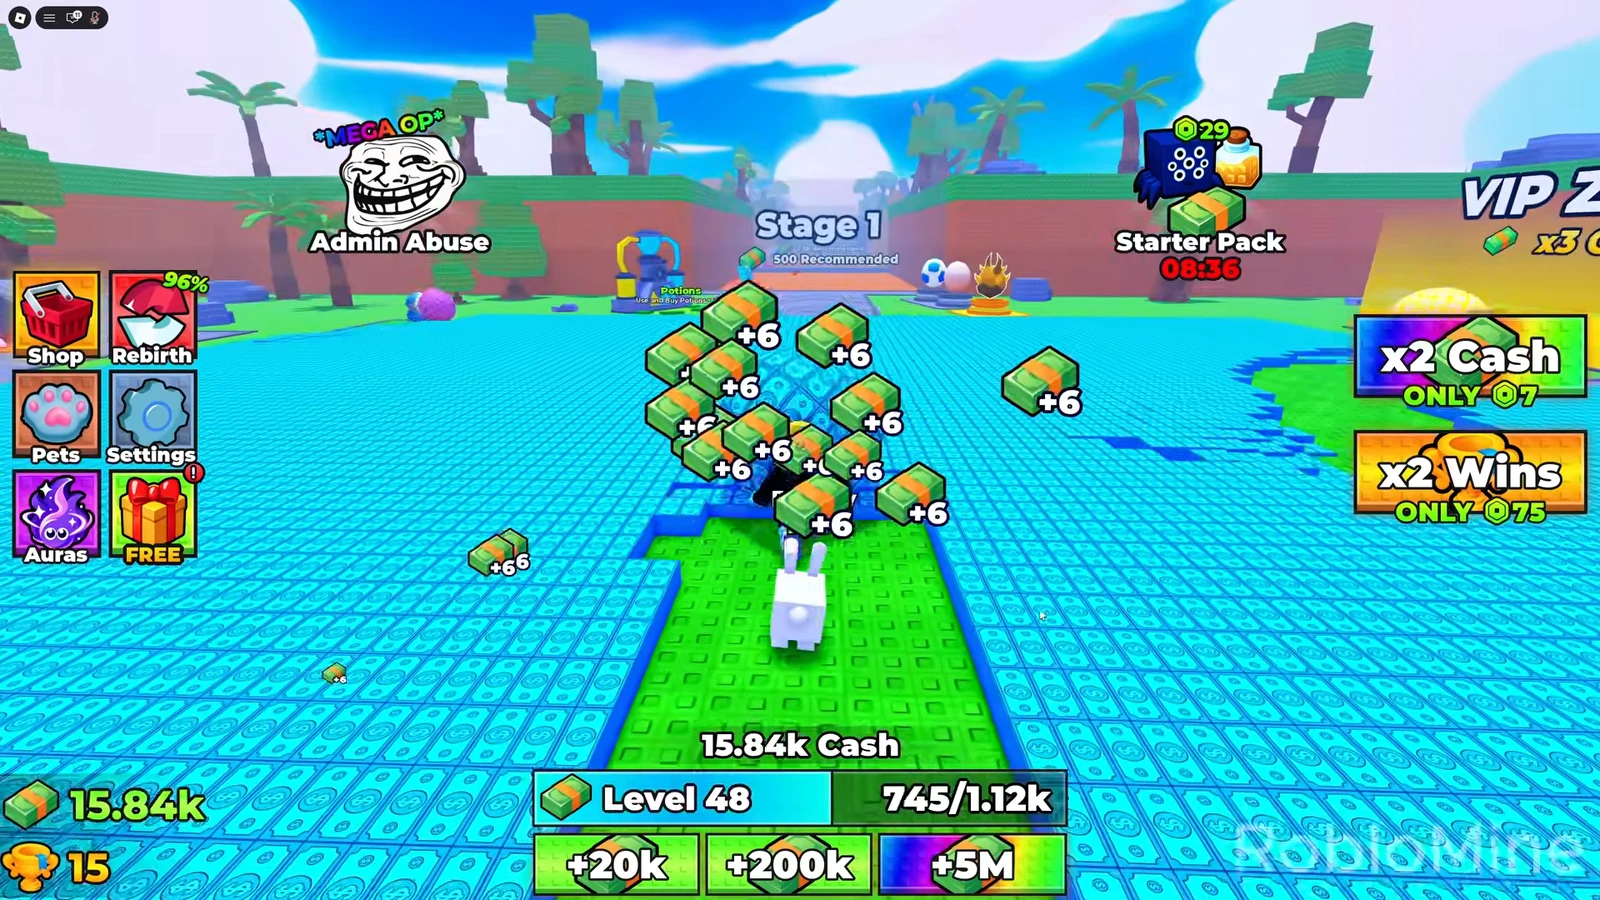
The four opening objectives — collect cash, get your first Wins, upgrade your gear, open your first egg — walk you through all of it. A “Tutorial Completed!” banner confirms you finished the sequence, and there is a 25K cash Group Reward you can claim once for an early boost.
Gear upgrades: raising cash per pickup
Gear is the single biggest lever on your income. Each tier raises how much cash a single stack is worth, so buying the next tier immediately shortens every level grind after it. The first upgrade, +2 Cash, costs 100 cash and is part of the tutorial.
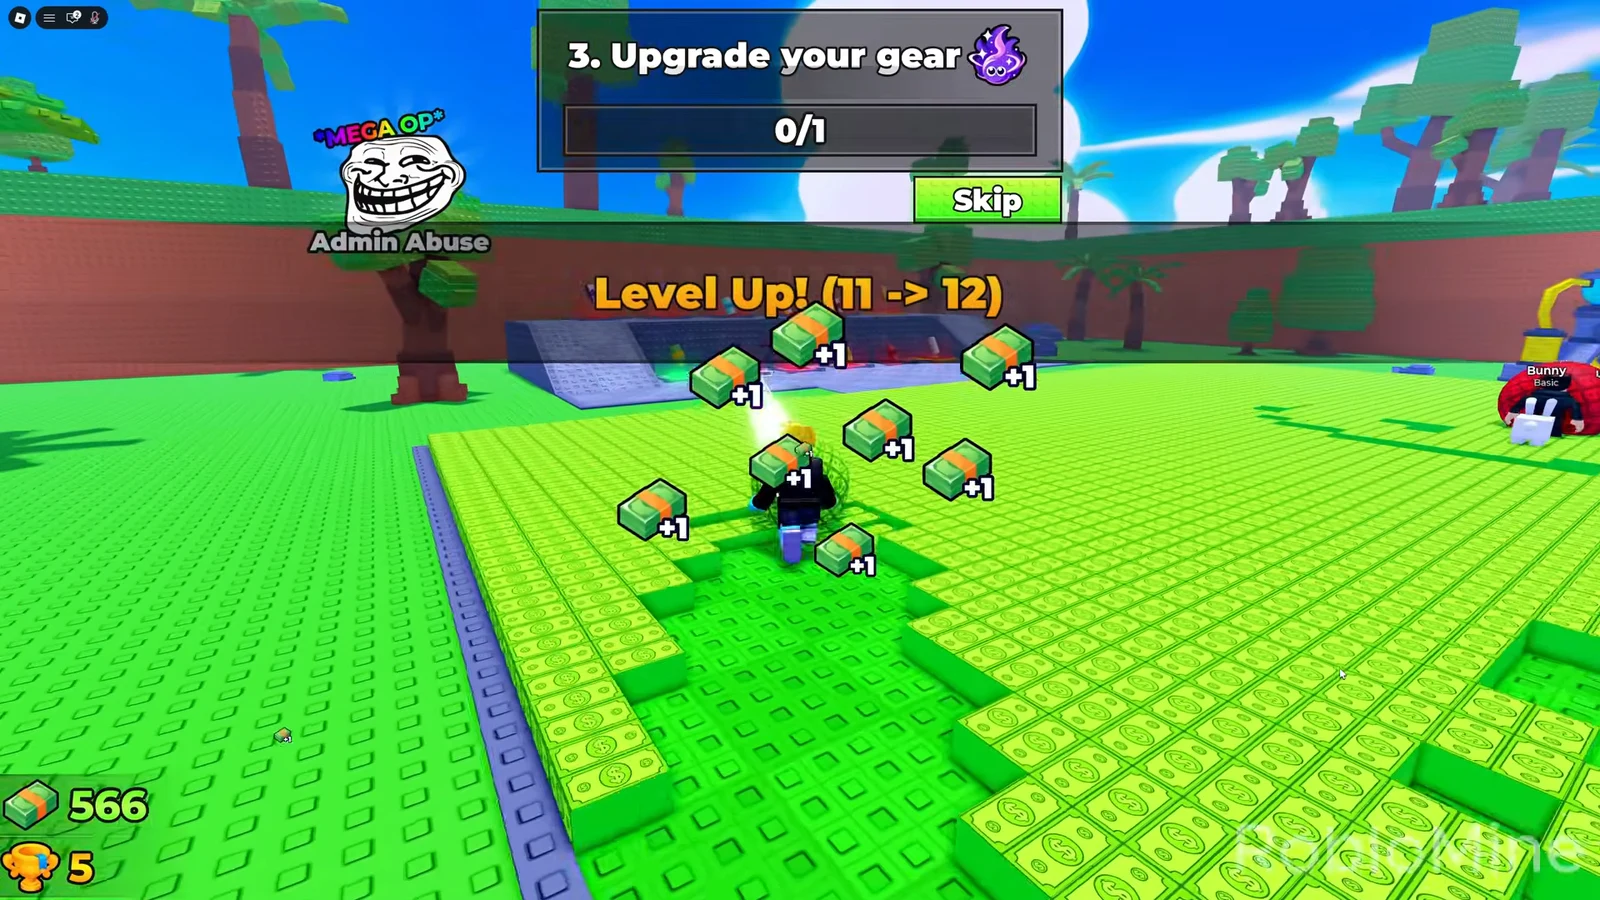
The tiers scale hard, and the jumps get much larger once you are past Stage 8. Here is where each one tends to land in a normal run.
| Gear tier | Where it fits in the run |
|---|---|
| +2 Cash | Tutorial purchase, costs 100 cash |
| +5 Cash | Around your second rebirth |
| +10 Cash | Before the Stage 6 roll |
| +30 Cash | Before the Stage 8 roll |
| +350 Cash | Before the Stage 10 roll |
| +1k Cash | Ahead of the Level 200 rebirth |
| +30k Cash | Early World 2 |
| +100k Cash | After your first Stage 14 clears |
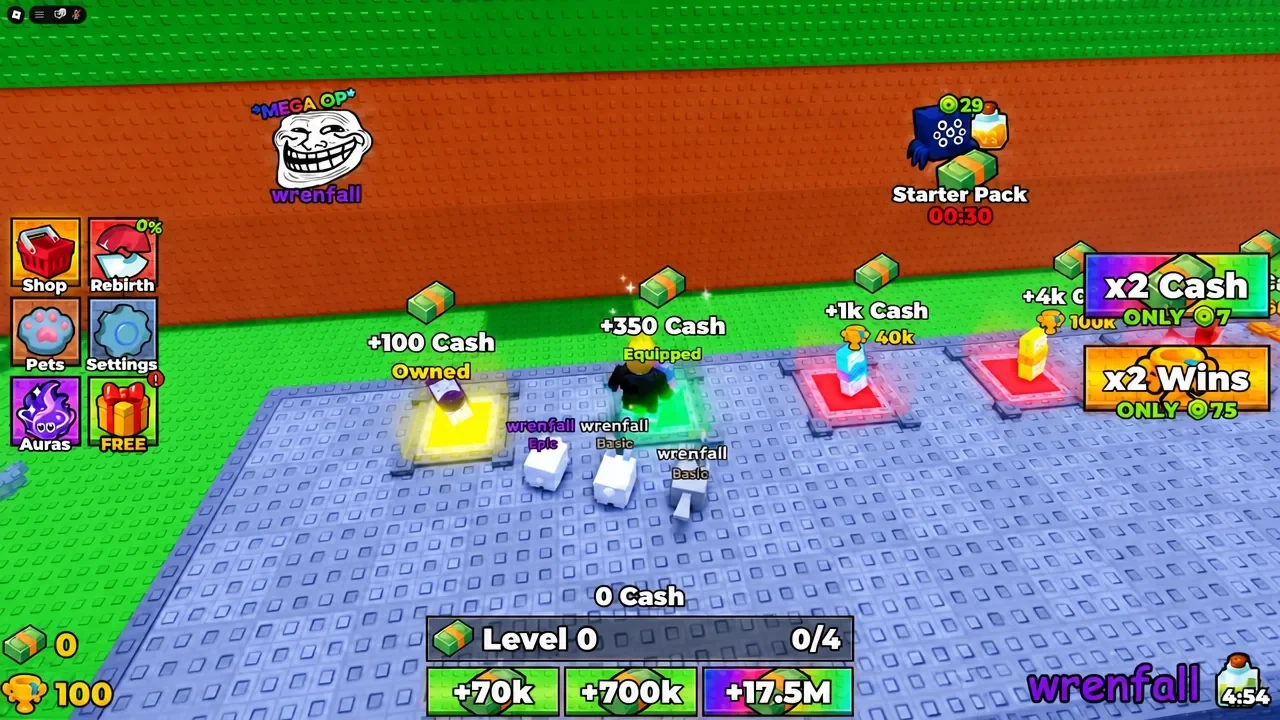
Note: buying a tier is not the same as wearing it. Check that the entry reads Equipped before you start a cash lap, or you will be farming at the old rate.
Rebirth levels and permanent cash multipliers
Rebirthing wipes your current level and hands back a permanent cash multiplier. It feels like a step backwards for about thirty seconds, then the multiplier makes the same stacks refill your level bar faster than they did before. Because of that, the correct time to rebirth is the moment the button becomes available, not later.
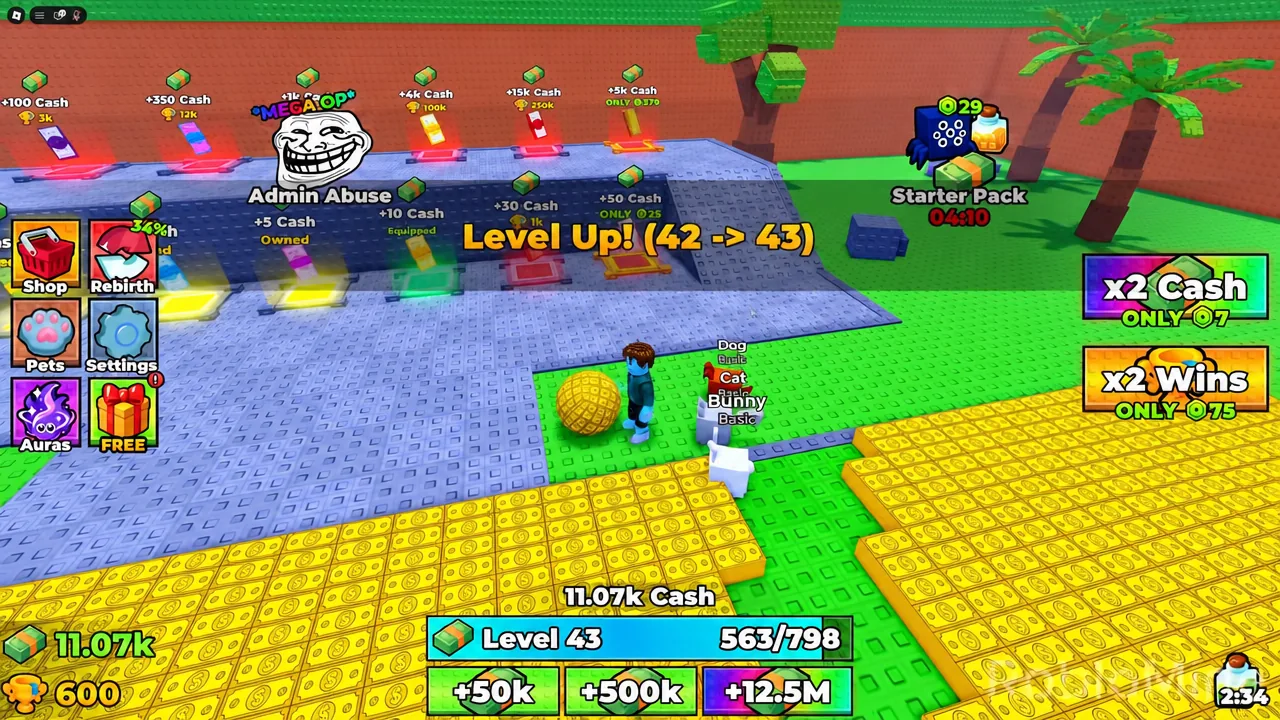
The thresholds climb with each reset. A typical World 1 ladder runs through these points.
| Rebirth level | Progress marker |
|---|---|
| 50 | First and second rebirths, back to back |
| 100 | After the Stage 6 roll |
| 125 | After the Stage 8 roll |
| 150 | With an Epic pet equipped |
| 175 | After the Stage 10 roll |
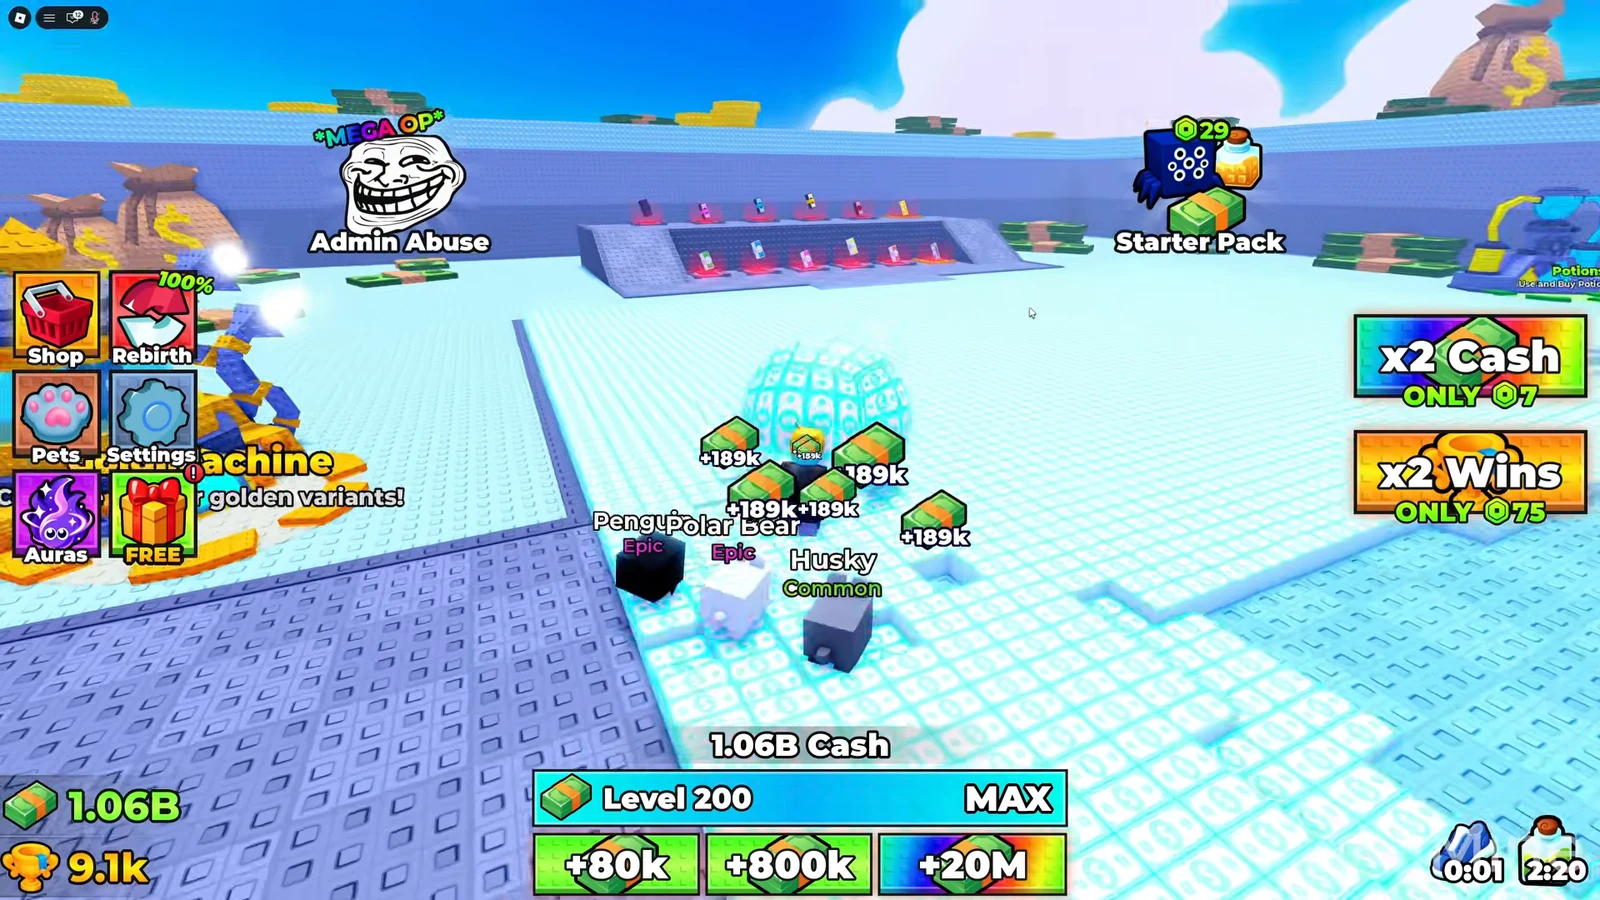
| 200 | Level bar shows a MAX marker in World 1 |
| 225–275 | World 2, alongside Stage 12 and Stage 14 rolls |
Late in a session you can chain several rebirths in a row at roughly the same level, because each multiplier makes the next level bar trivially fast to refill.
Pets and auras: where the multipliers come from
Eggs are bought with Wins and hatch pets that multiply what you collect. The starter pool is Common — Bunny Basic, Dog Basic, Cat Basic, Husky — while the Rare Egg, priced at 3K Wins, can produce Epics such as the Polar Bear and the Penguin. Swag Cow pets show up deeper into the run. Rarity is the only thing that matters when you decide what to equip: hatch, compare, swap, and delete nothing else from your routine.
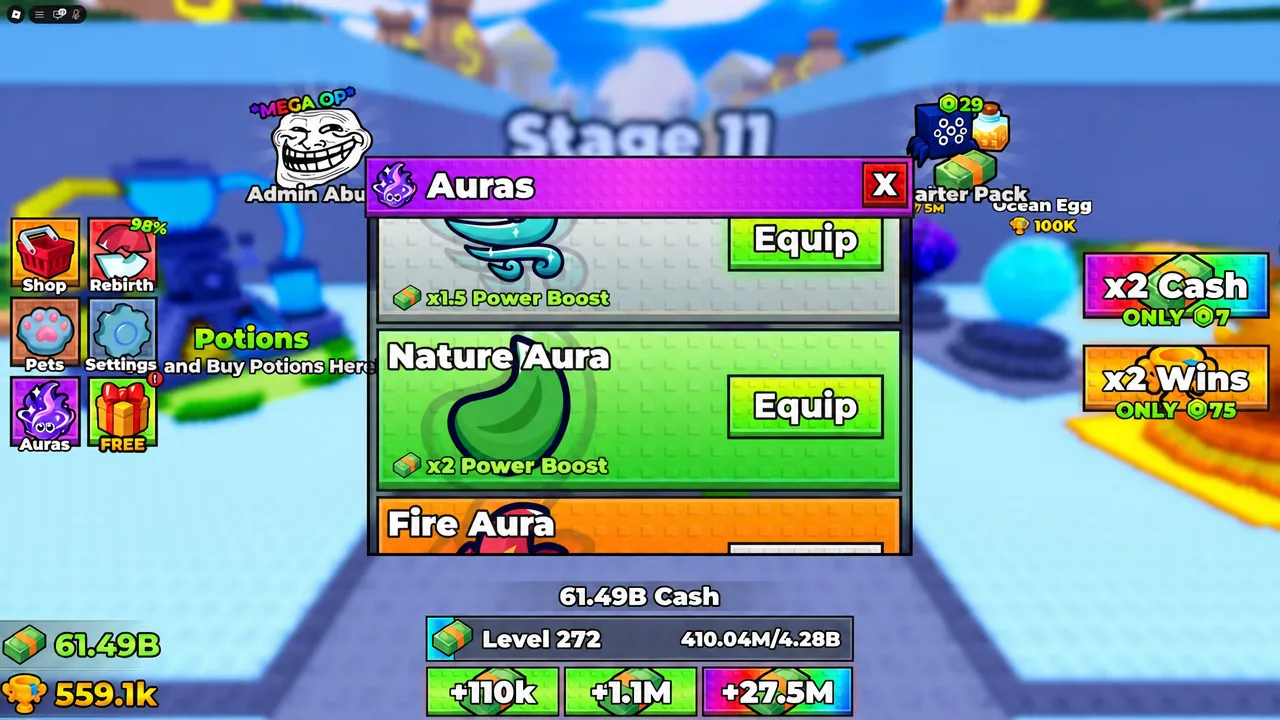
Auras are the cash-side purchase and give a permanent power boost that helps you carry speed further down the track. The Dust Aura is the entry option at 5K cash, and the Fire Aura costs 1M cash. Nature Aura and Troll Aura also sit in the same menu.
Unlocking World 2 at Stage 10
You will know it worked because the world label switches from World 1 to World 2 and the stage markers continue upward from there, through Stage 12, Stage 14, and eventually Stage 20. World 2 has its own cash stacks and its own rebirth pacing — a fresh rebirth around Level 120 is normal shortly after arriving.
Stage payouts and why a roll falls short
Wins scale steeply with distance, which is why one good roll is worth more than a dozen short ones.
| Stage reached | Wins paid |
|---|---|
| Stage 1 | 5 |
| Stage 5 | 175 |
| Stage 6 | 500 |
| Stage 8 | 5k |
| Stage 10 | 30k |
| Stage 12 | 75k |
| Stage 14 | 750k |
There are only two real reasons a roll ends early. Either you do not have enough cash and level behind the roll to hold the track at that stage, or your gear, pets, and aura are bought but not equipped. Falling off costs you the money you were carrying and drops you back to the start, so it is always cheaper to run one more cash lap than to gamble on a stage you cannot hold.
Beyond the two worlds, the spawn area holds a VIP Zone, an MVP Zone, and a Gold Machine, and Stage 19 has its own teleport back toward World 1. A third world is on the way as well — an in-game event listed as SECRET UPDATE 2 is set for Saturday, September 5 and is billed as adding a new world and features. Until then, the ceiling is Stage 20, and the route there is the same three-step loop, just with much larger numbers on it.