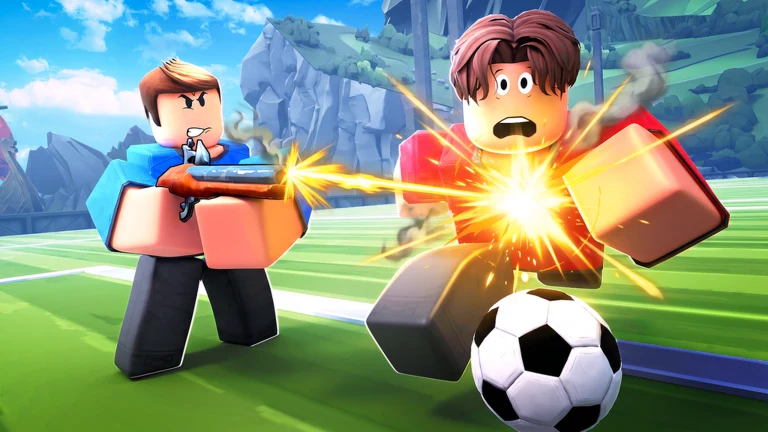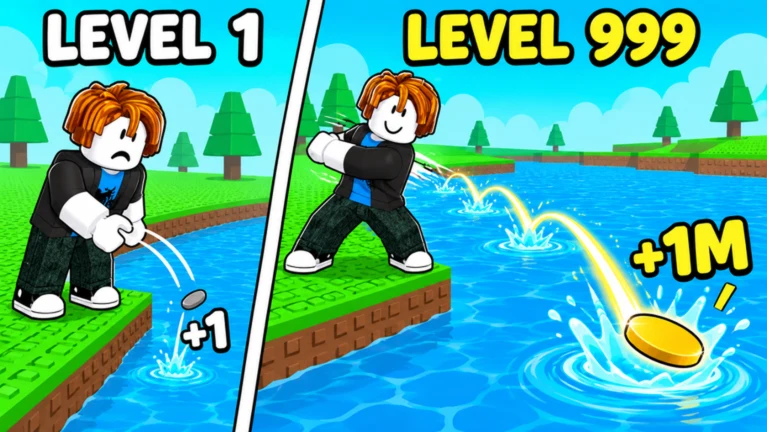
+1 Stone Skipping is an incremental Roblox game from Meow Labs where you skip a stone across water, earn Skill with every bounce, and use that Skill to throw farther. The whole game is one loop repeated at bigger and bigger numbers: throw, bank Wins, buy stronger gear, train your Skill, then Rebirth to raise your ceiling. Do it long enough and you cross all five worlds to the Dragon King’s Throne.
Quick answer: Clear each of the five worlds by throwing your stone past all 9 territories, then meet the portal’s Skill requirement to advance. Train on the highest unlocked pad and Rebirth often to raise your Skill multipliers.
How the throw and train loop works
Head to the Throw Zone and click the green THROW button. Your stone skips down the water track, and the farther it travels, the more Wins you collect. Wins are the currency for everything you buy, so your early job is simple: throw, collect, repeat.
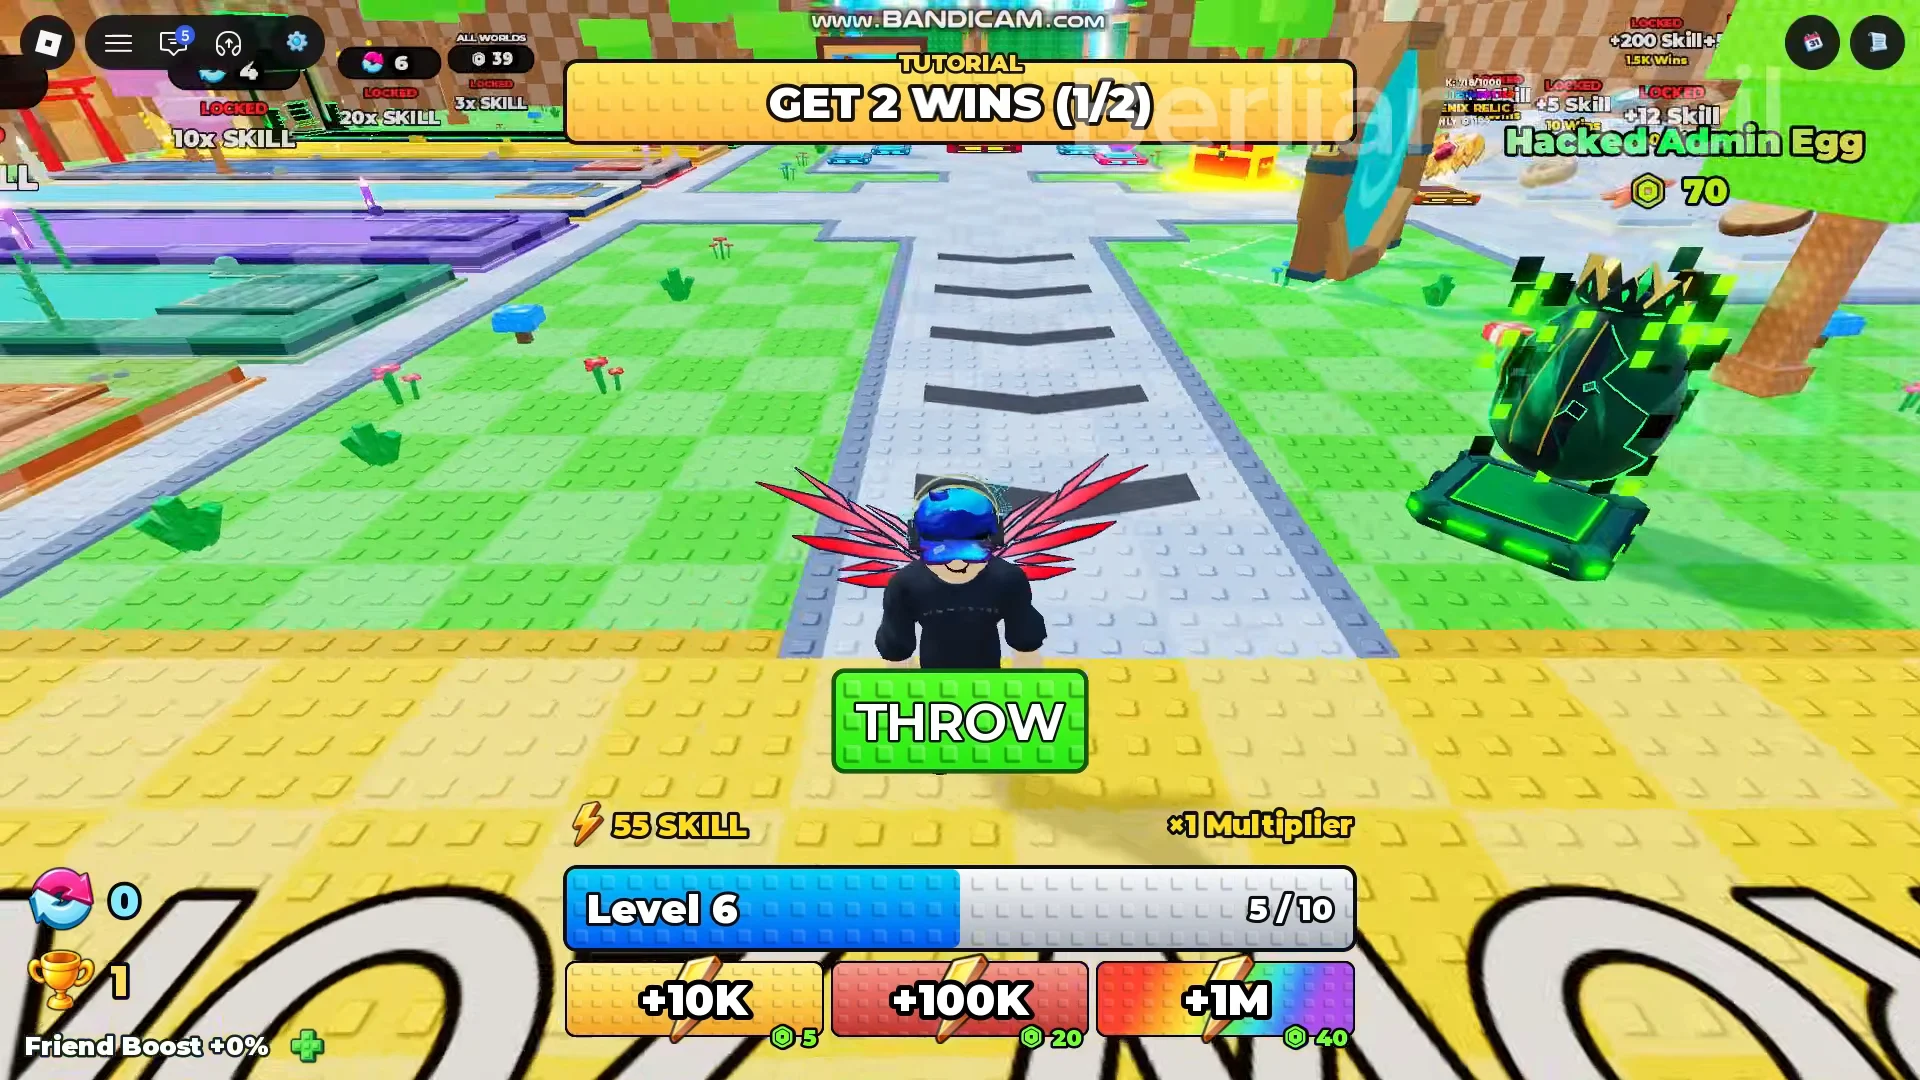
Distance is driven by Skill, and Skill comes from two places. Every bounce of a thrown stone adds +1 Skill at the base rate, and standing on a training pad builds Skill steadily on its own. Your Level rises as Skill accumulates, and higher Levels unlock access to the portal checks and further Rebirths.
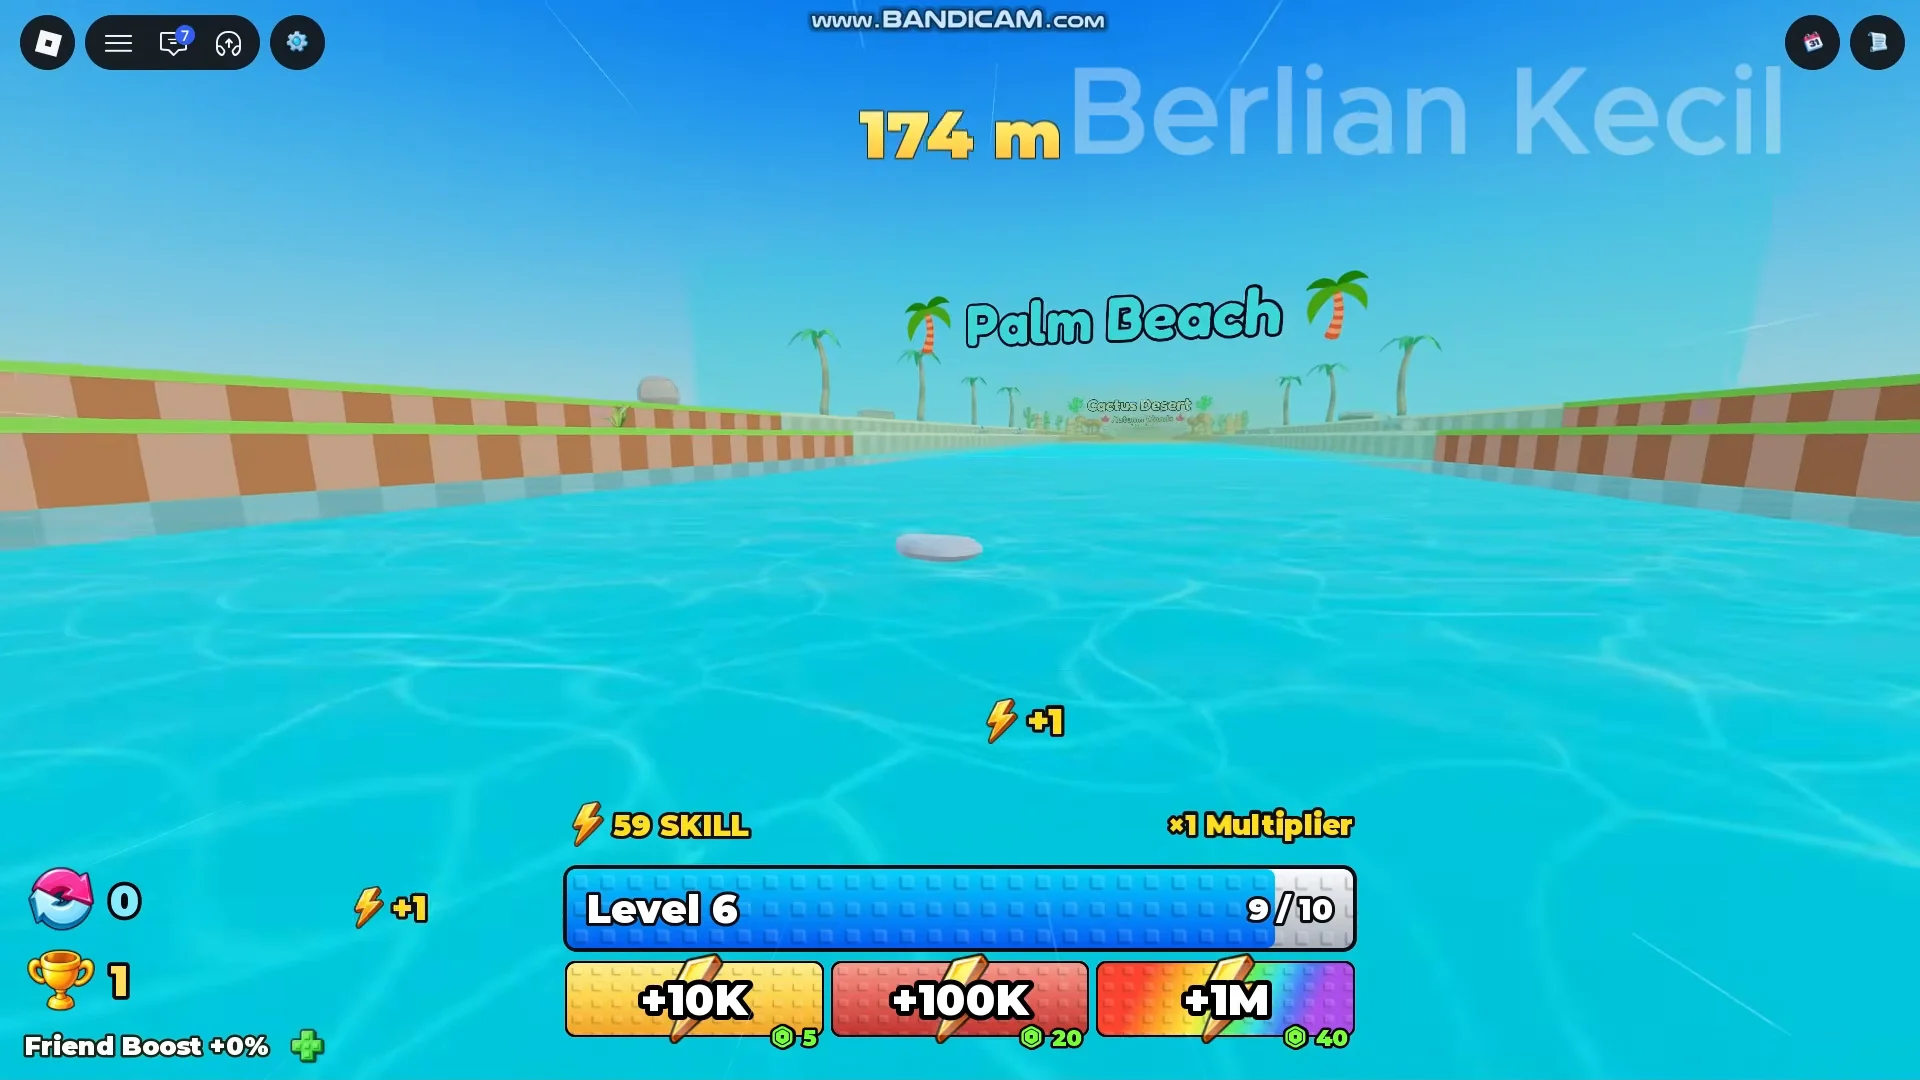
Spend your Wins on three things: better throwables, eggs that hatch pets, and relics. Each tier costs more and does more. Early stones like the Scallop Shell (+3 Skill) and Starfish (+12 Skill) are cheap, and you climb from there to heavy hitters like the Frisbee (+3.5K Skill).
Training pads, Rebirth, and Skill multipliers
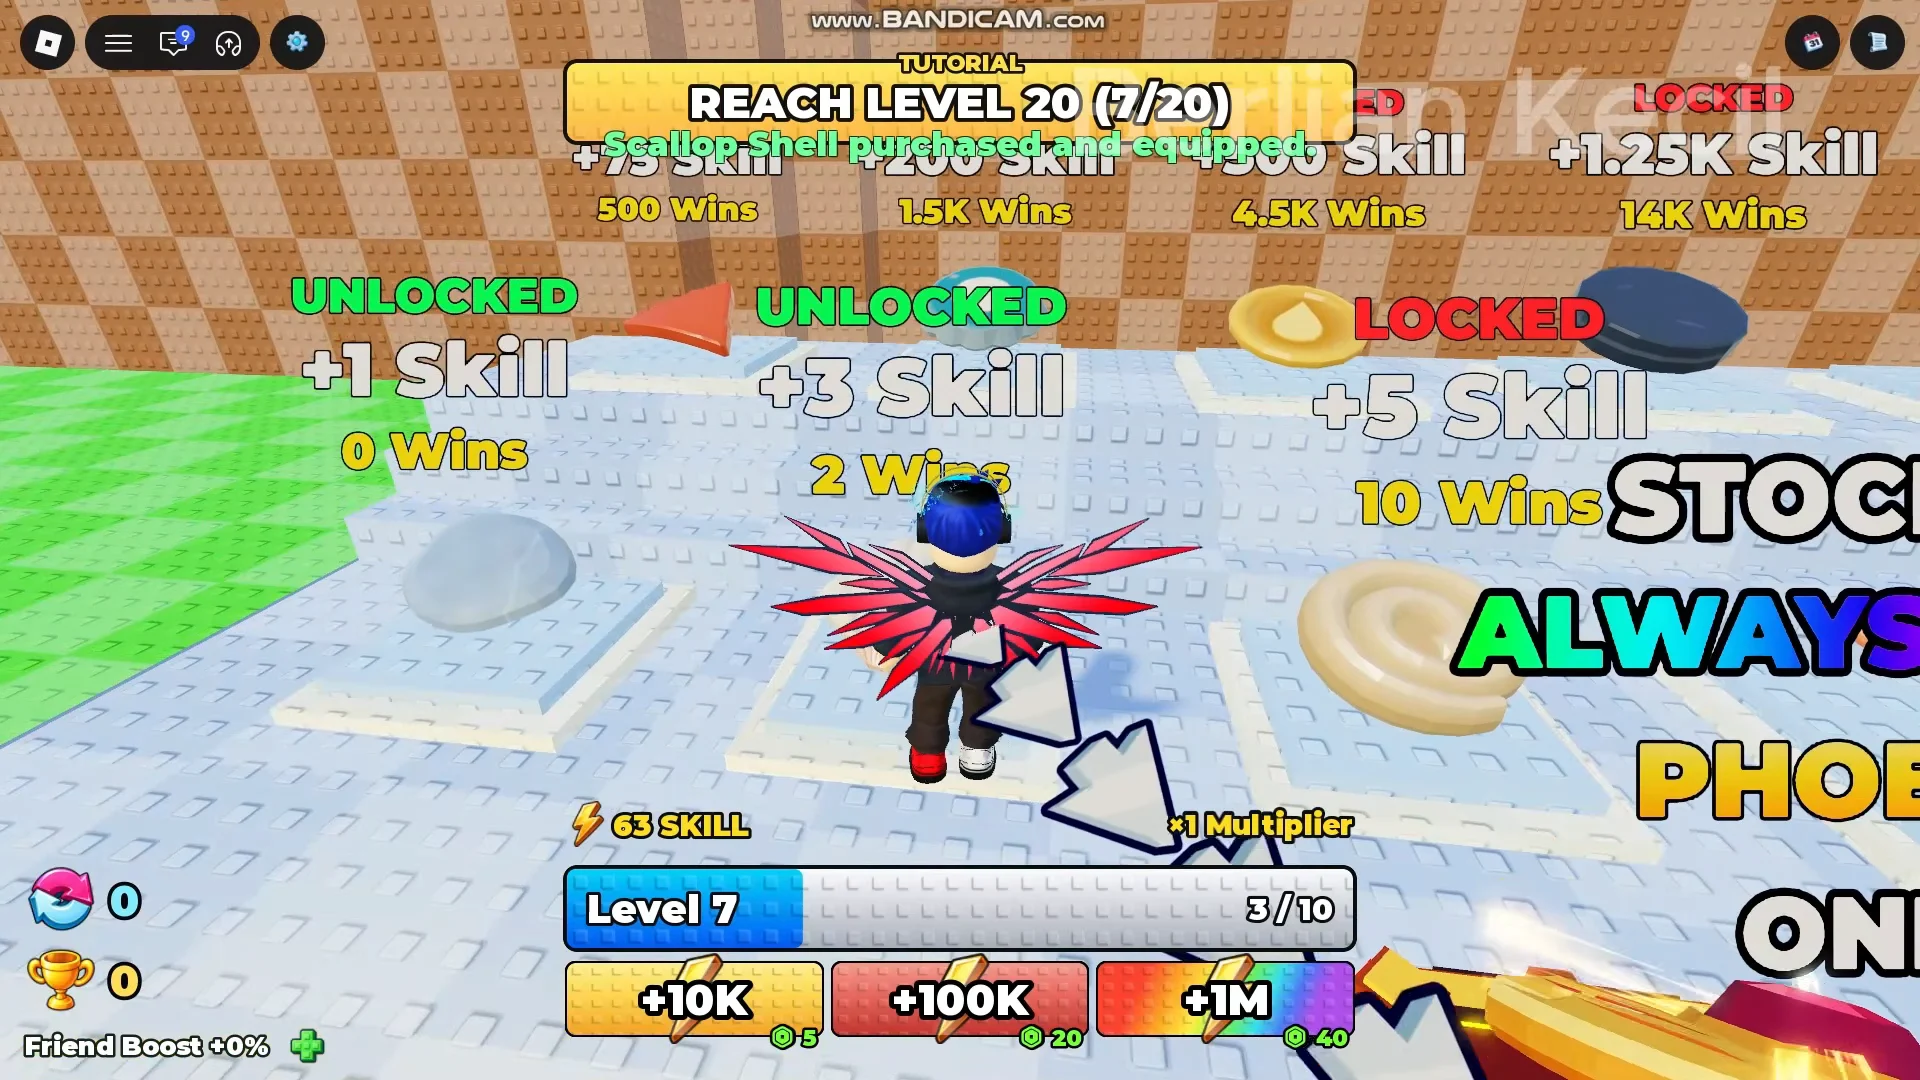
Training pads build Skill while you stand on them, and each pad applies a multiplier. Higher pads unlock only after you reach set Rebirth counts, so the fastest growth always comes from Rebirthing up to the strongest pad you can reach and training there.
Rebirth resets your Level and Skill back to zero, which feels brutal the first time. The trade is worth it: each Rebirth raises your maximum Level and Skill cap and unlocks stronger training pads, so the next climb is far faster than the last. In the Starting River, the pads scale like this:
- 0 Rebirths — 1x Skill
- 2 Rebirths — 4x Skill
- 4 Rebirths — 10x Skill
- 6 Rebirths — 20x Skill
Every later world follows the same pattern with bigger numbers. This table shows the base pad and the top pad in each world, plus the Rebirth count the top pad needs:
| World | Base pad (0 Rebirths) | Top pad (Rebirths needed) |
|---|---|---|
| Starting River | 1x | 20x (6) |
| Pirate | 50x | 400x (30) |
| Space | 1000x | 8000x (100) |
| Chocolate Factory | 10000x | 50000x (250) |
| Dragon Volcano | 60000x | 1,000,000x (375) |
If you train while AFK, don’t leave yourself parked on a low pad. Rebirth up first, then spend your idle time on the highest-tier slot you’ve unlocked so you aren’t farming at a fraction of your potential.
Skill requirements for all five worlds
Each world holds 9 territories and a portal at the far end. Your throw has to clear all nine, and the portal only opens once your Skill meets its threshold. The numbers jump hard from one world to the next:
| World | Portal Skill requirement |
|---|---|
| Starting River | 100M Skill |
| Pirate | 400B Skill |
| Space | 15QA Skill |
| Chocolate Factory | 500QI Skill |
| Dragon Volcano | No portal (final world) |
Starting River territories
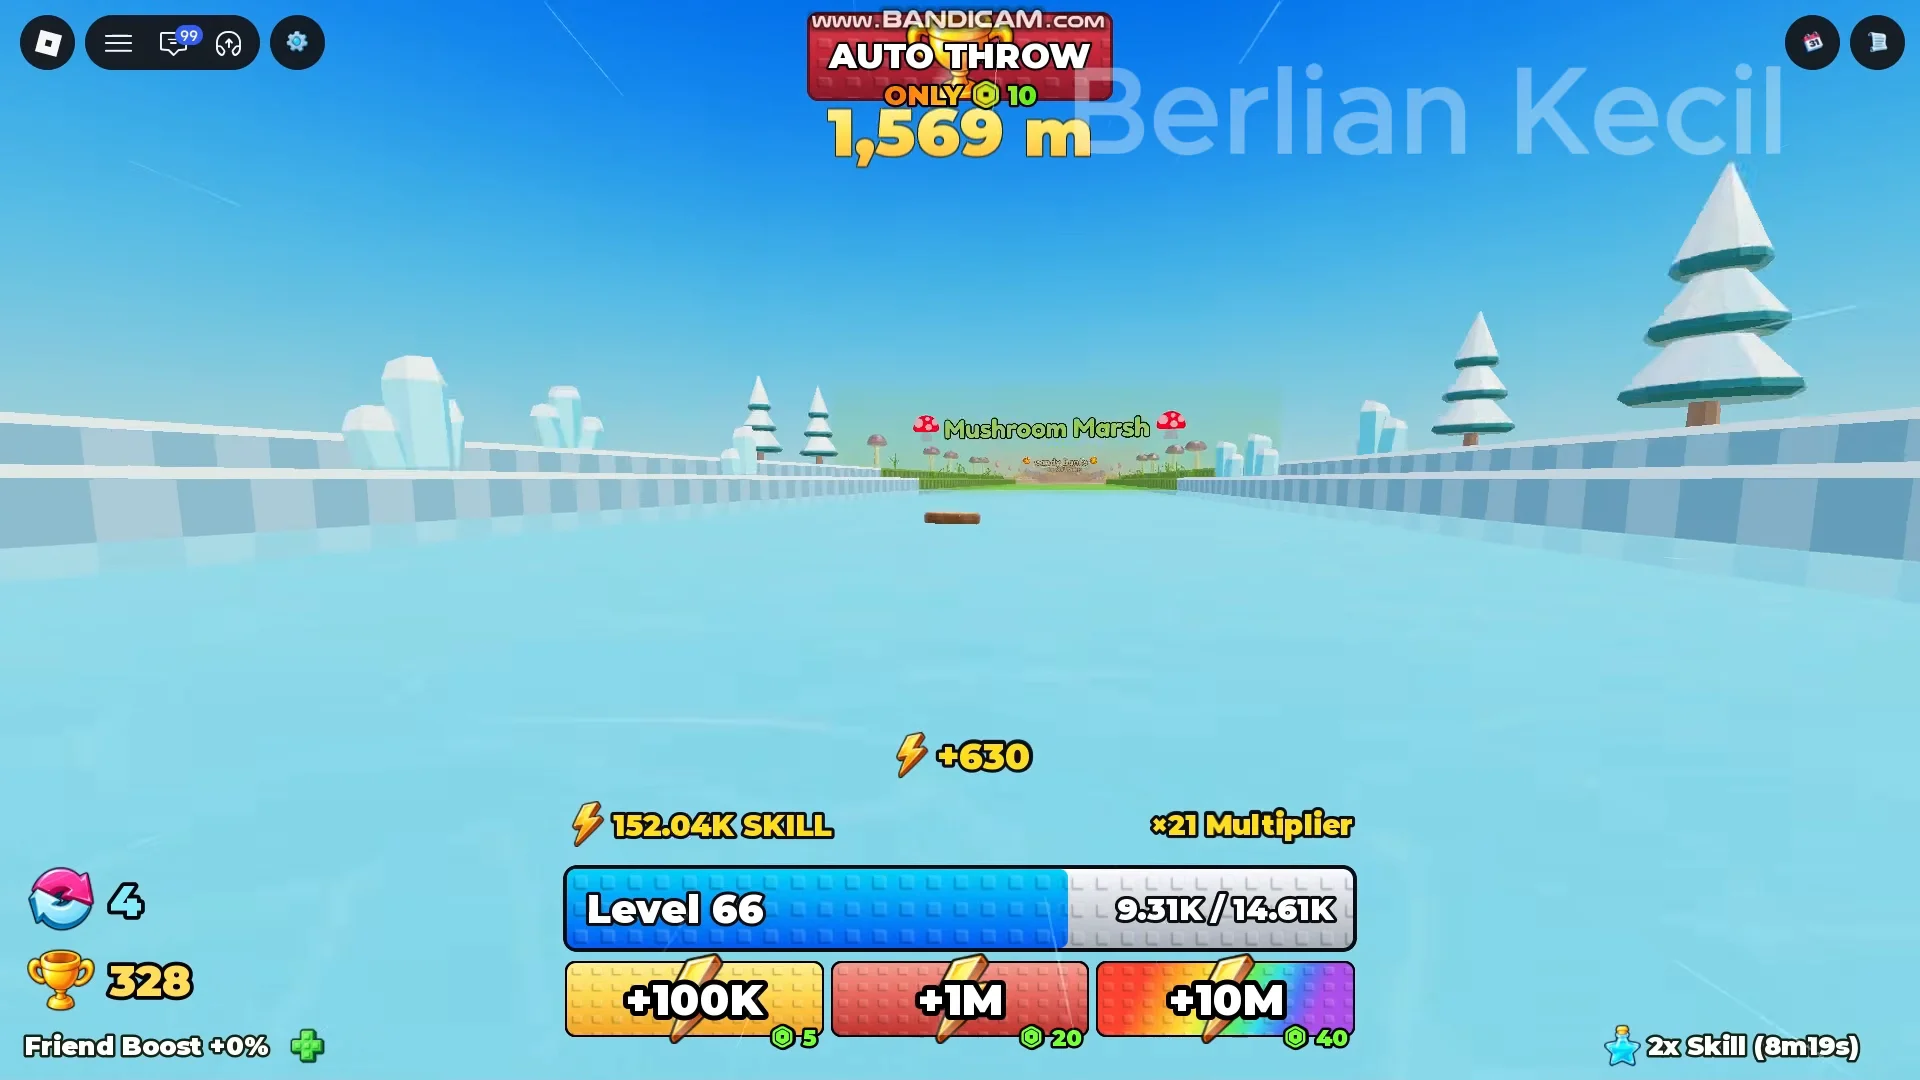
The first world doubles as the tutorial and is the gentlest climb in the game. Your stone needs to clear these nine spots in order before the portal at 100M Skill lets you through:
- Palm Beach
- Cactus Desert
- Autumn Woods
- Frost Lake
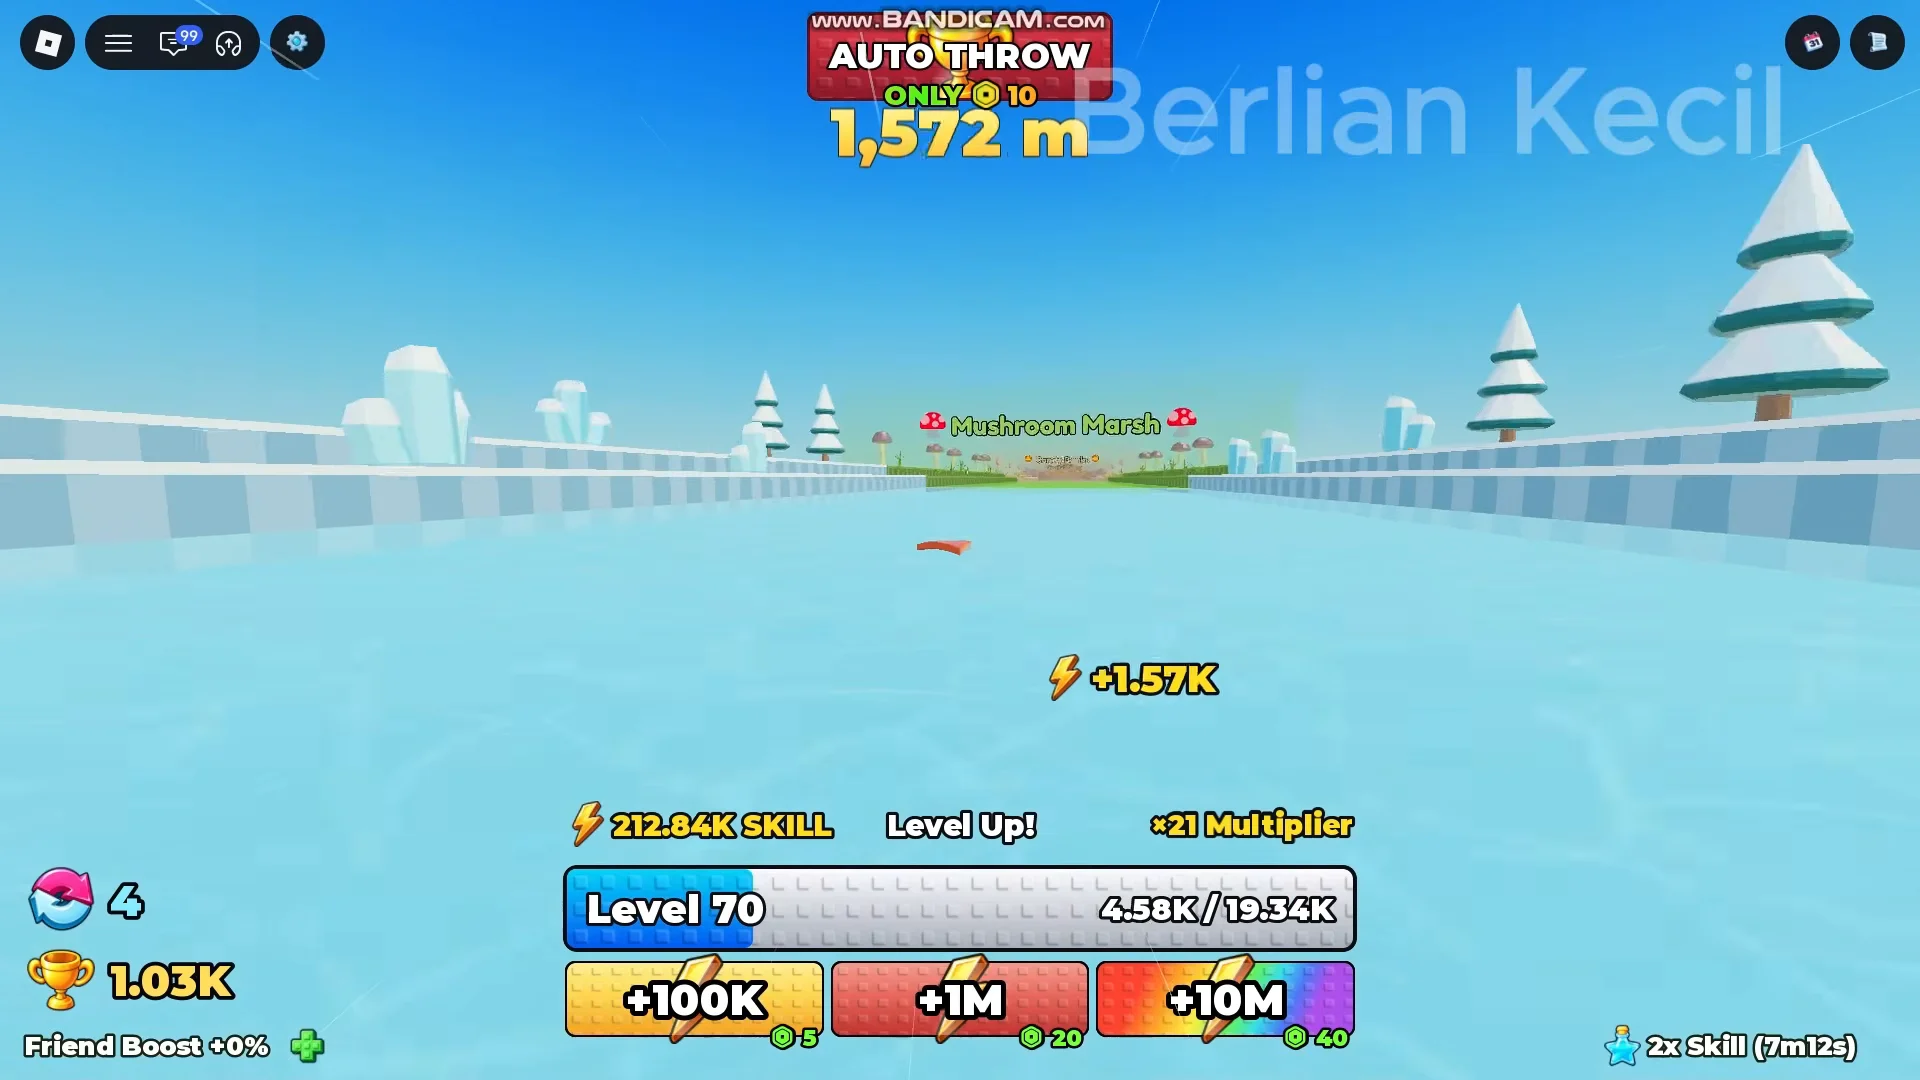
- Mushroom Marsh
- Candy Banks
- Crystal Valley
- Ember River
- Starfall Shores
Later worlds
The Pirate World runs from Shipwreck Cove to The Cursed Crown and gates its portal at 400B Skill. The Space World sends you from Red Planet out to the Galaxy Core and asks for 15QA Skill. The Chocolate Factory stretches from Biscuit Village to the Grand Chocolatier Palace and demands 500QI Skill. The grind from here on leans heavily on AFK training and frequent Rebirths just to keep pace.
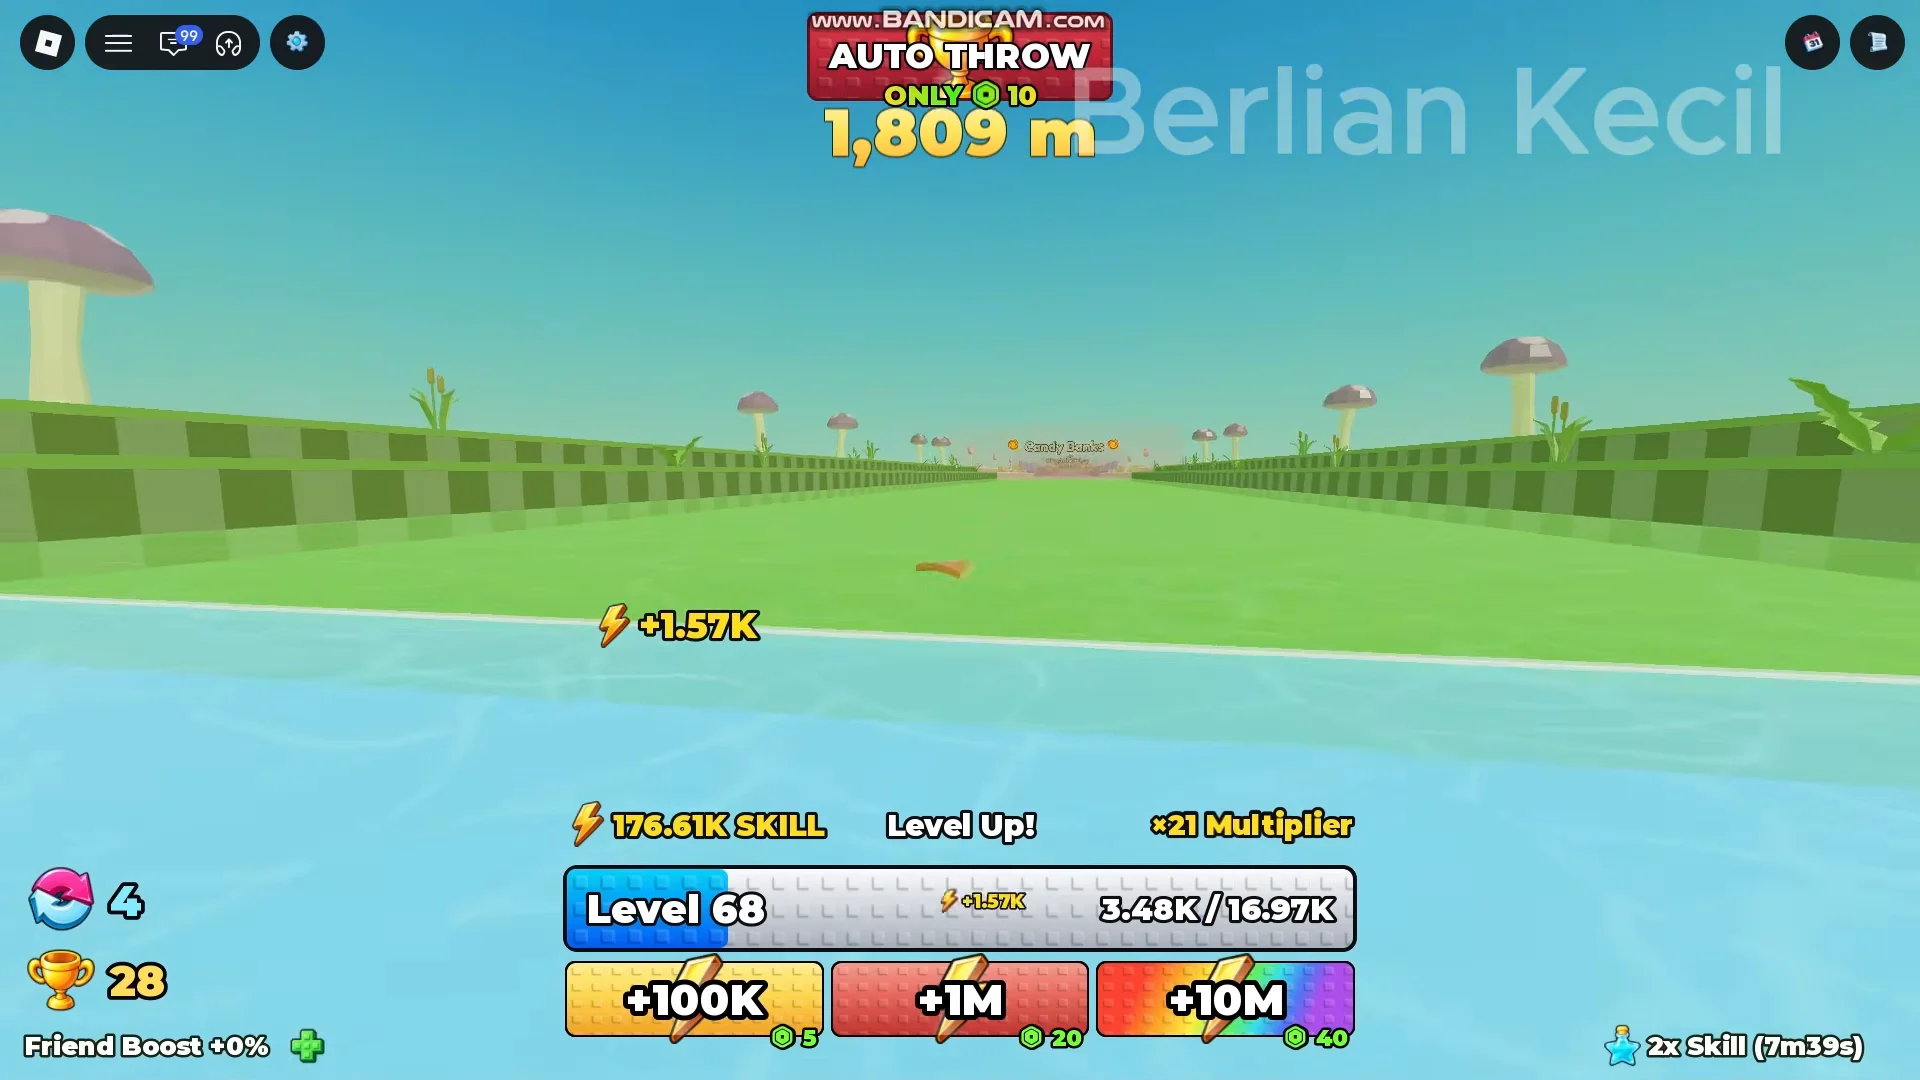
The Dragon Volcano is the final world. It ends at the Dragon King’s Throne, and there is no portal because there is nowhere left to advance. Rebirths cycle quickly at this stage, so check back often while AFK training to make sure you aren’t sitting at your cap. If you refuse to Rebirth at all, expect to grind for weeks rather than days.
Pets, trails, and relics
Pets hatch from eggs that range from Common up to Legendary tiers like Primordial and Infinity. As you push deeper, both the odds and the egg prices climb steeply, and strong pets become essential rather than optional for reaching the final world.
Collect three of the same pet and take them to the Golden Fuse to combine them into a Golden Version with far higher stats and a bigger Skill boost. You’ll end up with a cluttered inventory, so hit the Equip Best button to let the game slot your strongest pets automatically and flag duplicates for fusing.
Throwables work the same way, with pricier tiers giving larger Skill boosts. Trails and relics bought with Wins multiply your payouts on top of that, so a full setup of best pets, best stone, and relics is what turns a single throw into a meaningful chunk of progress.
Secret and Colossus throws
Every throw has a chance to trigger a special launch with a huge payout. A Secret Throw lands at roughly 1 in 100, sending your stone flying at extreme speed for a big Wins boost. A Colossus Throw is far rarer at about 1 in 1,000 and pays out even more.
You can’t force either one, so the practical move is to throw as often as possible with pets and items that raise rewards equipped. Those reward multipliers stack onto a lucky Secret or Colossus roll, which is how players bank the enormous Wins totals the later worlds require.
Knowing you’ve cleared the game
You’ve advanced a world the moment your Skill clears that world’s portal threshold and the portal opens to drop you into the next region. Clear the Chocolate Factory’s 500QI Skill gate, push through the Dragon Volcano’s nine territories, and reaching the Dragon King’s Throne means you’ve finished the run. There’s no portal past it, so you’ve beaten everything currently in the game. From there you can keep throwing to chase a higher spot on the leaderboard, or wait for future updates to add more worlds. You can start a throw of your own on the +1 Stone Skipping Roblox page.