Just got a new Windows PC and can’t wait to start using it? Before you do so, however, you need to set it up in a manner that best serves your purposes. The settings that are set by default on Windows computers are not suitable for everyone.
They can not only cause annoyance when using the PC but also affect its performance and compromise user privacy. That’s why you need to change them according to your preferences. Fortunately, doing so is incredibly easy, and will make your experience using the computer much more enjoyable while also helping avoid performance and security issues.
To help you out, we’ve made a list of the ten things you should do right away when setting up a new Windows PC, so check them out now.
Check for Updates
Windows PCs are extremely vulnerable to a wide variety of threats, including viruses, trojans, code vulnerabilities, and more. While there are various ways by which you can protect your PC, one of the most important ones is keeping it updated.
You should check for updates as soon as possible after setting up your PC, and here is how to do that.
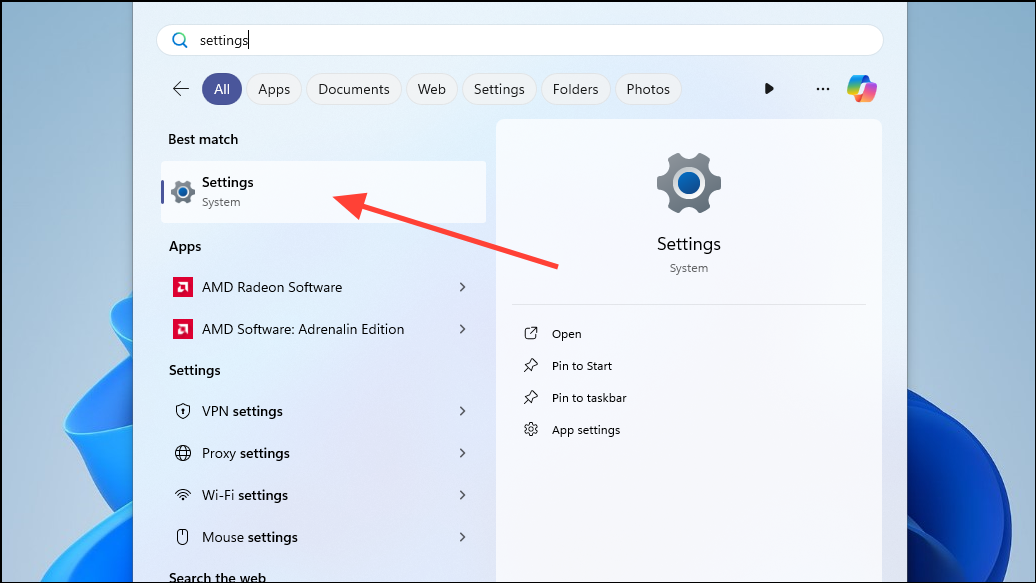
- Make sure your computer is connected to the internet and then click on the Start button on the taskbar to open the Start menu.
- Type ‘Settings’ in the Start menu and press the ‘Enter’ key or click on the app to open the settings page.
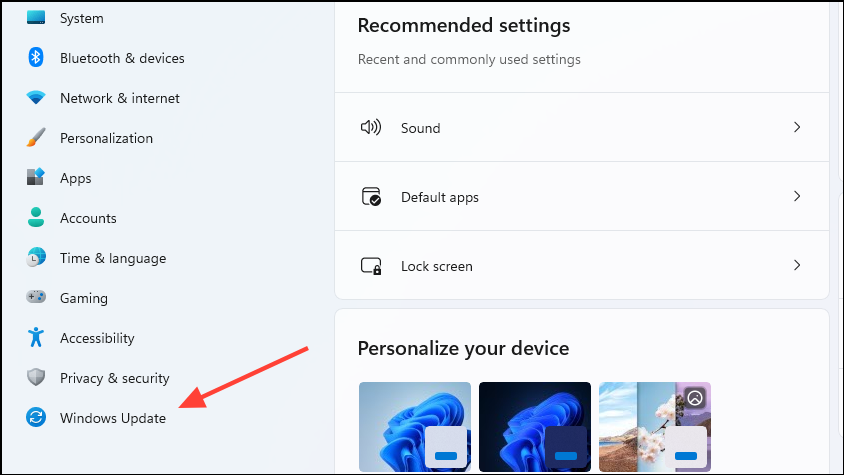
- When the Settings page opens, click on the ‘Windows Update’ option on the left side.
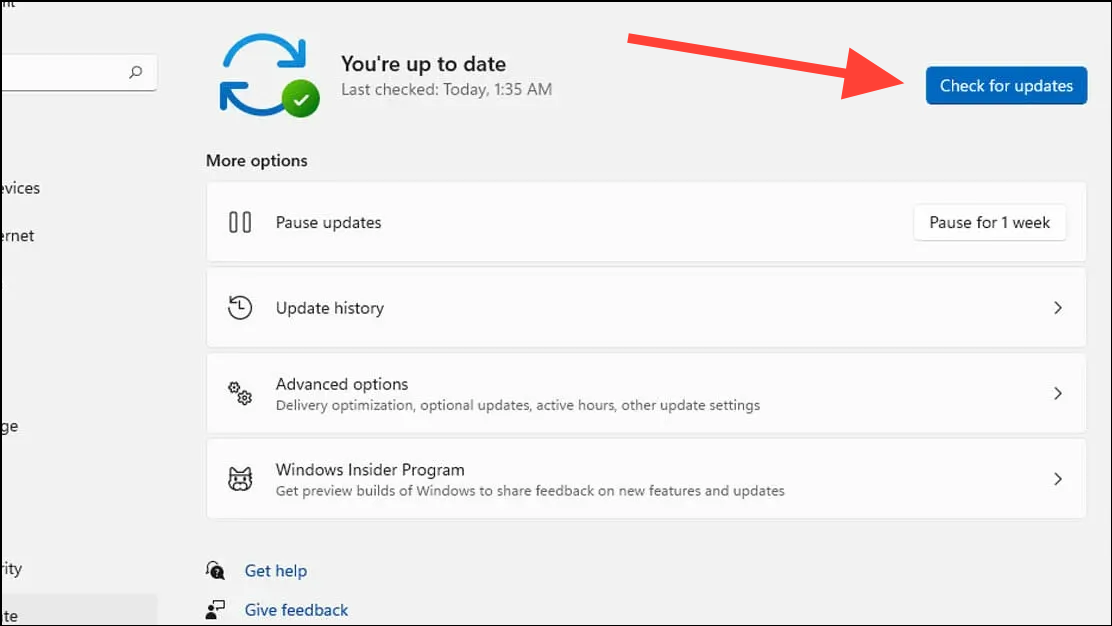
- On the Windows Update page, click on the ‘Check For Updates’ button and Windows will start searching for the latest updates.
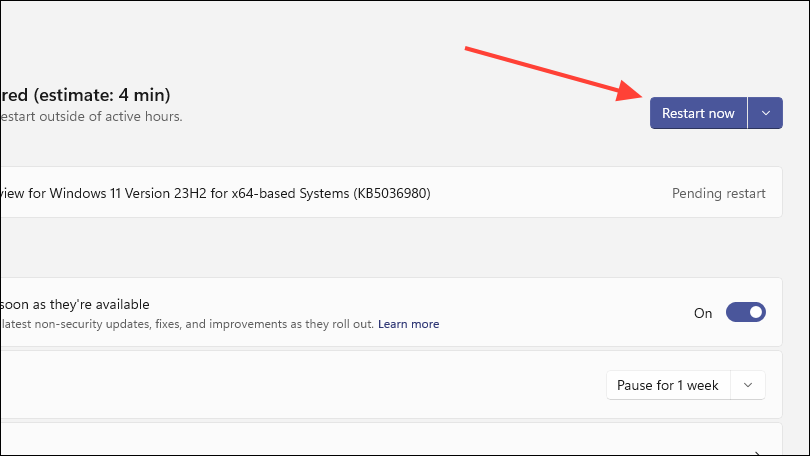
- If updates are available, Windows will start downloading and installing them. You may need to restart your computer to allow Windows to finish installing the updates. Click on the ‘Restart Now’ button to do so.
- Once your PC restarts, follow the same steps again to check for new updates and install them. Repeat the process until there are no new updates available.
Change Your Privacy Settings
All applications that come preinstalled with Windows as well as the system settings of the OS are set to collect user data and share it with Microsoft. This information can be used by Microsoft and its partners for advertising, and apps that constantly keep collecting data also affect system performance.
If you are concerned about your privacy and want to prevent your data from being shared, you should change your privacy settings as soon as you set up your PC.
- Open the Settings page and click on the ‘Privacy and Security’ option on the left.
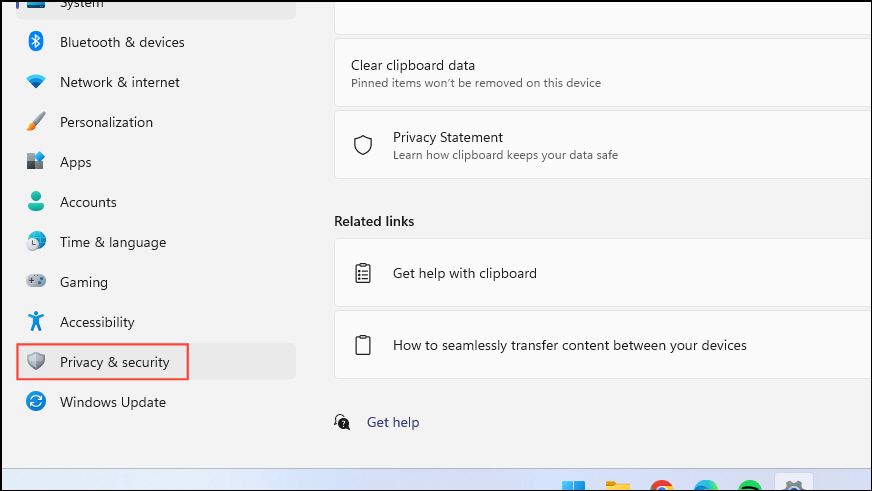
- Here, under the Windows Permissions section, click on the ‘Diagnostics and Feedback’ option.
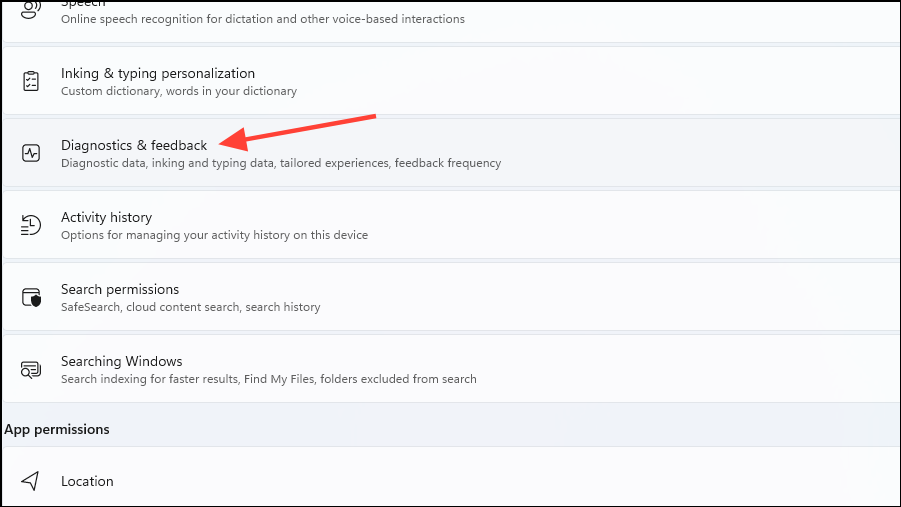
- Make sure all the options on this page are turned off. If they are not, click on the button next to them to turn them off.

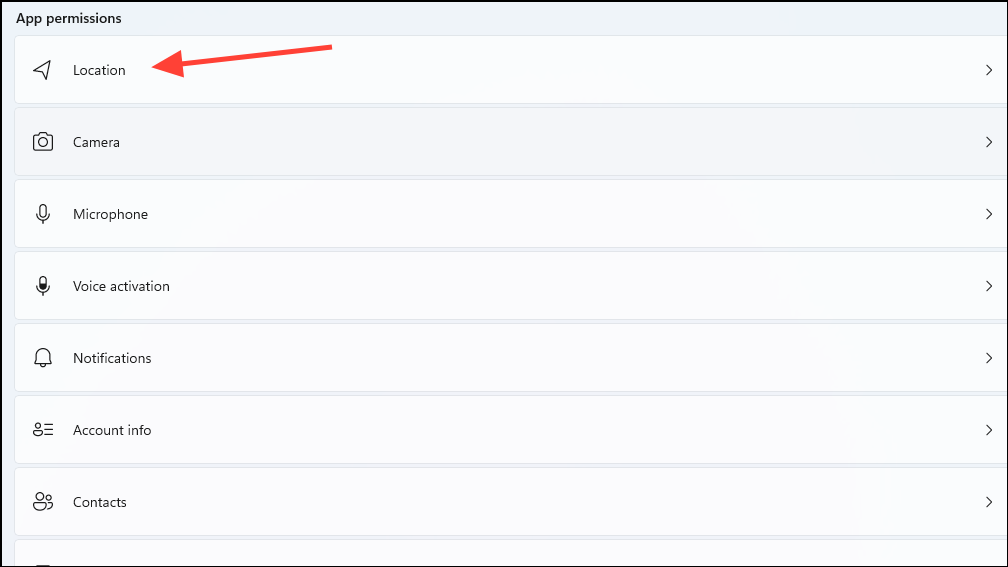
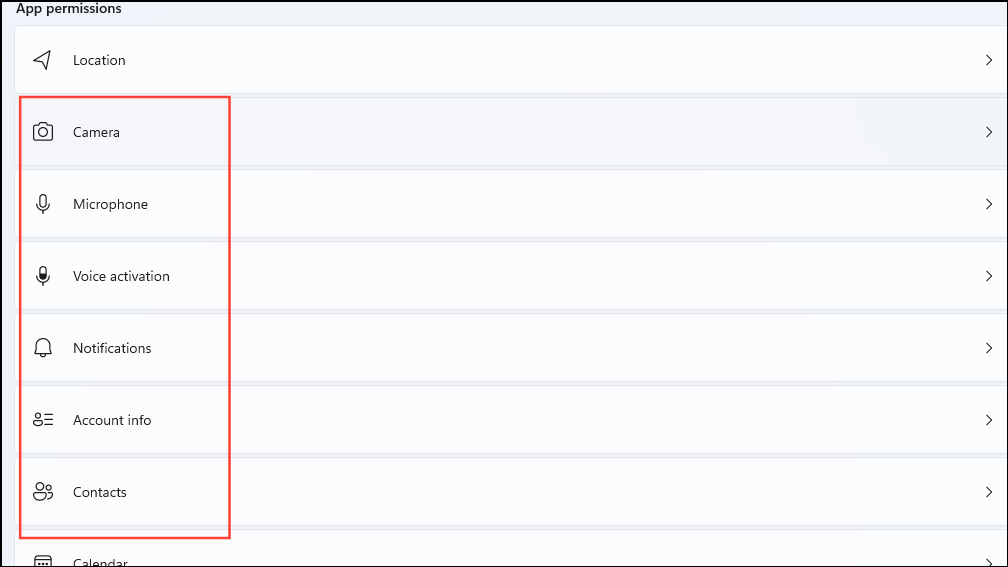
- Go back to the main Privacy page and scroll down to the ‘App Permissions’ section. Click on the ‘Location’ option.
- Click on the button next to the ‘Location Services’ option to turn it off. This will turn off location access for the entire system and all installed applications, preventing them from sharing your location information with Microsoft and third-party apps.
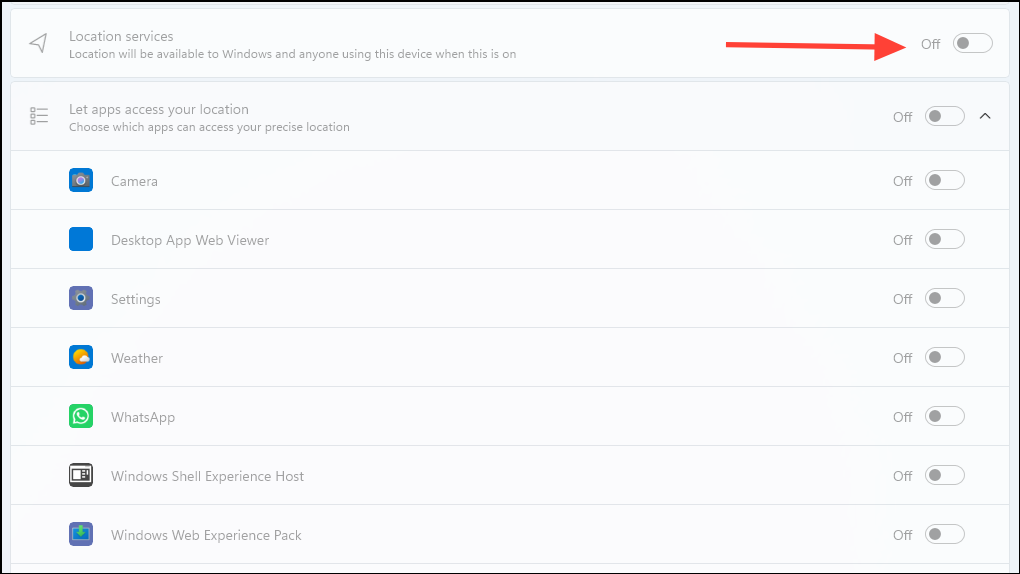
- You will have to similarly turn off other permissions, such as those relating to the camera, microphone, notifications, etc. one by one. You can always turn on access for these when an application needs it to function properly.
Clean Up the Start Menu and Taskbar
With Windows 10, Microsoft started displaying ads for third-party applications and games in the Start menu. These apps and games appear as shortcuts when you first set up your PC, and take up space on your Start menu. Besides offering no real value to users, these shortcuts can be distracting.
Similarly, there may be applications pinned to the taskbar that you don’t use. So, you can unpin them, making space for the apps you do use.
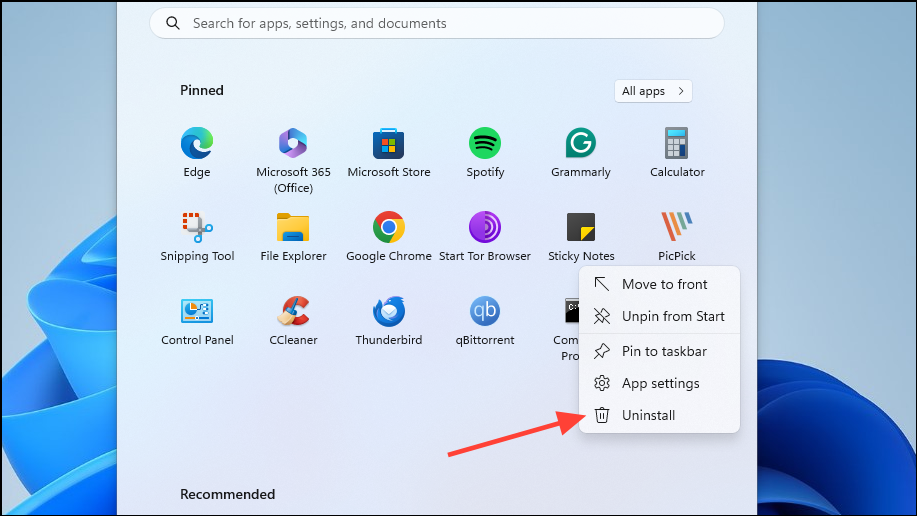
- Open the Start menu and right-click on the app you want to remove, for instance, Sticky Notes. This will show you the context menu.

- Now click on the ‘Uninstall’ option to remove the app.
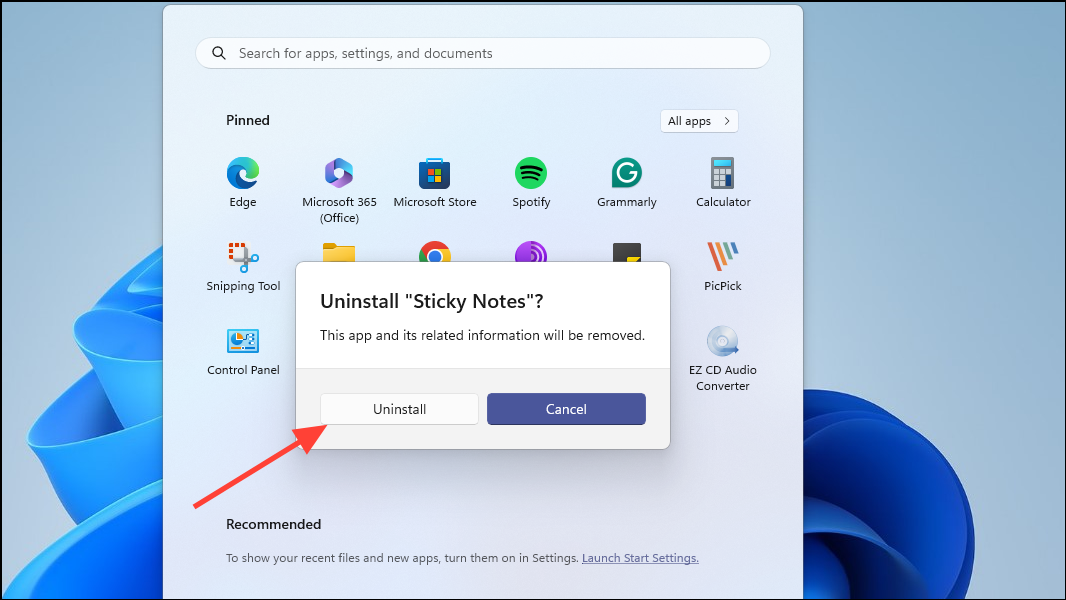
- Windows will then ask you whether you want to uninstall the application. Click on the ‘Uninstall’ button to do so.
- Now you know how to clean up the Start menu, it is time to do the same for the taskbar. Right-click on a taskbar app that you want to remove, such as the Edge browser and you will see the context menu.

- Click on the ‘Unpin From Taskbar’ option and the browser will be removed from the taskbar.

Install Antivirus Software
Windows comes with Microsoft Defender, which aims to protect the OS from malicious actors like viruses and trojans. However, it is a very basic antivirus software that does not even let you schedule scans. That is why we recommend downloading and installing a third-party antivirus for better security.
You can choose between free and paid antivirus software.
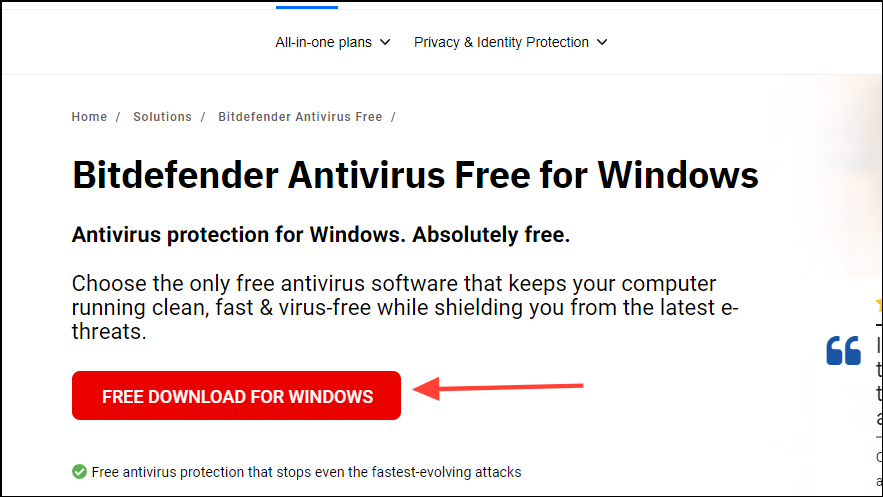
- Visit the website of the antivirus you want to install, such as BitDefender, which is one of the most popular options.
- Click on the ‘Download’ button to start downloading the software.
- Once the installer is downloaded, double-click on it to open it and start the installation.
In most cases, the antivirus software will download the data it needs and install on your system automatically. Besides BitDefender, you can consider antivirus software from Norton, Avira, Avast, AVG, and more.
Backup Your PC
Before you start using your Windows PC, it is a good idea to back it up. This way, if something goes wrong, you won’t have to completely reinstall the OS and all your applications. You can just restore your system to the way it was before the problem occurred.
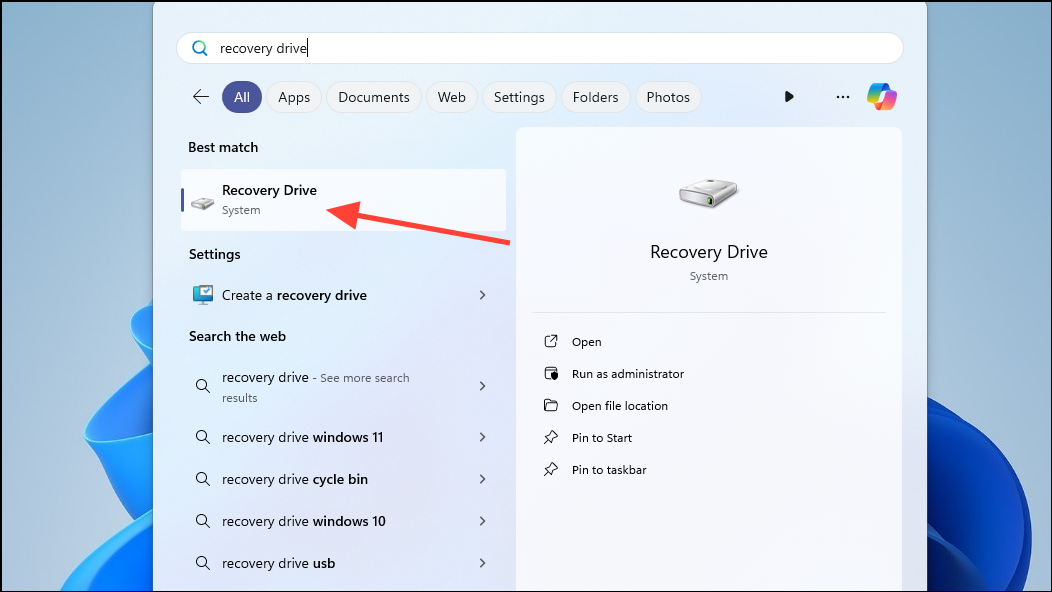
- Open the Start menu, type
recovery drive, and click on the utility when it appears.
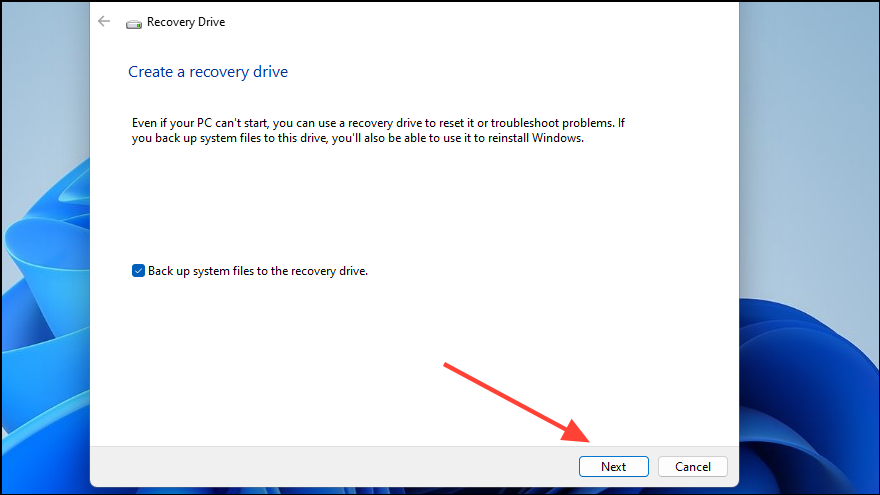
- When the Recovery Drive window opens, click on the ‘Next’ button. Make sure the ‘Back Up System Files To Recovery Drive’ option is checked.
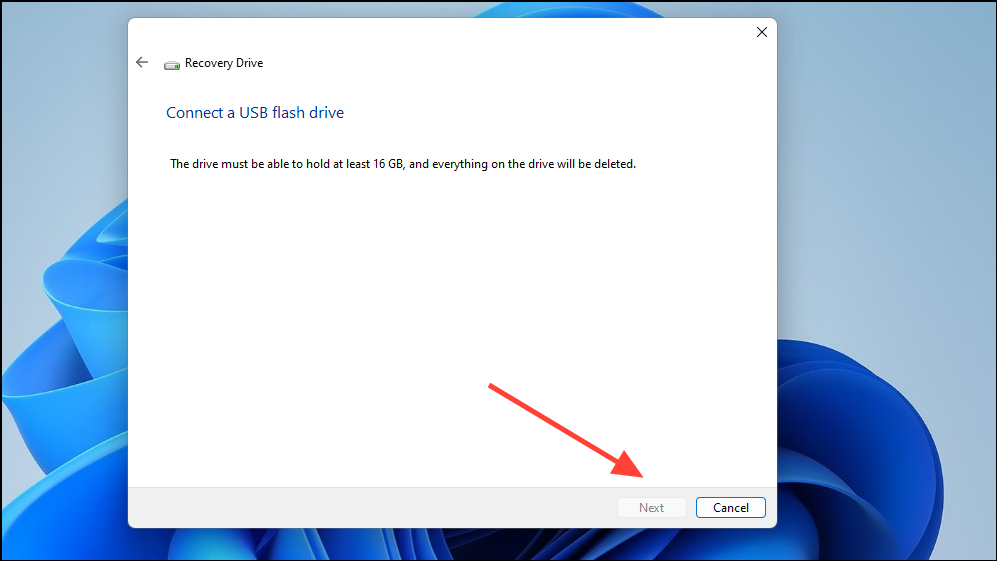
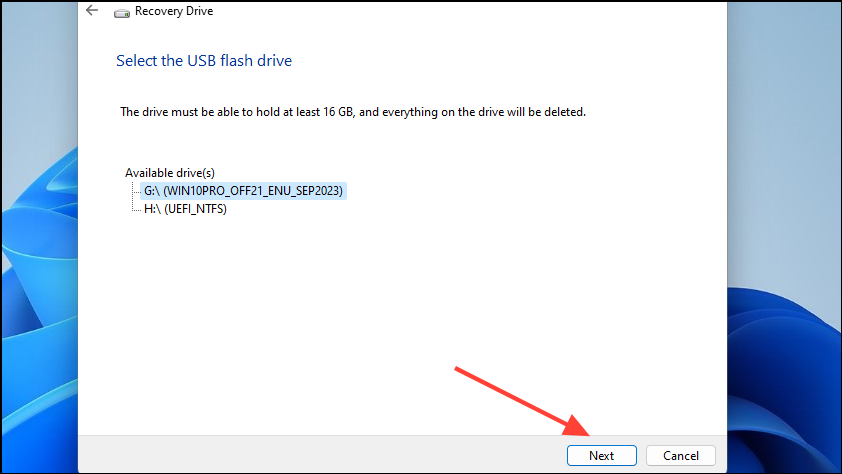
- Now, you need to connect a USB drive to your PC, which will be used to create the recovery drive. Make sure the drive has at least 16 GB of storage space and click on the ‘Next’ button.
- Wait for a few minutes until Windows creates the recovery drive on the USB stick. Then it will show the available drives for recovery. Click on the ‘Next’ button again.
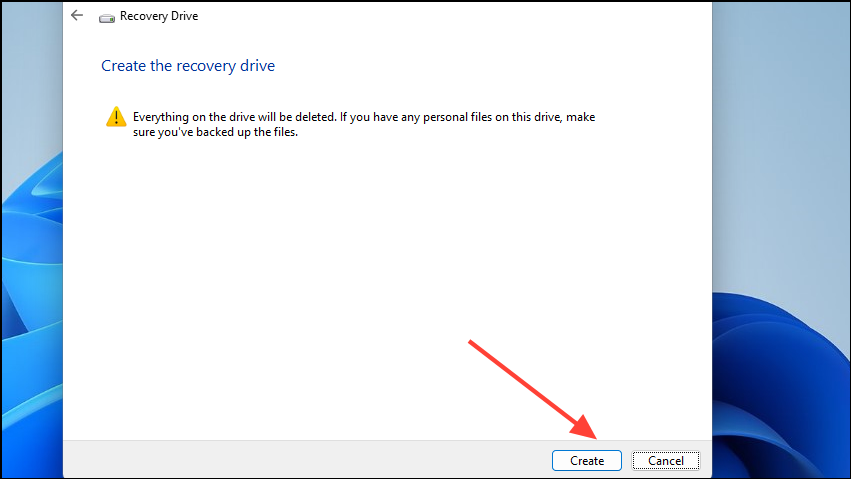
- Windows will show you a warning that all existing data on the USB drive will be deleted. Click on the ‘Create’ button to proceed.
- It can take some time for Windows to format the USB drive and create a backup of your system on it, so wait until the process is completed. Click on the ‘Finish’ button once it is done.
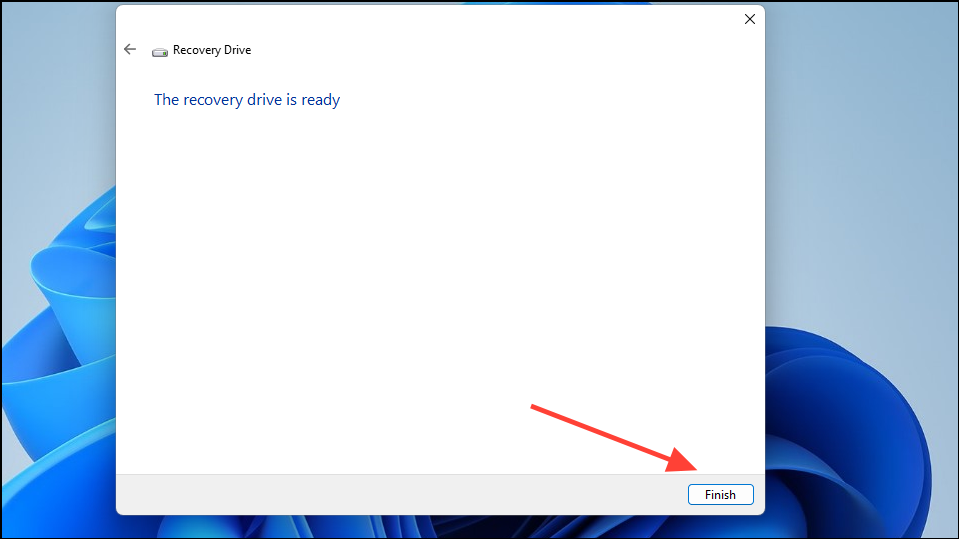
Now your Windows backup is ready, and you can just plug in the USB Recovery Drive and boot from it to recover your system whenever the need arises.
Install Your Favorite Browser
By default, Windows comes with Microsoft Edge, which, while featureful and fast, is extremely invasive and full of bloatware. So, you may want to install another web browser on your machine, especially if you are comfortable using something like Google Chrome or Mozilla Firefox.
- Launch Microsoft Edge, type Google Chrome, and click on the first link in the search results.
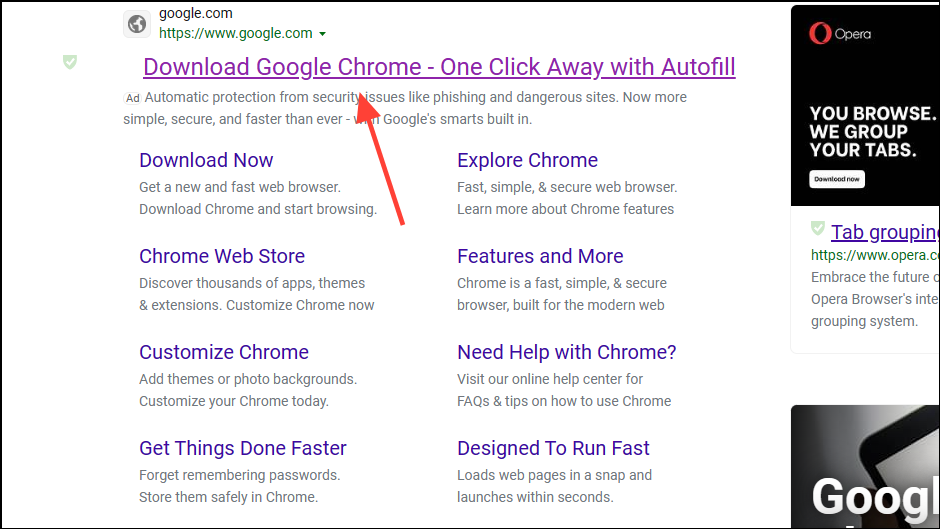
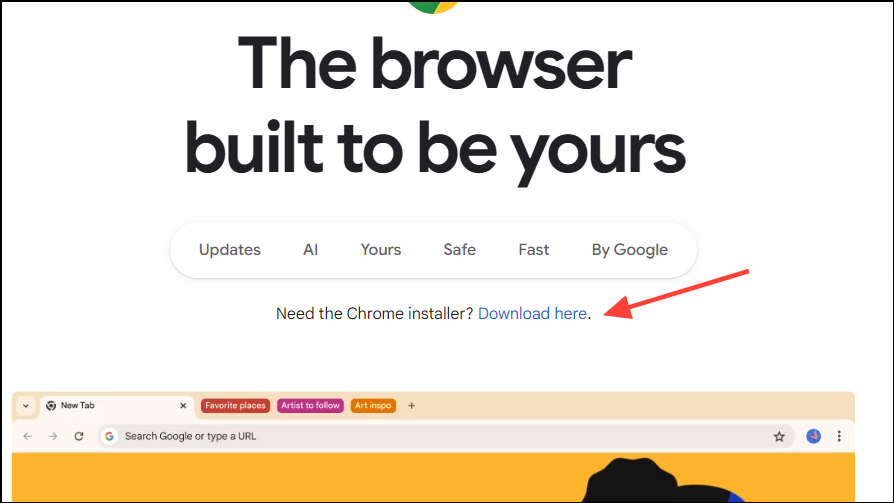
- On the Chrome download page, click on the download link.
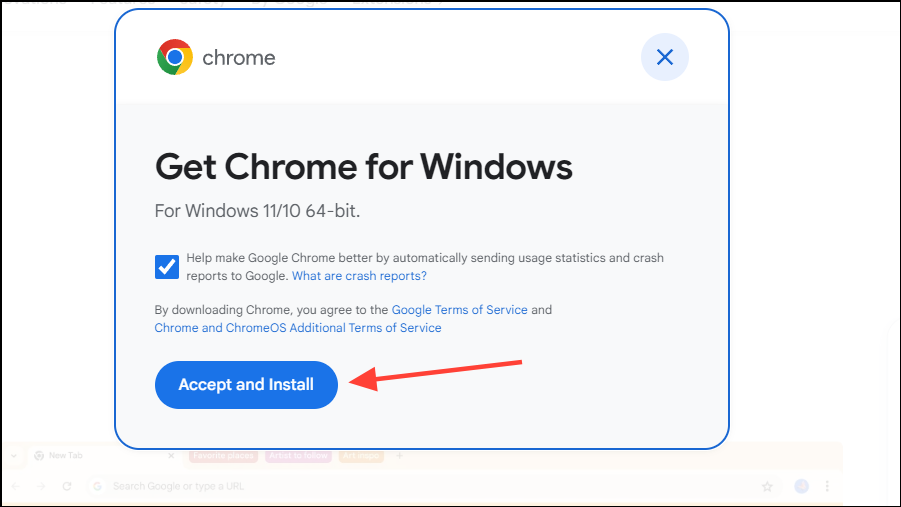
- When the downloader appears, click on the ‘Accept and Install’ button to accept the terms and conditions and start the download.
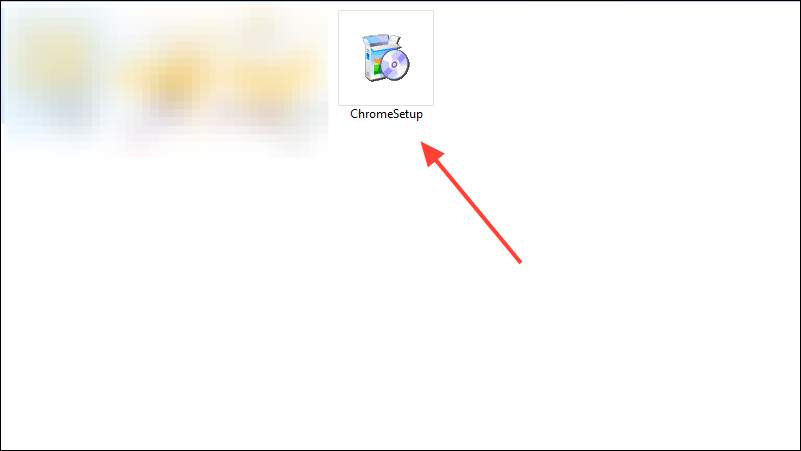
- Once the installer is downloaded, double-click on it to start installing Chrome on your system.
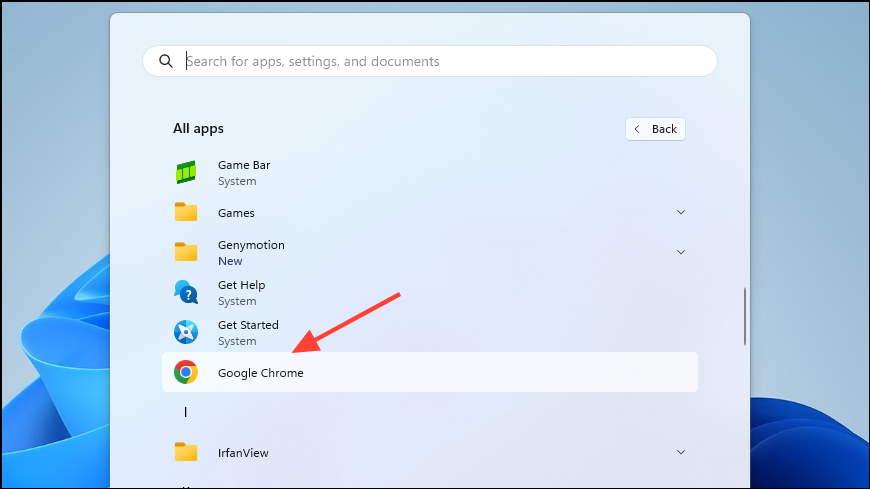
- You can start using the Chrome browser as soon as it is installed by clicking on its icon in the Start menu. If you want to install other browsers, the steps will be mostly the same.
Enable Find My Device
If you’ve got a new laptop with Windows preinstalled, or one on which you have just installed Windows, consider turning on the ‘Find My Device’ option. This can help you locate it in case it gets lost or stolen.
- Open the Settings app and click on the ‘Privacy and Security’ option on the left.
- On the ‘Privacy and Security’ page, click on the ‘Find My Device’ option.
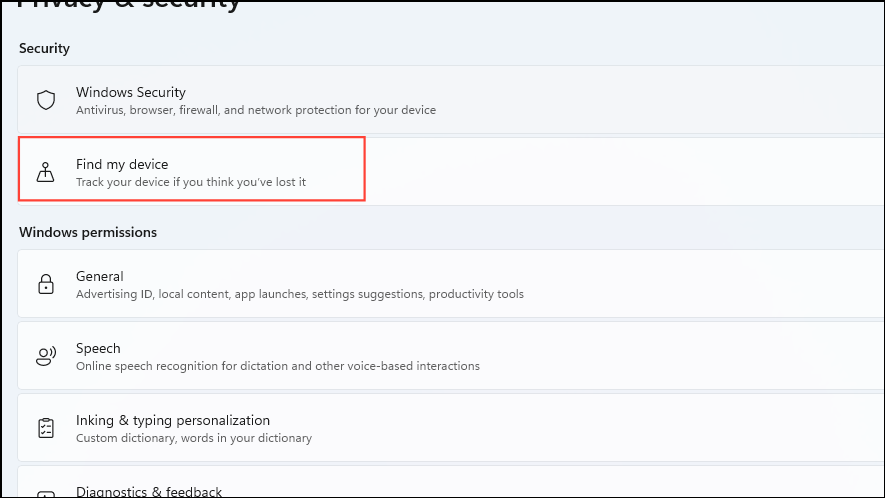
- Next, click on the ‘Find My Device’ button to enable it.
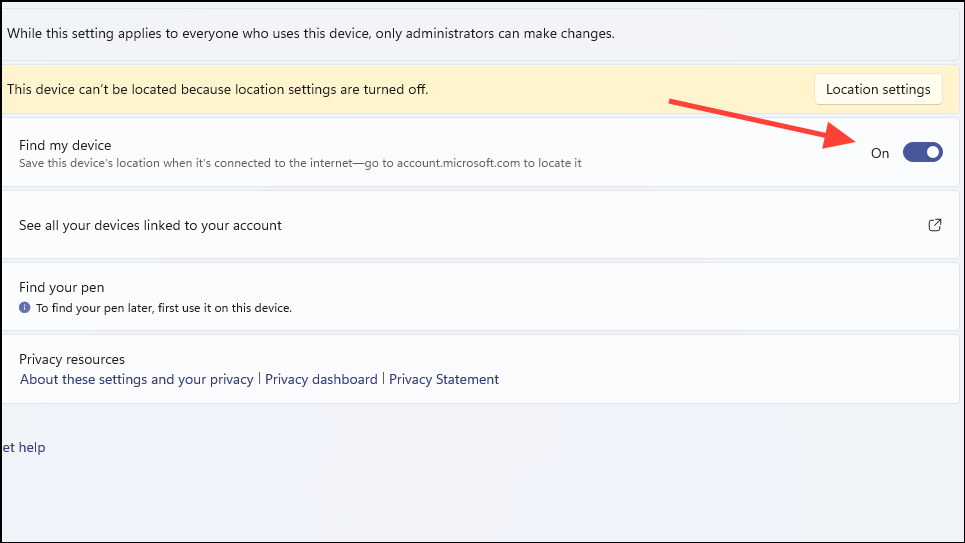
Turning this option will let you know the location of the device if it is misplaced through your Microsoft account. However, you will have to enable location access for this to work, so turn it on whenever you take your laptop outside.
Disable Unnecessary Startup Apps
Not only do Windows devices come preinstalled with bloatware that slows down your PC, there are several applications that are set to run by default when the PC starts up. These also consume system resources, impacting your computer’s performance. Turning some of these startup apps off can help prevent this.
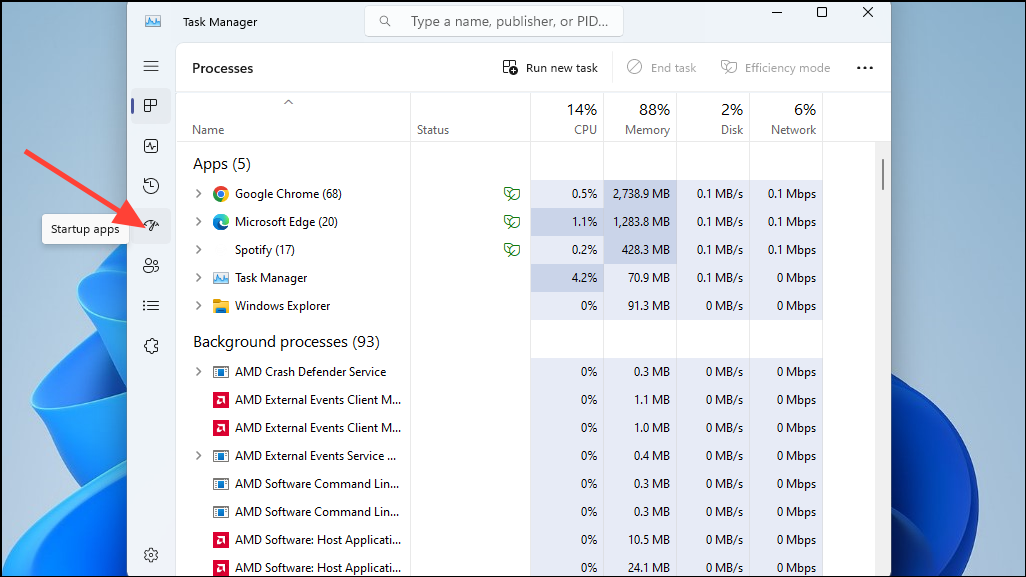
- Right-click on the taskbar and click on the ‘Task Manager’ option.

- The Task Manager will launch with the ‘Processes’ tab open. Switch to the ‘Startup Apps’ tab by clicking on it.
- Now, right-click on the application you want to prevent from starting up when Windows boots, such as Spotify. Then click on the ‘Disable’ option.
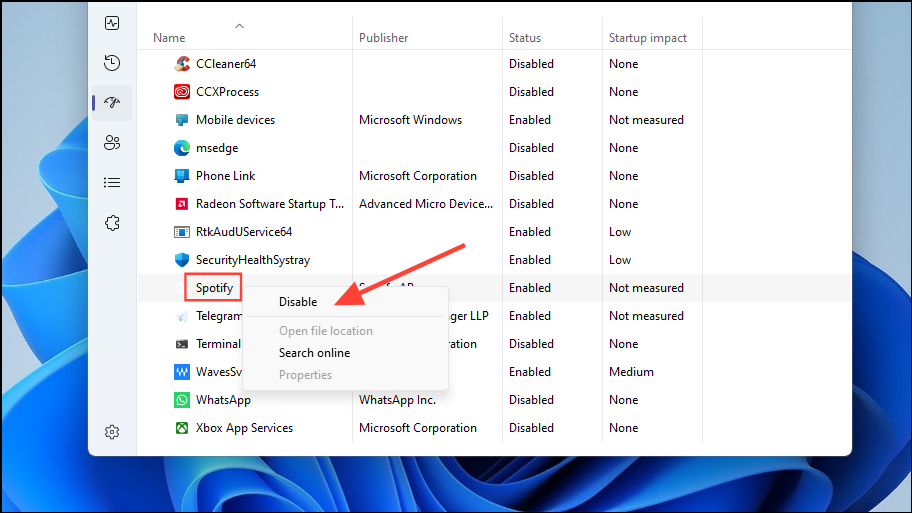
Do the same for all the other apps you want to prevent from starting when you boot up your computer.
Personalize Your Windows Desktop
Windows offers a lot of customization options that let you change how your desktop looks and feels. You can change the colors, theme, wallpaper, and more from the Personalization page.
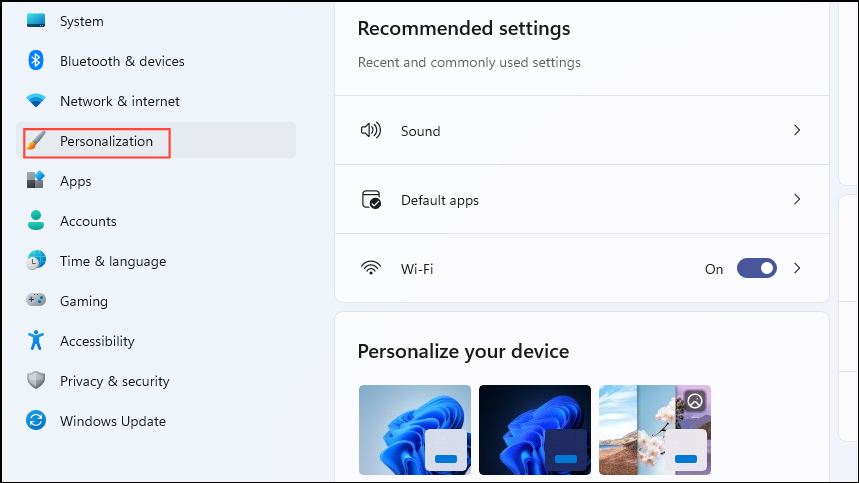
- Open the Settings app and click on the ‘Personalization’ option on the left side.
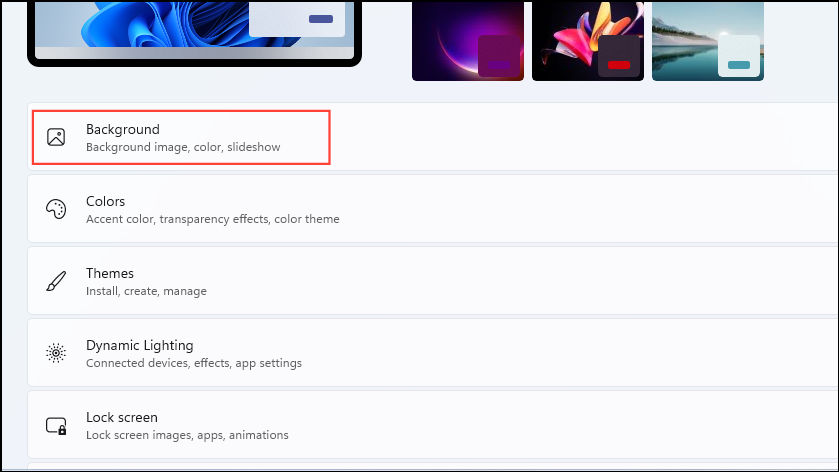
- Click on the ‘Background’ option on the Personalization page to change the background.
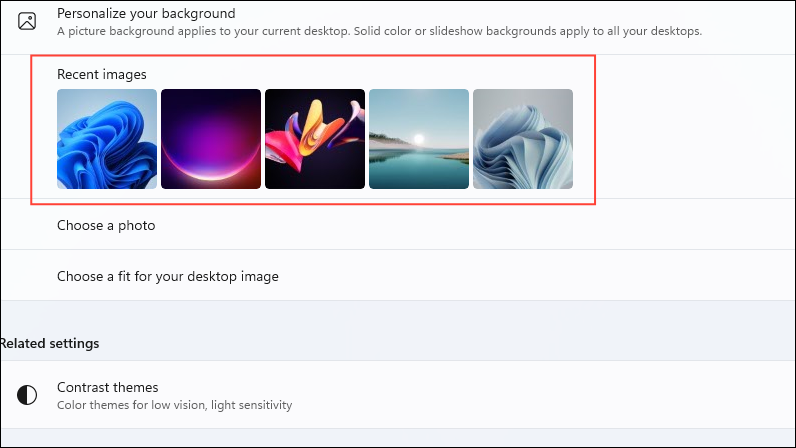
- You will see all of your recent images used for the background here. Click on any of them to set them as the background.
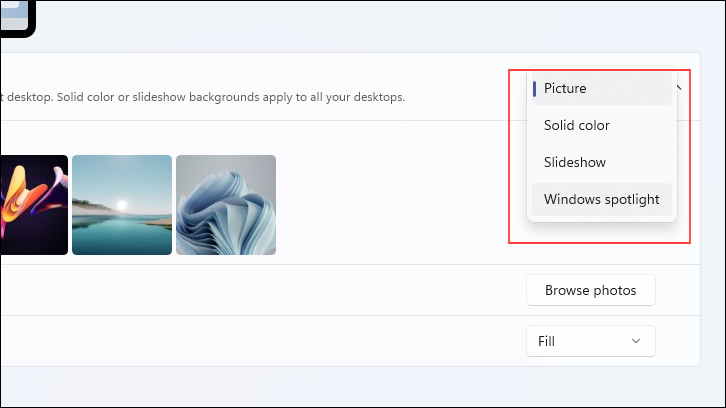
- If you want to set a custom picture as the background, click on the ‘Picture’ drop-down button on the right. This button also lets you set a solid color or photo slideshow as the background, or use Windows Spotlight, which automatically sets images from Bing as your background.
- Now go back and click on the ‘Colors’ option on the main Personalization page.
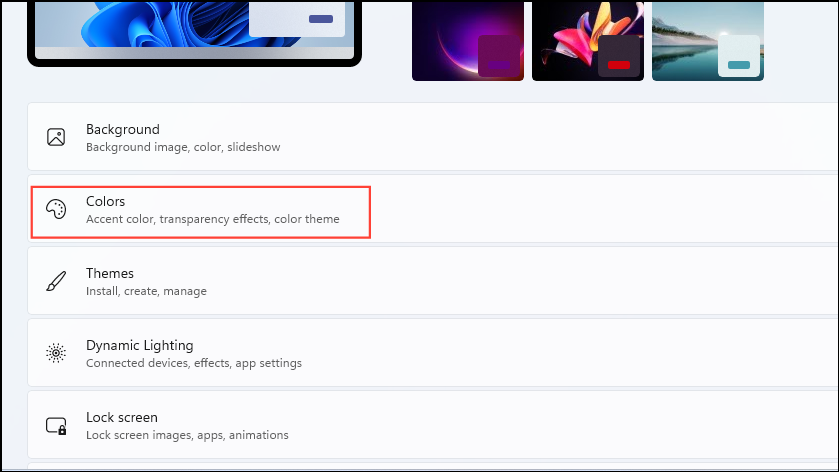
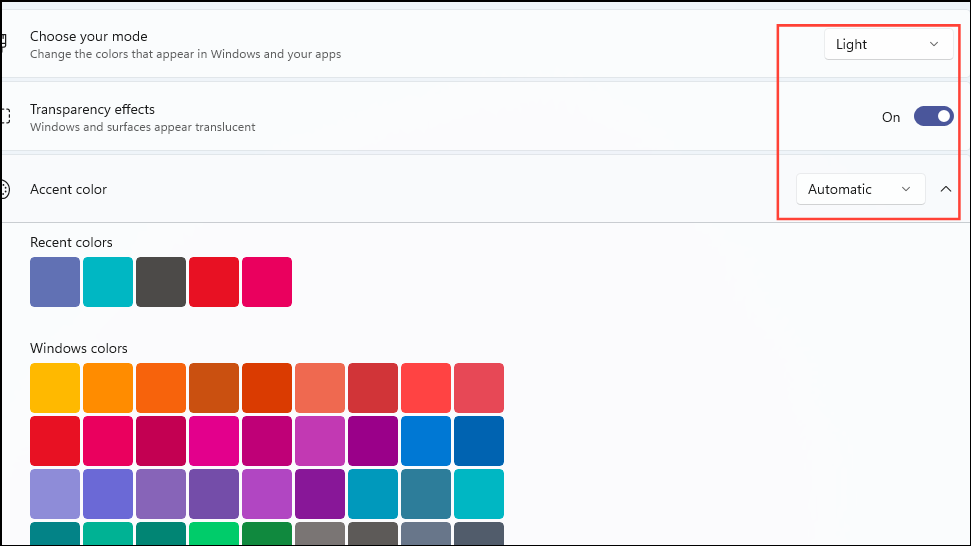
- The ‘Colors’ page lets you choose between light and dark settings, turn transparency options on or off, choose custom colors for accents, and more. Make the changes you want by clicking on the different options.
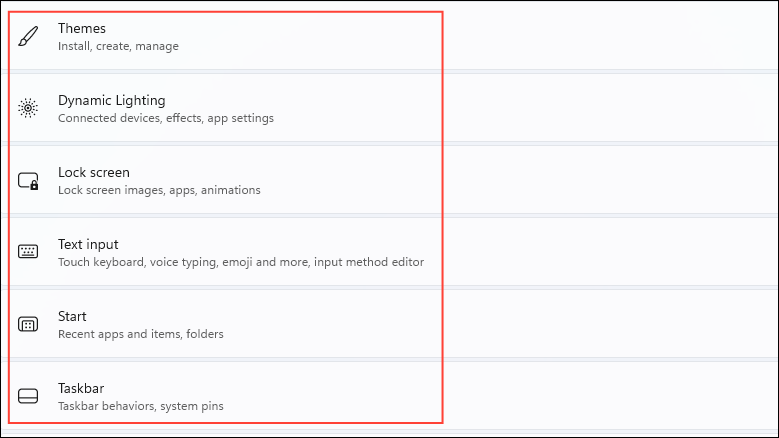
- The main Personalization page also has several other settings that let you customize different aspects of Windows, including the Start menu and taskbar. To change any setting, just click on the respective category and you will see the available options for it.
Adjust Windows Notifications
When Windows is first set up, all installed applications can send you notifications, which can be distracting and overwhelming. So, one of the things you should do while setting up your PC is to turn off the notifications you don’t need.
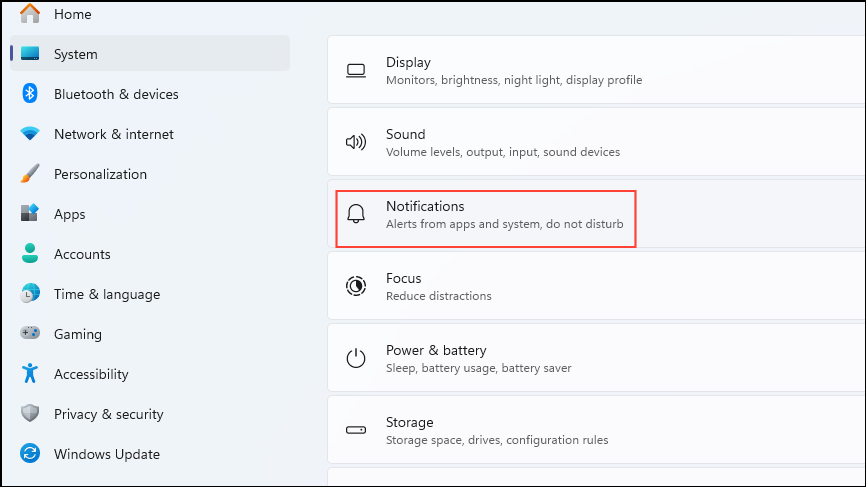
- Open the Settings app and click on the ‘System’ option on the left.
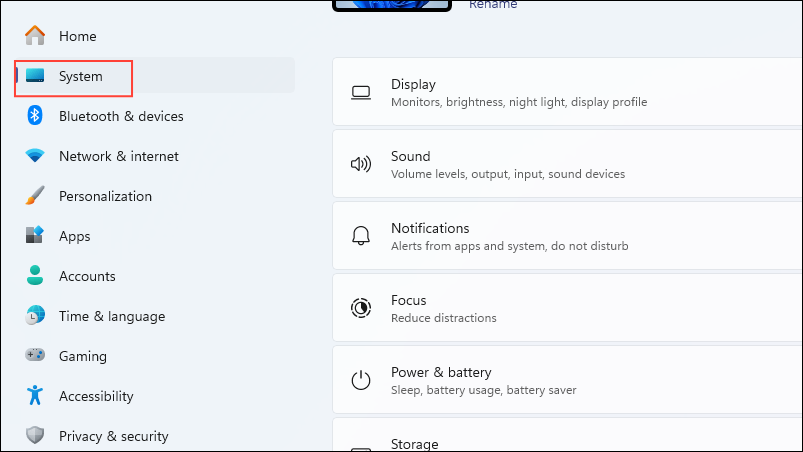
- Next, click on the ‘Notifications’ option.
- On the Notifications page, scroll down to the ‘Notifications From Apps And Other Senders’. Here, click on the buttons for the apps you want to stop showing you notifications.
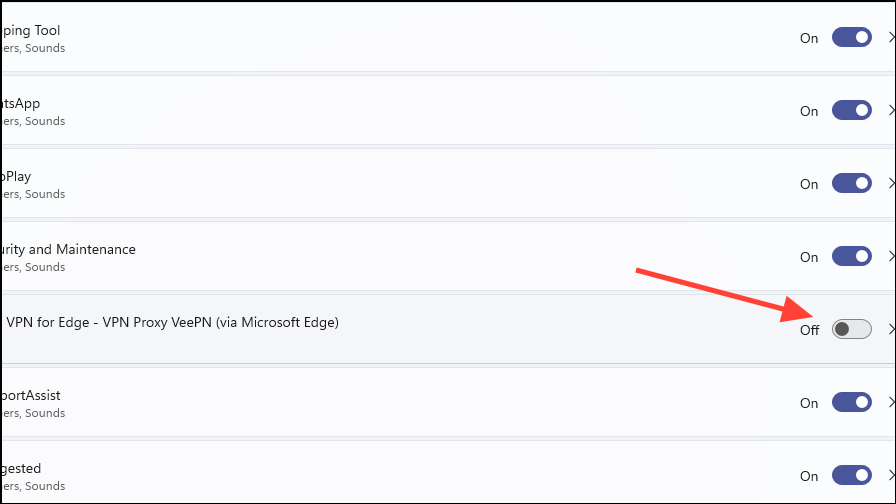
Turn off the notifications for unimportant applications but leave those for system apps on, as they can help provide useful information, such as if there are any issues with your PC.
Once you’ve completed the above steps, you can start using your Windows PC. There are just a few additional things you should check, such as whether your peripherals are working fine and whether your backup solution, such as OneDrive, is enabled.
You’ll also need to transfer your files from your old PC or from your cloud storage onto the system. However, these things will require time, so first make sure your PC is optimized and ready to use before you get down to those activities.