Switching to a new PC can be time-consuming, but if you’re making the shift to a whole new ecosystem, the whole prospect can be downright daunting. To get the most out of your PC, you need to set it up in a way that serves you the best. Of course, the definition of that will depend on how you intend to use your PC and will be different for everyone.
Still, there are a few things that everyone should do right away when initially setting up their Mac. This is after you’ve completed the initial setup, like signing up with your Apple ID, transferring any data from your previous PC, setting up Touch ID, etc. Let’s dive in.
1. Install Software Updates
The very first thing you should do after setting up your new Mac is check for and install any pending software updates. While your Mac would have shipped with the latest updates available at the time, new security and feature updates are released frequently.
- To check for software updates, open the ‘System Settings’ app on your Mac.
- Then, navigate to ‘General’ from the left menu and ‘Software Update’ from the right.
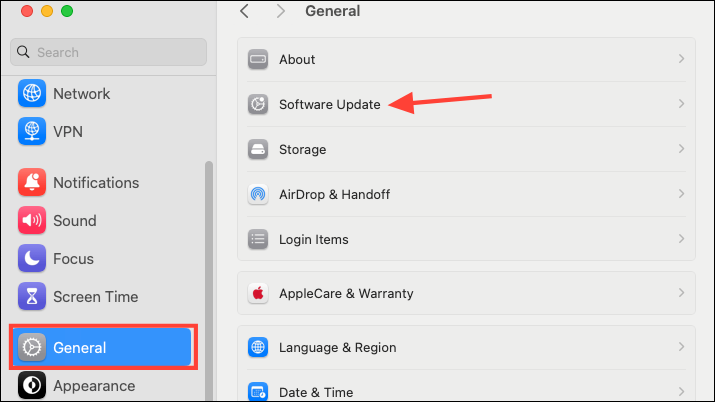
- If there are any updates available, install them.
2. Set Up FileVault
Macs are famous for being secure, so people generally don’t pay attention to any further security features. But that’s a mistake. FileVault is a security feature in macOS that provides an extra layer of security by protecting your data behind your login password.
While it’s a nice additional layer of security to have on Macs with Apple Silicons or T2 chips (which encrypt the data automatically), it should be considered an absolute necessity if you don’t have these Macs.
- To turn on FileVault on your Mac, go to
Settings>Privacy & Security. - Scroll down and click on the ‘FileVault’ option.
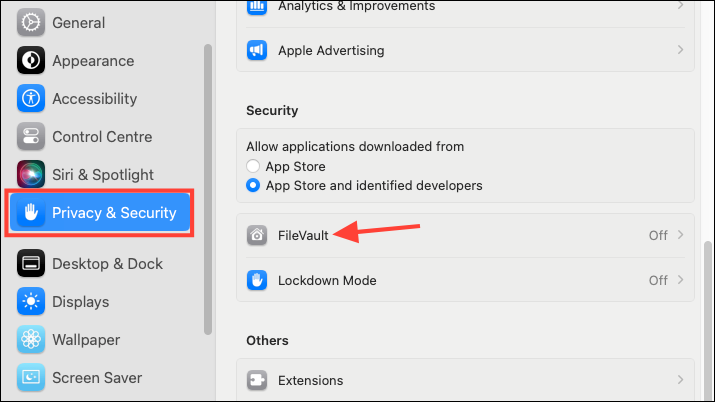
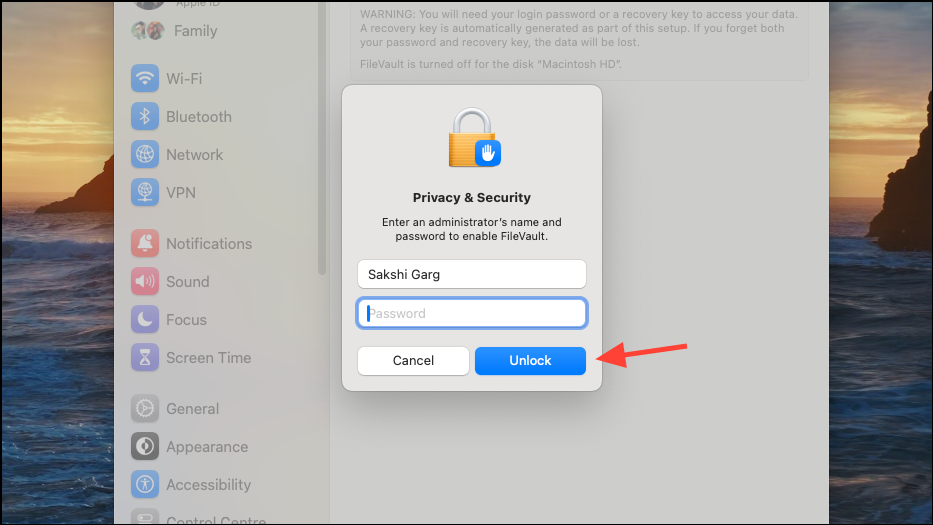
- Click on ‘Turn On’ to enable FileVault.
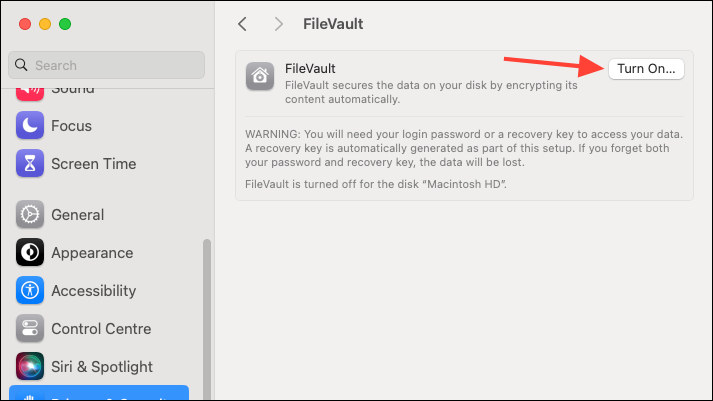
- Enter the administrator account name and password and click on ‘Unlock’ to proceed.
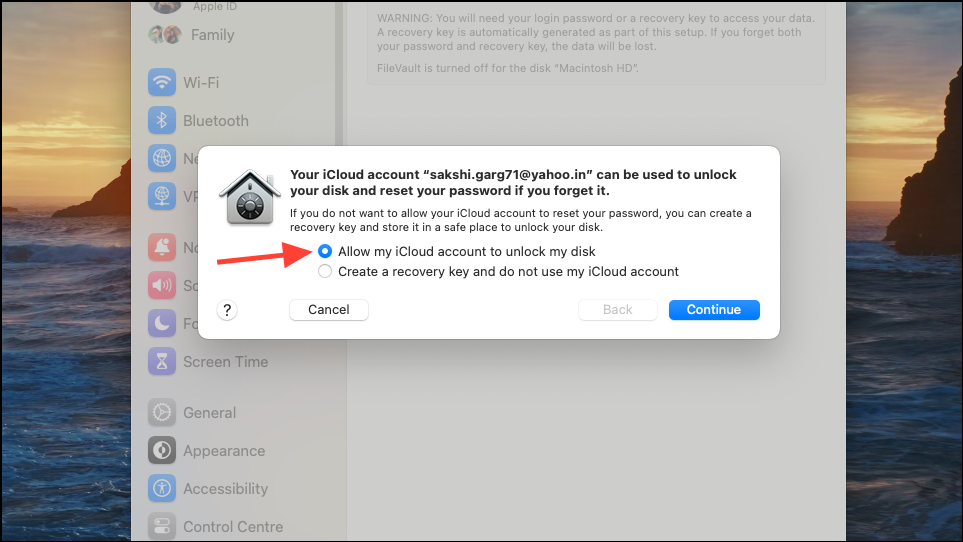
- Then, choose whether you want to use your iCloud account or create a Recovery key to unlock your disk in case you forget your Mac’s password.
3. Organize Your Dock
Dock is one of the quintessential parts of the Mac experience. But new users often don’t pay attention to it. However, you can tweak the Dock according to your preferences for a more personalized experience.
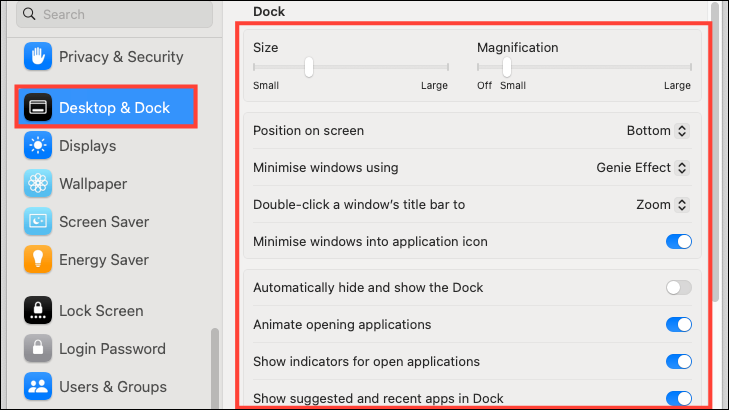
- Open the Settings app and navigate to ‘Desktop & Dock’ from the left.
- Here, you can customize your Dock settings, like the position of the Dock, magnification effects, whether you want to use the Genie effect for minimizing apps or not, automatically showing/ hiding the dock, etc.
- Go through the settings and customize them according to your preferences.
4. Enable Third-Party App Downloads
As I said before, Macs are infamous for their security. But to implement that security, many measures are put into place. One such security measure you’ll find on your Mac is that it only allows downloading of apps from the App Store.
However, there is an abundance of great macOS apps that you can download only from the Internet as they never make it into the App Store. And you can easily experience these apps by changing this one setting.
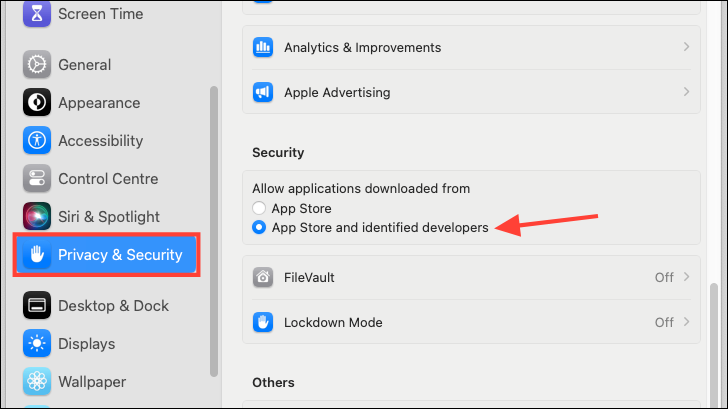
- Open the System Settings app on your Mac and navigate to ‘Privacy & Security’.
- Scroll down and select ‘App Store and identified developers’ under the ‘Security’ section, instead of simply ‘App Store’ which will be the default setting.
5. Set Up Hot Corners
If you don’t take advantage of the Hot Corners on your Mac, you’re missing out. With Hot Corners, you can speed up certain actions by accessing apps or settings quickly from the corners of your Mac screen, just like keyboard shortcuts.
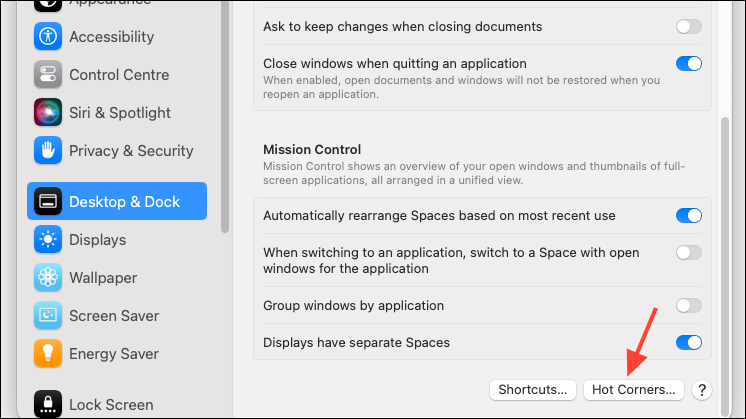
- Open the Settings app and navigate to ‘Desktop & Dock’.
- Scroll down and click the ‘Hot Corners’ button.
- Then, select the corner you want to configure and click on the drop-down menu to select an action.
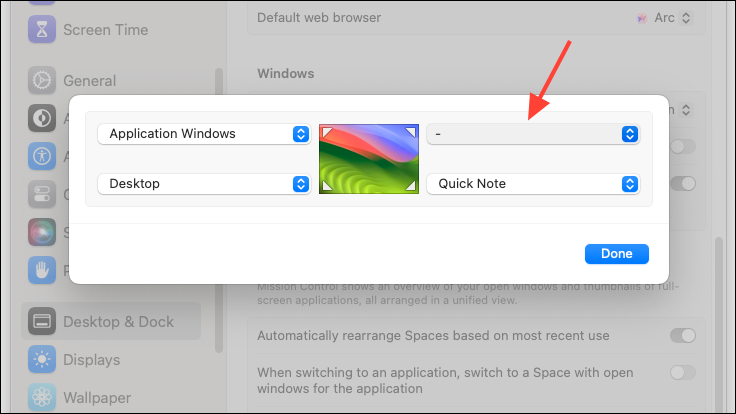
- There are 11 actions available to choose from. Click on the one you want to assign.
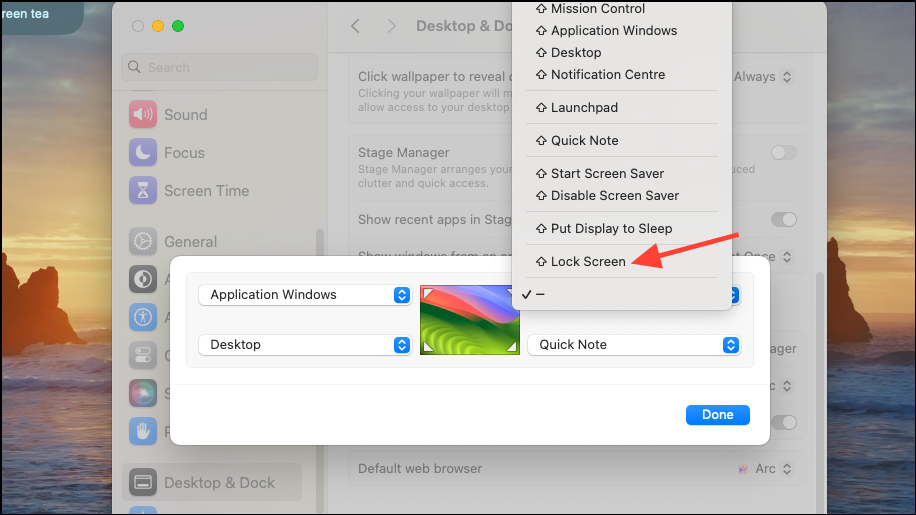
- You can also press one of the keys, like
Cmd,Shift,Option,Ctrl(or a combination of them) to trigger the hot corner more deliberately instead of accidentally triggering it with a simple mouse hover.
6. Tweak Notification Settings
Tweaking notifications the way you prefer them is conducive to a productive work environment. Getting bombarded with unnecessary notifications is only going to distract you.
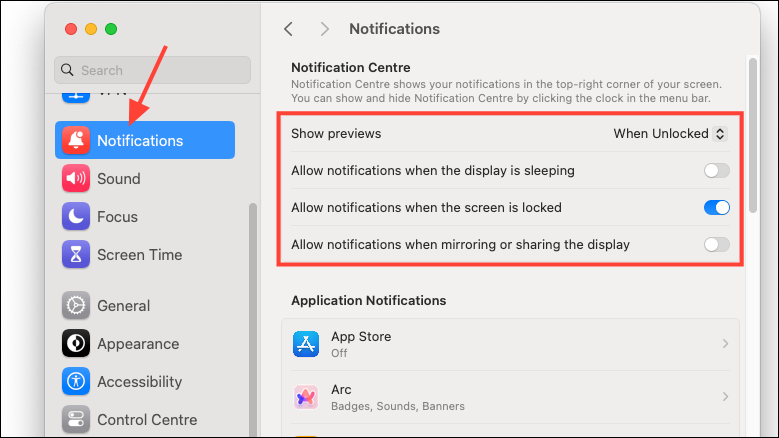
- Open the Settings app and go to ‘Notifications’.
- You can manage overall notification settings, like when to see the previews, and when to receive the notifications, from the options at the top.
- Next, select the individual app you want to tweak the notifications for.
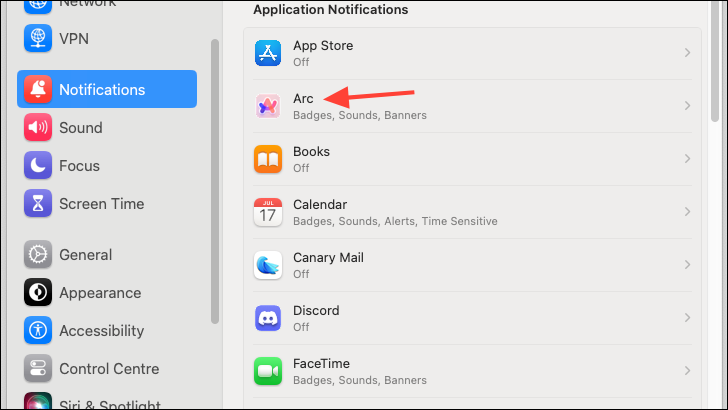
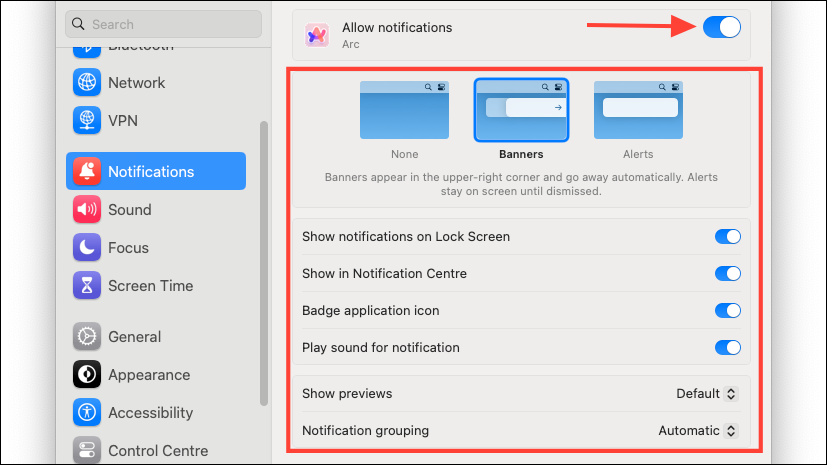
- On the next page, you can manage the notifications for the app. Choose whether you want to allow the notifications for it, and how to receive them.
7. Customize the Appearance
The next absolute thing you should do on your Mac is change the appearance to customize your desktop according to your preferences.
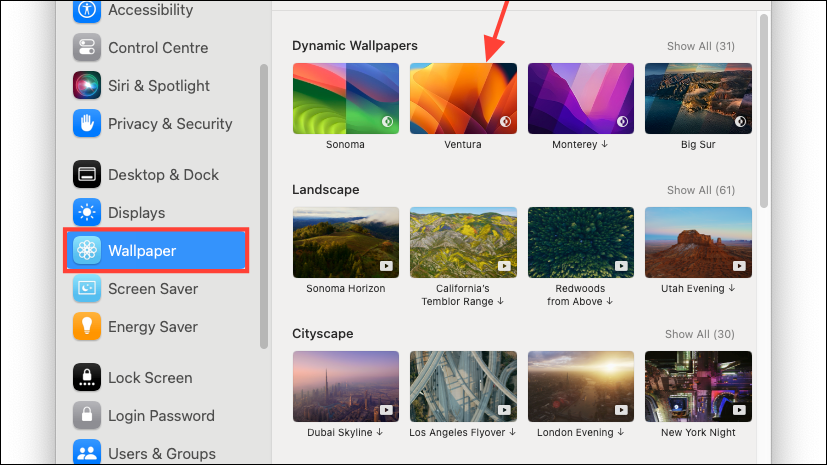
- Open the Settings app and navigate to ‘Wallpaper’. Select a wallpaper from the many wallpapers provided by Apple, or set your own wallpaper.
You can also create your own custom dynamic wallpaper for Macs.
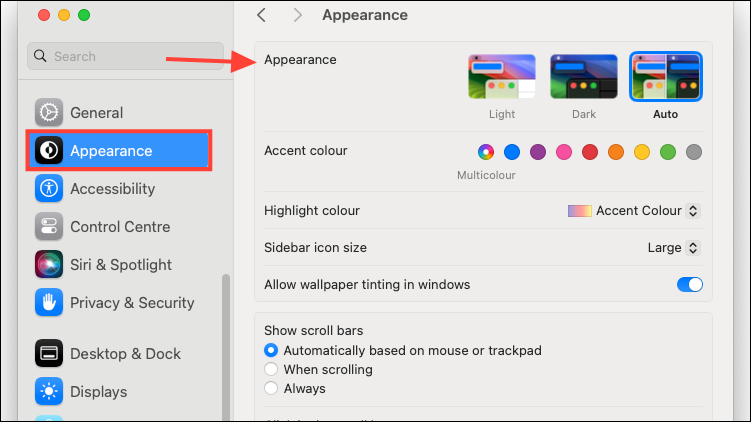
- Next, go to ‘Appearance’ from the left menu.
- Here, you can customize the rest of the appearance, like using the light/ dark/ auto mode, accent colors, highlight colors, etc.
8. Set Up System Backups
Backups are super important as you can recover your data in case of any mishaps, but only when you create backups regularly. With an external storage device at your disposal, you can use the Time Machine feature on your Mac to create regular backups.
- Connect your external disk to your Mac.
- Then, open the Settings app and navigate to
General>Time Machine.
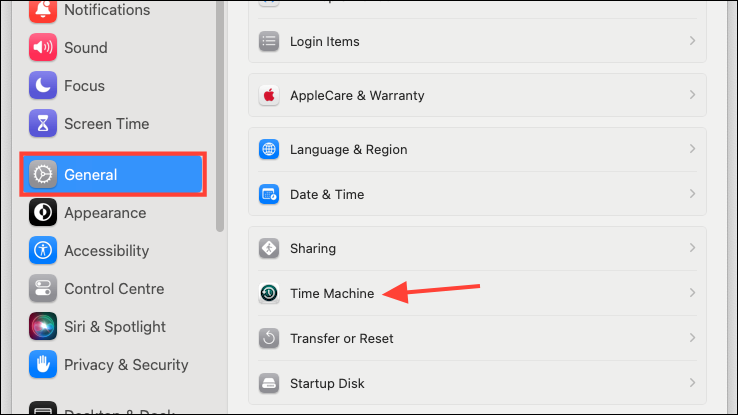
- Next, click on ‘Add Backup Disk’ and select the disk you connected.
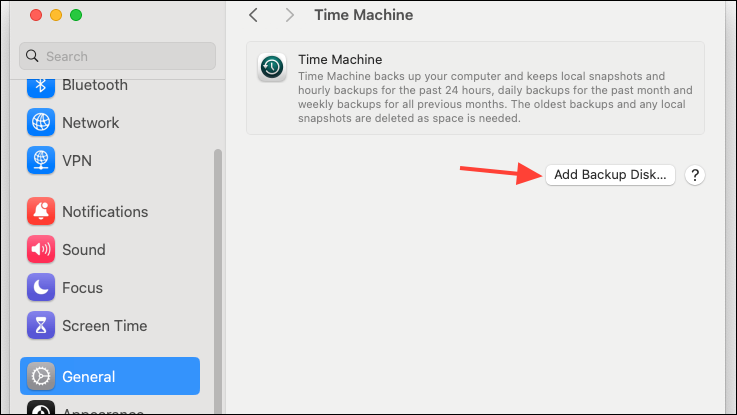
- Time Machine will then start creating regular backups to your connected disk.
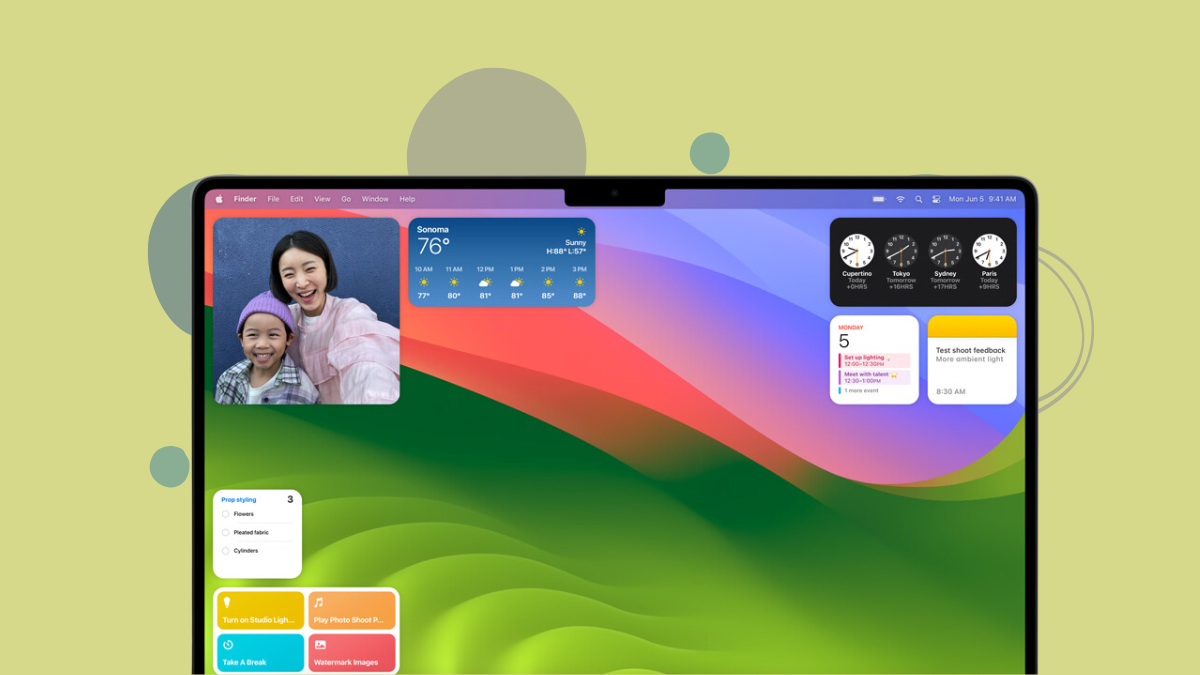
9. Customize Widgets
Widgets can be super helpful in providing you with information at a glance. With macOS Sonoma, you can also place Widgets on your Home Screen and even use Widgets from your iPhone.
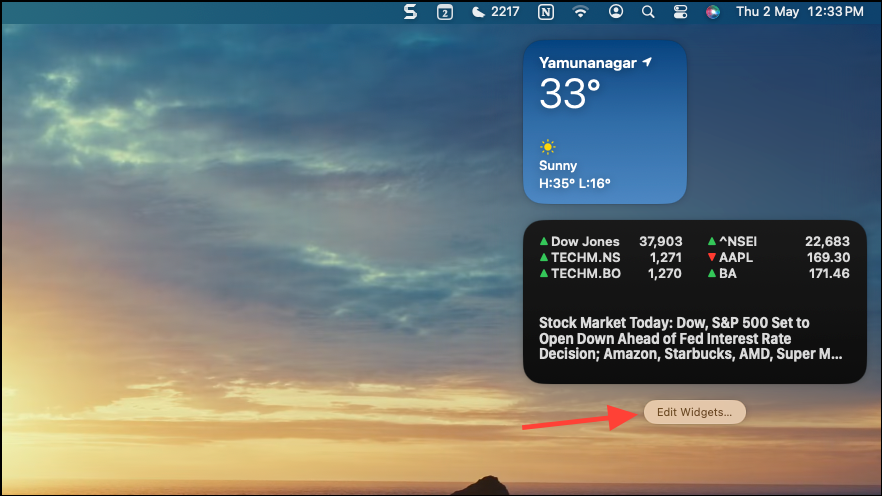
- To use widgets on Mac, click the date and time from the menu bar to open the Notification Center.
- Then, click on ‘Edit Widgets’ at the bottom.
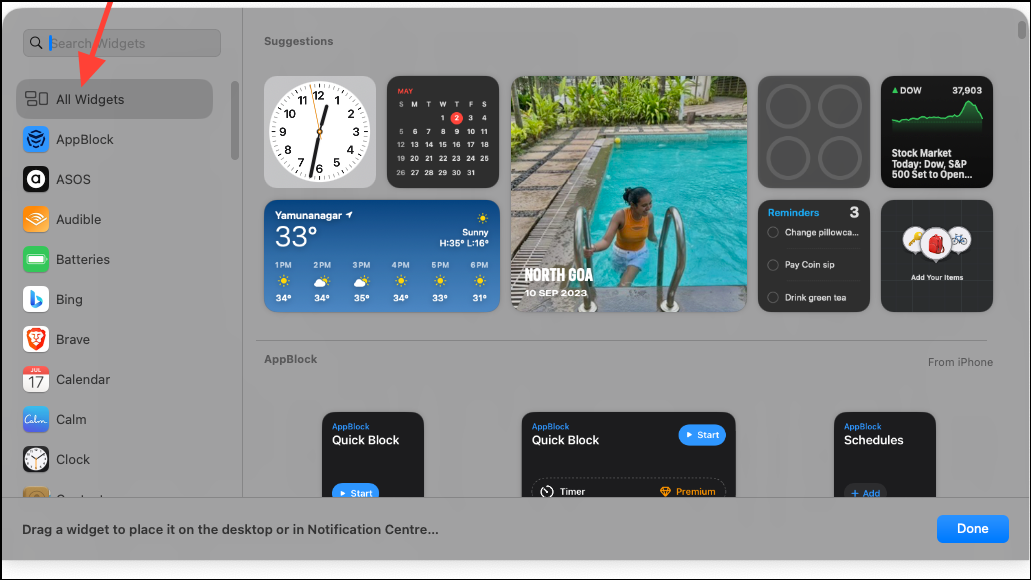
- You can now select the widgets you want to use from the widget gallery.
To learn how to add widgets to your Home Screen, check out our dedicated guide.
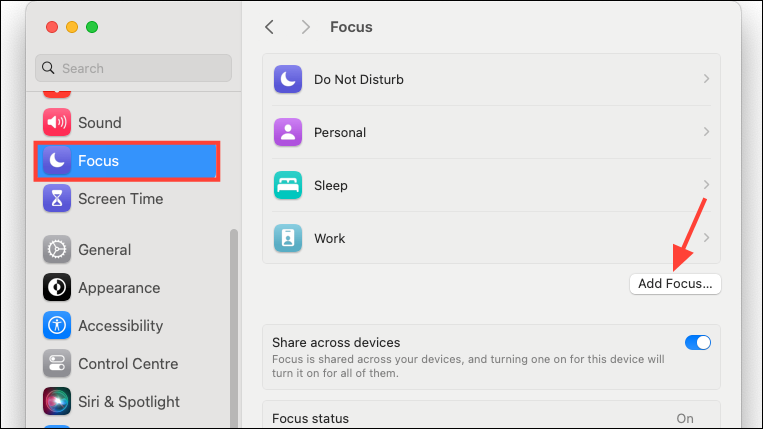
10. Set Up Focus Profiles
If you previously used a Mac or an iPhone/ iPad where you have Focus Profiles set up, you won’t need to worry about this setting. But if not, you should get to setting up Focus Profiles on your Mac right away. These customized versions of DND can help you stay focused on the task at hand, whether it’s for Work or Personal, by minimizing other distractions like a pro.
- To set up Focus Profiles, open the ‘Settings’ app and go to ‘Focus’ from the menu on the left.
- Then, either customize one of the given Focus modes or click on ‘Add Focus’ to create a new one.
You can learn more about setting up Focus Profiles on macOS Ventura and above from our dedicated guide below.
These are just a few of the things you should set up and tweak right away after getting your new Mac. You should also pay attention to the pre-installed apps, uninstall any you don’t need, and visit the App Store to install other required apps. Once your Mac is optimized the way you want it, you can get on with your day.