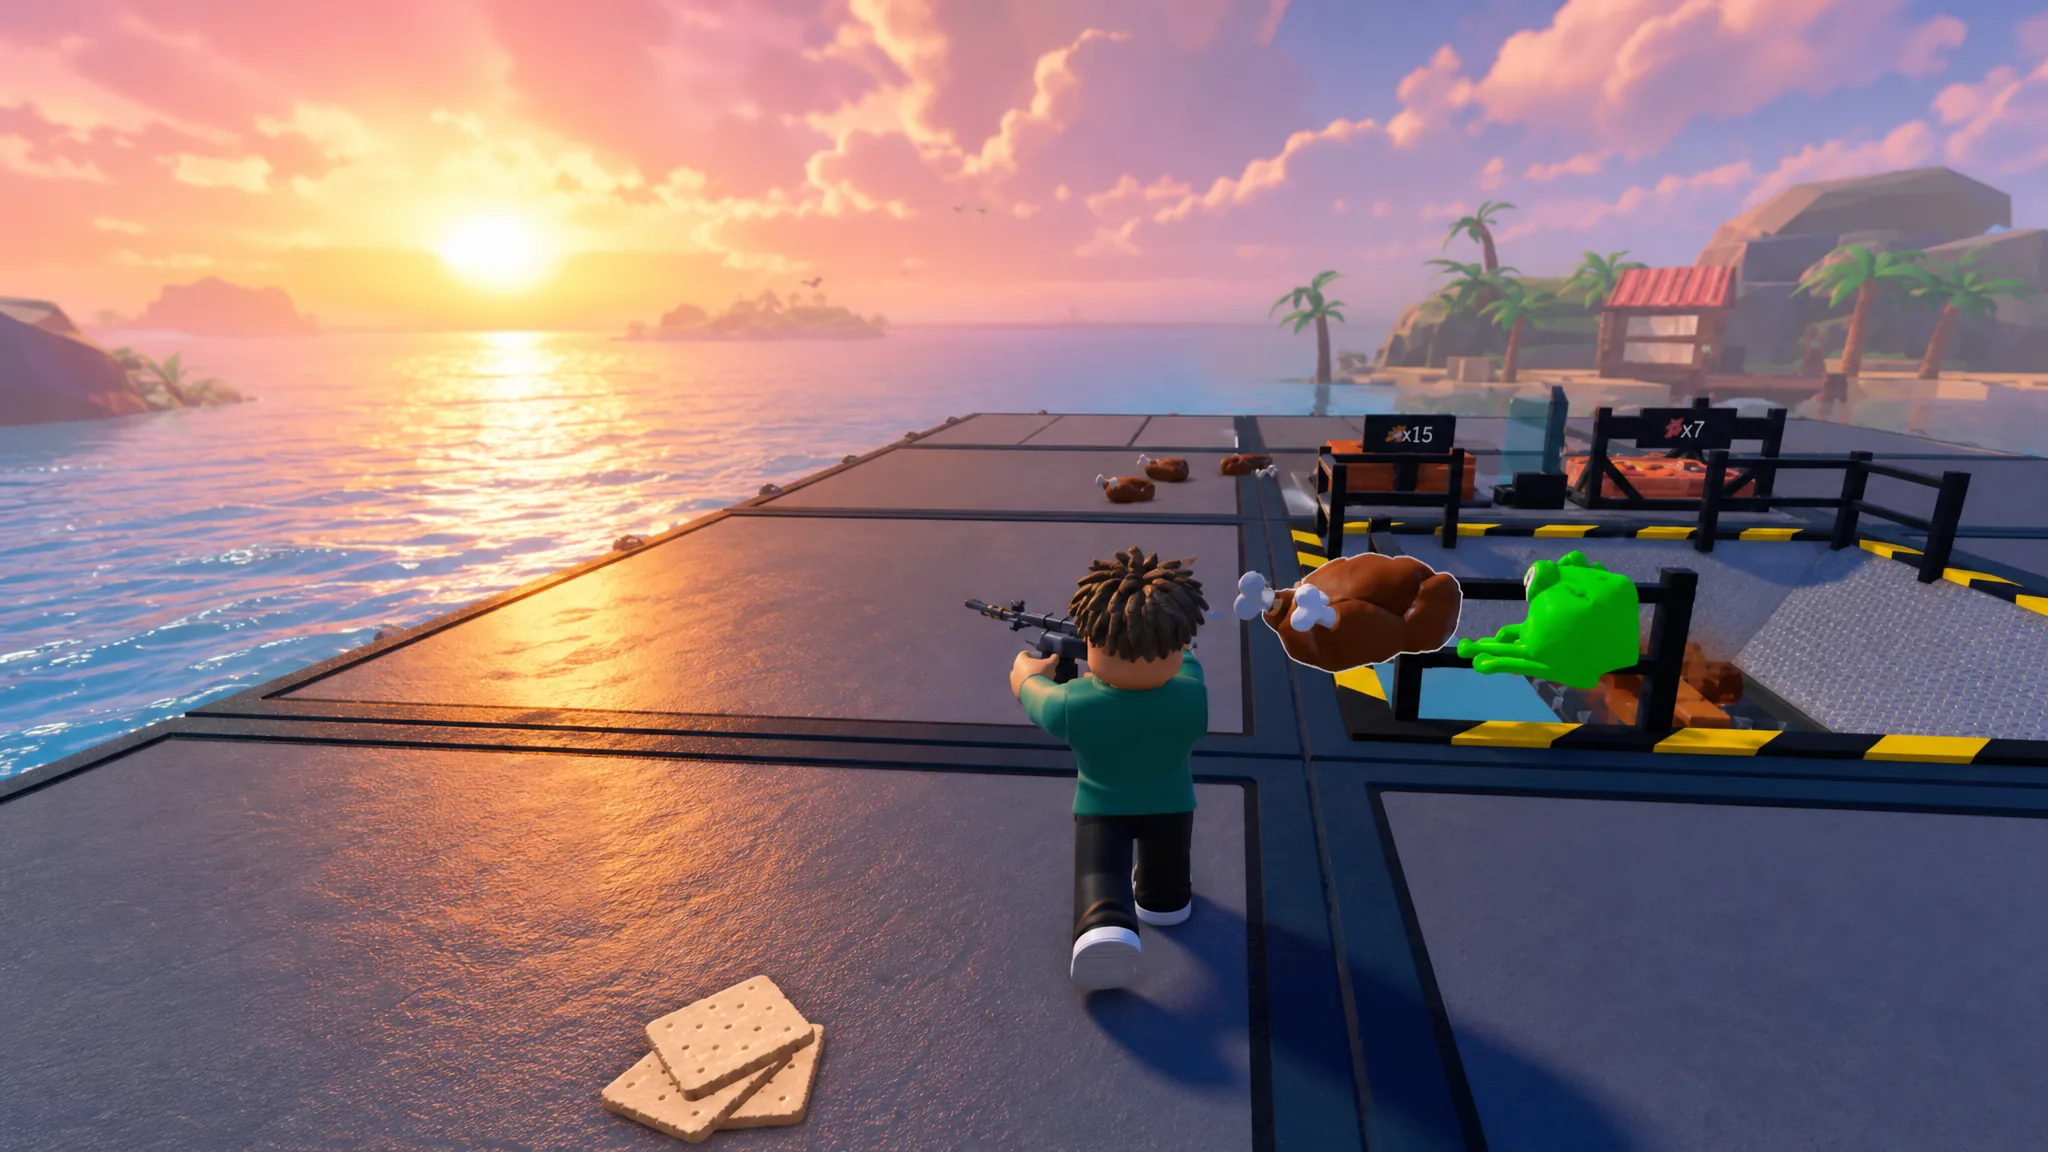
Reaching Day 100 in 100 Days at Sea comes down to fixing three problems early and keeping them fixed: constant hunger, a shortage of metal, and raids that get harder every night. Get your build order, your food supply, and your defenses locked in, and the pirate attacks, giant fish, and Kraken fights stop being run-enders.
Quick answer: Craft a Crab Trap, then a Cooking Pot, then both Magnets, then an Ammo Factory and Log Saw. Buy and unlock the Pizza Oven for food, clear the Cargo Ship for the Revolver, Rifle, and Lightning Rod, and stockpile ammo before the Day 99 boss fight. Survive that and a helicopter picks you up on Day 100.
Early build order for the first few days
The opening days decide whether your run stabilizes or stalls. Craft a Crab Trap before anything else, then follow it with a Cooking Pot. Building a Cooking Pot first is a wasted effort because you have nothing to cook without the trap feeding you ingredients.
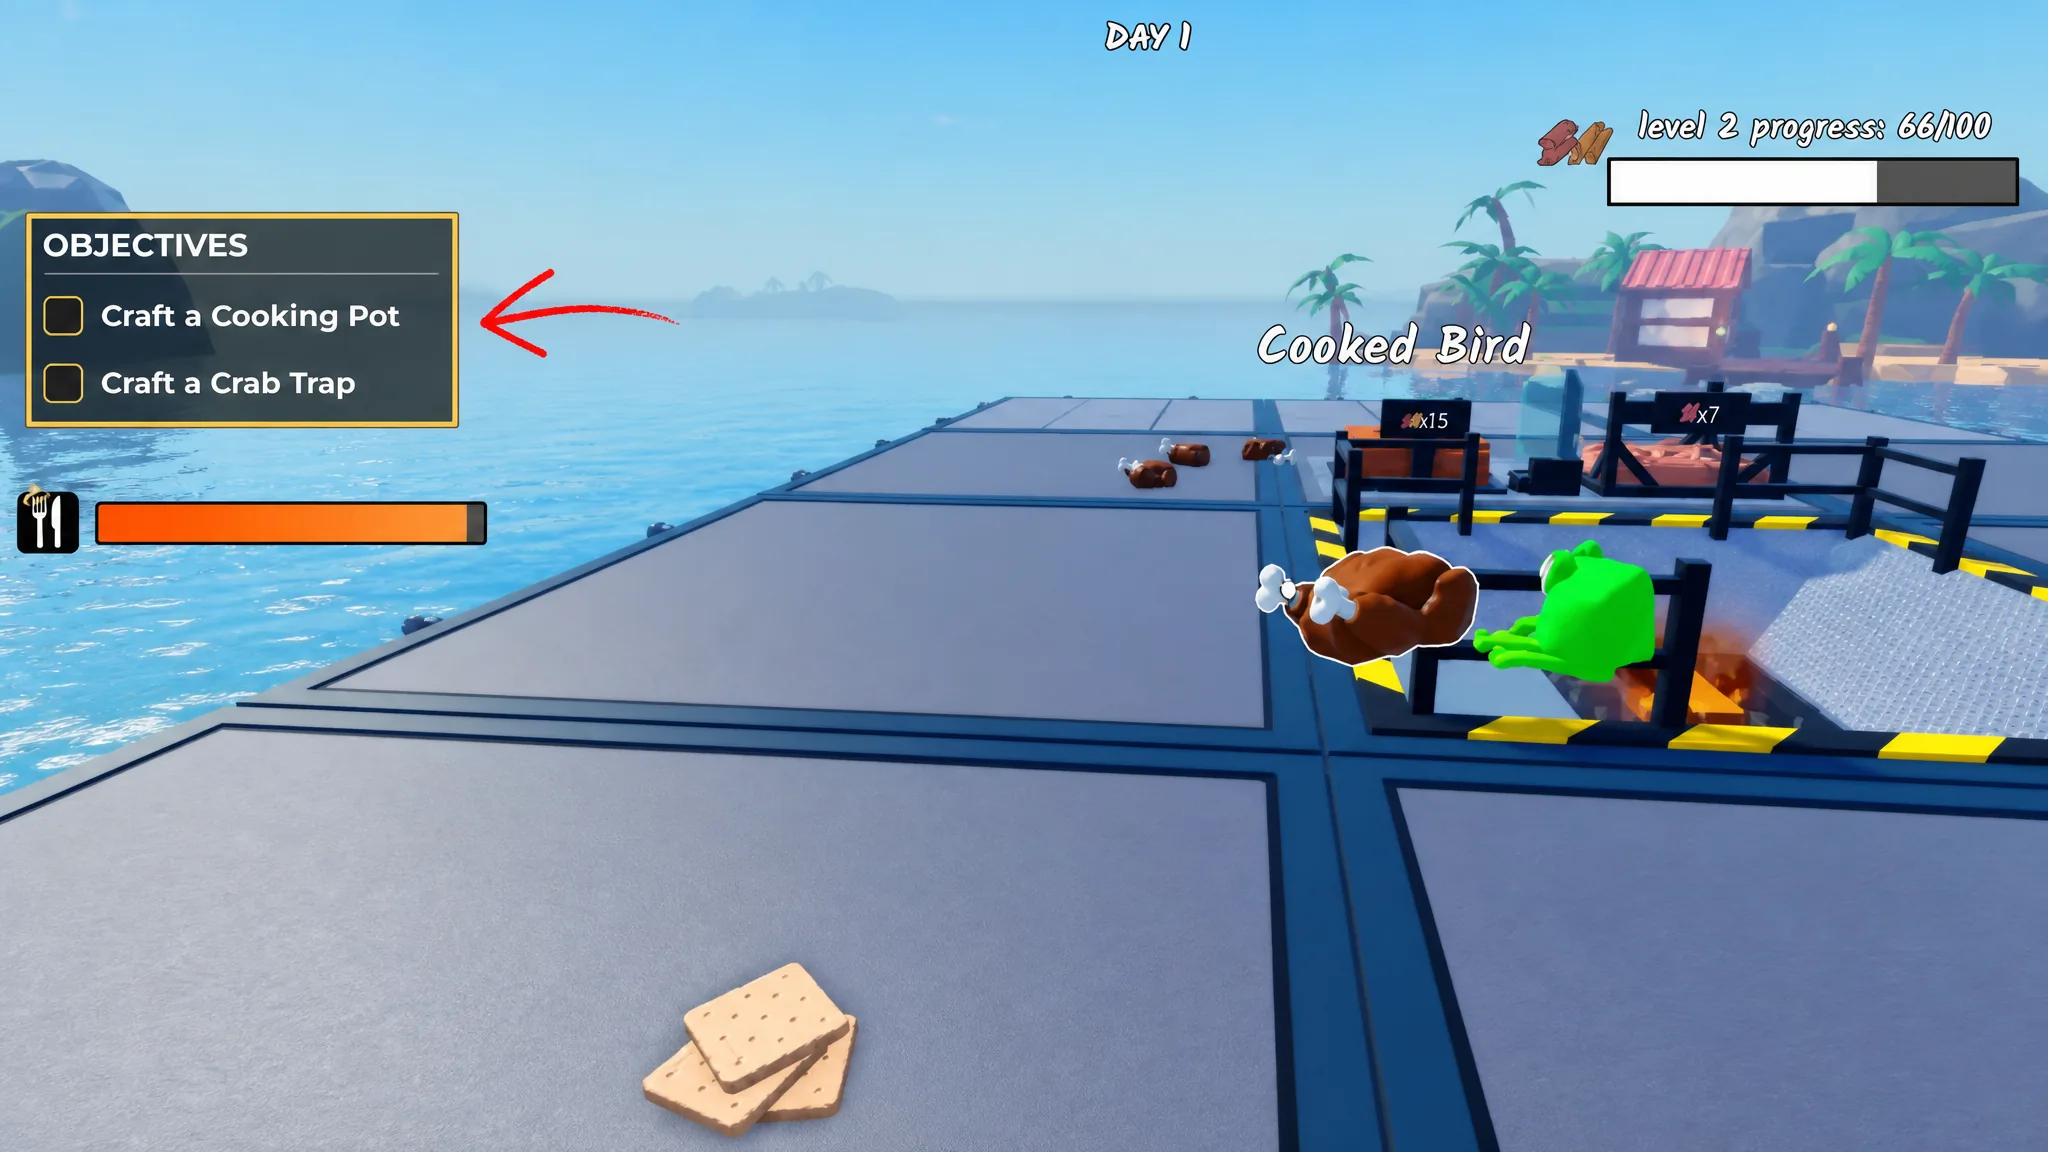
Next, prioritize your Magnets. They pull metal up from the ocean floor, they cost nothing to run, and metal is the bottleneck for nearly everything you build later. You can only make two Magnets total, so craft both and drop them back into the water the moment they surface.
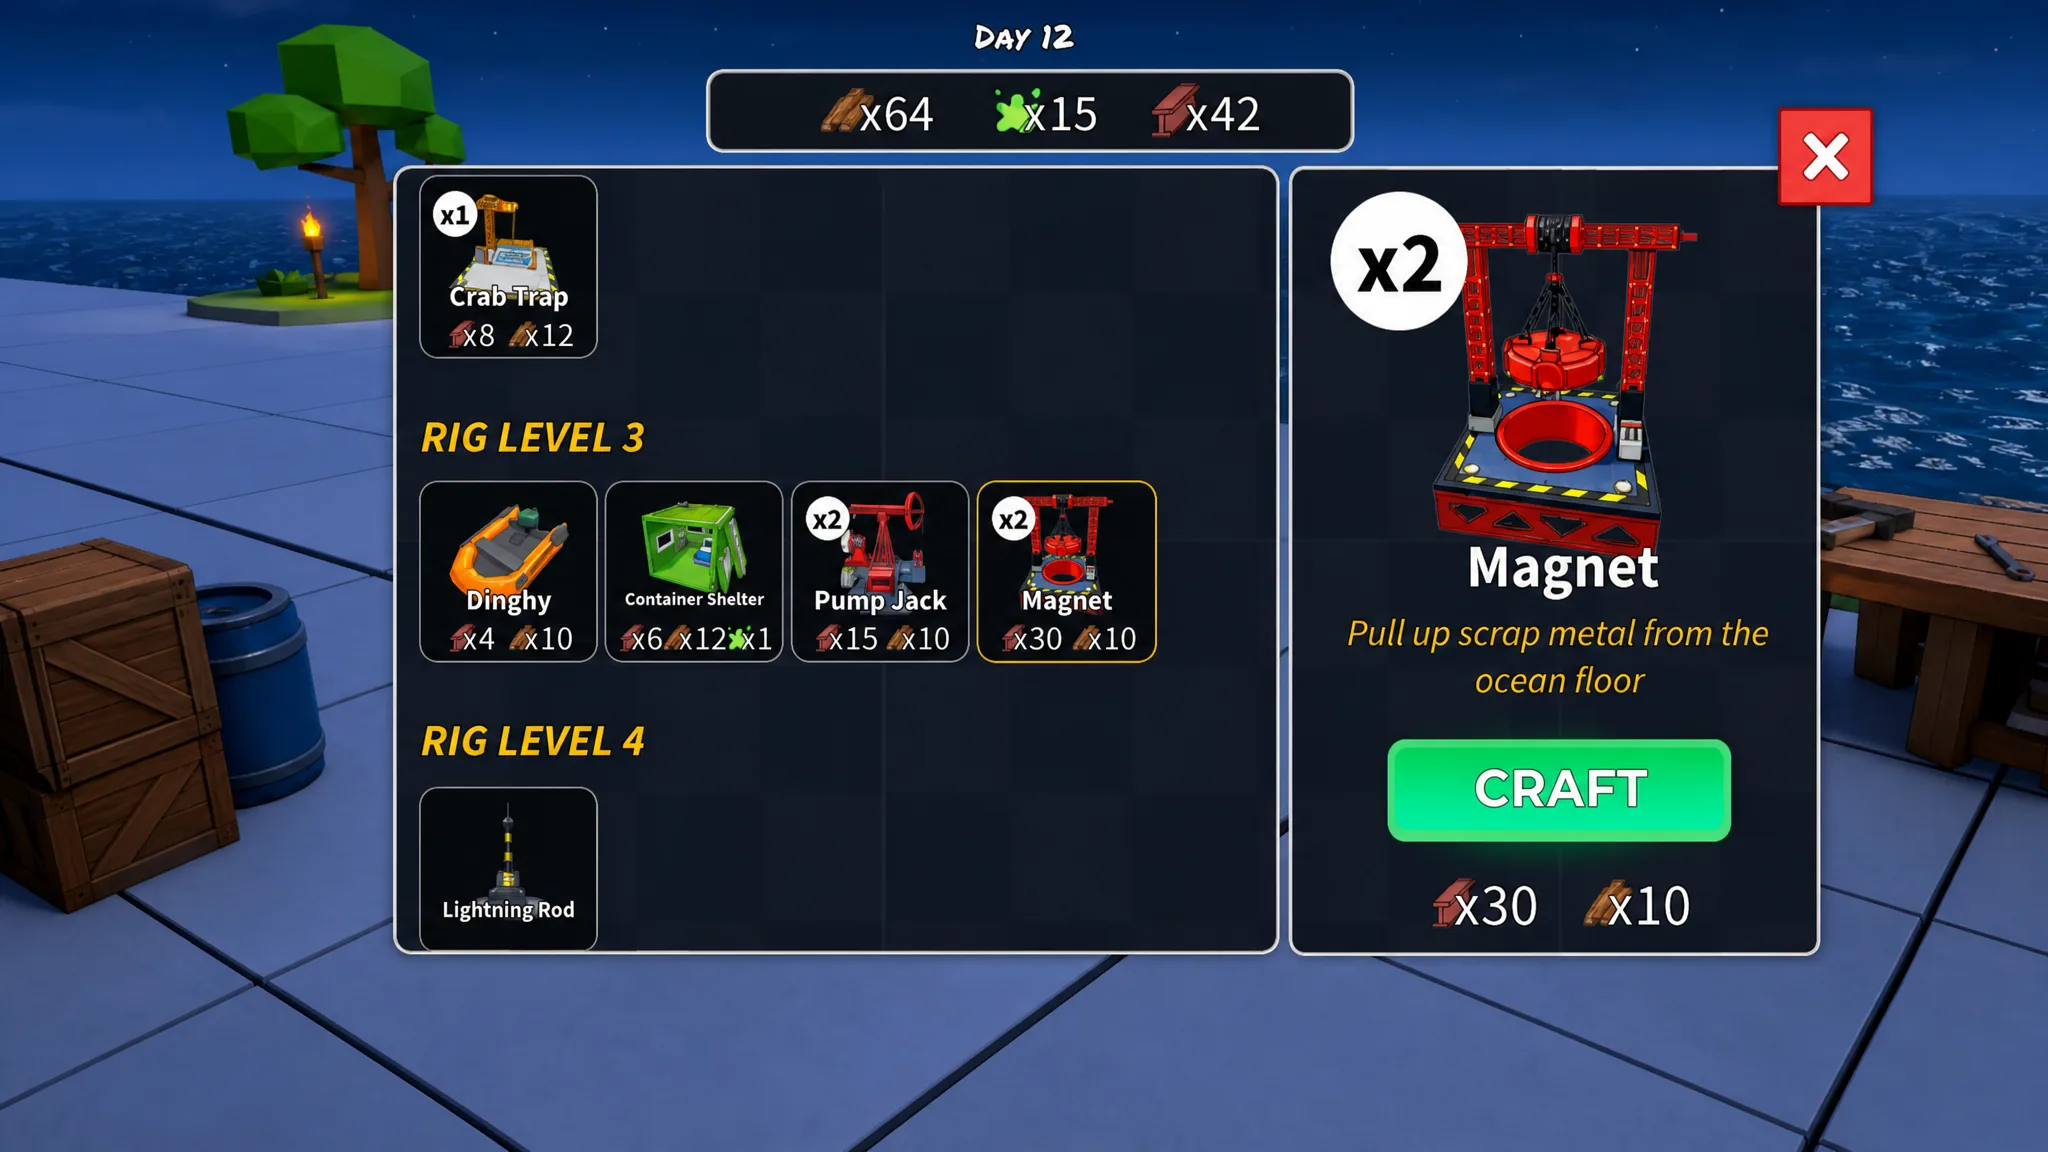
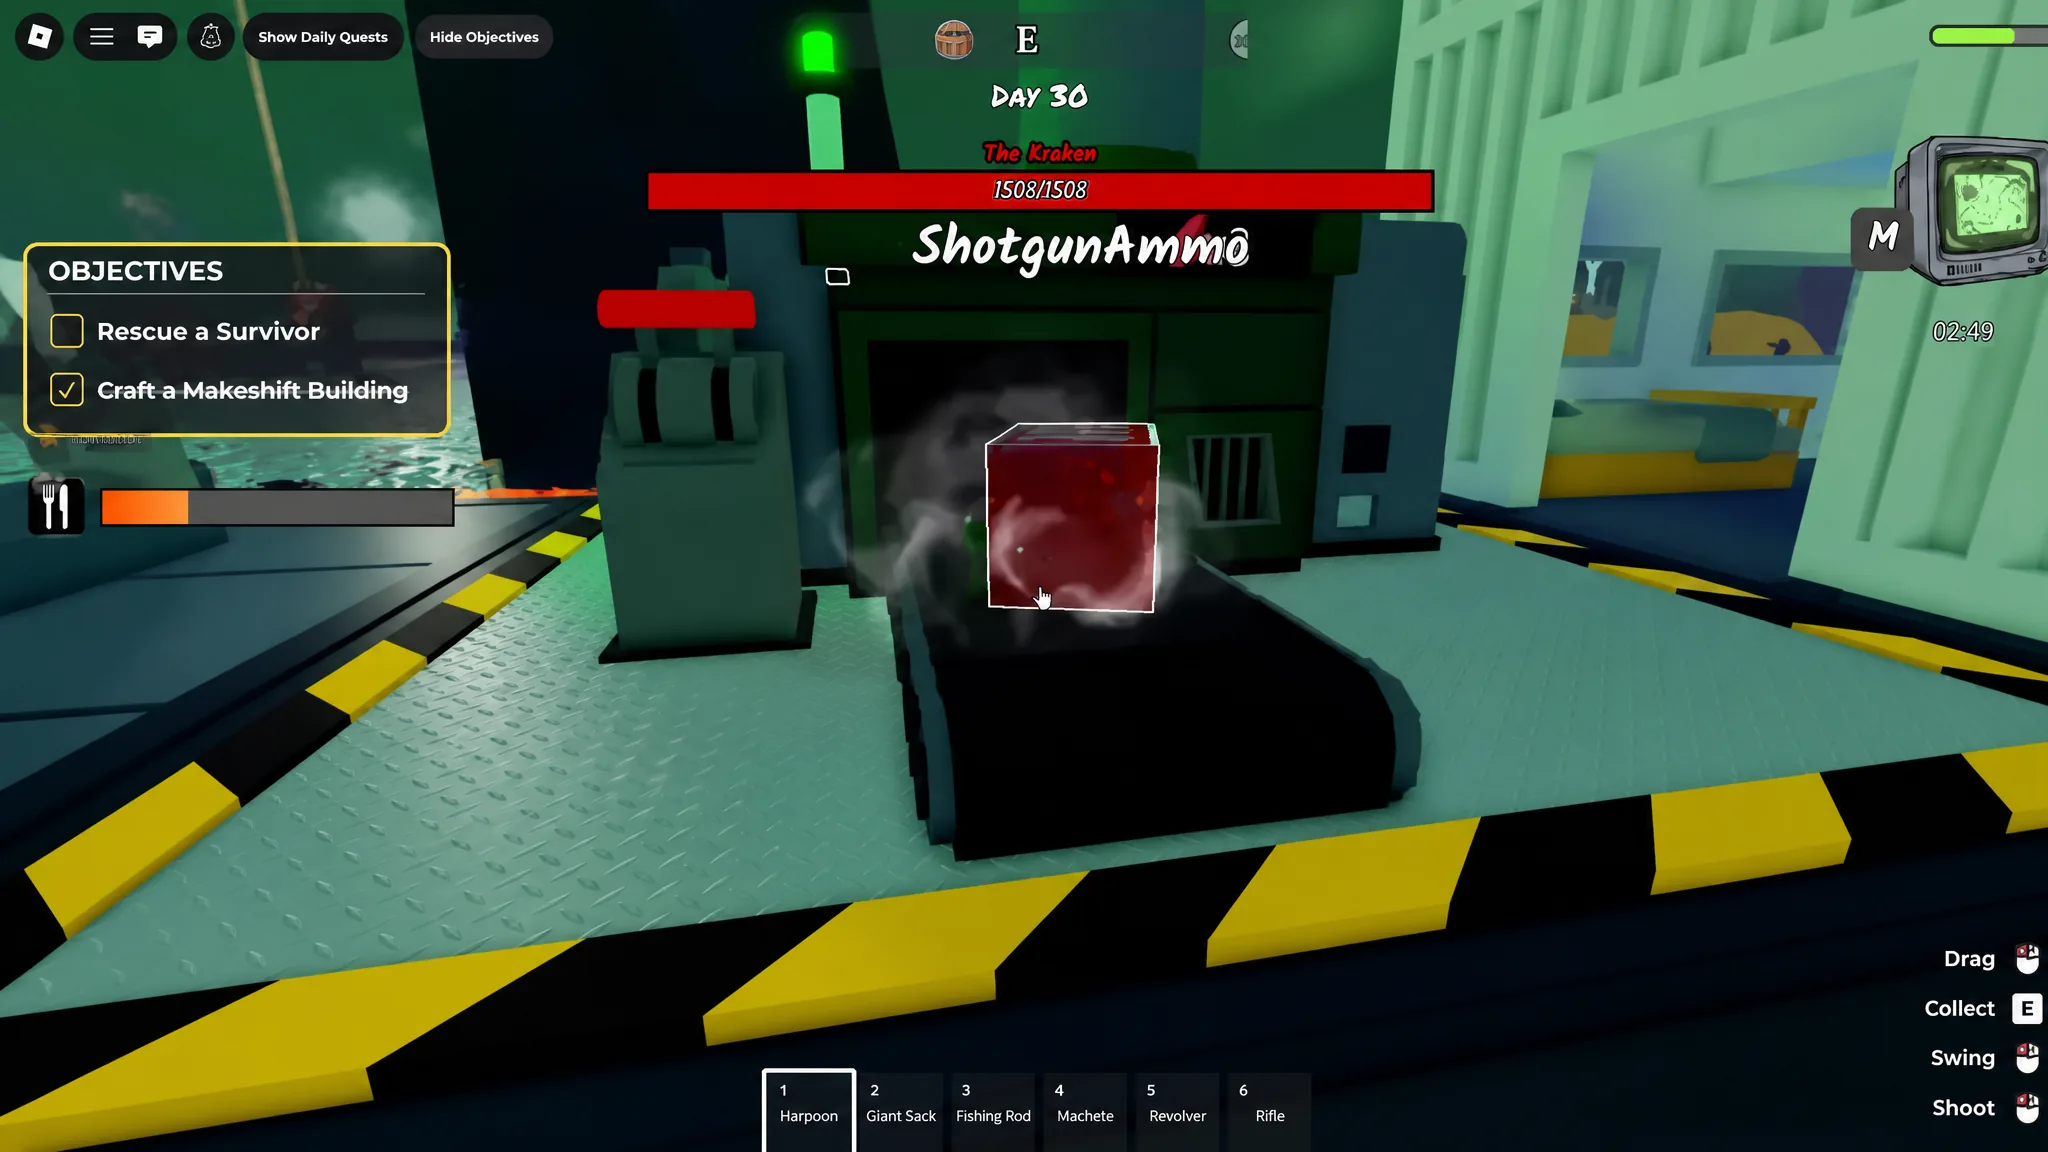
Once the Magnets are running, build the Ammo Factory and the Log Saw. The Ammo Factory consumes three metal per use, so stock up before you start cranking rounds. The Log Saw keeps wood flowing, which you burn through fast once gas production starts.
| Priority | Structure | Why it comes first |
|---|---|---|
| 1 | Crab Trap | Passive food source and ingredients |
| 2 | Cooking Pot | Turns trap ingredients into meals |
| 3 | Magnets (x2) | Free, constant metal income |
| 4 | Ammo Factory | Ammo for raids (3 metal per use) |
| 5 | Log Saw | Keeps wood supply from running dry |
Keep metal flowing
Metal gates your entire progression, so treat it as your most valuable resource. The two Magnets do the heavy lifting for free, but you need to actually redeploy them every time they come back up. Idle Magnets are wasted metal.
When you raid islands or clear the Cargo Ship, grab every Junk Engine you find. Each one scraps into a large chunk of metal, so prioritize them over other loot when your sack is nearly full.
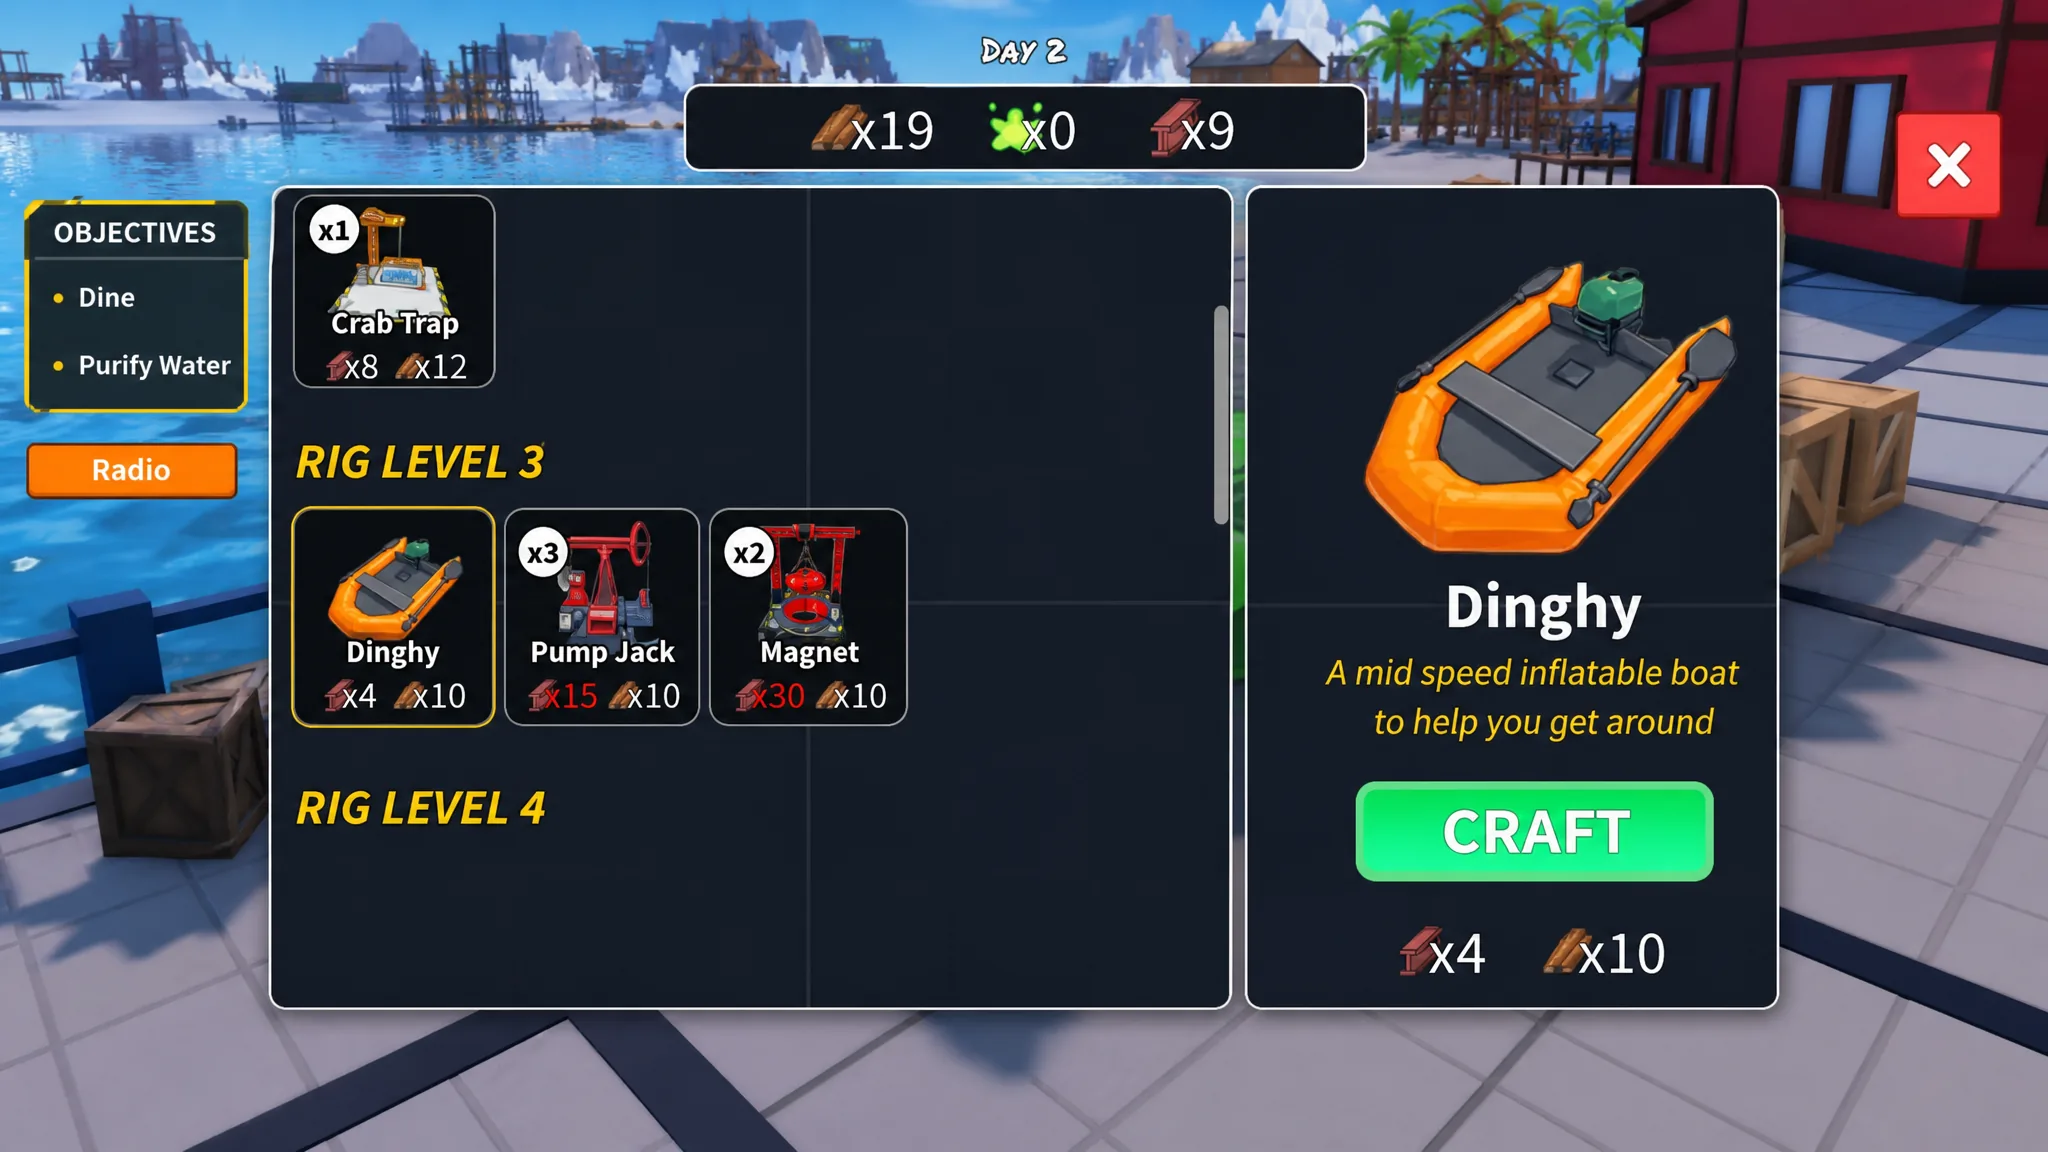
Do not spend metal on the Jet Ski. It only carries one person, which leaves a co-op partner stranded. The Dinghy carries both players, costs less metal, and frees up that metal for more Ammo Factory runs and Magnet use.
The Pizza Oven solves hunger for good
The single upgrade that changes a run the most is the Pizza Oven, which costs 225 Coins. Before you have it, you survive on raw seagulls, sushi, and chowder, none of which fill much of your hunger bar. The oven works like a faster Cooking Pot, and its food is far more filling. One quarter of a pizza refills your hunger bar almost completely, and you can throw nearly any ingredient into it.
How to unlock the Pizza Oven
When to rescue survivors
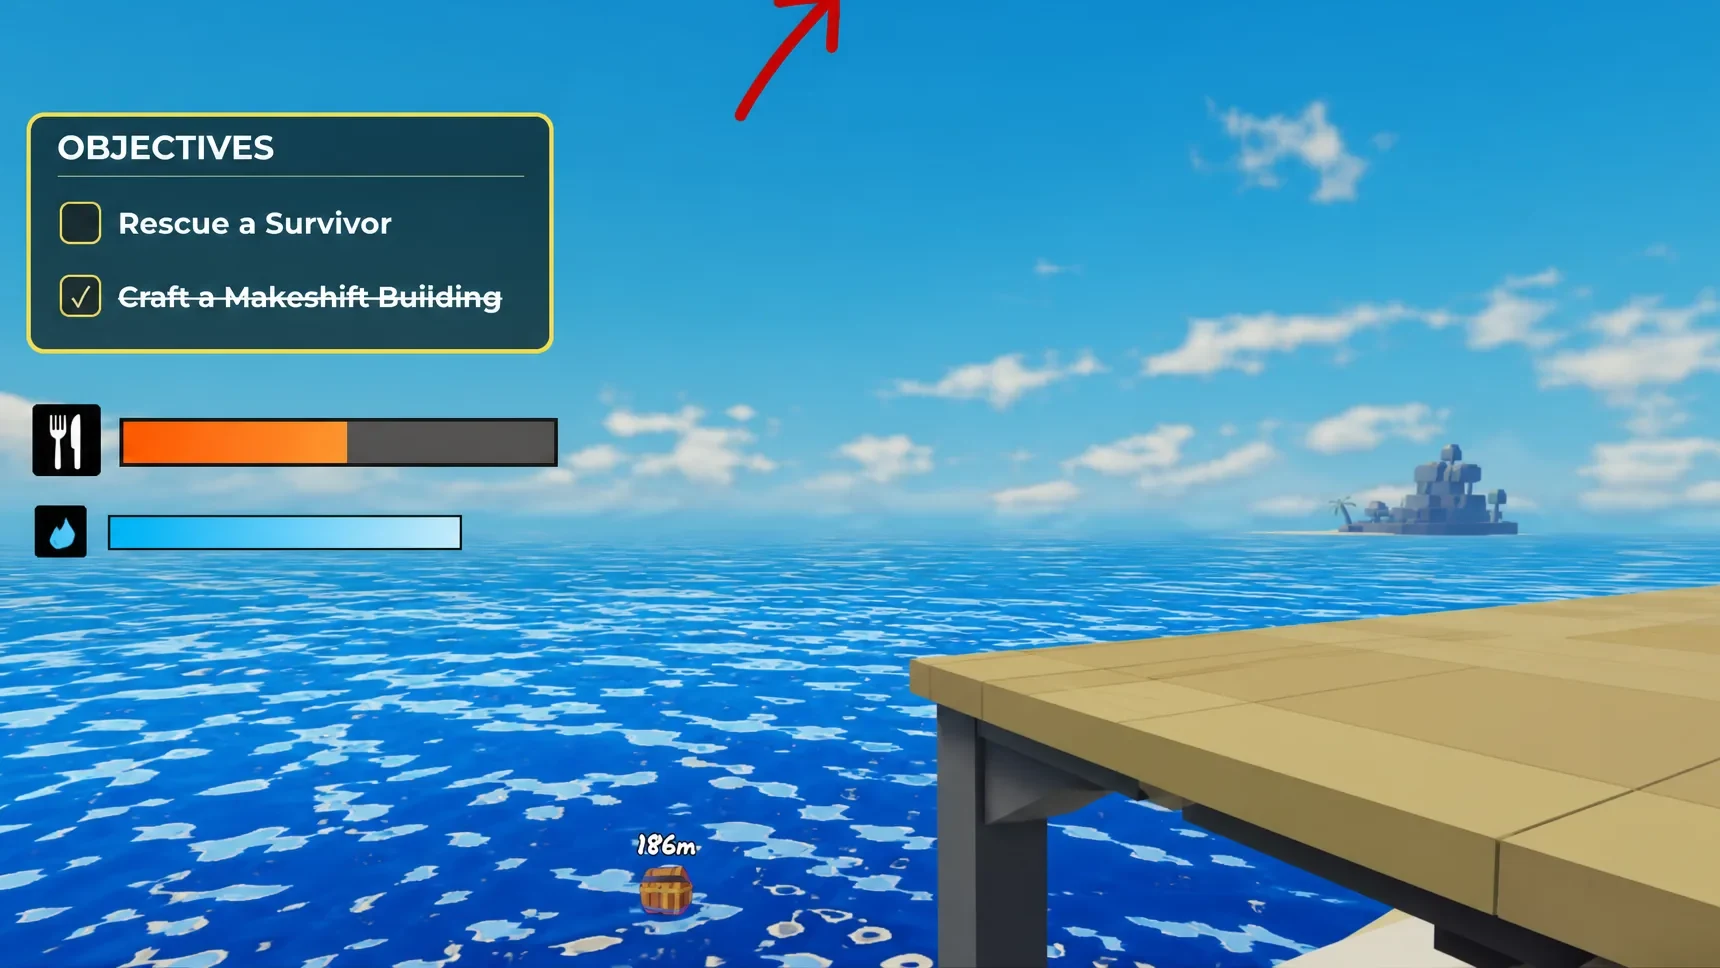
The game hands you quests to rescue survivors, and the natural instinct is to grab them right away. Hold off. Survivors eat your food, and if you have automated factories running, they will switch them on and drain your metal and wood.
Wait until both Magnets are running and the Pizza Oven is providing a steady food supply. By then your production can absorb whatever they burn through. The one exception is when rescuing a survivor is your daily quest and you are close to leveling up, since leveling unlocks new crafting recipes and can be worth the trade.
Weapons and combat tips
You start with a basic knife, and it is weak. Work up the weapon ladder below as fast as your exploration allows, since ranged options make the late-game raids and the Cargo Ship far more manageable.
| Weapon | How to get it | Damage |
|---|---|---|
| Knife | Starting weapon | Very low |
| Machete | Treasure chests on islands | Medium |
| Ghost Cutlass | Defeat the Ghost Captain at the castle | Very high (two-shot kills) |
| Revolver | Cargo Ship chests | Good ranged damage |
| Rifle | Cargo Ship chests | Best ranged damage |
| Flare Gun | Buy from the Traveling Merchant | Distracts angler fish |
Switch camera modes based on the task. Third person gives better awareness of enemies around you during a fight, while first person makes it easier to grab loot off the ground. Keep swapping between the two.
How to clear the Cargo Ship
The Cargo Ship is one of the toughest and most rewarding challenges in the game. Boarding it starts a 25-minute timer, and clearing everything takes 15 to 20 minutes, so never go in with less time than that. Arrive prepared with the following:
- Full health
- Full hunger bar (carry pizza in your sack)
- At least 20 rounds of ammo
- A Machete or better melee weapon
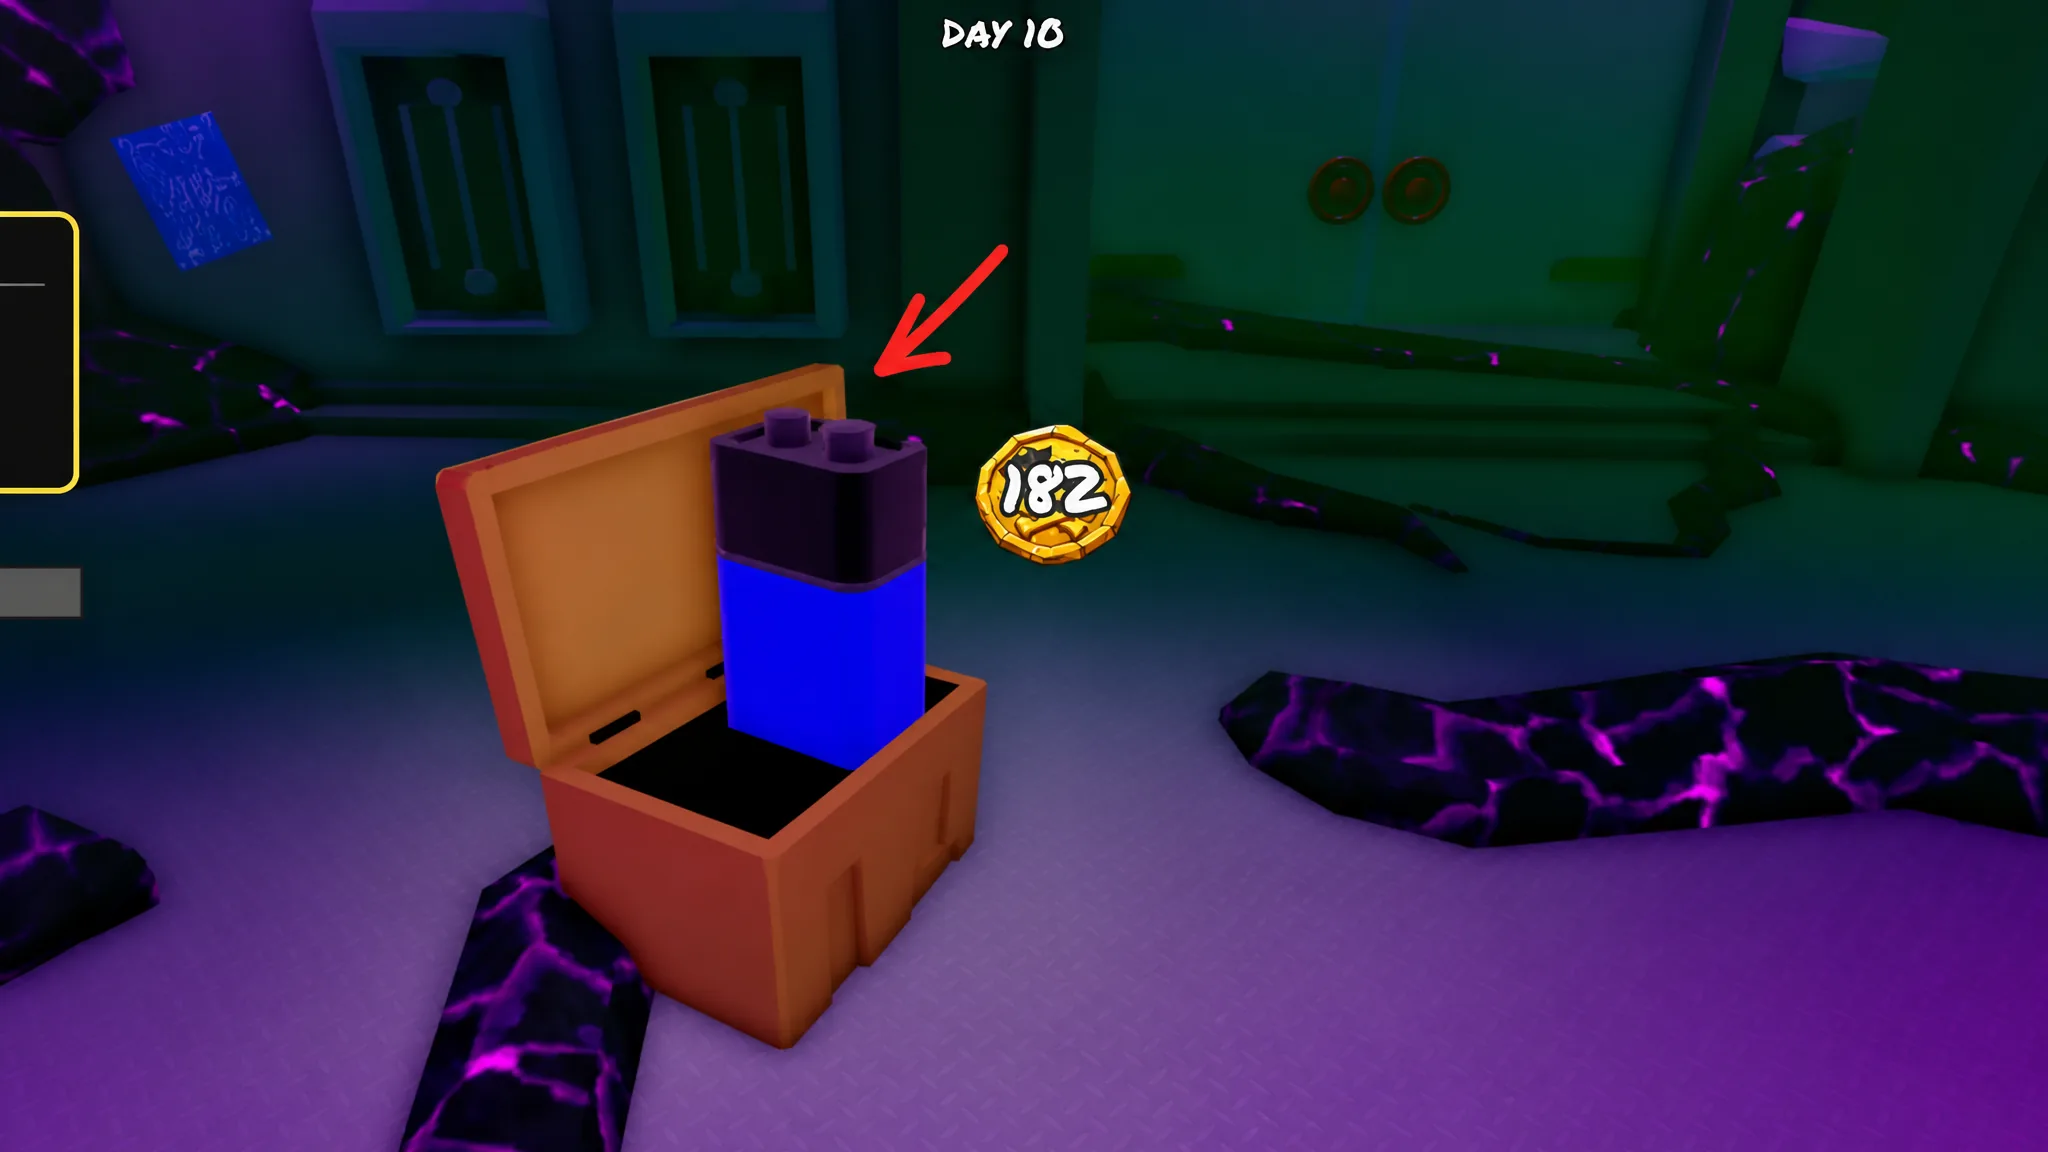
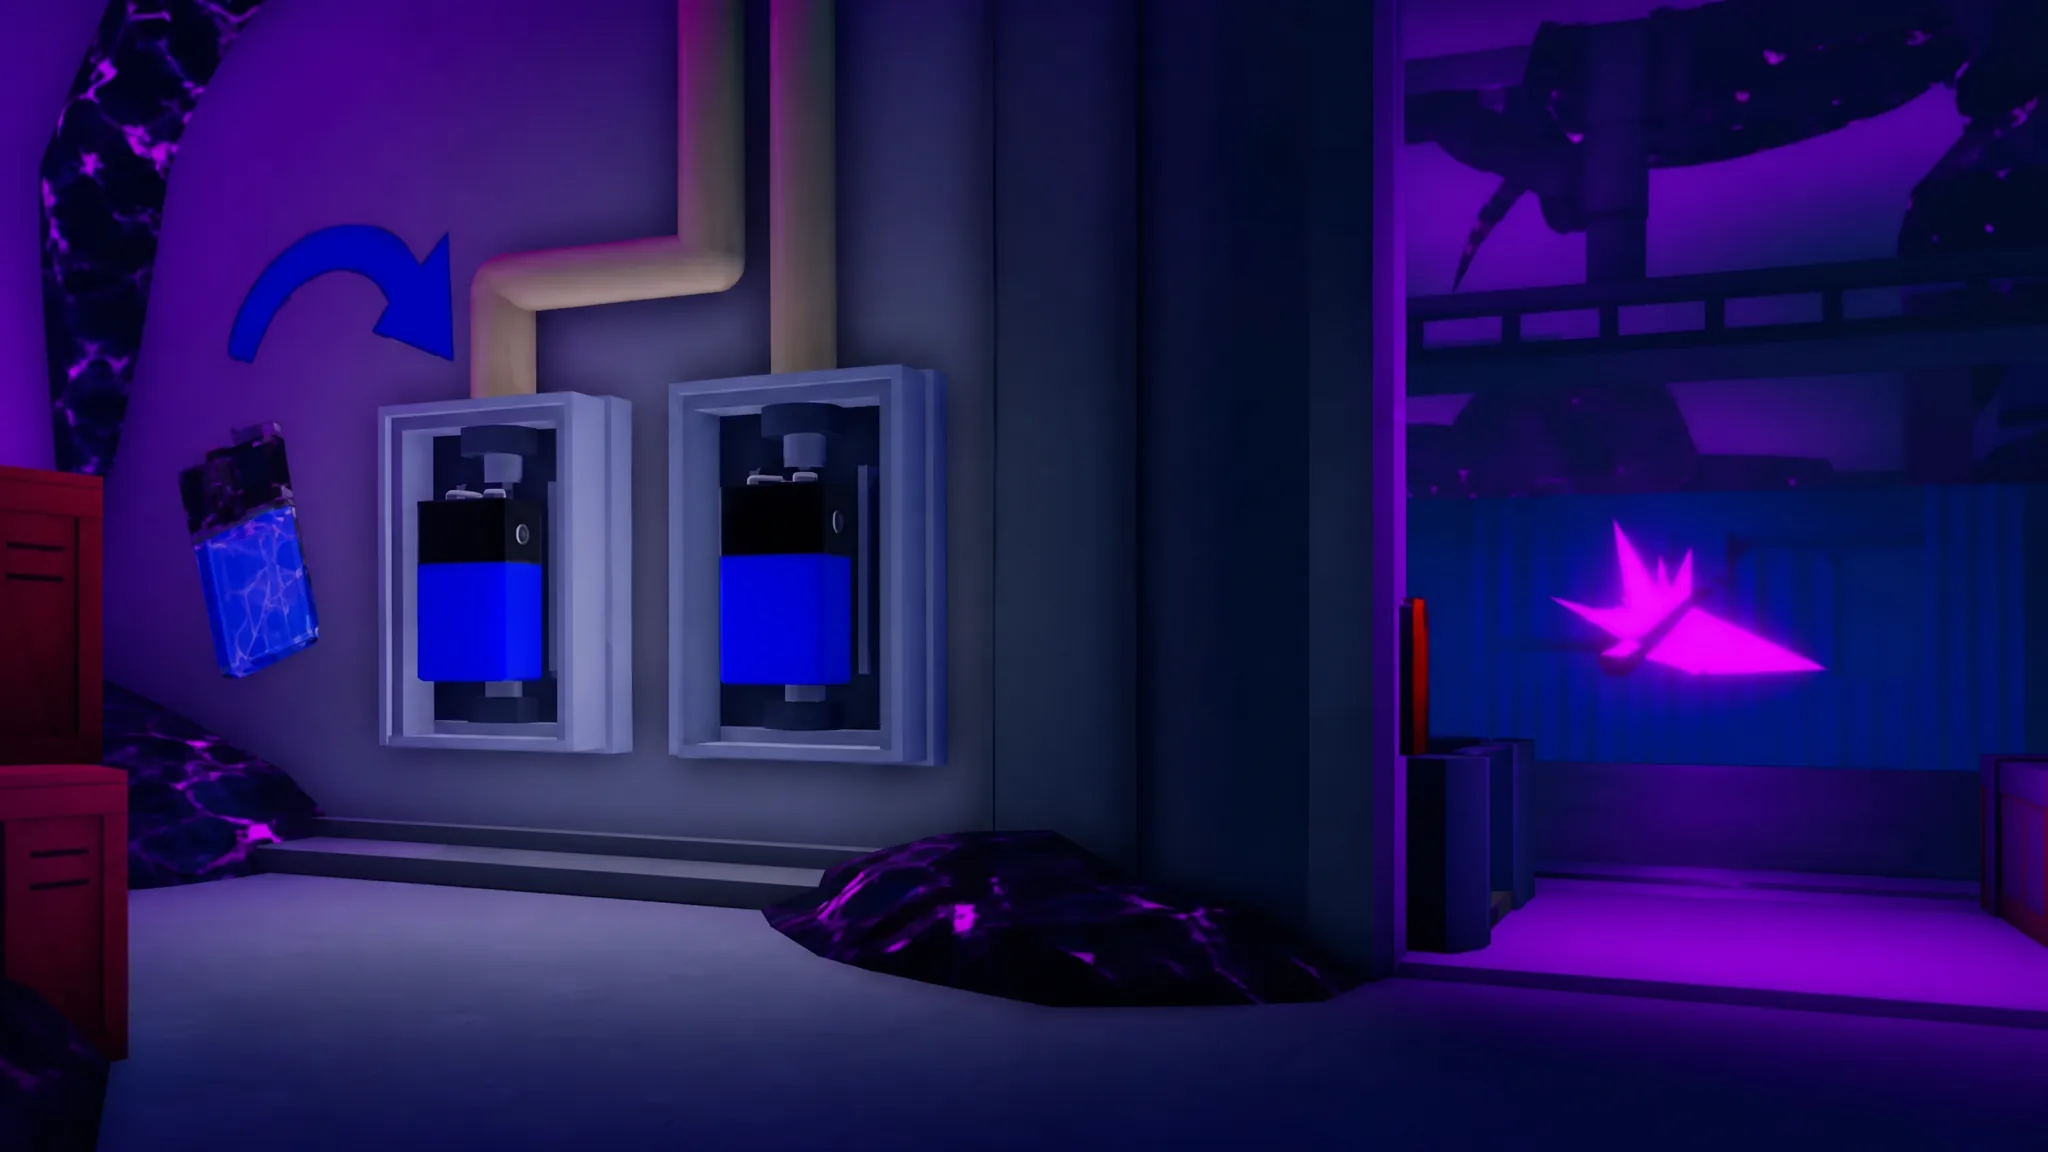
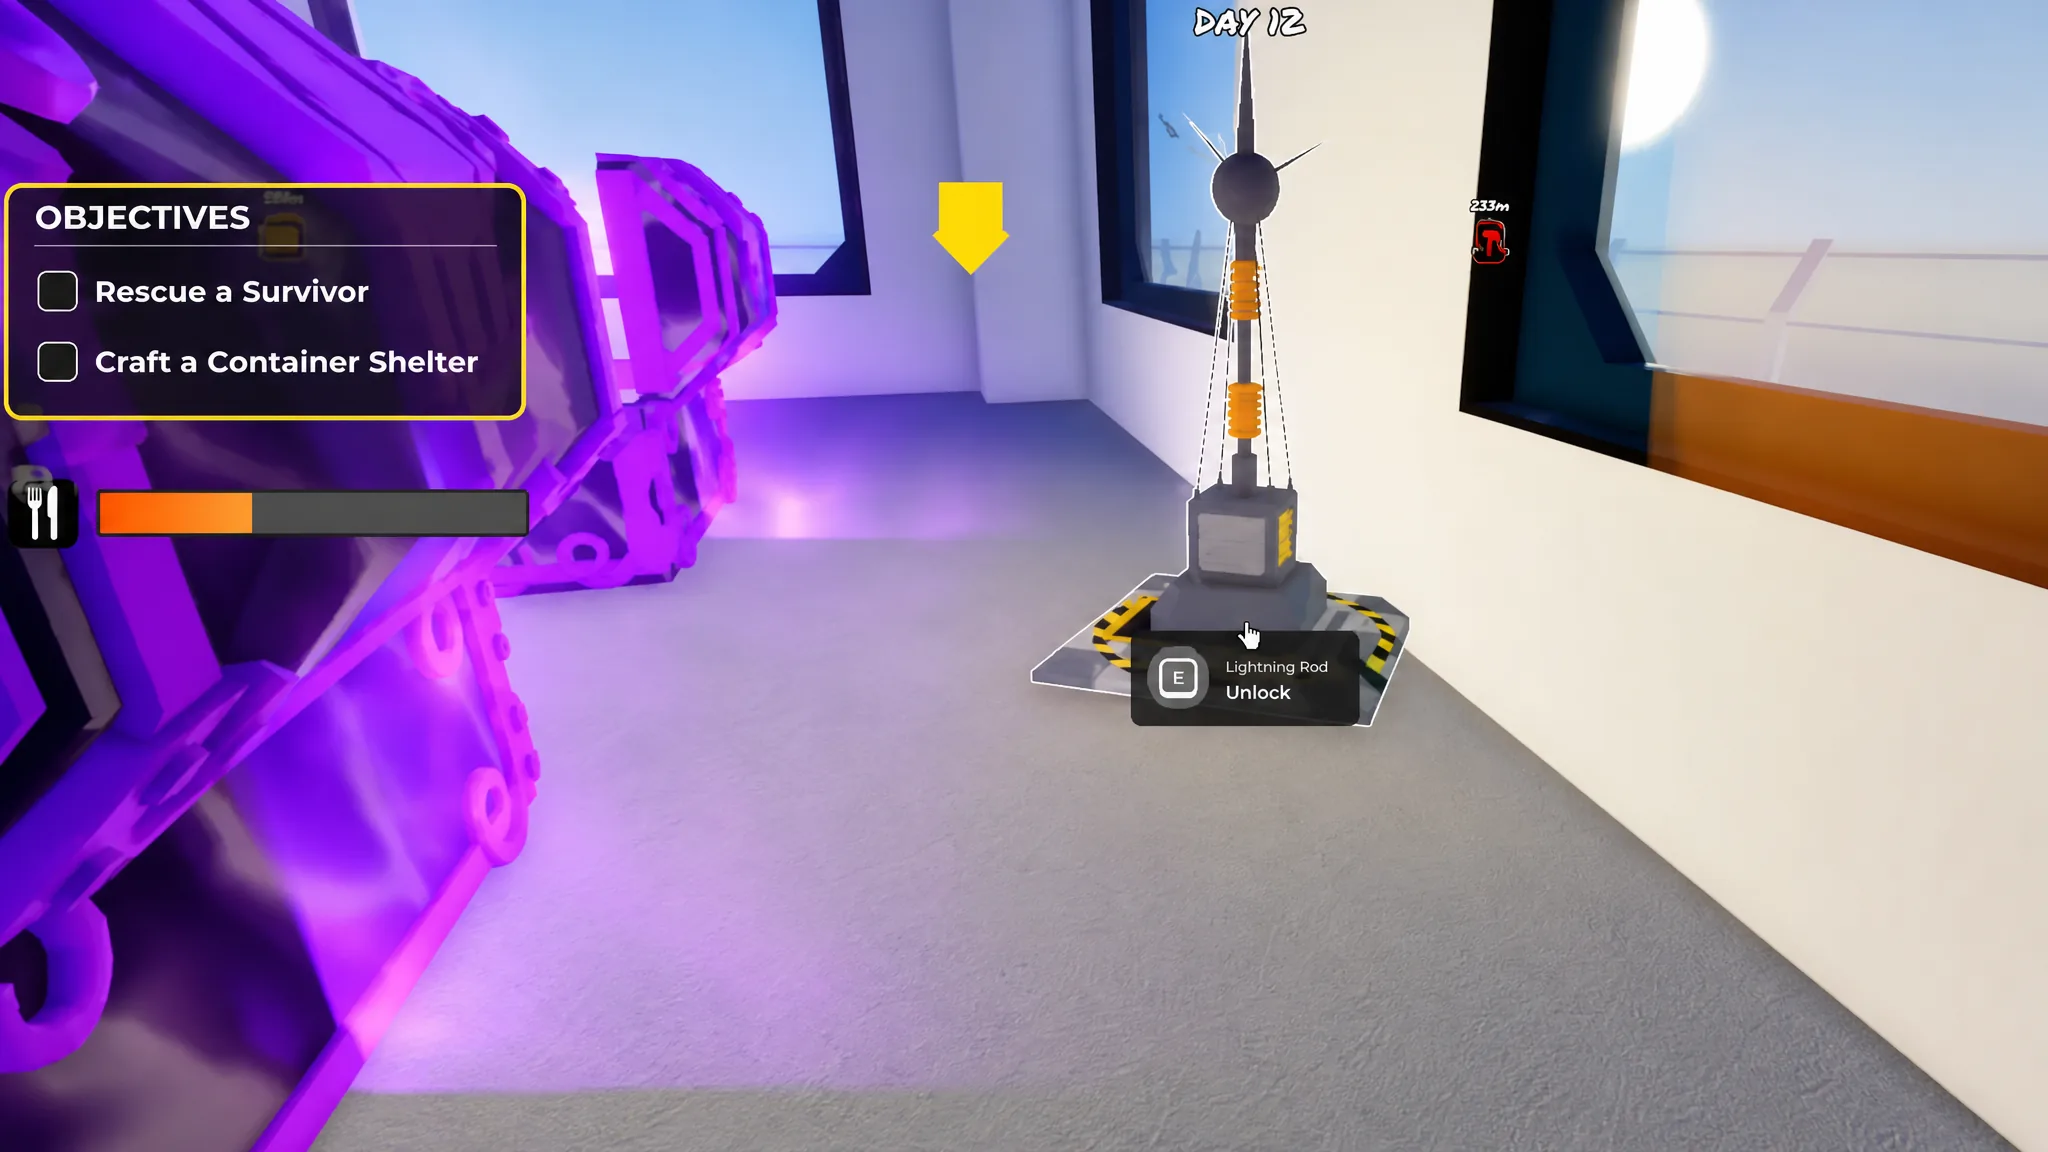
The Lightning Rod supercharges nearby production when lightning strikes it. Place it beside your factories and wait for a storm, and everything close by produces faster for a while. Clearing the ship also unlocks the Container Shelter, one of the quest items you need.
Surviving night raids and the Kraken
Enemy night raids scale up as the days pass. By the later stretch, raiders start showing up with Grenade Launchers, so passive defenses matter. The Auto Turret is the biggest help here. You unlock it after reaching a certain level and buy it from the Traveling Merchant. Once placed, it fires on its own without needing ammo, and it even shoots seagulls out of the sky, which doubles as free food.
The turret does not target the Kraken’s arms, so during a Kraken attack you fight with your own guns. Stock up on ammo before that fight specifically, because running dry mid-battle is how these attacks end runs.
Use radar towers to open the map
Radar towers reveal new locations on your map, including the oil rig, the castle, and the outpost. Visiting them is how you progress, so head to any radar tower you spot before chasing other objectives.
The final push to Day 100
Around Day 90, play conservatively. Avoid long, risky trips to far-off islands, keep your food stocked, your ammo topped off, and your health full. Day 99 throws a large boss fight at you, so treat the days before it as preparation. Clear that fight and survive to Day 100, and a helicopter arrives to pick you up and end the run.
Reaching Day 100 also flips the game into an infinite mode, so you can keep building and exploring for as long as you want once the rescue is behind you.