
A functional mouse is essential for navigating and interacting with your computer efficiently. When the cursor freezes, it can hinder your ability to perform tasks, causing frustration and disrupting your workflow.
This cursor freezing issue, previously observed in Windows 10, has also surfaced in Windows 11. Fortunately, there are several known causes and solutions that can help you resolve this problem on your system.
Typically, cursor freeze issues stem from software-related problems, which you can often fix on your own using the methods outlined below.
1. Update or roll back mouse driver
Outdated or incompatible mouse drivers can cause cursor freezing issues. Updating the driver to the latest version can often resolve the problem. Conversely, if the issue started after a recent driver update, rolling back to a previous version might help.
To update your mouse driver:
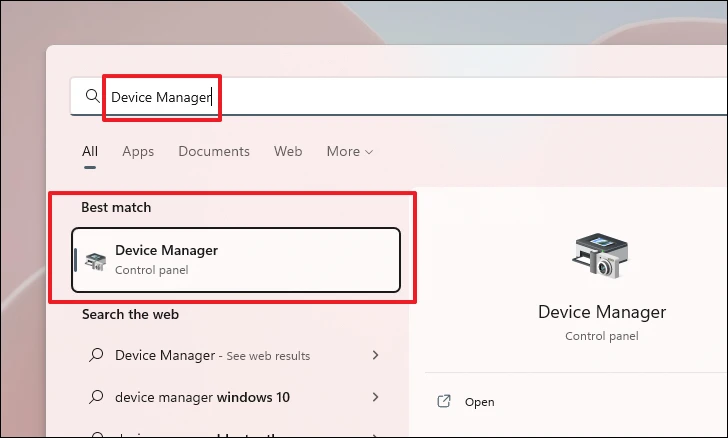
- Open the Start Menu and type
Device Manager. Click on the ‘Device Manager’ app from the search results.
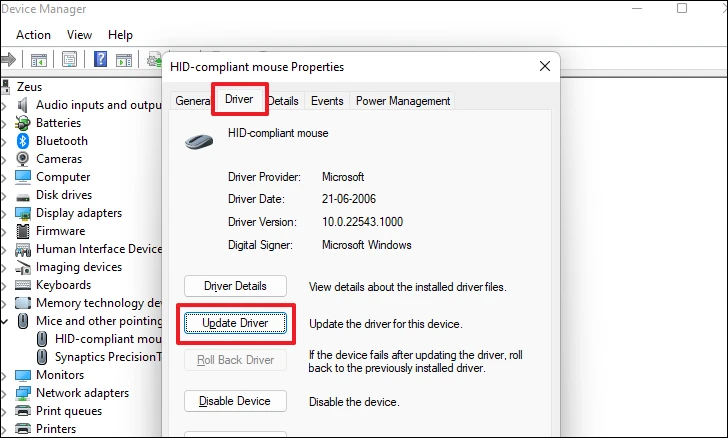
- In the Device Manager window, expand the ‘Mice and other pointing devices’ section by double-clicking on it. Then, double-click on your mouse device to open its properties.

- Navigate to the ‘Driver’ tab and click on ‘Update Driver’.
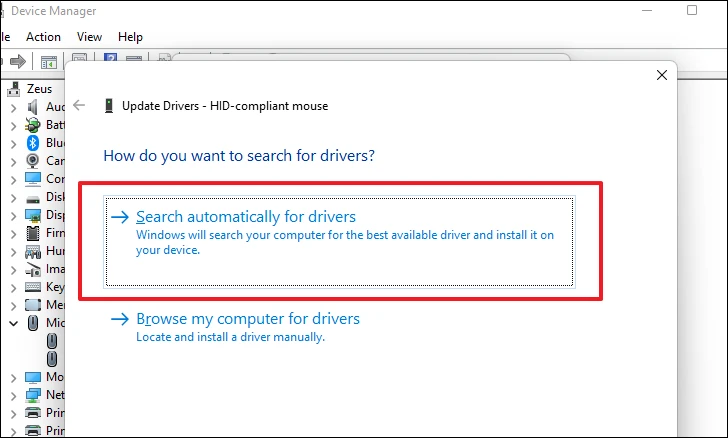
- Choose ‘Search automatically for drivers’ to allow Windows to find the latest driver. If you have a driver installer on your computer, select ‘Browse my computer for drivers’ and locate the file.
If you need to roll back the driver:
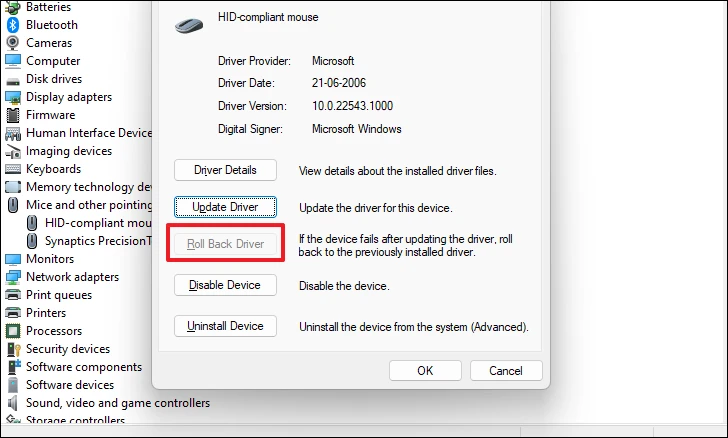
- In the Device Manager, open the properties of your mouse device as before, and go to the ‘Driver’ tab.
- Click on ‘Roll Back Driver’.
After updating or rolling back the driver, restart your computer and check if the cursor freezing issue persists.
2. Adjust mouse sensitivity and disable enhanced pointer precision
If your cursor is stuttering rather than completely freezing, adjusting the mouse sensitivity settings might help. Modifying these settings can improve the responsiveness of your mouse.
To adjust mouse sensitivity:
- Open the Start Menu and select ‘Settings’.

- In the Settings window, choose ‘Bluetooth & devices’ from the left sidebar.

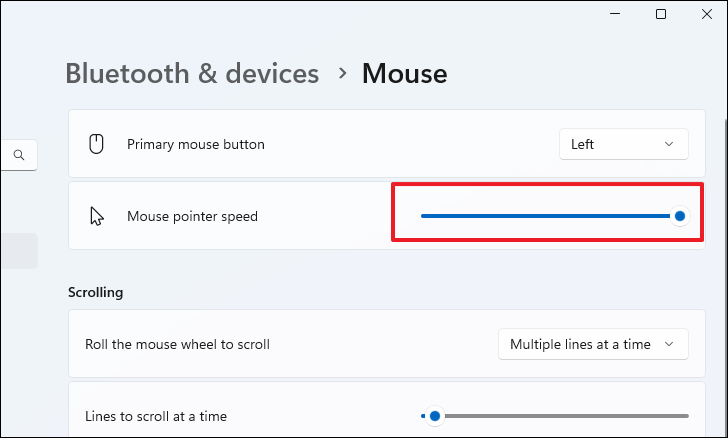
- Click on the ‘Mouse’ option on the right.

- Adjust the slider under ‘Mouse pointer speed’, moving it to the right to increase sensitivity.
To disable Enhanced Pointer Precision:
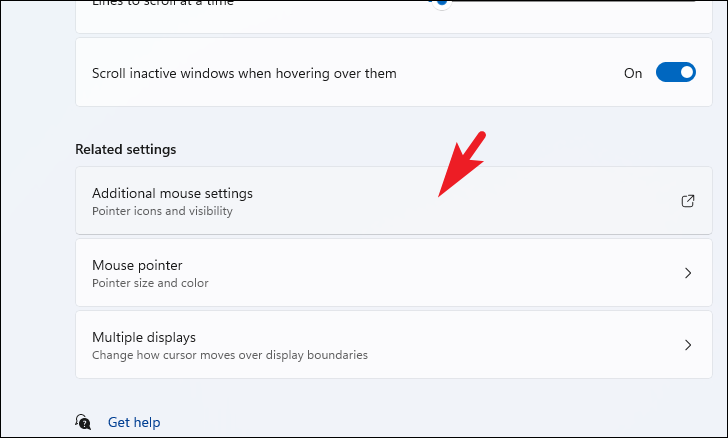
- On the same ‘Mouse’ settings page, click on ‘Additional mouse settings’.
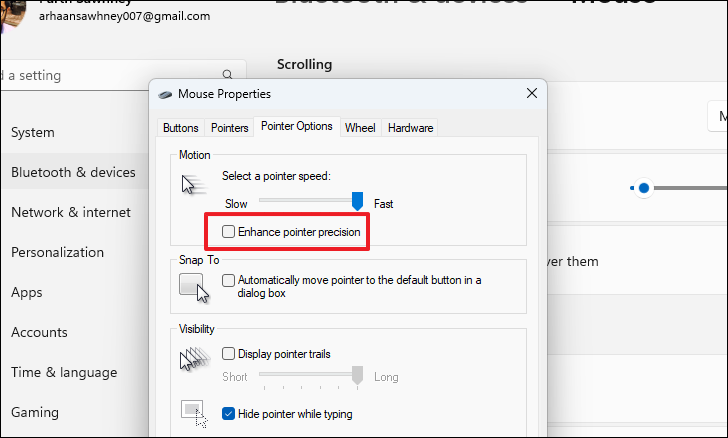
- In the Mouse Properties window, navigate to the ‘Pointer Options’ tab.
- Uncheck the box next to ‘Enhance pointer precision’.
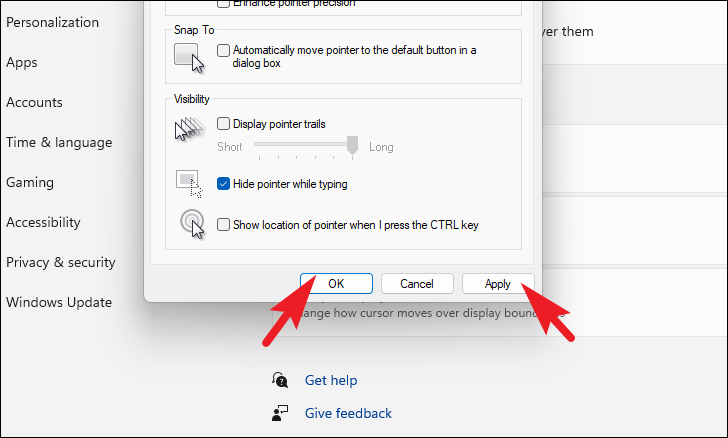
- Click ‘Apply’ and then ‘OK’ to save the changes.
3. Ensure the touchpad lock is disabled
Many laptops have a key that disables the touchpad to prevent accidental input or when using an external mouse. Accidentally pressing this key can disable the touchpad, making it seem like the cursor is frozen.
The touchpad disable key is usually located in the Fn row of your keyboard and may have an icon representing a touchpad. Some keyboards have an indicator light showing the status of the touchpad.
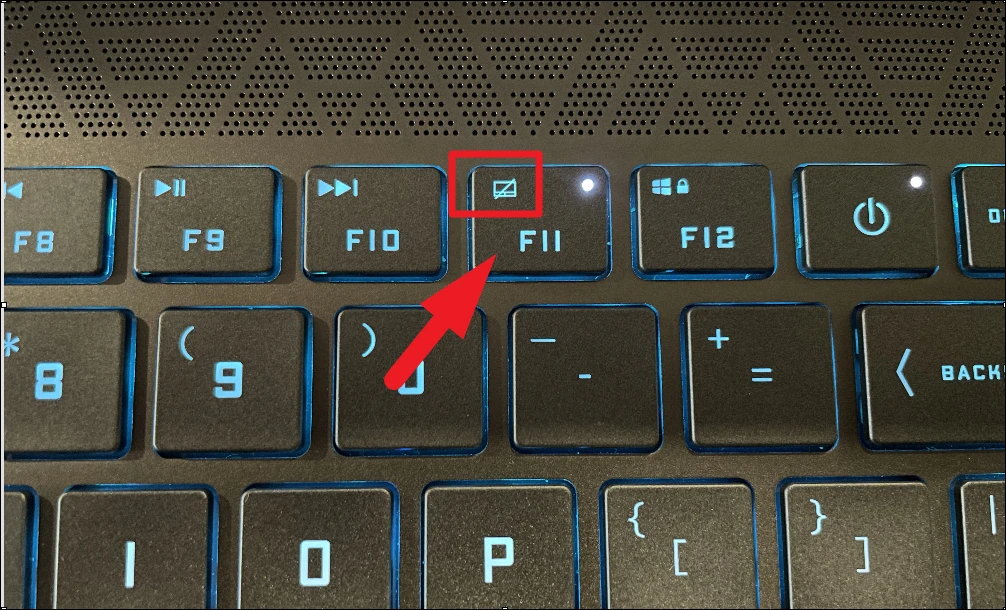
Check if this key has been pressed accidentally. Press it again to re-enable the touchpad.
4. Verify touchpad is enabled in settings
Windows allows you to disable the touchpad through settings. If you’re using a laptop and the touchpad isn’t working, it’s worth checking if it’s been turned off in the settings.
Note: This method applies only to laptop computers.
To enable the touchpad:
- Open the Start Menu and select ‘Settings’.

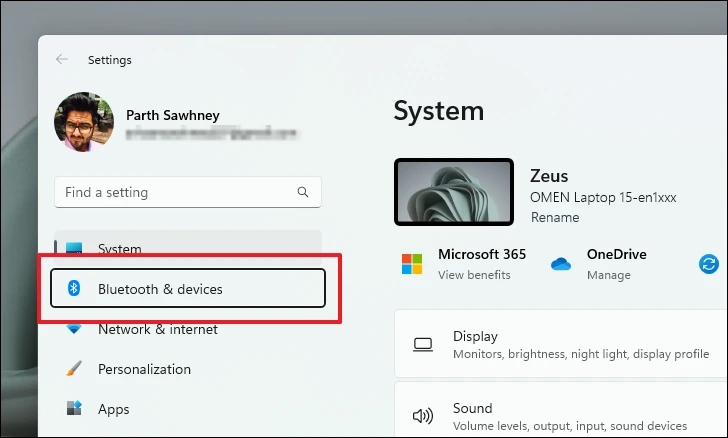
- In the Settings window, click on ‘Bluetooth & devices’ from the left sidebar.
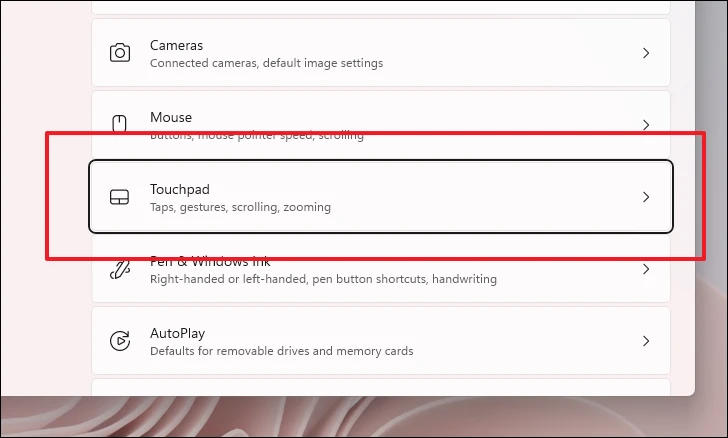
- Choose the ‘Touchpad’ option.
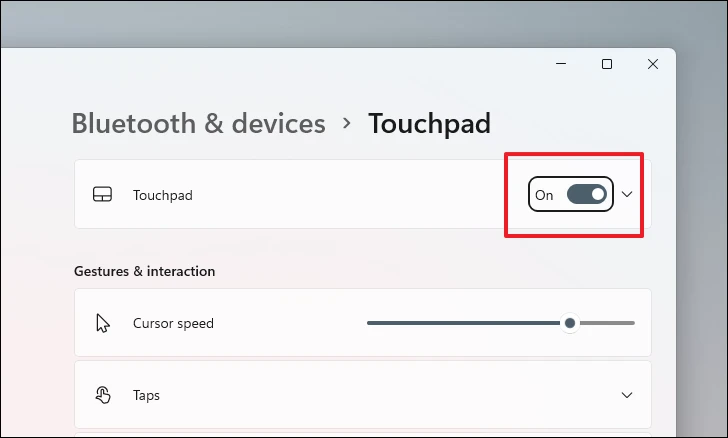
- Toggle the switch next to ‘Touchpad’ to the ‘On’ position.
5. Restore your system to a previous point
If none of the above solutions work, and you have a system restore point from when the cursor was functioning correctly, you can revert your system to that state.
To perform a system restore:
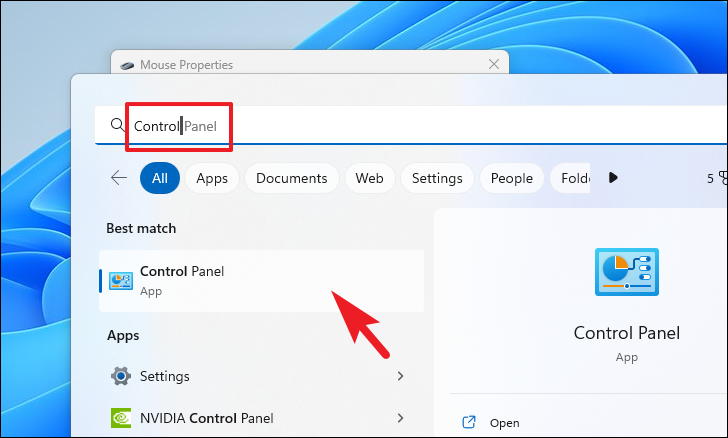
- Open the Start Menu and type
Control Panel. Select the ‘Control Panel’ app from the search results.
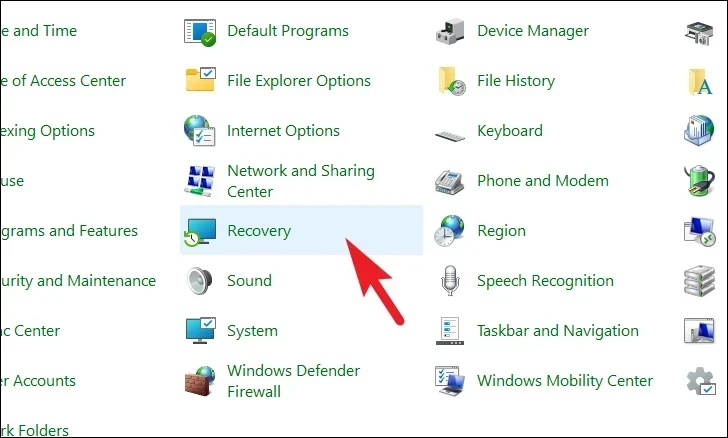
- In the Control Panel, navigate to ‘Recovery’.
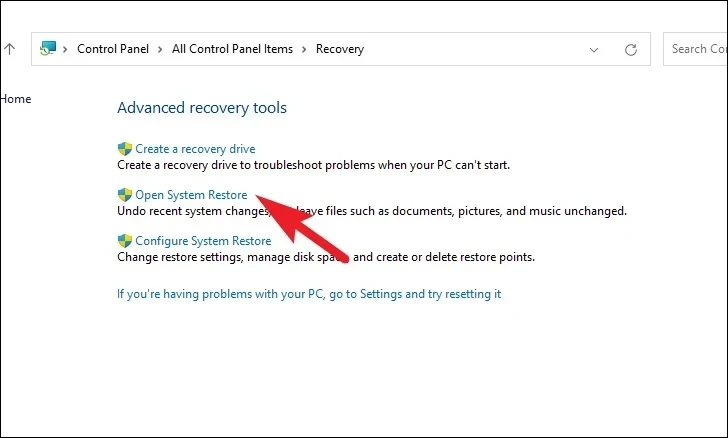
- Click on ‘Open System Restore’.
- In the System Restore window, click ‘Next’.

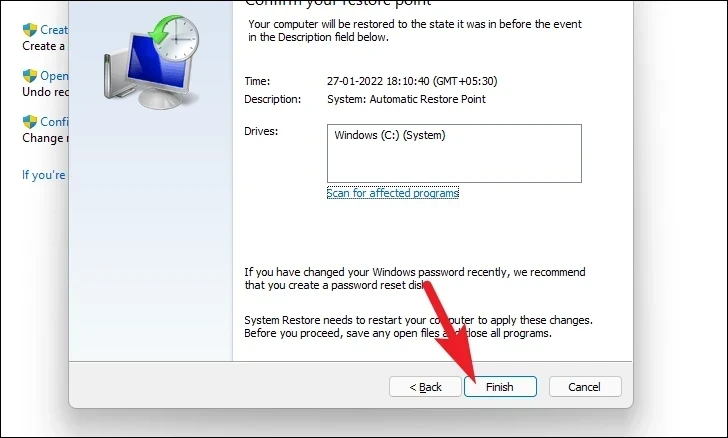
- Select the restore point you wish to use and click ‘Next’.

- To check which programs will be affected, click on ‘Scan for affected programs’.
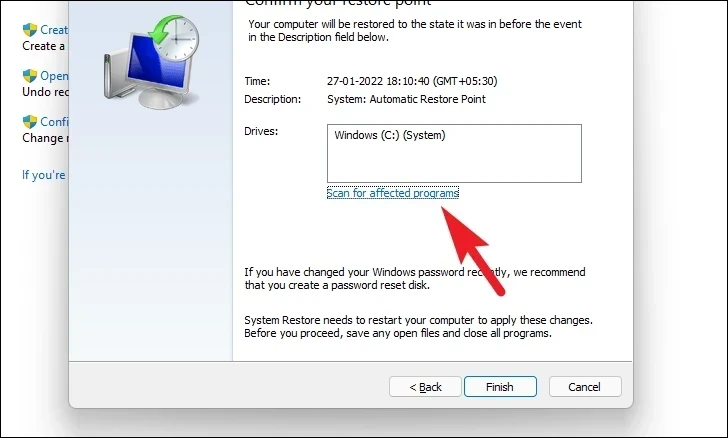
- After reviewing, click ‘Finish’ to start the restoration process.
Restoring your system can undo recent changes that might have caused the cursor freezing issue.


