When your Nvidia graphics driver is causing issues on Windows 11, reverting to a previous driver version can help resolve them. Whether you’re experiencing performance problems or hardware malfunctions, rolling back the driver might be the solution you need. Here are the methods to roll back your Nvidia drivers effectively.
Download and install a previous Nvidia driver from the official website
If you cannot roll back the driver using Device Manager or prefer a more reliable approach, downloading an older driver version from the Nvidia website is a solid option. This method involves uninstalling your current driver and then installing the desired previous version.
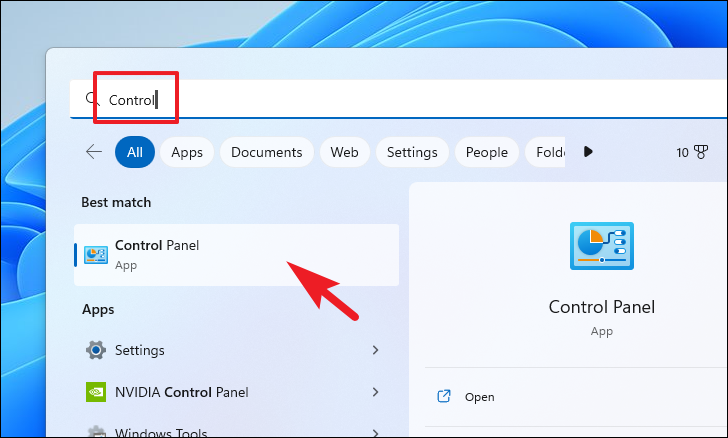
- Uninstall the existing Nvidia driver. Press the Start button and type
Controlto search for the Control Panel. Open the Control Panel from the search results.
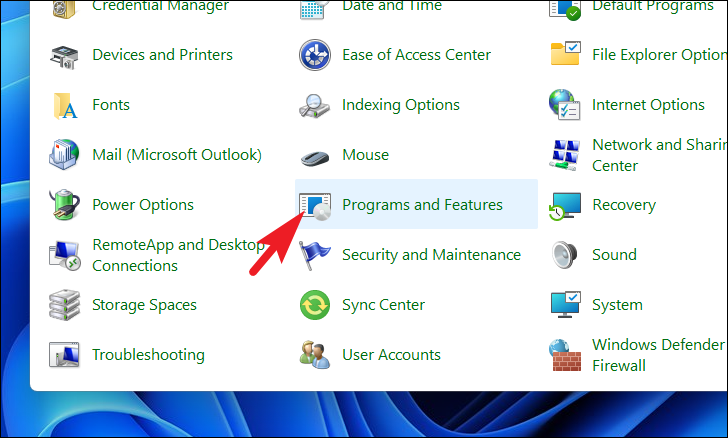
- In the Control Panel, click on Programs and Features.
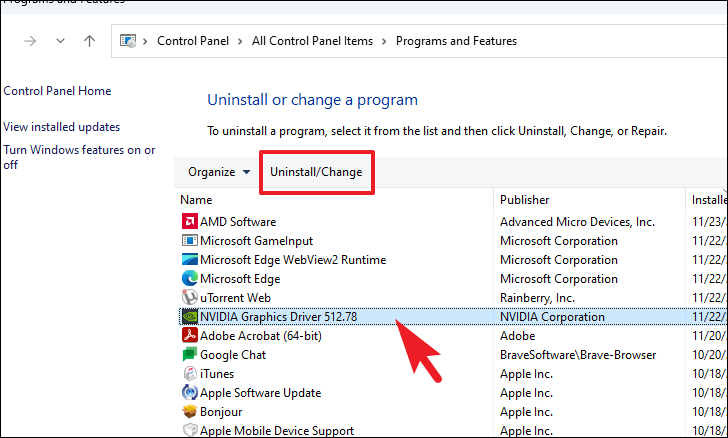
- Find the Nvidia Graphics Driver in the list of installed programs. Select it and click on Uninstall. This will launch the uninstallation wizard.
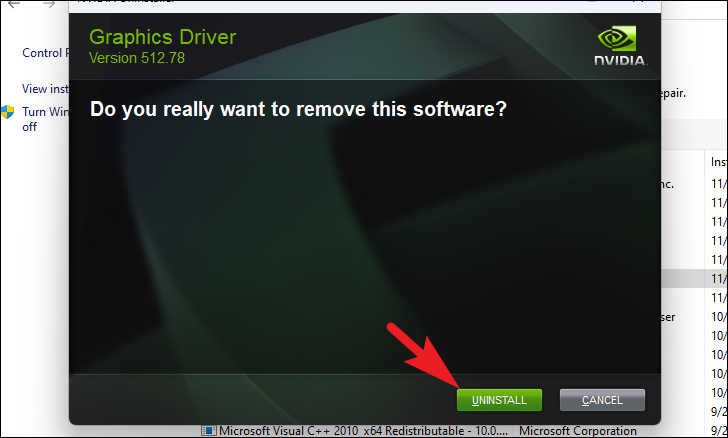
- In the uninstallation window, confirm the action by clicking on Uninstall.
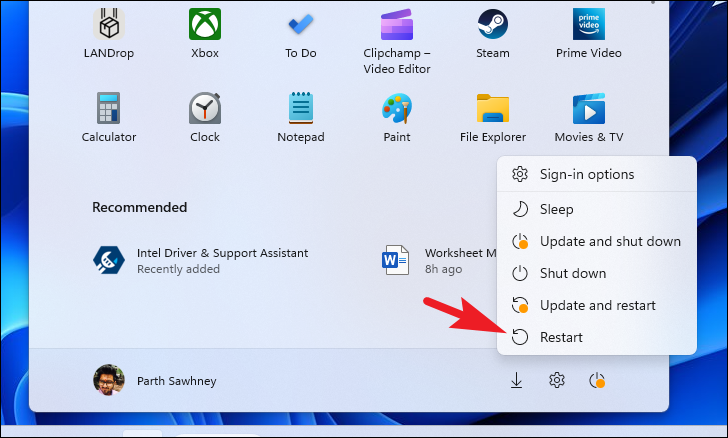
- After the uninstallation completes, restart your computer to apply the changes.
- Once your PC restarts, open your preferred web browser and navigate to www.nvidia.com/Download to find the driver you want to install.
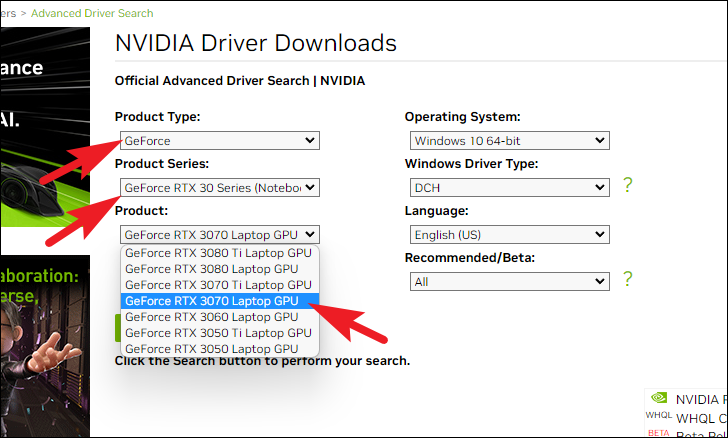
- On the Nvidia driver download page, select your graphics card details:
- Choose your Product Type.
- Select the Product Series.
- Pick your specific Product.
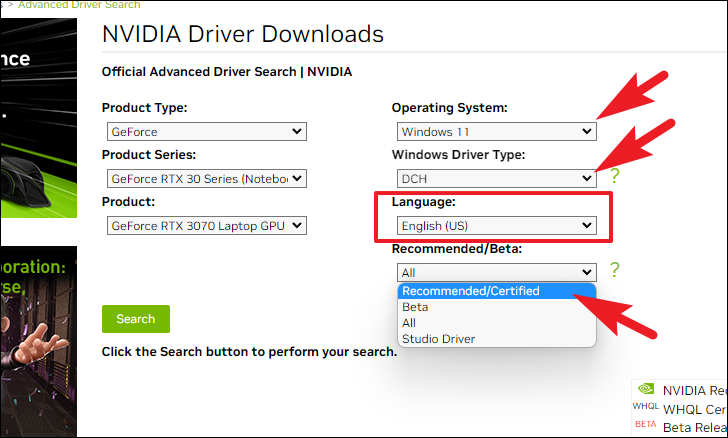
- Under the Operating System drop-down, select Windows 11. For Windows Driver Type, choose DCH. Select your preferred Language and under Recommended/Beta, choose Recommended. Then, click on Search.
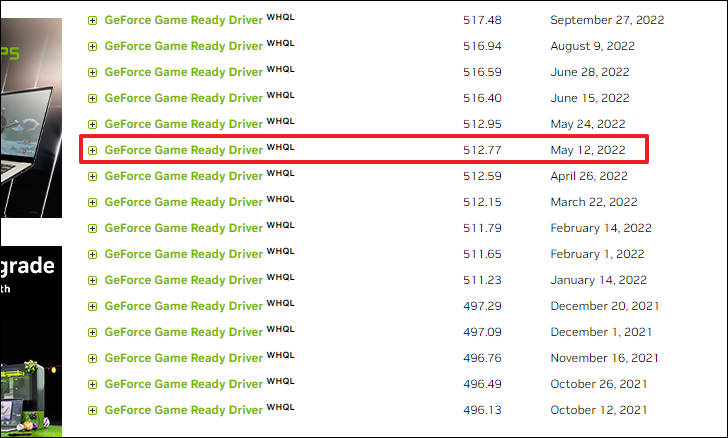
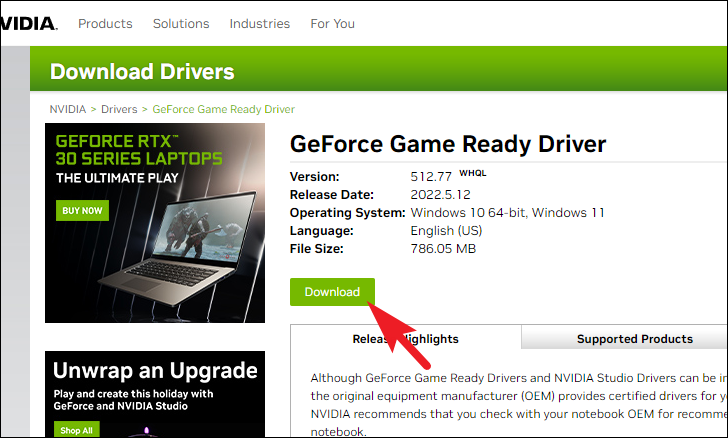
- You will see a list of available drivers sorted by release date. Click on the driver version you wish to install.
- On the driver details page, click on the Download button to proceed.
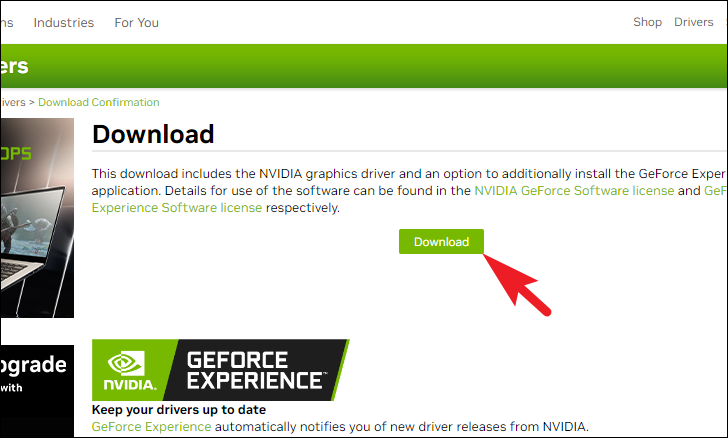
- Click Download again to initiate the download.
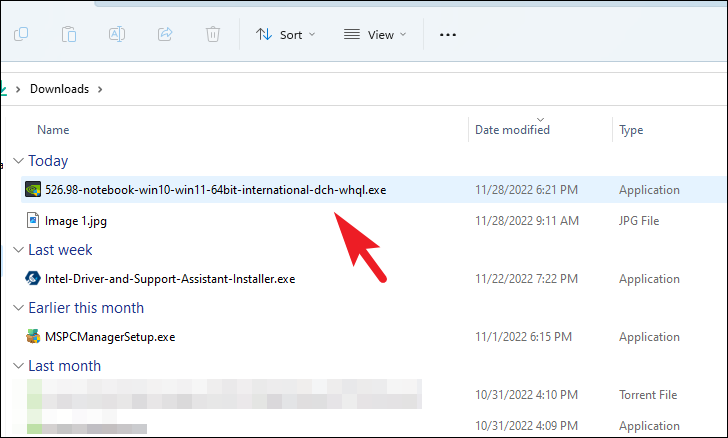
- Once the driver has downloaded, run the installer by double-clicking the
.exefile.
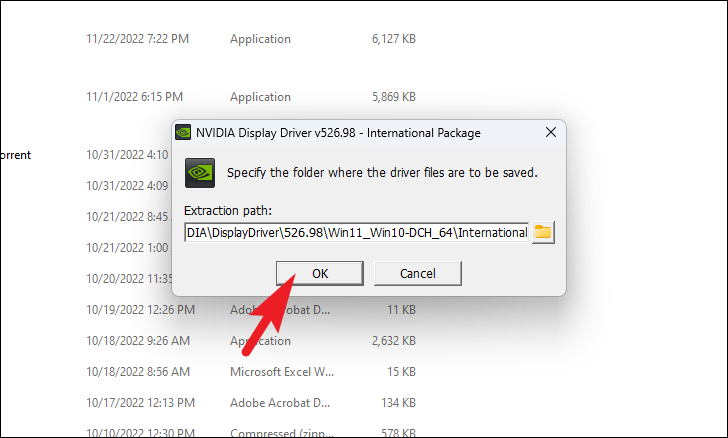
- Follow the on-screen prompts in the installation wizard. When the installer prompts, click OK to continue.
- After the installation completes, restart your computer to apply the new driver.
Roll back the driver using Device Manager
You can also attempt to roll back the Nvidia driver using Device Manager. This method reverts the driver to a previously installed version stored on your system.
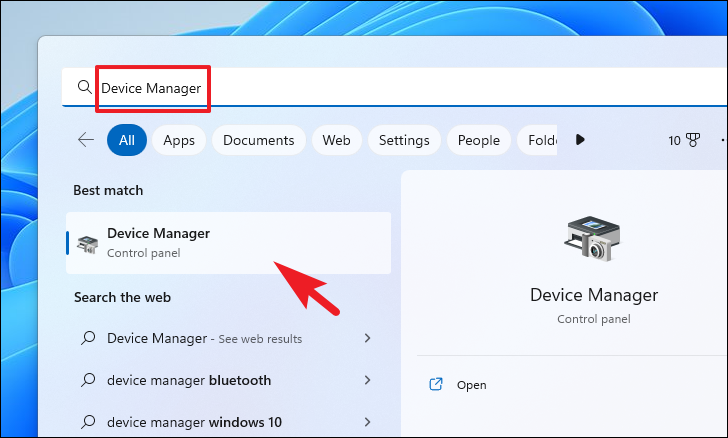
- Press the Start button and type
Device Managerin the search bar. Click on the Device Manager result to open it.
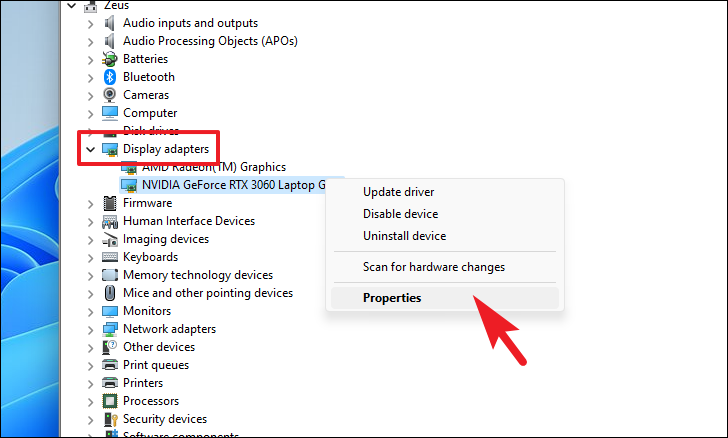
- In Device Manager, expand the Display adapters section by double-clicking it. Right-click on your Nvidia graphics driver and select Properties.
- In the Properties window, navigate to the Driver tab. Click on the Roll Back Driver button.
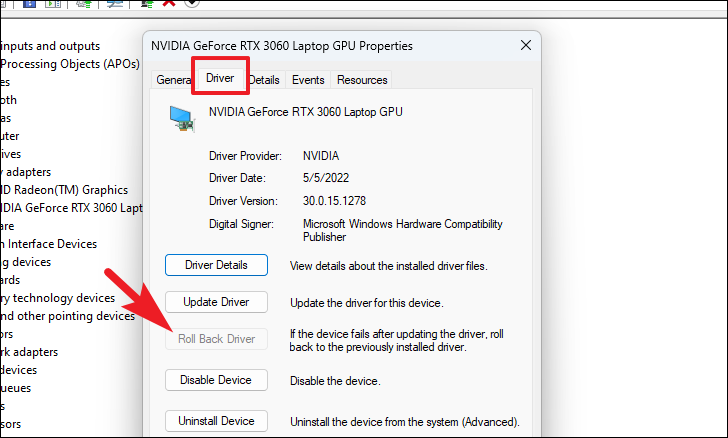
If the Roll Back Driver button is greyed out, it means a previous driver version isn’t available on your system. In that case, use the method of downloading a previous driver from the Nvidia website.
- If prompted, select a reason for rolling back the driver, then click Yes to confirm.
- Restart your computer to apply the changes. Your Nvidia driver should now be rolled back to the previous version.
By following these methods, you can easily roll back your Nvidia drivers on Windows 11 to resolve any issues you might be experiencing.