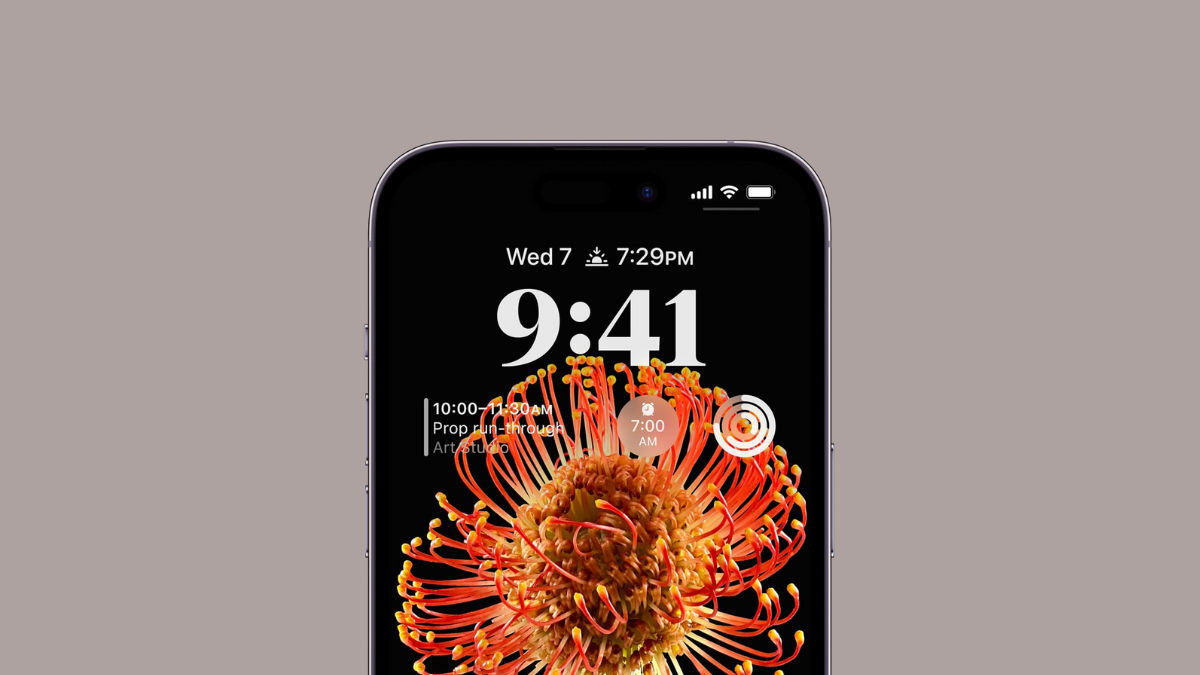
The depth effect on the iPhone lock screen, which uses AI to make images look more dynamic, is a great feature but some users are having trouble with it not working. This is a software issue, so it’s something you can fix on your own. If you’re experiencing this problem on your iPhone, here are some quick solutions you can try.
1. Make Sure Your Device Supports Depth Effect
The first and foremost method is to check if you have an iPhone that supports the Depth Effect feature. Your device could be receiving the iOS 16 update, and despite that, could miss out on this feature. The depth effect feature is only supported on iPhones having A12 Bionic chips or later.
Unsupported iPhone models: iPhone 8, iPhone 8 Plus, iPhone X.
In case you have a supported iPhone but are still not able to use the feature, start with the methods listed below.
2. Ensure you have a Depth Effect Supported Wallpaper
The depth effect feature is designed to work with singular subjects in a picture (i.e a person, animal, building). If you have multiple subjects or even no subject in your picture, the iPhone will fail to isolate it and create a depth effect on the lock screen.
To ensure the wallpaper is not the culprit behind the issue, try the effect with some of the stock wallpapers, or better click a picture with your camera or use one previously clicked from your iPhone having just a single object of focus and test it out by setting it as your lock screen.
3. Make Sure ‘Depth Effect’ is Enabled
If you already have set a single object picture as your lock screen, it could be a simple case of the depth effect not being enabled for the wallpaper. Typically it is automatically turned on, however, in some cases, you might have to do that manually. Fortunately, it is very simple and straightforward to do so.
First, tap and hold on the lock screen to bring up the lock screen selector screen. Once the screen is visible, tap on the ‘Customize’ button to proceed.

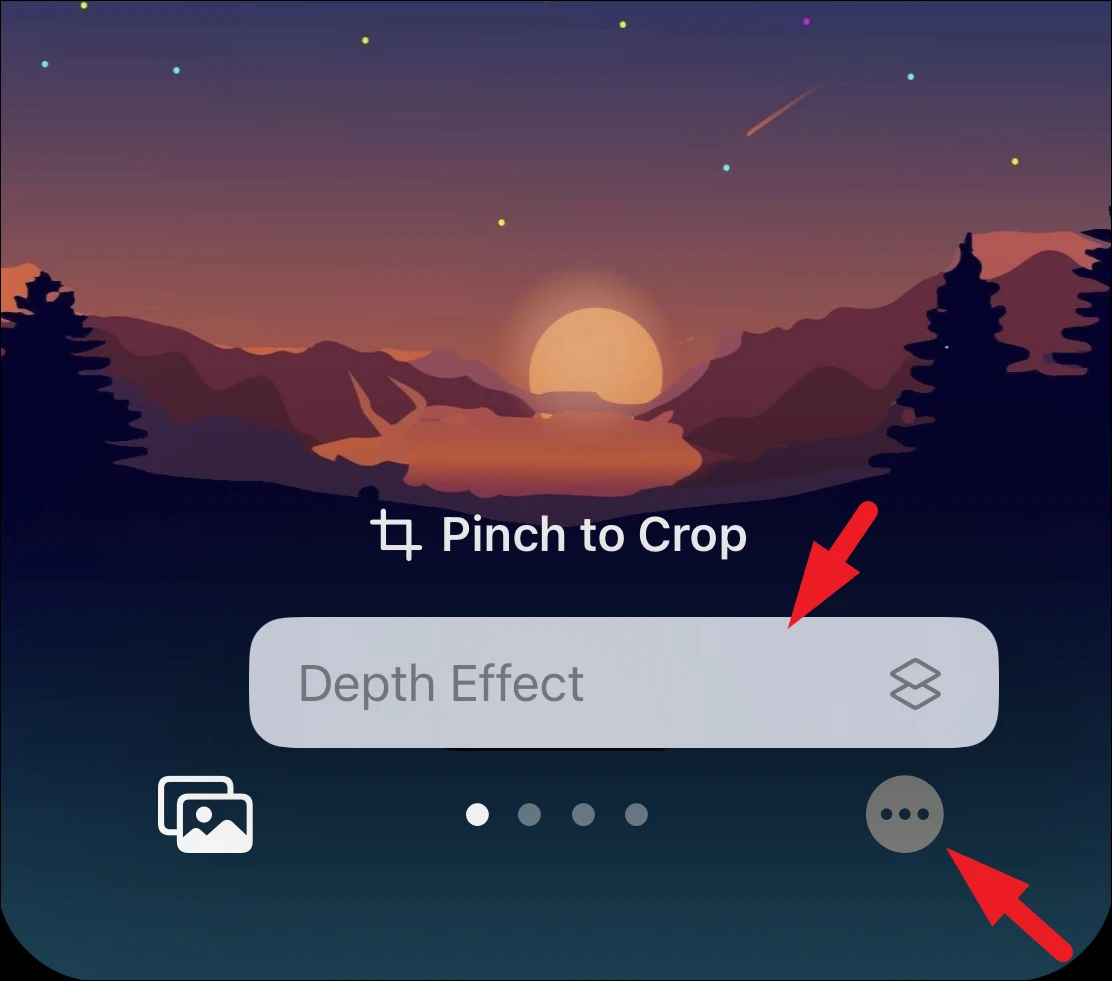
After that, tap on the ‘Ellipsis’ button from the bottom right and then tap on the ‘Depth Effect’ button. When enabled, it will display a tick mark.
4. Remove Any Lock Screen Widgets Hindering with Depth Effect
Another great addition to the Depth Effect is lock screen widgets and the screen is equally informative and beautiful when both work in tandem. However, if the widgets on your screen are covering the wallpaper significantly, the device will automatically turn off the depth effect.
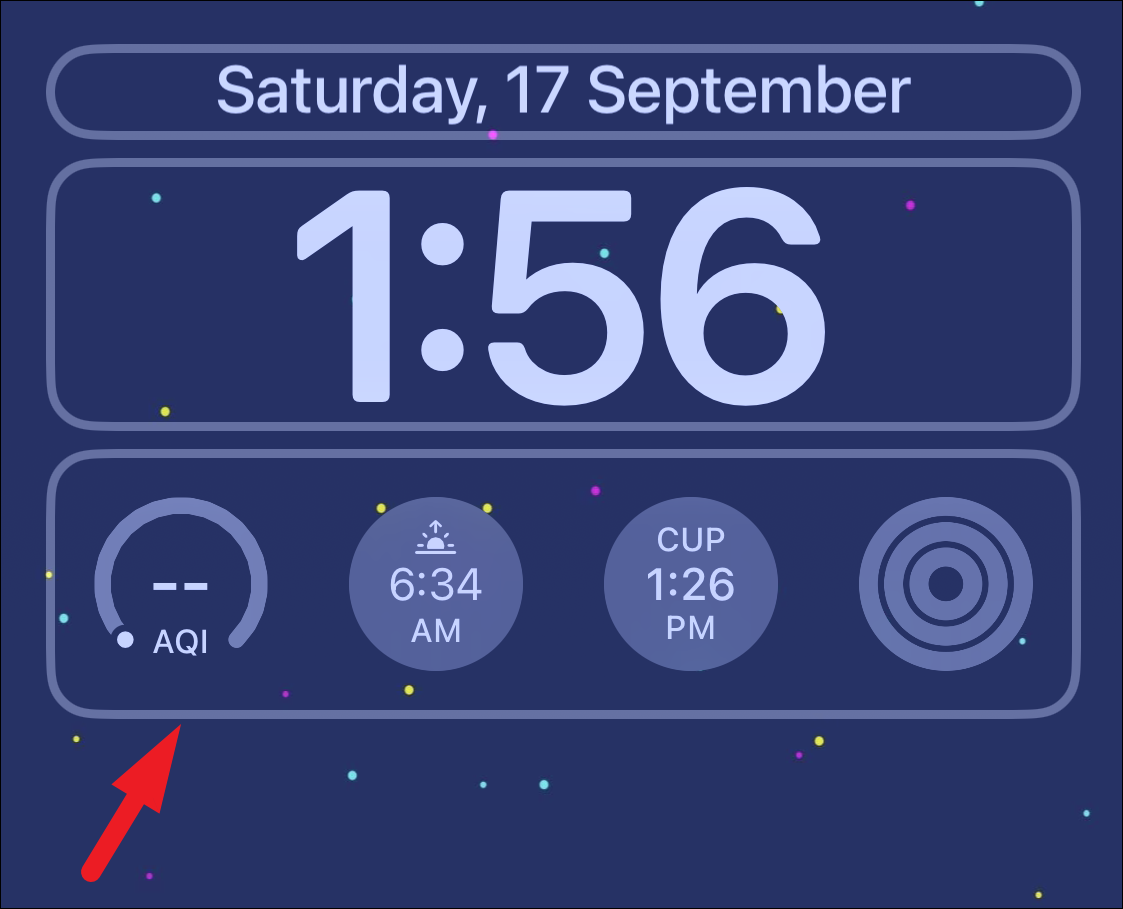
To remove lock screen widgets, tap and hold on the lock screen to bring up the screen selector. Once the screen is visible, tap on the ‘Customize’ button to proceed.

After that, tap on the widgets tile.
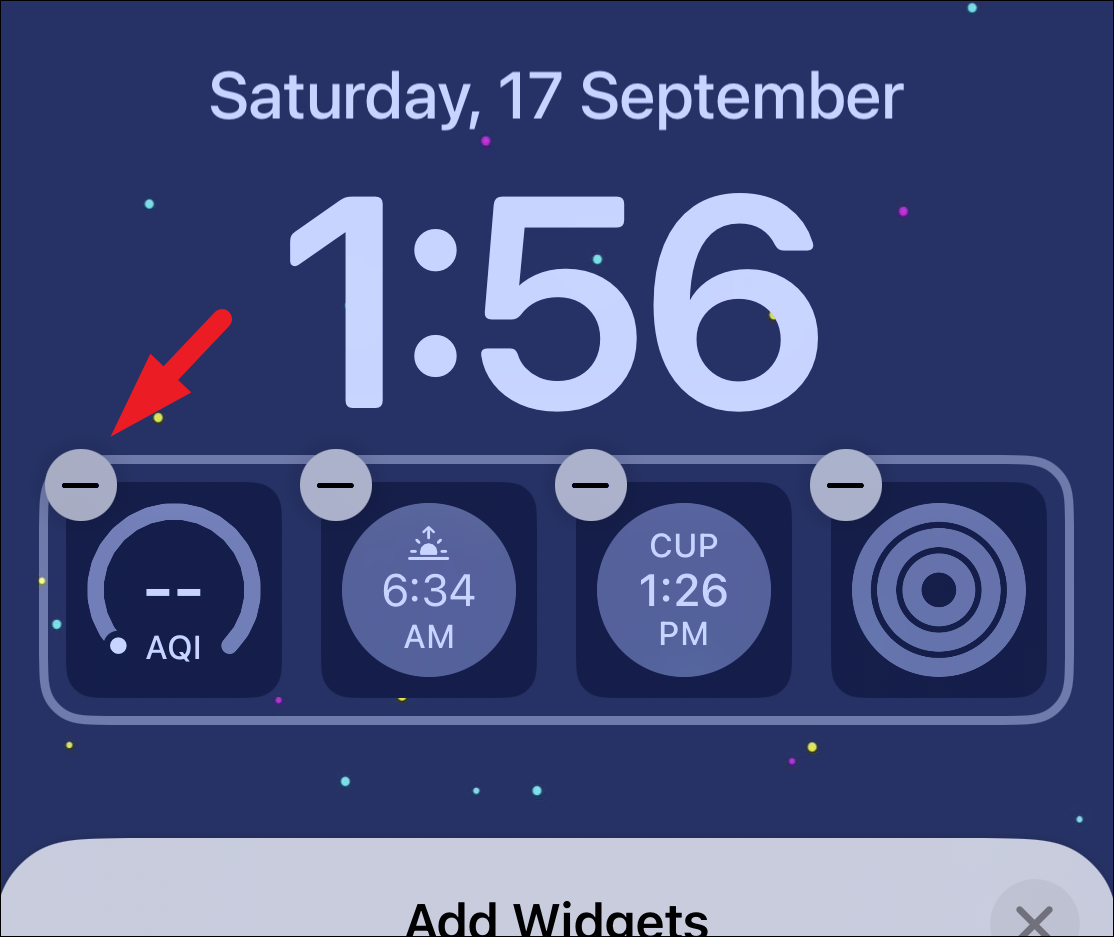
Then, click on the ‘-‘ button on the top left of each widget to remove it from the lock screen.
Once all the widgets have been removed, you should be able to see the depth effect working on the screen.
5. Try Repositioning the Wallpaper
The other reason the depth effect fails to work is when the wallpaper is mostly covered by the clock and/or the widget area. To fix this issue, you can simply reposition the wallpaper on your screen to make the depth effect work again.
To do so, head to the lock screen selector screen, by tapping and holding on the lock screen. After that, tap on the ‘Customize’ button to continue.

Next, drag the picture onto the screen, tap, and hold on to the screen with two fingers.
To zoom in on the picture, use the pinch gesture. By zooming in you increase the area of the wallpaper so that you can move around and position the picture better.
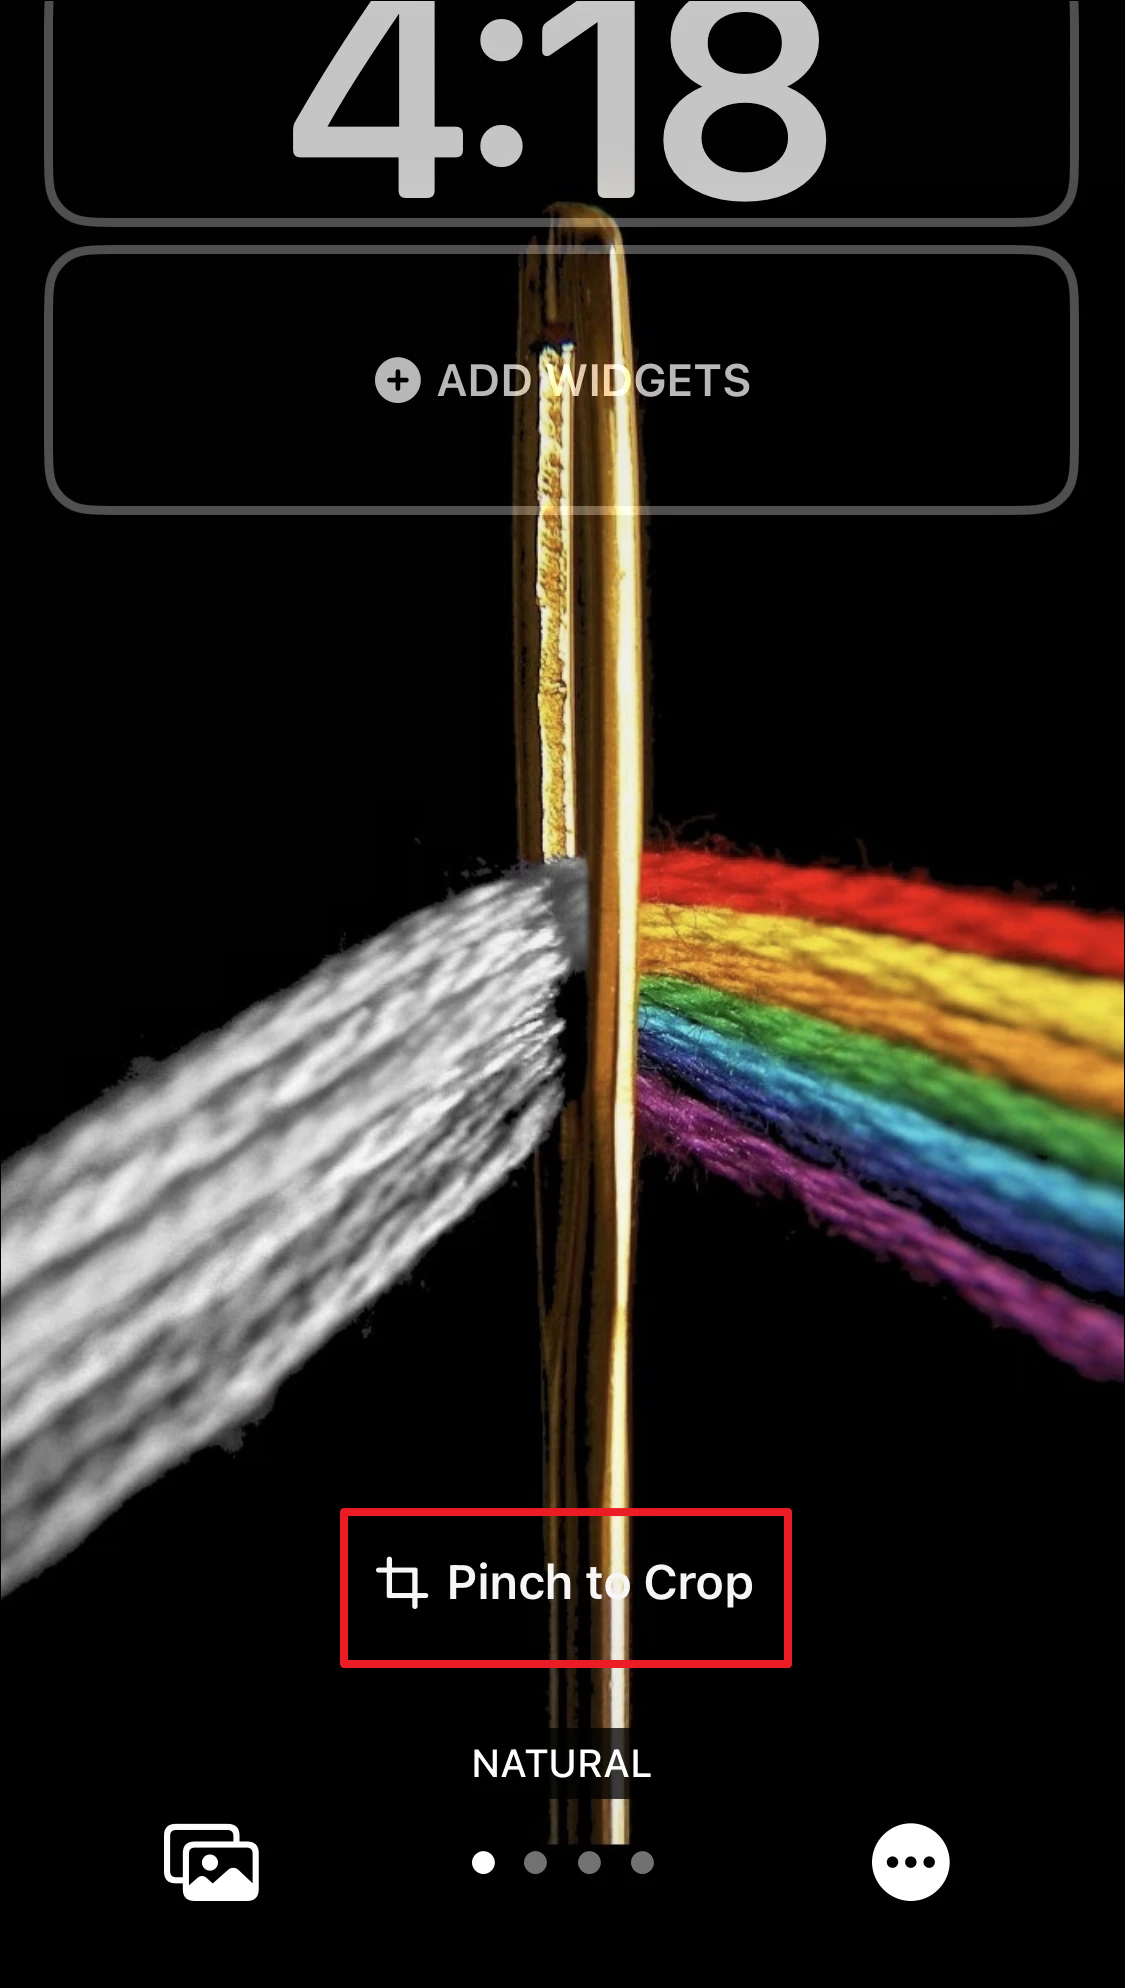
Once the wallpaper has been repositioned perfectly, you will be able to notice the depth effect working. Now, tap on the ‘Done’ button on the top right to confirm the changes.

6. Make Sure You’re Using JPEG File Format
If removing widgets and repositioning the wallpaper does not work for you, the culprit could be the wrong file format of the wallpaper. At the time of writing this article, iPhone only supports .JPEG file format for the depth effect to work.
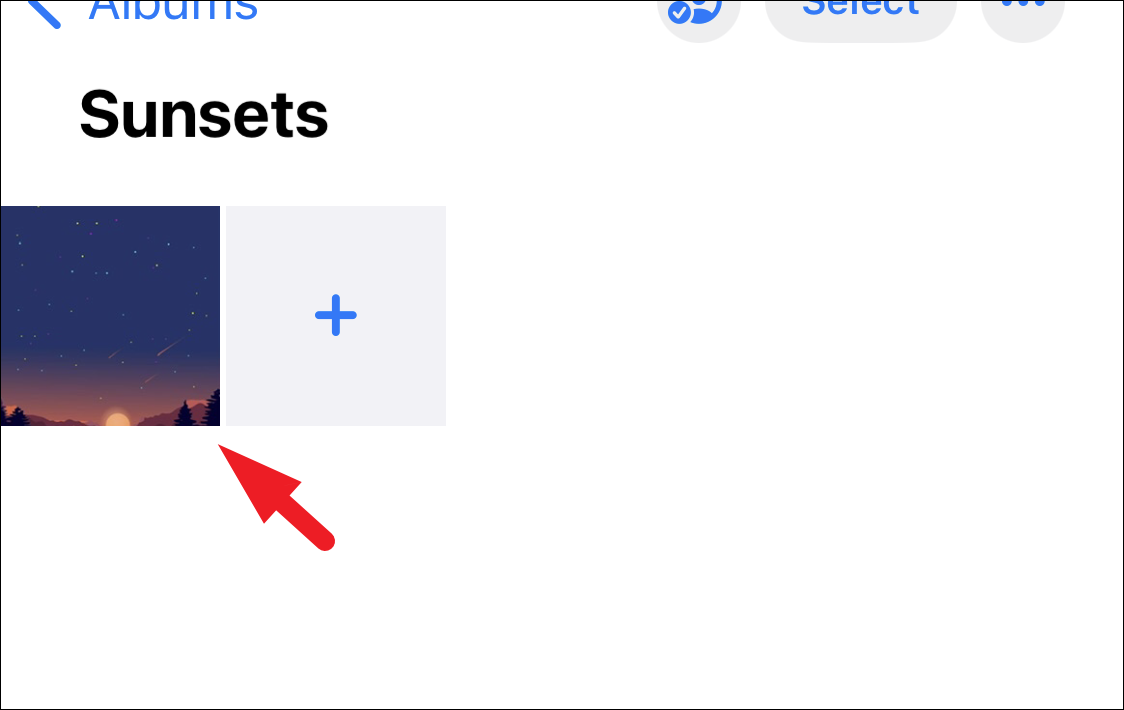
To check the file format of the picture you are using as your lock screen, head to the Photos app and open the picture.
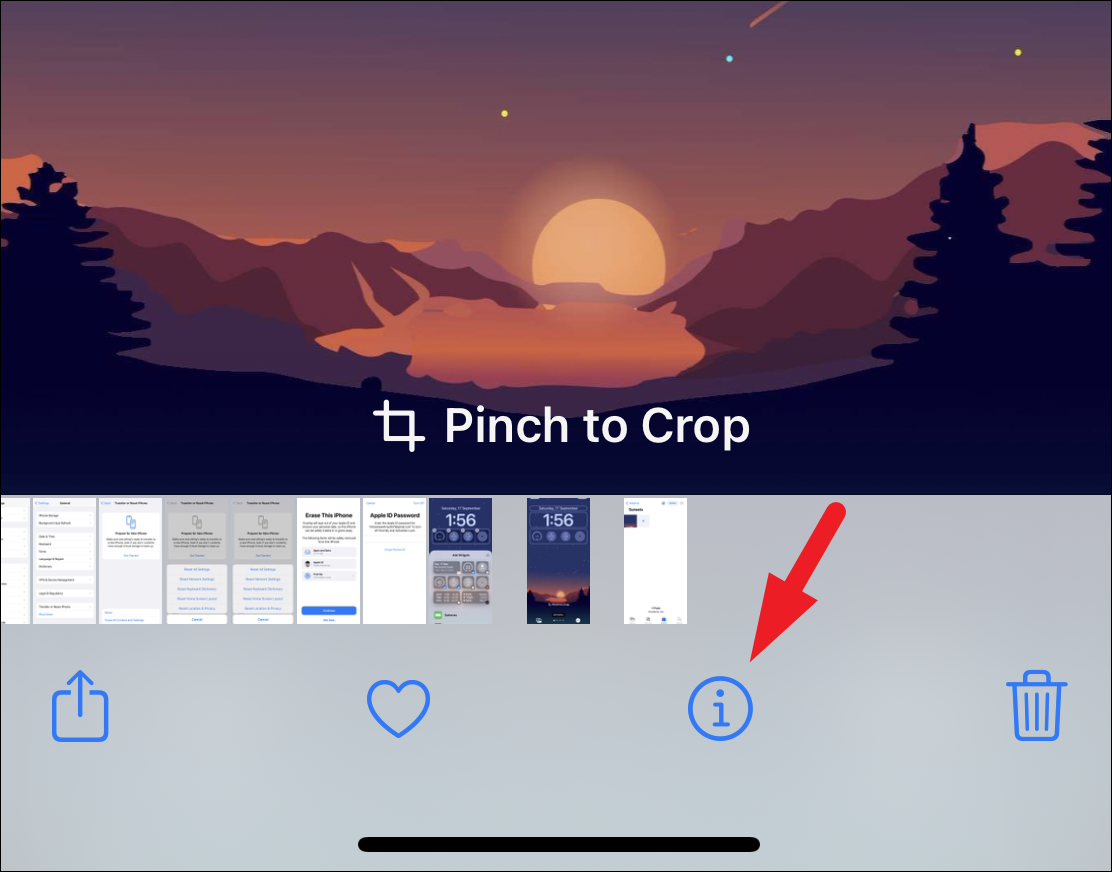
Then, tap on the ‘i’ button to reveal information regarding the picture.
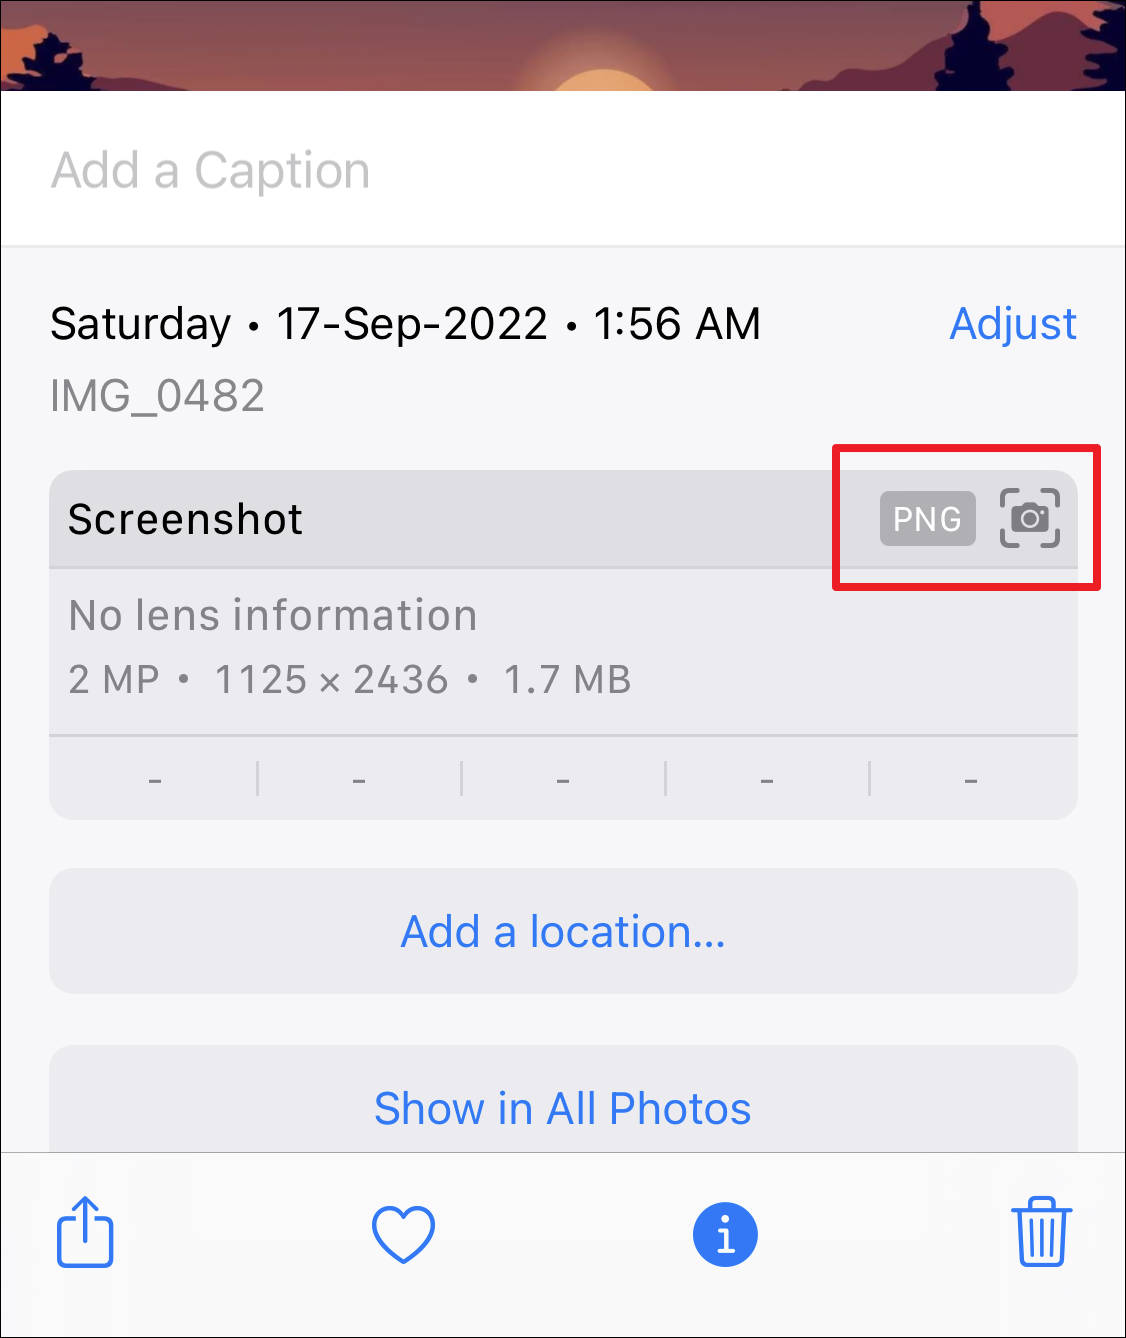
You should be able to see the file format on the overlay pane. If it is anything other than JPEG, you will either need to find a different picture or you could convert it right on your iPhone without using any third-party app.
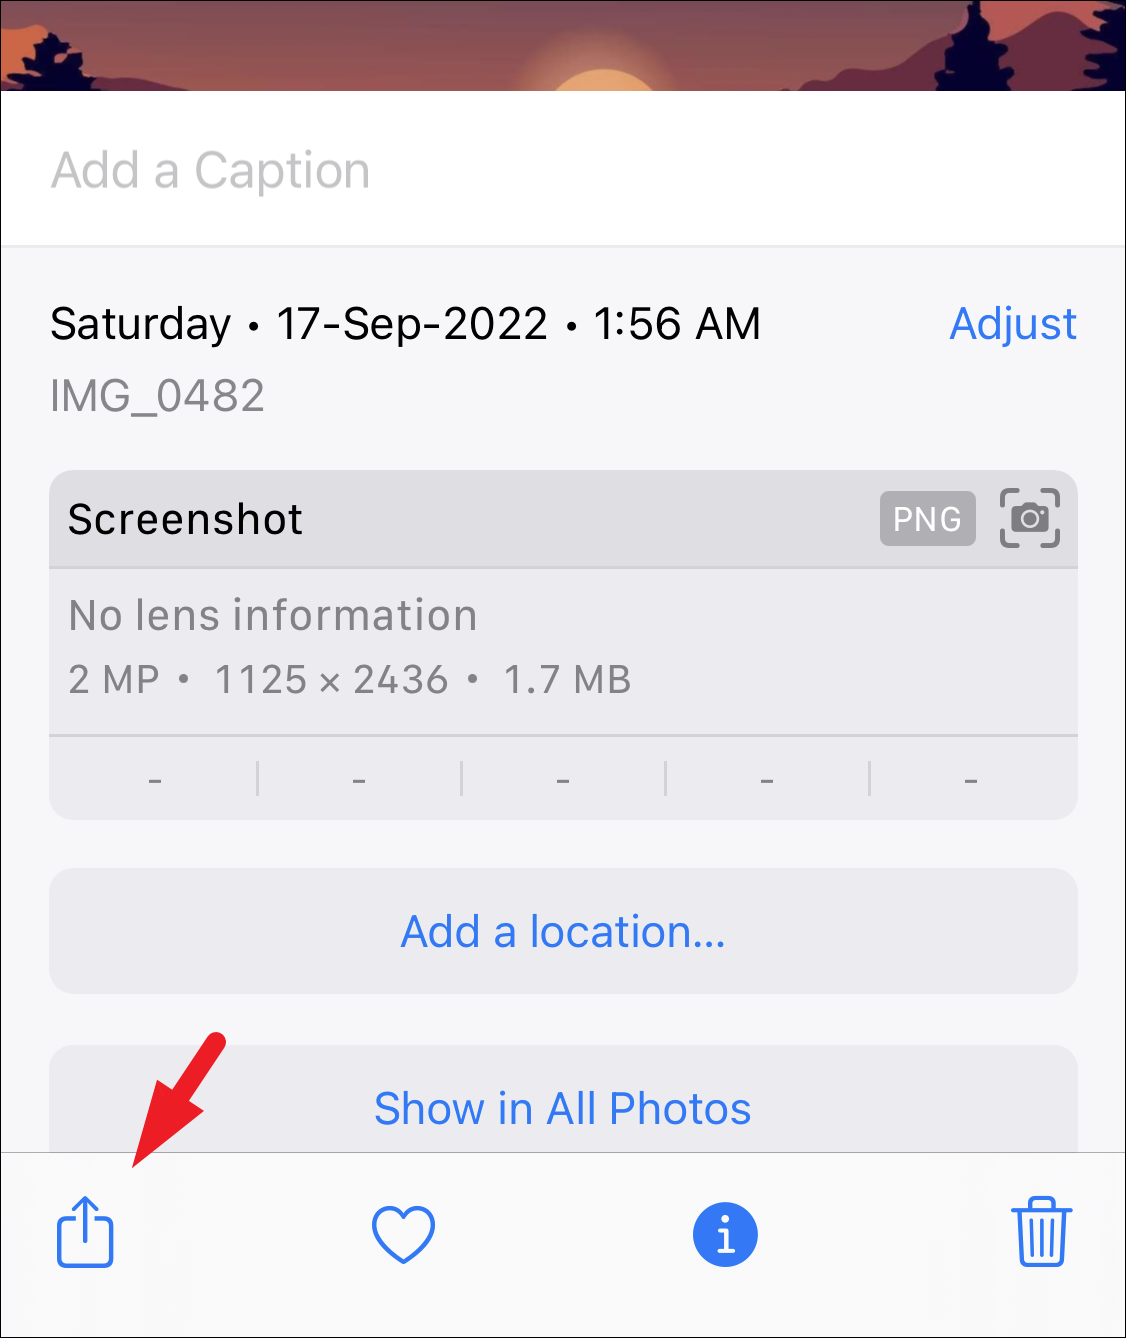
To convert a picture to .JPEG format, open the picture you wish to convert and tap on the ‘Share’ button.
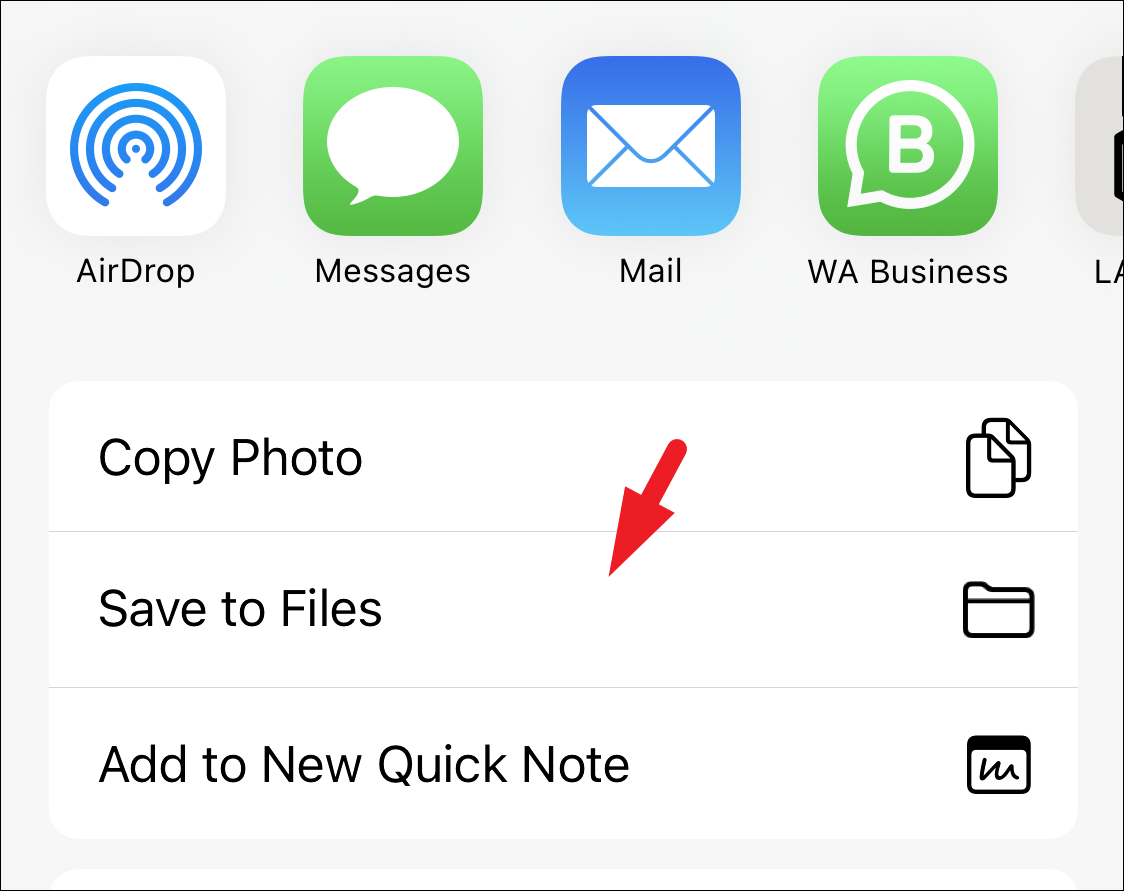
After that, tap on the ‘Save to Files’ option to continue.
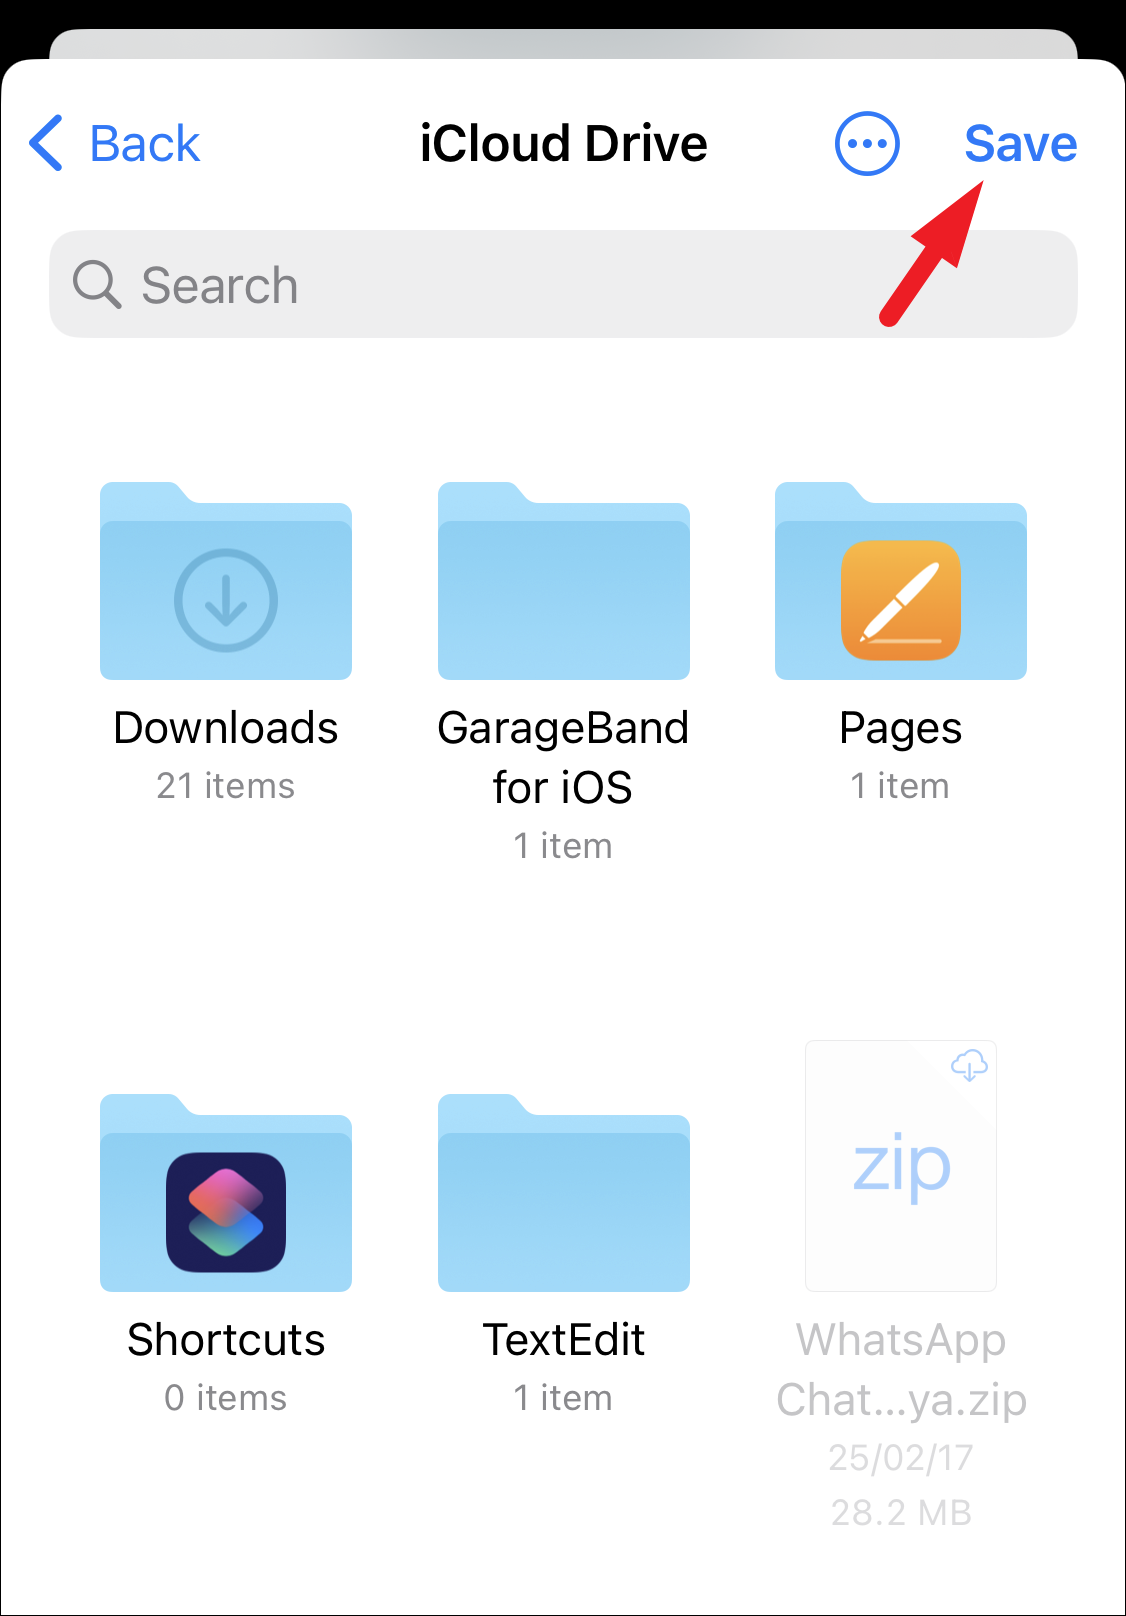
Next, browse the location you wish to save it in and then tap on the ‘Save’ button.
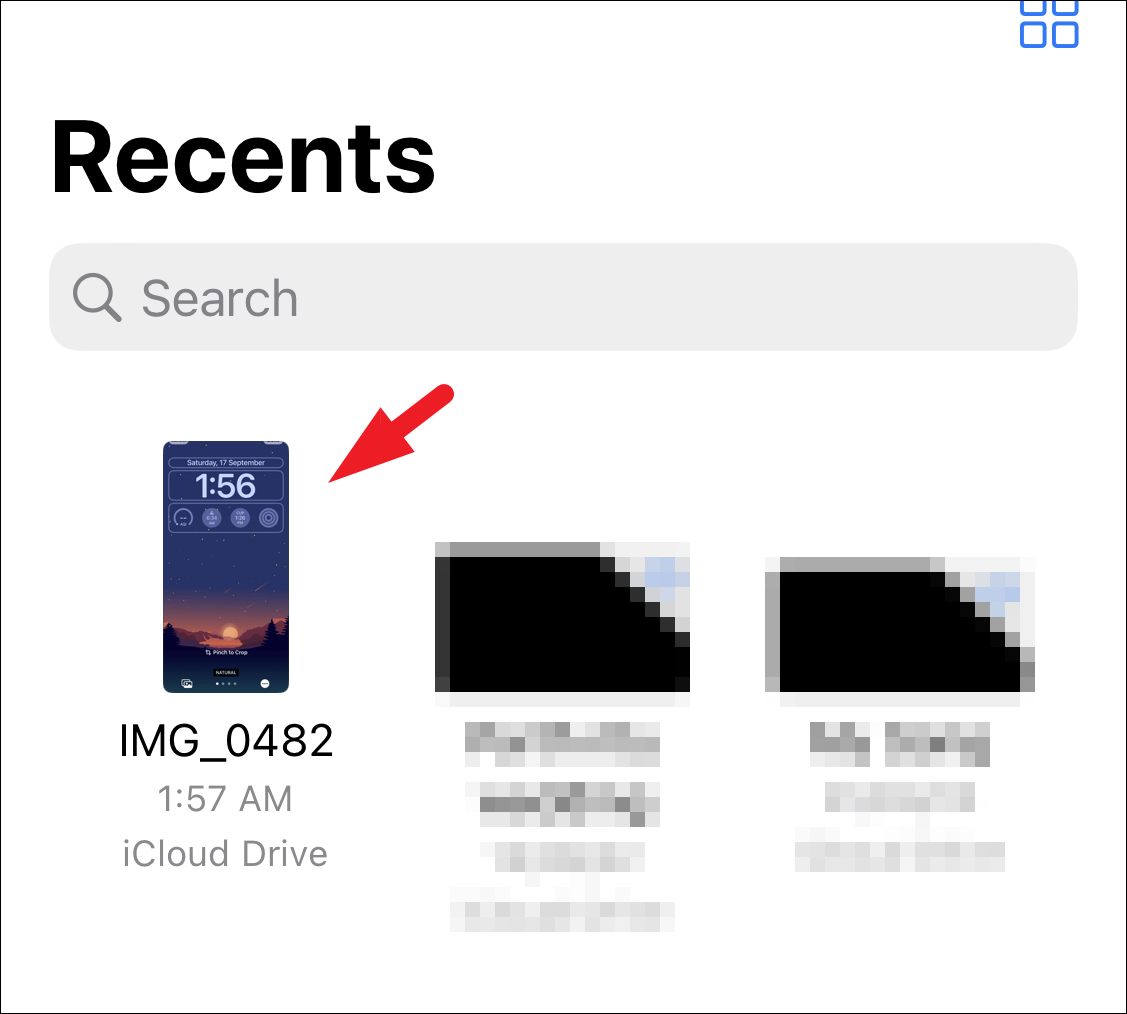
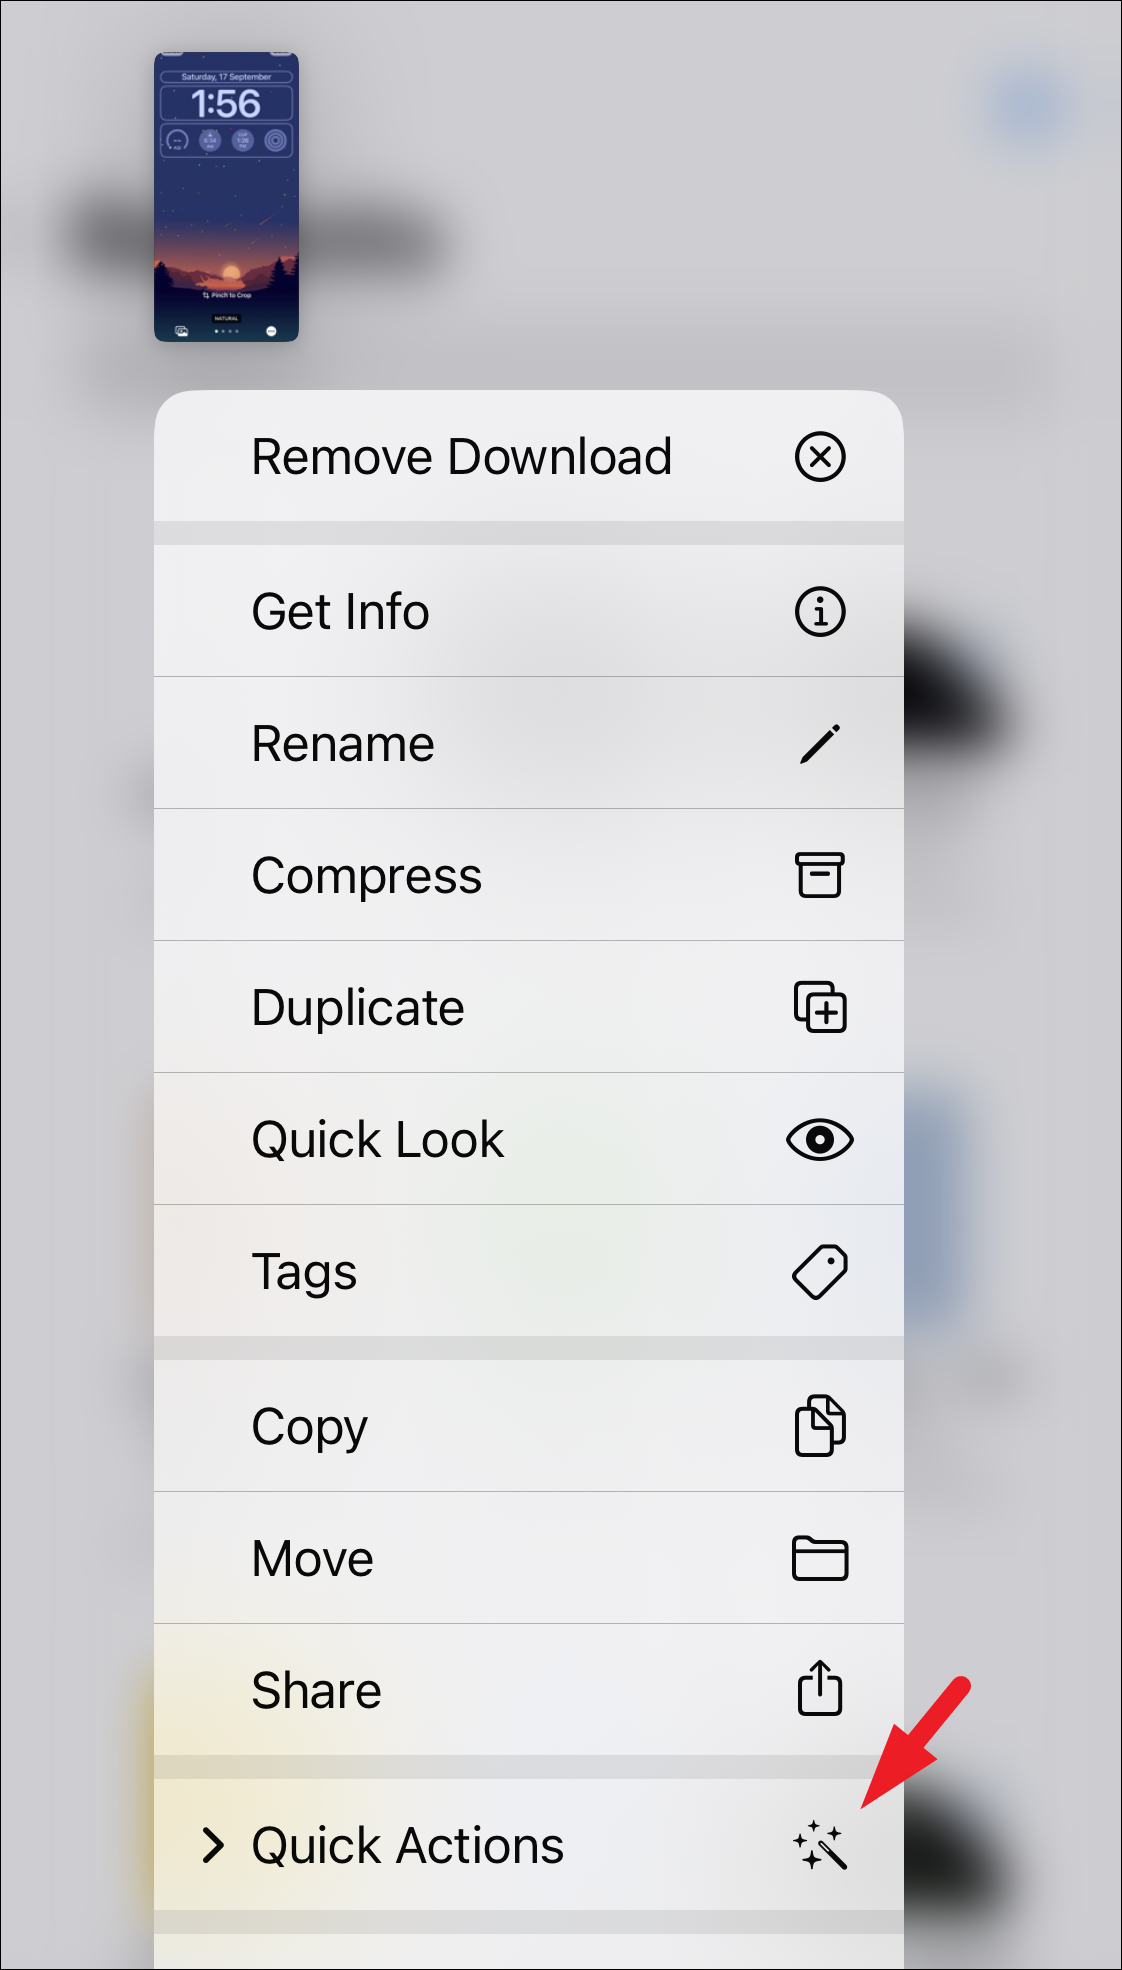
After that, head to the Files app on your device and navigate to the saved picture. Then, tap and hold on to it to continue.
Then, tap on the ‘Quick Actions’ from the overlay menu.
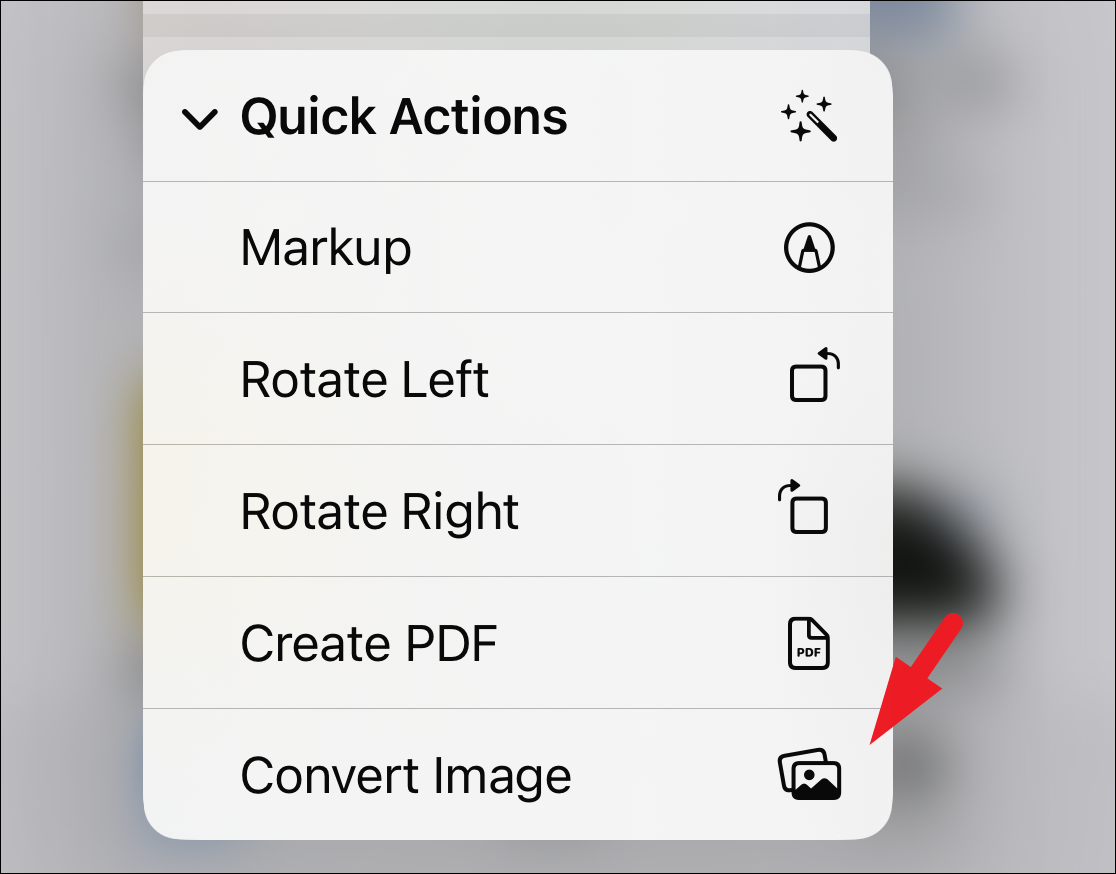
Afterward, tap on the ‘Convert Image’ option. This will again bring an overlay pane to your screen.
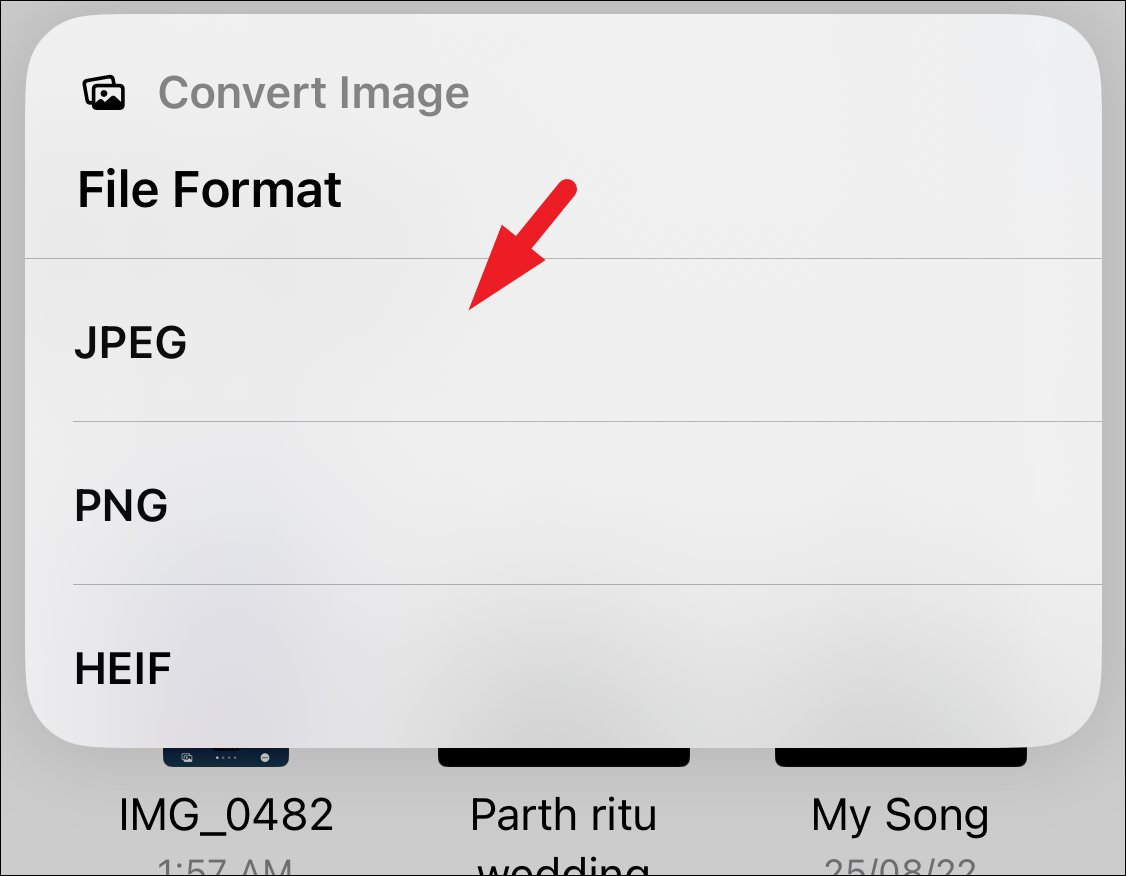
Then, tap and select the ‘JPEG’ option from the list.
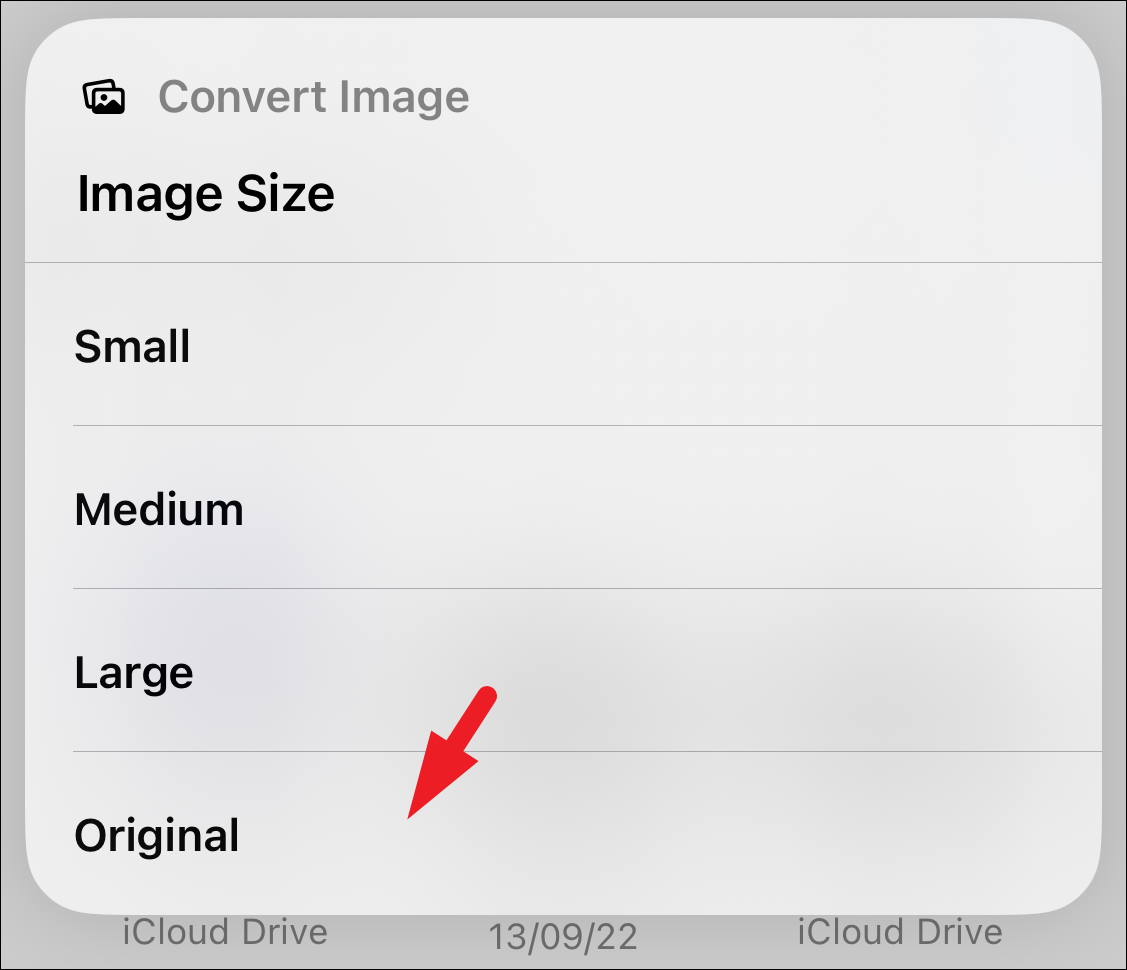
Next, tap on the ‘Original’ option. That’s it, the image is now converted to the JPEG format. You can find the JPEG image in the same location in the Files app.
7. Force Restart your iPhone
A force restart kills all running processes and also allows the device to re-register the system service. This process eliminates bugs and issues that may have intertwined with system and/or critical processes.
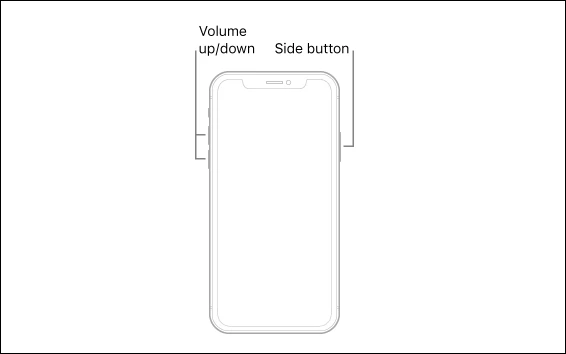
To force restart aforementioned devices, quickly press and release the ‘Volume Up’ button. Similarly, quickly press and release the ‘Volume Down’ button. Then, press and hold the ‘Side’ button until you see the Apple logo.
There you go, folks. If you have been facing the depth effect no working issue on your iPhone, you could quickly resolve it using the above-mentioned methods.


